• Modelers Alliance has updated the forum software on our website. We have migrated all post, content and user accounts but we could not migrate the passwords.
    This requires that you manually reset your password.
    Please click here, http://modelersalliance.org/forums/login to go to logon page and use the "Forgot your Password" option.

REICHSBAHN - Drehschemelwagen der DR

New steps in past week end...

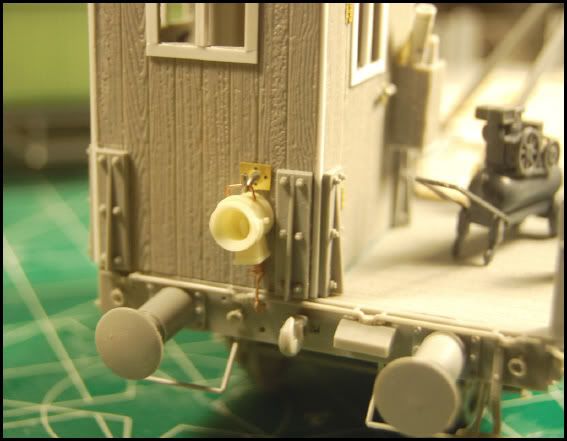
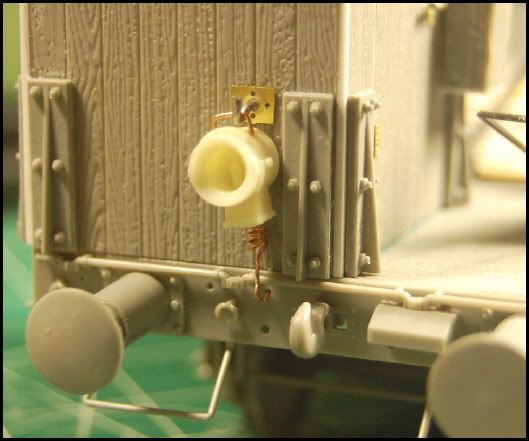
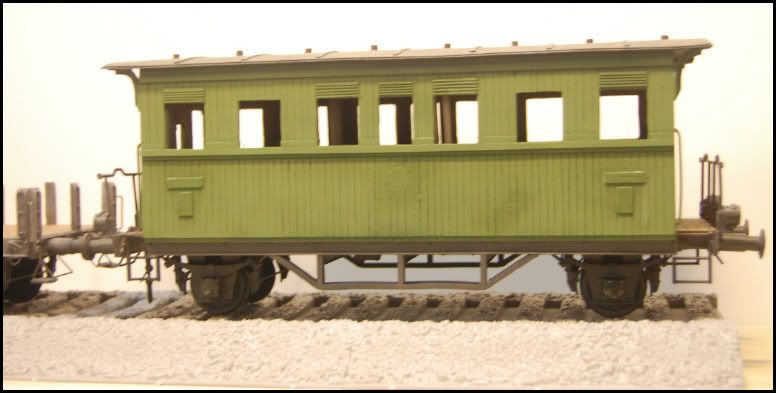
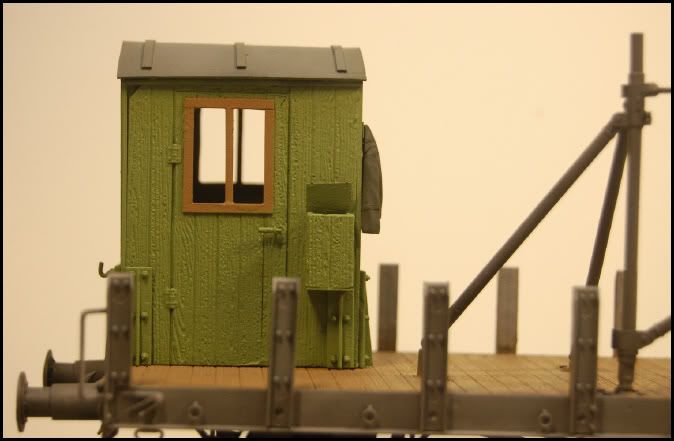
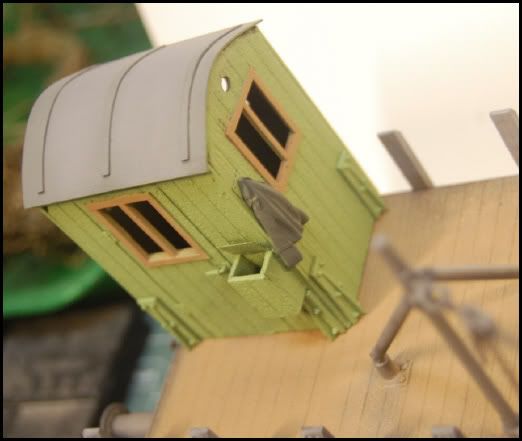
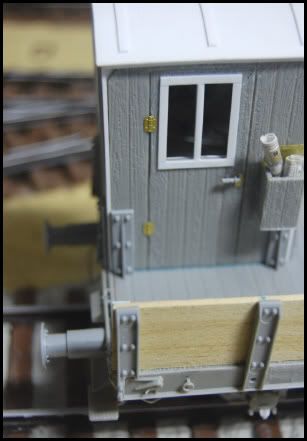
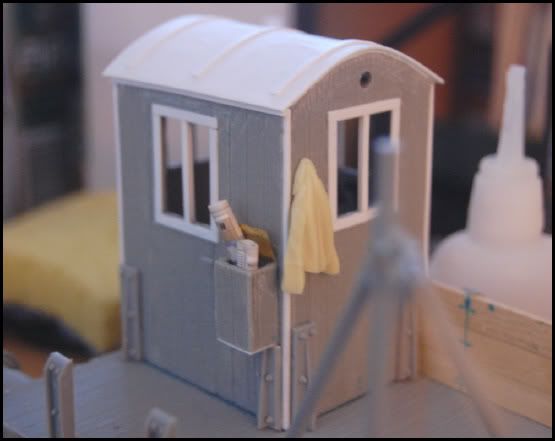
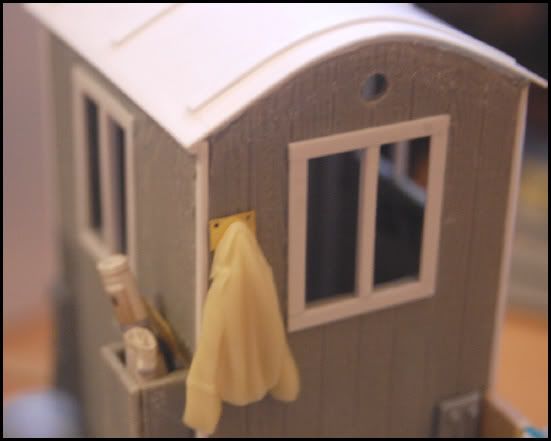
# Detail of door's hinges. (Photo-etcheds by Royal Model)

l061.jpg


l062.jpg


l063.jpg


l064.jpg


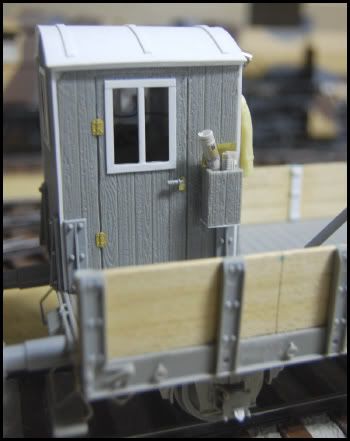
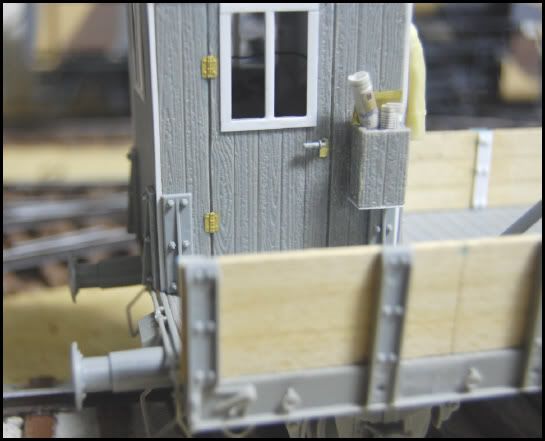
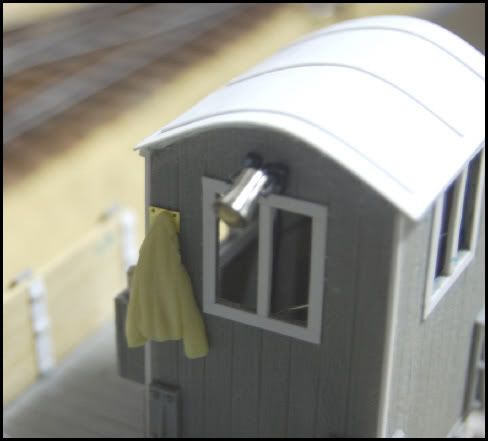
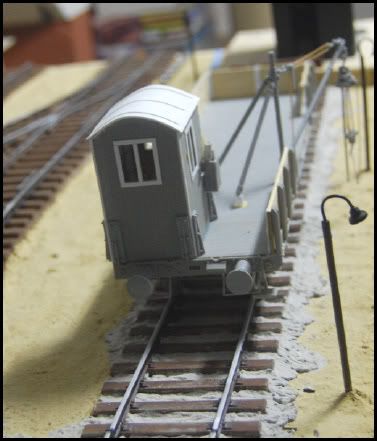
# Detail of german clothing in the outside of cabin. (Jacket by Verlinden)

l069.jpg


l070.jpg


l077.jpg


l068.jpg


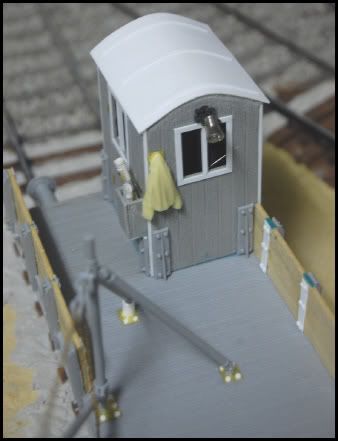
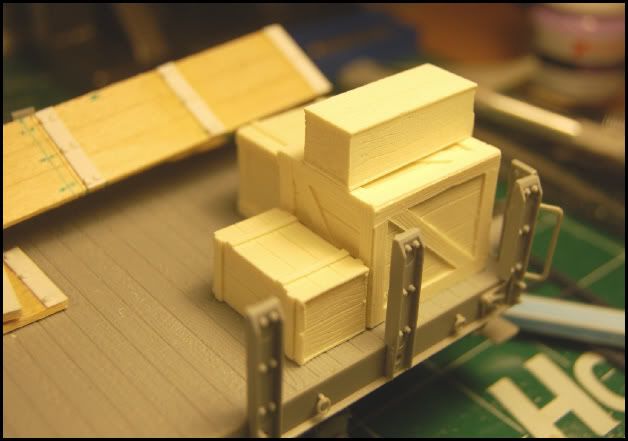
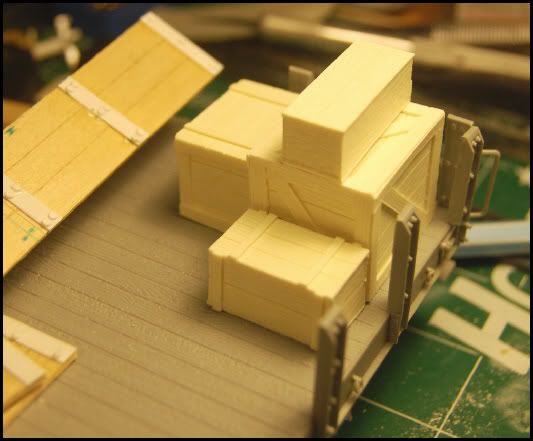
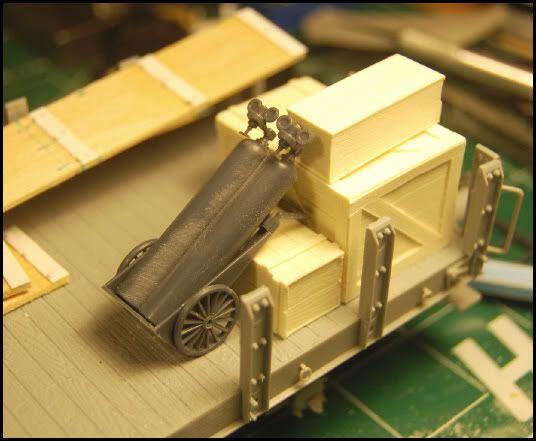
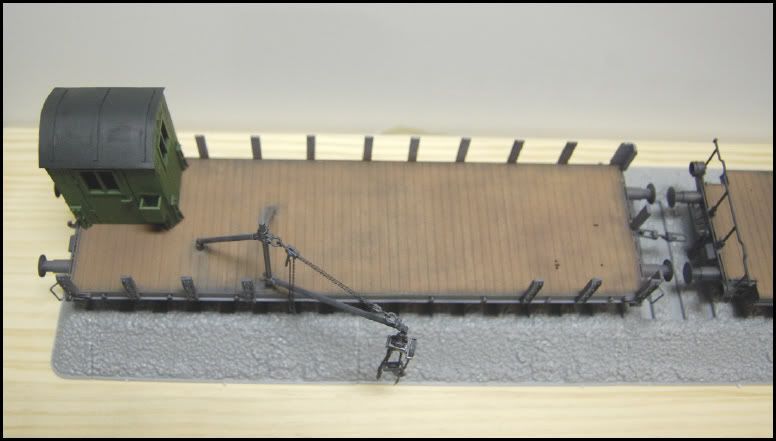
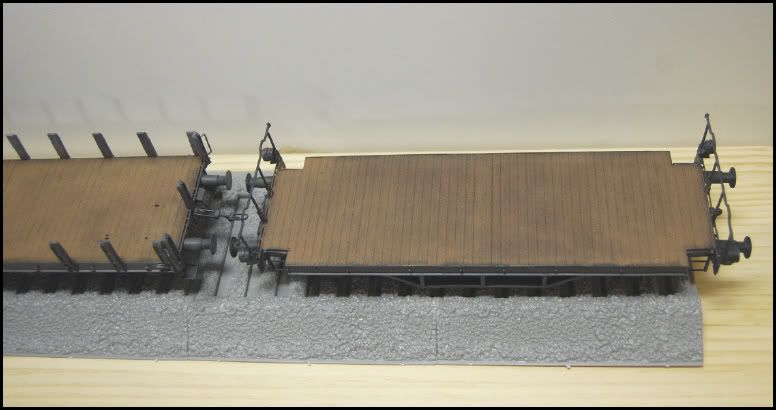
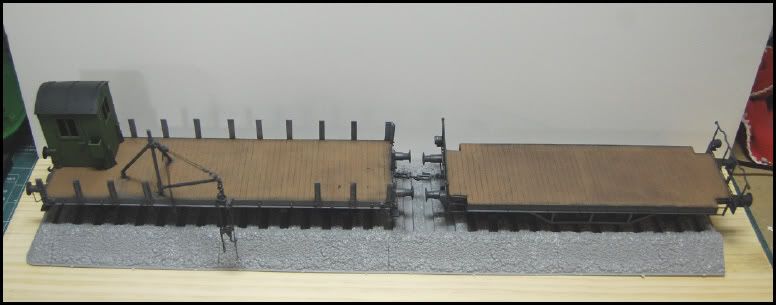
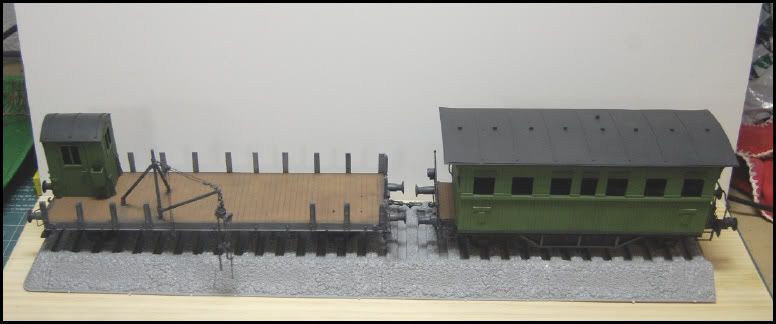
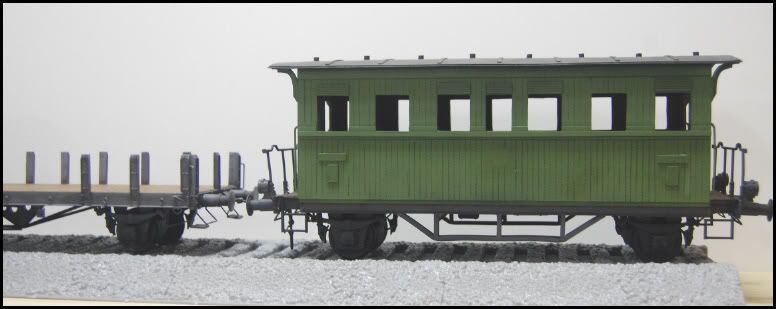
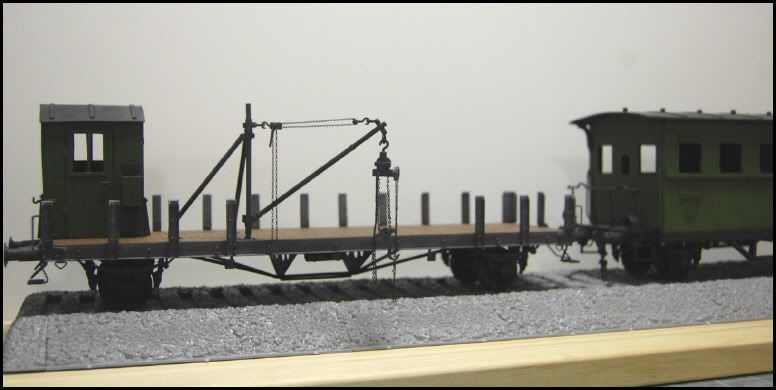
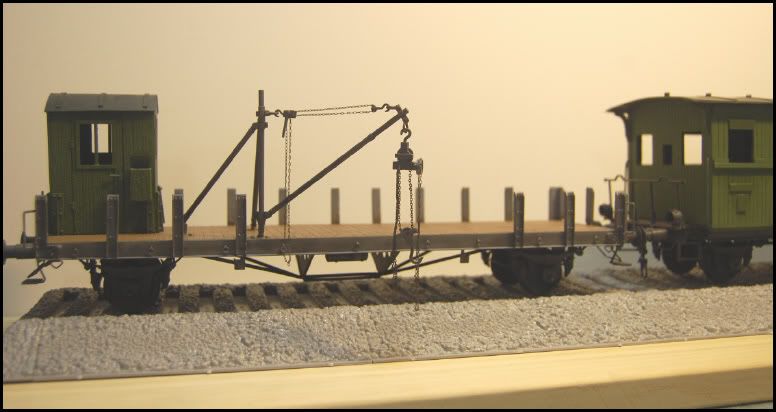
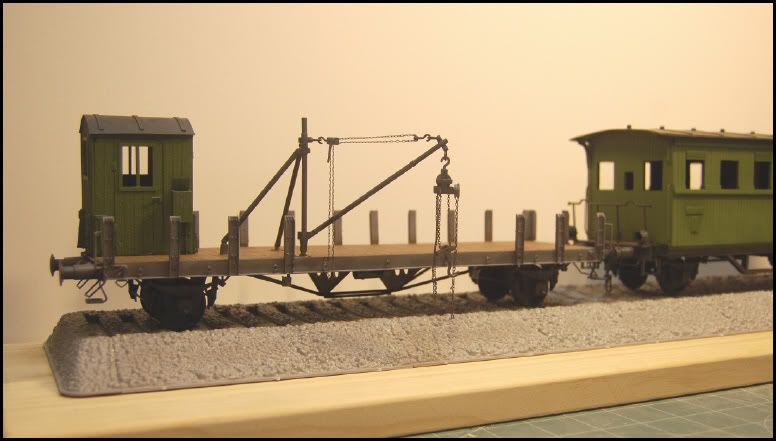
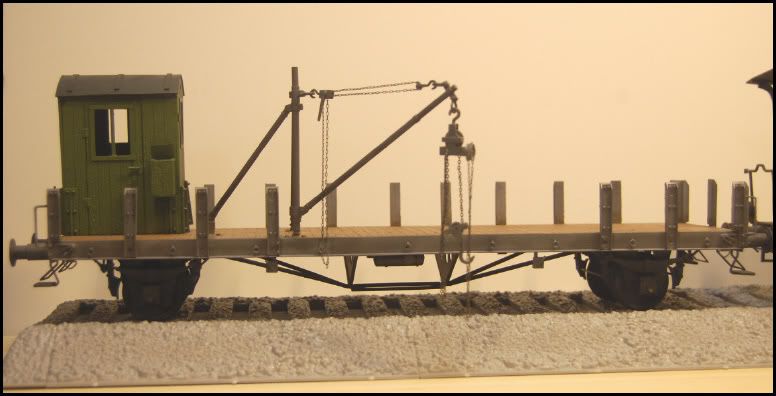
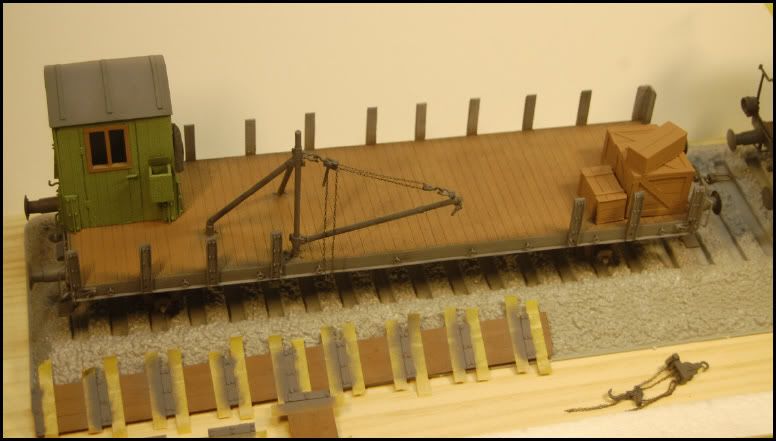
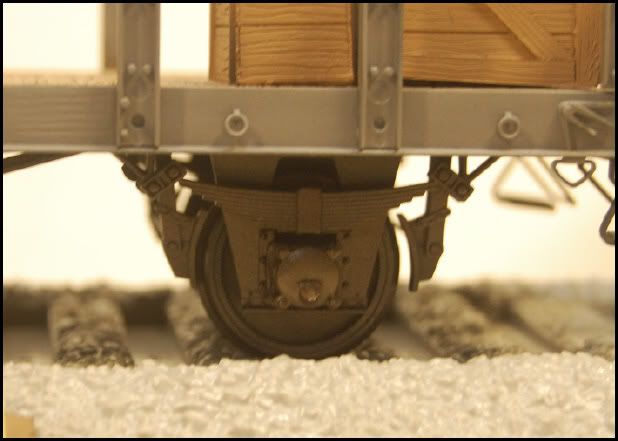
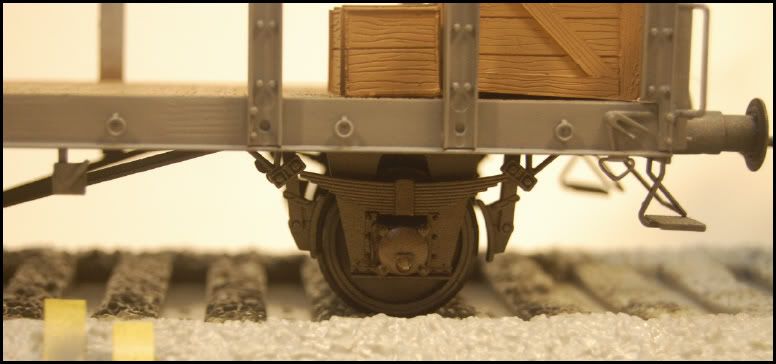
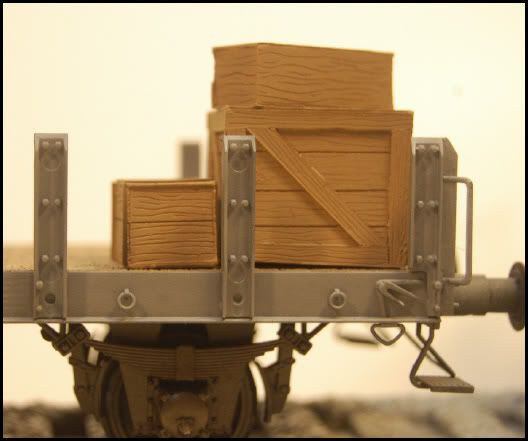
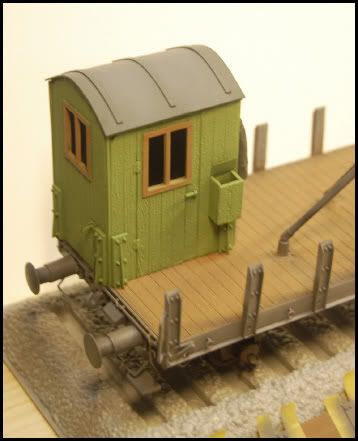
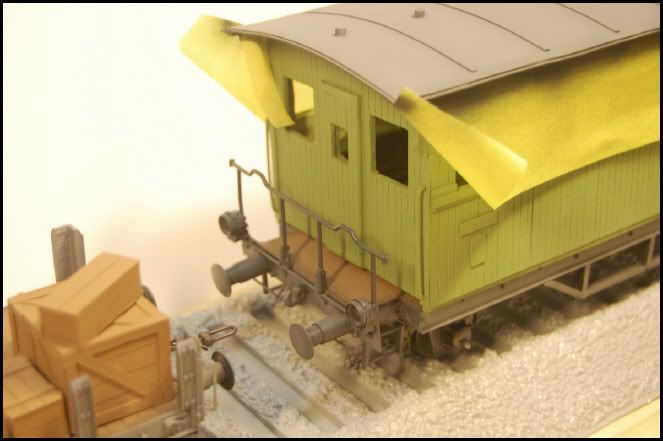
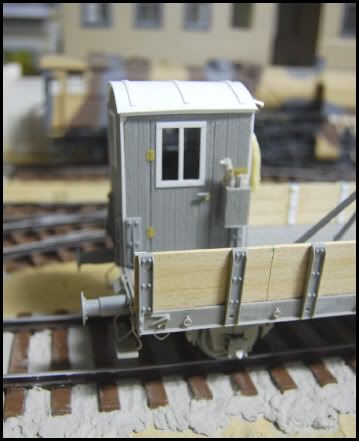
# General views of the wagon and details of clinches.

l065.jpg


l066.jpg


l067.jpg


l081.jpg


l072.jpg


l073.jpg


l074.jpg


l075.jpg


l076.jpg


l078.jpg


l079.jpg


l080.jpg


l082.jpg


l083.jpg


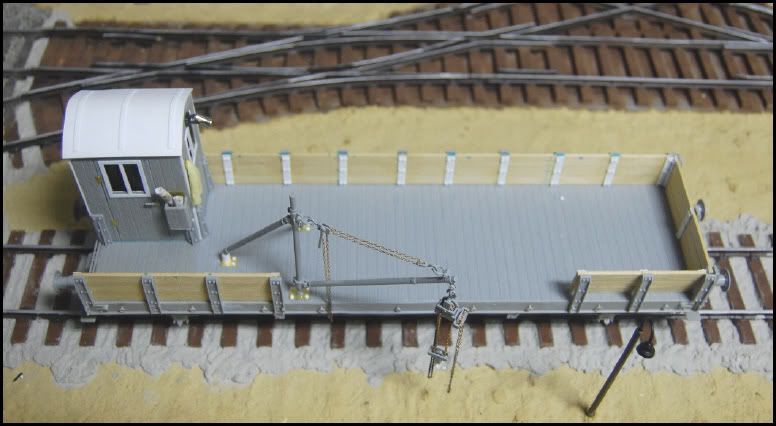
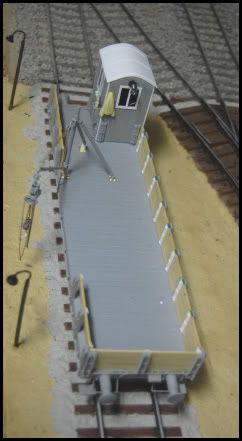
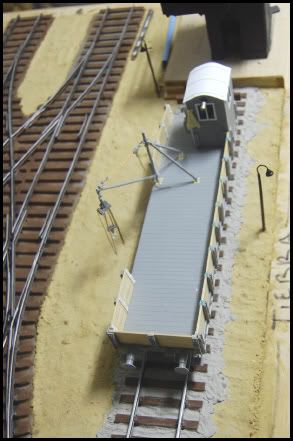
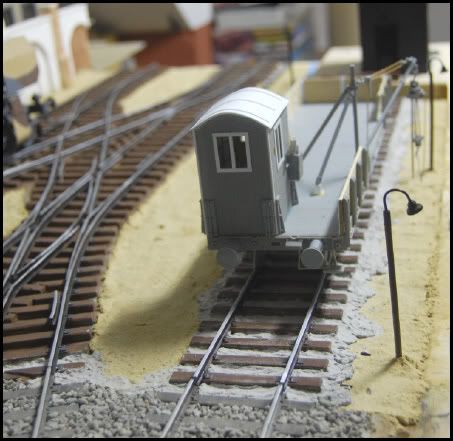
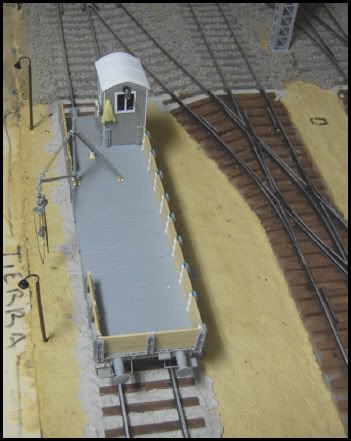
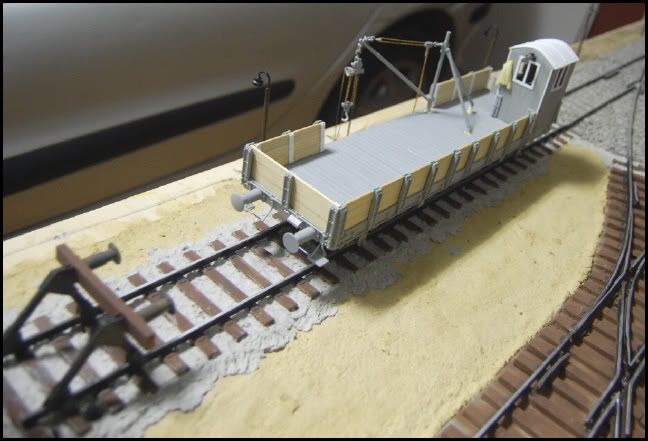
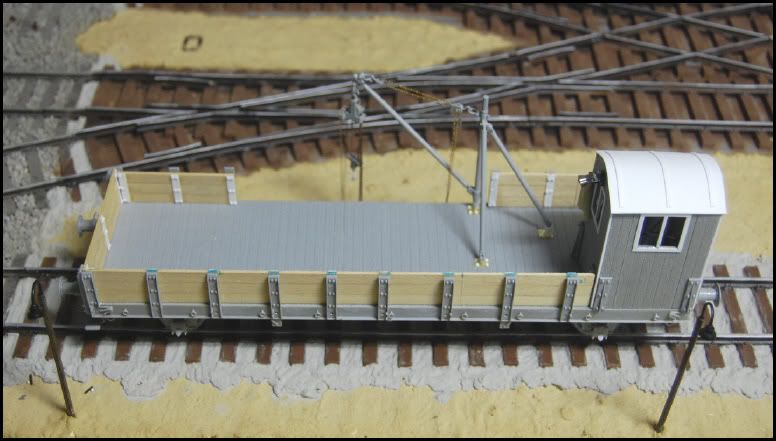
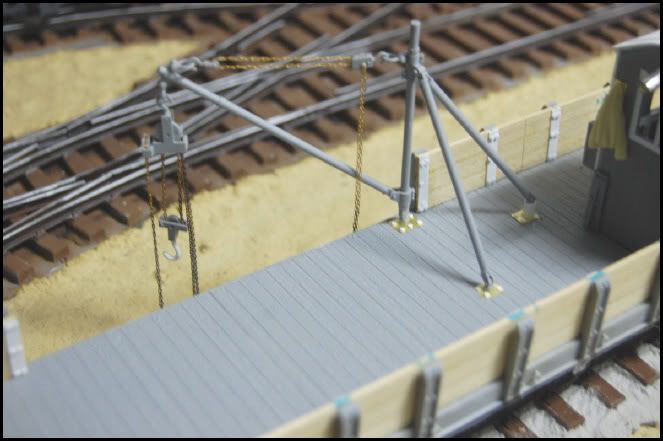
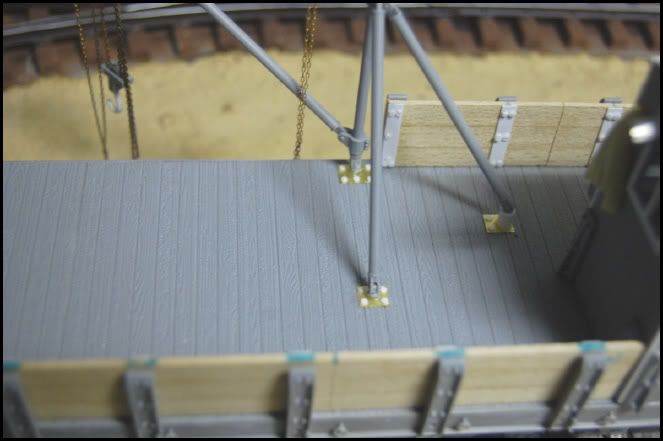
I hope that you like it. Fault two steps for finishing the build.

See you!

Yago.
 
shawngehling wrote:
Yago,
Outstanding layout... Wow, that's a lot of track too.
Looks great.
Shawn

Thank you so much Shawn. It is a pleasure of reading your words. Next week I will try to paint the wagon. Today or tomorrow, I will do the system of hookings of the coach, finishing this way the process of assembly.
Also I will do one of the "components" that will go on the platform.

See you soon!

Yago.
 
Dioramix wrote:
Yago, you make no doubt an absolutely great job!

Everybody who could see this build from the beginning will agree.

Thanks Dioramix (What's your real name?).
I'll try to work better than yesterday but worse than tomorrow.
I'll post new steps soon.

See you!

Yago.
 
Hi guys!

Here I show you some last minute photos of this freight car. This Saturday was going to paint, but I have had complications and I have taken advantage of the while that have had to finalize some details that will go in the freight car.

As it is a convoy end freight car, I have added him a light of signposting (focus). I have hung it of the back part of the cabin by means of a surplus piece of photo-etched and some rivets for such effect. I have designed a hook with a piece of tin and I have placed then this focus of the mark CMK. Then I have placed, by means of thread of copper what would be the cable of current, with a part in spiral and the remainder doing fall.

l086.jpg


l087.jpg


Then, as already I commented some posts further up, I have mounted various accessories of Italeri so that the freight car carry something of material of work. And to that I have added him some boxes of wood (of resin) of the mark Custom Dioramics that had kept since time ago.

l088.jpg


l089.jpg


l090.jpg


I hope you like it. Thanks for looking and I' sorry for my English.

See you soon.

Yago.
 
Hola Yago.

Every time I sneak in to look at this it just amazes me all the detail you are putting in everywhere. You are doing an awsome job on this.

Gary B)
 
Thank you so much Gary. Now I'm trying to put a focus on cabin, but I'm locked. Today, I'll try again. This is the last detail of the wagon. Today Sunday, I'll try to start the paint process. I'll post the steps done.

See you!

Yago.
 
Hi guys!

Painting process...

l000-1.jpg


l001-2.jpg


l002-1.jpg


l003.jpg


l004-1.jpg


l005-1.jpg


l006-1.jpg


l007-1.jpg


l008-2.jpg


l009-1.jpg


l010-1.jpg


l011-1.jpg


All painting process was done with a bad compressor, but I believe that the final result is sucessfuly.
Then, I'll work in down parts and crane.

Thanks for looking and see you soon.

Yago.
 
Yago,
Amazing just doesn't seem to cover it.
Keep posting the pictures, I love what I see and
know that the more you do, the more I will like it.
Shawn
 
Shawn, thank you so much. I'll try to do more things this week, and I'll post new photos of new steps done.
Thanks for looking.

See you!

Yago.
 
Thank you Bob. This week I'll try to do more things. I'll do the weathering and another things.
Thanks for looking friend.

Yago.
 
Hi guys!

New photos...

:X THE WAGEN

l012-1.jpg


l013-1.jpg


l014-2.jpg


:X WOOD BOXES

l015-2.jpg


l016-1.jpg


:X THE CABIN

l017-1.jpg


l018-1.jpg


l019-1.jpg


:X WOOD WALLS

l020-1.jpg


l021-1.jpg


:X COMPLEMENTS

l022-1.jpg


:side: RAILWAYS

l023-1.jpg


:side: ACCESORISS & MACHINES

l024-1.jpg


;) DETAIL OF OTHER WAGEN WITH BOX

l025-1.jpg


- I LIGHTED the colors so much of the sheds (xf-5 green) of the platforms or structures. Fault to do: wears / dirts.
- I gave colors base to the mechanisms of the axes of the coaches and then I played, adding Tamiya HULL RED to the GUN METAL to give chromatic variety. Fault to do: washes and dry brushing and pigments.
- The roofs of the cabin and of the box of the coach workshop have a base of Tamiya NATO Black, clarified later with Tamiya Medium Grey. Fault to do: a few oils to imitate wears of rain and the Sun.
- The boxes of wood of the long coach take three tones of quoits and mixtures between them. Fault to do: washes and dry brushing.
- Railways base they go as color Tamiya Gun Metal's mixture bases + brown color, and a raise of light with Base Coat + Tamiya Hull Red.
- The tools / machineries, they take Gun Metal, NATO Black, Medium Grey + Nato Black, depending on the object.
- This Medium's mixture of Medium Grey and NATO Black is the base coat of the jacket hung on the cabin.

I still have things for doing. I hope that you like.

See you soon!

Yago. :Hiay
 
Back
Top