ausf
Master at Arms
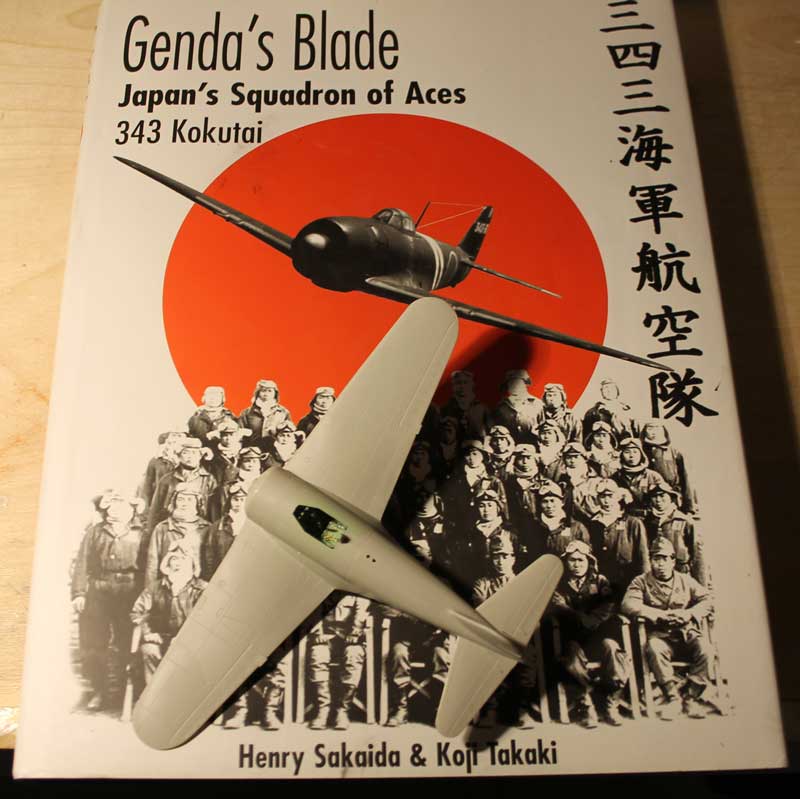
Stumbling with the Eduard 109 fit, I see some wing root work in my future. I decided some practice was in order and remembered I picked up a book and a pair of 1/72 Tamiya kits a few years back to have a father/son build with my kid. I ended up slapping one together and even though the kit is really nice, I botched the assembly. So I figured I could putty and slap some paint on this puppy before screwing up the 109 further.
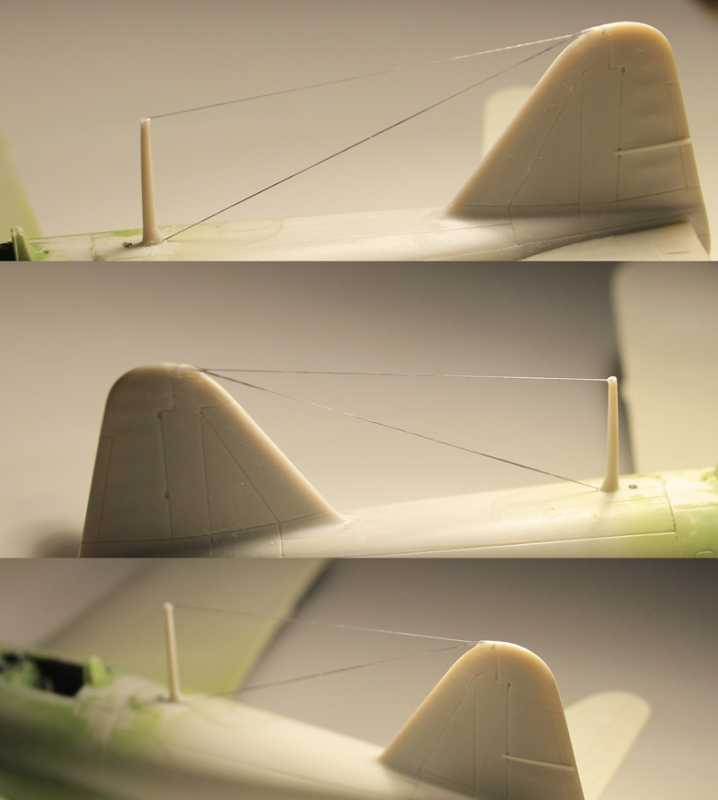
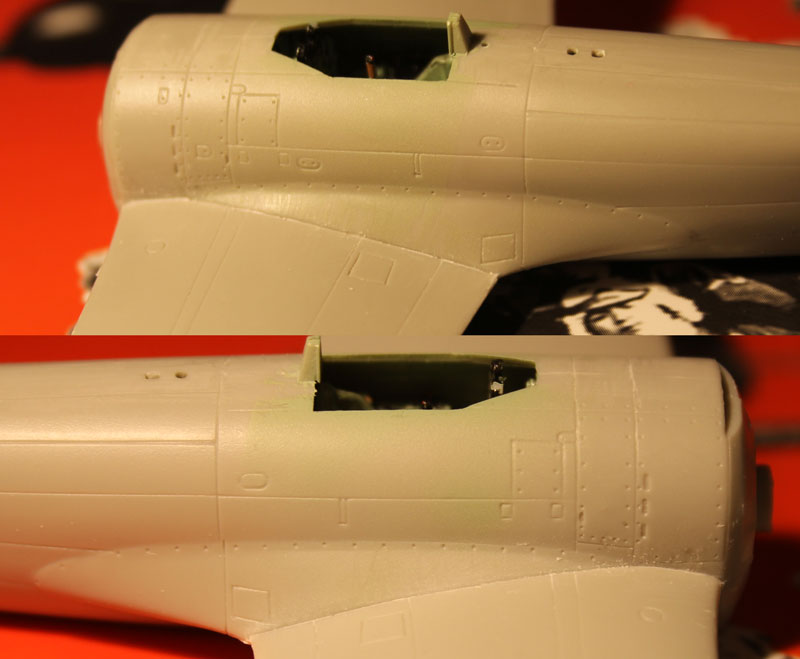
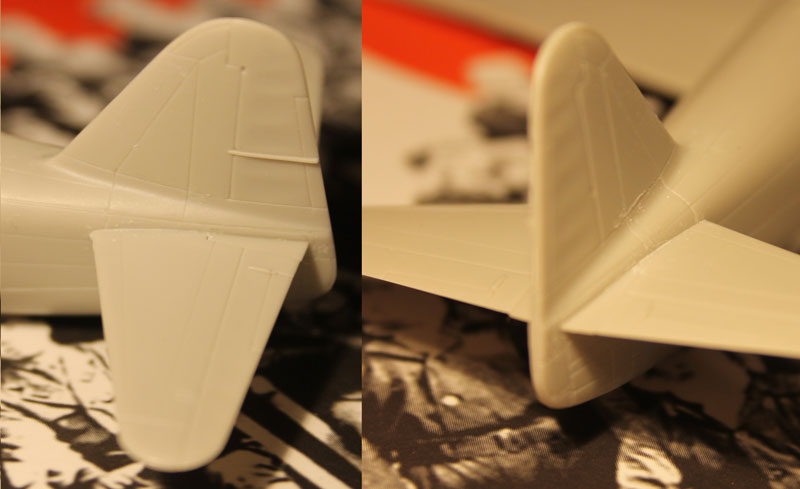
So, here's a Tammy Shiden as it sits. I puttied the wing and stab roots, just need to wait for them to dry and then sand if necessary.
I don't have proper colors on hand, but the good old model app has me pretty close of the JN colors.
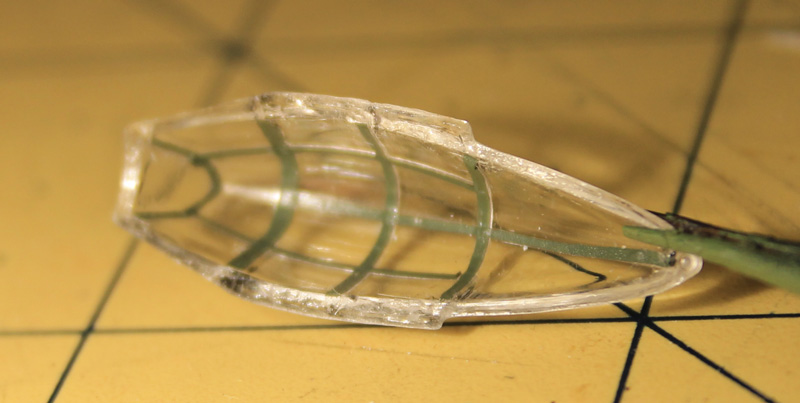
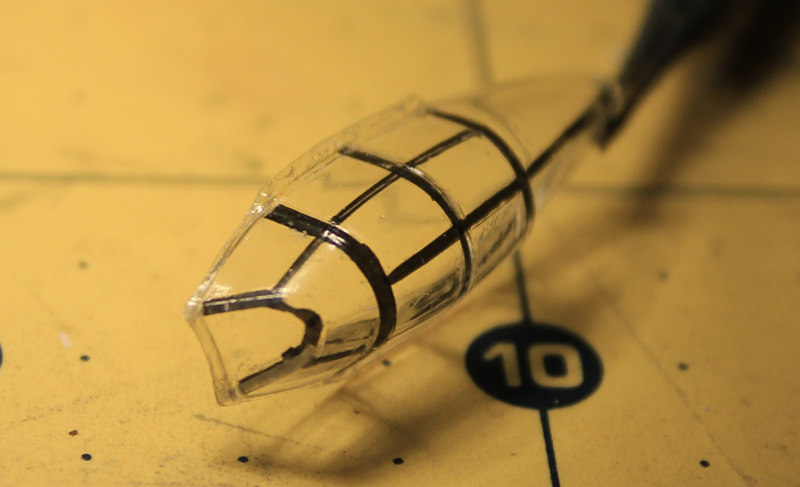
Be prepared for more questions. I think I'm going to try Bob's suggestion of painting decal paper for the canopy frame.
Will the decals stick t the bare part or should I dip it in Future?
So, here's a Tammy Shiden as it sits. I puttied the wing and stab roots, just need to wait for them to dry and then sand if necessary.
I don't have proper colors on hand, but the good old model app has me pretty close of the JN colors.
Be prepared for more questions. I think I'm going to try Bob's suggestion of painting decal paper for the canopy frame.
Will the decals stick t the bare part or should I dip it in Future?


 hyeah :drinks