Hi everyone. Thank you all for the encouragement and the feedback.
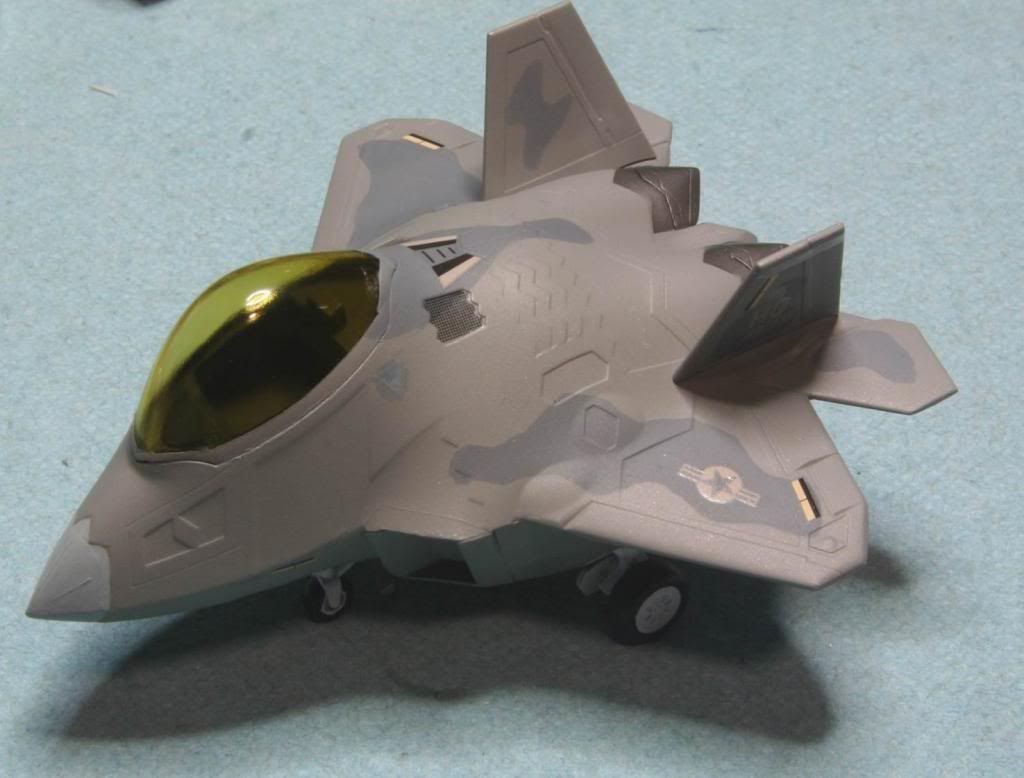
I’ve been slowly making some progress on this kit, and finally have something to share. And unfortunately I’ve run into a bit of a wall. Not sure how to proceed, but I’ll get to that later. First off, I have to say, to my shame, that I allowed my momentum to be broken. The wife asked me to build a kit for her, and since she is so understanding of my neardiness, I figured I should. So I built this for her…
… and somehow it just broke my momentum. But hey, need to keep the wife happy, right?
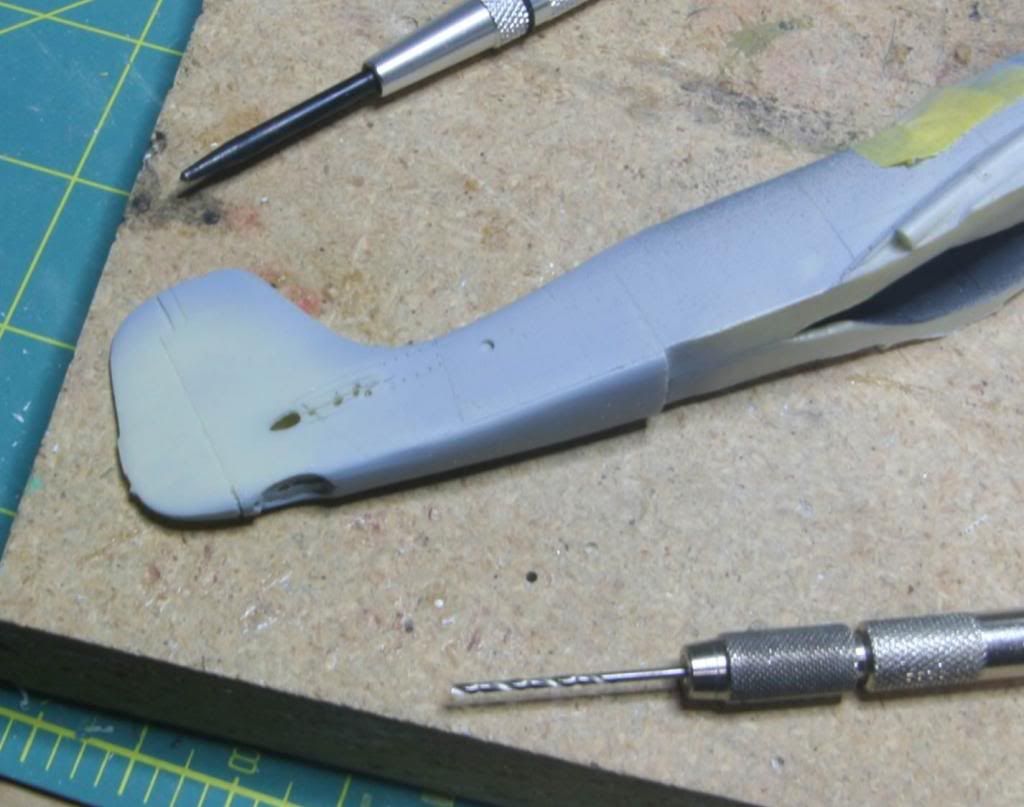
Ok so onto the Kanguru! So I spent a lot of time cleaning up the seams. This taught me something, with resin –less is definitely more! Lite pressure and finer grade sanding sticks are the tools of choice here. I used fine Miliput on the giant gap behind the cockpit, and CA glue along the top and bottom seams. Then I polished out the sanding marks and re-scribed the panel lines that were destroyed. I was going to replace the rivets, but it turns out the pitch is too large on my smallest riveting tool for the tiny rows of rivets. I decided to hold off on those so I could come up with a good plan, probably a pin in a micro drill or a tiny drill to recreate the missing rivets. Here is how it looks so far.
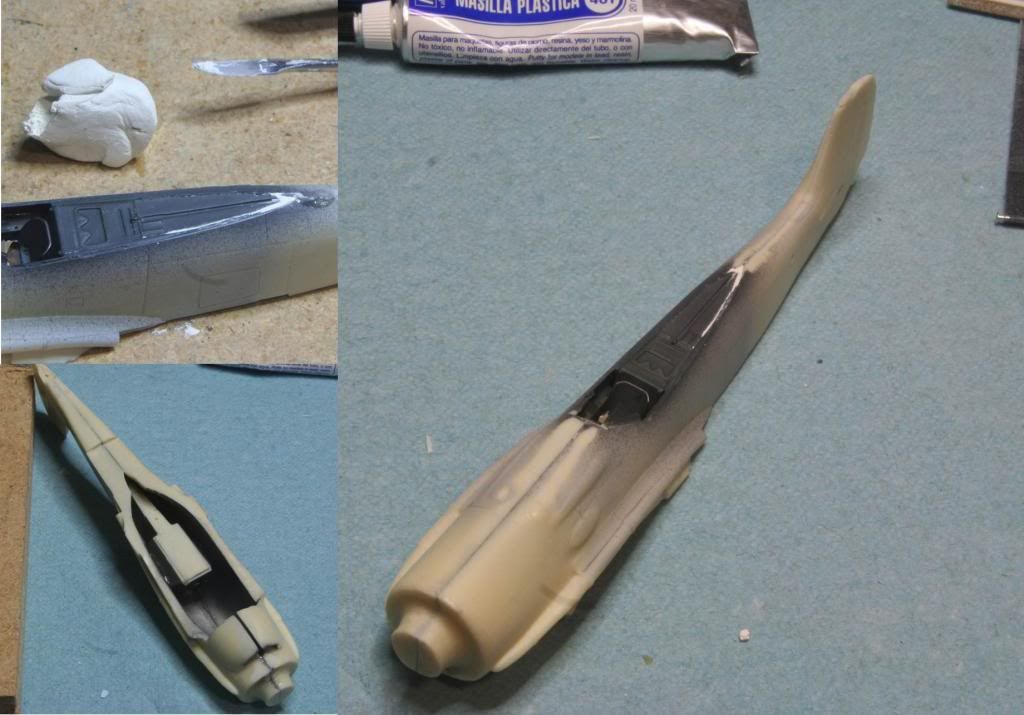
I left the big gap in the intake and I’ll clean it up at the same time as the seam for the wing assemble. From here I moved onto getting some strong mounts for the tail. The horizontal tails are intended to be simply glued onto the aft part of the fuselage. I know that I am going to knock these off so I want to create a strong positive joint here. I wanted to try to use Albion Alloys nesting brass tubes, for this.
First step was to measure out and the points I wanted to drill on the fuselage and then drill. Plan was to measure on both sides and then drill out both sides. Everything will meet up in the middle right? Wrong…
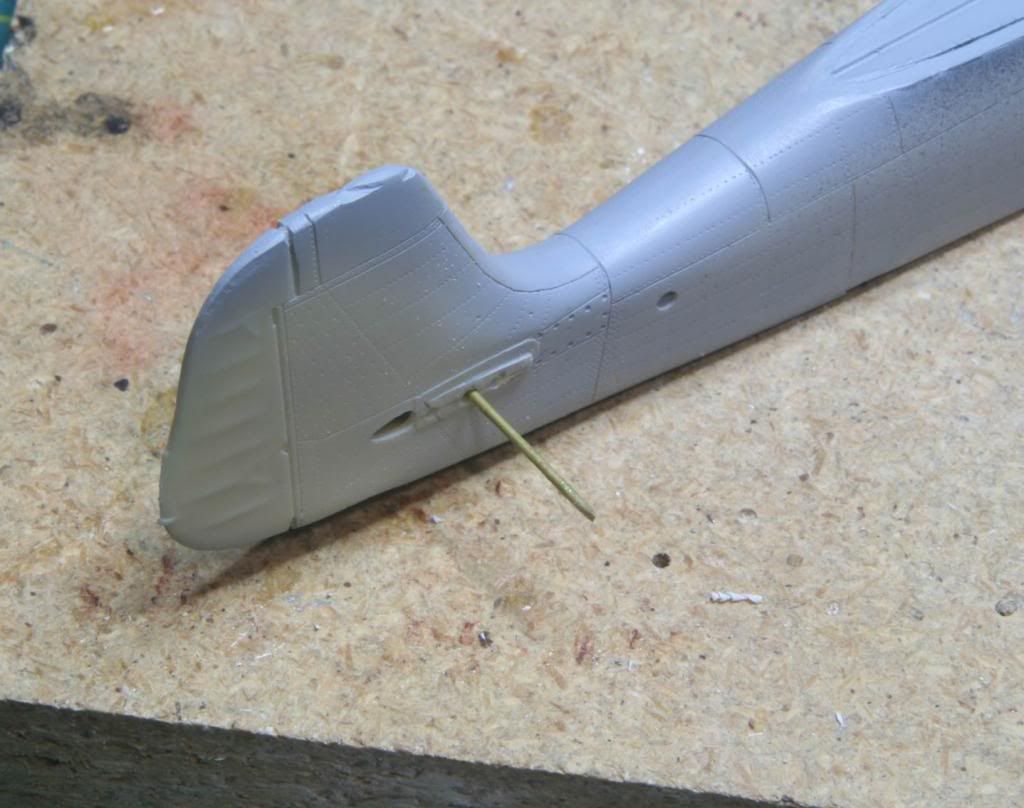
In the end the aft hole lined up perfectly, but the forward hole wasn’t even close! And an attempt to re-drill form the other side, just made a third hole, that doesn’t line up!!!! Sometime, I just feel like Charlie Brown trying to kick a football. I set everything aside for a little while and then I got an idea. I don’t really need to use nesting tubes. A single post will do the job all by itself. So I drilled in the middle of the location points, and oversized hole this time, and while the holes weren’t exactly straight, I was able to get the tube through straight. And then I glued it in place.
I’ll clean up all the holes once the post is set and trimmed down.
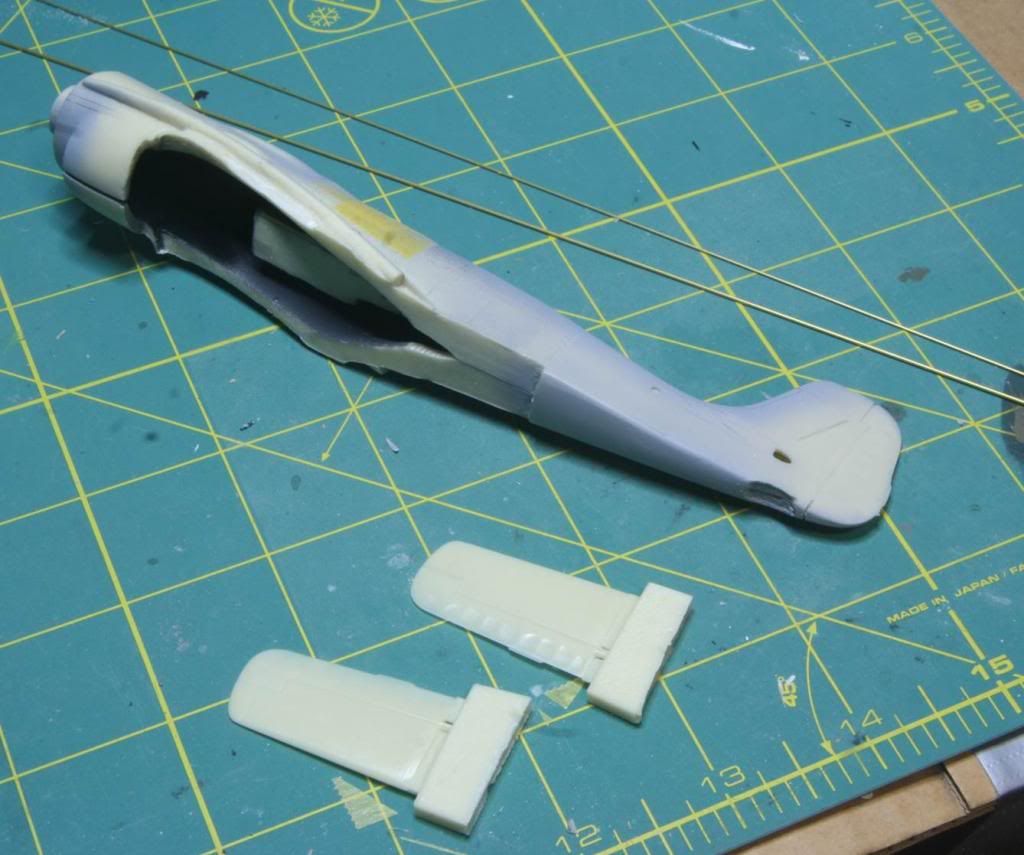
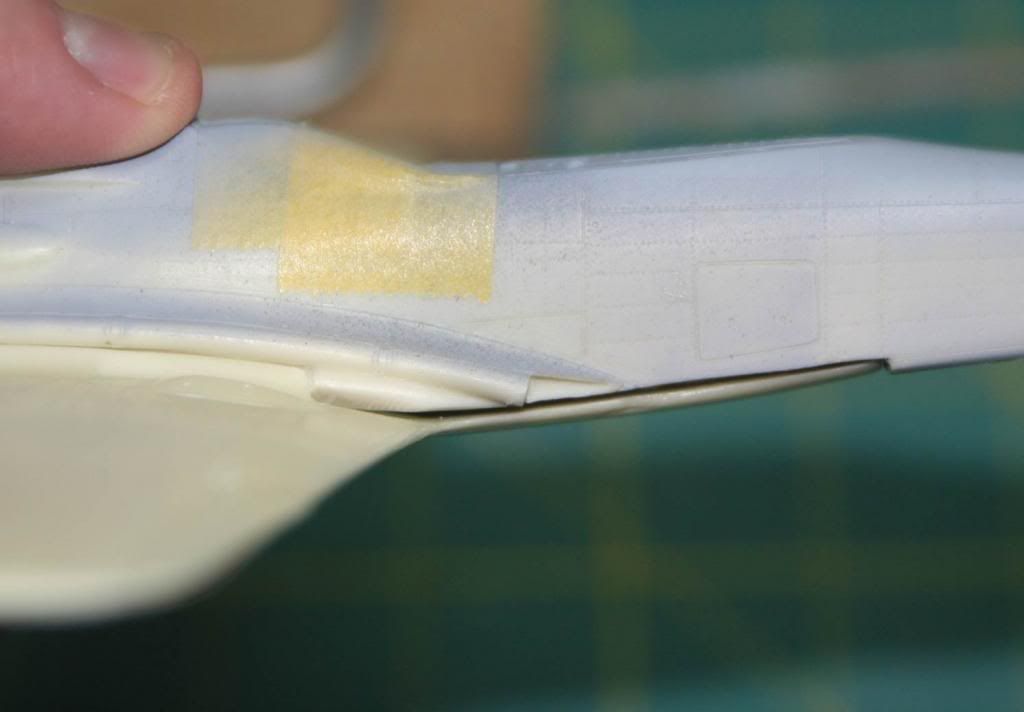
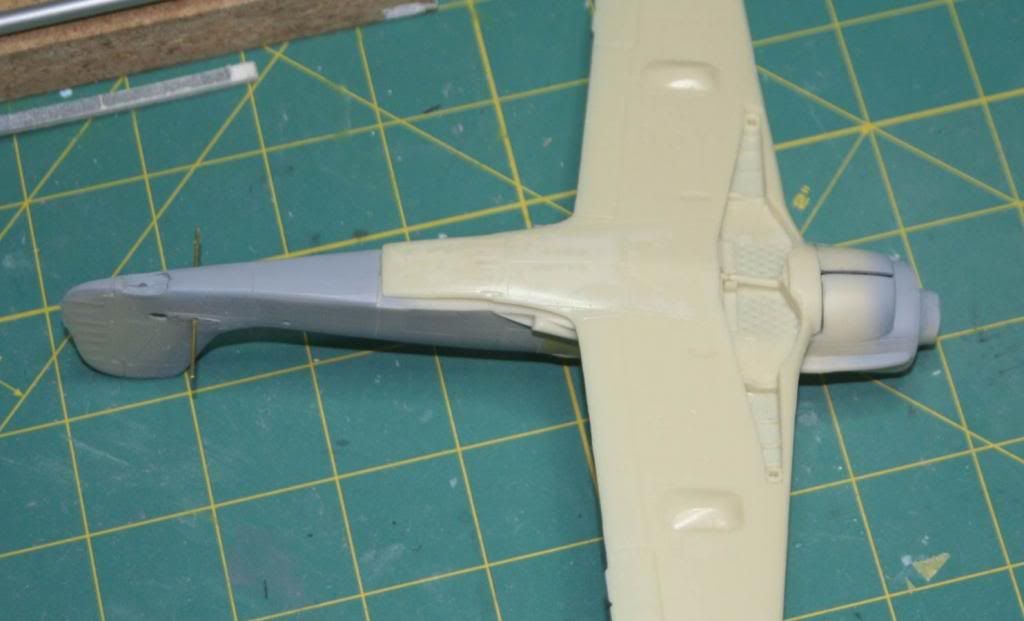
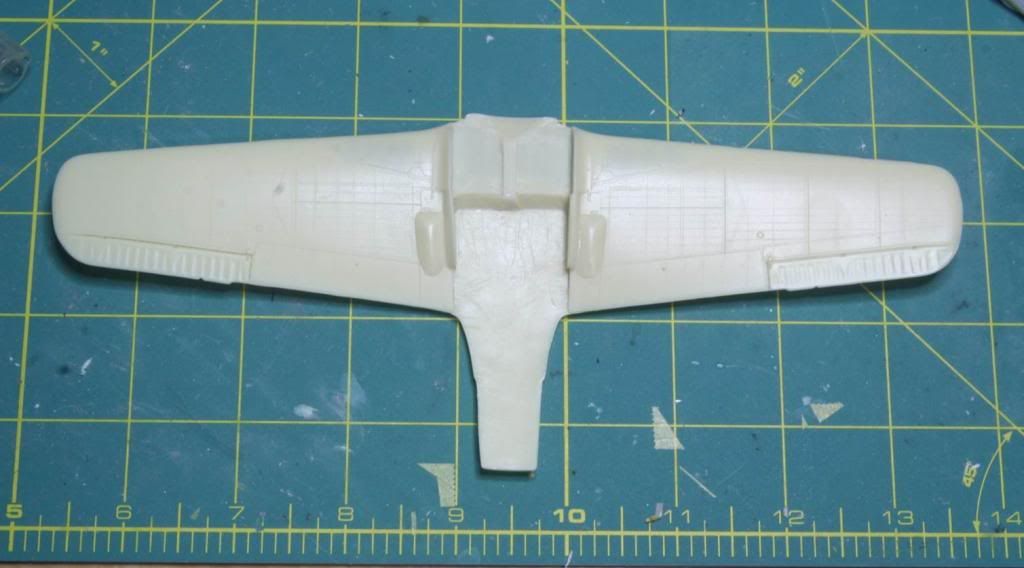
Next I moved my attention to the wings. This is where I have run into a problem. The wing piece seems to be twisted somehow. I can’t really figure out just where. When its attached it looks like this…
The wing looks pretty straight, with the exception of the aft part, but that is not as twisted as it all looks when installed.
I’ve sanded down all the mating surfaces, but now I am at the point where I am taking out enough where I am going to need to repair what I’ve removed, in some pretty tricky places. I just don’t know. Maybe the fuselage is a little bent. I’m not too sure. It looks a little off to my eye, but when I measure it for “straightness” it comes out straight. I’m sort of at a loss right now. If anyone has some suggestions, I’m all ears.
Probably not going to finish this by the end of the month to earn my ribbon, but I’ll keep working, maybe something will come together.
Thanks for looking!
Mike

")