Thanks guys!
Ian,
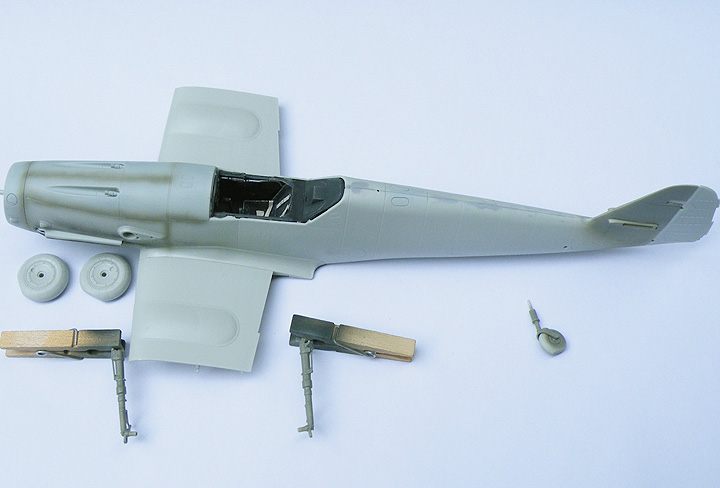
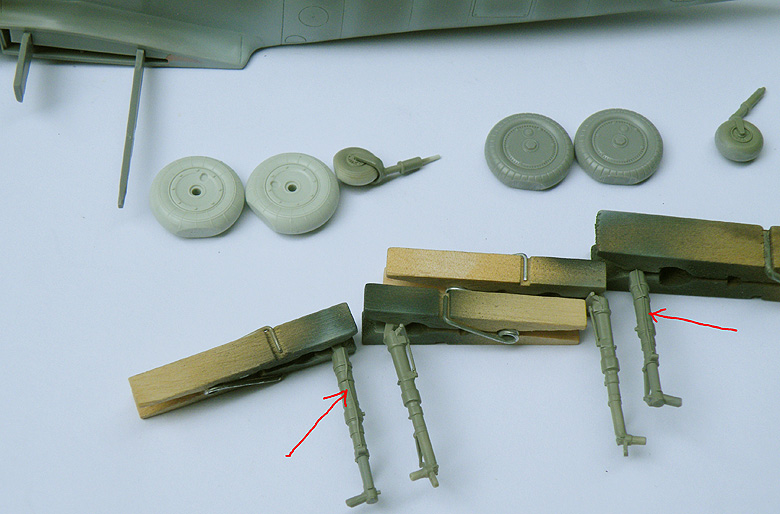
Its hard to figure out why Revell designed the three part landing gear legs, perhaps the kits design team was under pressure from management to make sure the kit had a high parts count to use as a selling point.
If Revell or Eduard want a kit that is a REALLY good seller they should try and make more accurate kits...that is the best selling point of all.
As bad as the landing gear legs are the spinner design is worse! :frantic More on this later.
Matrixone
Ian,
Its hard to figure out why Revell designed the three part landing gear legs, perhaps the kits design team was under pressure from management to make sure the kit had a high parts count to use as a selling point.
If Revell or Eduard want a kit that is a REALLY good seller they should try and make more accurate kits...that is the best selling point of all.
As bad as the landing gear legs are the spinner design is worse! :frantic More on this later.
Matrixone

 ... I might not hate it as much ....
  ldguy
ldguy