• Modelers Alliance has updated the forum software on our website. We have migrated all post, content and user accounts but we could not migrate the passwords.
    This requires that you manually reset your password.
    Please click here, http://modelersalliance.org/forums/login to go to logon page and use the "Forgot your Password" option.

IAR 81C

Great recovery job on the short shot Chuck. :good:
The lacquer thinner clean up tip is very useful.....unless your working near a finished paint part --- No don't ask, how I remembered That, just as the "cotton bud" had touched the first bit of wite out and a small bit ran down the fuselage :facepalm :rotf

Model ON! brother! :dude
 
A million thanks! :cheer:

Christian, take a look at that pic. I drilled three holes in each side, aimed horizontally. Then I slipped three brass rods in and, pressing the two halves of the fuselage together, superglued the crap out of 'em. Re-glued the seam, too. As soon as the glue was set I ground and sanded the protruding ends of the rods flush against the fuselage. Now all I have to do is rescribe and re=rivet, and hope the darn thing stays together!

Moon, you crack me up! That's now the official MA movie.

I got the tip from some smart modeler, Bob- I just lucked into the whole lacquer--thinner thing. It does make for quick (and cheap) repairs.

Hey, Mike- what did you have in the show? I wound up taking home a Gold with it. I'm wracking my tiny brain- did we talk? I always go into a fugue state at shows- mental overload! :blush:

Eagle, the 509 feels HUGE compared to this little hot rod- it's friggin' tiny!

Again, to all of you- my sincere thanks. This thing's been gathering dust as I just needed to take a break from it. I went to OrangeCon and spent my dog's college fund- and spent a couple of weekends putting an art book together. All I need now is for the publisher to get back to me about getting it printed! More on that as things actually happen. I think fixing that stabilizer reactivated my modeling mojo- I'm going to get this thing back on track.. Cheers!


Thanks Chuck . Good info on the repair. I guess working with that much resin calls for different solutions .

I think I'll just hope I can keep dodging it. Cheers, Christian B)
 
Thanks, Paul- here's where I've been:

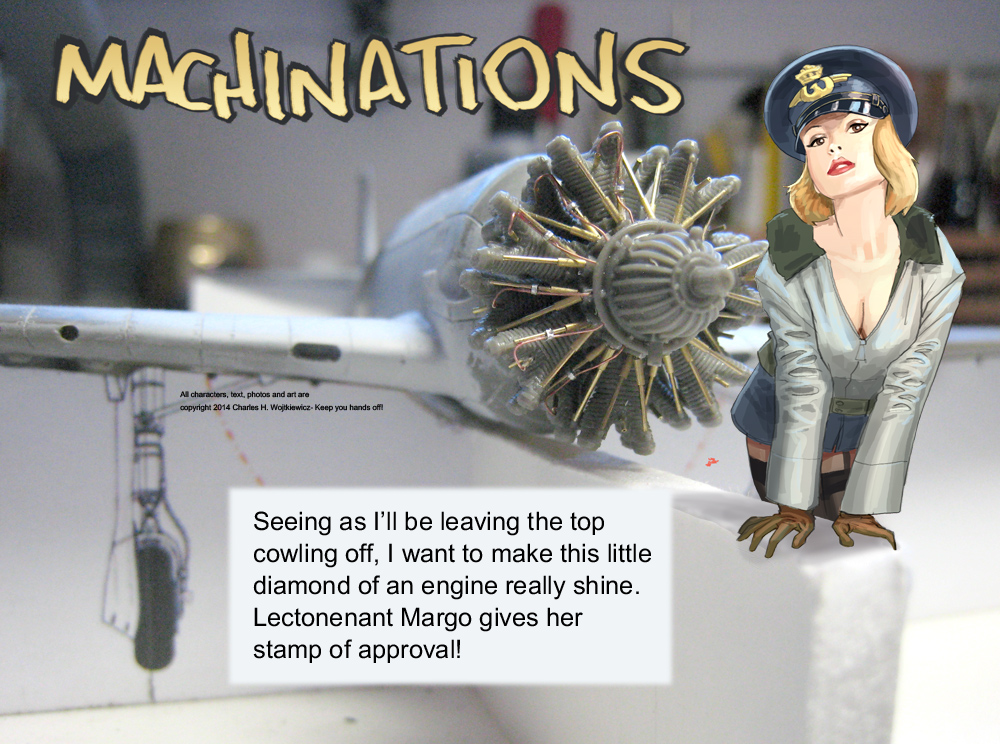
Well, it's been a while- we've been dealing with personal issues, some good, some not so good. We had our twenty-fifth wedding anniversary- good! My brother-in-law's 60th birthday- good! Some dear family members in ill health- definitely not so good. My wife and I are hanging in there- think good thoughts for our mothers if you feel so inclined- thanks! In the meantime, I have been stealing a moment here and there at the bench, and having fun with this elegant little project.

IAR_064.jpg


IAR_065.jpg


IAR_066.jpg


IAR_067.jpg


IAR_068.jpg


IAR_069.jpg


IAR_070.jpg


IAR_071.jpg


Margo_003.jpg
 
Want to wish you both, Congratulations to you and Mrs chuckw and heart felt hope for your family members.

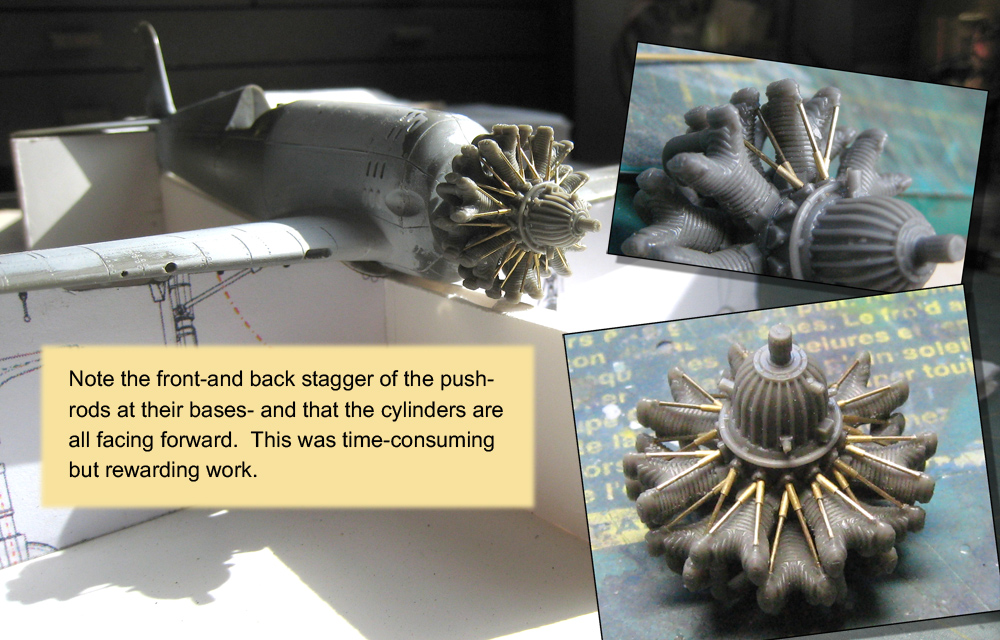
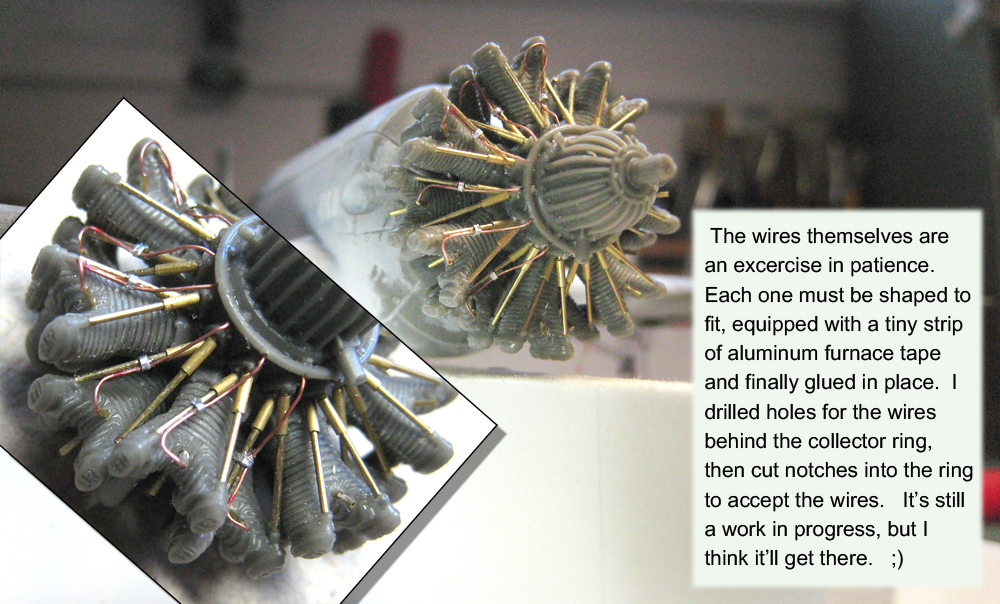
As to the bit of work on the engine.....Holy Moly that's spectacular. :v
Well Done! (y)
 
Thanks, everybody- your support means so much! I'm afraid it's a waiting game at this point- like so many in our generation are confronted with. We hope for the best.

At this point I'm toying with the idea of leaving the bottom half of the cowl off as well- I have a photo or two showing maintenance at that level. After all, I am giving that engine the full treatment! ;)

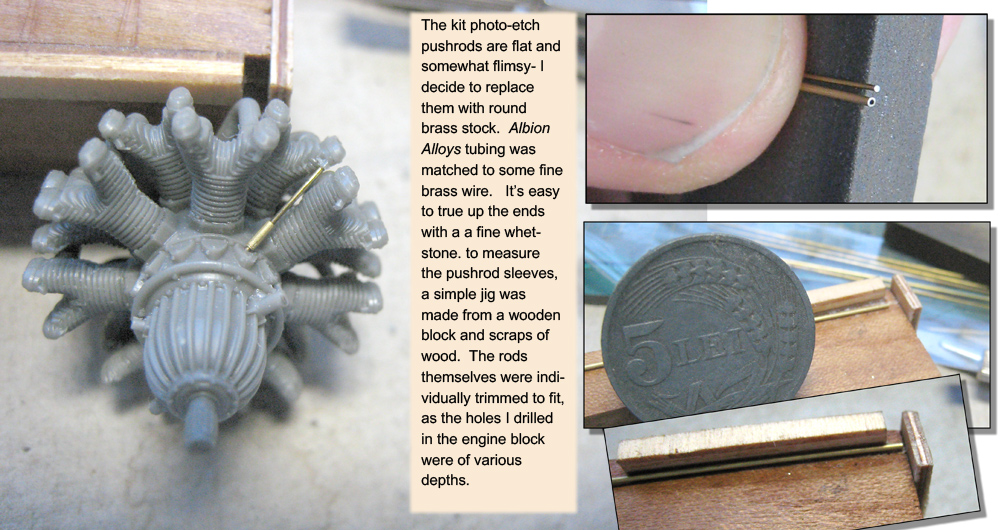
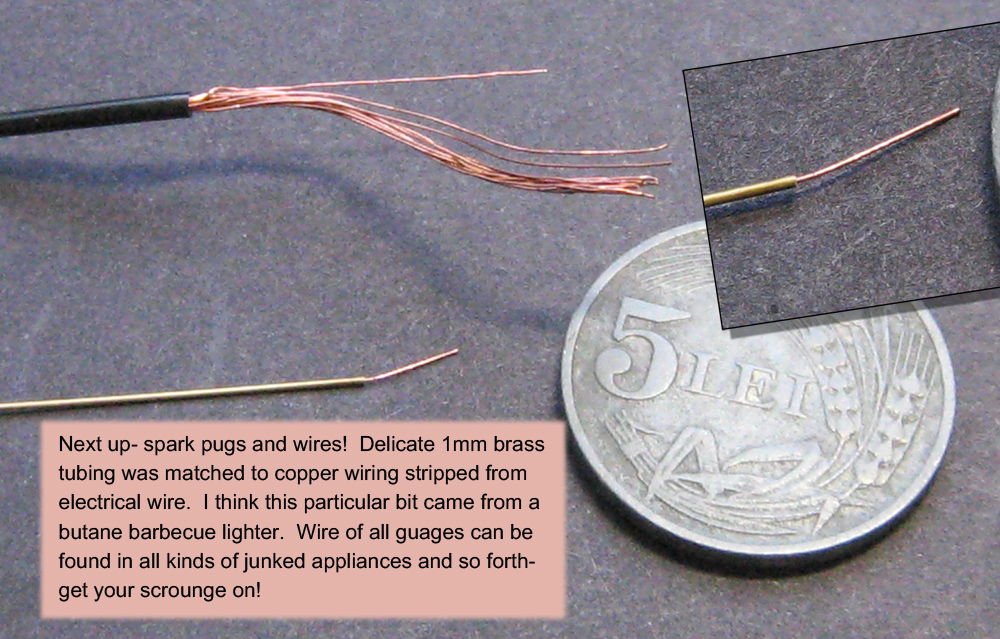
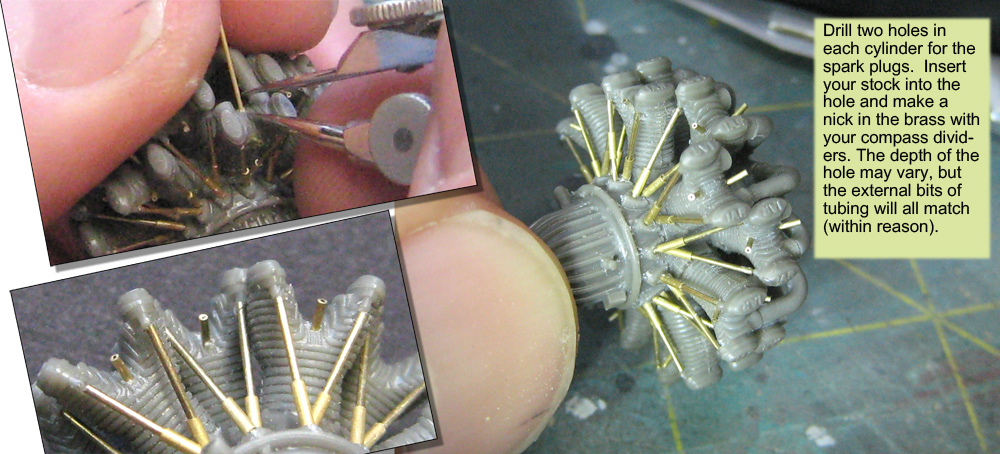
Skinny Mike- the brass tubing is very fine. I just roll a sharp blade over it to score it- and then gently break the tube free. If you try to cut all the way through it's most likely that the end will ping off into the Twilight Zone. Always clean up one end before cutting and you're good to go. If you need both ends clean, slip the short bit on to a tight-fitting piece of wire- that will give you a "handle" and support to sand the rough end.

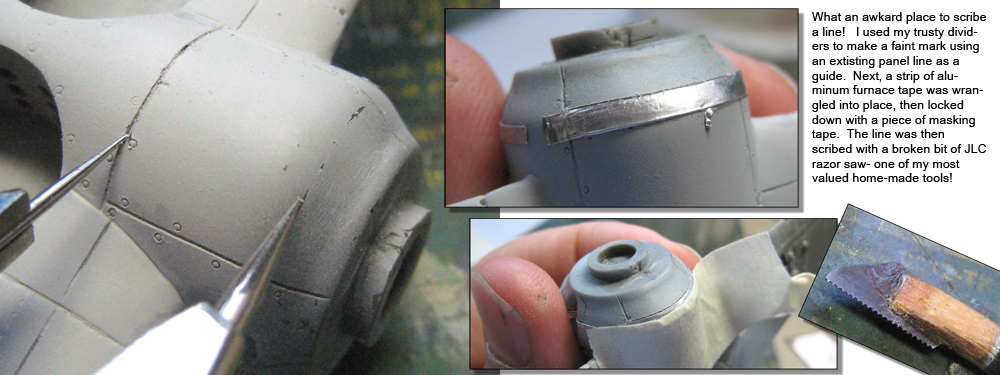
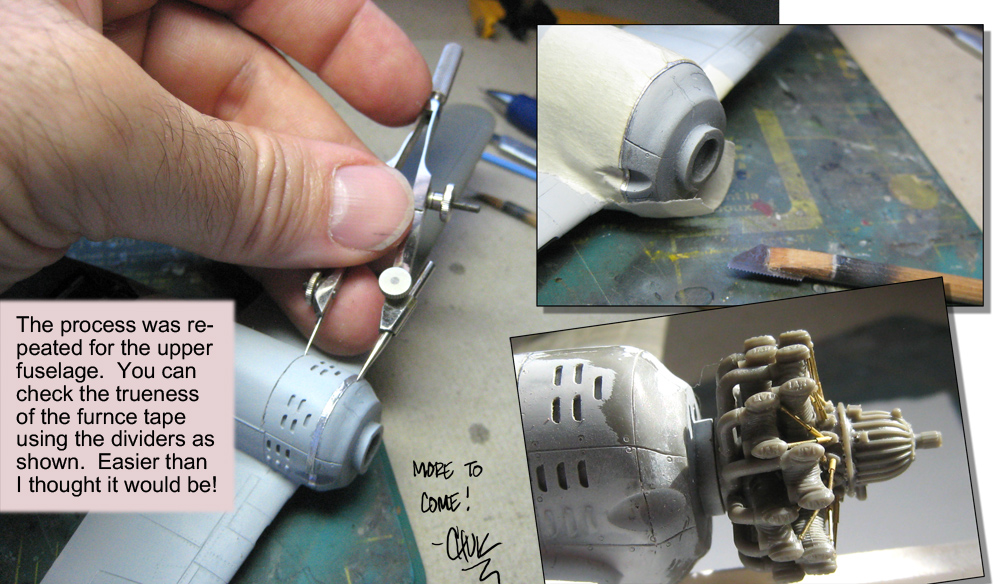
Next, I'll be working out a solution to the rear ignition collector ring, the engine mount (can it be seen?) and an oval surround to the opening in the firewall. Also: more rescribing and riveting- oh, joy. ;)
 
Skinny Mike- the brass tubing is very fine. I just roll a sharp blade over it to score it- and then gently break the tube free. If you try to cut all the way through it's most likely that the end will ping off into the Twilight Zone. Always clean up one end before cutting and you're good to go. If you need both ends clean, slip the short bit on to a tight-fitting piece of wire- that will give you a "handle" and support to sand the rough end.

Done this many times to keep the cut end for crimping, works great!
 
Thanks, everybody- your support means so much! I'm afraid it's a waiting game at this point- like so many in our generation are confronted with. We hope for the best.

At this point I'm toying with the idea of leaving the bottom half of the cowl off as well- I have a photo or two showing maintenance at that level. After all, I am giving that engine the full treatment! ;)

Skinny Mike- the brass tubing is very fine. I just roll a sharp blade over it to score it- and then gently break the tube free. If you try to cut all the way through it's most likely that the end will ping off into the Twilight Zone. Always clean up one end before cutting and you're good to go. If you need both ends clean, slip the short bit on to a tight-fitting piece of wire- that will give you a "handle" and support to sand the rough end.

Next, I'll be working out a solution to the rear ignition collector ring, the engine mount (can it be seen?) and an oval surround to the opening in the firewall. Also: more rescribing and riveting- oh, joy. ;)


Chuck, who's tubing are you using ? Cheers , Christian B)
 
Thanks for the excellent update Chuck! (y)

I have to keep reminding myself that this is a fairly small kit. Your detailing is inspiring and gives me many ideas for the projects I amm working on..

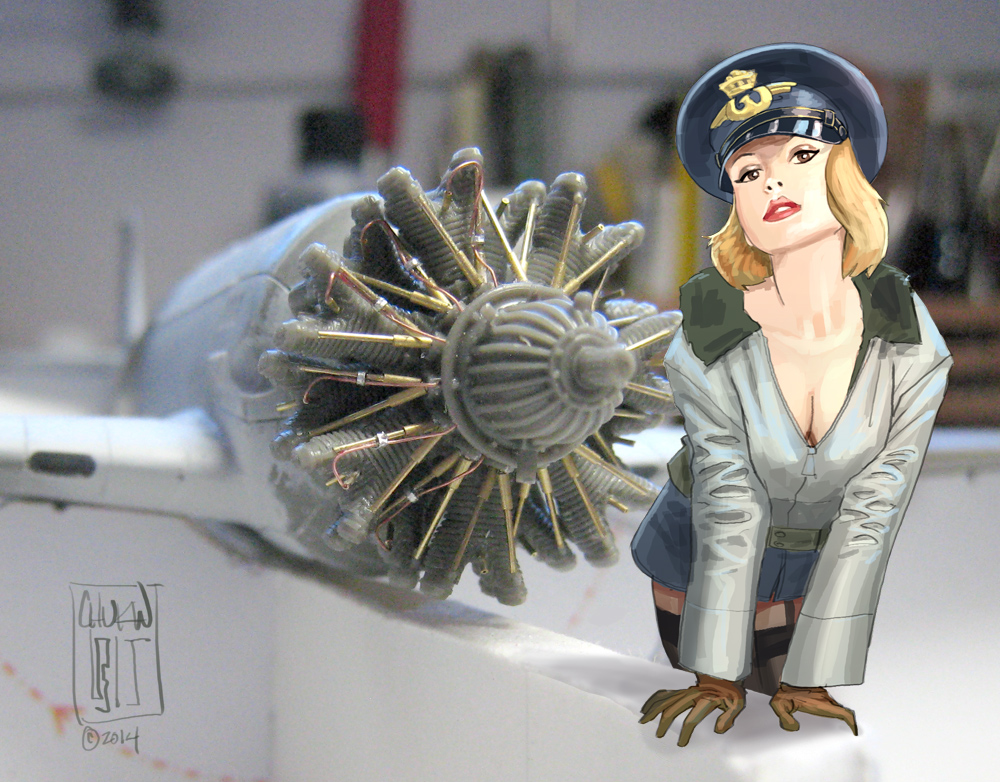
Also, WOW! Margo is quite nicely done! Your "models" artwork has been astounding lately! :woohoo:

I hope your family difficulties resolve well.
 
Back
Top