• Modelers Alliance has updated the forum software on our website. We have migrated all post, content and user accounts but we could not migrate the passwords.
    This requires that you manually reset your password.
    Please click here, http://modelersalliance.org/forums/login to go to logon page and use the "Forgot your Password" option.

I think I'm turning Japanese...

Thanks Bob and Mike! :)

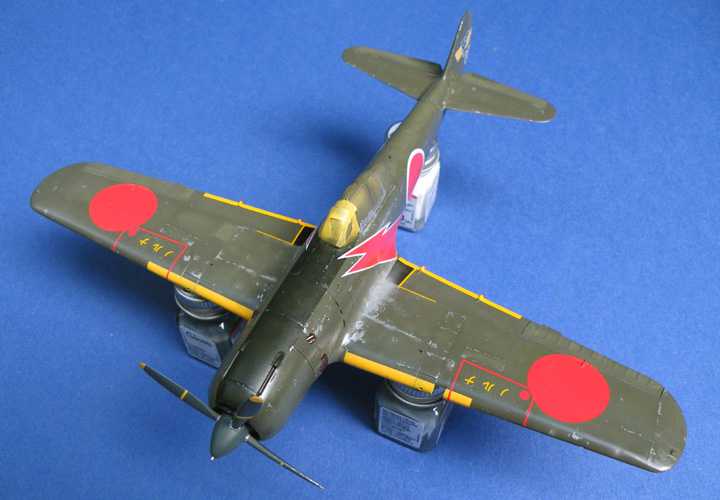
More painting has been done.

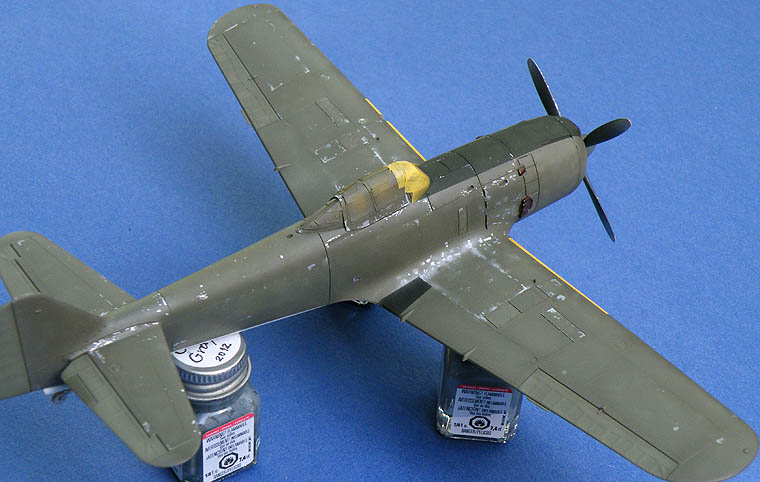
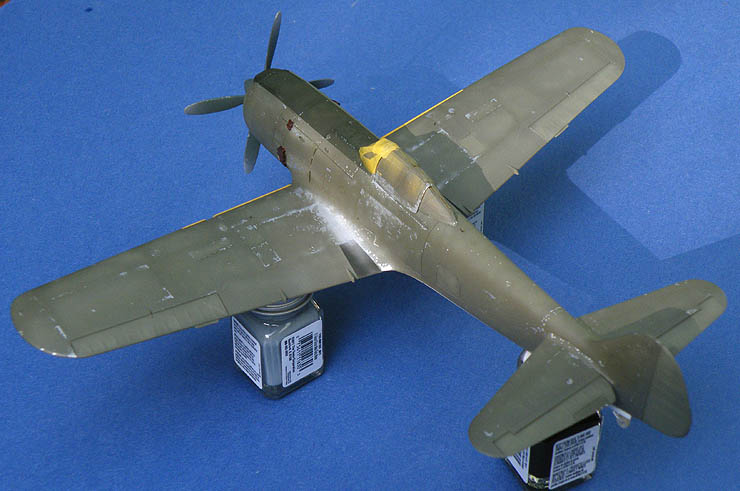
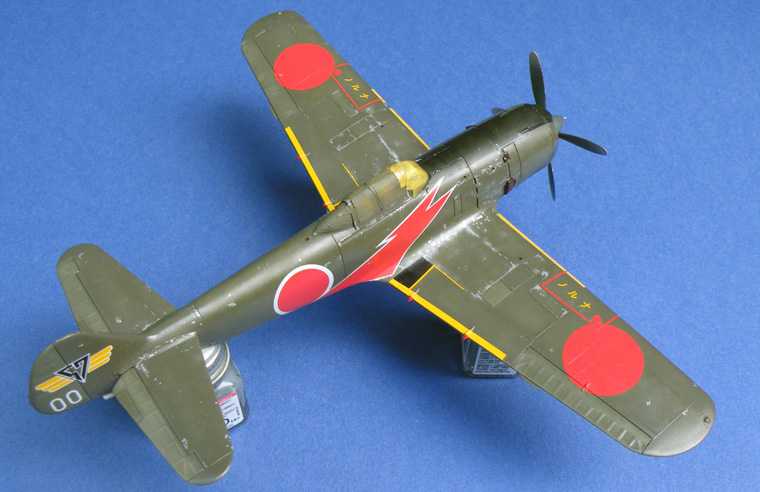
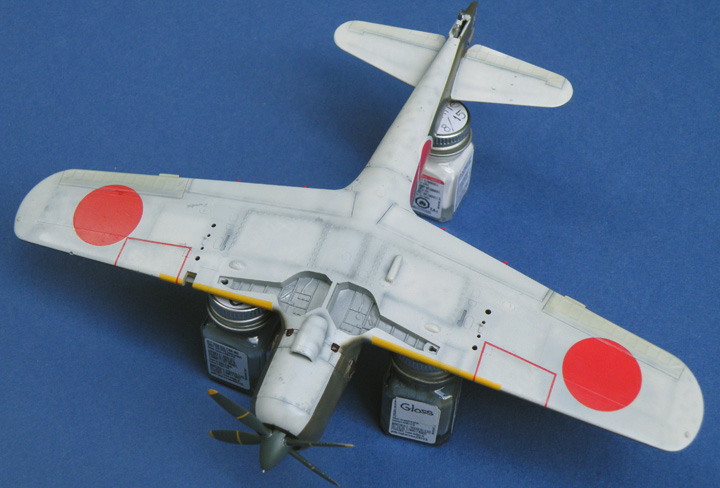
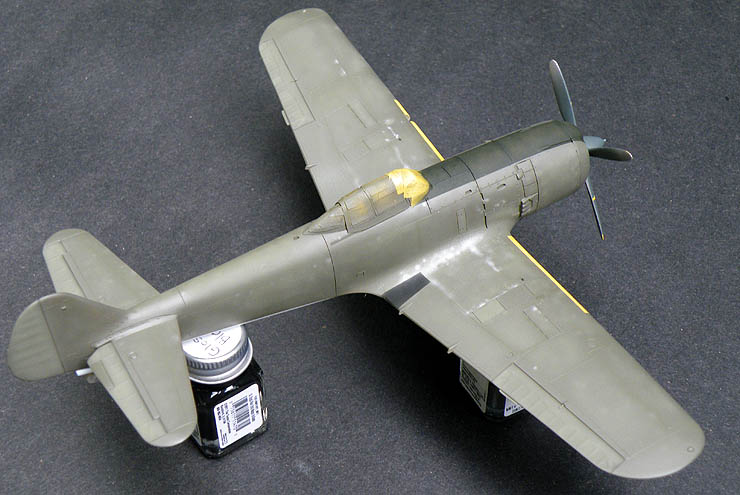
The anti-glare panel ahead of the windscreen is finished and the yellow ID markings on the leading edges of the wings have been taken care of too.
I also masked and painted the non-skid area on the wing roots, I am not sure if there were non-skid panels on the right side of the Ki-84 and I have not seen photographs that prove it was done but the Aeromaster painting guide suggests it was and that's what I went with. On the left side I only painted a thin amount of flat black paint on the non-skid panel to represent some wear and tear.

hca4bee3.JPG


h36d4bcd.JPG


hadb6c24.JPG


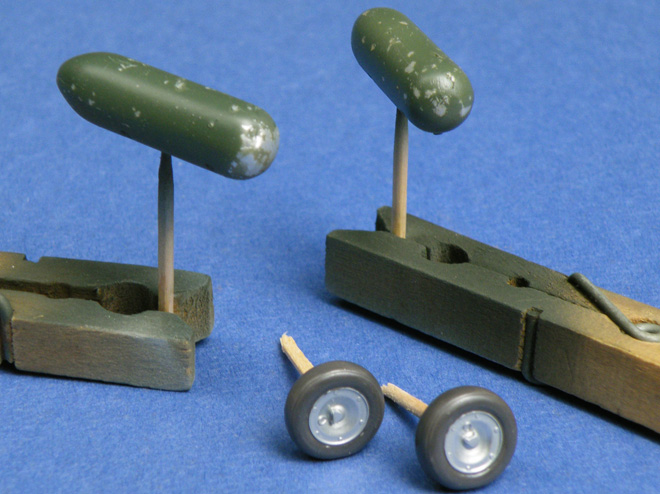
While I had the airbrush out today I painted the landing gear struts, wheel hubs, inner landing gear doors, and drop tanks metall.
I put some dents in one of the drop tanks and will later use the salt weathering technique to add some paint chipping near those dents.

h1029a73.JPG


h185736d.JPG


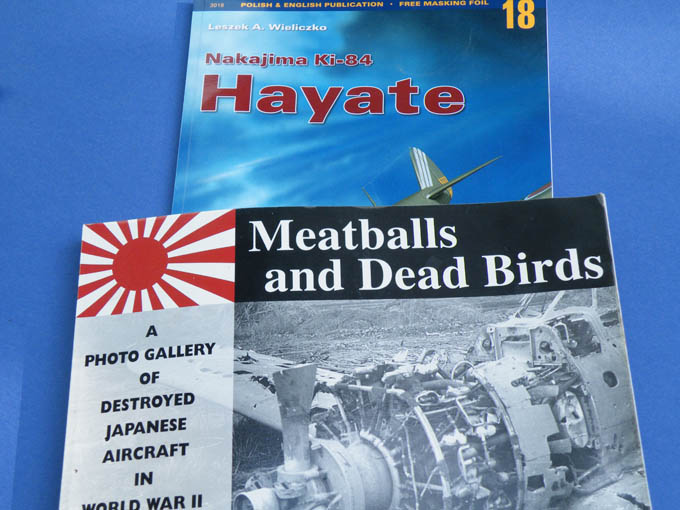
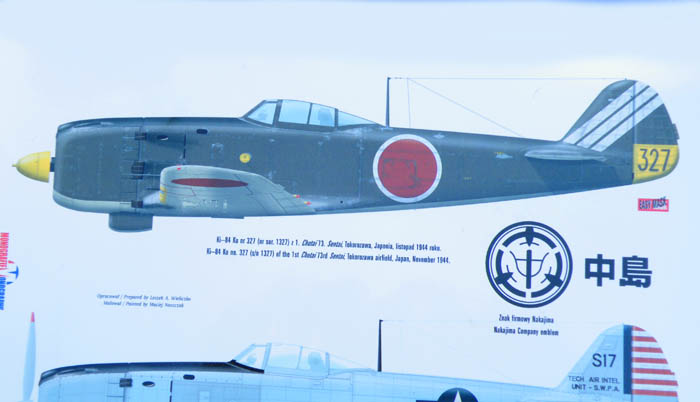
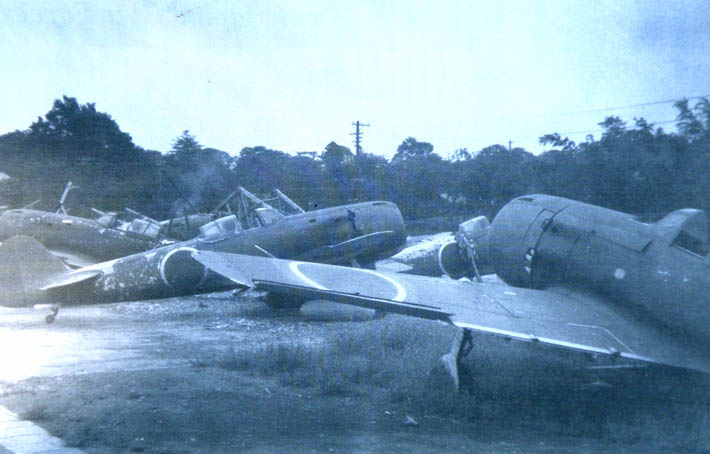
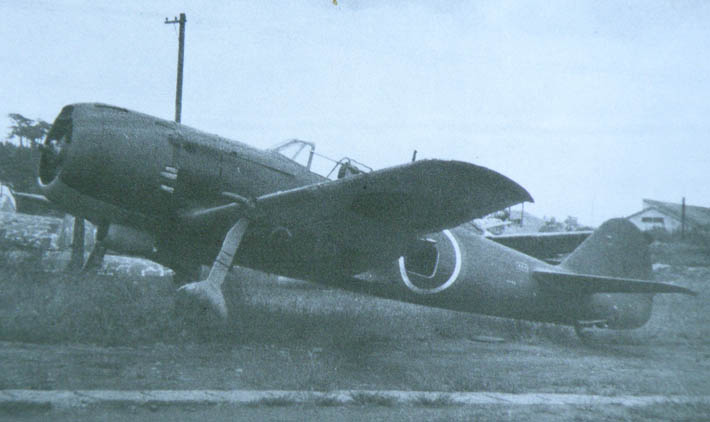
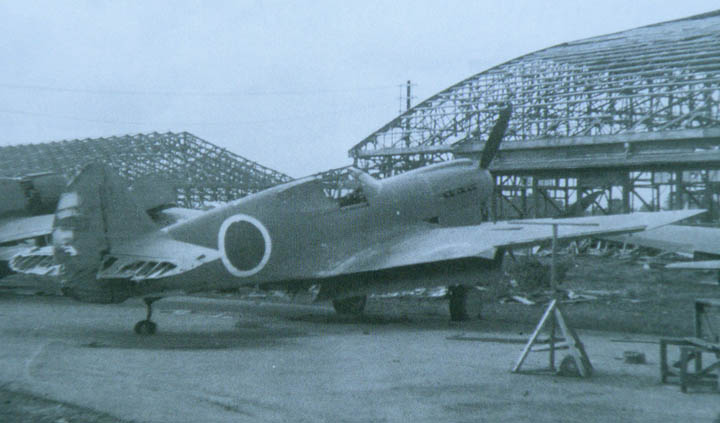
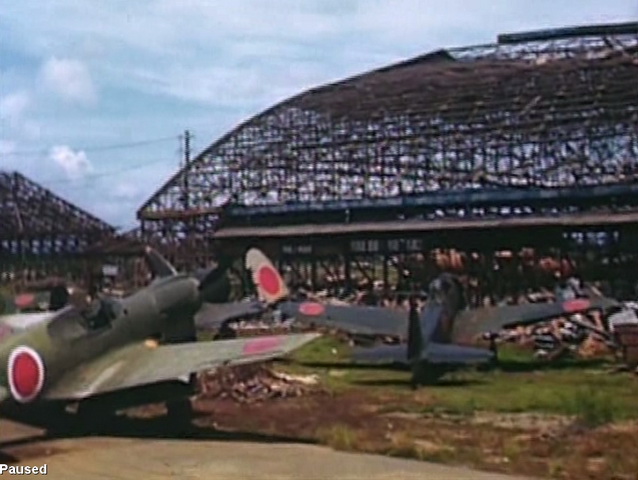
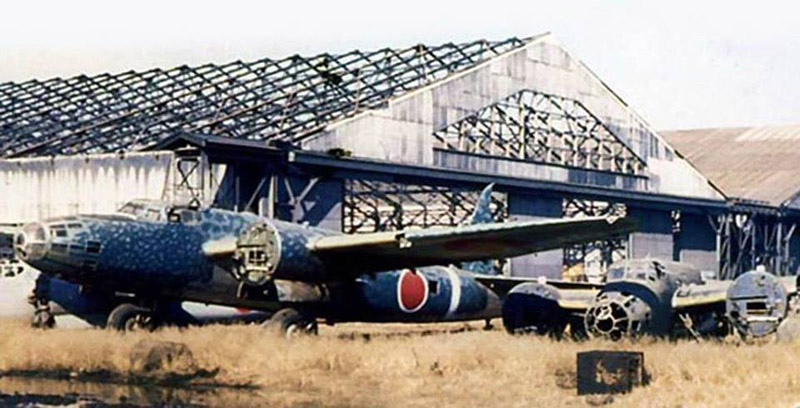
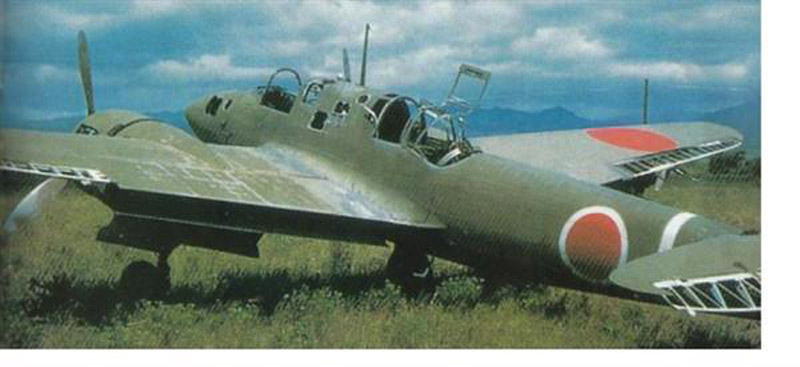
Here are some photographs of interesting colors on some captured aircraft.

h5ea9378.jpg


he438bd3.jpg


ha4f8477.jpg


Matrixone
 
Thanks once again!

Some paint chipping has been done...

hbc15af8.JPG


h49df8fa.JPG


h1839563.JPG


The covers of two books that are well worth seeking out.

h9332ea5.JPG


Some of the artwork in the Kagero book, the color profiles I used as inspiration for choosing the upper surface color on this model.

hc1d443a.JPG


Some Ki-84's in the Meatballs & Dead Birds book...these are in pretty good shape, other photographs of Ki-84's in the Kagero book show them to be badly paint chipped.

h19776a9.JPG


h6e01333.JPG


Check out the crudely painted tail numbers in the lower left hand corner of this photograph...they must have been in a hurry when painting these.

h2c9fafc.JPG


The captured P-40

h47ab3aa.JPG


These P-61's were photographed a few weeks after the war ended and were later scrapped...check out what the weather did to the paint jobs on these aircraft.

h9626260.JPG


Matrixone
 
It would seem the P40 fared better than the P61, but there's so many questions it's hard to say.

Looking good Les. :popcorn
 
Could be (very) wrong but is that P-61 the one that flew through the explosion of whatever target it had just shot-down ?... There's a well known set of photos of a night-fighter Mosquito that suffered the same 'paint-stripper' effect.

Ian.
 
Bob,
The P-40 looks like it may have been re-painted on part or all of the airframe and as a captured enemy aircraft it may have been kept under cover to protect it from the weather.

Those P-61's were flown to Japan right after the end of the war and soon that unit was sent home, the aircraft remained there and were later scrapped. Its surprising how quickly the climate damaged the paint on those aircraft.
A lot of people have said Japanese aircraft paints were of low quality and that's why Japanese planes had so much paint chipping on them, I believe the climate had a lot to do with that and those abandoned U.S. aircraft with their badly faded and paint chipped paint jobs demonstrate that.

I have stopped adding anymore paint chipping on the model until the decals and flat clear coat are on, I want to add some paint wear on the unit markings as well as add some fresher looking paint chipping so the model won't look like the paint chips were done all at once but instead look like they happened over a period of time. :good:


Matrixone
 
Ian,
The author of the ''Meatballs & Dead Birds'' book took the photographs of the P-61's and his book states there were so many USAAF aircraft at the airfields that many of them were left outside to rot in the harsh climate, with so many service men being sent home there was not enough manpower available to care for them and they were later scrapped just like the Japanese planes were just a few weeks earlier.


Matrixone
 
Thanks dollar19 and Mike!

I have started putting the decals on and quickly found out some of these Aeromaster decals are either oversized or just flat out wrong. :vmad

The upper wing roundels are supposed to have a white border on them but they don't, and the special stylized red markings on each side of the fuselage are simply too large. And this is why I don't build many Japanese planes...sketchy information on what colors these aircraft wore and poor selection of aftermarket decals to mark such models with, the Dinah kit I was thinking about building might be tossed to the back of my kit stash and I will build something else instead. :angry:


Matrixone


Matrixone
 
Isn't the Tamiya kit a wee bit underscale ?? - if that's true it would explain why the decals don't fit.

That could be incorrect, just a 'legend' I've picked-up over the years.

Ian.
 
Thank you Ian and Luiz!

Ian,
You are correct about this older kit being not true 1/48 scale but the Aeromaster instructions state that this kit is the one they suggest for using with their decal sheet. The sheet I have was printed in 1995 and that was years before the improved Hasegawa kit came on the market.

No doubt the other Tamiya Japanese aircraft kit the Dinah will be much closer to true 1/48 scale the Aeromaster decal sheet I bought to use with this kit has all the roundels in a brown color instead of red...in fact all three Aeromaster decal sheets that are for Japanese aircraft have the red they used in each sheet quite different from each other. :idonno

Matrixone
 
The decals are on now...this is really a colorful airplane. :) Too bad I will have tone it down. ;)

h31f7f1c.JPG


h53f0068.JPG


h9acb3df.JPG


Here are the wheels and drop tanks, the wheels are still in showroom condition but that will change soon. B)

The drop tanks that were painted metall were given the damp salt treatment and painted dark green and then the salt was scraped off.

hf97f3ad.JPG


h14d7429.JPG


Before I spray on the flat clear coat to seal in the decals some weathering will be done on the decals, mostly around the cockpit and wing roots. Most operational Japanese aircraft had the rising sun national markings well kept so I won't do much to them.

Matrixone
 
I wouldn't fret about the different reds for the roundels. Aeromaster were a little 'unique' in their interperatation of tones. Go with your 'instinct' you'll be fine.

Love that Hayate scheme aswell. I was 'that close' to doing that one when I did my 1:32 one years ago. Looking very, very good so far Les.

Ian.
 
Back
Top