• Modelers Alliance has updated the forum software on our website. We have migrated all post, content and user accounts but we could not migrate the passwords.
    This requires that you manually reset your password.
    Please click here, http://modelersalliance.org/forums/login to go to logon page and use the "Forgot your Password" option.

Hobbyboss 1/32 Spitfire Mk. 5b

jeaton01

Well-known member
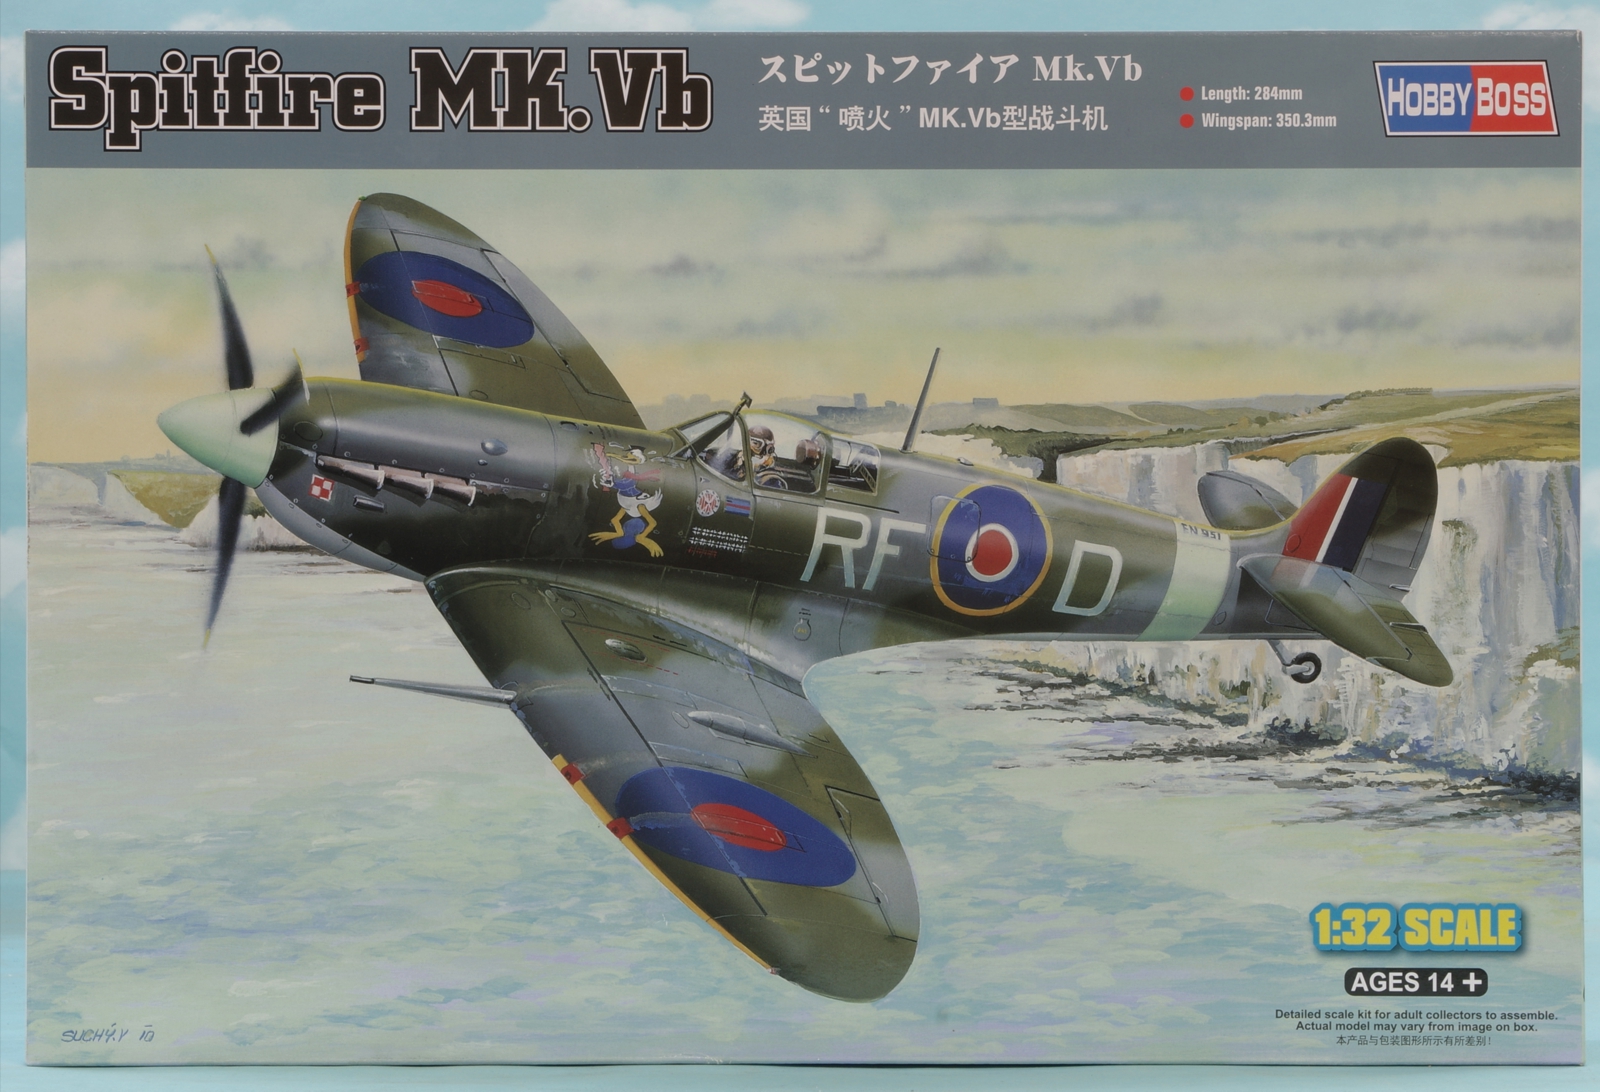
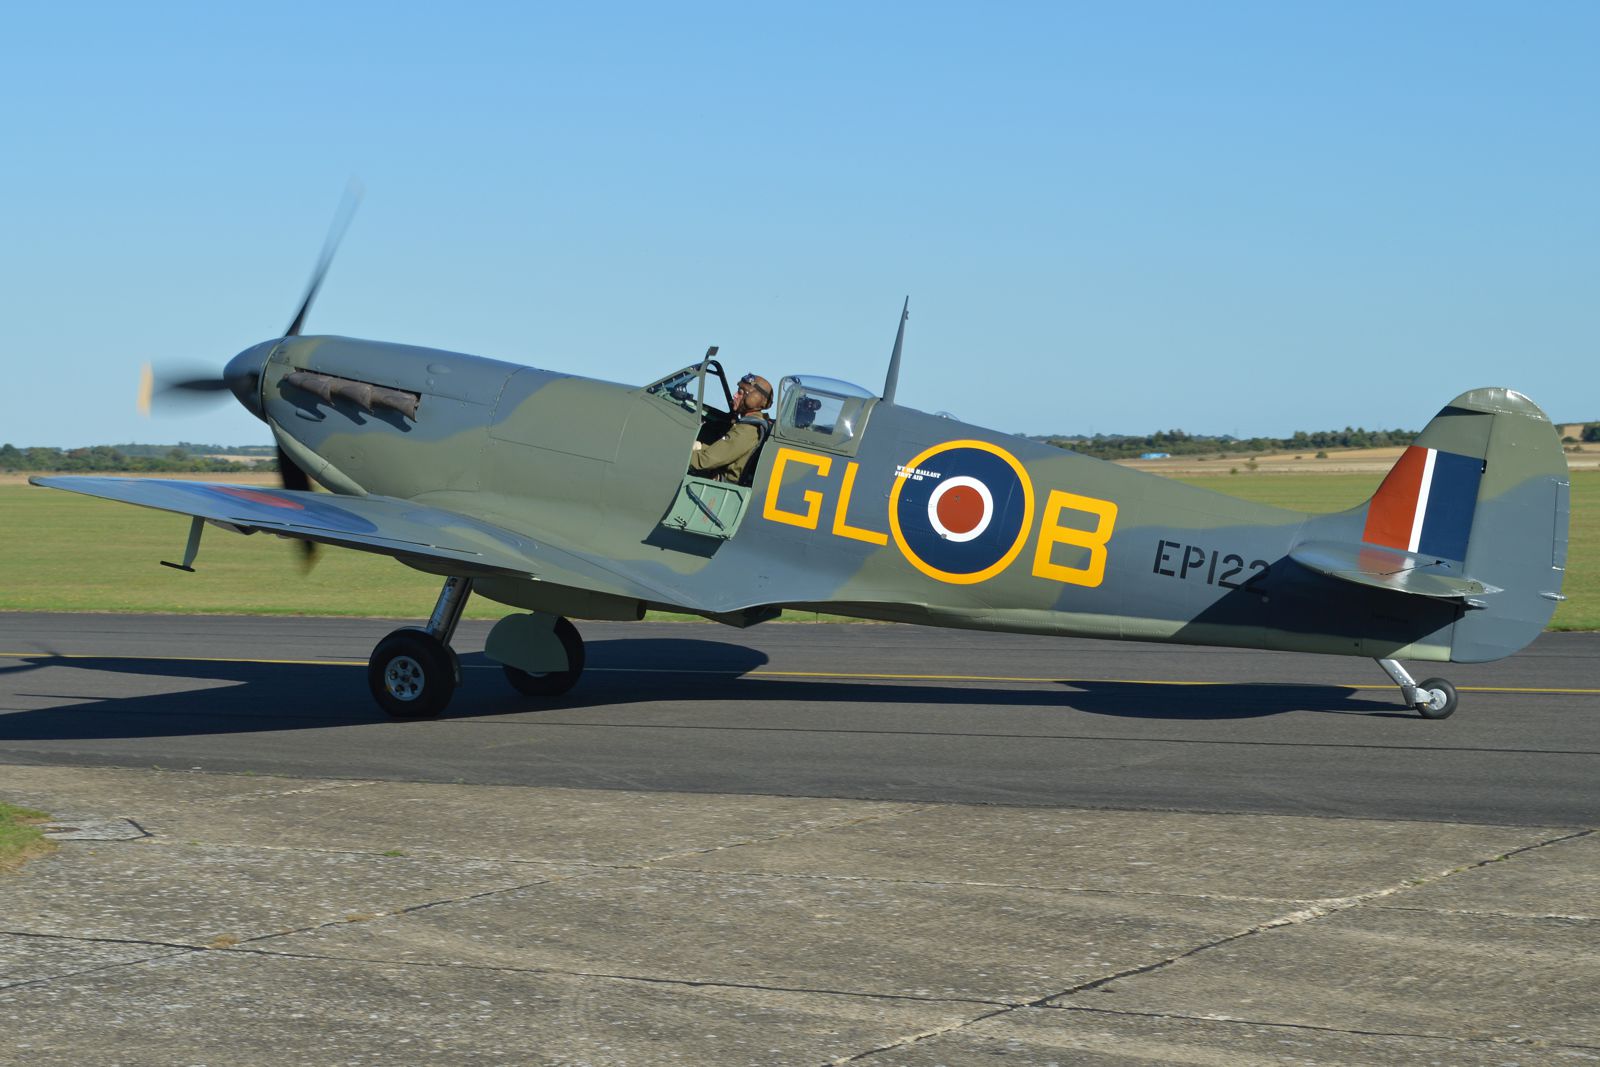
Next up is a 1/32 Spitfire. Kotare is going to release one in the second quarter of next year and it is on order but this one will do for now. It will be in the markings of the second picture.
0016spit.jpg


0026spit.jpg


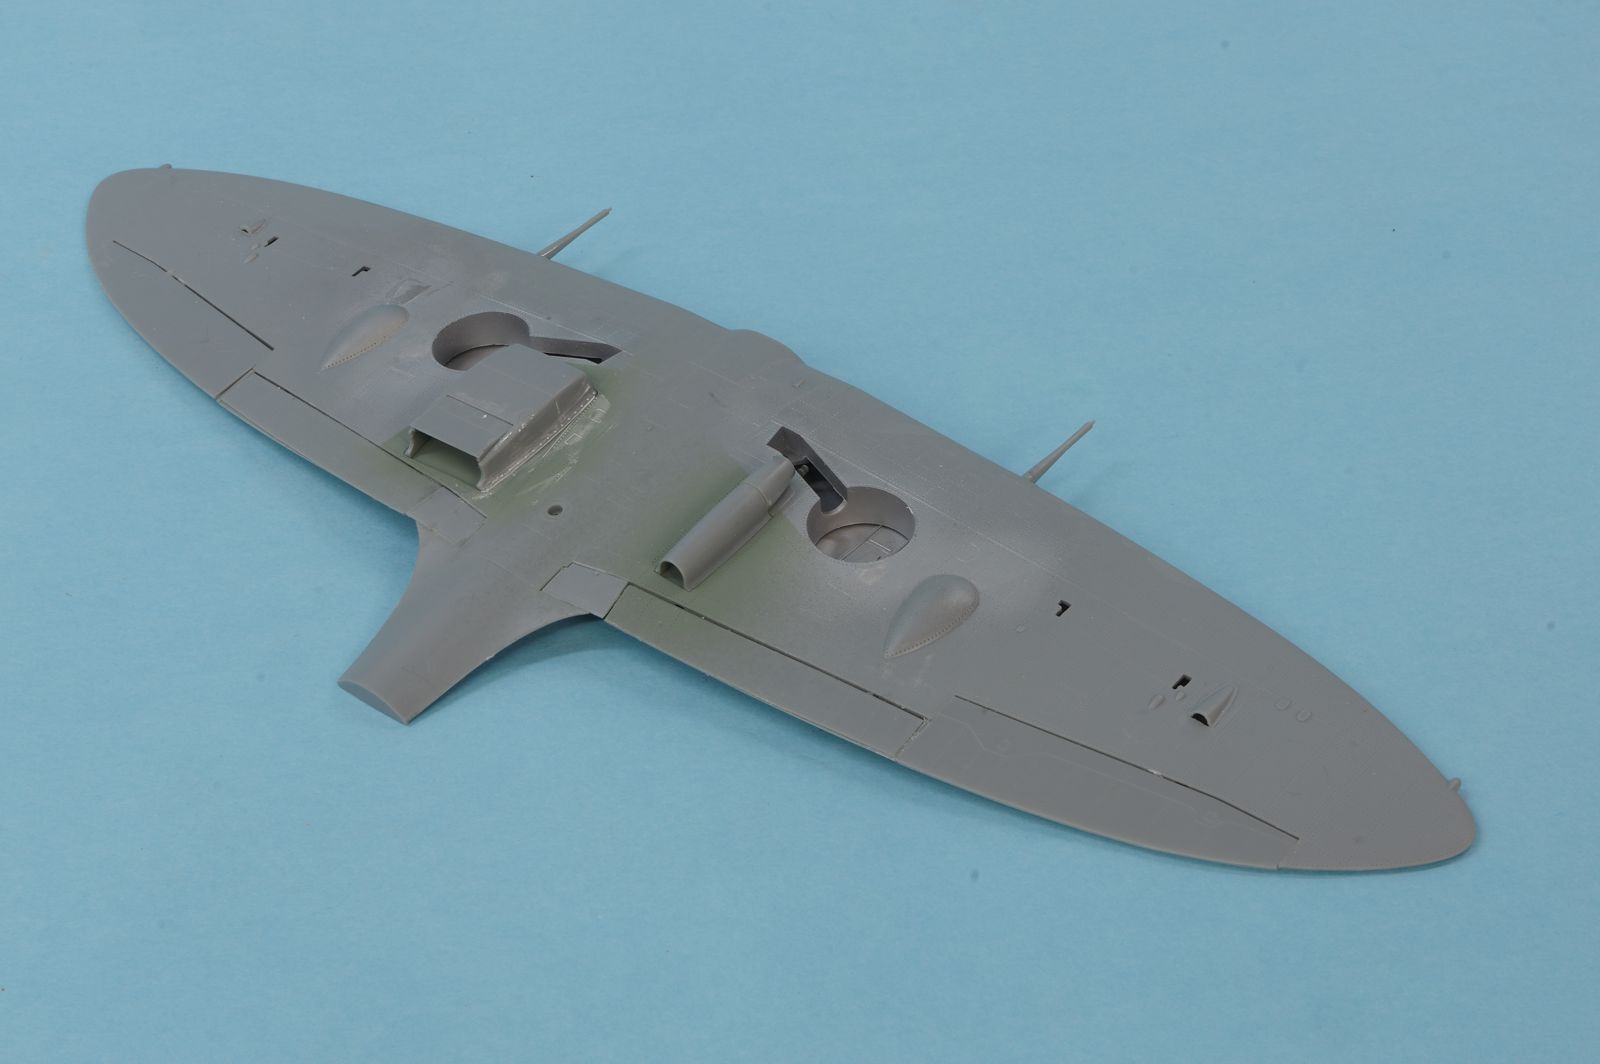
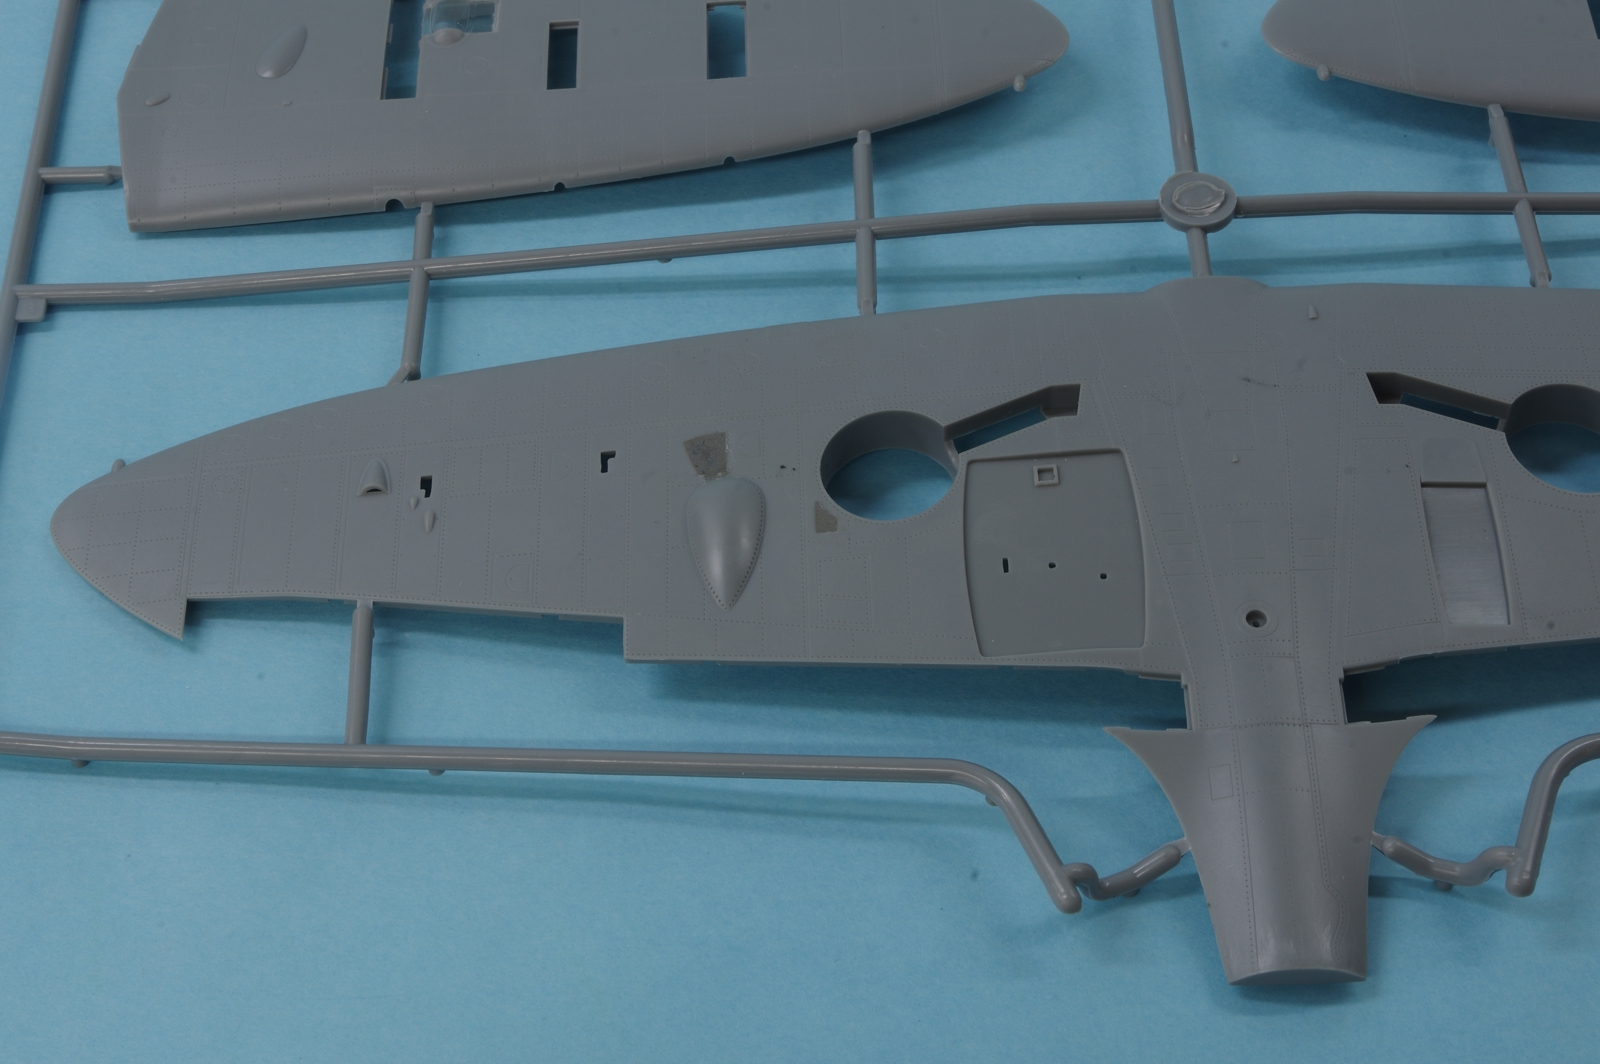
The landing light doors and openings next to the wheel well were filled using Aves Epoxysculpt. The recess near the wheel well was I think only on the Mk. IIb Spitfire wings.
0036spit.jpg


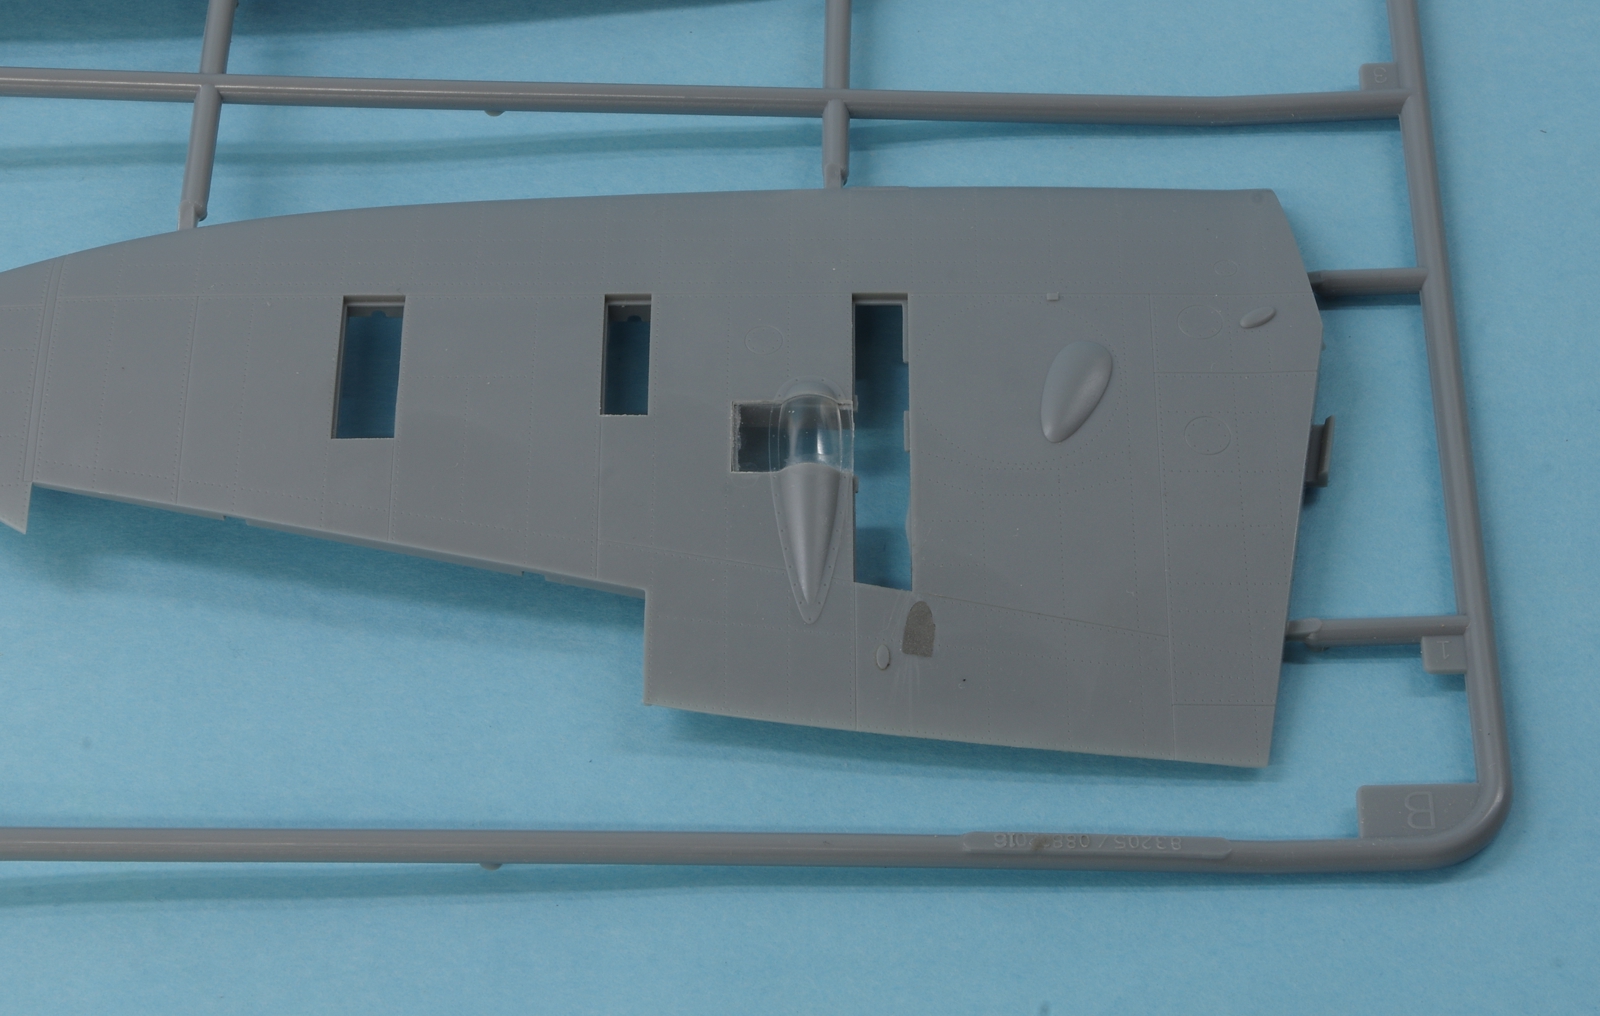
The flap indicator door recesses were also filled using Aves Epoxysculpt as the kit doors fits were poor and the flaps will be up on the model.

0046spit.jpg


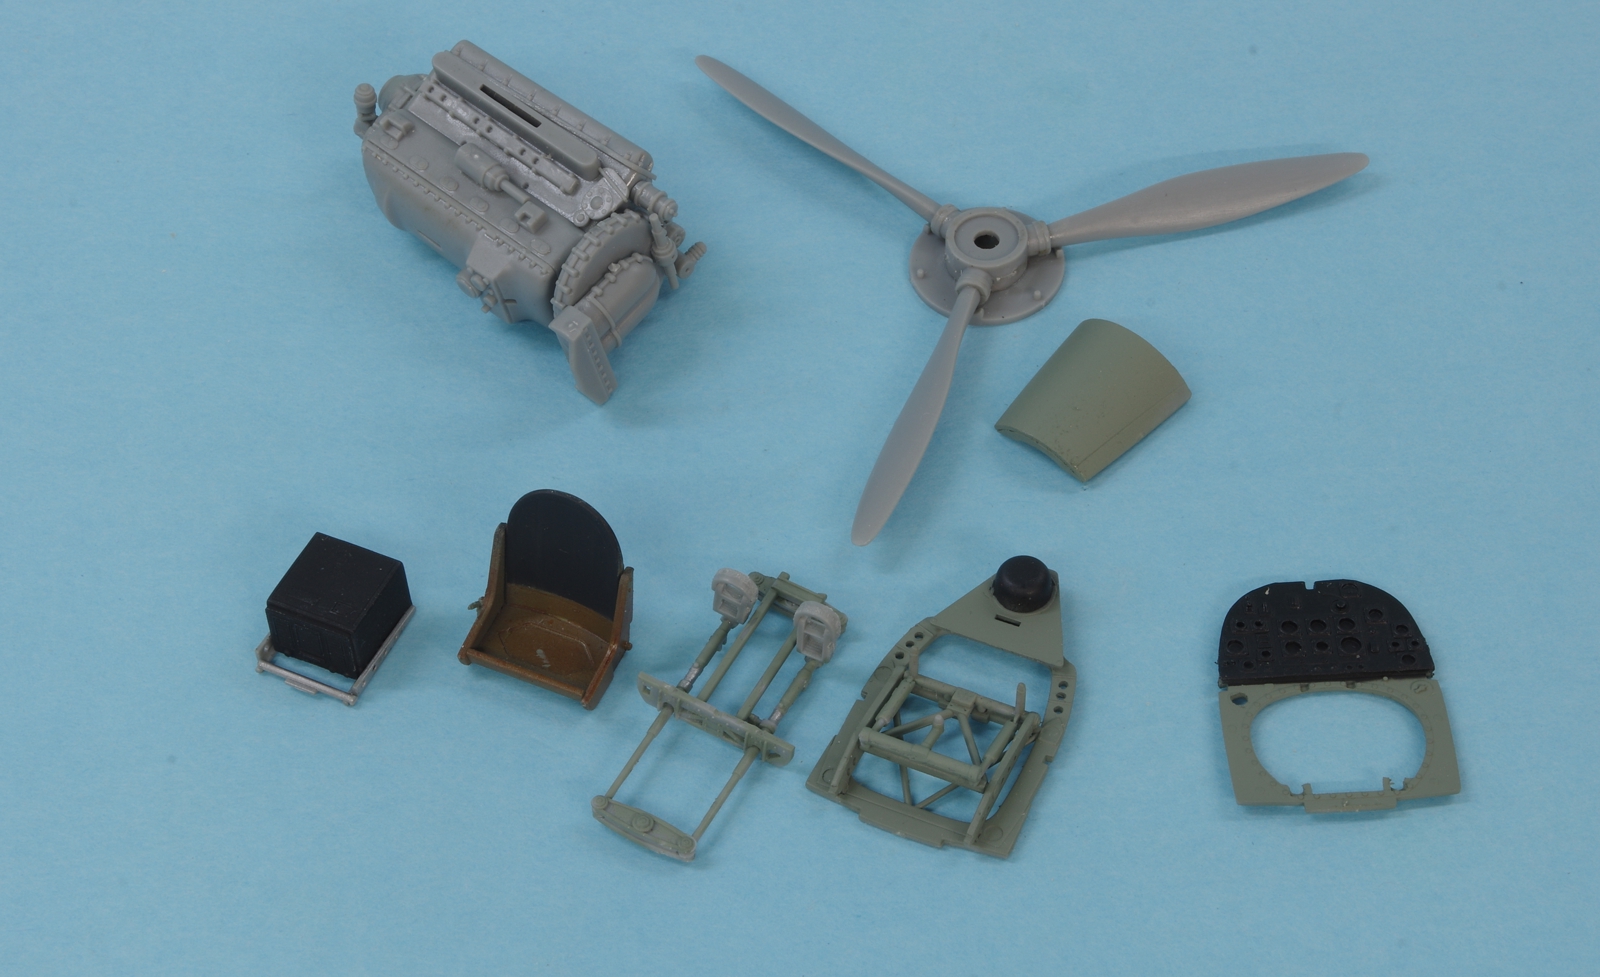
The beginnings of the cockpit, engine, and propeller. The engine will not be visible but is necessary for the attachment of the exhausts and propeller.
0056spit.jpg


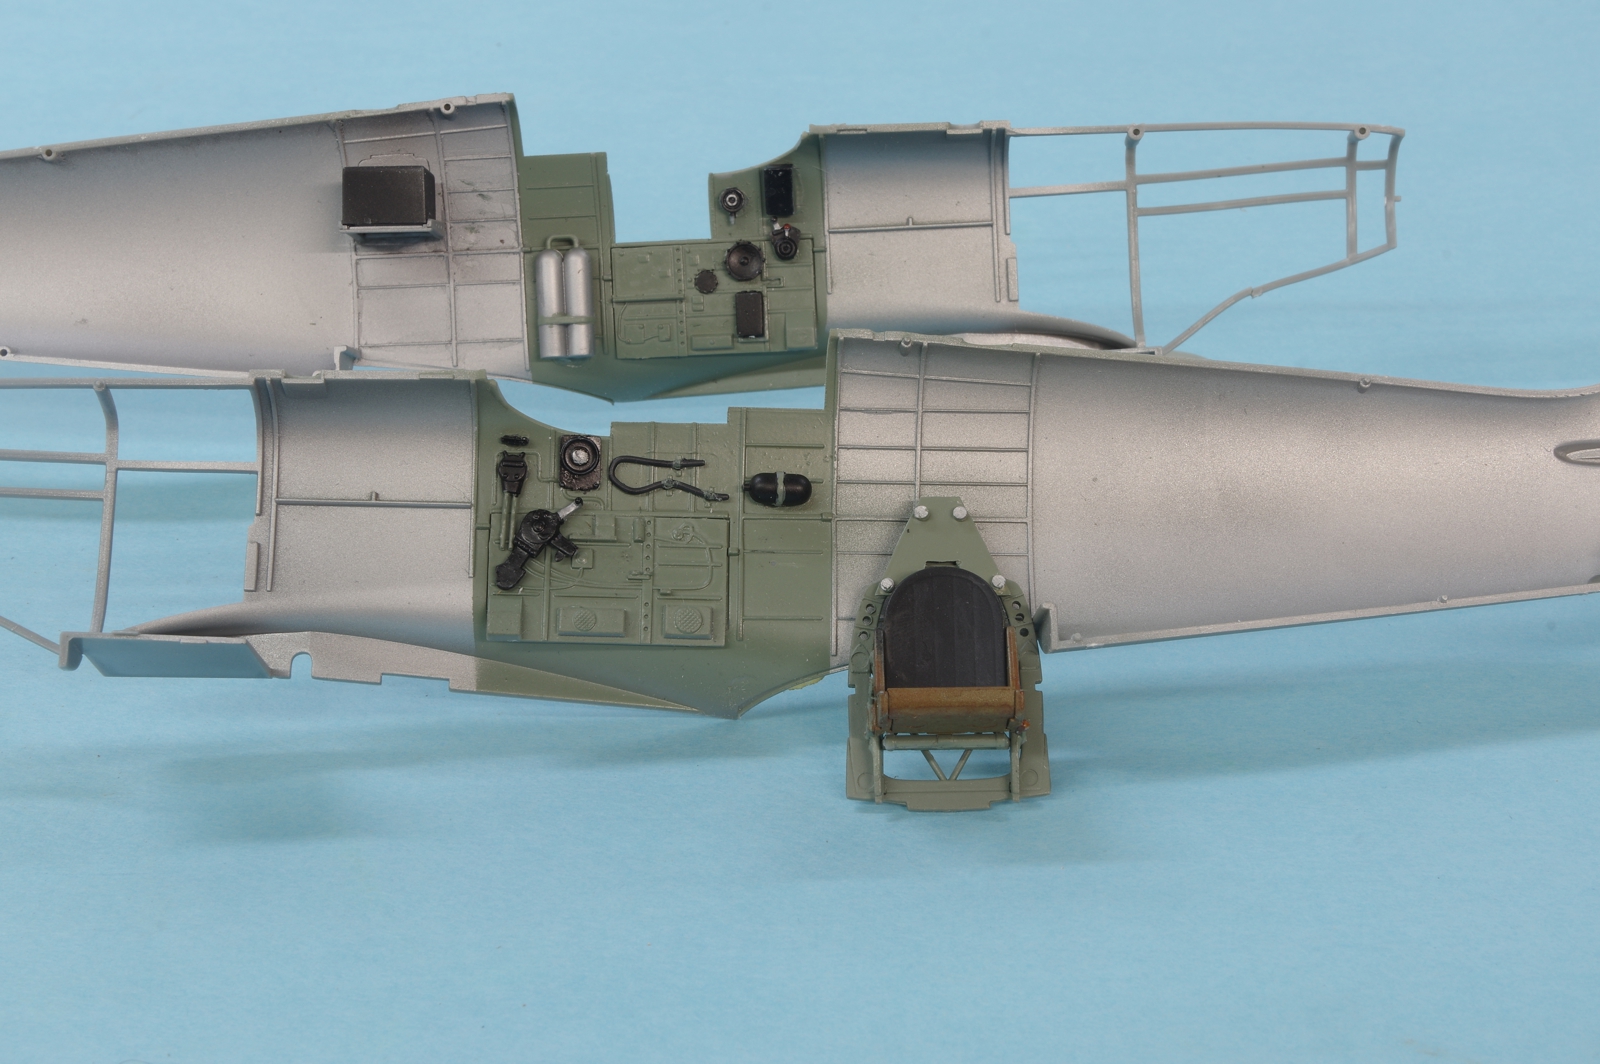
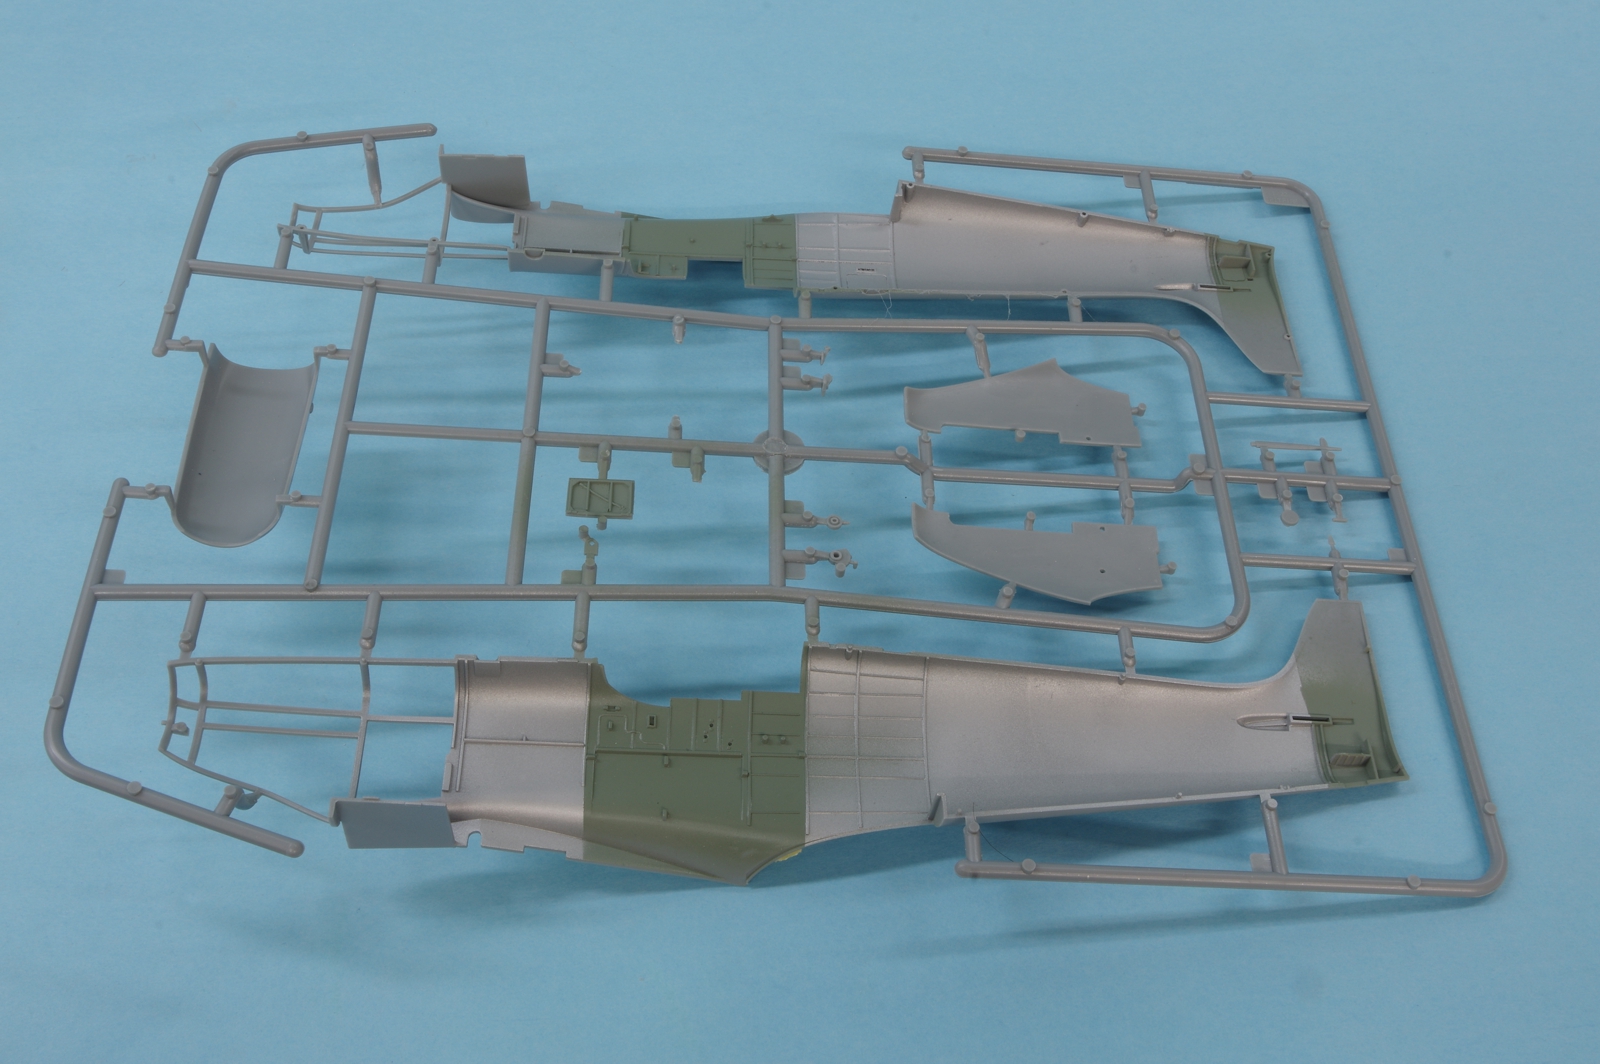
Interior painting of the basic fuselage halves.
0066spit.jpg


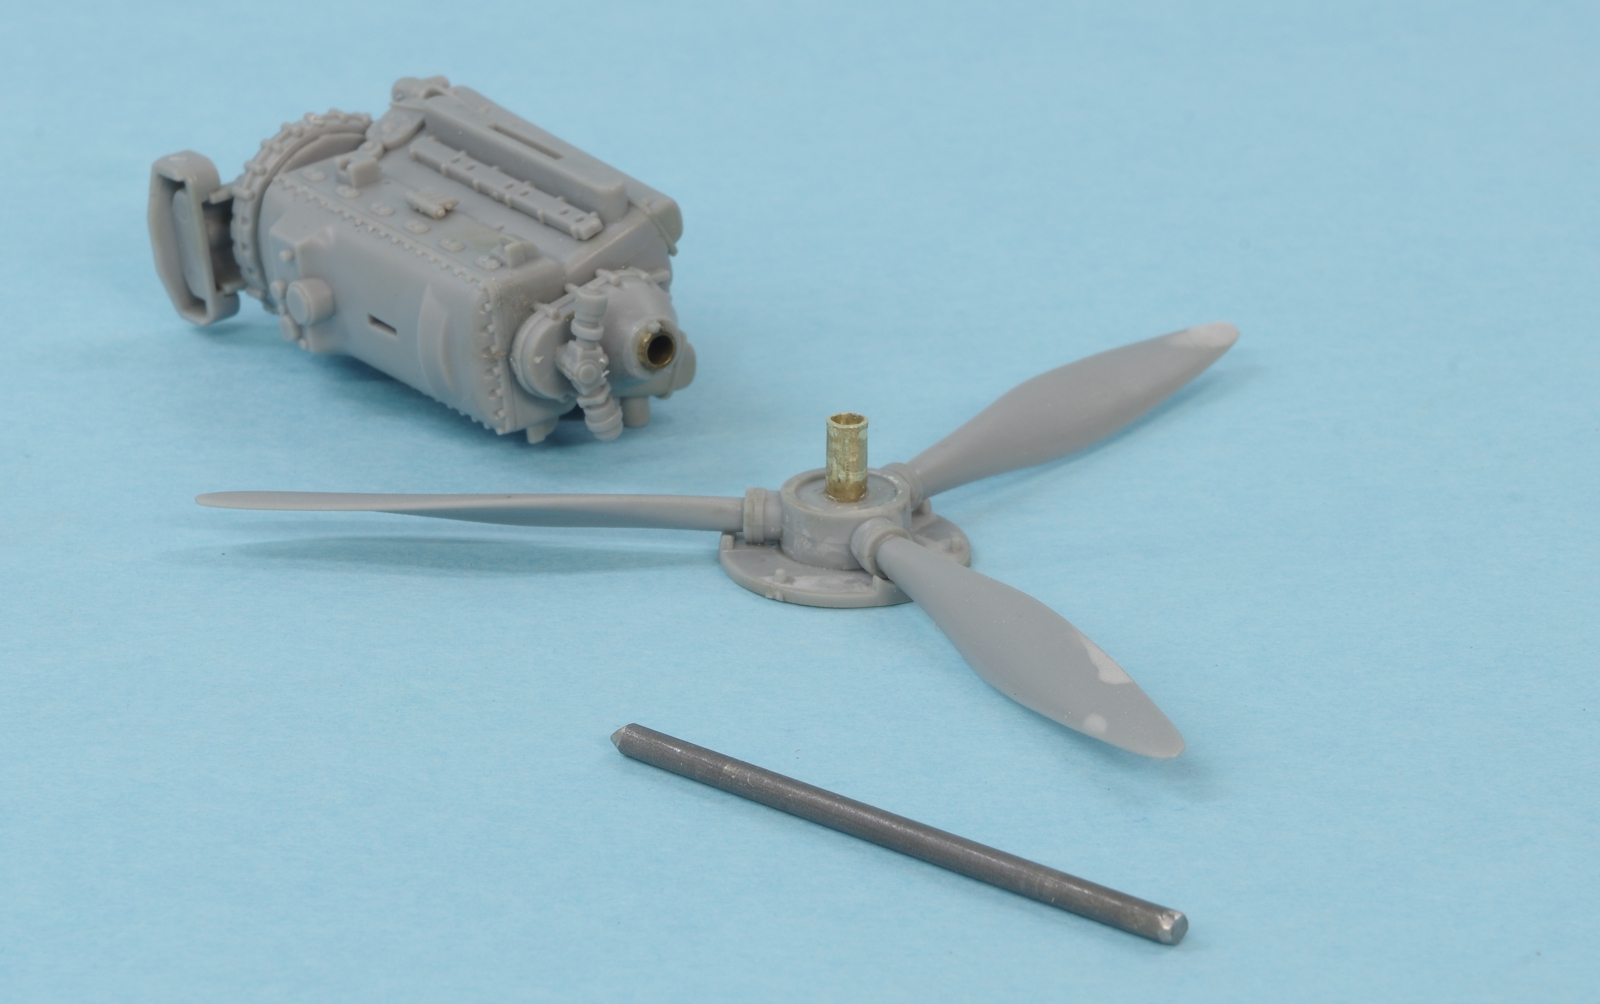
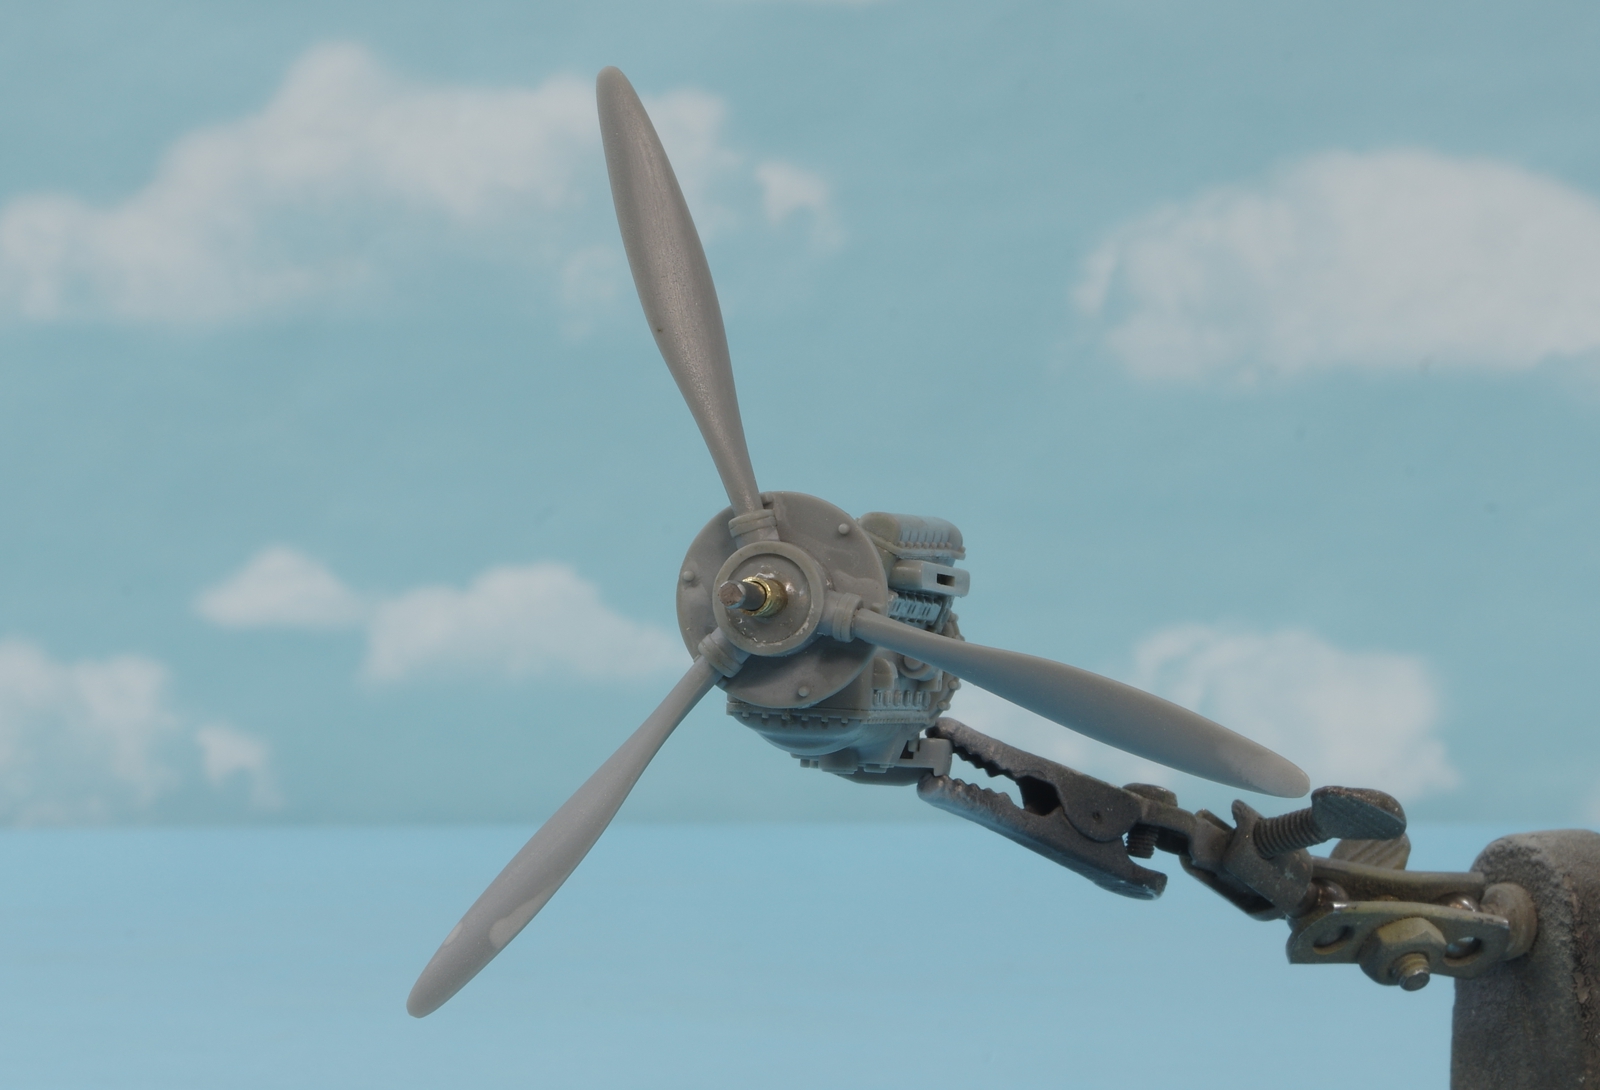
While the kit had plastic parts for the propeller shaft, for durability I usually replace that method with brass tubing and music wire. A drill press is used to insure that the the part alignments are true.
0076spit.jpg


0086spit.jpg


First run. Rotation courtesy of air flow.
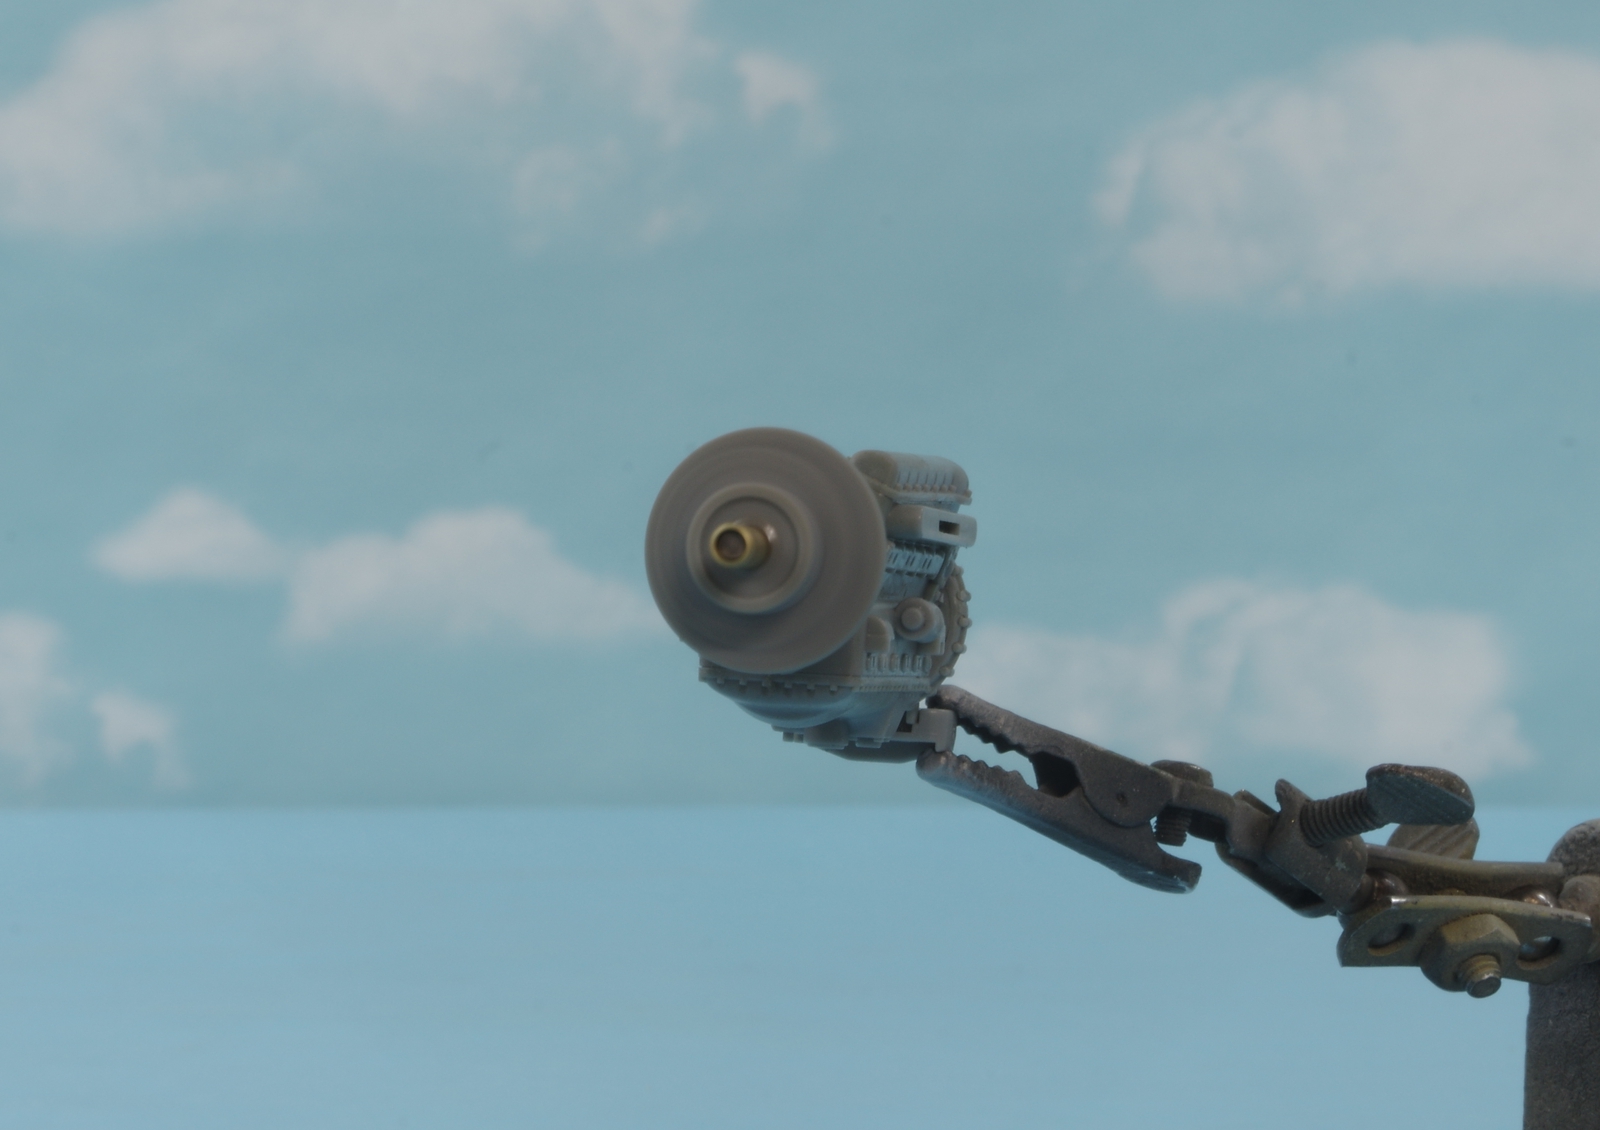
0096spit.jpg


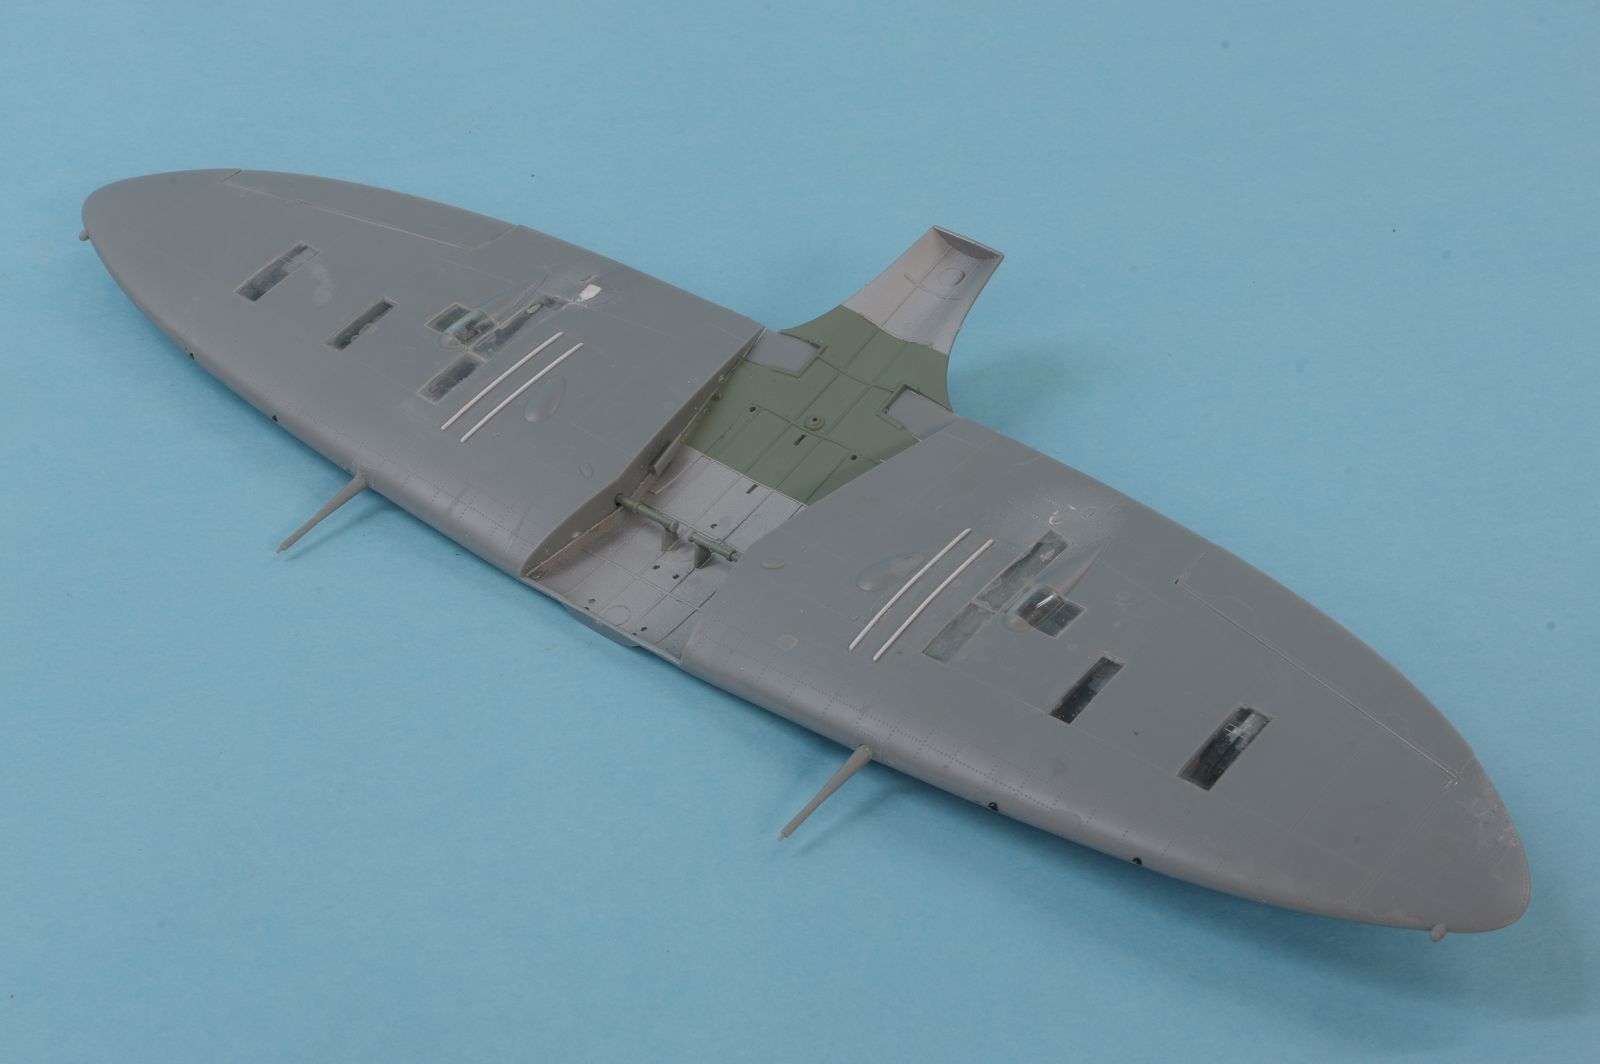
Reinforcing strips were installed over the wheel wells, these were not always on Mk. 5 and earlier Spitfires and the kit did not supply them.
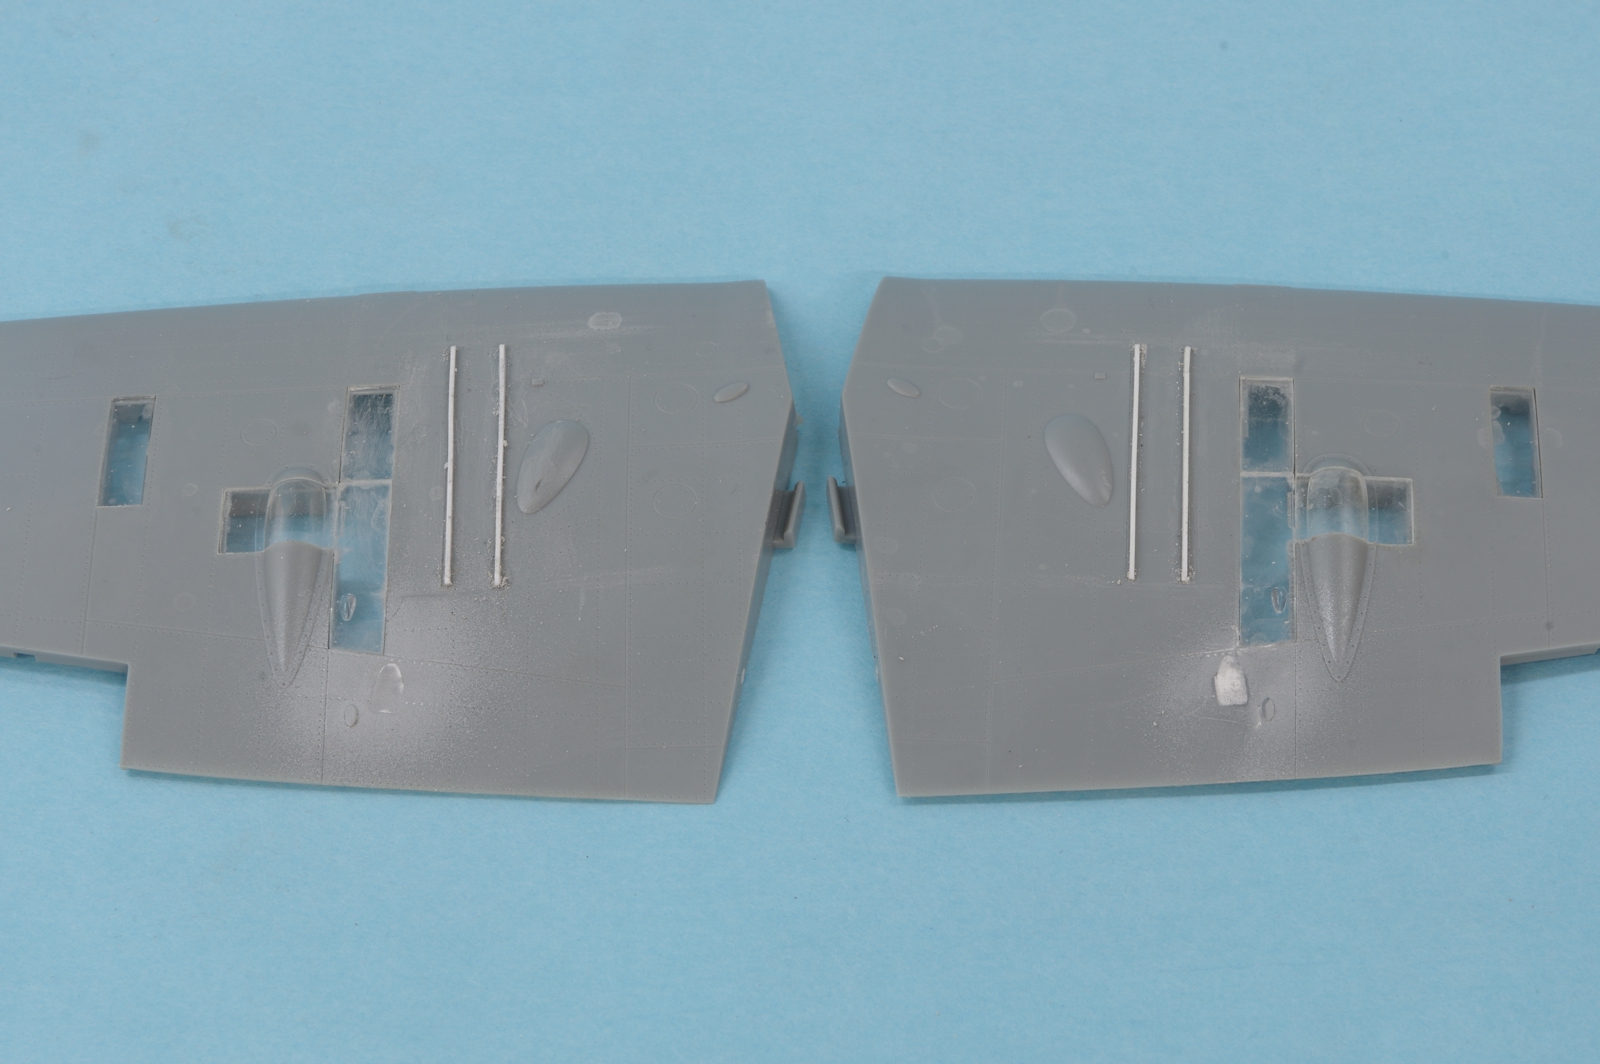
0106spit.jpg


HGW fabric seat belts still to be added, and a bit more Tamiya Clear Orange on the bottom corner of the seat over the red brown.
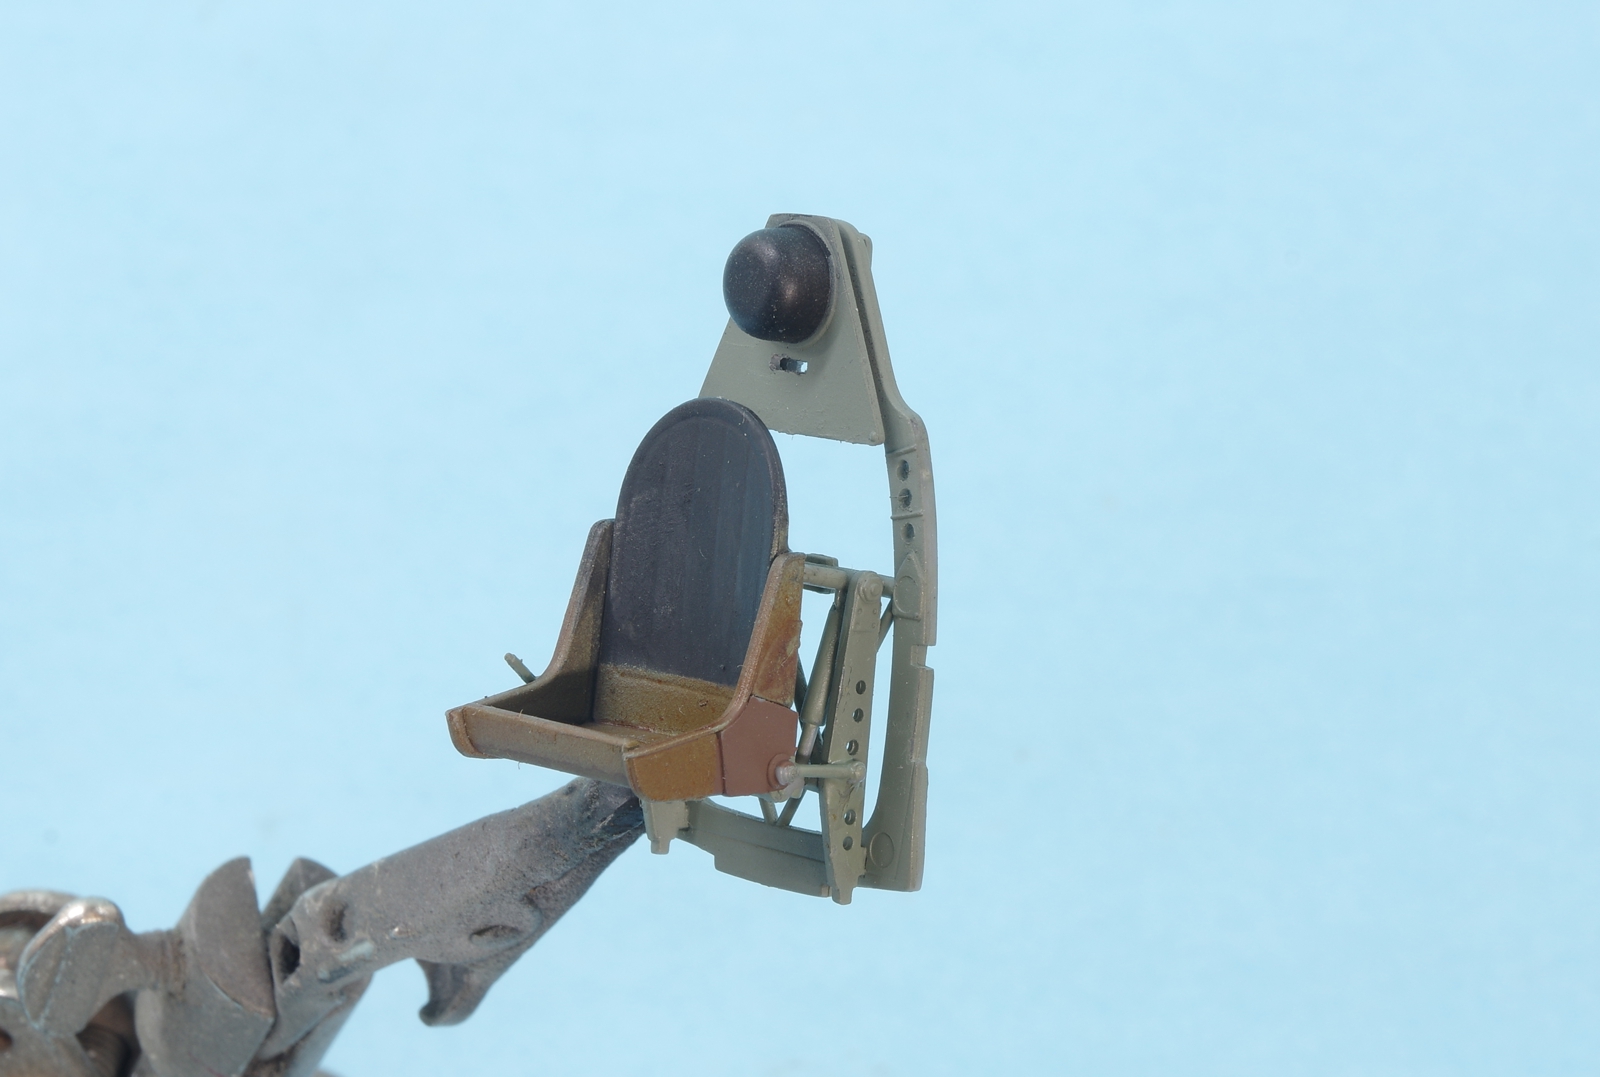
0116spit.jpg


Since the wing gun doors will be closed only the minimum necessary gun parts were installed.
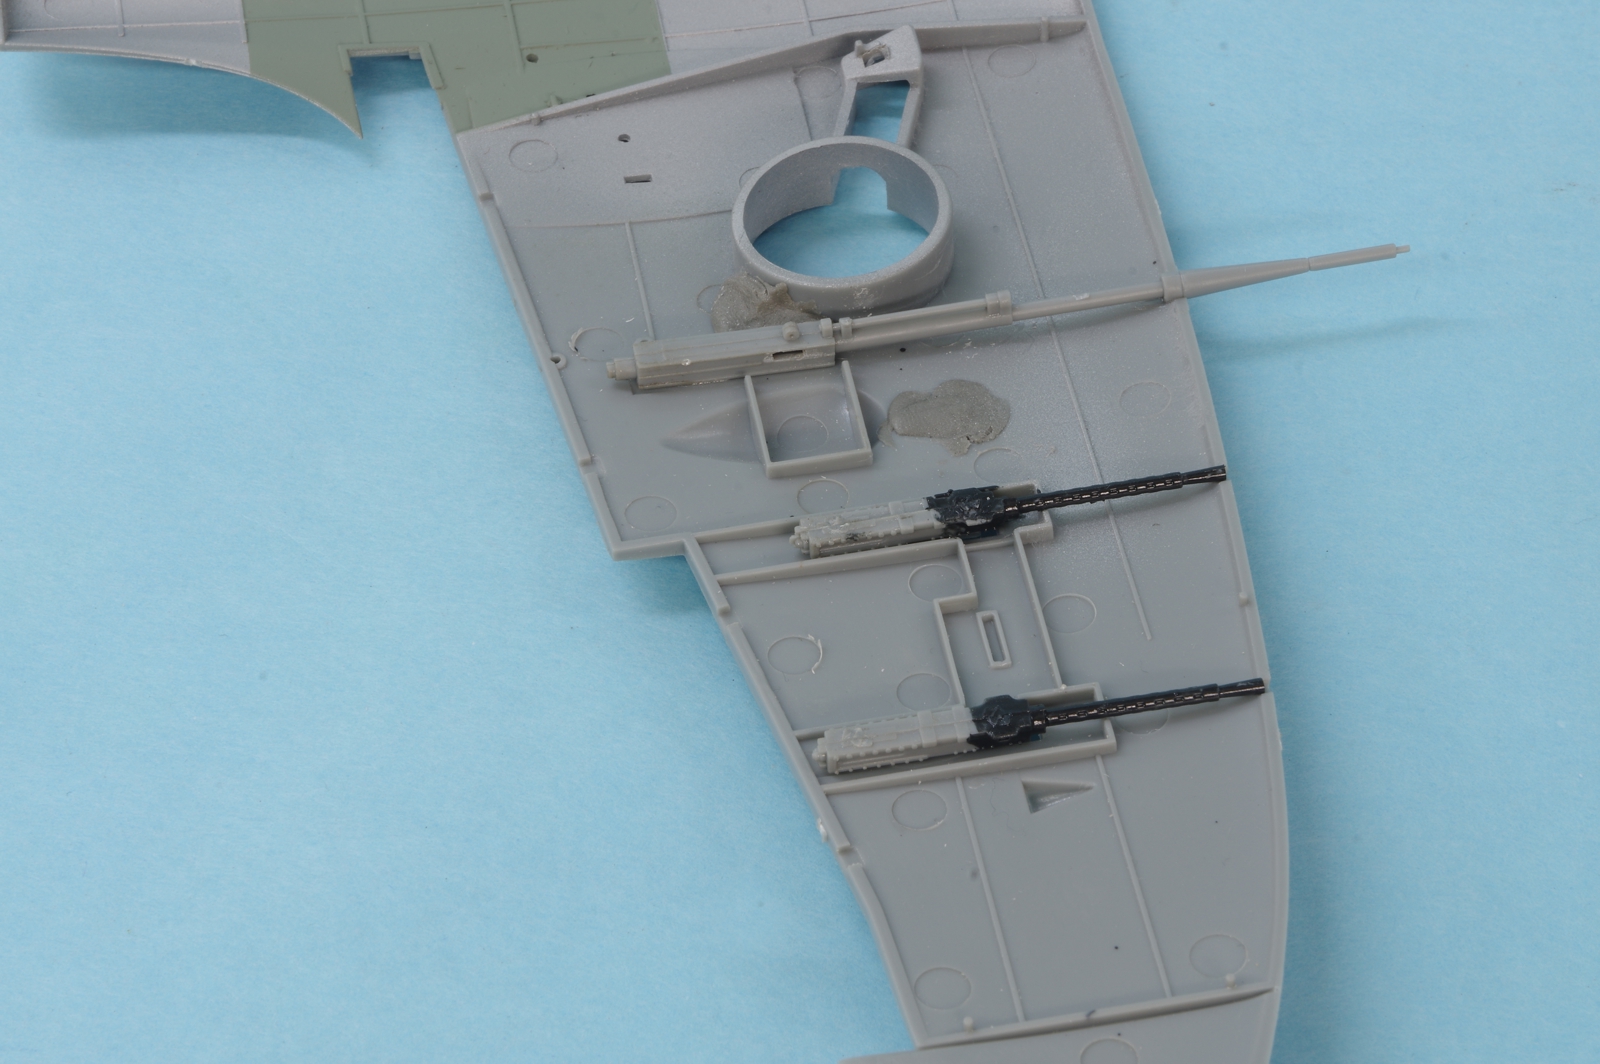
0126spit.jpg
 
Cool beans. Looking forward to watching more. I almot bought the Va, but not really of interest. I am interested in the Bf 109 and the Vb they are coming out with.
James
 
This has the fabric ribbed upper surface of the horizontal stabilizer like its Trumpter 1/24 cousin IIRC.

Cheers,
RichB
 
This has the fabric ribbed upper surface of the horizontal stabilizer like its Trumpter 1/24 cousin IIRC.

Cheers,
RichB
Actually if Trumpy did like they did on the Ju87A, they just took the same parts and made them all larger. Same parts bigger scale. As the 1/32 scale Ju87A is HORRIBLY wrong in so many ways I wouldn't touch the 1/24th kit even if it was given to me and someone paid a pretty penny to build it.
 
This has the fabric ribbed upper surface of the horizontal stabilizer like its Trumpter 1/24 cousin IIRC.

Cheers,
RichB
Yes it do but I have the resin fix for that. What were they thinking? Or not? They also missed the armor plate over the fuel tank, but they did put a lot of nice rivets there that shouldn't be. Working on ideas for a fix for that.
 
More work on the Spitfire, still waiting for the HGW belts which now are supposed to arrive tomorrow. Yes, it would be fun to display the engine but there's a Tamiya kit for that. I did paint it semigloss black and will add as much extra kit parts as will fit with the cowls on. Just for fun. Hobbyboss would have you paint the engine steel but I don't think I have ever seen a Merlin that color.

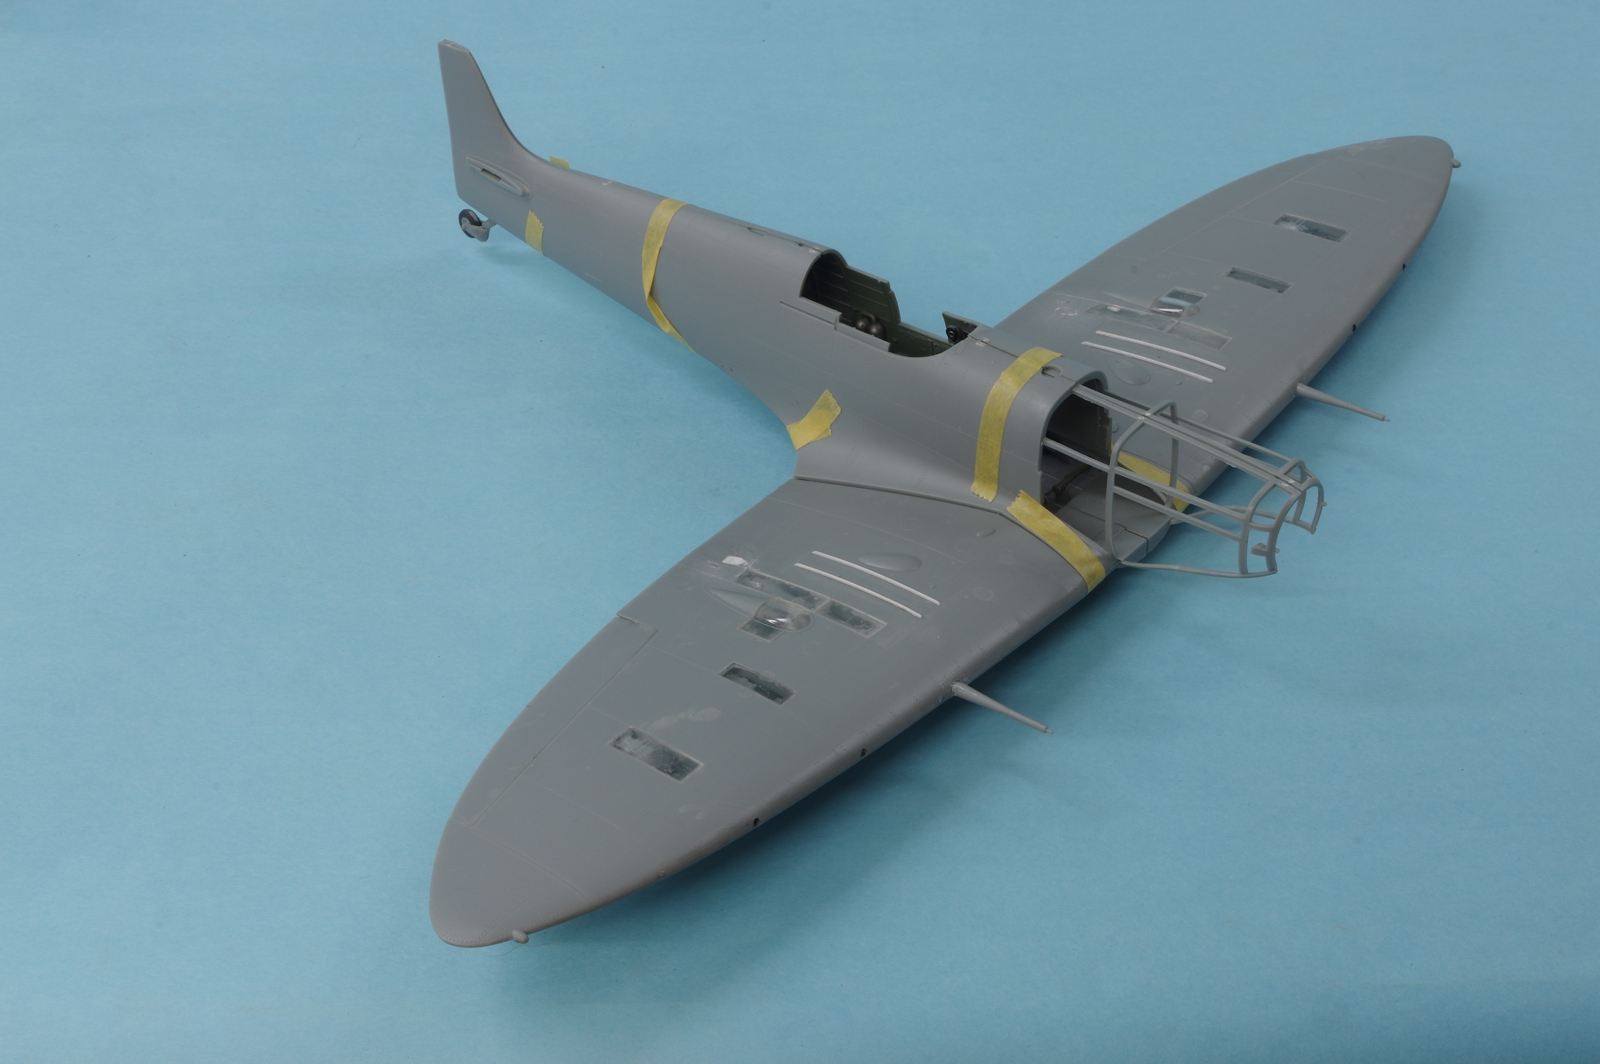
The main flap fit wasn't the best, probably because the kit was designed for them to be down. Some material was taken off the front of the flaps
so they would fair with the wing, preserving the surface detail on the trailing edge of the flap. The inner flaps needed a little adjustment also.
The radiator and the oil cooler parts fit well and included details like photo etch faces for the oil cooler inside the duct and braces, gun
heating ducts, and fuel vents in the radiators, along with plastic faces for the radiator.

0136spit.jpg


The aileron fit was nice. It's always fun to slap wings together, it all of a sudden feels like you are making good progress. I had to trim some
off of the aft top of the outboard guns so they would not interfere with the top of the wing and the clear gun covers there.

0146spit.jpg


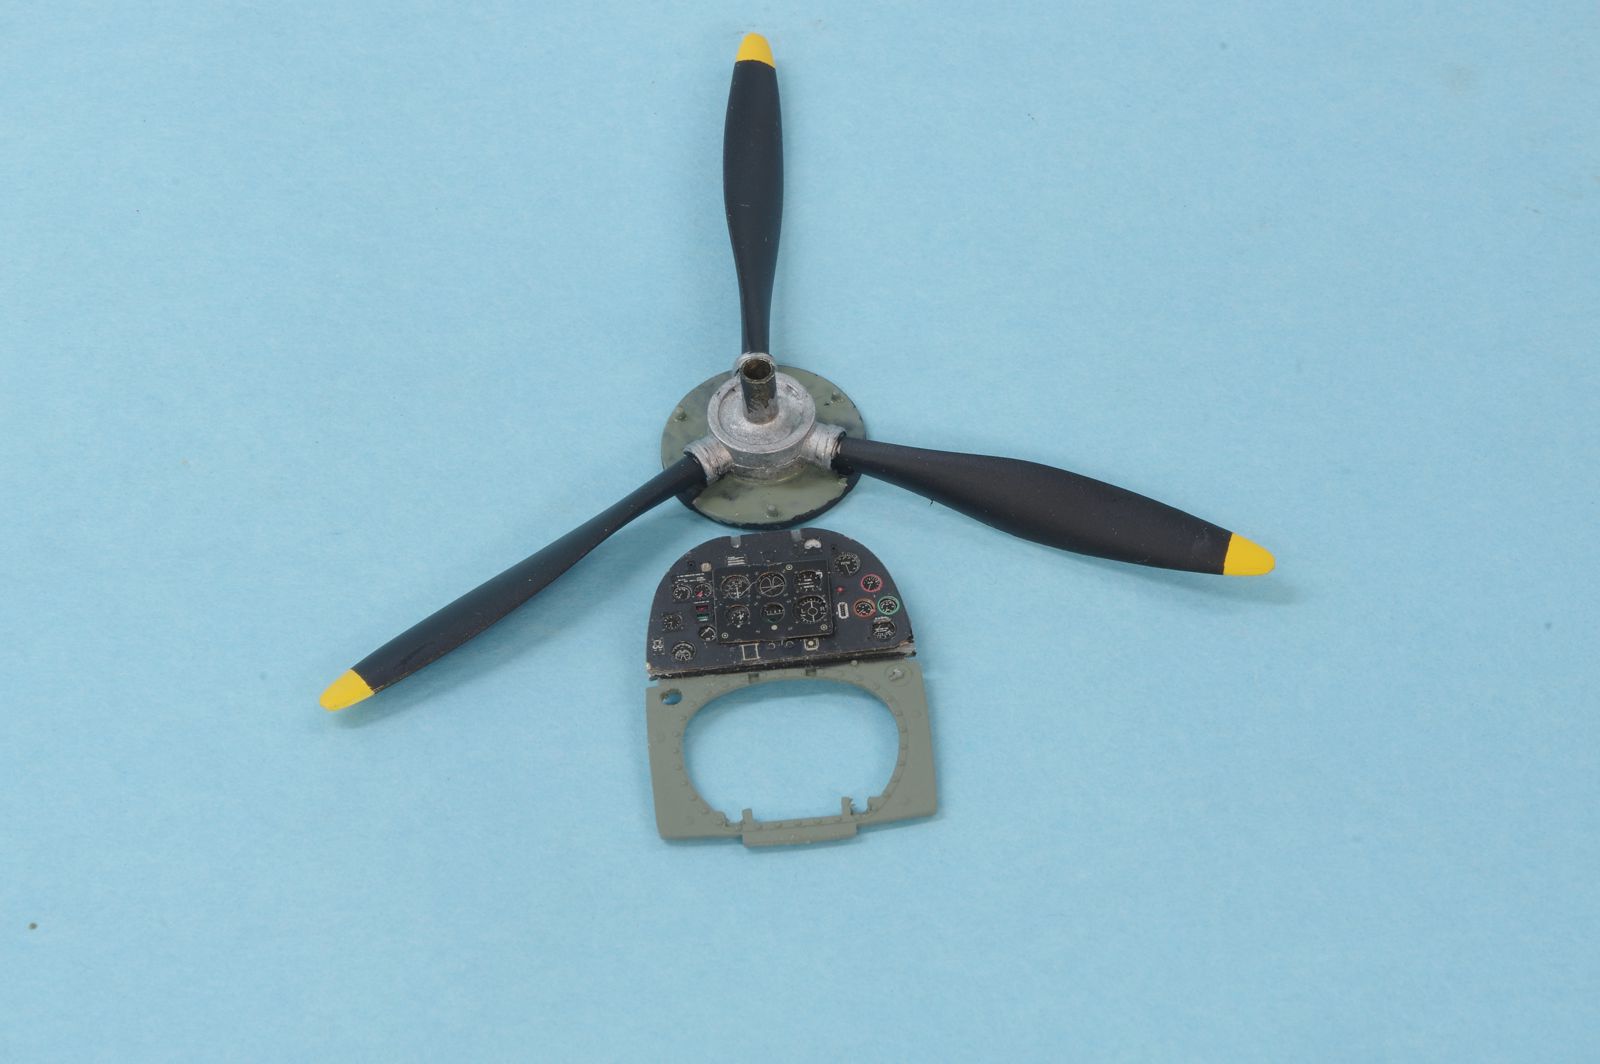
A few minutes work with a file and some superglue resulted in a panel I surely could never duplicate myself, and a big improvement
over the kit parts. If you turn it the right way in the light you get a reflection from the instrument glass. Thanks, Yahu!

0156spit.jpg


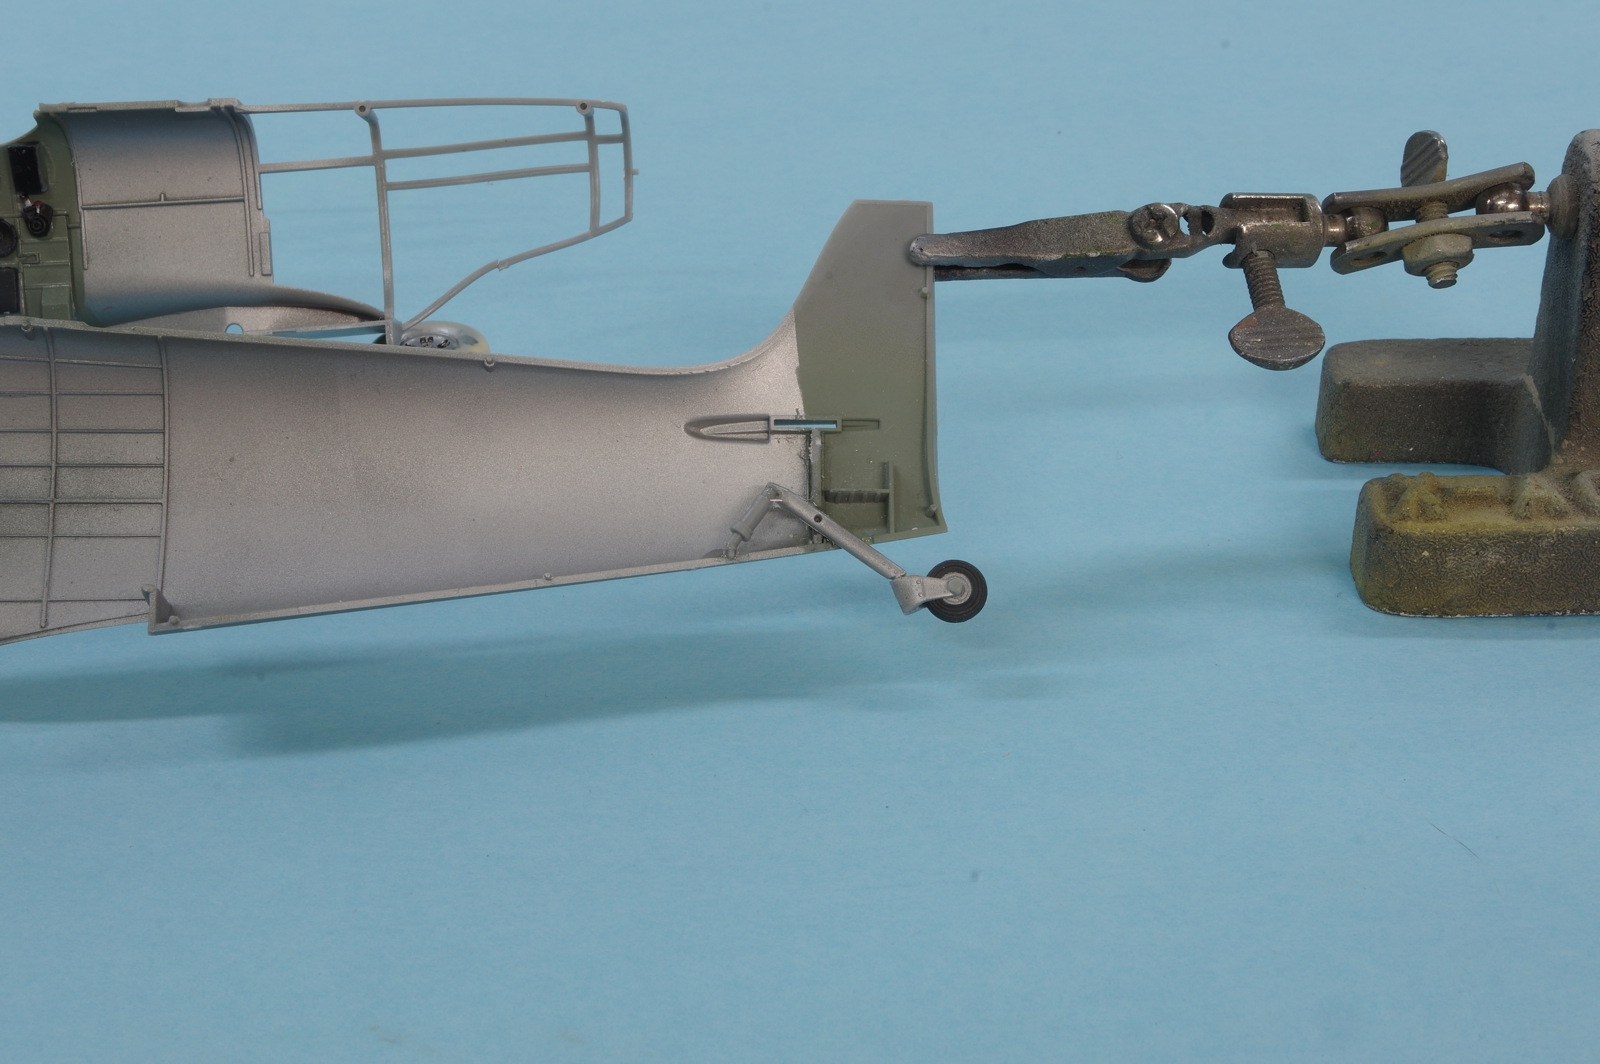
I wish they had worked harder to design a durable tail wheel rather than add detail no one will ever see. It was reinforced with CA.

0166spit.jpg


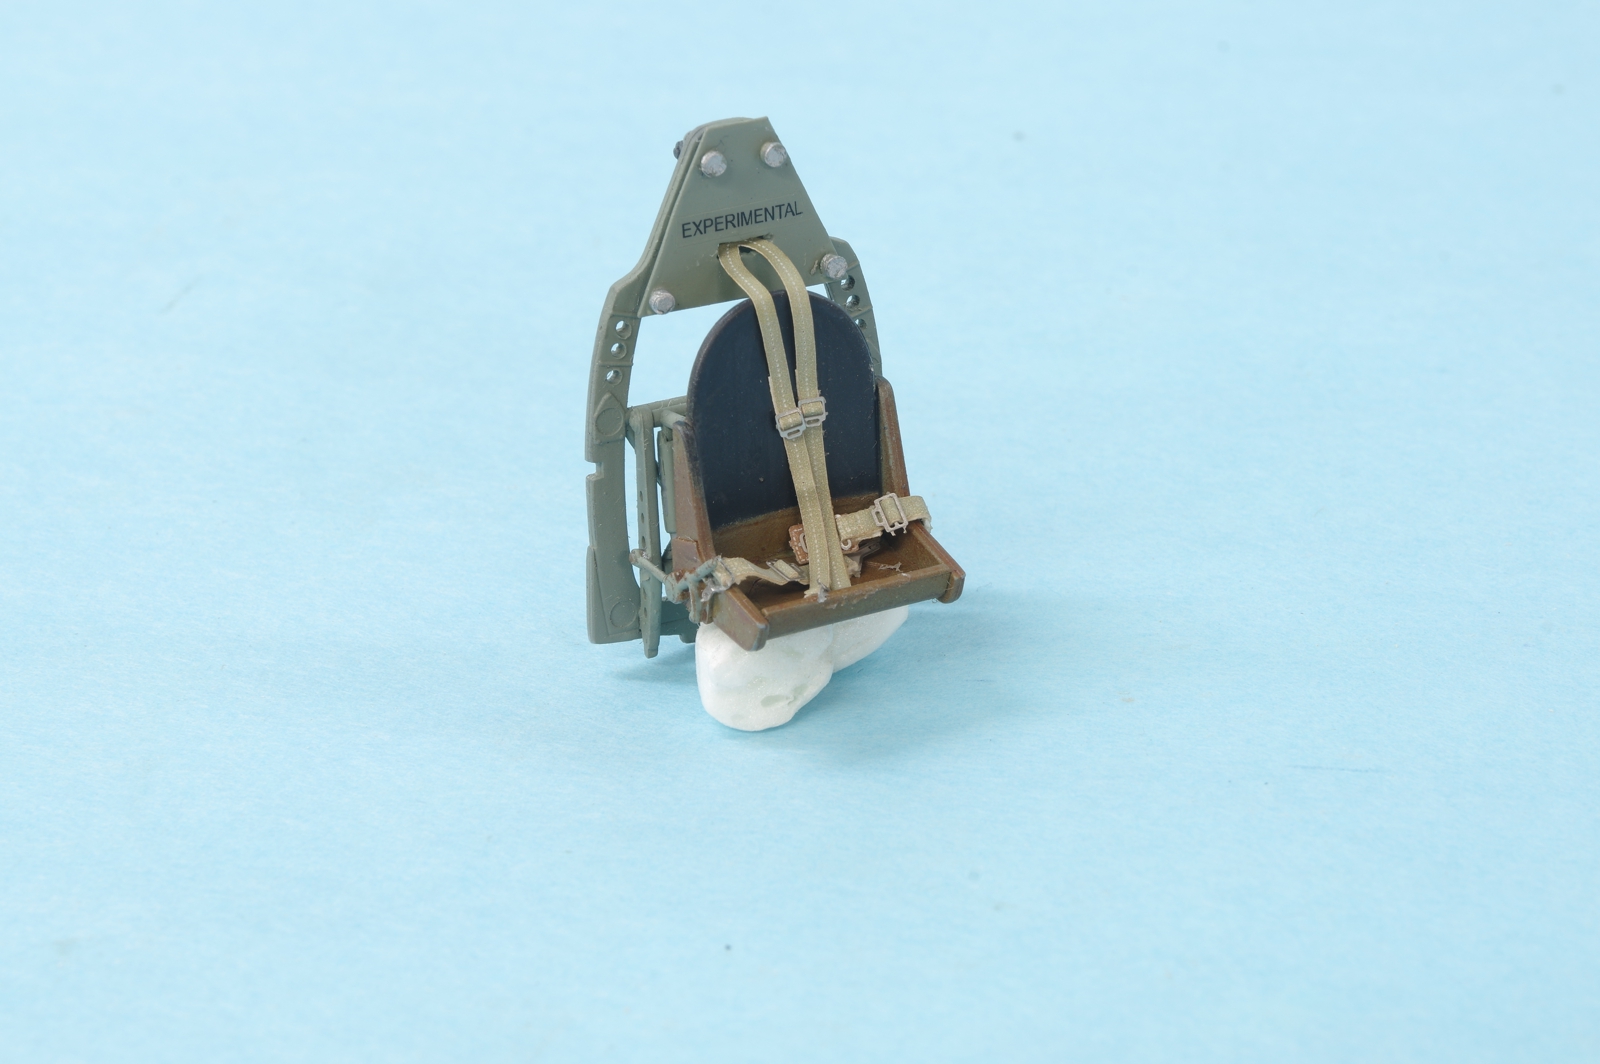
I was really happy with the neat job I did painting the head cushion on the armor plate behind the seat, and then a closer look at the photos of the restored Spitfire
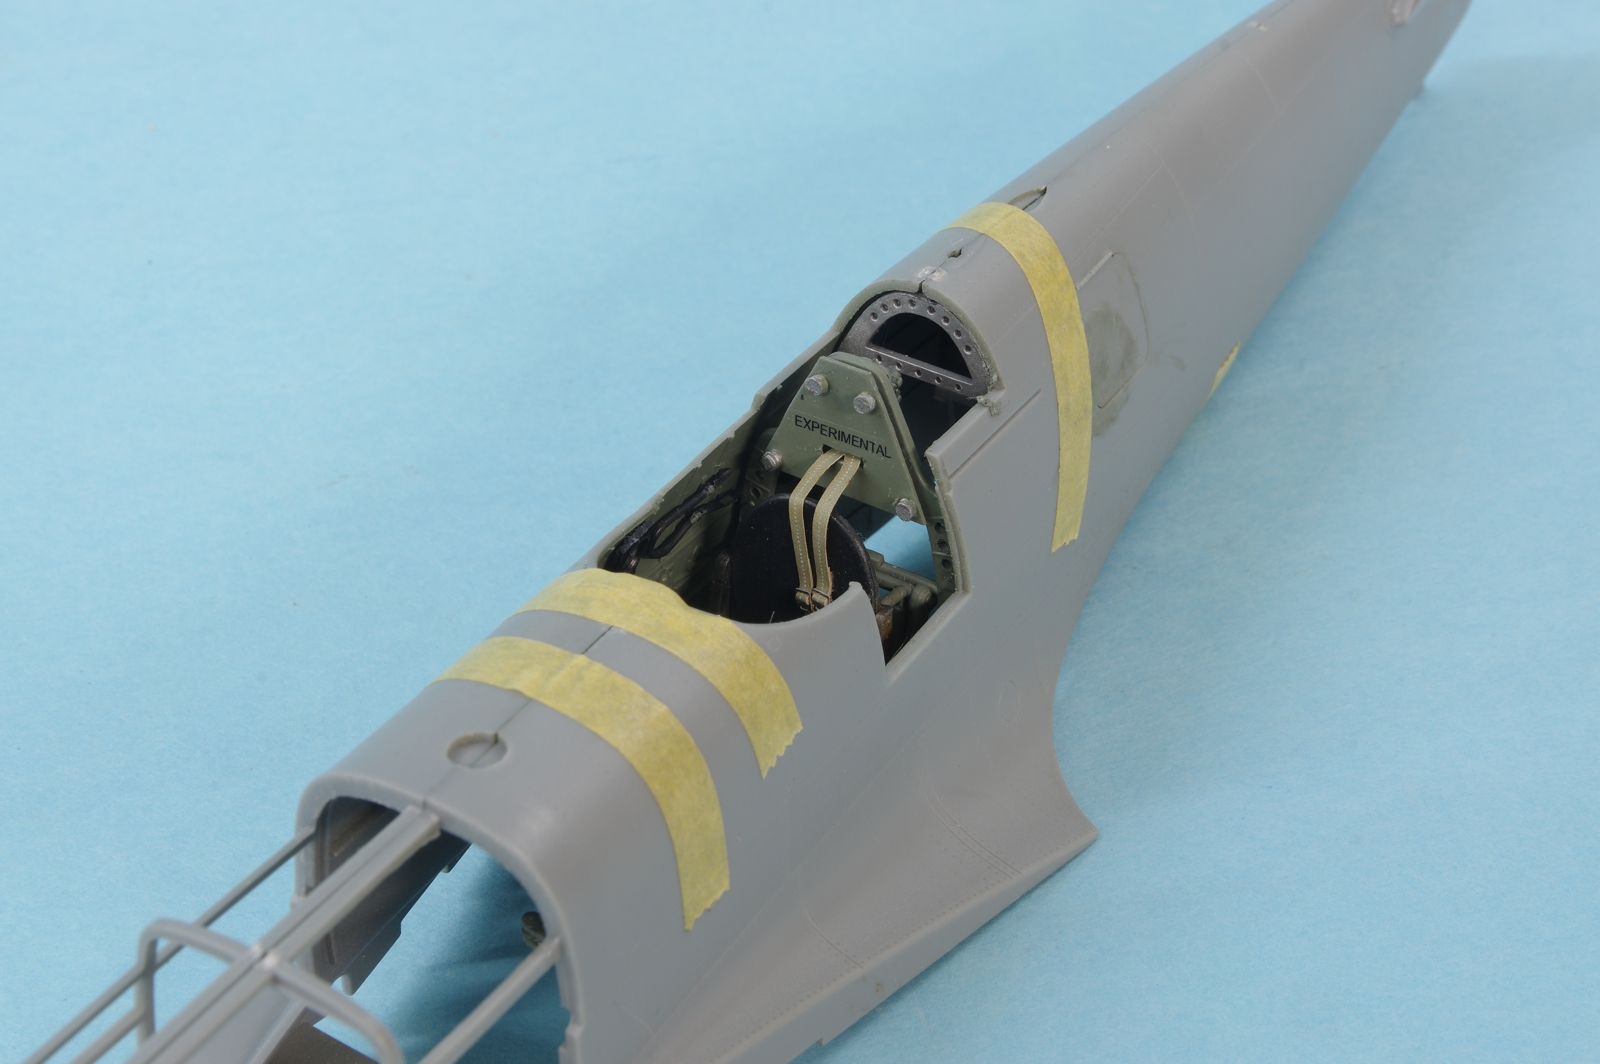
I am modeling had no such cushion. The kit armor plate was removed and a new armor plate was made from .015 styrene sheet. Knobs were made, painted aluminum.
A matte coat was sprayed on the cockpit sides to allow some shading later. A decal will have to be made for the armor plate saying experimental.
Many warbirds are licensed in that category. Another change I made was to cut off the the gear selector handle and relocate it to the down position.
0176spit.jpg
 
"It will be in the markings of the second picture."

Markings look OK but those camo colours are very odd ? maybe just the picture ? The use of Sky underside and grey/ green top is a new one on me and the green used looks like it should be with brown which would work with sky ? But then the yellow code letters shout Malta to me so what do i know :)
 
GL-B EP122 was a Malta Spitfire flying with 185 Sqn painted in the Temperate Sea Scheme of Extra Dark Sea Grey/Slate Grey over Sky. It was flown by Sgt Claude Weaver (US in the RCAF) when he became the youngest Allied ace at age 19. It later became the mount of the Wing Commander and was recoded JM-T. It finished its career with 1435 Sqn, coded L, when it made a forced landing and was pushed over the cliffs at Dwerja Bay. It was recovered in 1970's. Missing from its Malta configuration is the Vokes filter.

Cheers,
RichB
 
The engine will not be visible but is necessary for the attachment of the exhausts and propeller.

So many kits have these poorly represented engines which are needed for exhaust and propeller alignment. Dragon's POS Mustang comes to mind.... Extra work in ensuring the engine is properly mounted and centered.
 
I dont think that Kotare even give you an engine which frankly, for the price. is criminal :) Especially when alongside the Tamiya MkIX
Tamiya really missed a trick not doing a Mk I ,II And V in their high detail 1/32 range.
 
It looks like HobbyBoss did a pretty good job with keeping alignment, Paul, but I will know more when I actually get to that point. I don't mind that there is no engine in the Kotare kit because the Tamiya kits will satisfy that urge for me. The high point for me in the Kotare kits is in the documentation they come with, and they are about 2/3 the price of the Tamiya kit. I do wish Tamiya would do some Griffon Spitfires but that seems unlikely.
 
Finally got the HGW seat belts. I think I like them in 1/32 but I am not sure my fat fingers will be happy in smaller scales. I did leave the PE parts on the fret while I threaded the textile parts through.
0186spit.jpg

I like to check the fit of the major components before adding the internal parts, helps define what the issue is if there are fit problems later.
0196spit.jpg

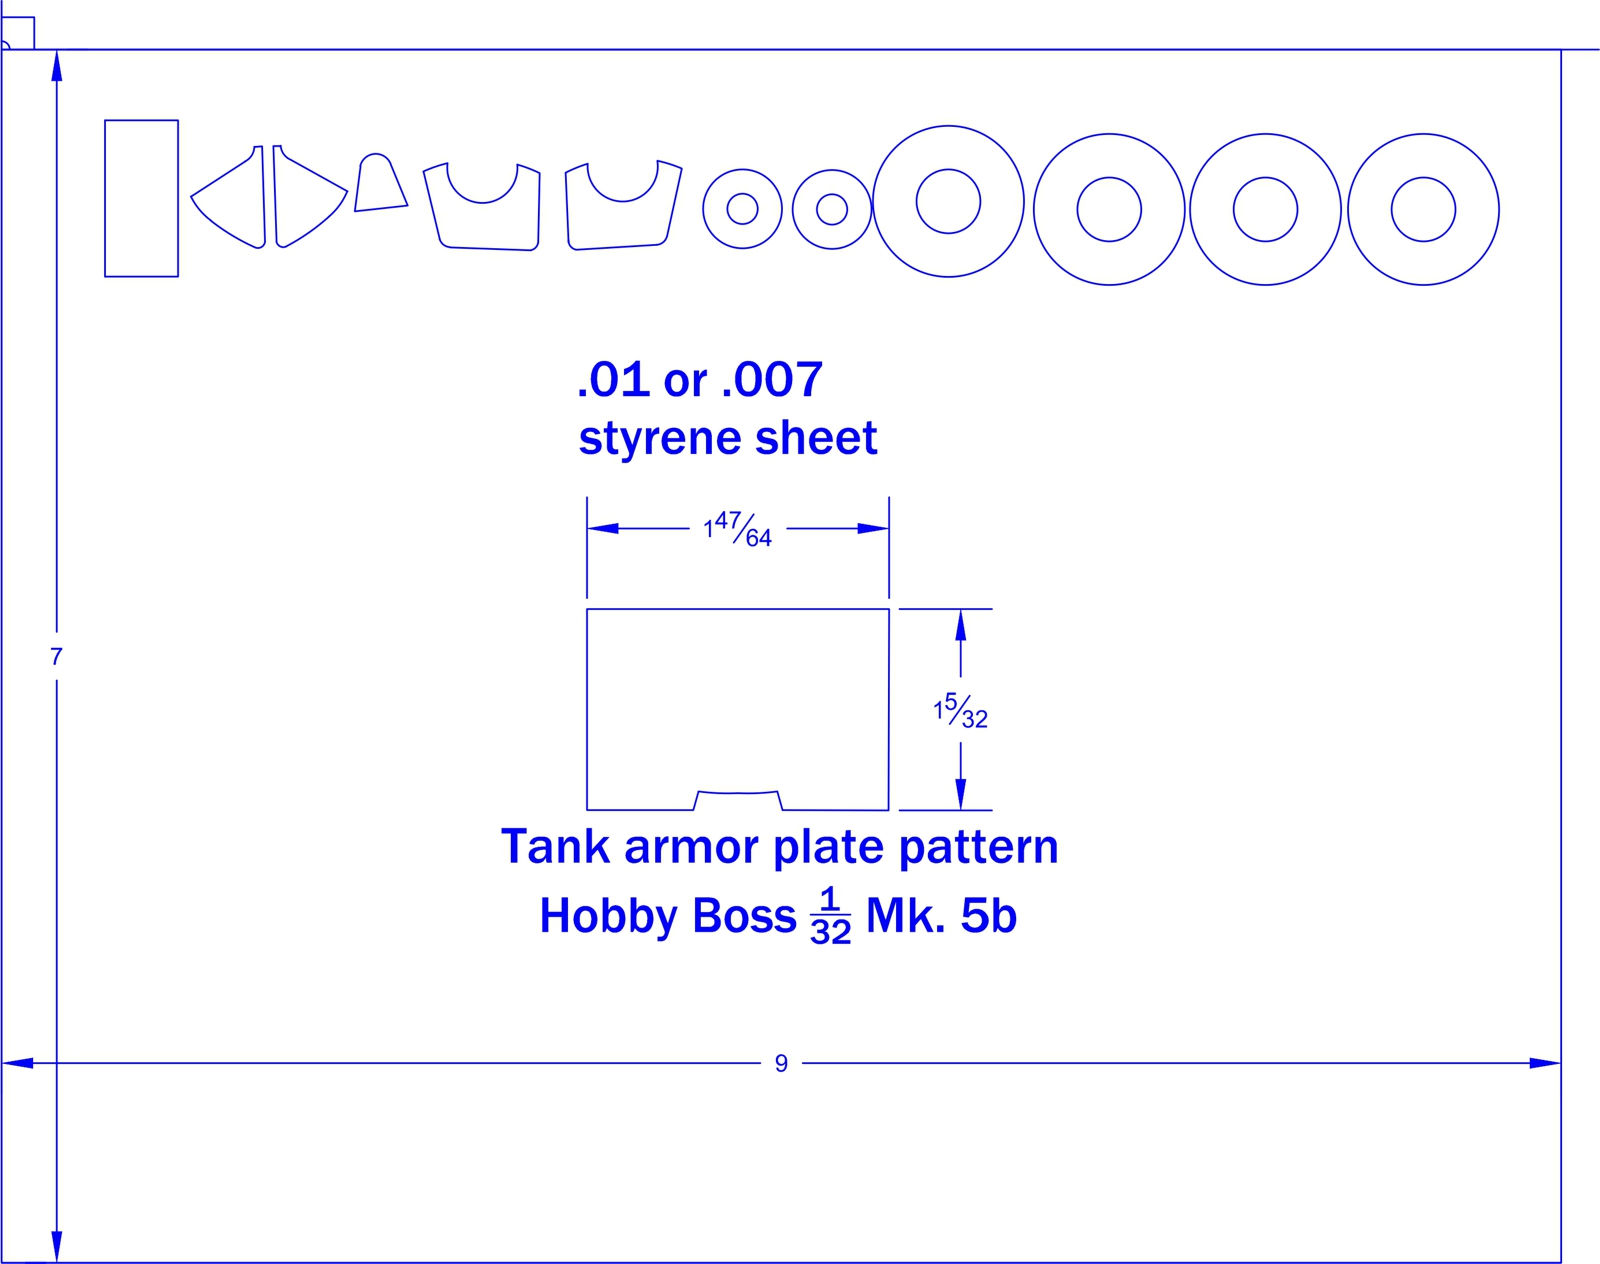
As with many Spitfire kits, there was no armor plating over the fuel tank, so a pattern was made for that, as well as masks for painting the wheels and the canopy. You can download this drawing as a dxf file for cutting here:
https://goldeneramodel.com/mymodels/spitfire/6spit/HobbyBoss1-32Mk5bpatternandmasks.dxf
0206spit.jpg


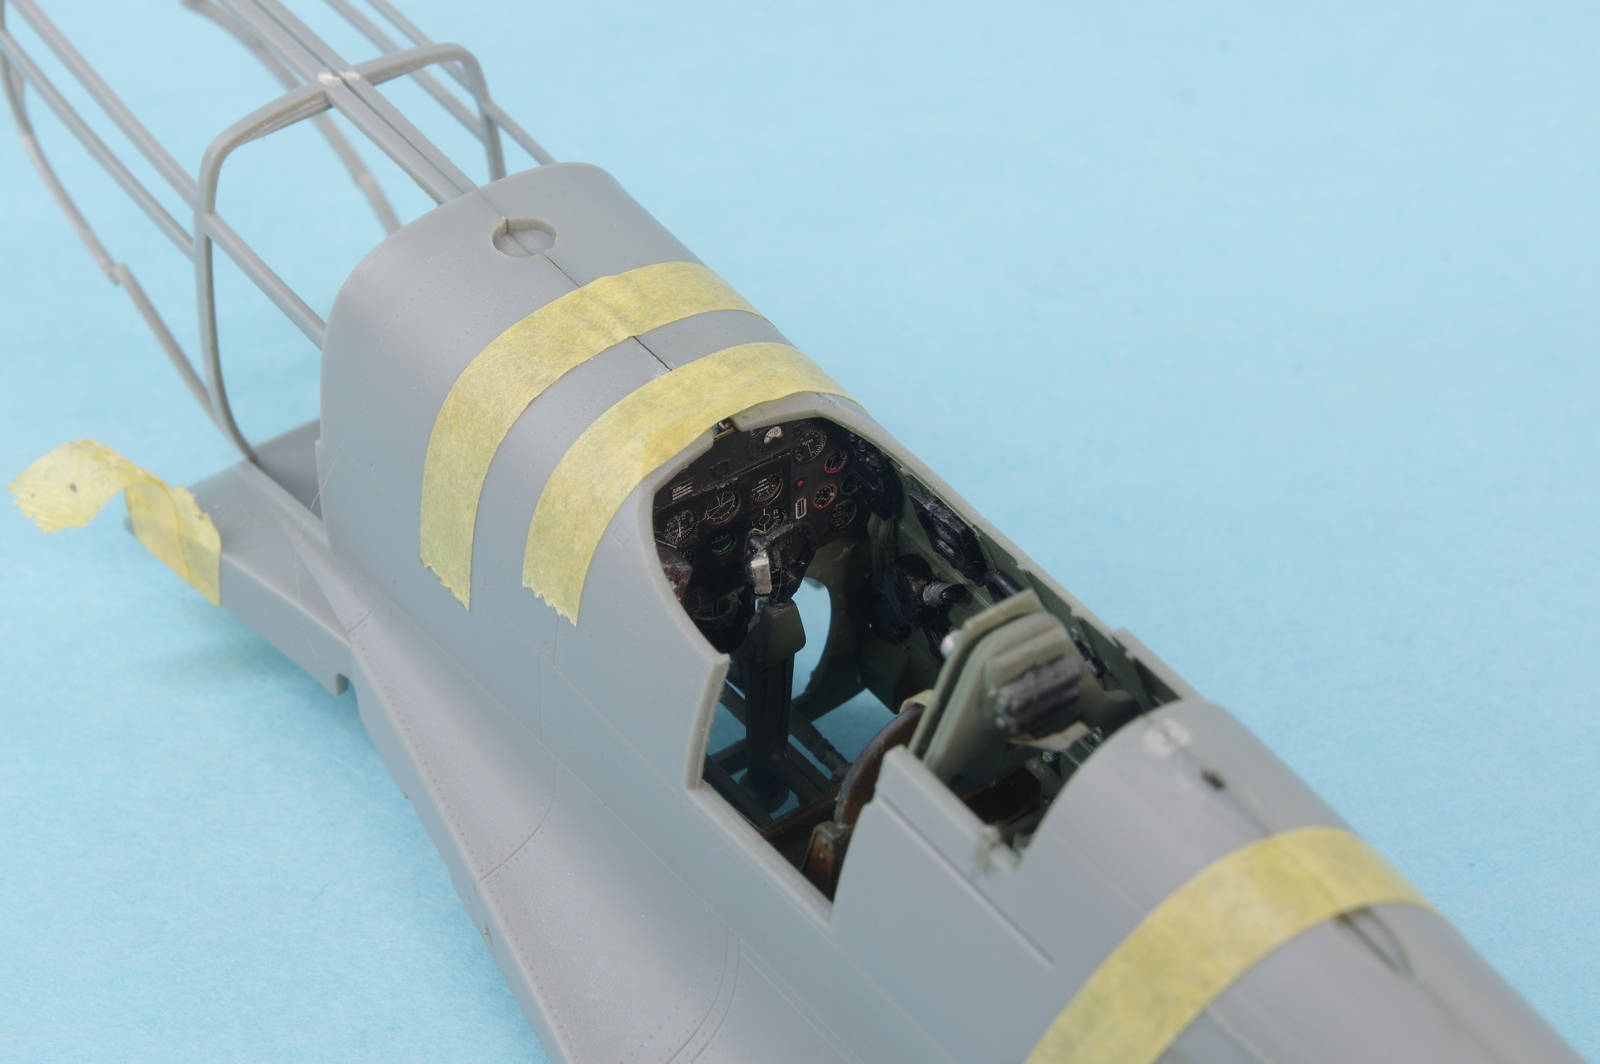
Starting to fit the internal assemblies. The seat bulkhead and the aluminum frame behind it were test fit first, and then glued to the left side only. When they were dry, the instrument panel with the rudder pedals and stick were test fit and then glued to the left side and then left for an hour to set. All in all the engineering and fit was pretty nice. I did re-position the lever to the left side of the seat, it would have been too far forward compared to photos. You can see the white block that was used to move it, still to be painted. I also replaced the plastic link that the control stick is mounted to with brass rod, the plastic did not look like it was good for the long term.

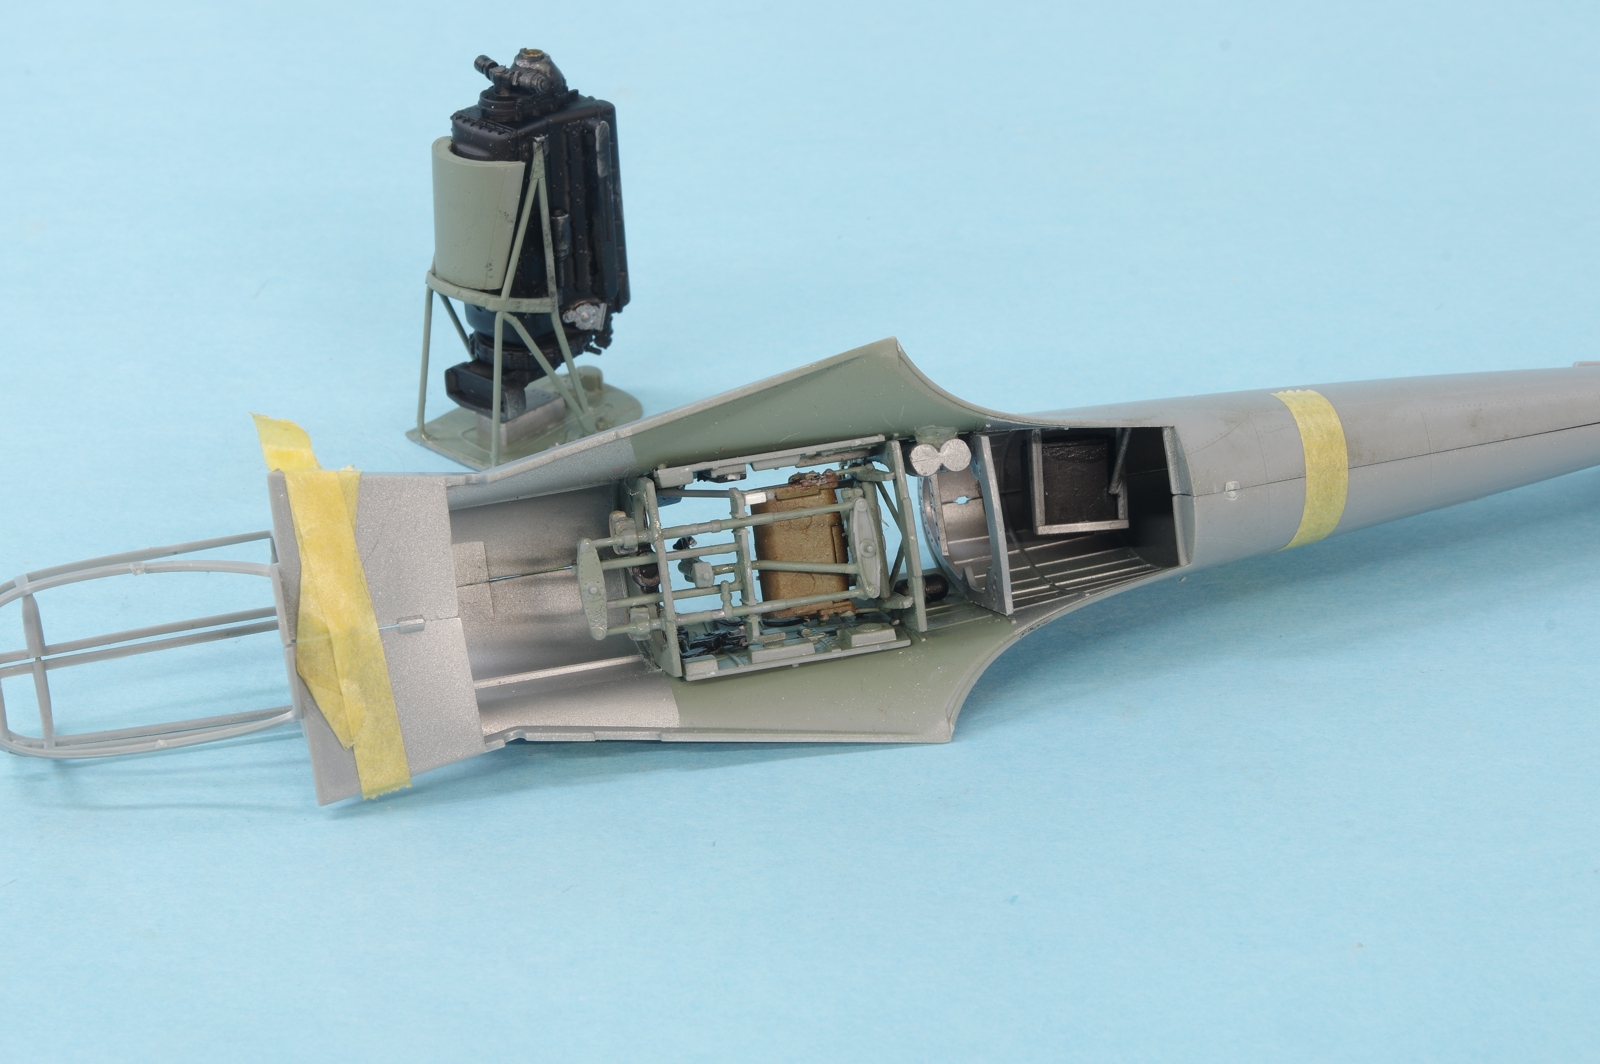
The engine and mount assembly was pretty frustrating until I figured out the best order to do it, which was to attach the side frames to the engine and add the u-shaped cross member. After that was dry that assembly was glued to the firewall. Those joins were done with gel CA.

0216spit.jpg


The shoulder harness still needs it's extension through the last frame to its anchor point.

0226spit.jpg


0236spit.jpg


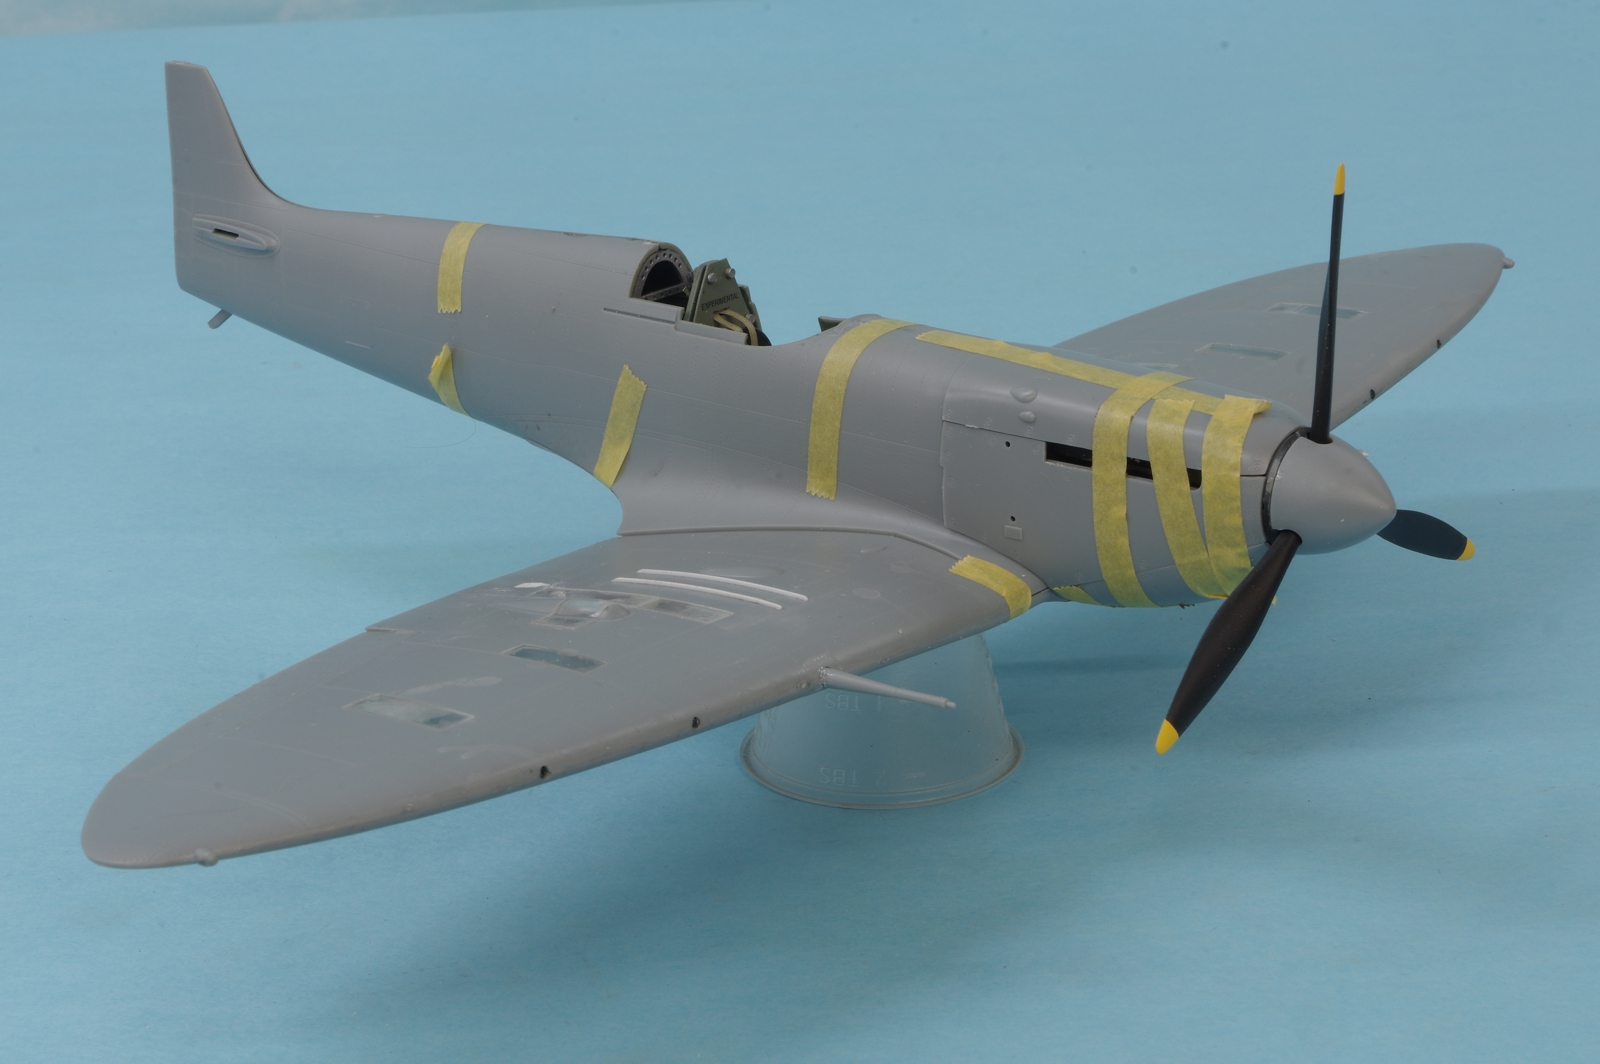
Everything taped together to insure that the cowling and engine alignment is right, which it appears to be. The firewall is not glued in place yet and won't be until all the cowling parts are securely fitted and the spinner aligns correctly.

0246spit.jpg
 
Interesting build John, whats then experimental decal for ? I haven't seen seat armour plate with those big fixings before ?
 
Paddy, it is a model for the fellow who owns the Spitfire I am modeling and I am following the photos they sent. Many warbirds are licensed in the experimental category in the US and must have a placard to that effect in view of the pilot, and passengers, if there are any.
 
Back
Top