jeaton01
Well-known member
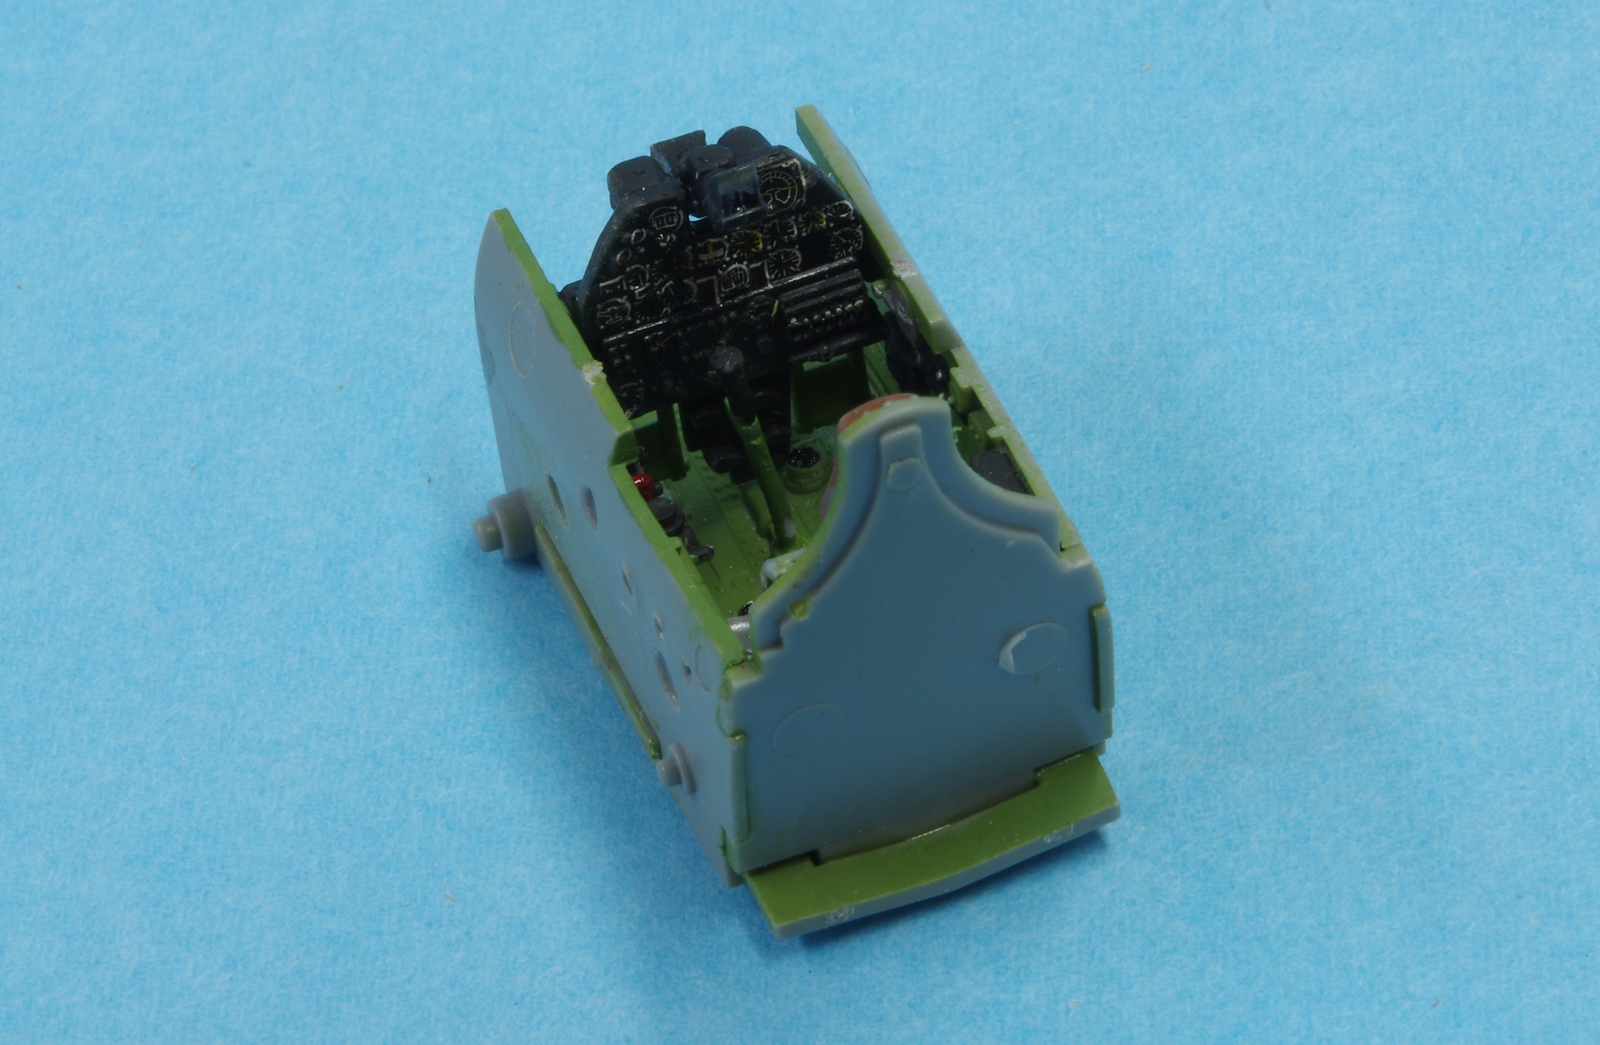
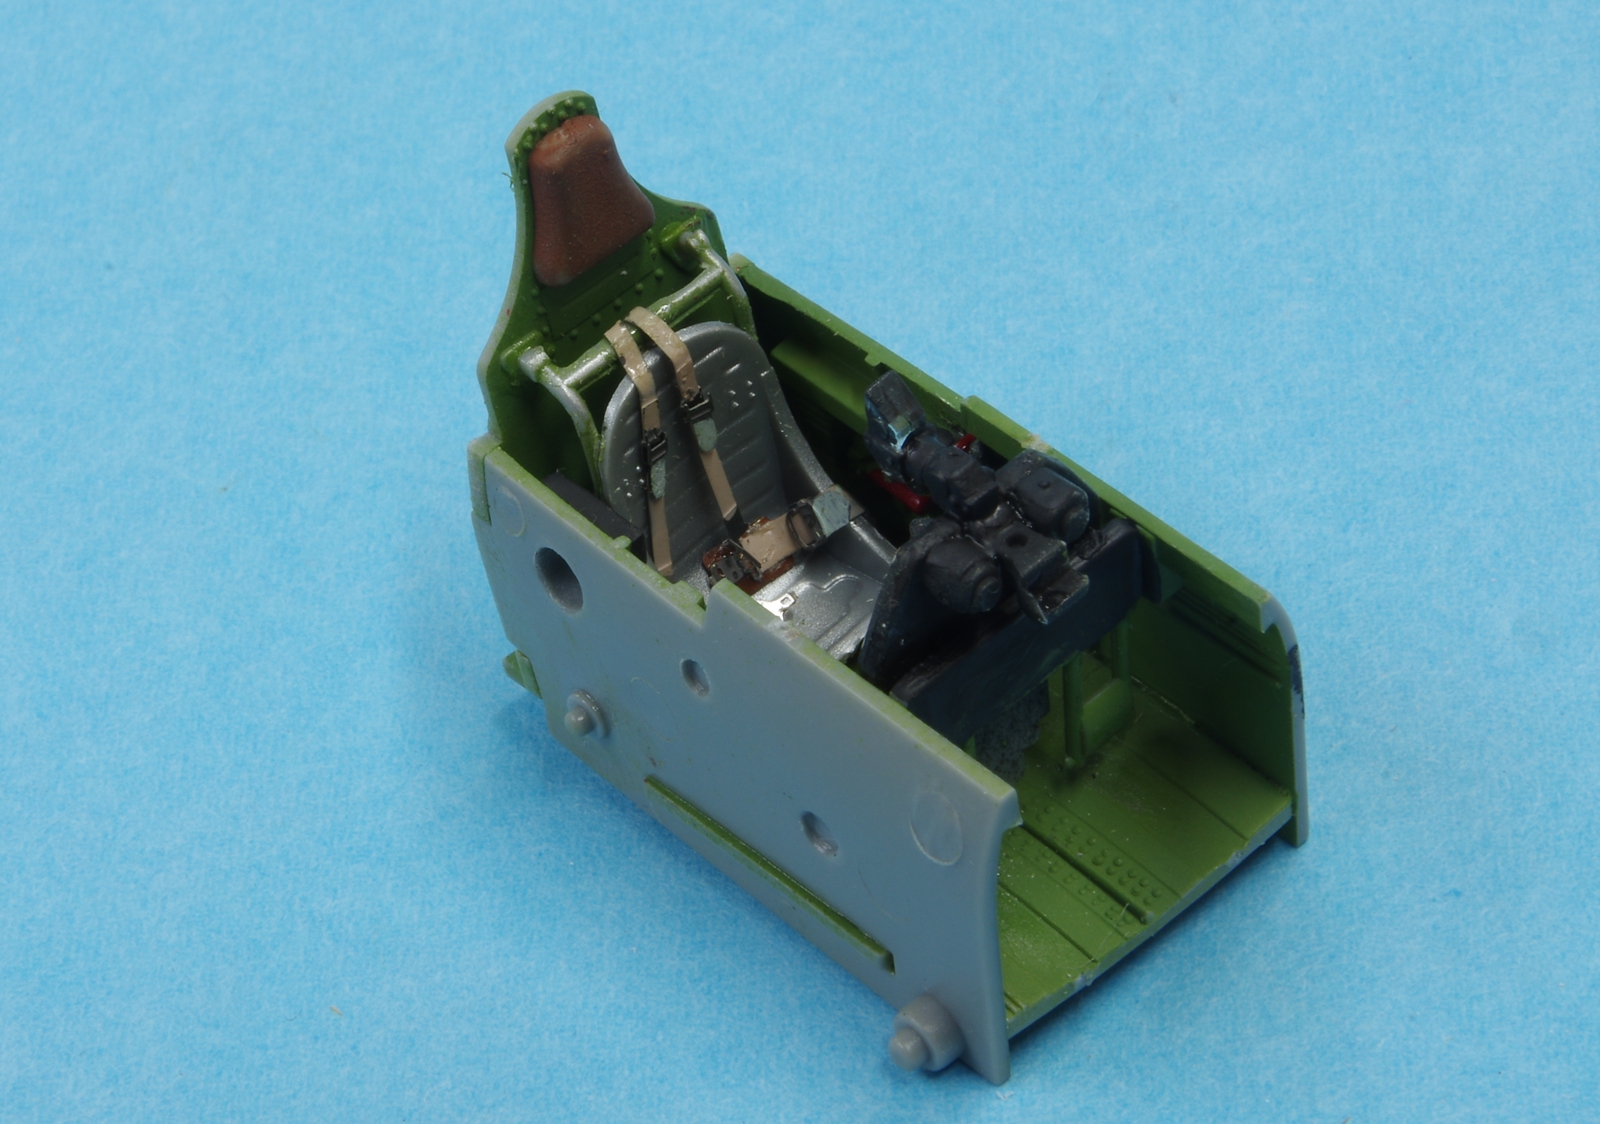
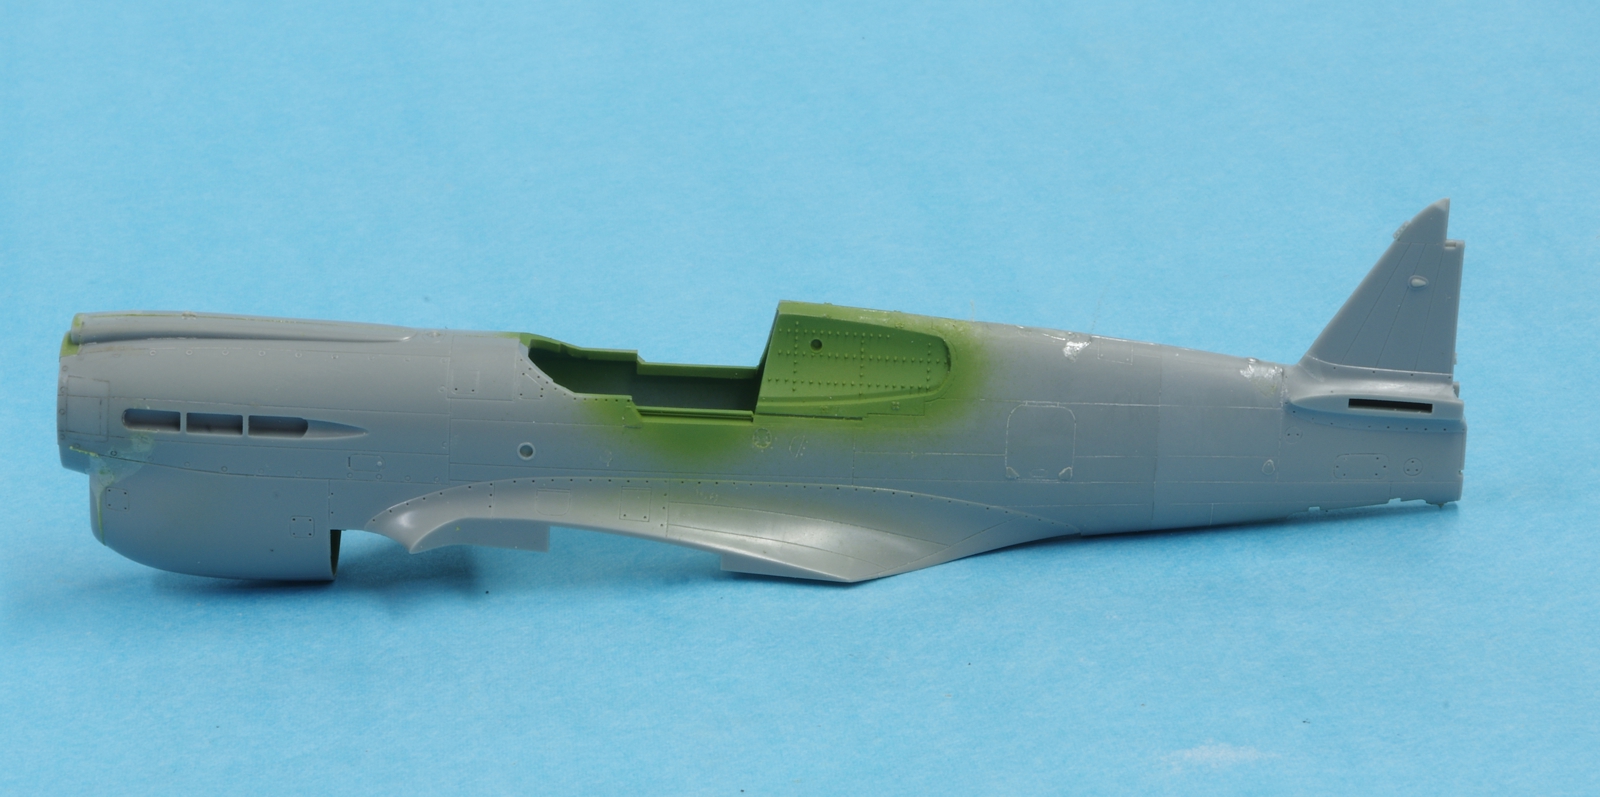
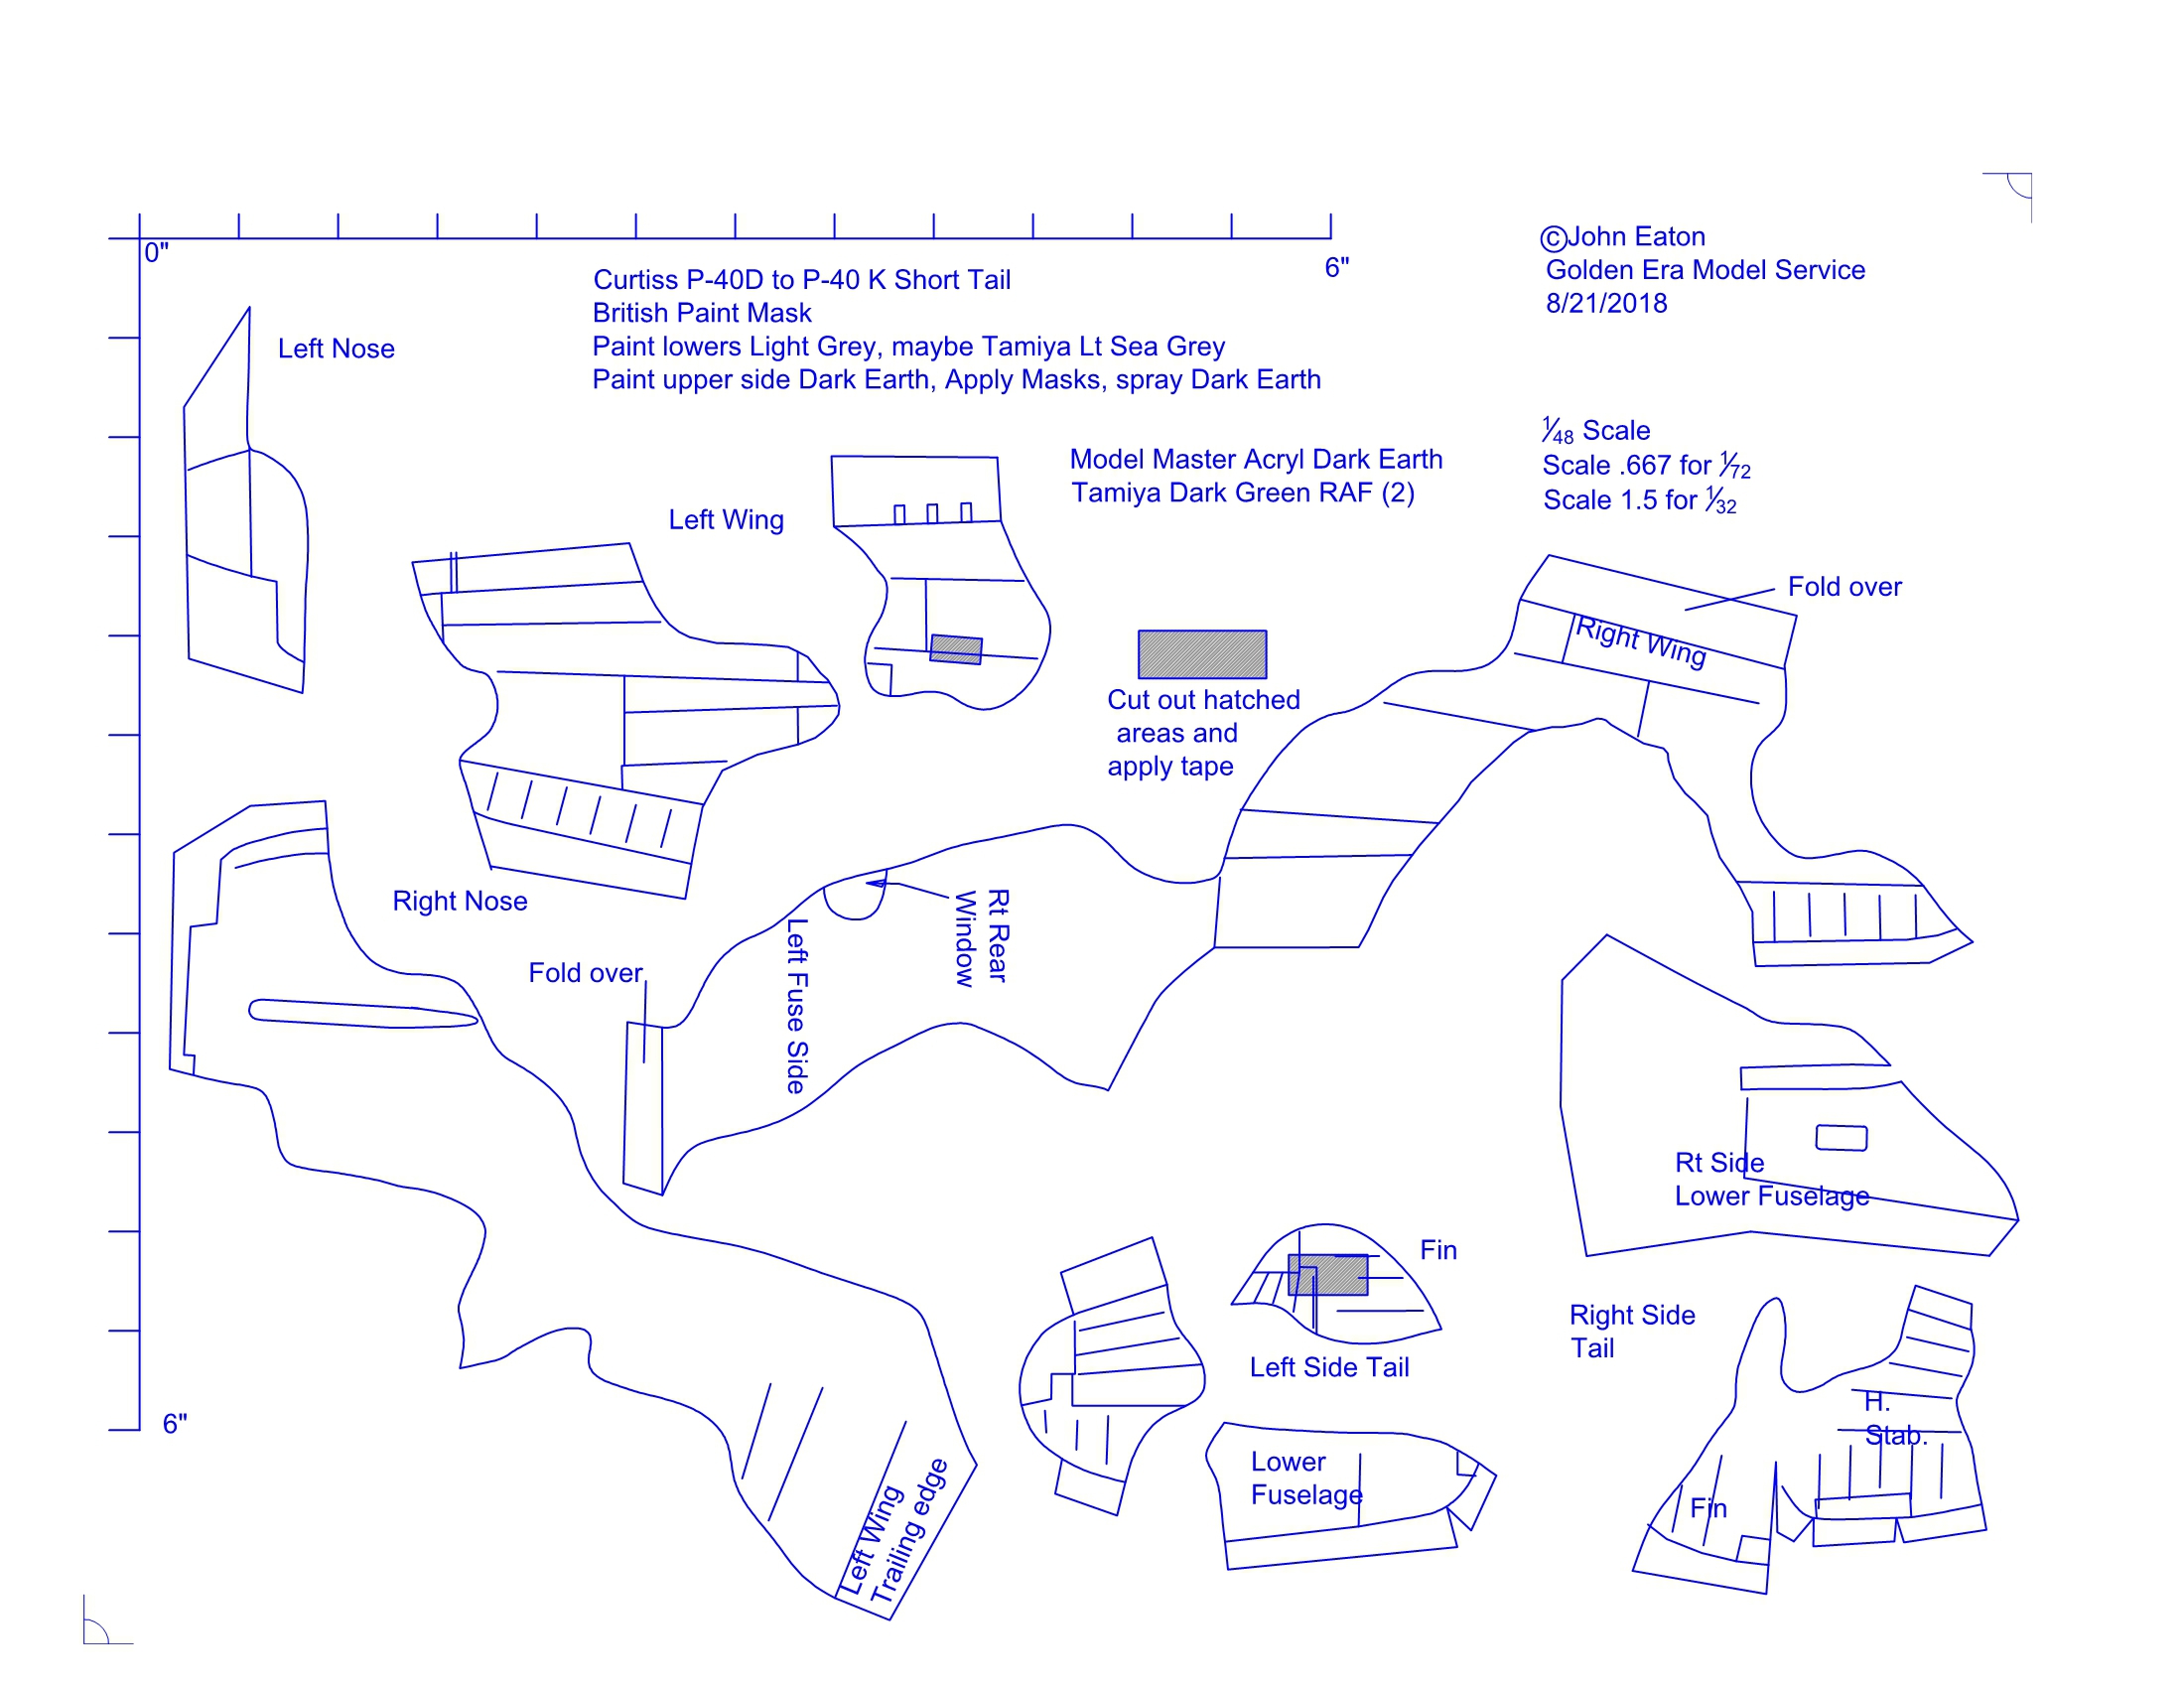
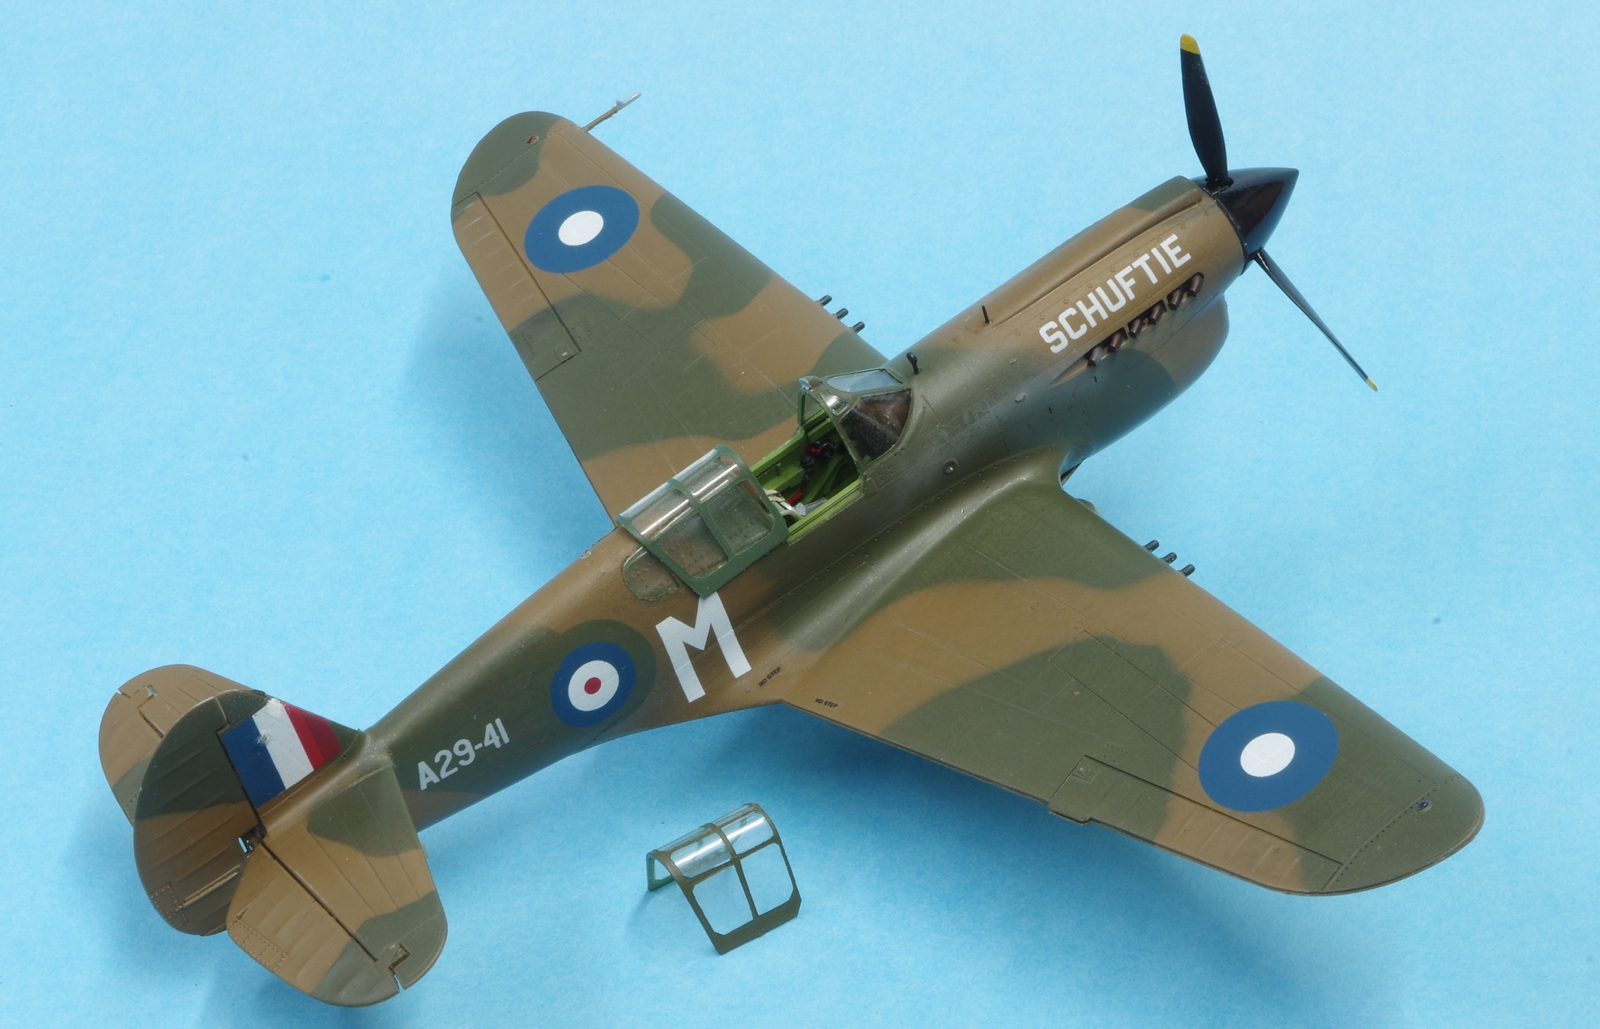
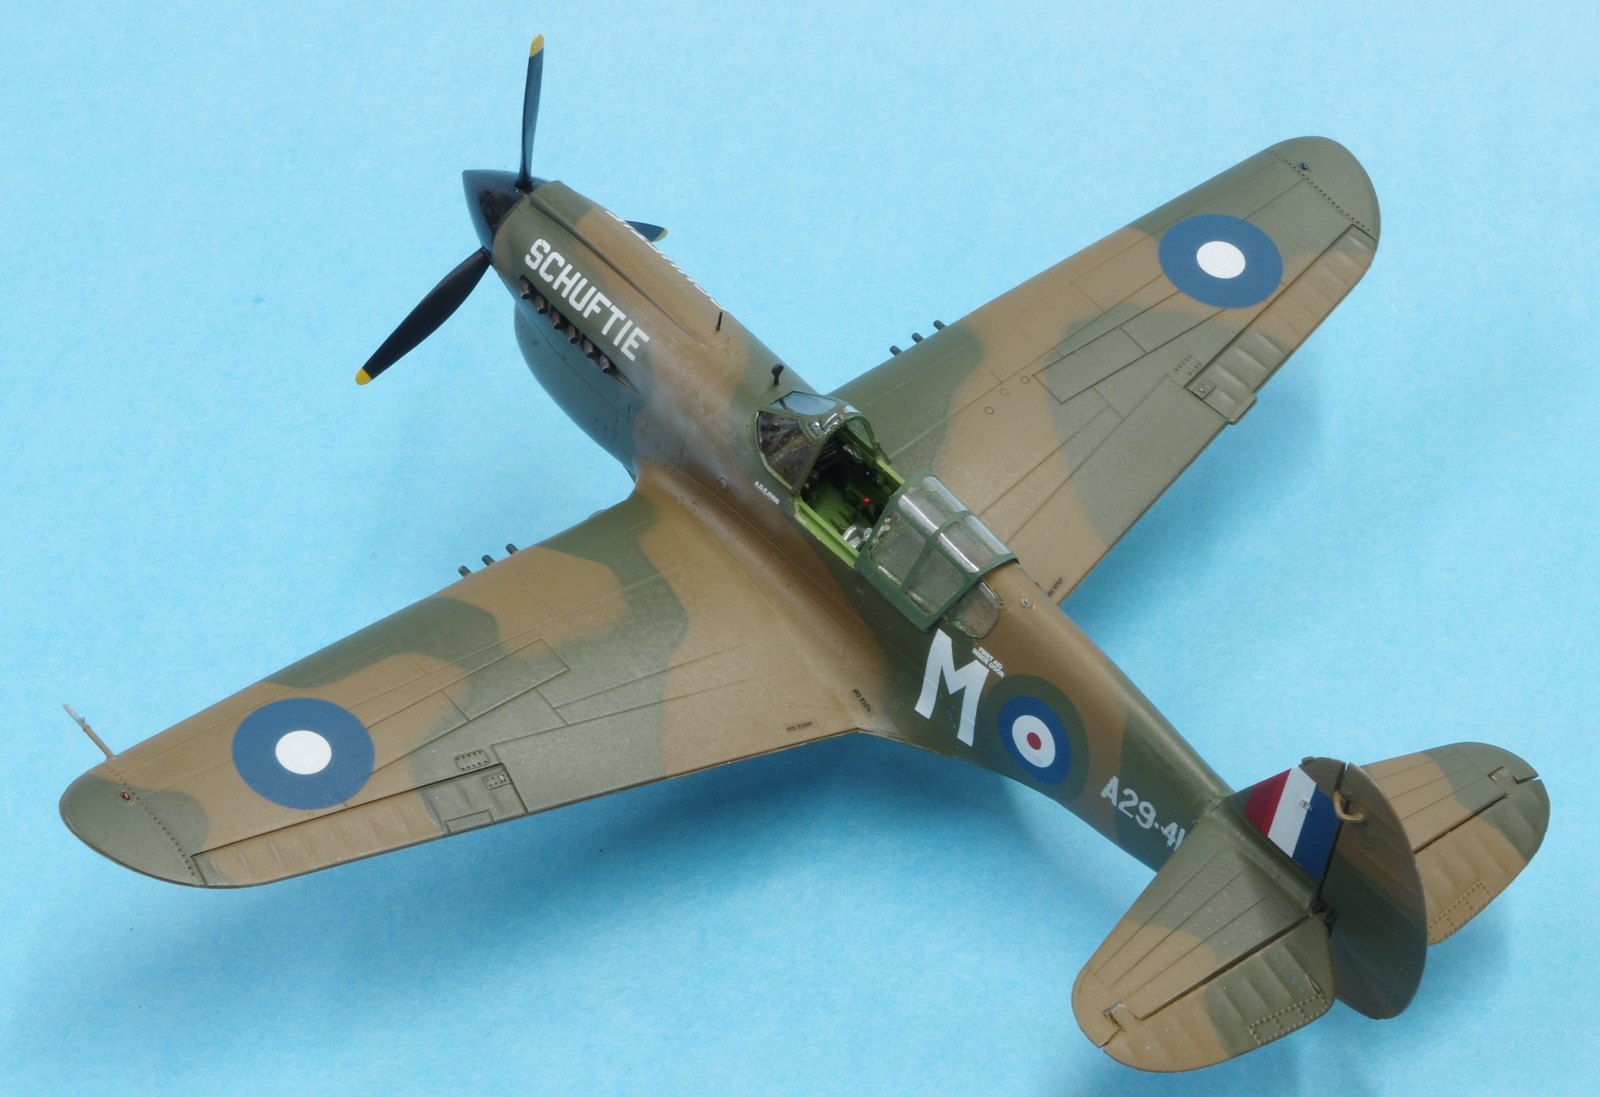
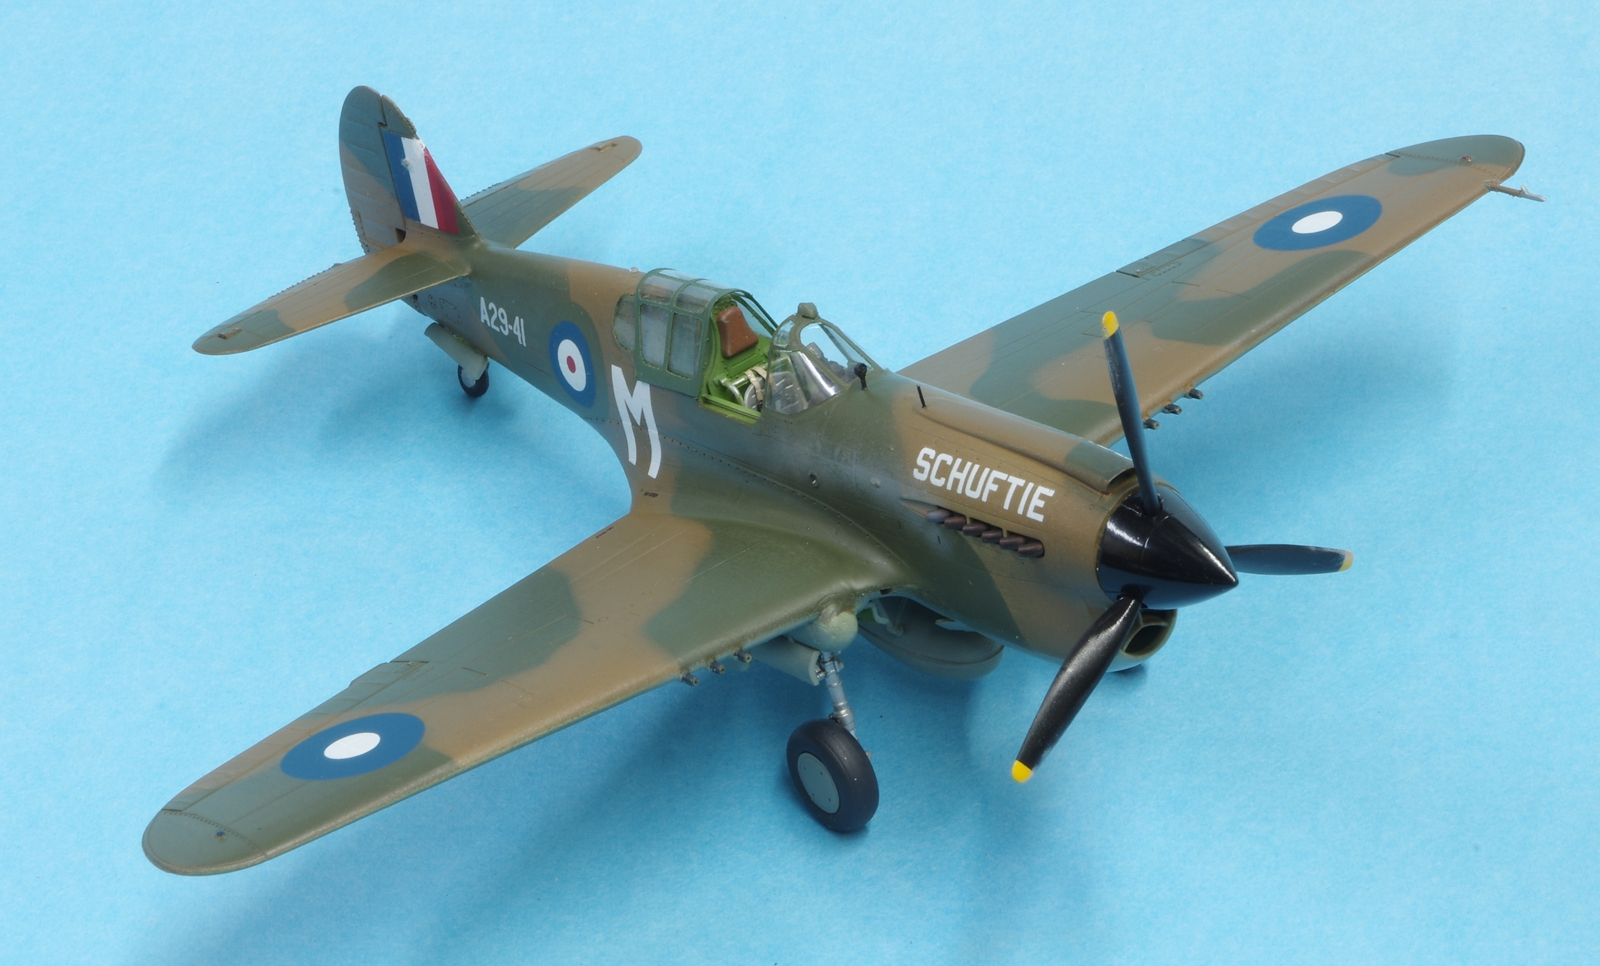
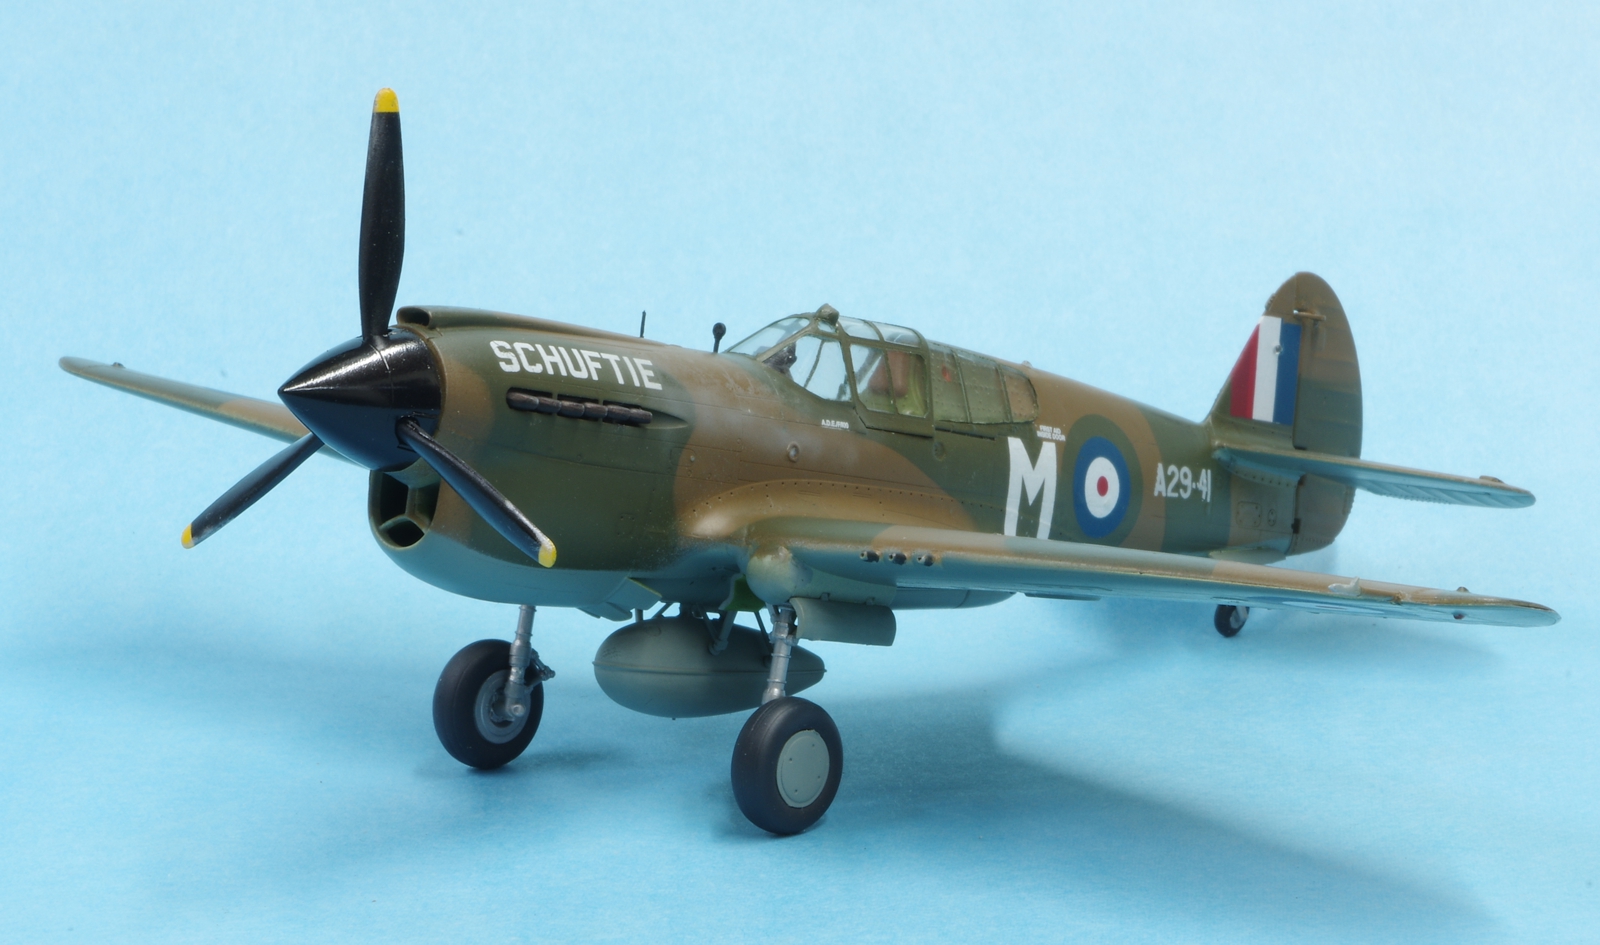
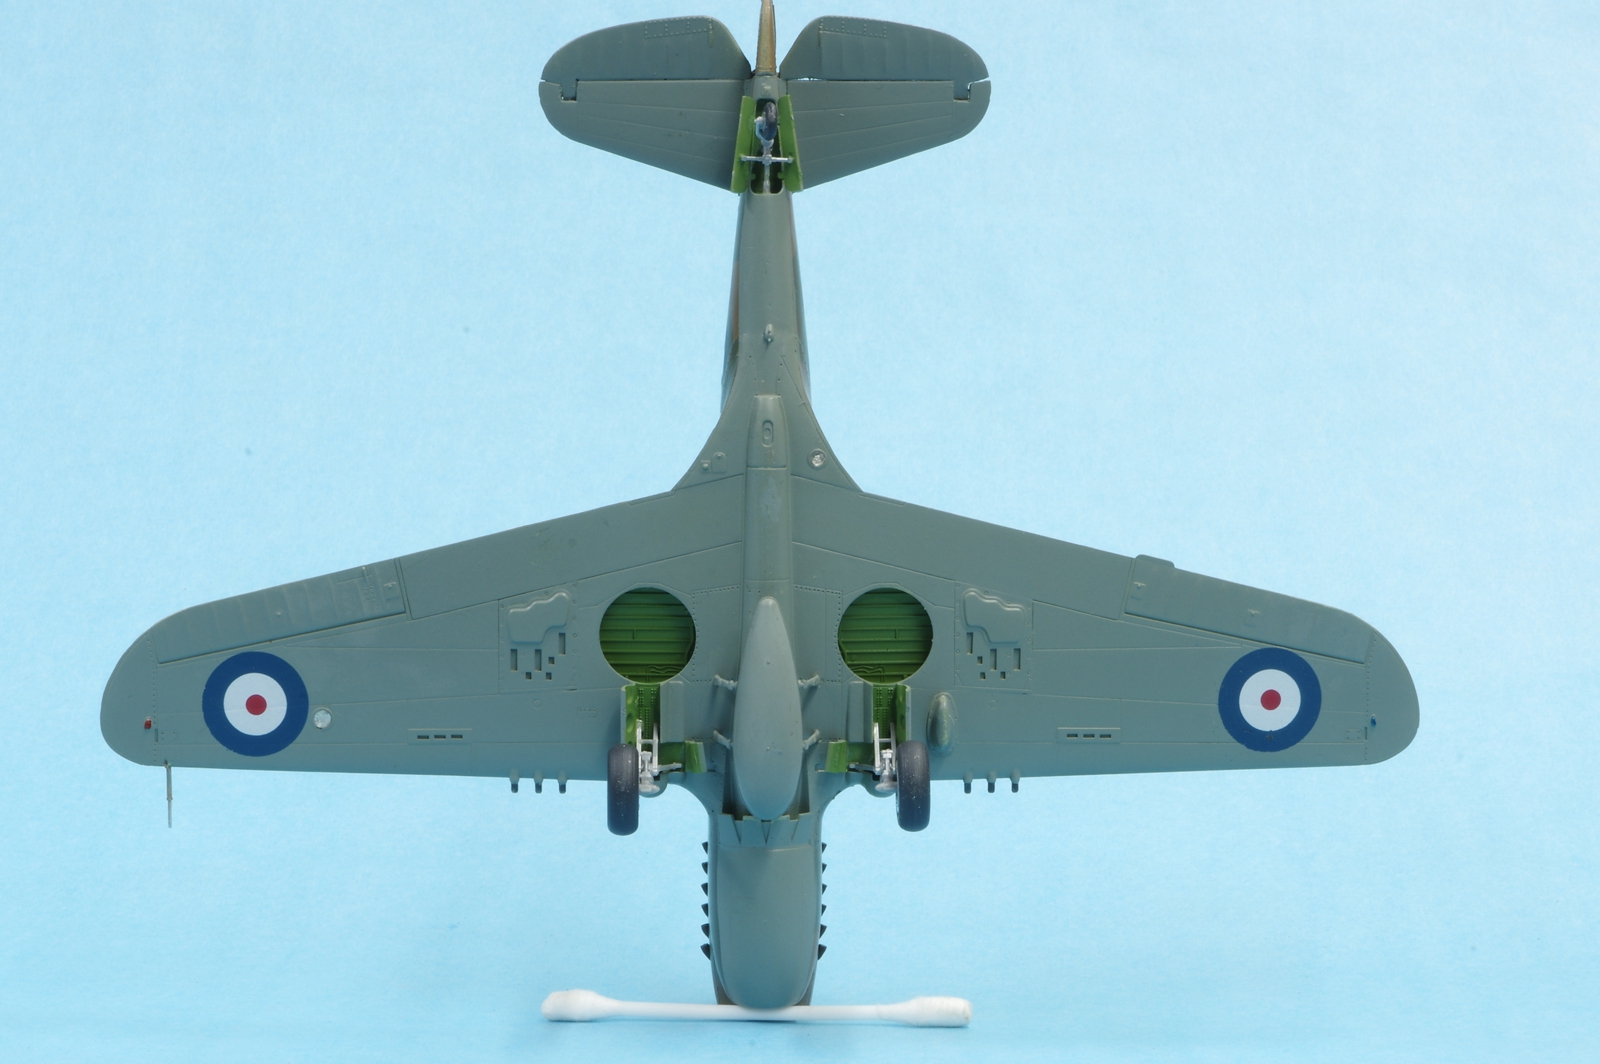
Seems like the only way I could allow enough time for paint to dry on the P-40N was to start another Hasegawa P-40. I even tried working on the B-26 but after a little painting I had to wait on that one too, so here we go. It's pretty much exactly like the last one, and after two days all the inserts are in and cleaned up and work has started on the interior. There was just about the same work on clean up for the inserts but different, plastic even in a Hasegawa kit I guess is not exactly the same as to how things shrink, perhaps. This has the short tail and the aft cockpit inserts are different, left and right instead of one part in the N kit and that made it easier to get those aligned with no external mismatch, I shifted the mismatch to the center seam.
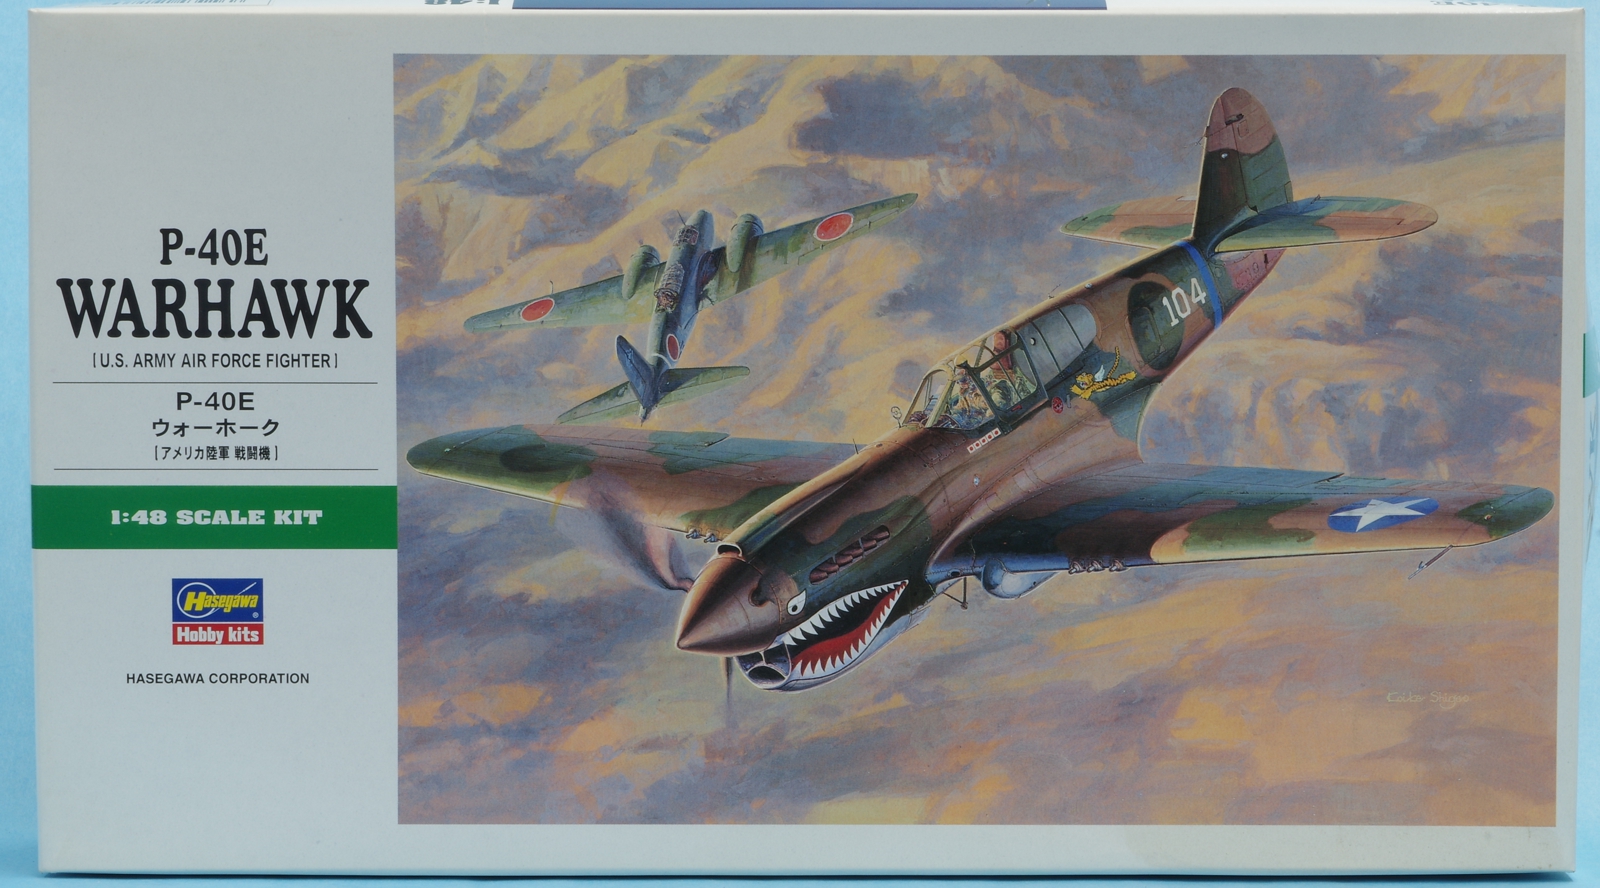
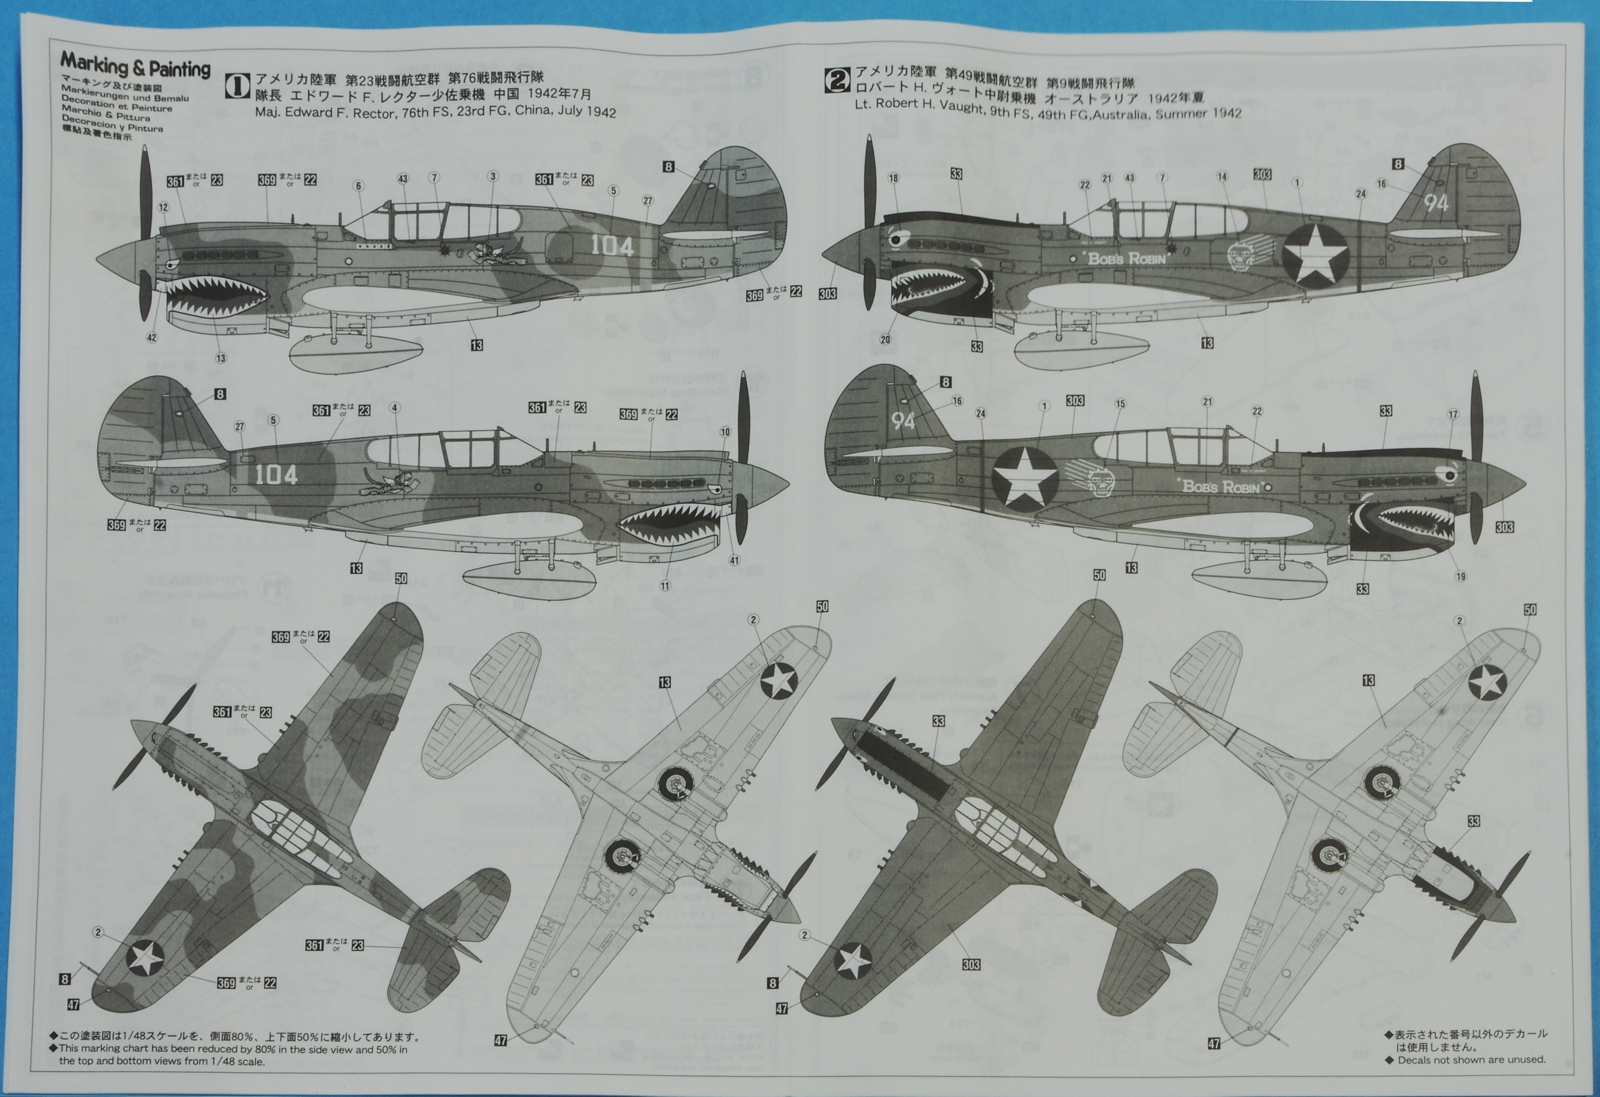
The box art and instruction color scheme page. Neither of these schemes excite me.
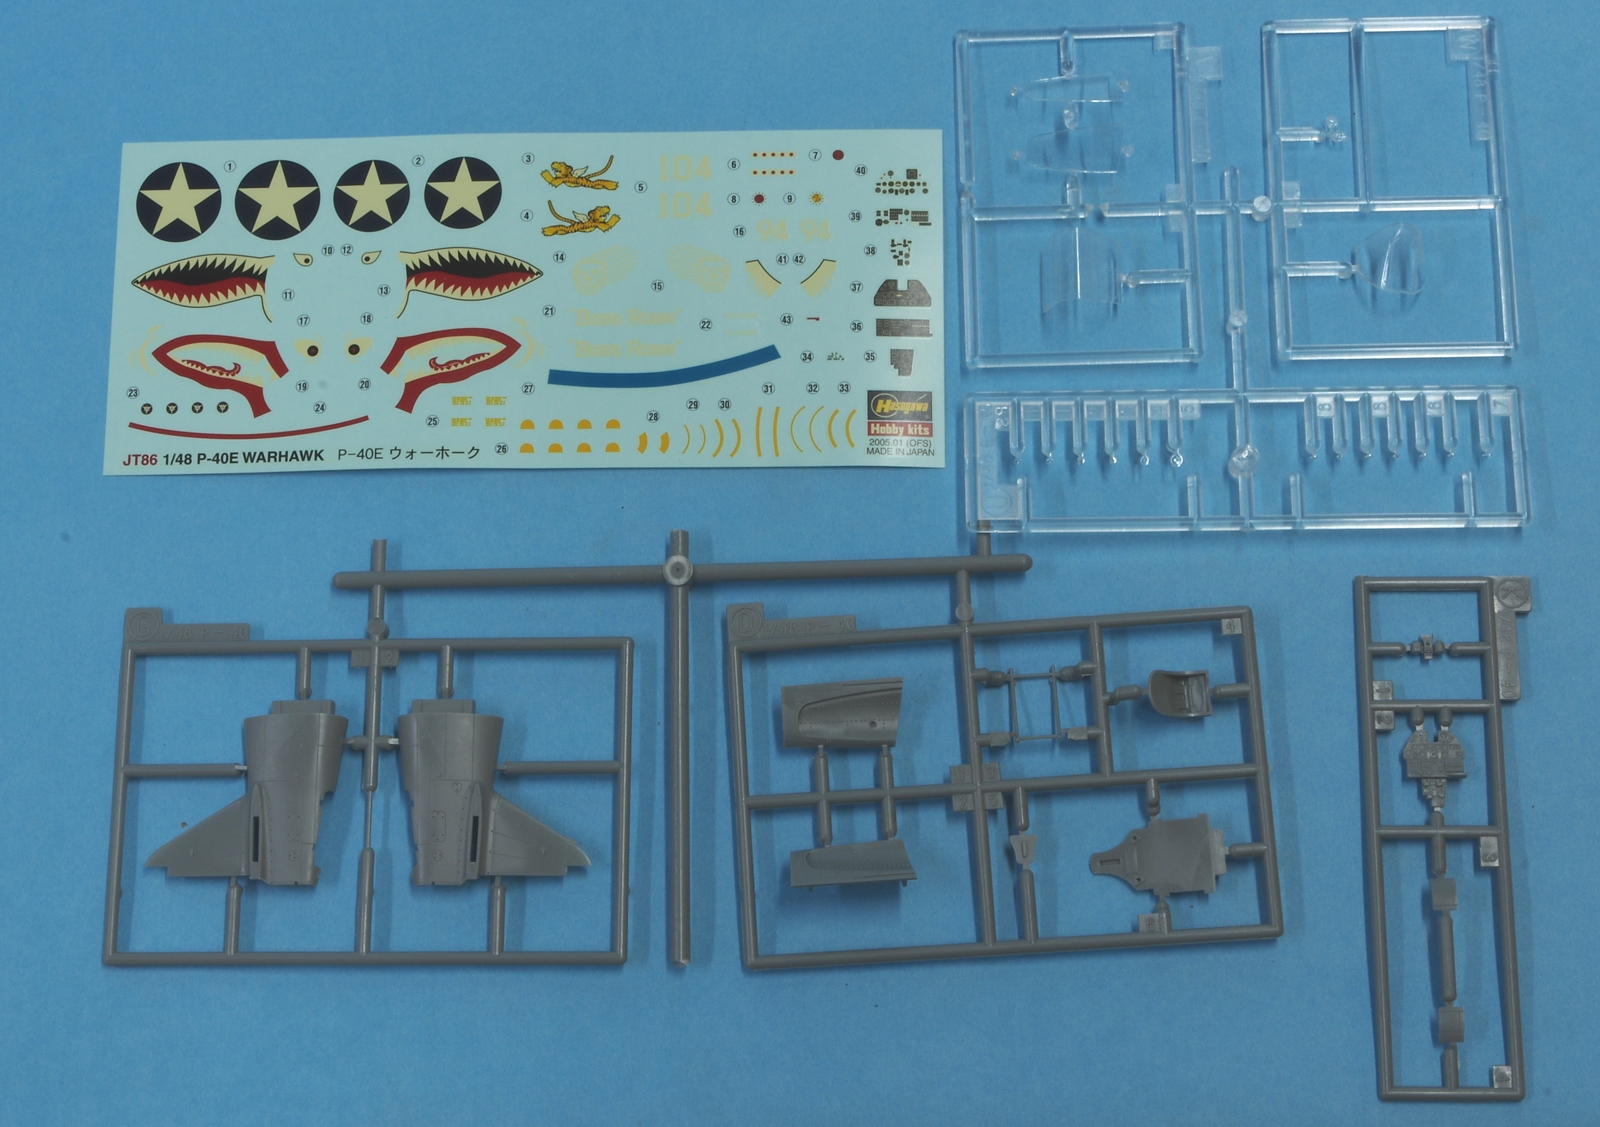
The parts that are different in the P-40E kit.
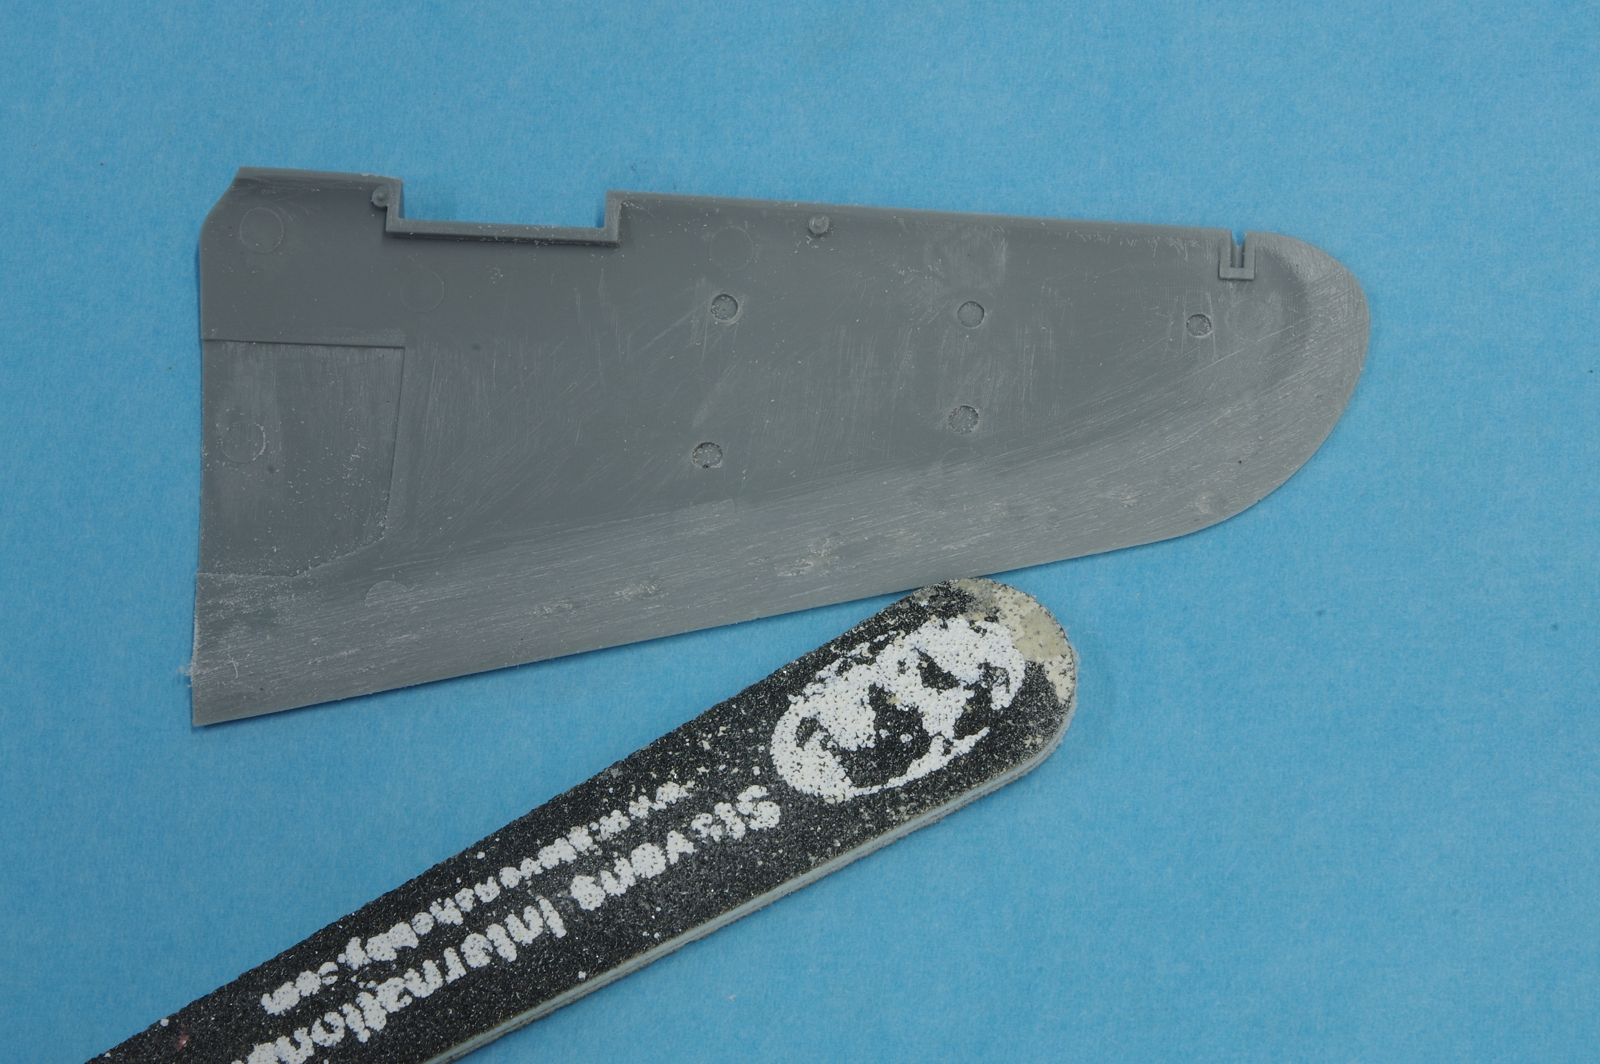
When I built the Hasegawa P-40N I was not satisfied with how well the wing trailing edges mated up. I used a Dremel tool with a barrel sander and this rough sanding stick to remove some material from the inside of the upper trailing edges and the fit was better.
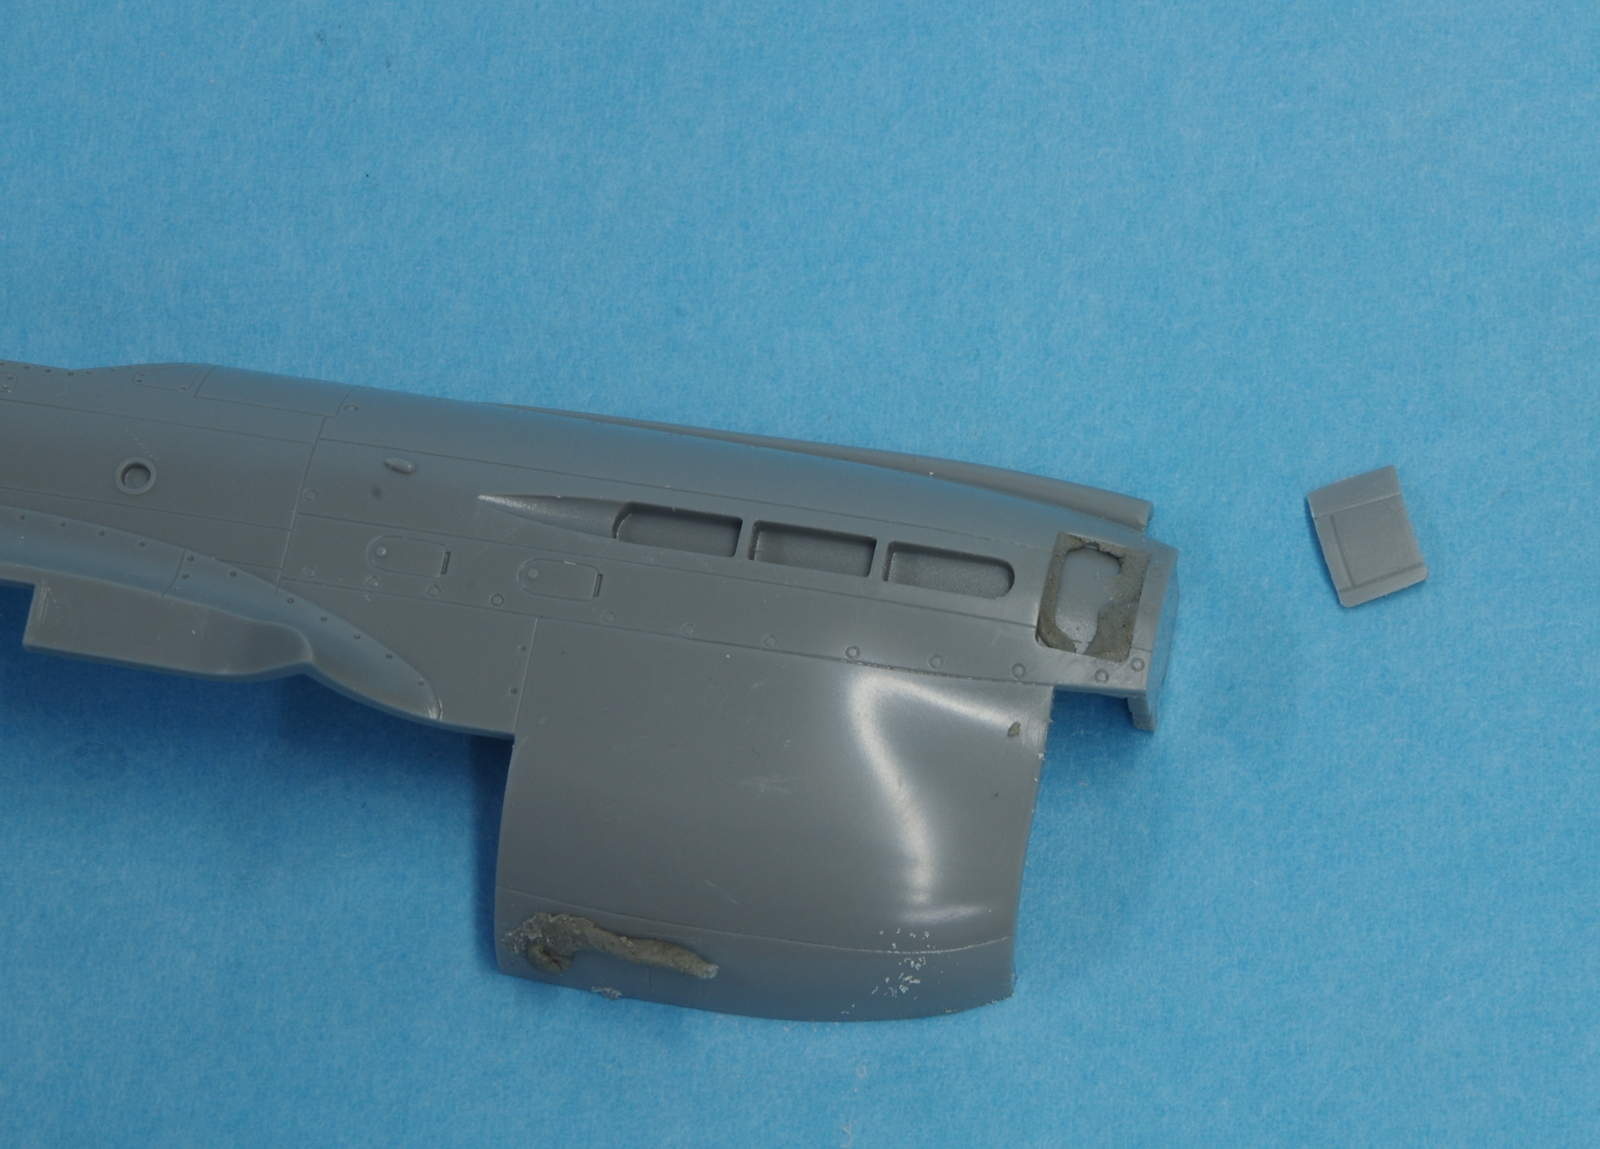
Never mind that worm on the bottom of the chin! To get a good fit on the upper nose inserts Aves Epoxy Sculpt was placed in the recess as shown
and the inserts were pressed in until they were flush with the surrounding surface. Excess epoxy was removed with a wet finger. And the worm.
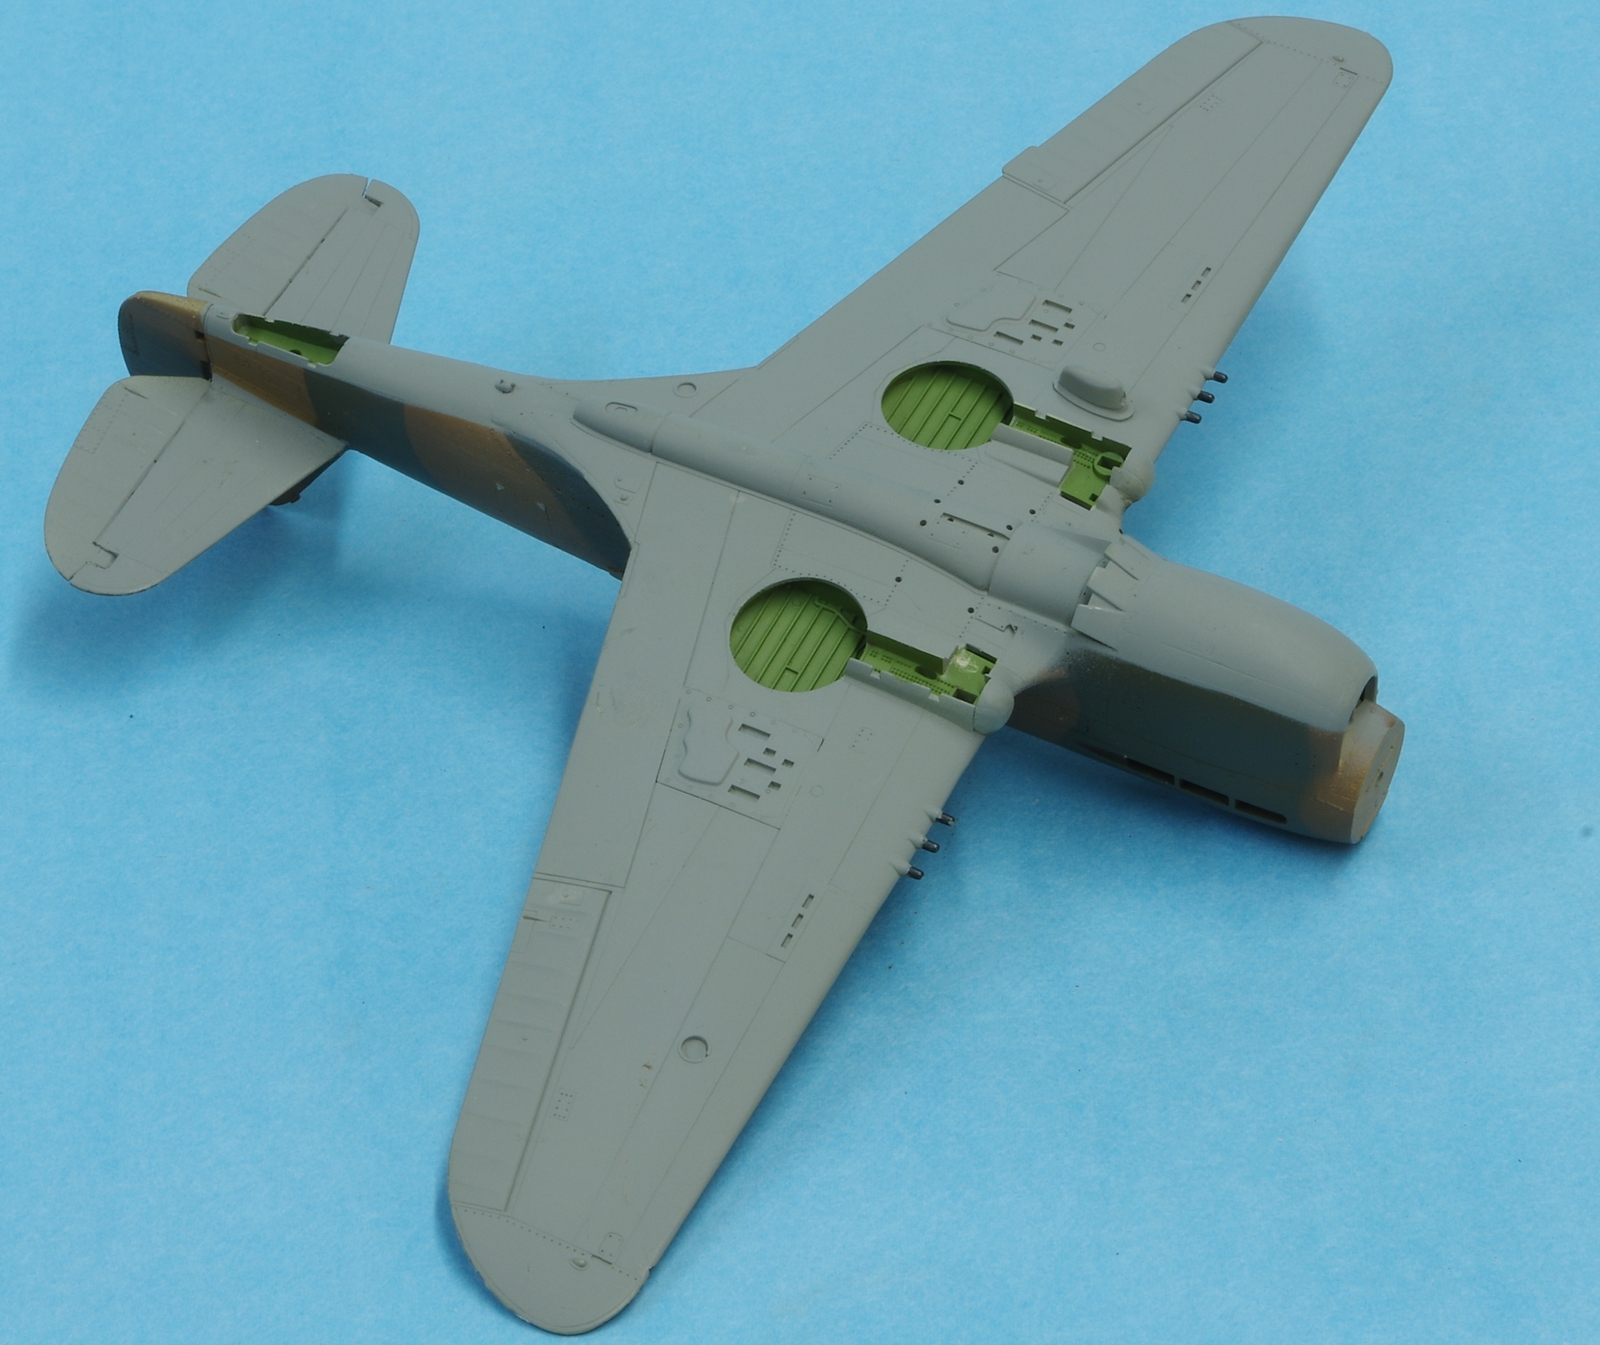
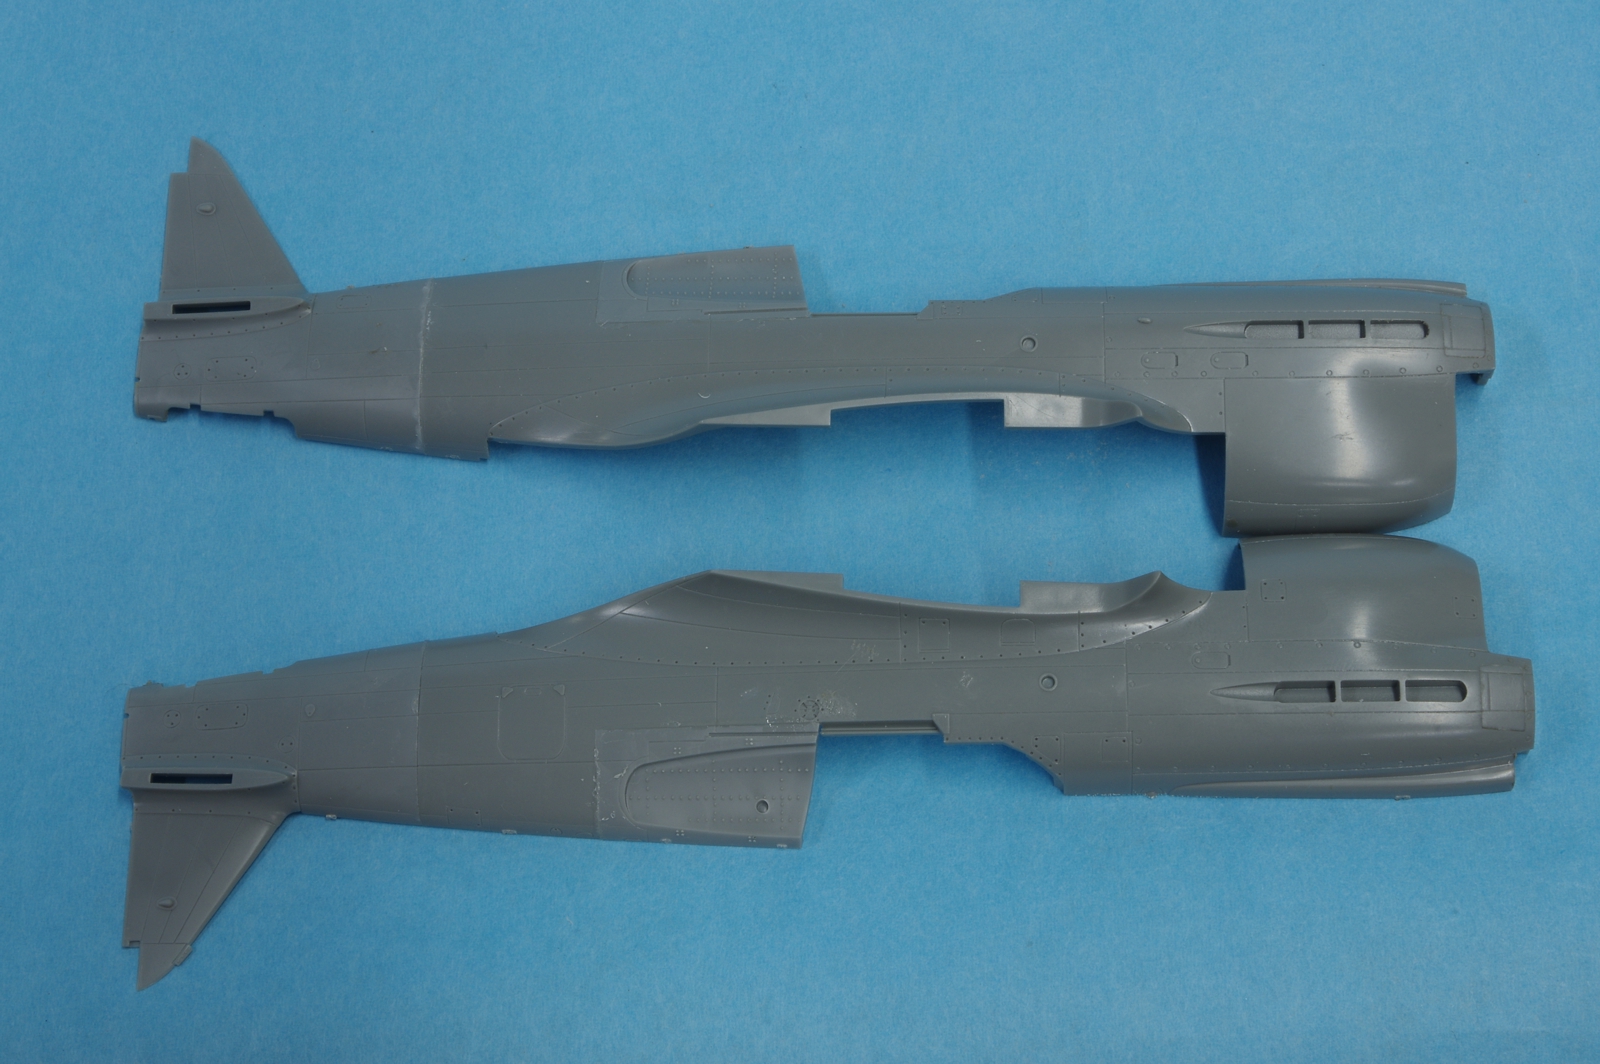
All the fuselage inserts are done here. Gel superglue was used on the tail joint and thick Testors cement from the black applicator with the steel tube was used for the aft cockpit insert.
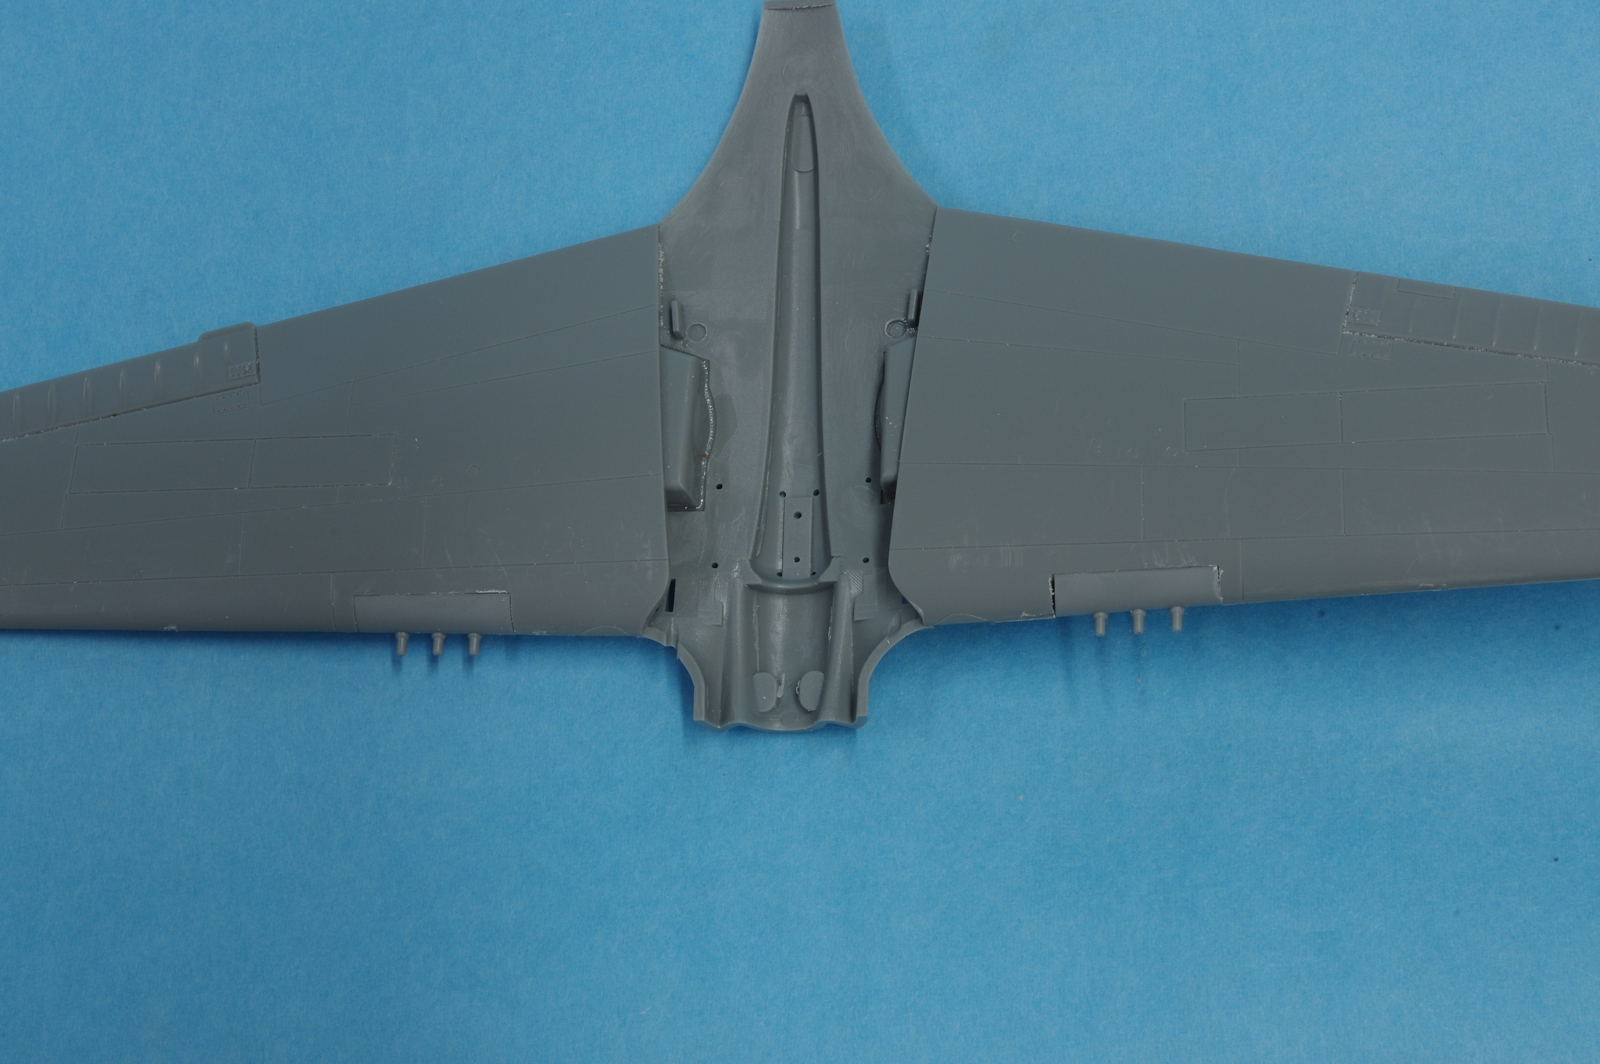
For some reason the wing inserts did not fit as well on the ends as on the P-40N kit. I set the best vertical alignment I
could on the bottom because it is easier to work on the upper wing surface without damaging the gun barrel detail.
The box art and instruction color scheme page. Neither of these schemes excite me.


The parts that are different in the P-40E kit.

When I built the Hasegawa P-40N I was not satisfied with how well the wing trailing edges mated up. I used a Dremel tool with a barrel sander and this rough sanding stick to remove some material from the inside of the upper trailing edges and the fit was better.

Never mind that worm on the bottom of the chin! To get a good fit on the upper nose inserts Aves Epoxy Sculpt was placed in the recess as shown
and the inserts were pressed in until they were flush with the surrounding surface. Excess epoxy was removed with a wet finger. And the worm.

All the fuselage inserts are done here. Gel superglue was used on the tail joint and thick Testors cement from the black applicator with the steel tube was used for the aft cockpit insert.

For some reason the wing inserts did not fit as well on the ends as on the P-40N kit. I set the best vertical alignment I
could on the bottom because it is easier to work on the upper wing surface without damaging the gun barrel detail.


 :dude
:dude 
