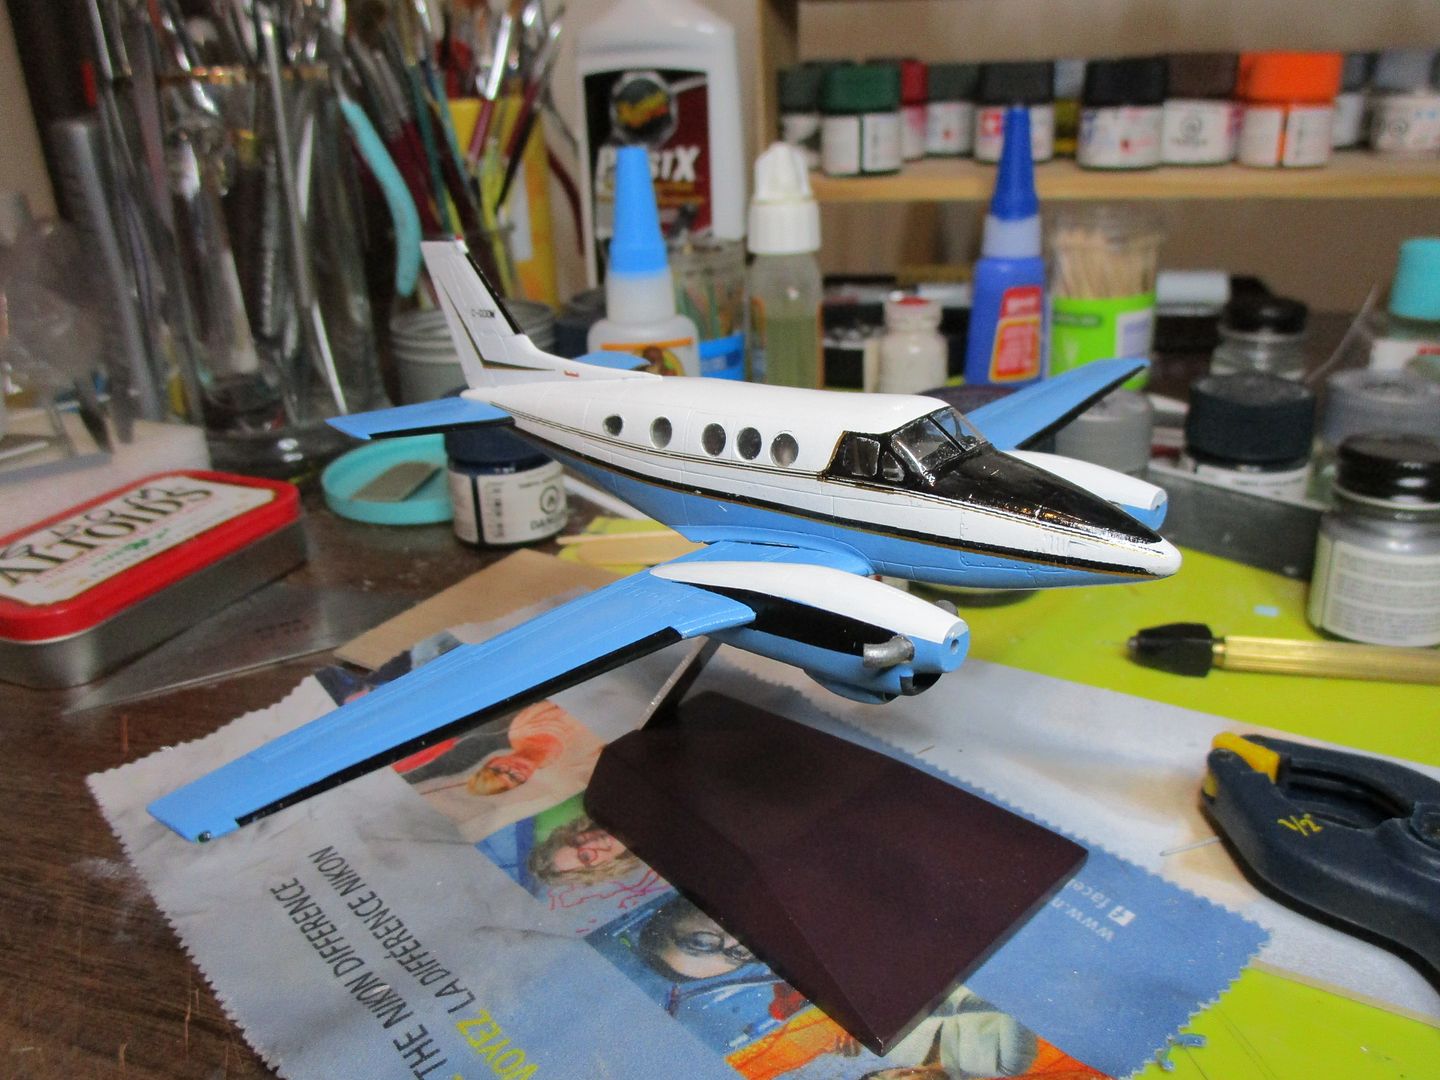
Well, I've done Beech, namely this one...
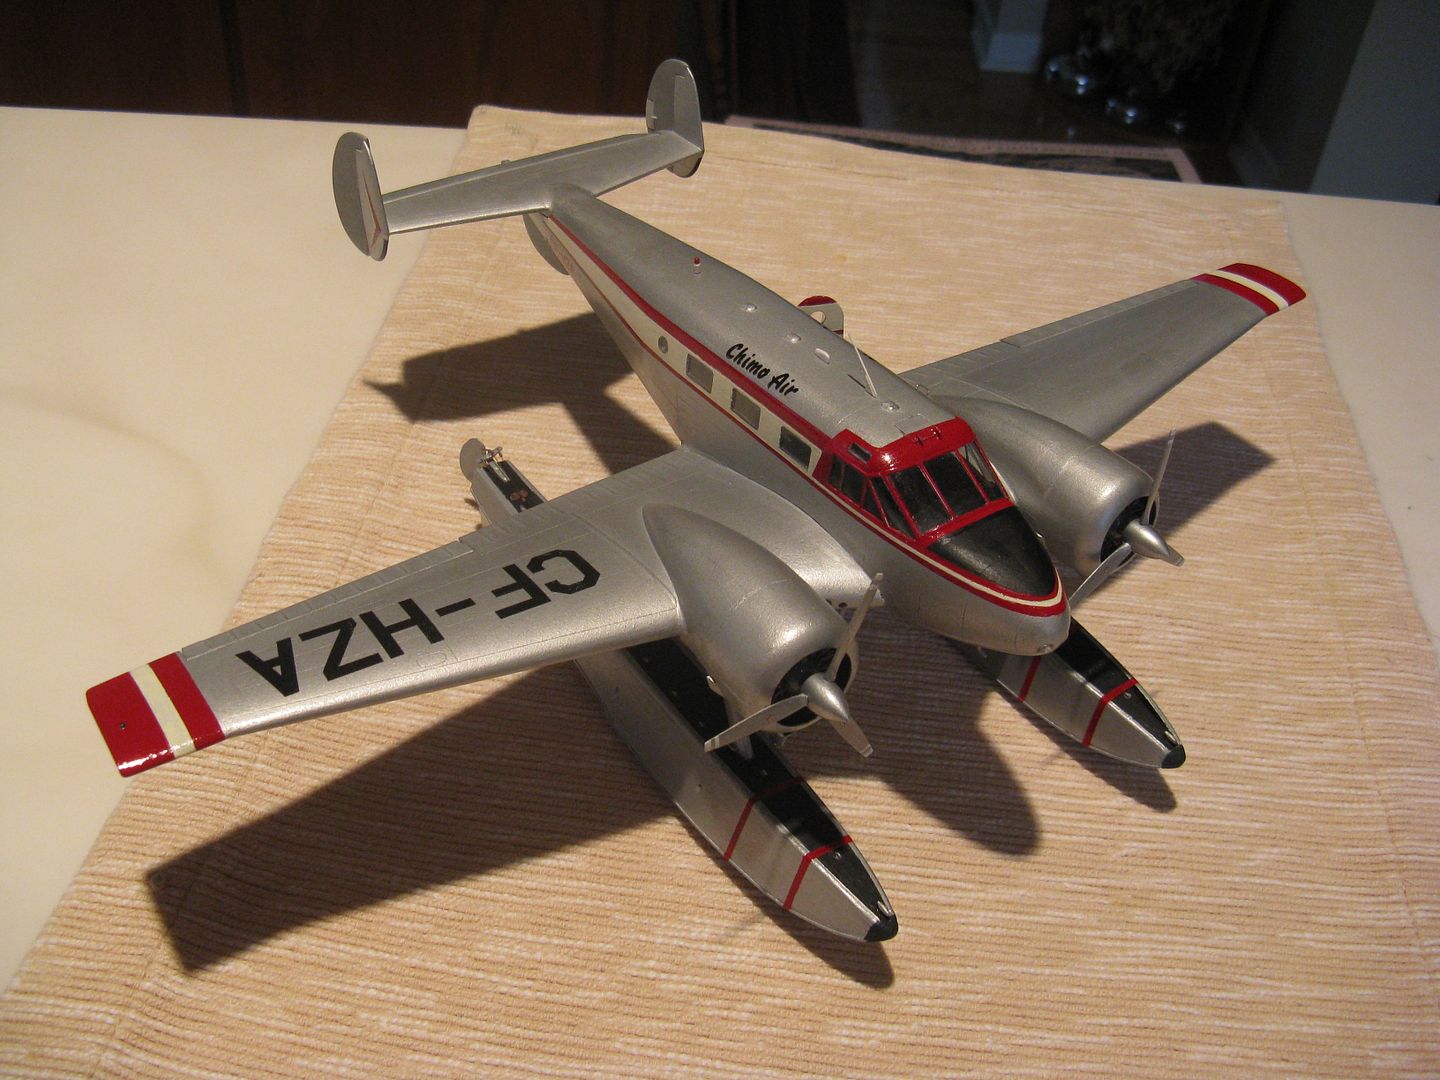
...And Son of Beech...
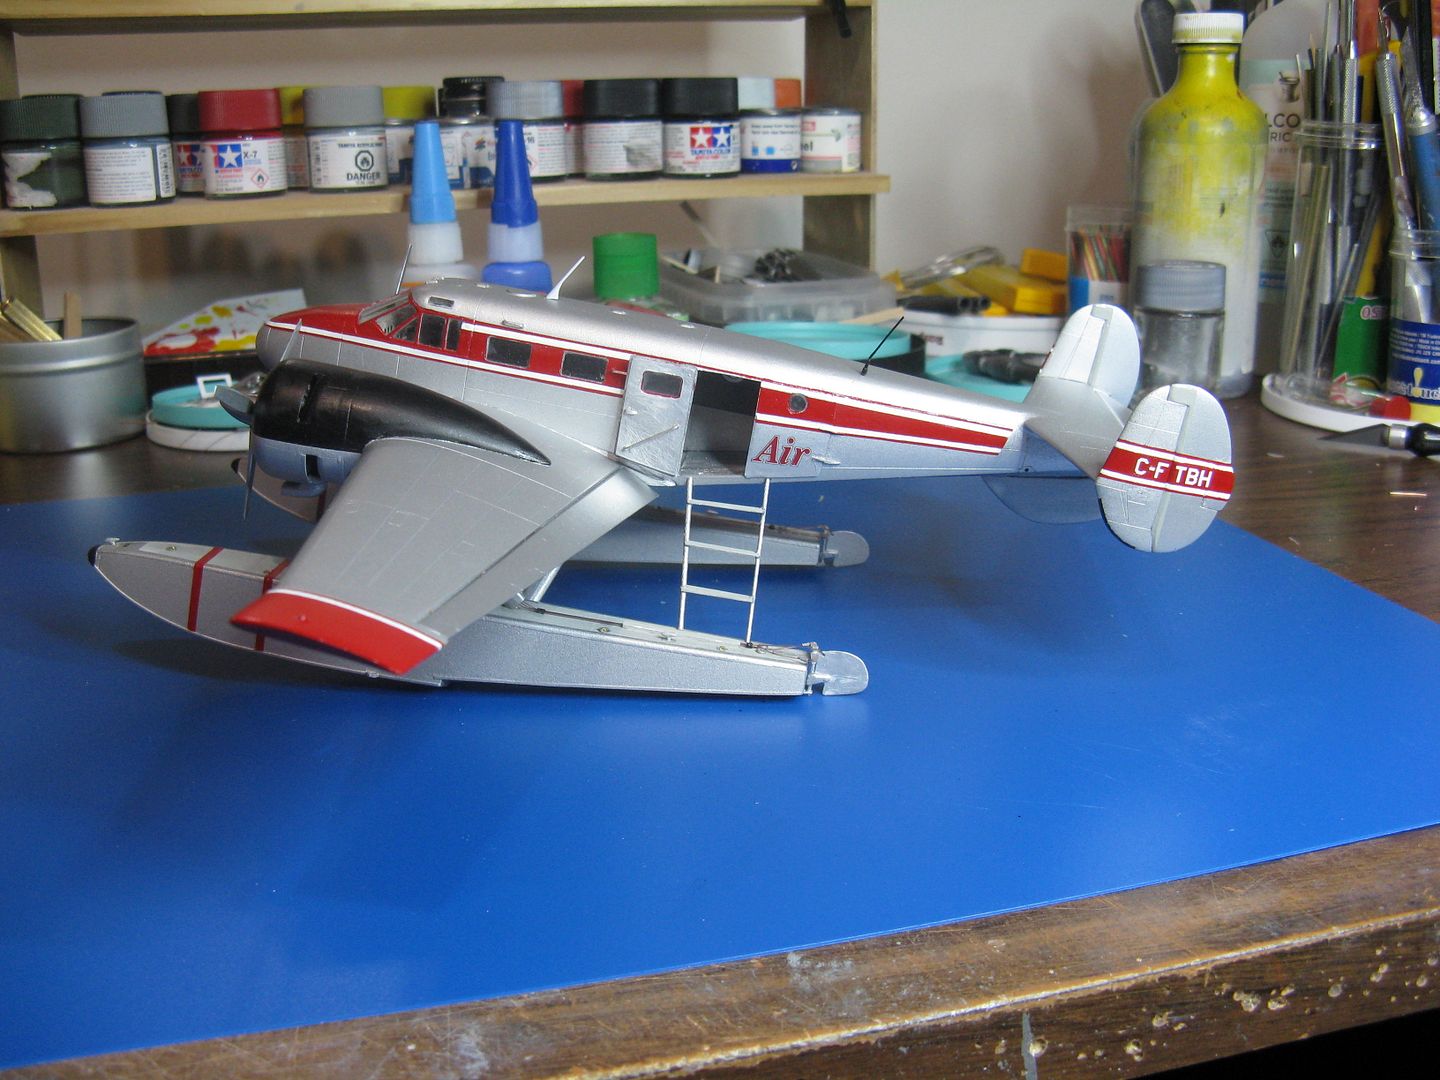
…So what's left except Grandson of Beech?
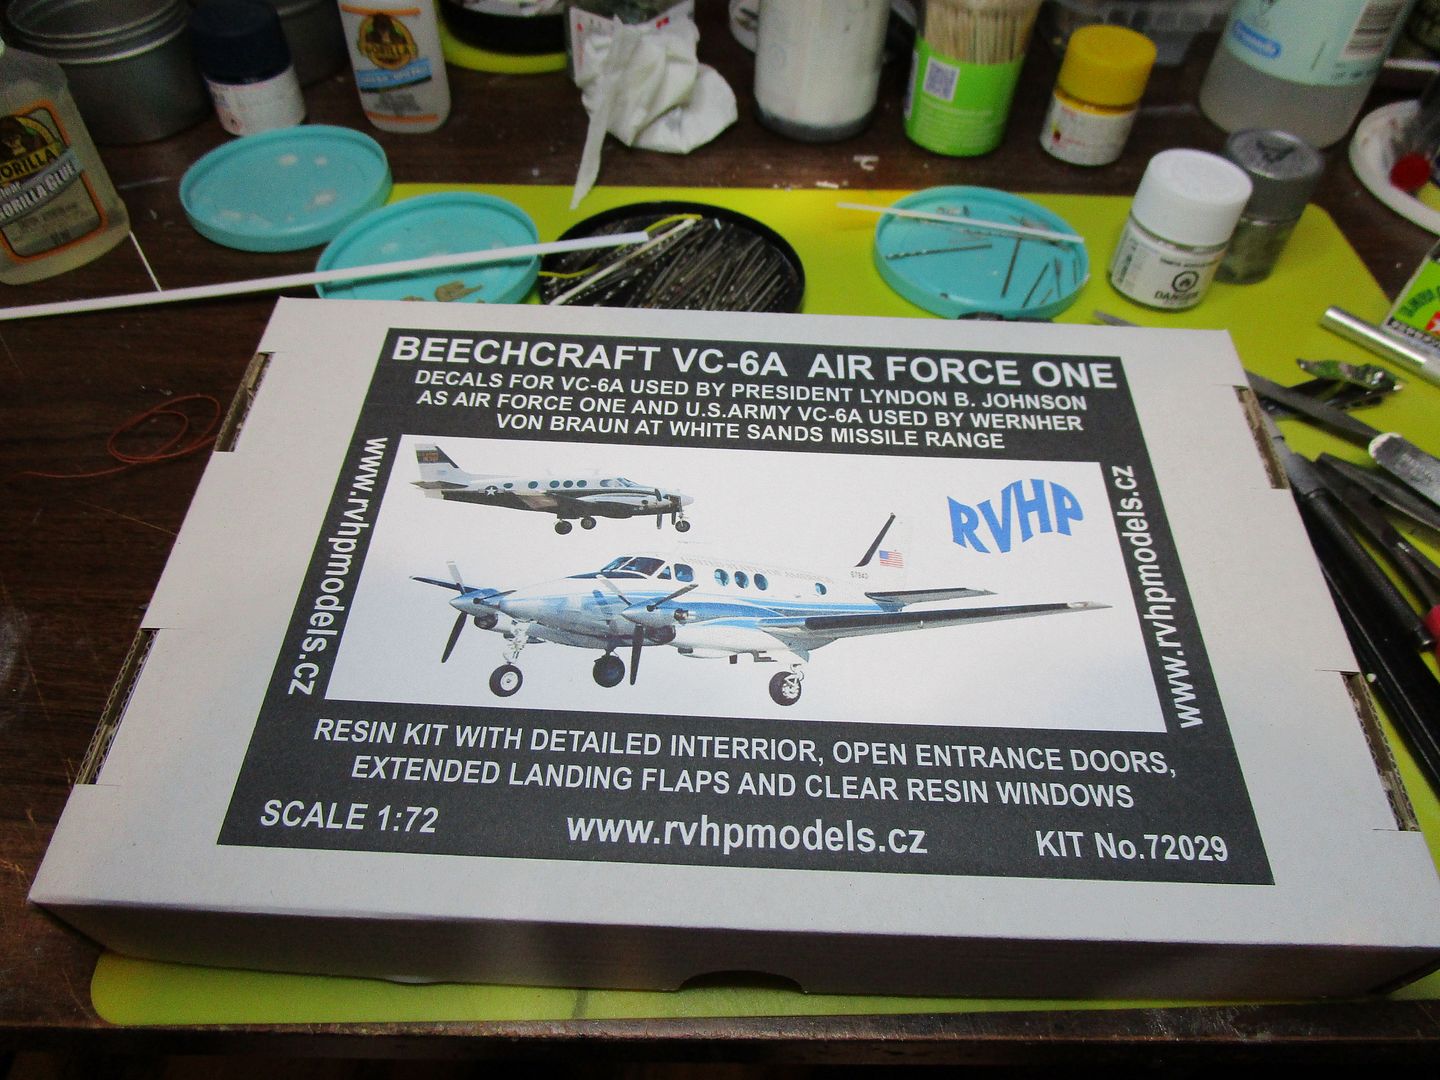
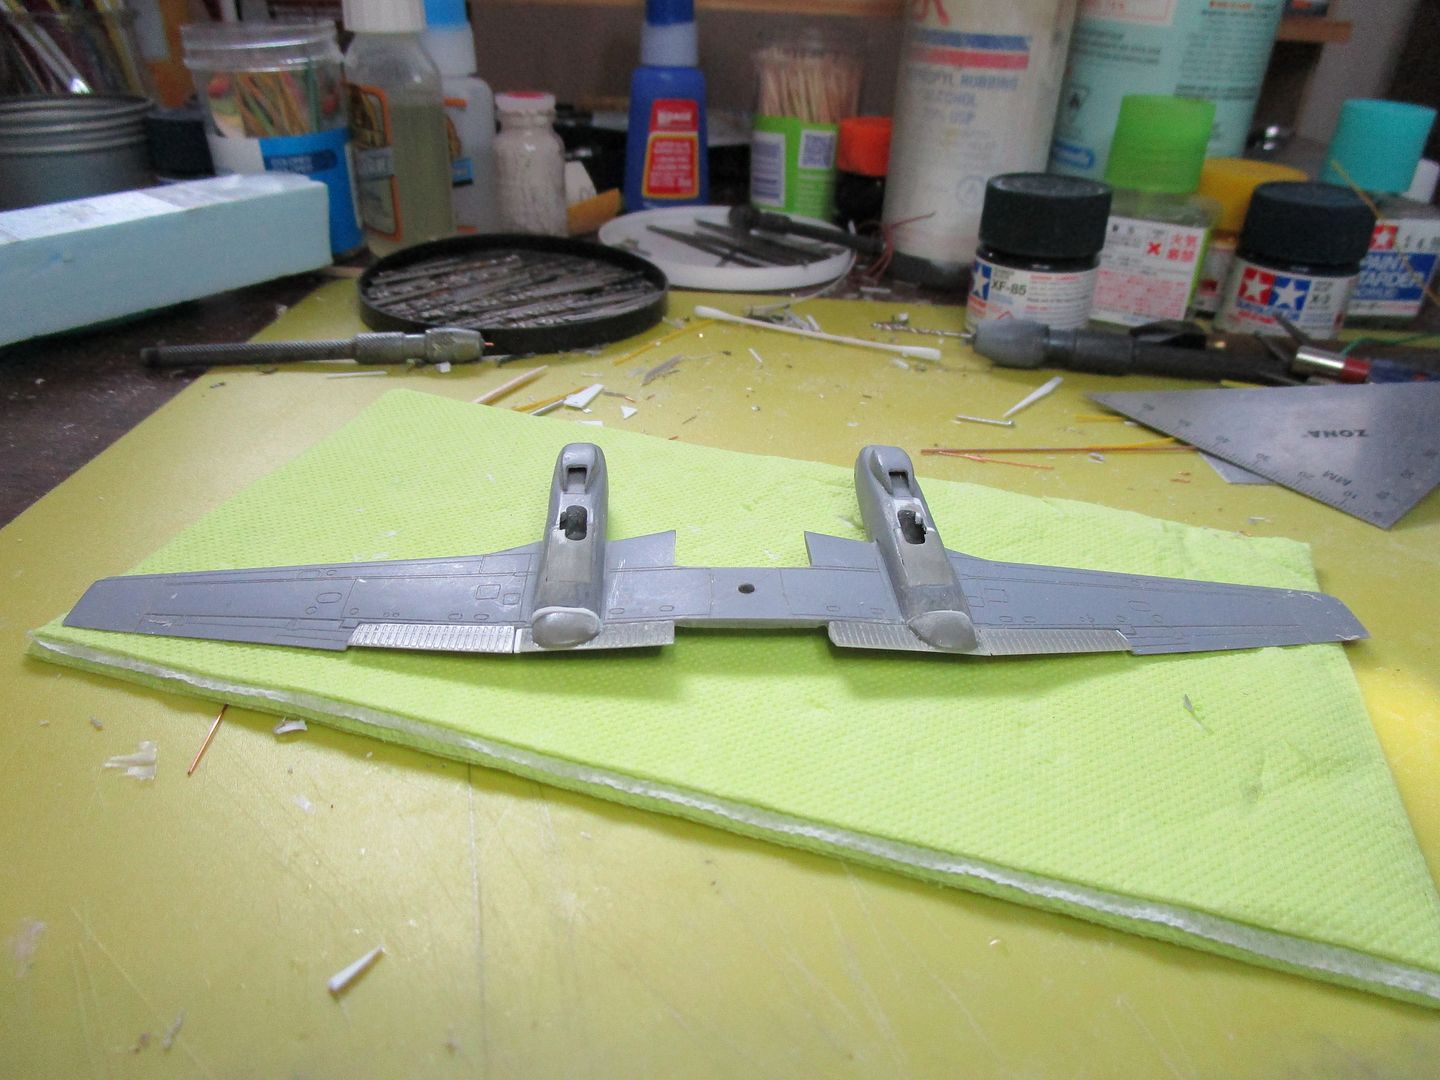
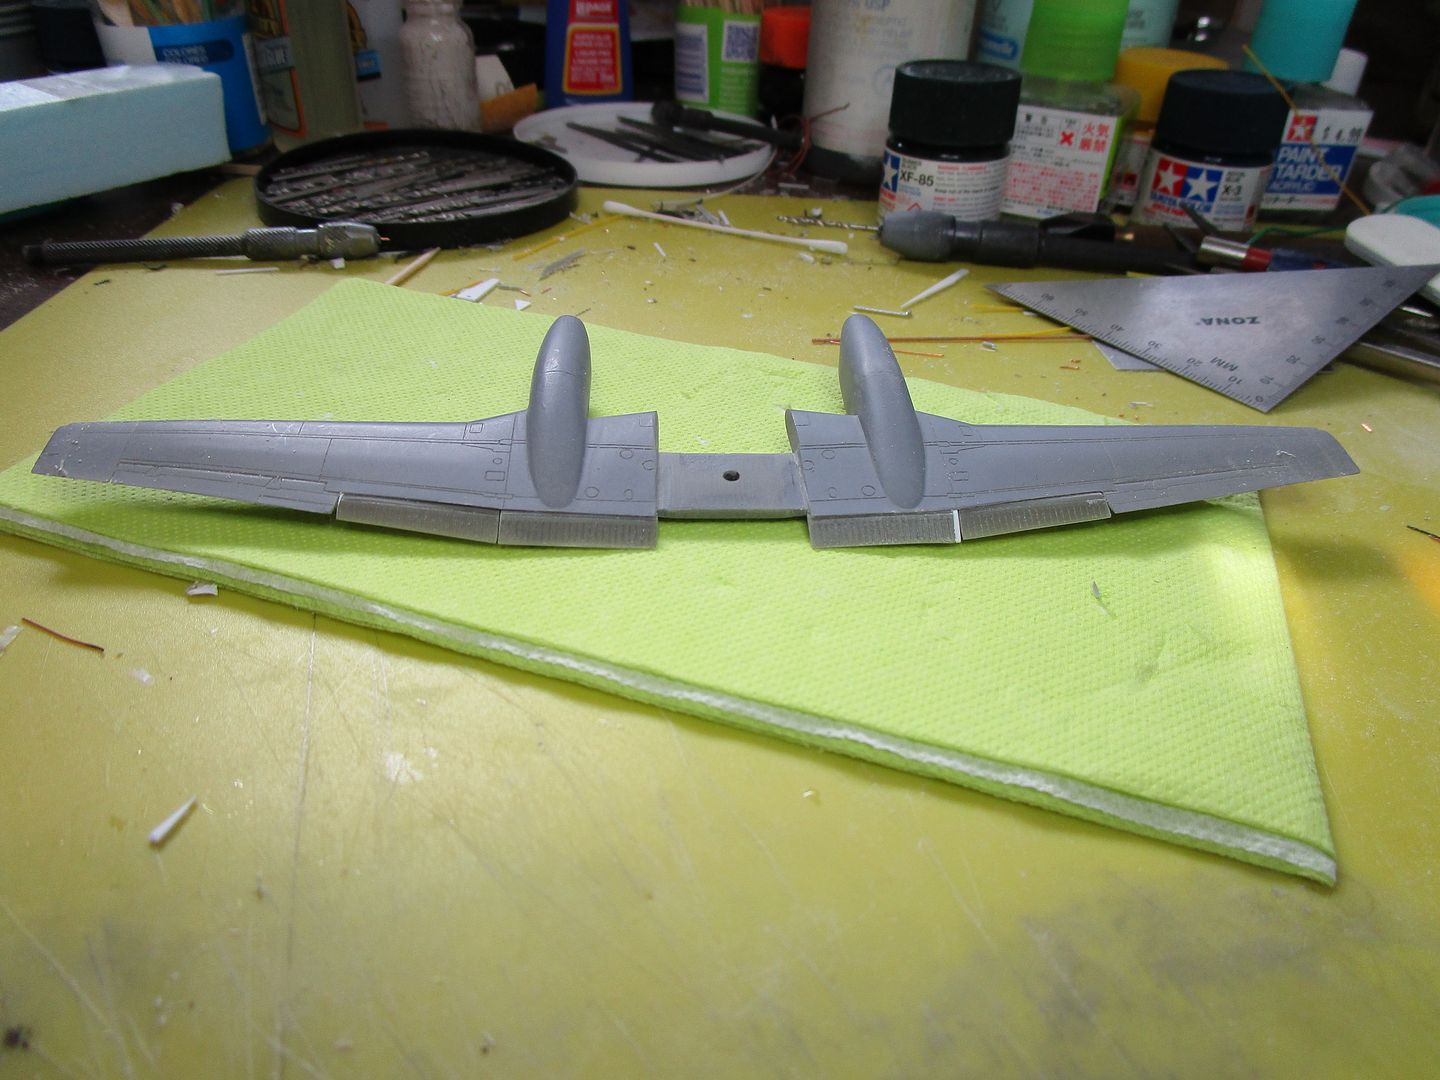
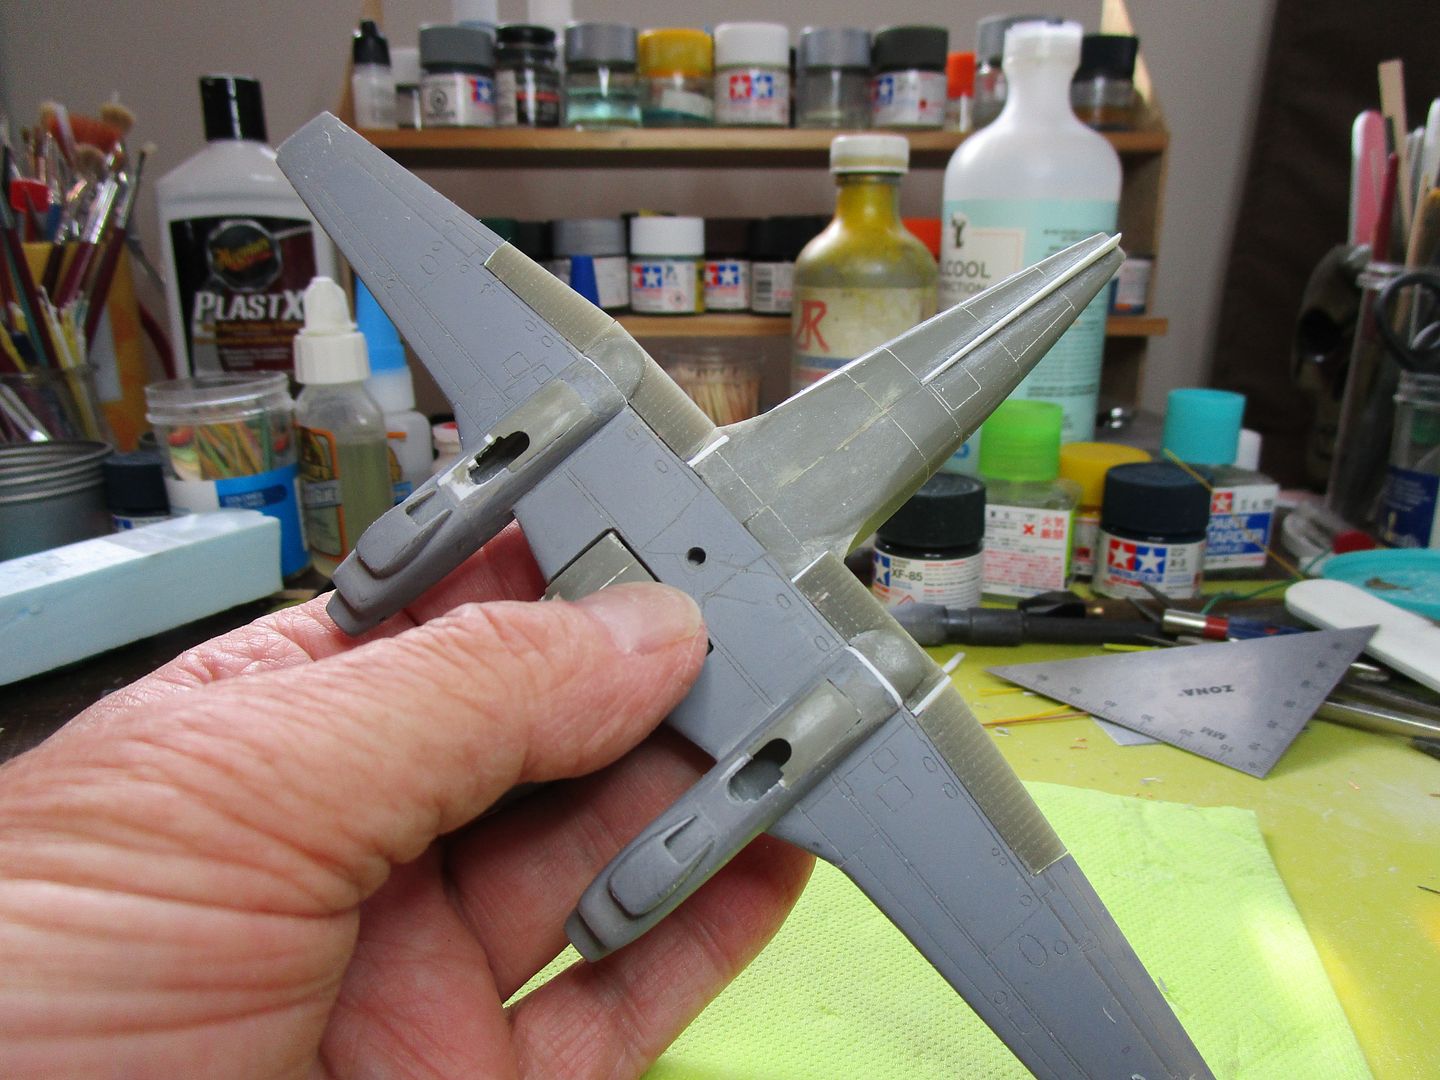
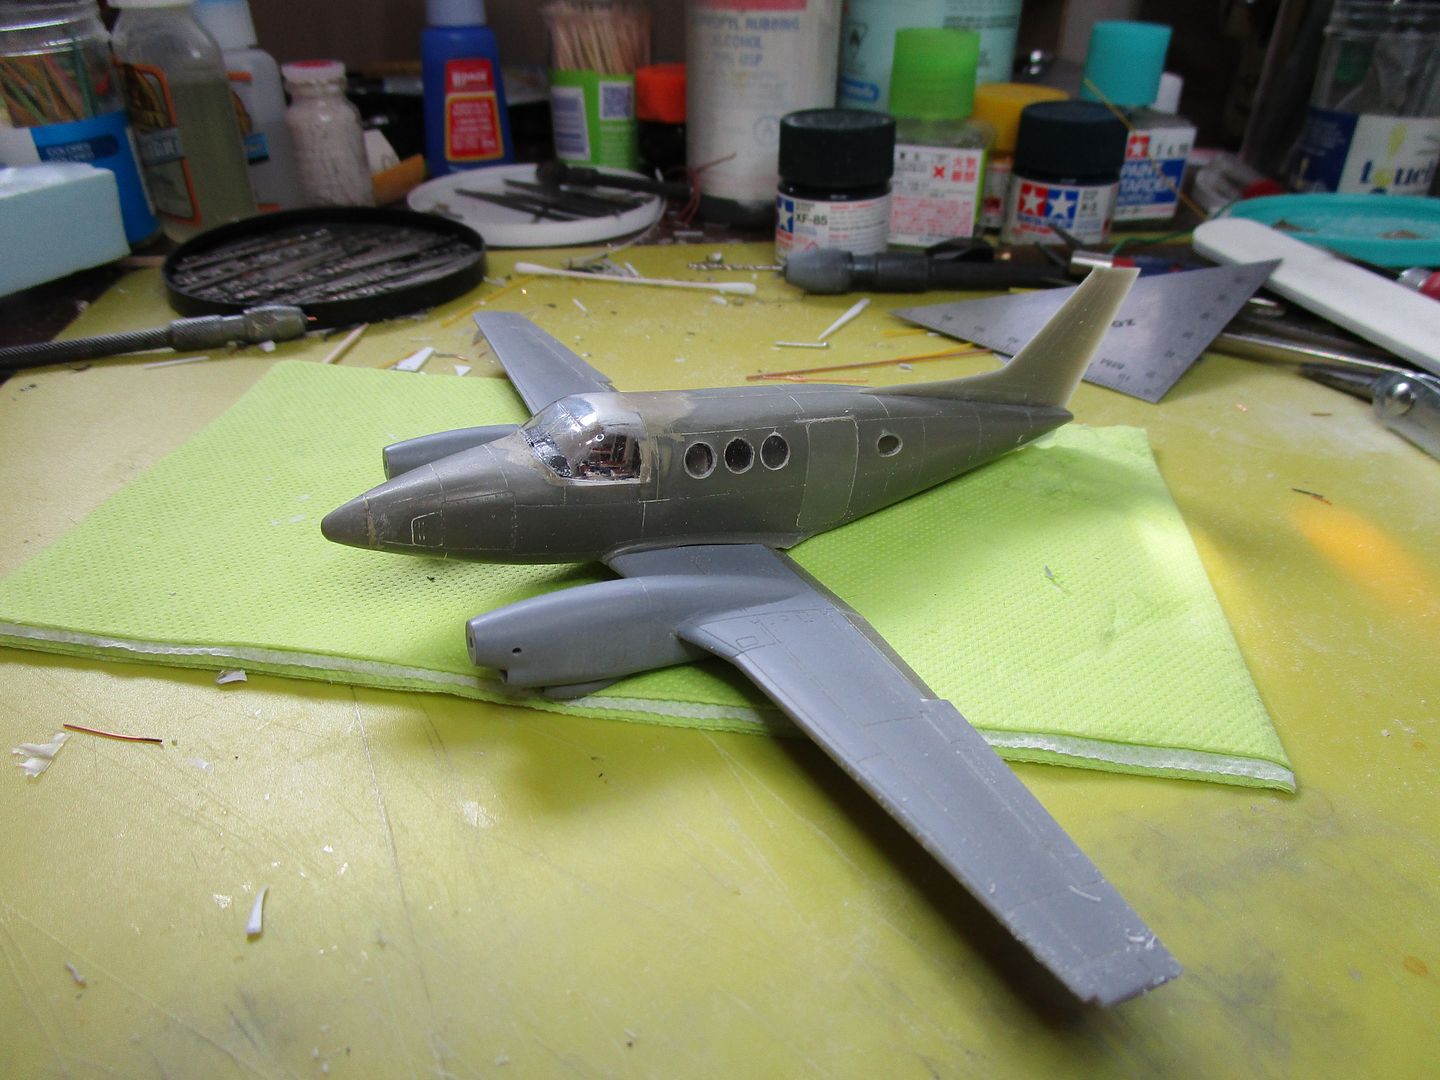
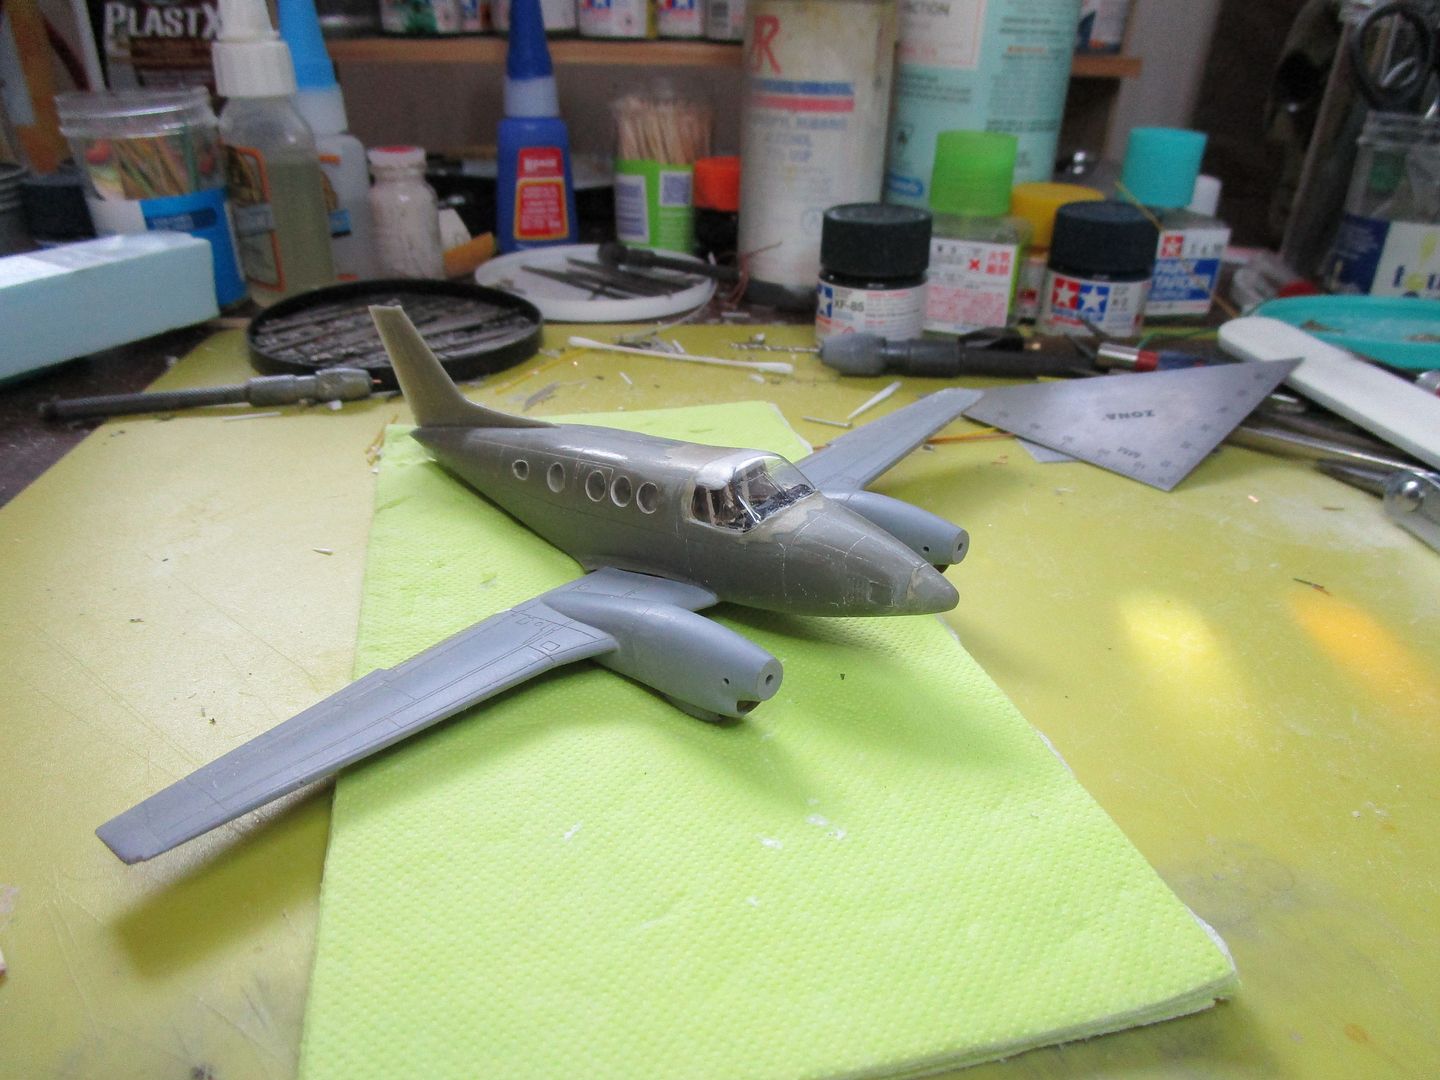
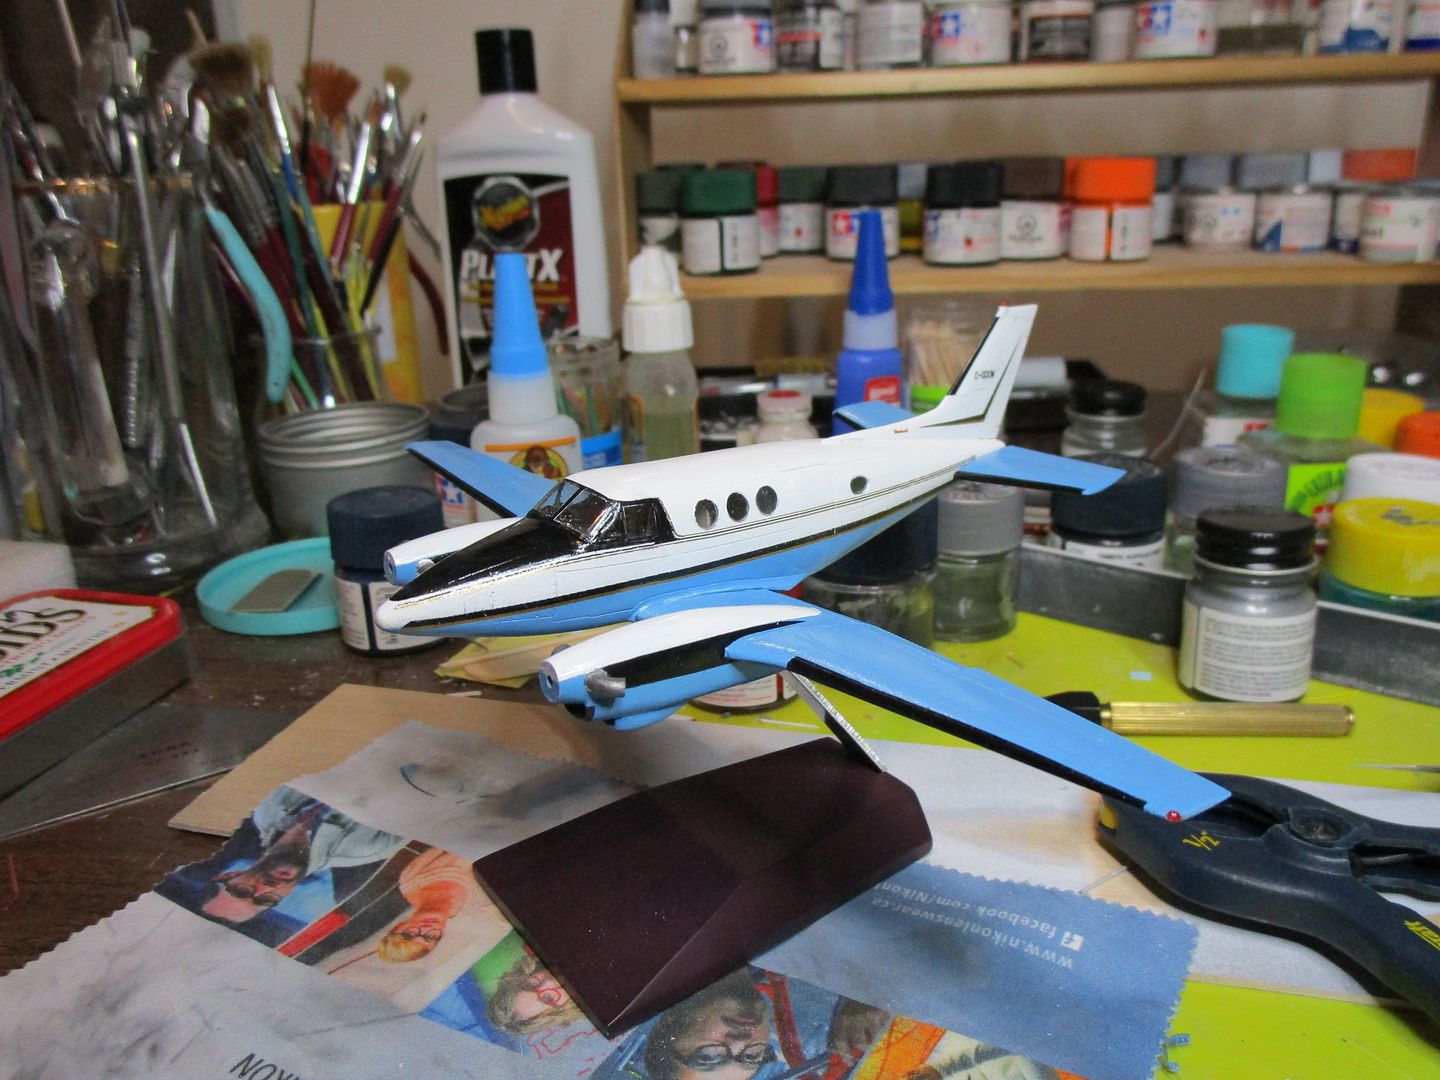
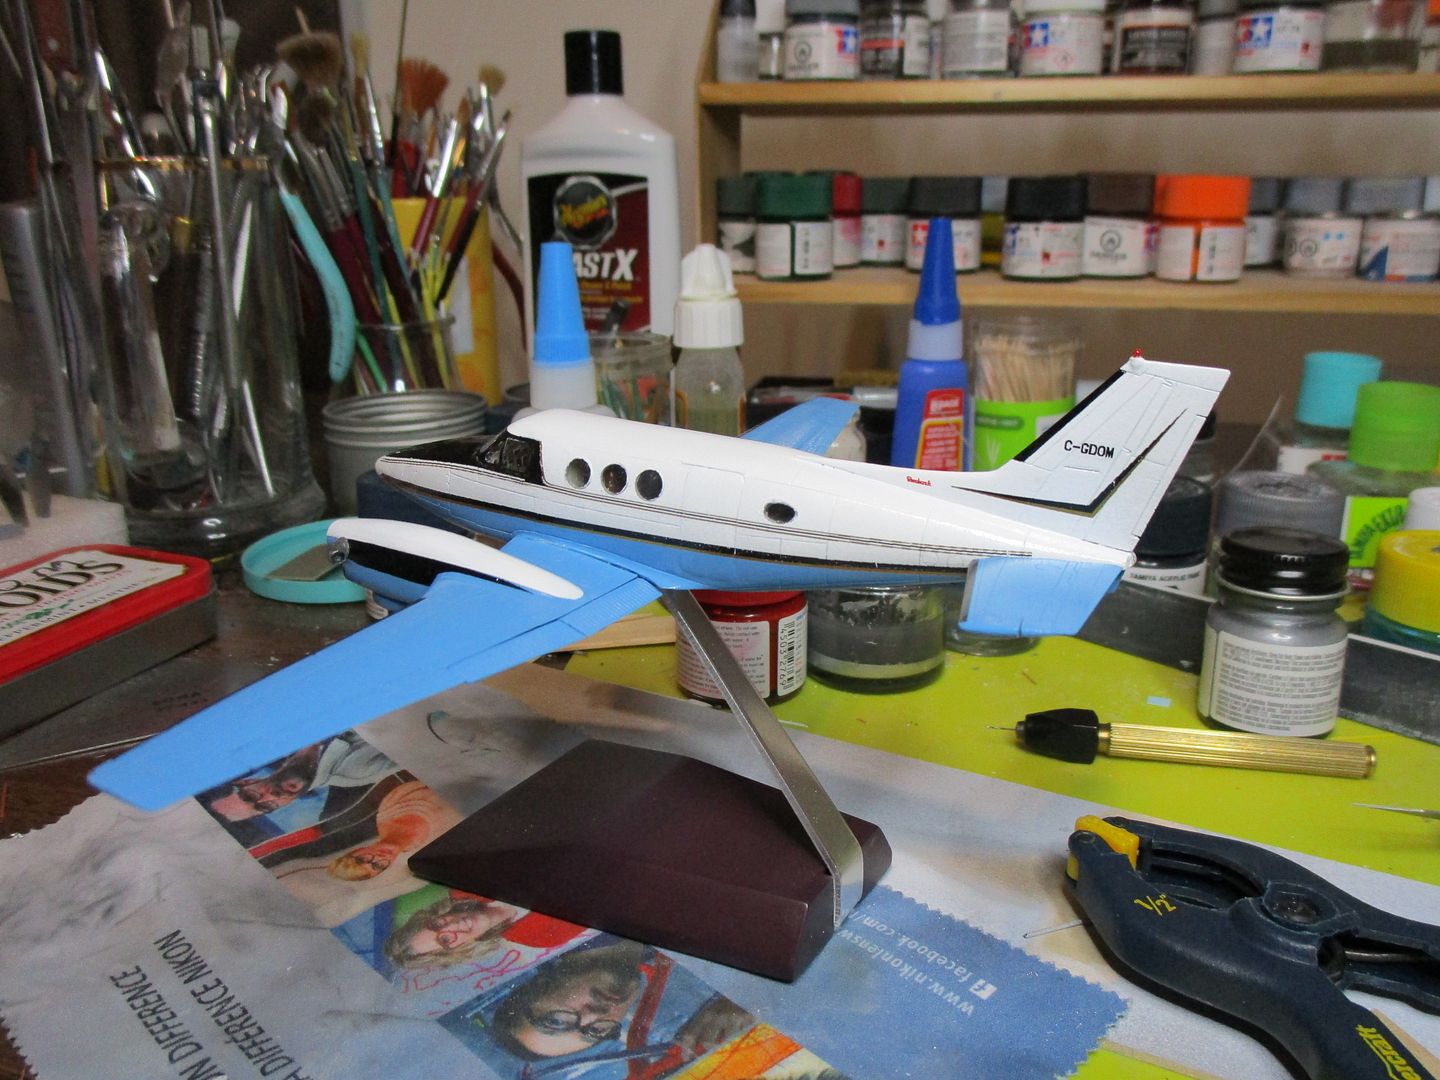
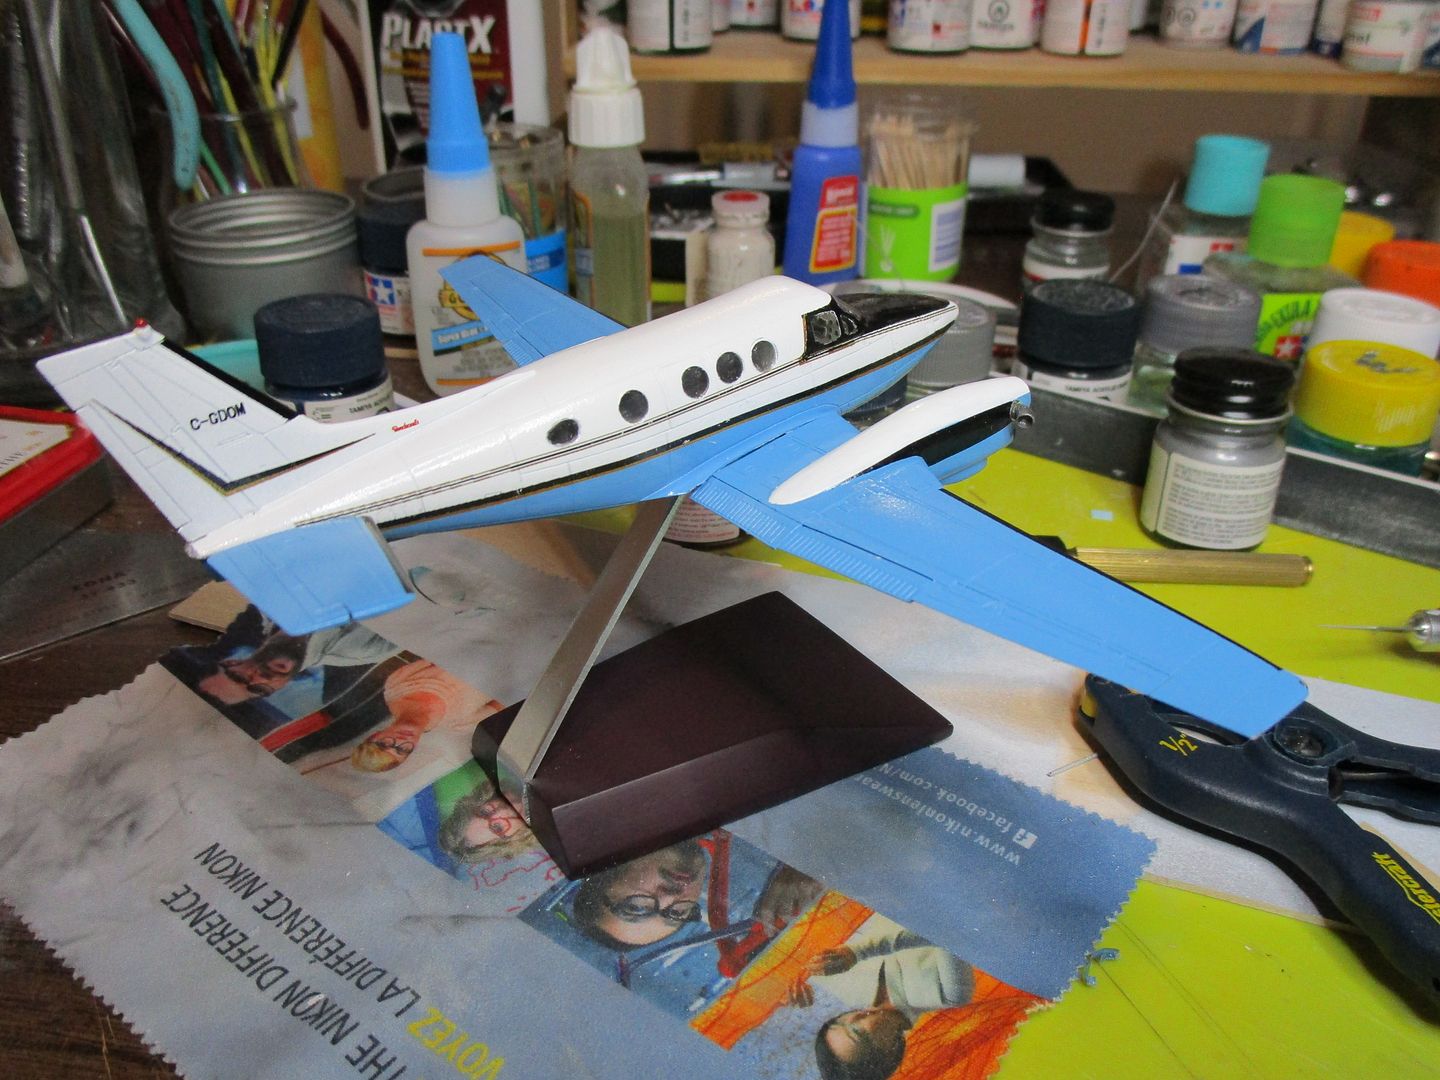
Grandson of Beech will be a King Air C-90, one of the first editions of the long running King Air series from Beechcraft. (I think they're up to the series 350 now.) It will be a model of C-GDOM, a C-90 in Dome Petroleum colours, an attractive white, blue, gold and black scheme. I'm building the model for my friend Mike who flew it for a small western company called Aklak Air, based in Calgary. This is a small model, a 1:72 version of an already diminutive airplane. To me that might as well be Braille scale, but Mike and I go back a ways so I'm willing to tackle it.
The King Air C-90 is a follow on of the Beech C65-80 Queen Air, essentially a Queen Air with turbines. I've flown the Queen Air and I can say it is the only airplane I have ever disliked, with disliked maybe being too mild a word. It was underpowered in the early version, but later someone obtained a secondary type certificate and installed 400 hp engines in the suckers and made a honest machine out of it. By that time I had moved on to other things, so I never had the chance to compare the two.
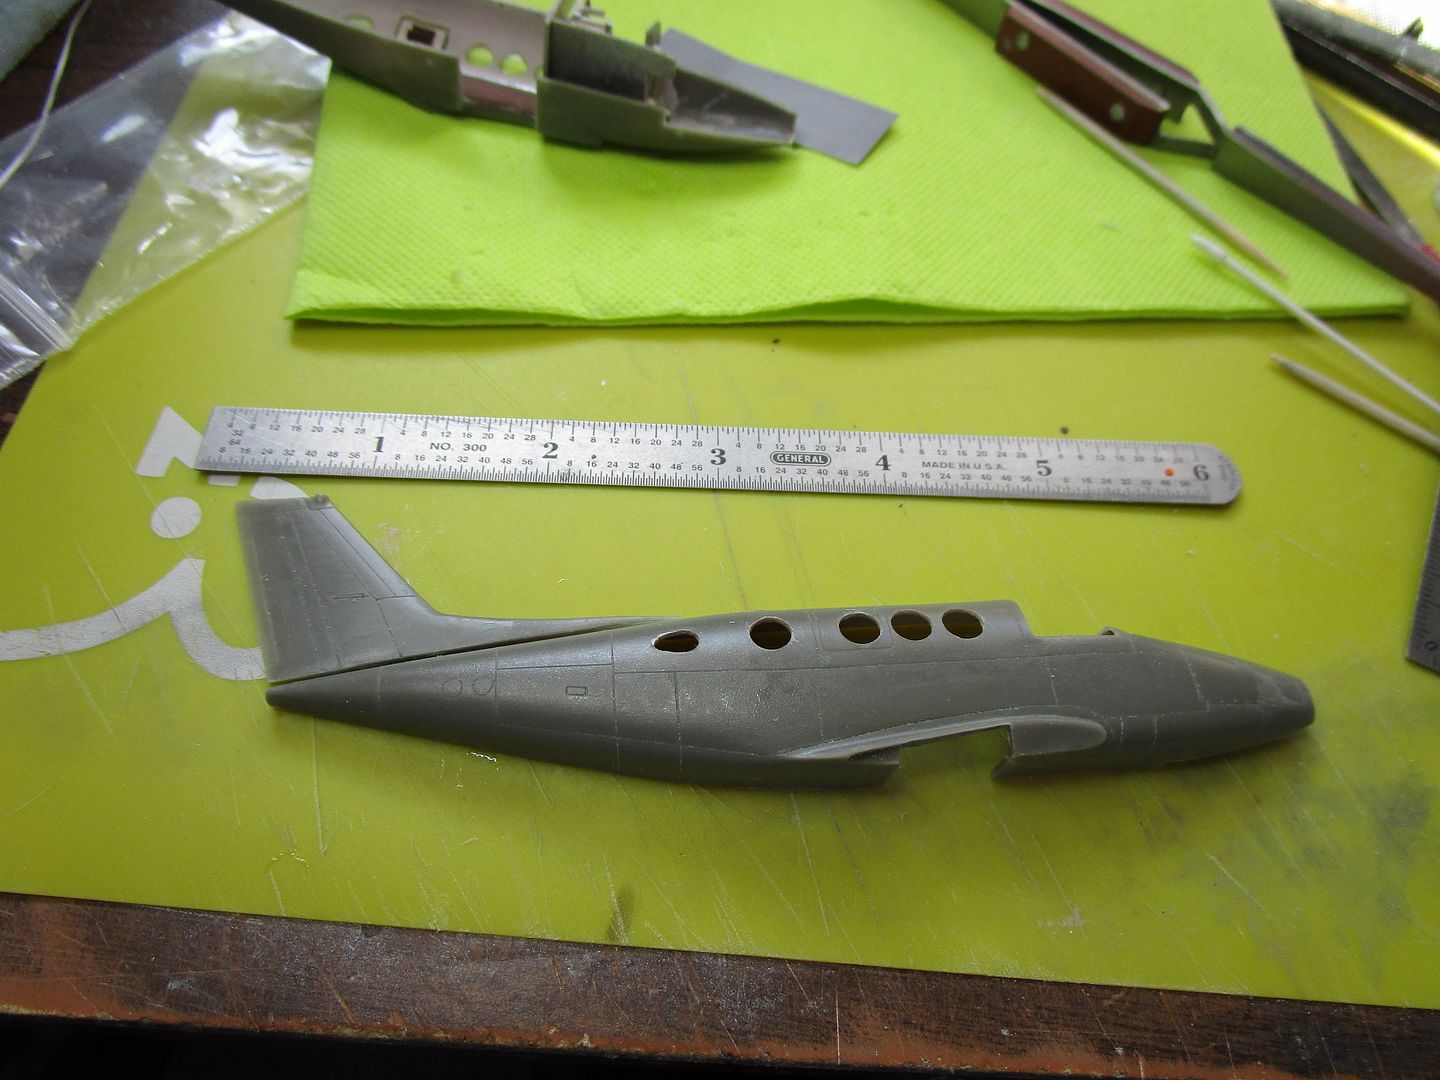
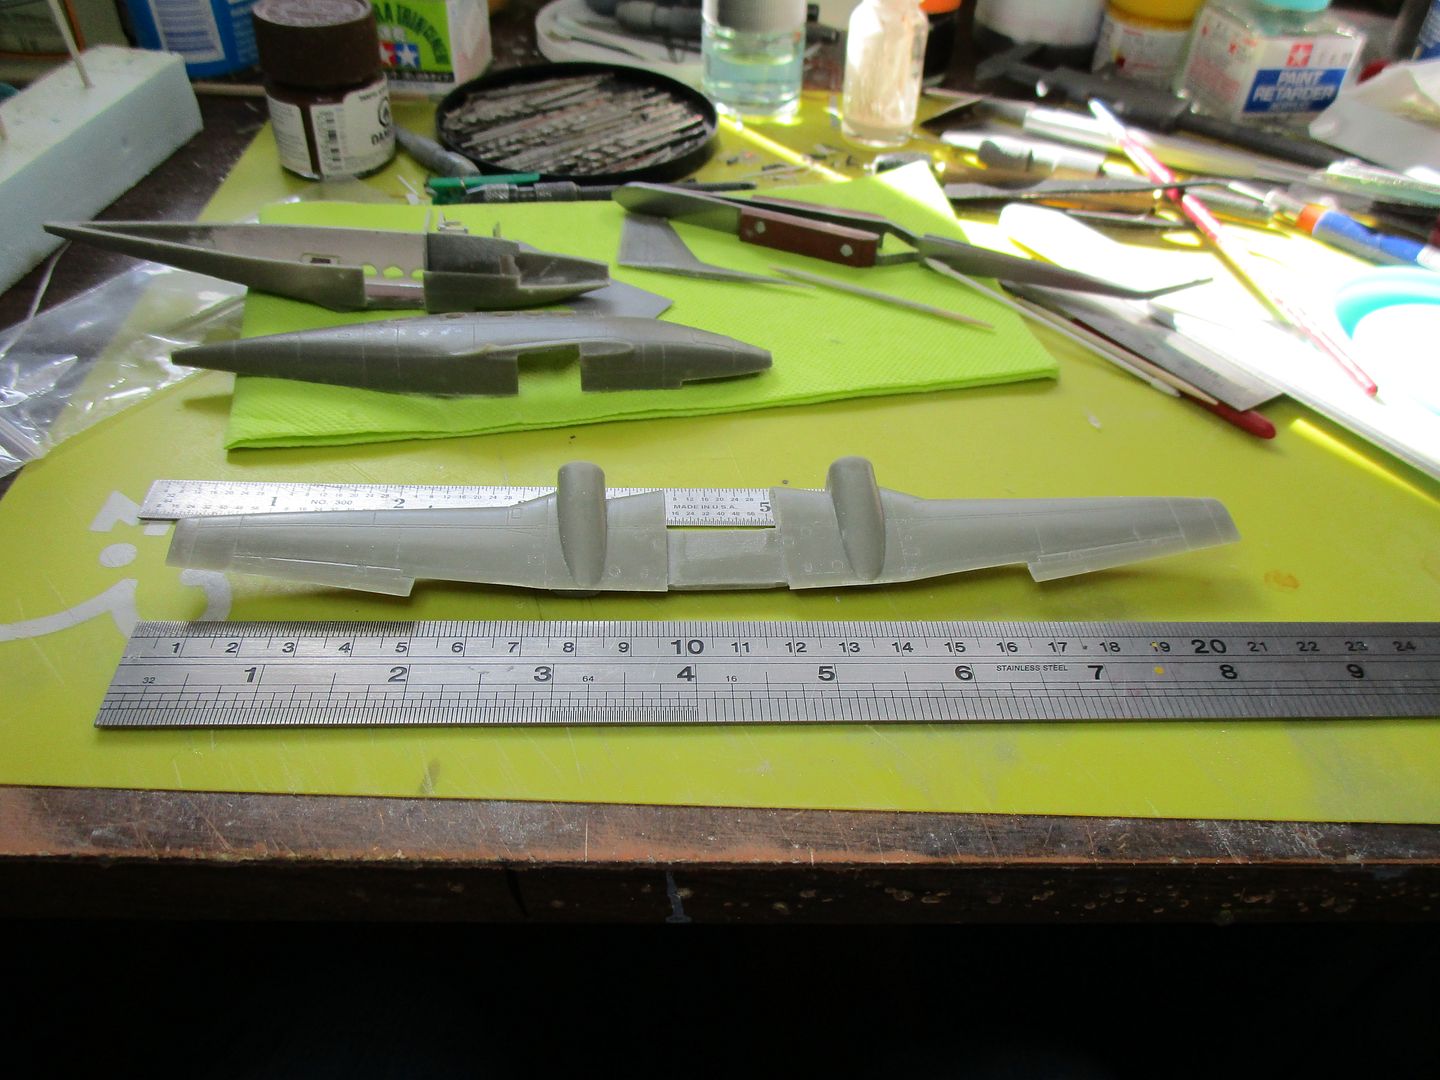
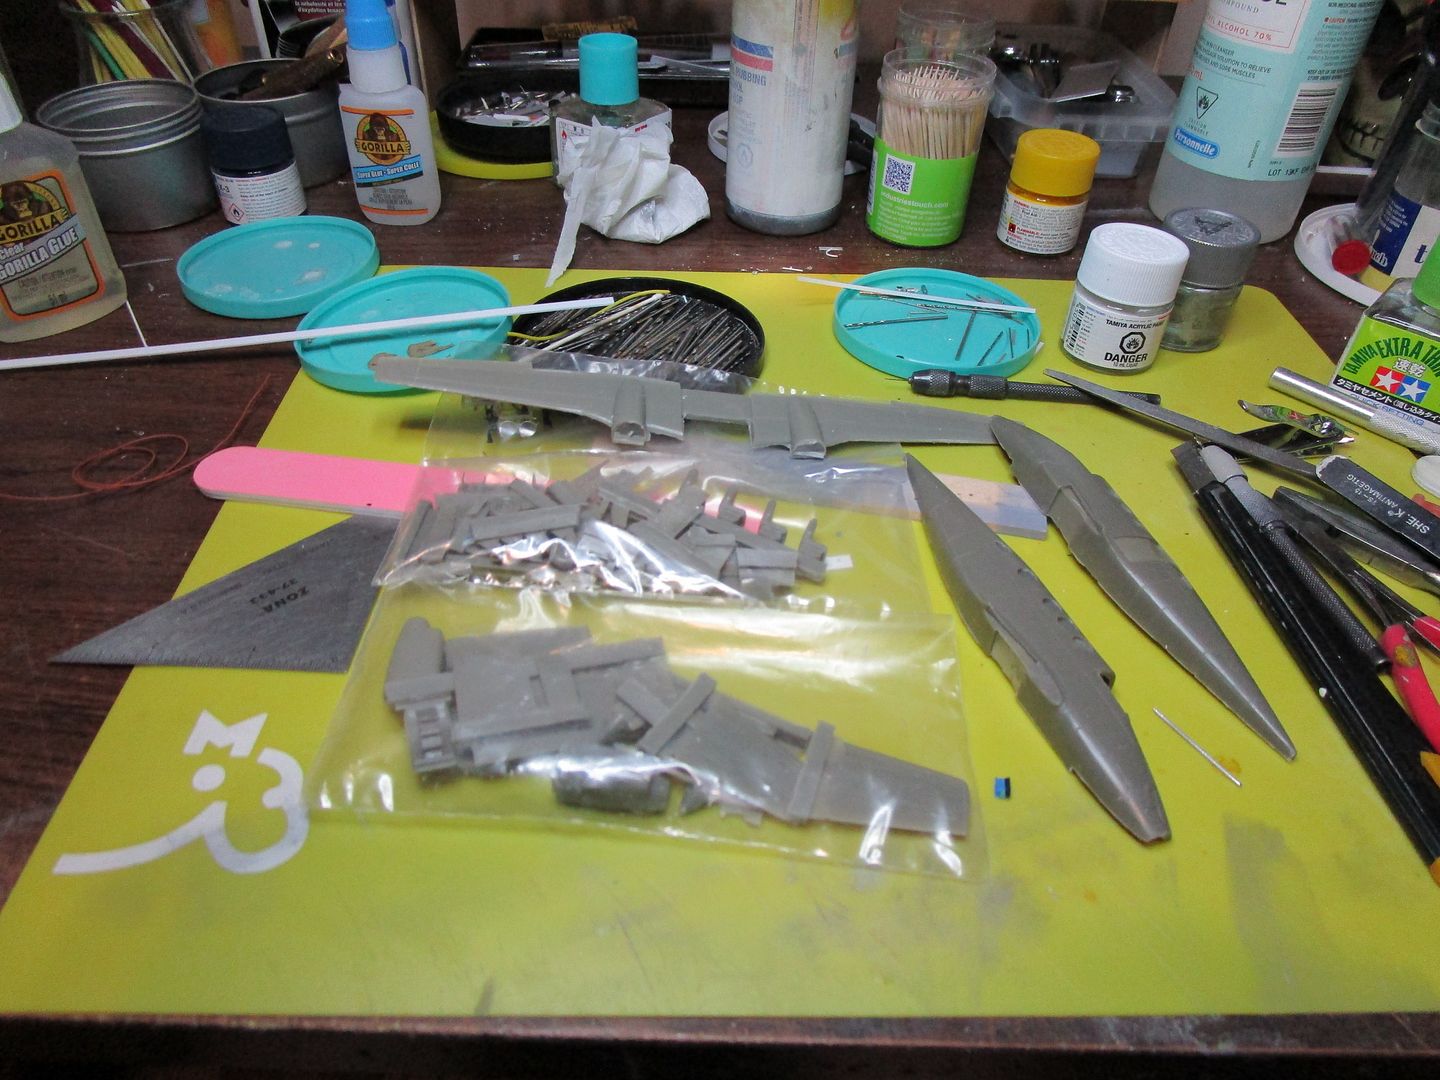
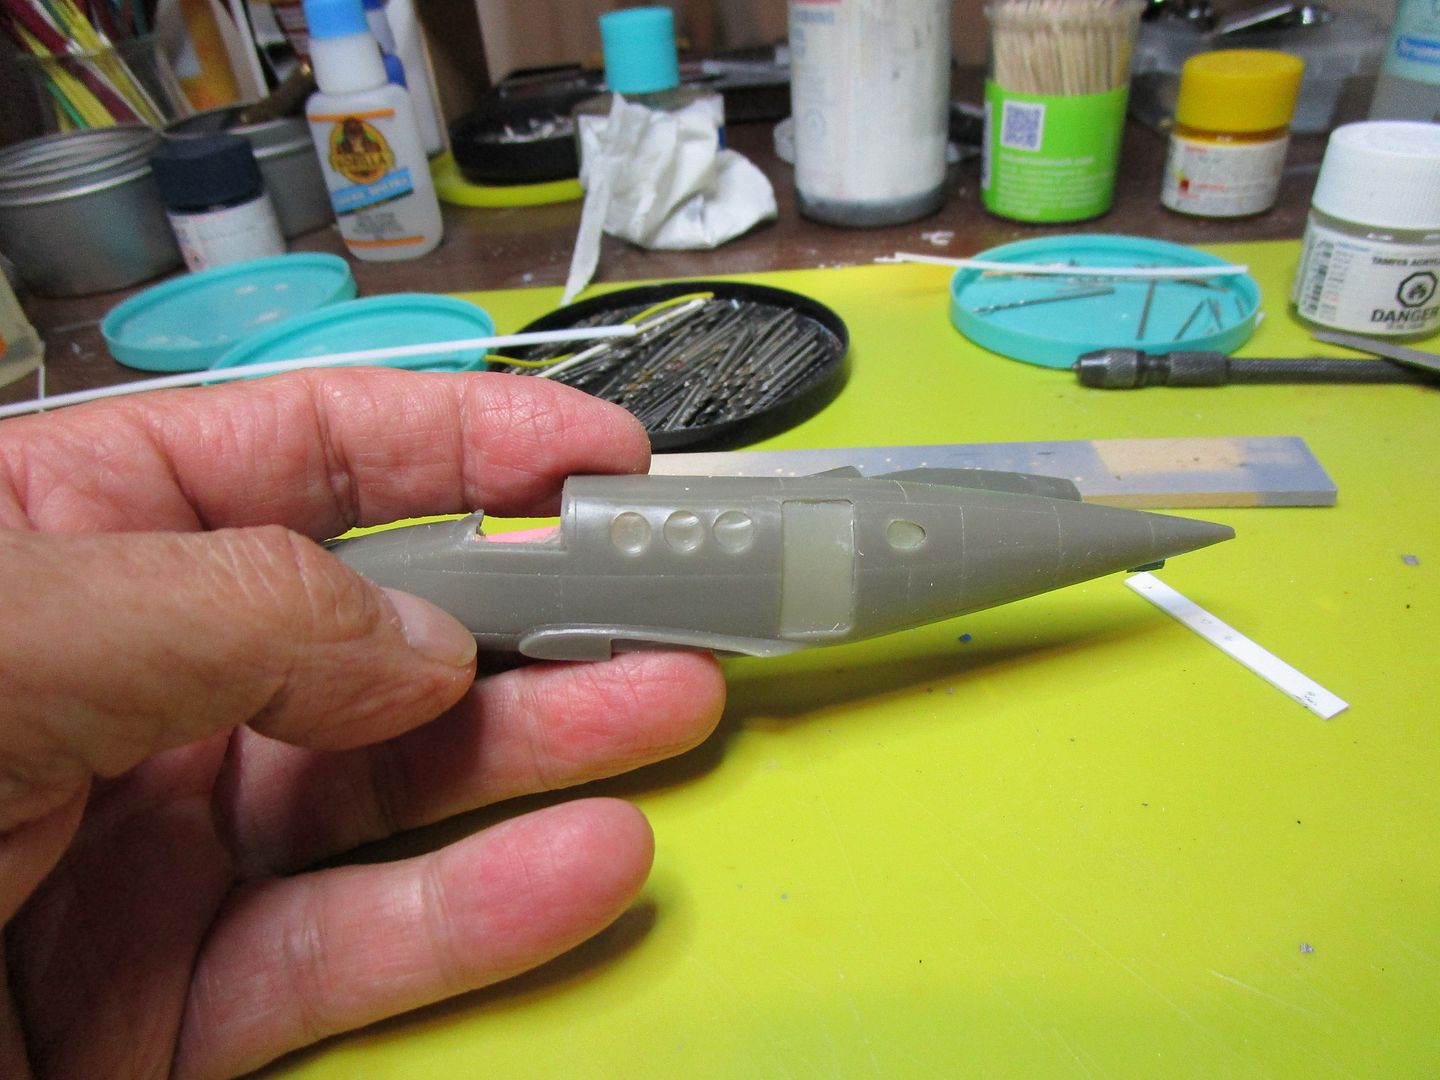
The kit is a limited run resin offering from RVHP, a Czech company. The parts themselves are pretty much flash free, but the door and window openings have to be cut open. The word that comes to mind to describe it is dainty. Here's a look at the parts.
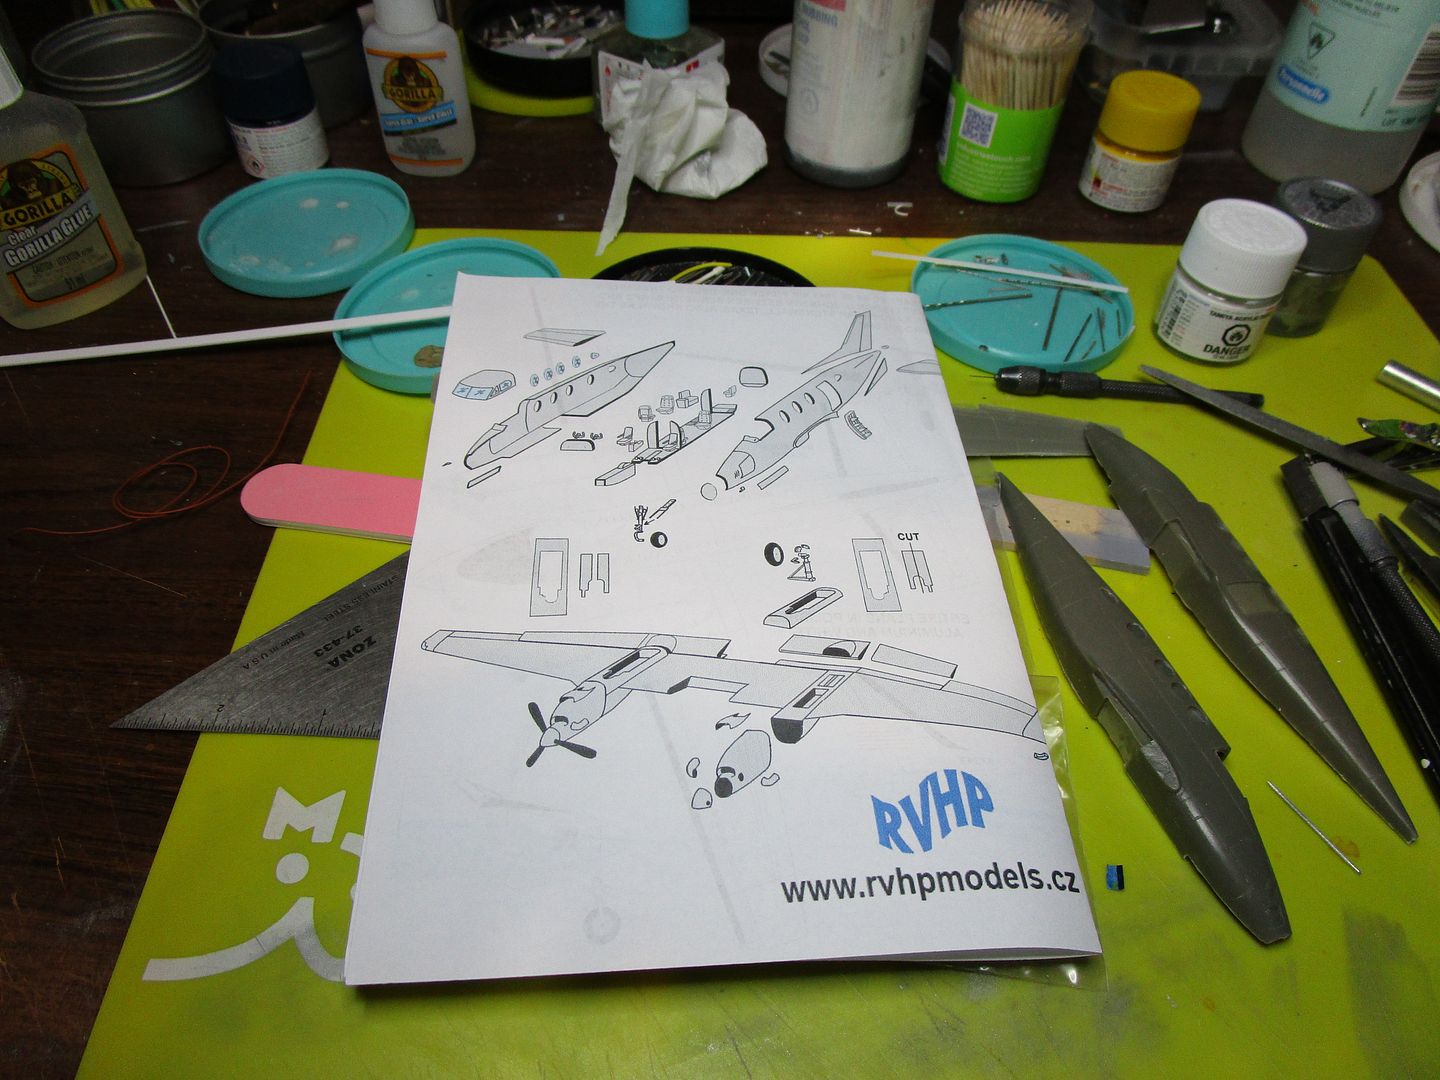
And here's the instruction sheet. Not too bad I suppose, since I usually treat instructions as somebody else's opinion, but they are rather sparse.
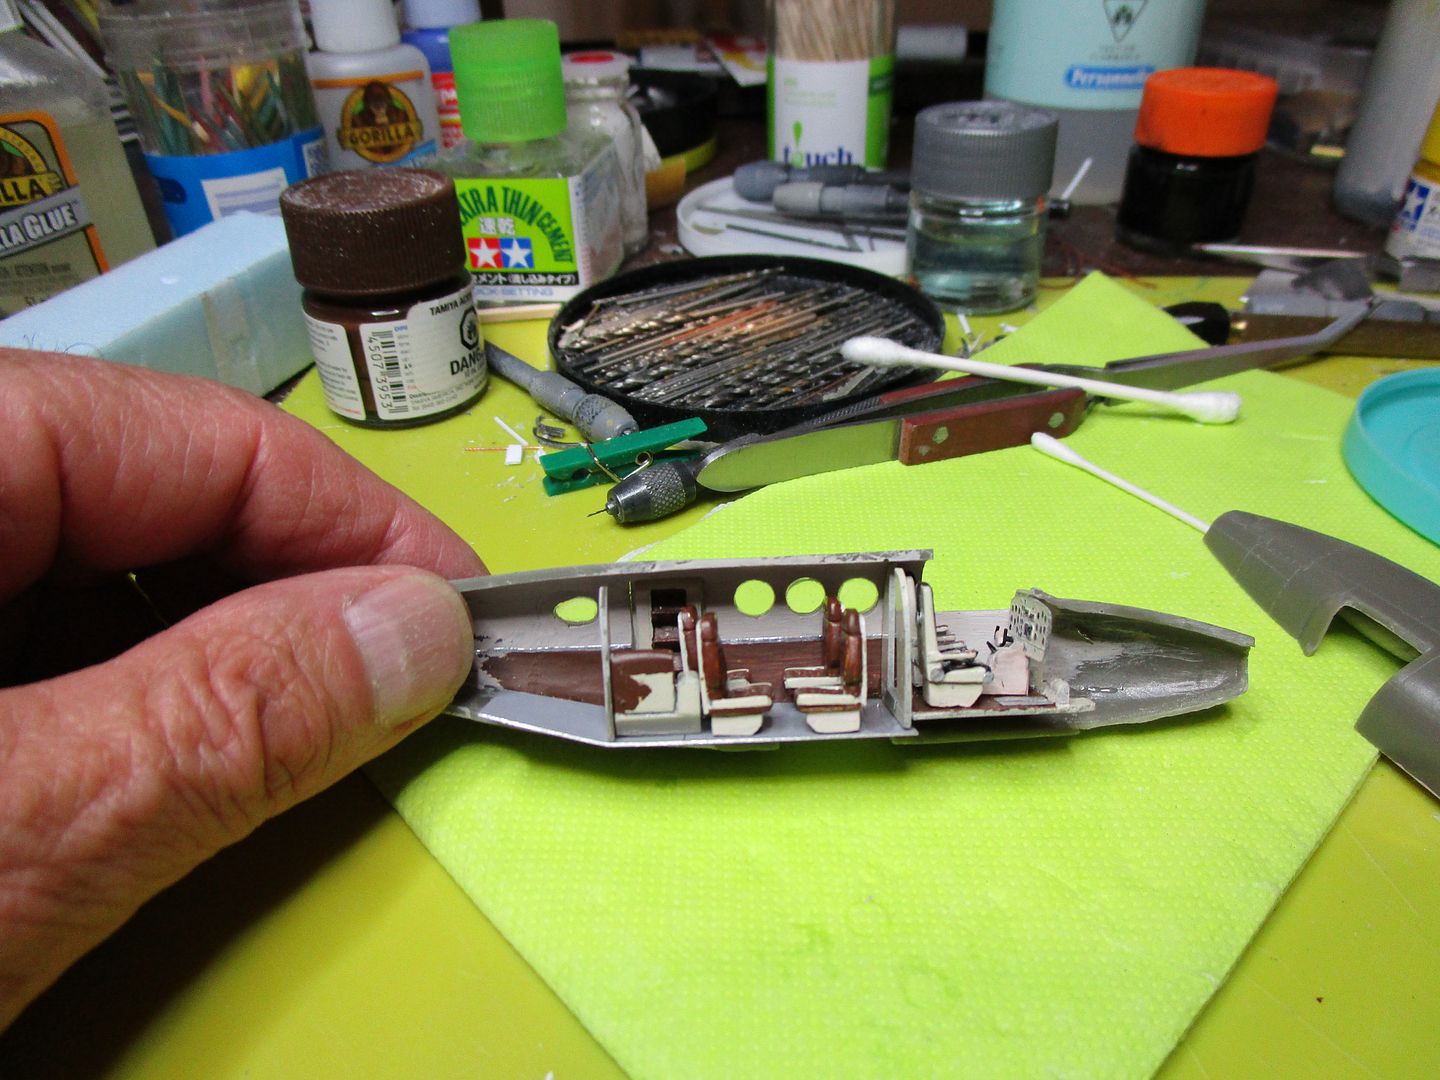
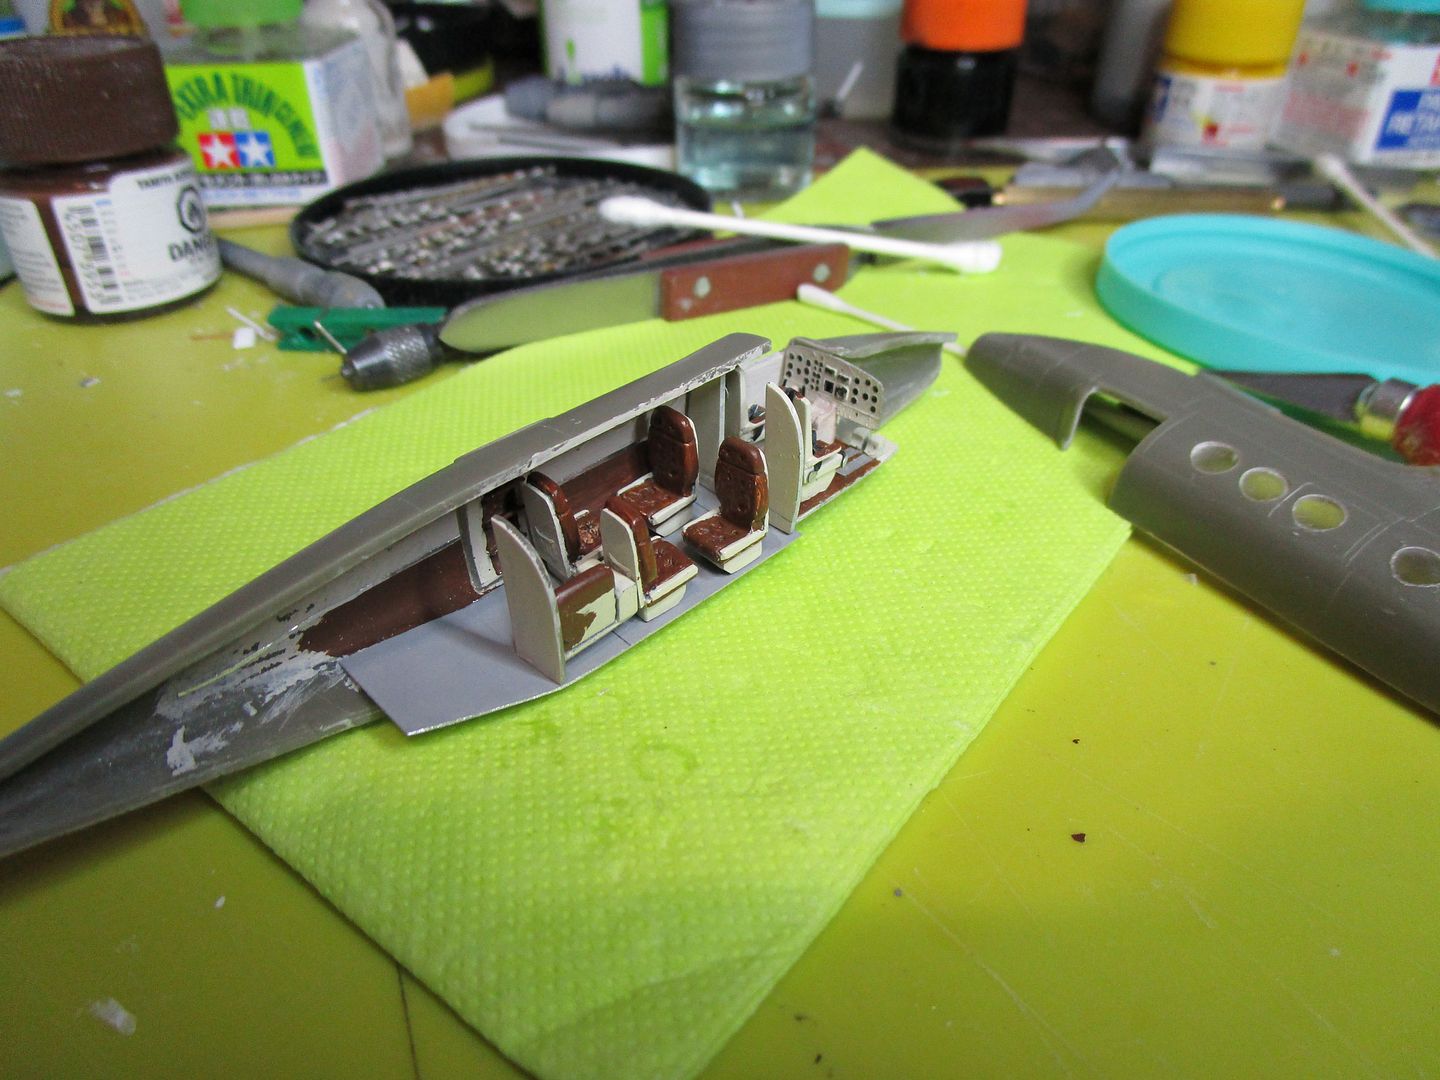
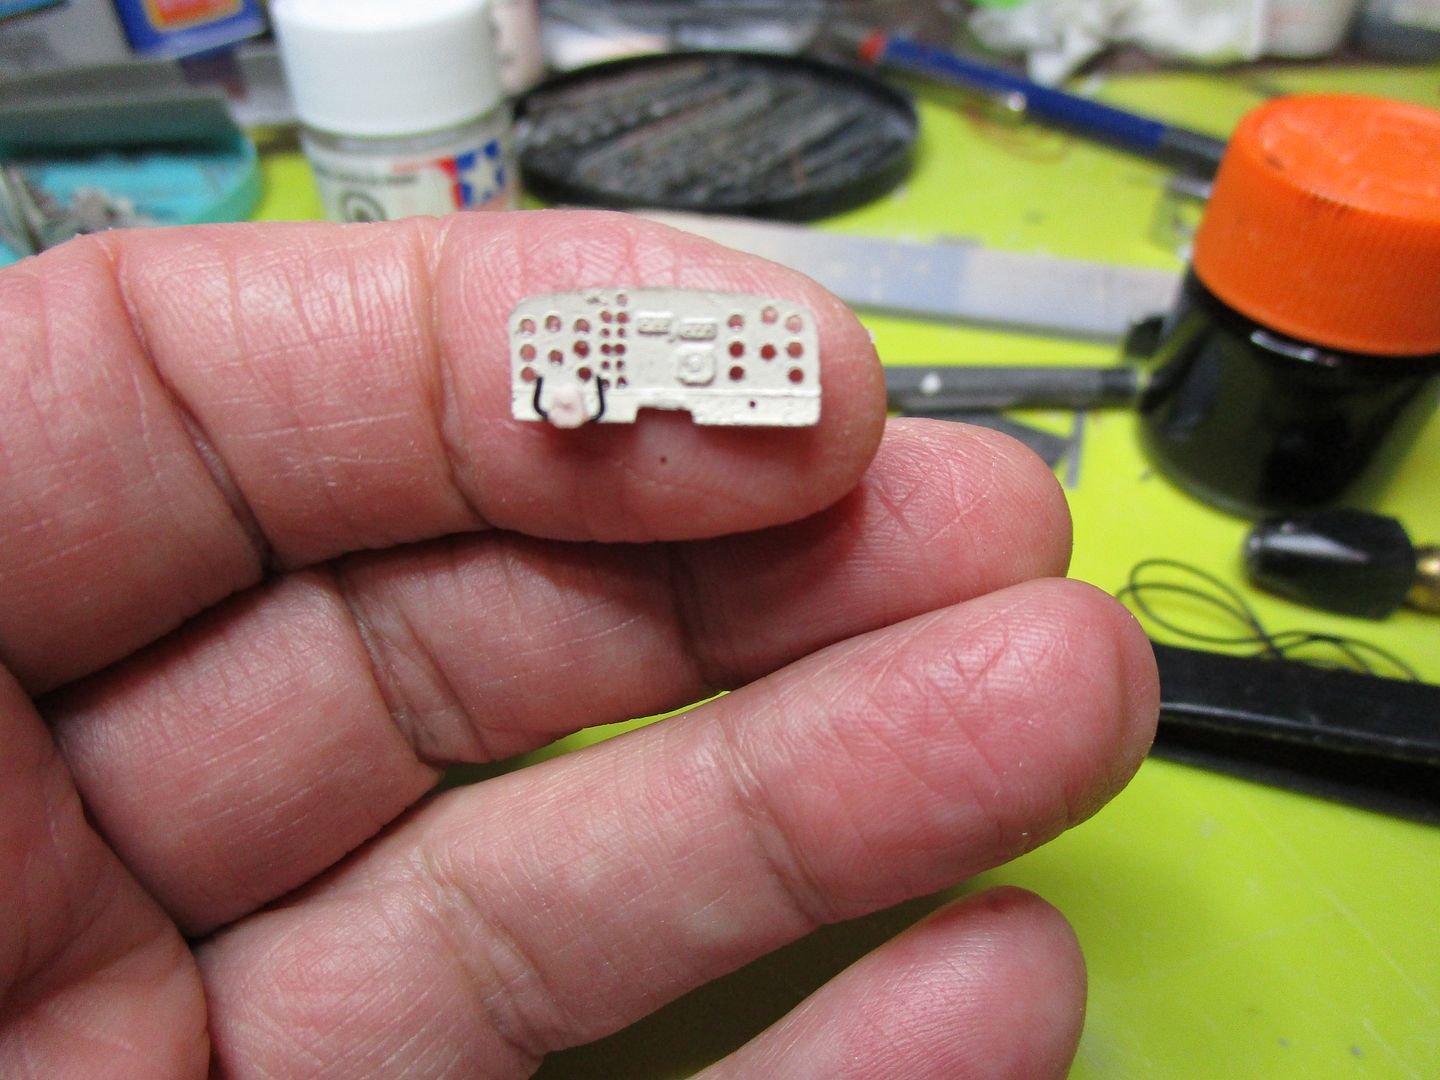
One must start somewhere, so I began with the cockpit. I painted the instrument panel a light beige, drilled out the panel instrument faces, and slathered some epoxy on the back of the panel so's it would run into the holes, thus representing the glass instrument face.
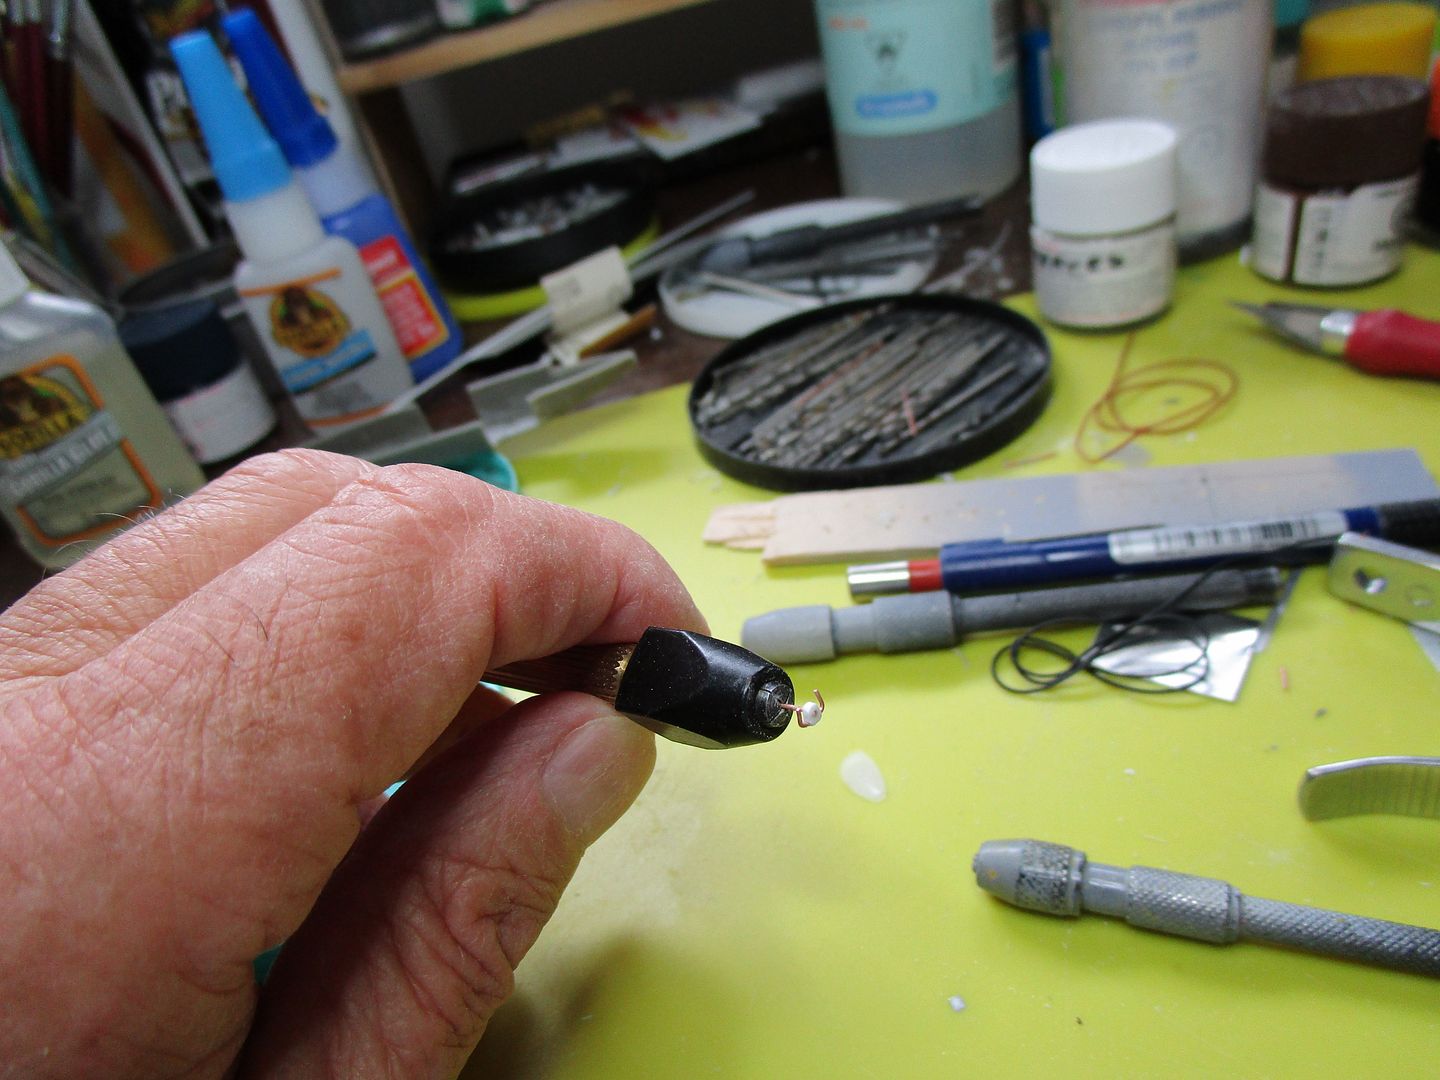
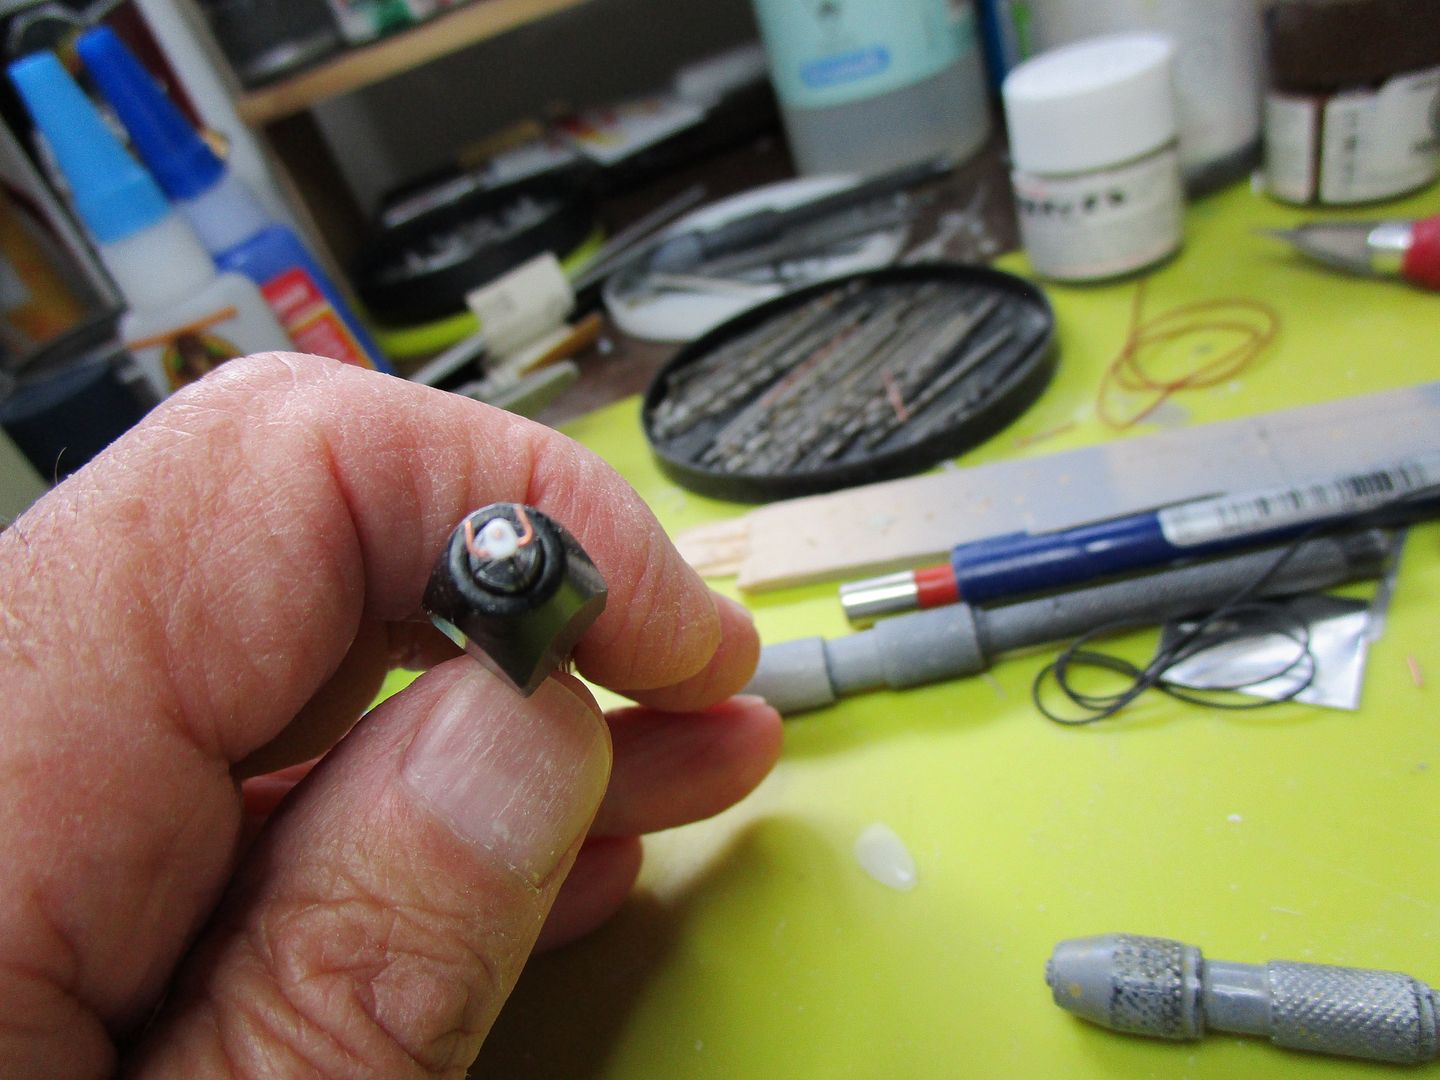
The kit came with two control wheels, but one was broken on the sprue and the other one went PLICK! off the end off my tweezers and into the fourth dimension after I'd sawed it off the sprue, which created yet another episode in the long running "What are you swearing at up there' series. Not to be outdone, I made another one from scrap wire and plastic.
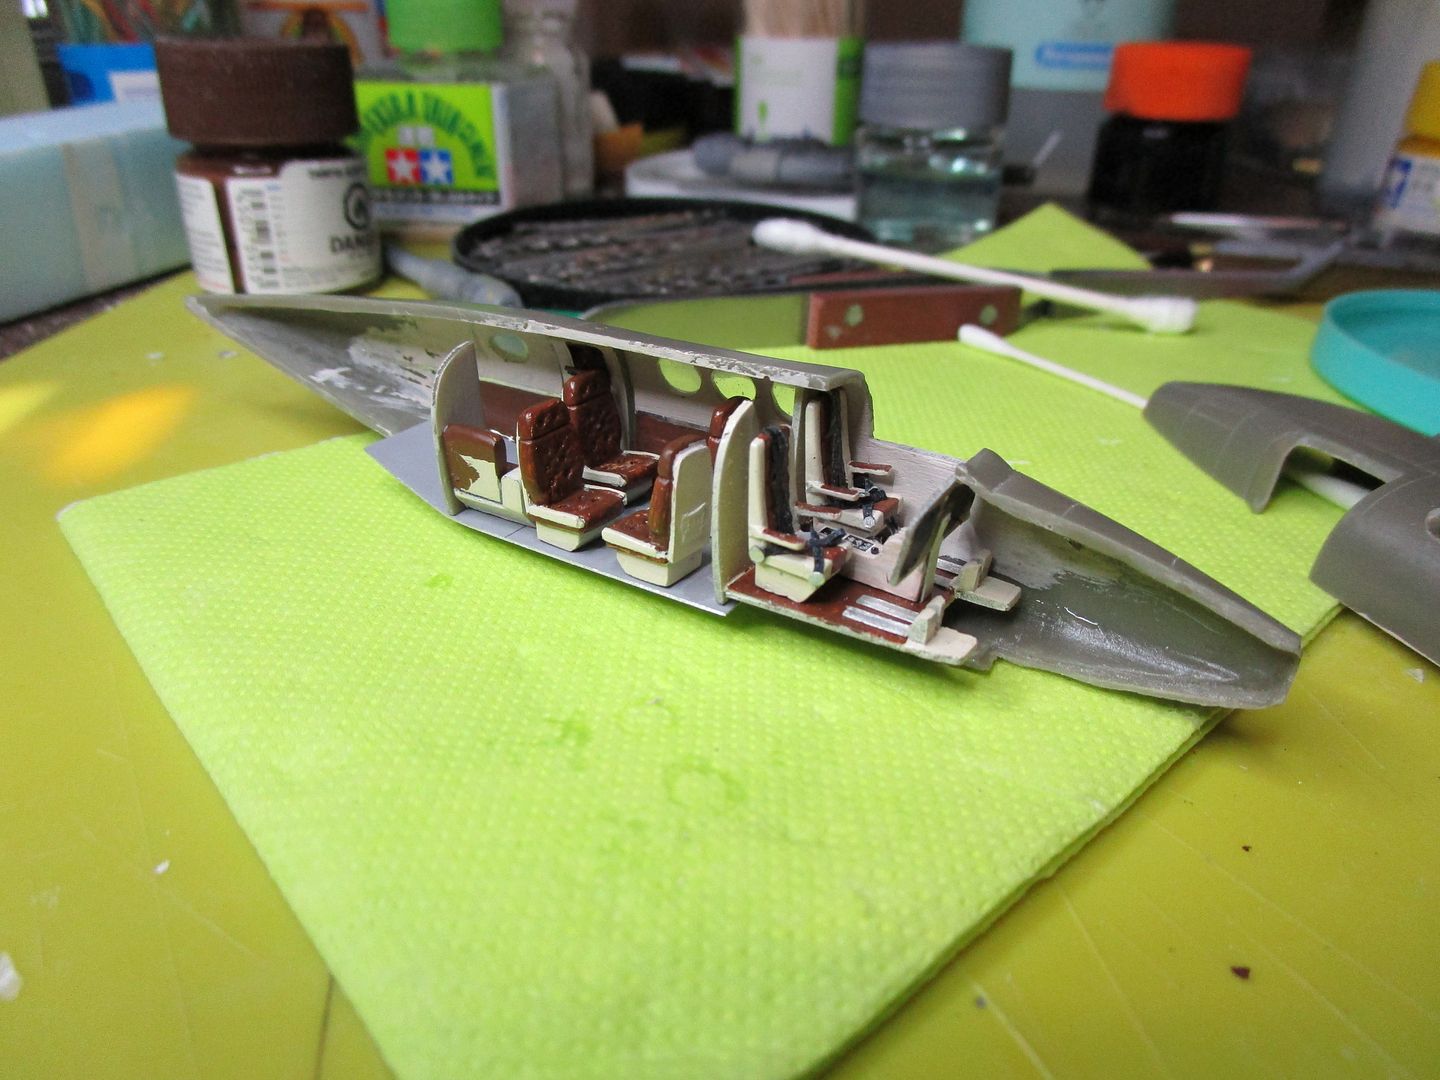
After painting the seats and cobbling together some harnesses from masking tape coloured with a Sharpie, I added a bit of decal material from a HO scale locomotive sheet to represent the weather radar and other bits and bobs on the console, and a couple of tiny bits of wire for the power levers. Viola! one cockpit.
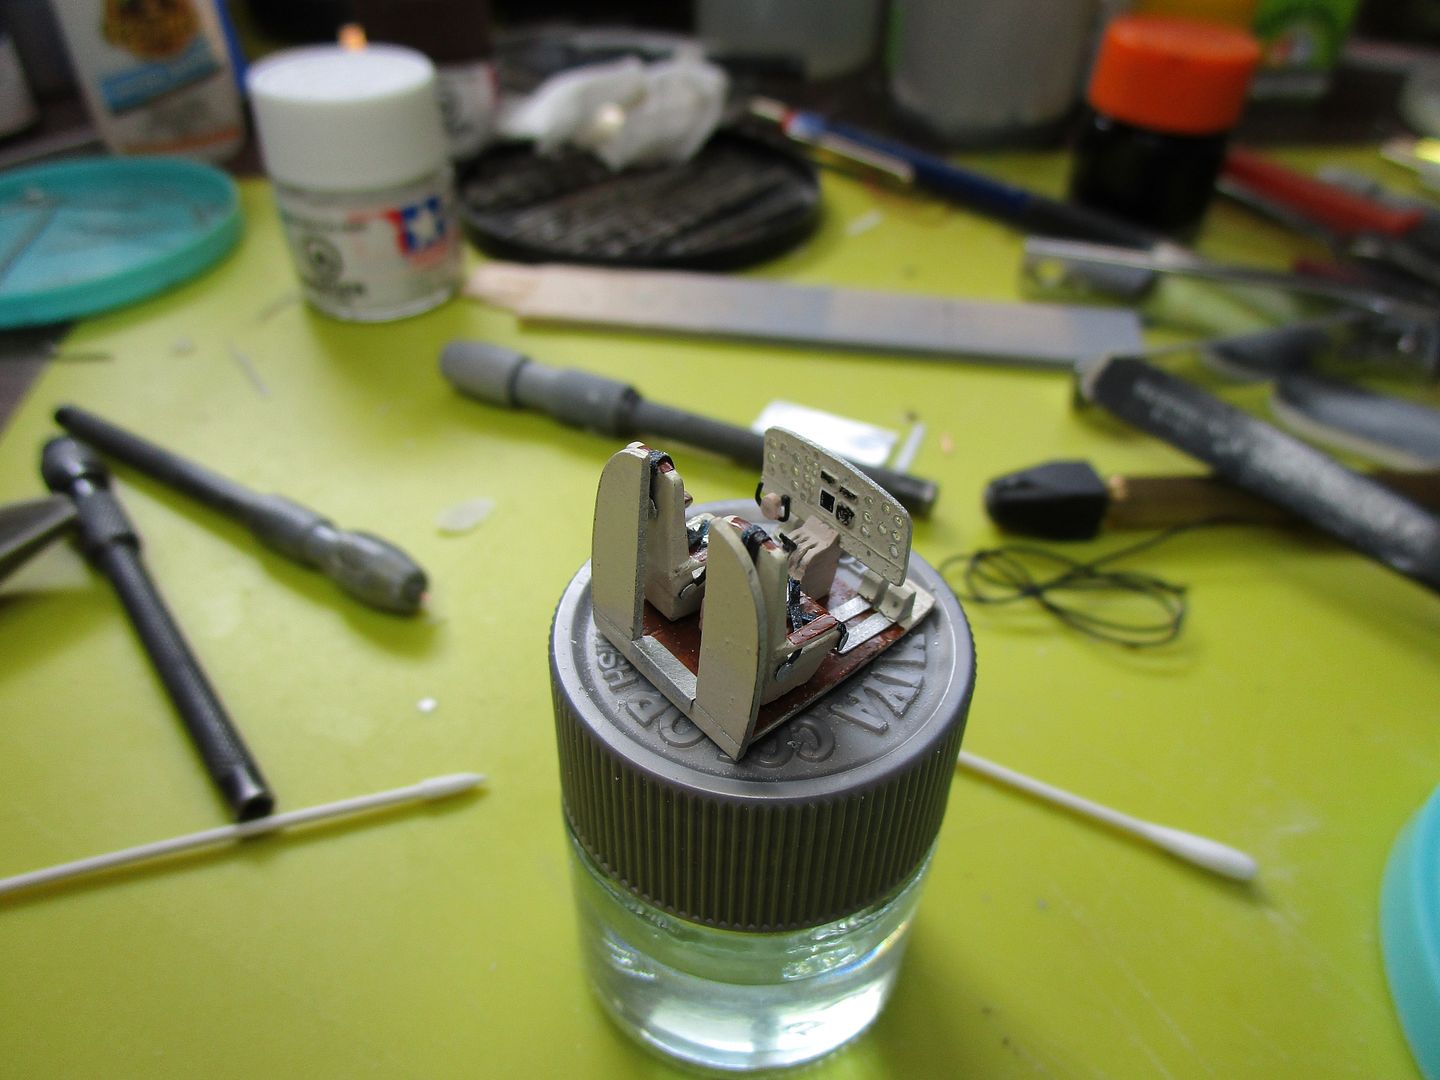
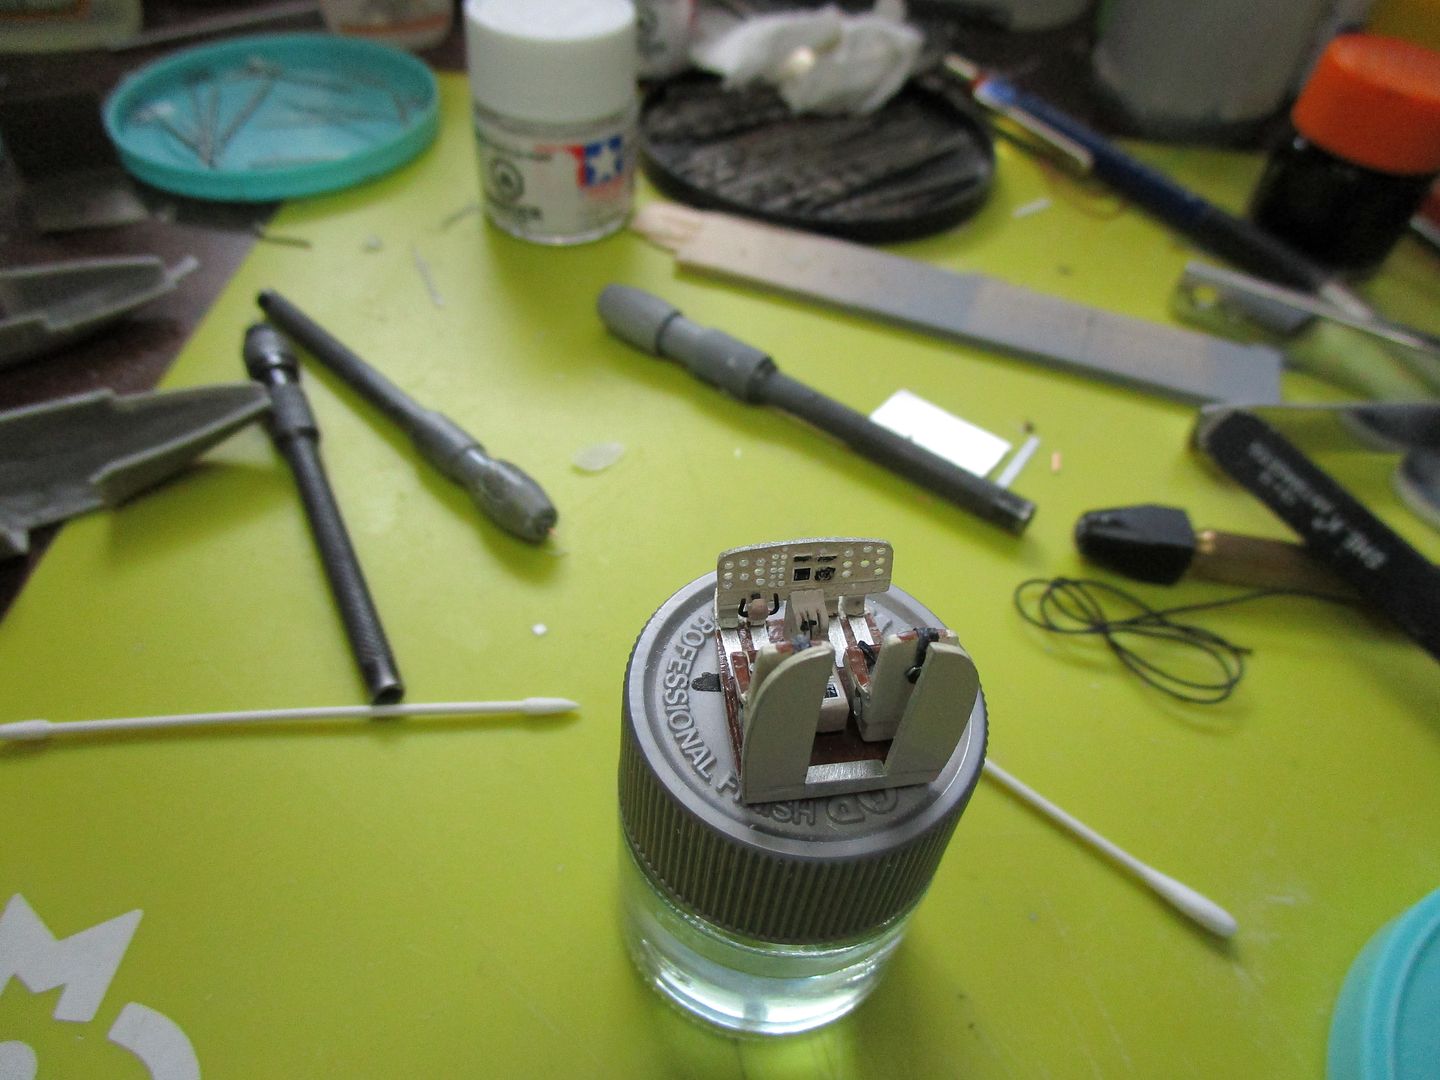
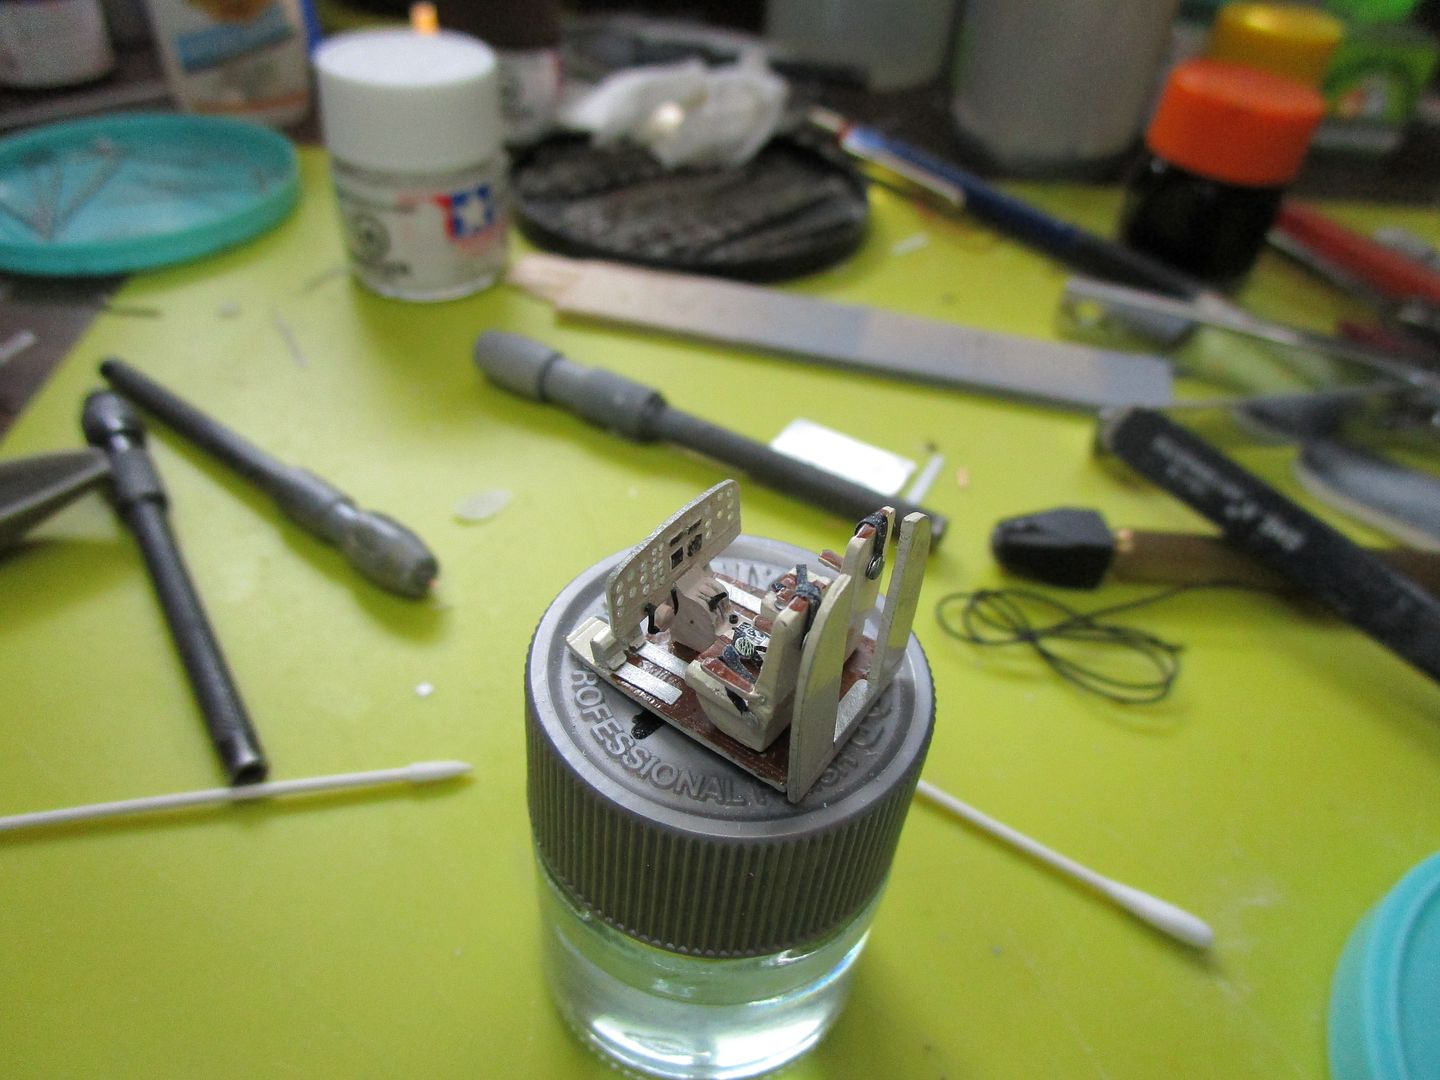
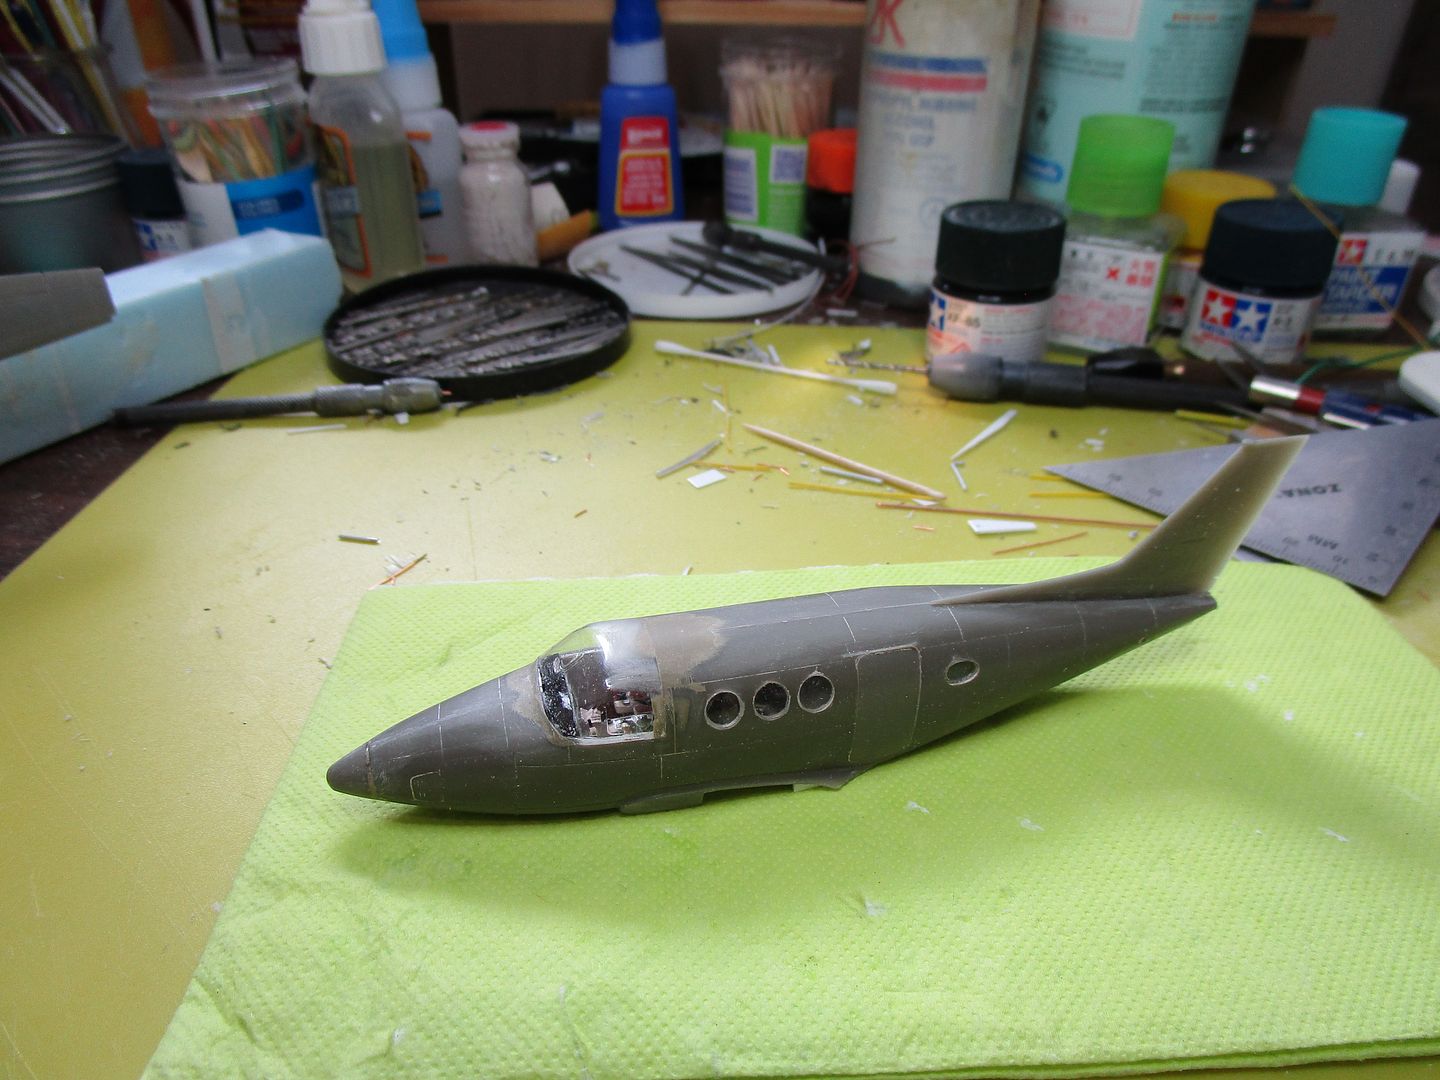
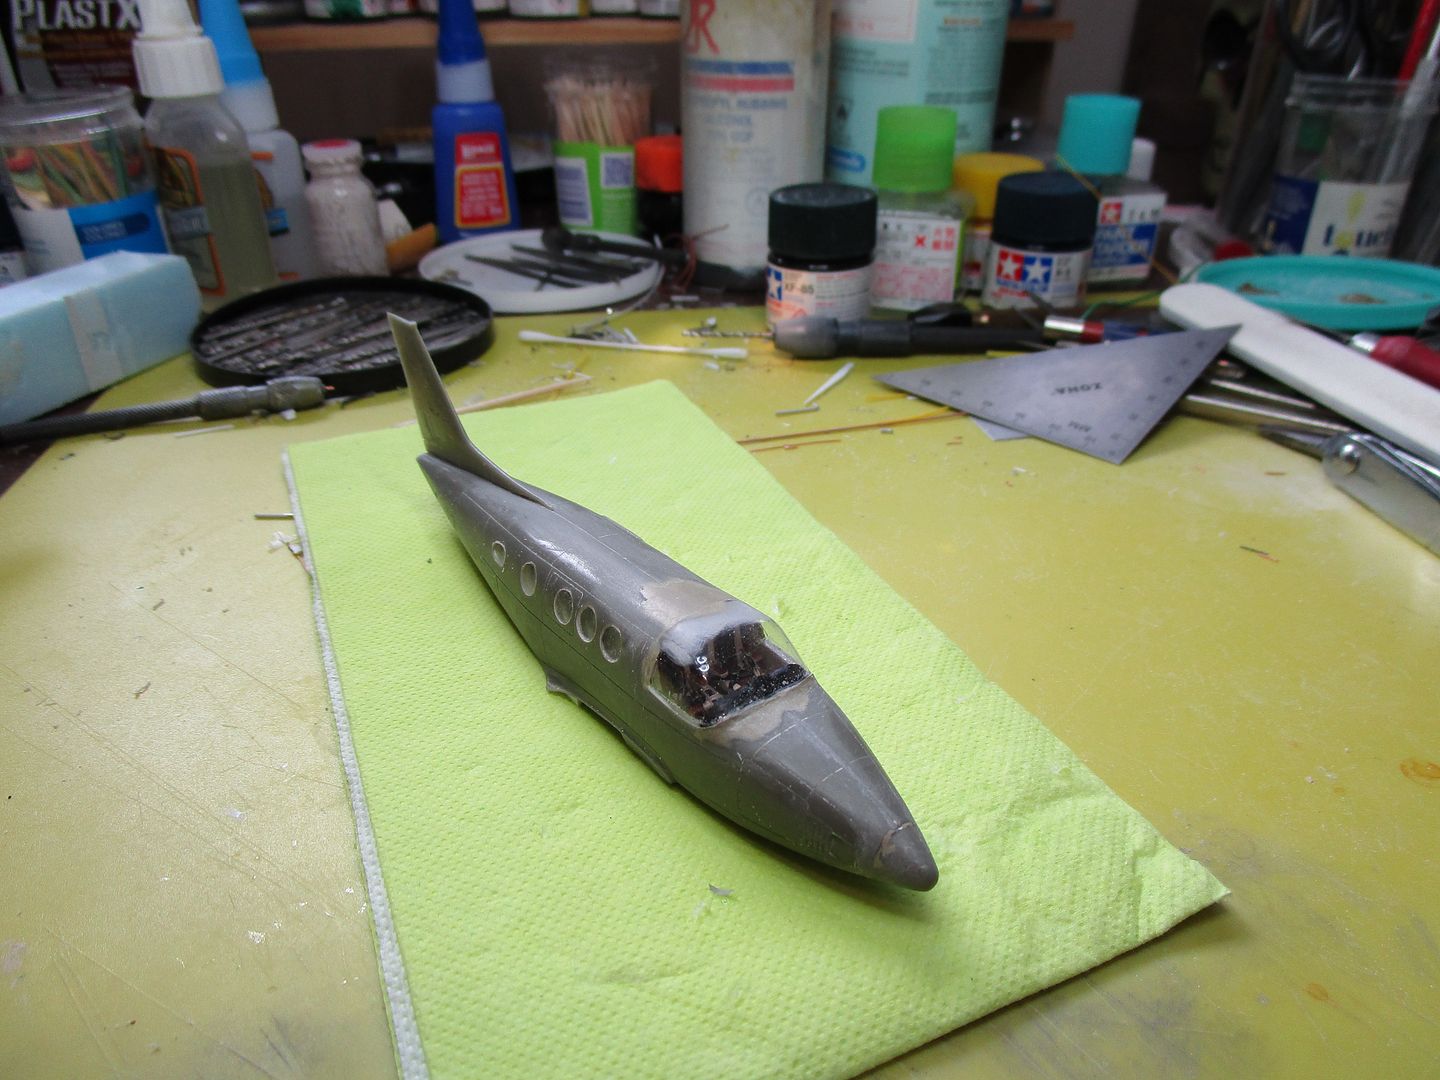
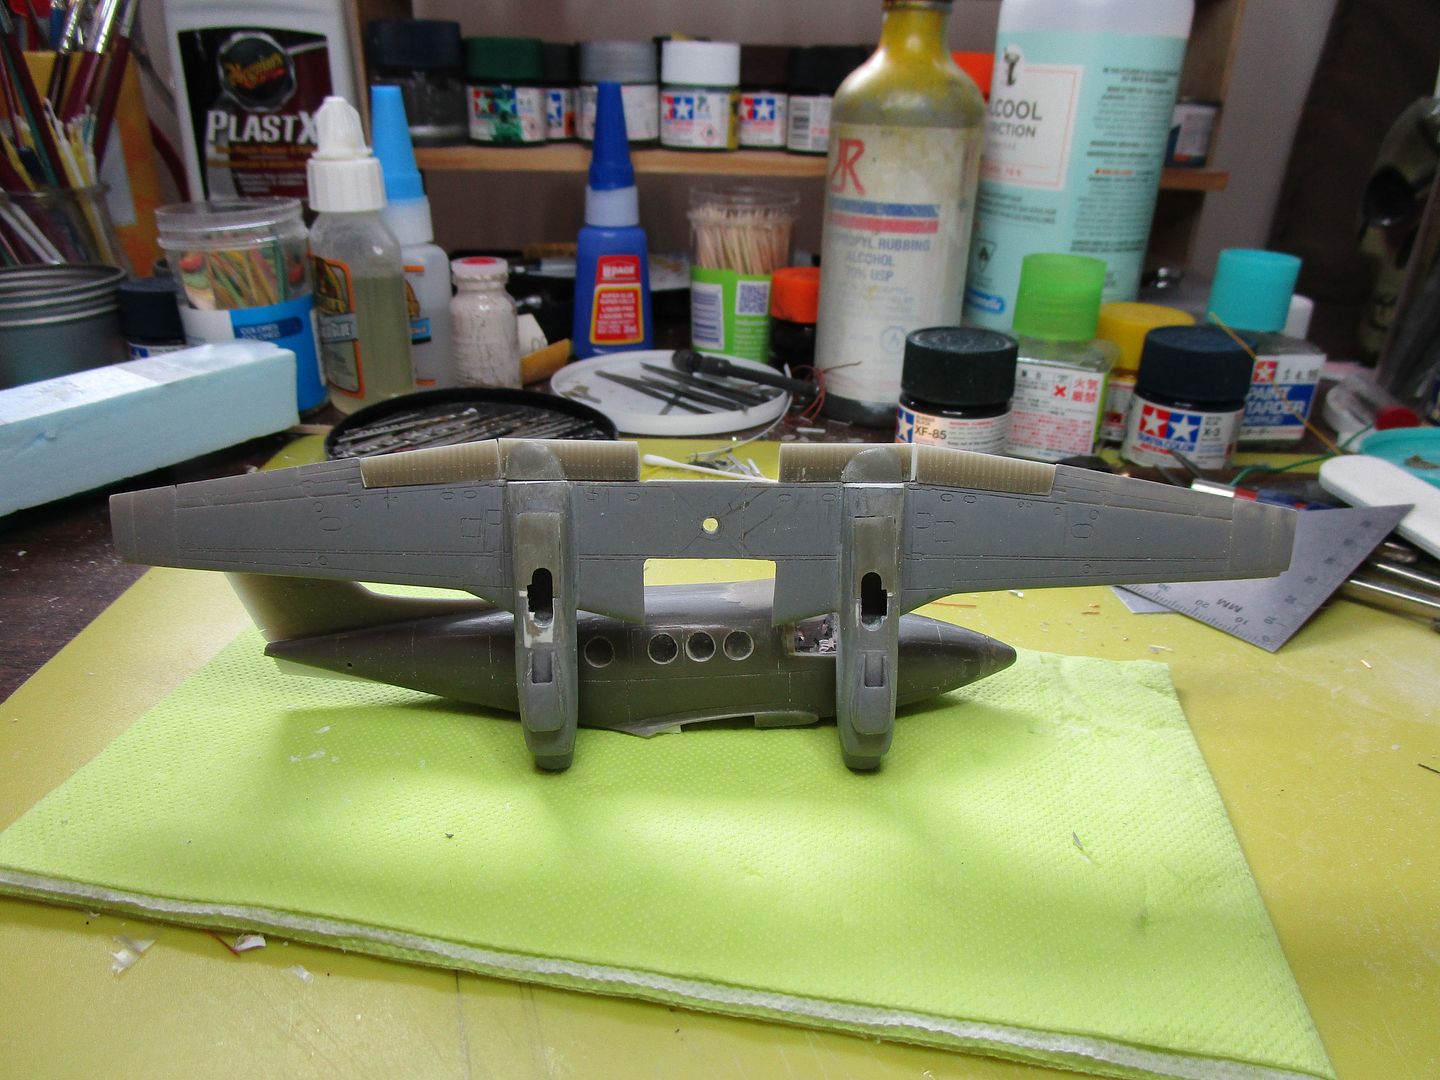
And that is where it stands right now. I have J-Bot on the line for a complete set of decals, since there is no way I can paint the gild pinstriping and black stripes.

...And Son of Beech...

…So what's left except Grandson of Beech?

Grandson of Beech will be a King Air C-90, one of the first editions of the long running King Air series from Beechcraft. (I think they're up to the series 350 now.) It will be a model of C-GDOM, a C-90 in Dome Petroleum colours, an attractive white, blue, gold and black scheme. I'm building the model for my friend Mike who flew it for a small western company called Aklak Air, based in Calgary. This is a small model, a 1:72 version of an already diminutive airplane. To me that might as well be Braille scale, but Mike and I go back a ways so I'm willing to tackle it.
The King Air C-90 is a follow on of the Beech C65-80 Queen Air, essentially a Queen Air with turbines. I've flown the Queen Air and I can say it is the only airplane I have ever disliked, with disliked maybe being too mild a word. It was underpowered in the early version, but later someone obtained a secondary type certificate and installed 400 hp engines in the suckers and made a honest machine out of it. By that time I had moved on to other things, so I never had the chance to compare the two.
The kit is a limited run resin offering from RVHP, a Czech company. The parts themselves are pretty much flash free, but the door and window openings have to be cut open. The word that comes to mind to describe it is dainty. Here's a look at the parts.


And here's the instruction sheet. Not too bad I suppose, since I usually treat instructions as somebody else's opinion, but they are rather sparse.

One must start somewhere, so I began with the cockpit. I painted the instrument panel a light beige, drilled out the panel instrument faces, and slathered some epoxy on the back of the panel so's it would run into the holes, thus representing the glass instrument face.

The kit came with two control wheels, but one was broken on the sprue and the other one went PLICK! off the end off my tweezers and into the fourth dimension after I'd sawed it off the sprue, which created yet another episode in the long running "What are you swearing at up there' series. Not to be outdone, I made another one from scrap wire and plastic.


After painting the seats and cobbling together some harnesses from masking tape coloured with a Sharpie, I added a bit of decal material from a HO scale locomotive sheet to represent the weather radar and other bits and bobs on the console, and a couple of tiny bits of wire for the power levers. Viola! one cockpit.


And that is where it stands right now. I have J-Bot on the line for a complete set of decals, since there is no way I can paint the gild pinstriping and black stripes.


 Have you flown the T tail ?