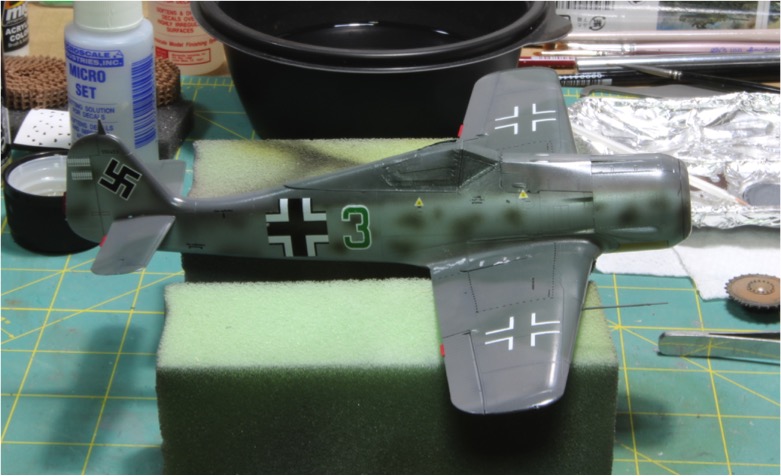
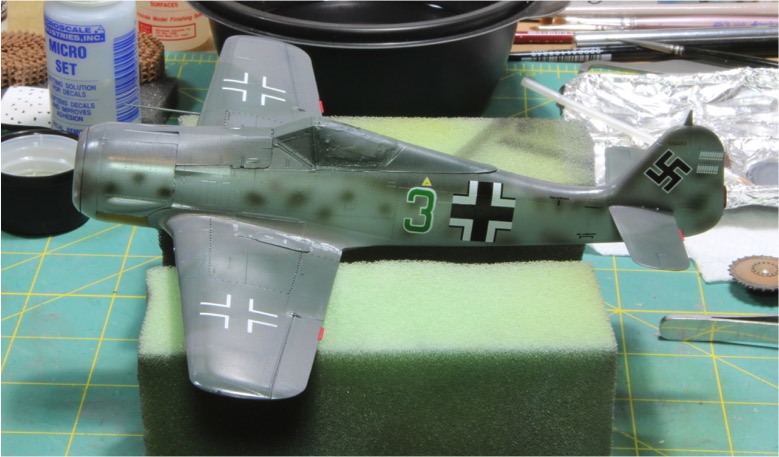
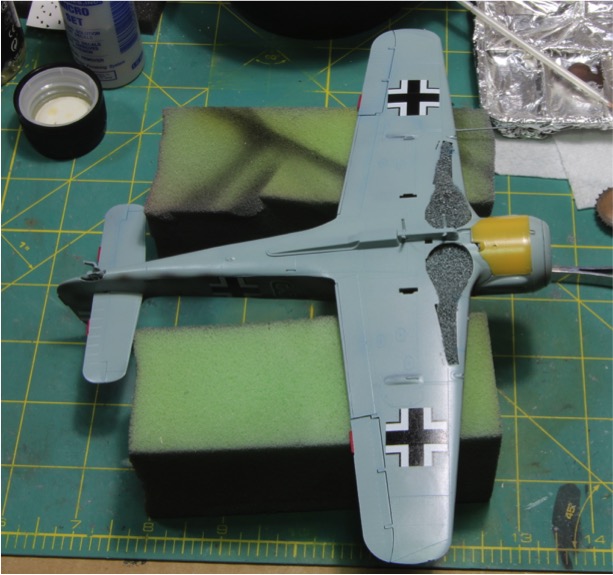
Wow – it has been forever since I posted an update on this build. Its stalled out a little bit, just from lack of bench time, but let’s at least get you all caught up. This is gonna be a long one!
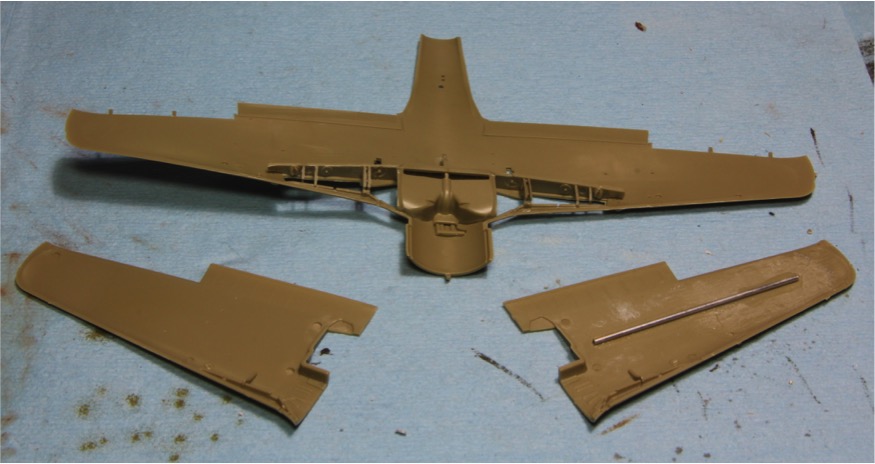
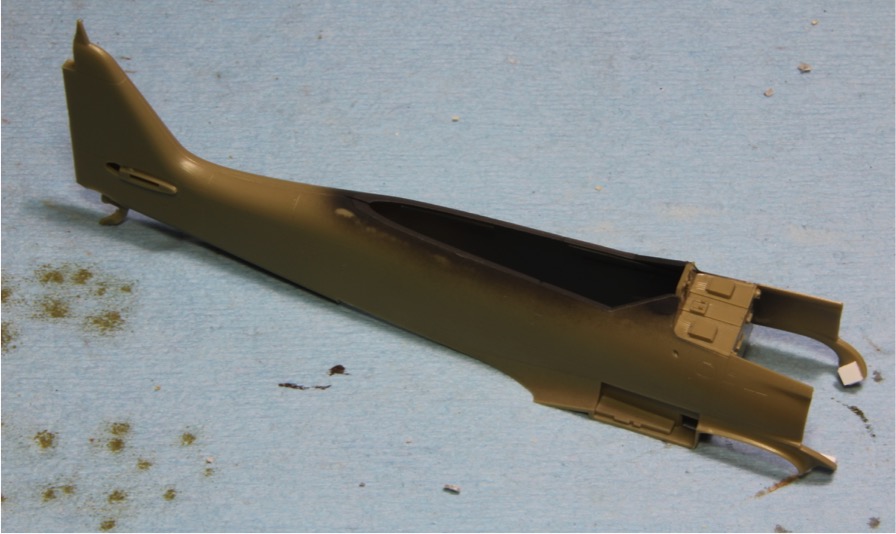
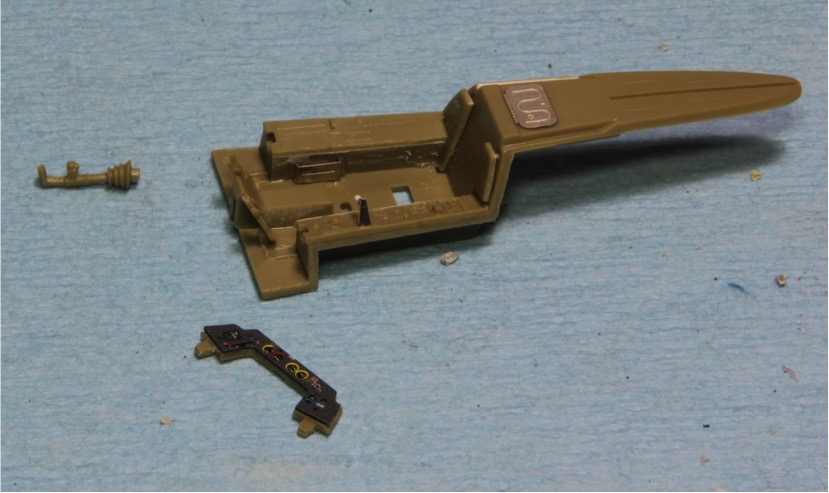
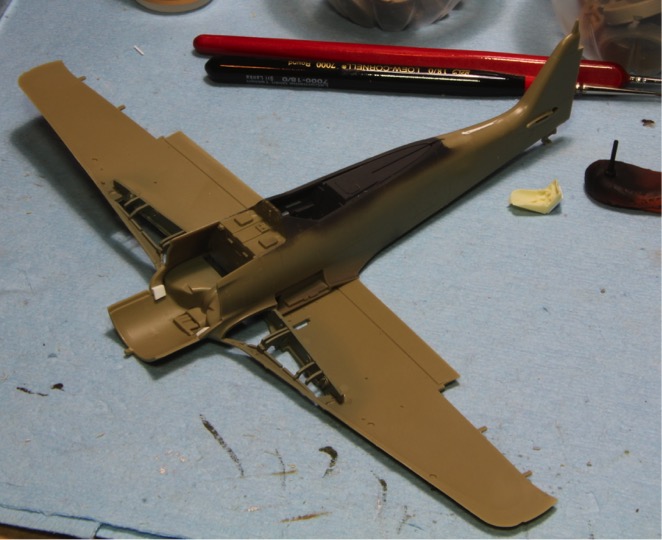
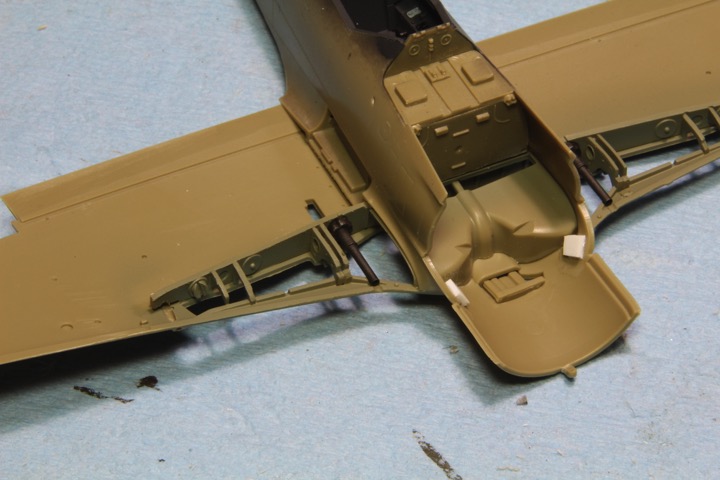
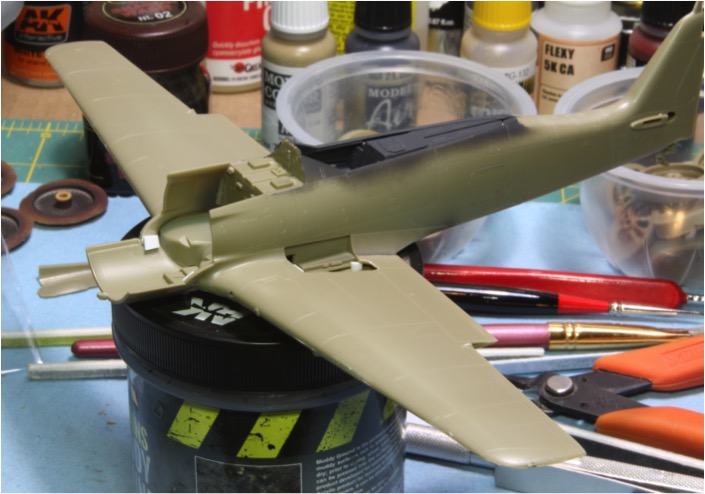
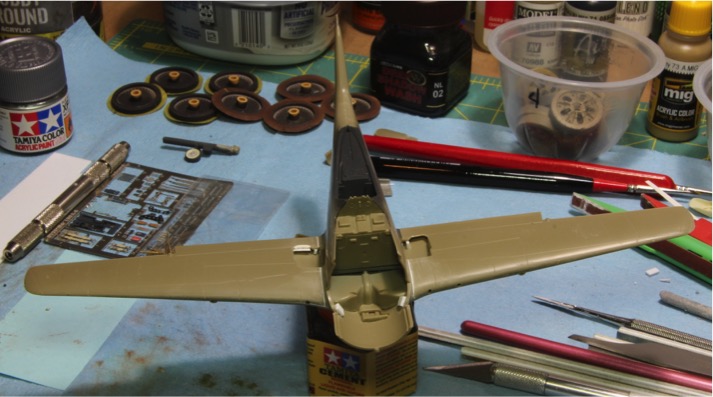
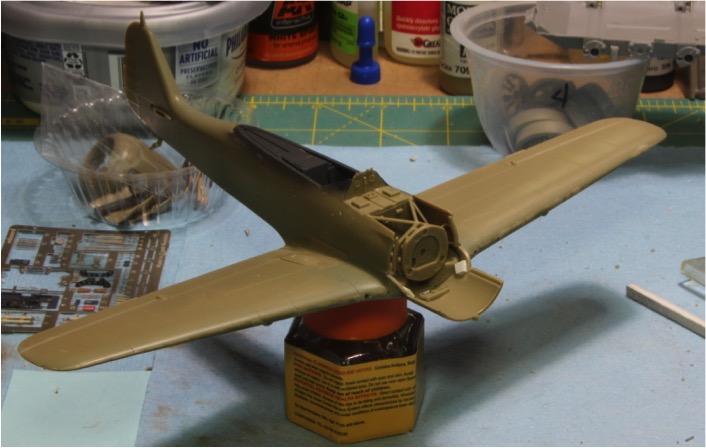
If you recall when I last posted an update, the fuselage halves were assembled and the cockpit had been assembled but wasn’t painted. Alright so from there I painted the cockpit and installed it into the fuselage. I didn’t bother weathering it too much as its really tough to see into the cockpit on this plane. Then the pit was installed and the lower wing assembly was also added. I didn’t attach the wing top halves so I could make sure I had the lower wing aligned correctly and securely attached to the fuselage. Unfortunately I didn’t take any photos of these intermediate steps. Until I was done.
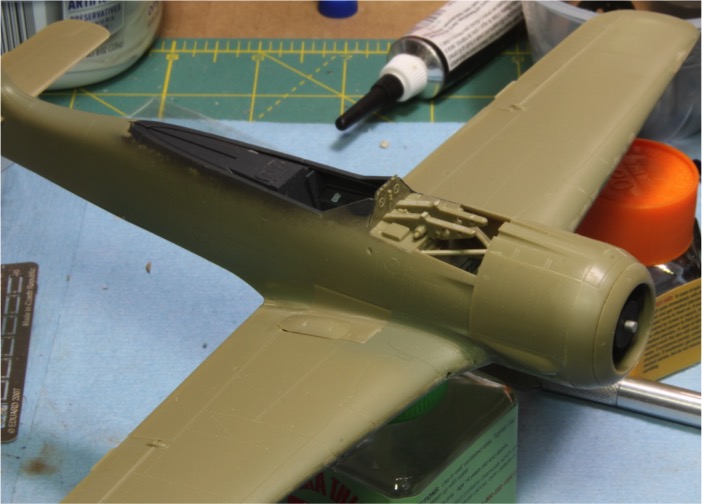
Next step was to install the gun barrels located through the landing gear bays. I used the master turned brass barrels which come in two parts. The part that extends through the wing leading edge will be installed at the end. The barrels were painted black and then rubbed with some gunmetal pigments. The color in the photo is darken then they turned out on the bench.
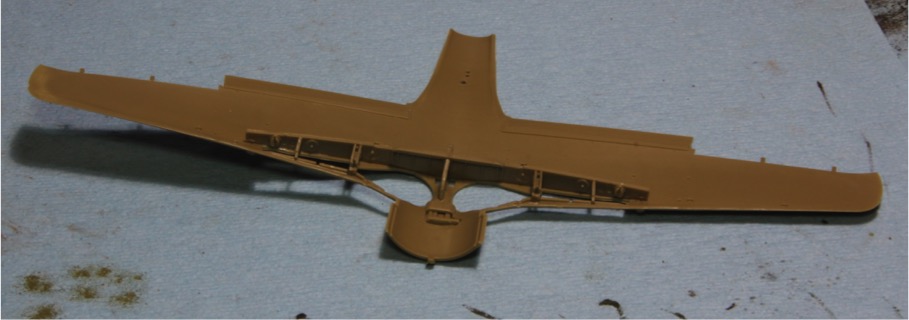
Next step was to attach the top halves of the wings. I had to do a little work to support the inner edge of the wings an avoid a step at the wing root. But I got it all aligned and assembled.
The leading edge join wasn’t the best as can be seen in this photo. Not only are there gaps but details are mis-aligned as well. Additionally there were some minor gaps at the wing root.
After all the gaps are filled and sanded down.
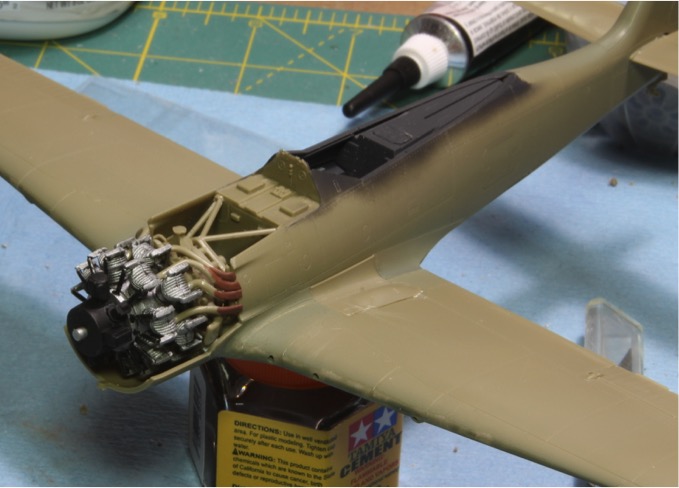
The next phase is to get the big BMW radial assembled and installed. I went a little bit out of order in this area. Eduard would have you assemble the engine, including the back and then install the mounting structure with the fully assembled engine. I was afraid that I would have a hard time accessing the mount points and aligning everything properly with the full weight of the engine. So instead, I took the three mounting parts and attached them to the firewall using Tamiya Orange Cap Cement for strength and I attached the rear engine piece. This allowed me to align everything and make sure all the joints are solid.
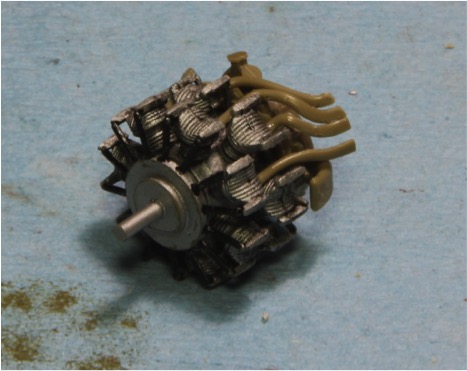
While the mount was curing, I worked the engine. There are a ton of parts here. The engine halves, final drive cover rear plumbing and each exhaust pipe is a separate piece. Eduard gives you a jig to make sure the pipes are correctly aligned, but making sure the pipes are correctly routed is a challenge. Here is the engine painted up.
Then I installed the engine.
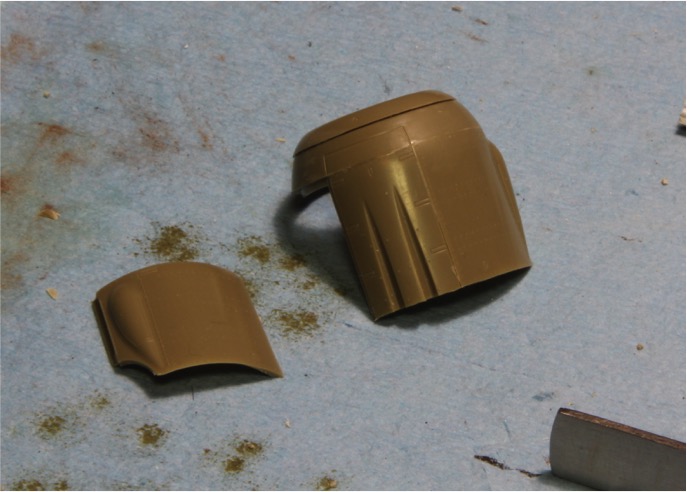
Next step was assembling the cowling. This part is made up of 5 separate pieces, the top gun trough, left and right sides and the front ring and front armored ring. The attachment of the cowl assembly to the lower wing area is one of the bad parts of the model. There are some fit issues here. So, I first up assembled the top gun trough piece and the right hand side to the front ring and let that piece fully cure. Once it was fully cured I started dry fitting the assembly and sanded where necessary until I had a really good fit.
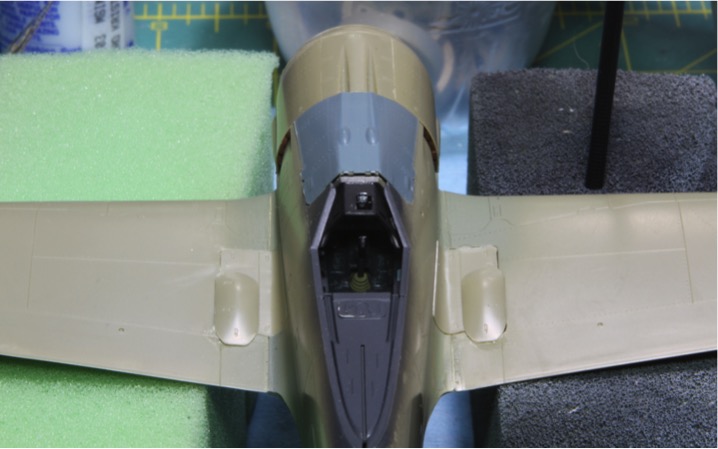
Then I added the right hand side and dry fit and sanded until that side had a good fit as well. Once I was happy with the fit, I attached it to the fuselage/wing assembly. I also added the gun mounts to the gun tray at this point.
Next up I added the machine guns and attempted to add the gun cover. Turns out this part is meant to be open. The guns do not fit with the cover closed. I think Eduard fixed this in later version of the kit as the FW-190D-9 kit includes a small piece with just two barrels sticking out of the closed hood. My gun cover was warped and didn’t quite fit right, so I used a spare from another kit. I also assembled and installed the glare shield with the gun sight.
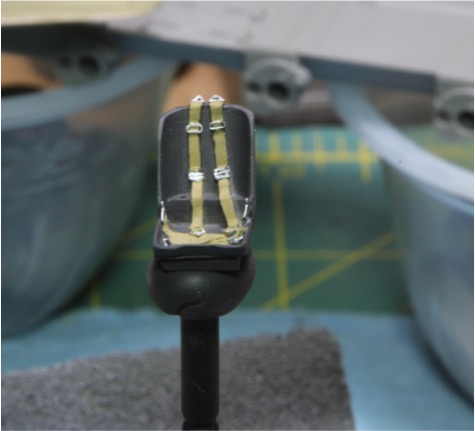
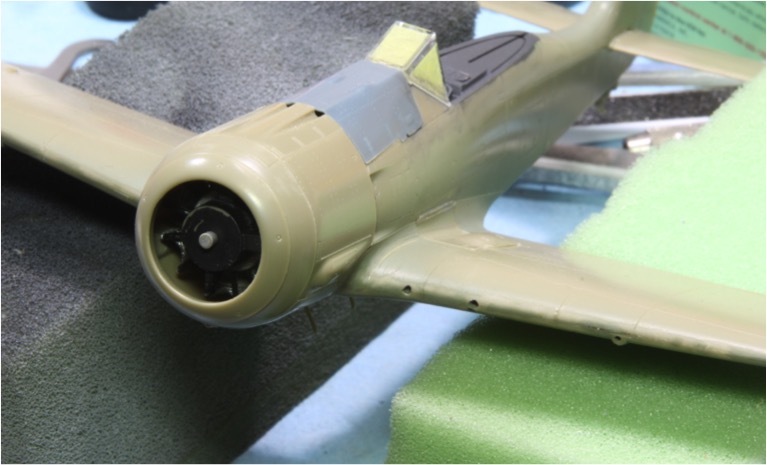
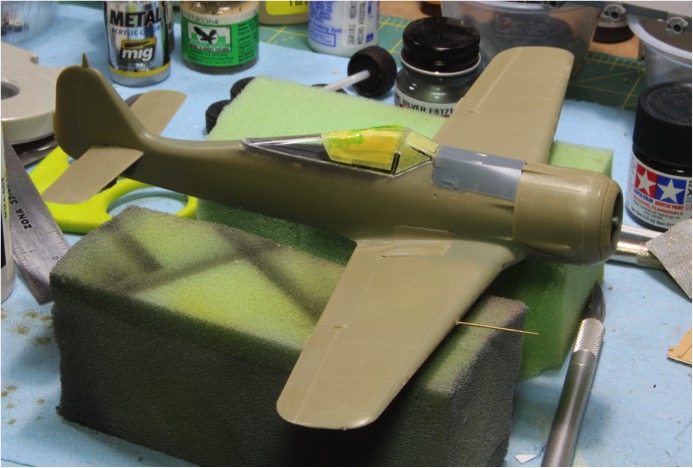
Next up was the seat. I used a resin seat from Ultracast, painted and then installed. The front canopy was also masked and installed.
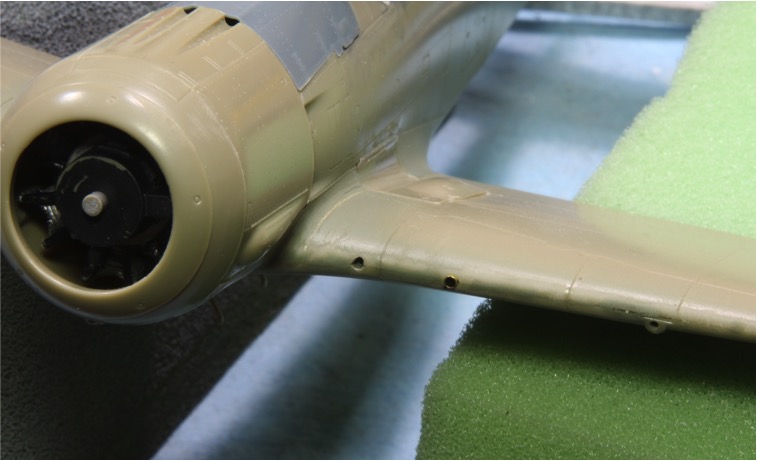
On the original kit, the gun camera lens is represented by a molded on little bump on the wing leading edge. Unfortunately it was misaligned once the wings were assembled so I had to do some corrections. Sorry, I don’t have a picture of the original kit assembly. To correct this, first I drilled out the leading edge at the point of the upper half of the gun camera (gun camera is the second hole in the leading edge from the fuselage).
Then I installed a small piece of copper tube into the hole. After I paint I will fill the tube with some clear something to represent the clear protective cover.
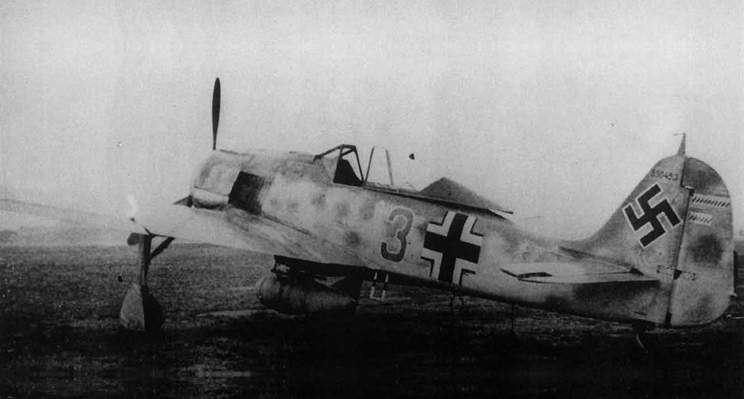
Next up, the canopy was installed in the closed position. I left off the pilot’s armored headrest as this was removed from this particular aircraft. This was a pretty common modification at JG300 to remove a little extra weight. I also added a turned brass pitot tube from Master.
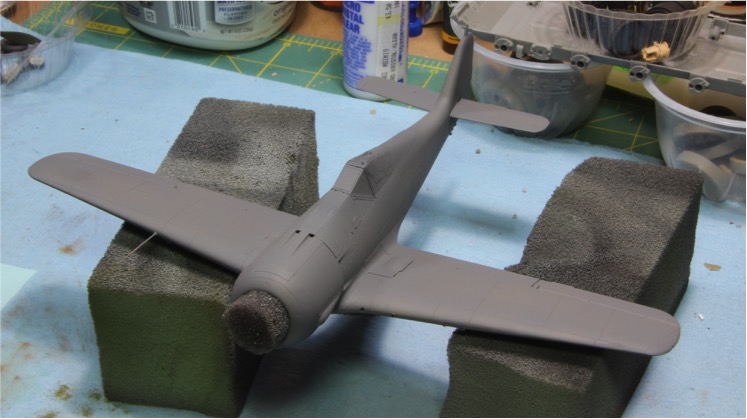
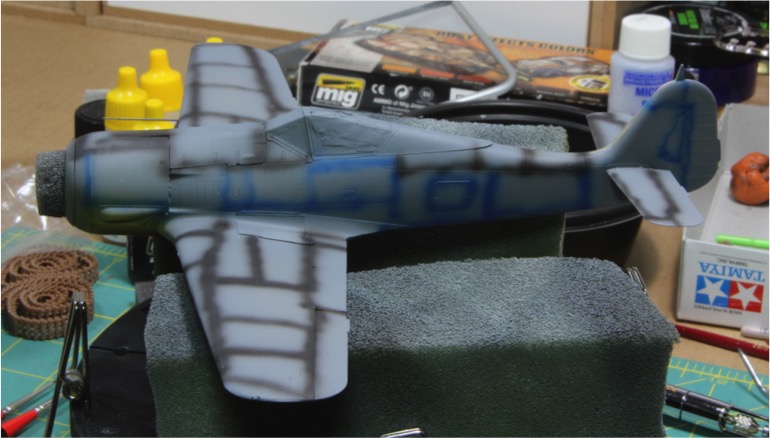
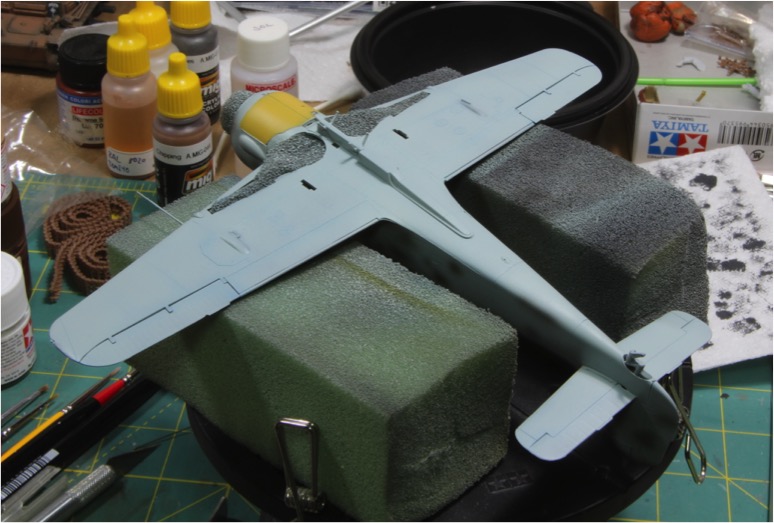
After a quick wash with a little dish soap and warm water, I painted the canopy in RLM66 to get the inner frame color followed by a coat of Ammo One Shot Grey Primer.
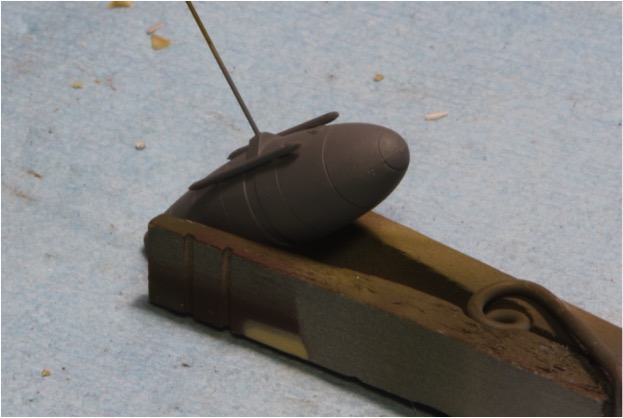
At the same time, I also assembled the external fuel tank. After cleaning up the seam I primed it at the same time as the aircraft.
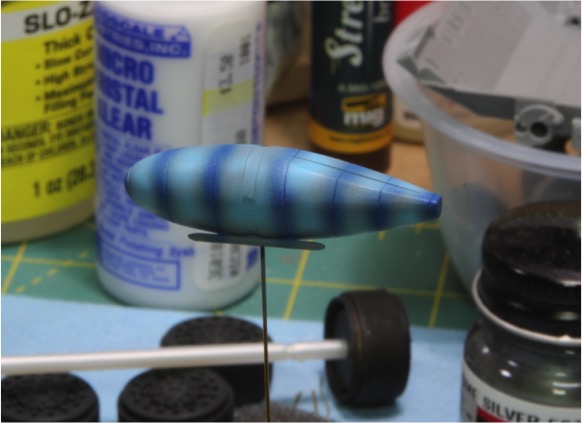
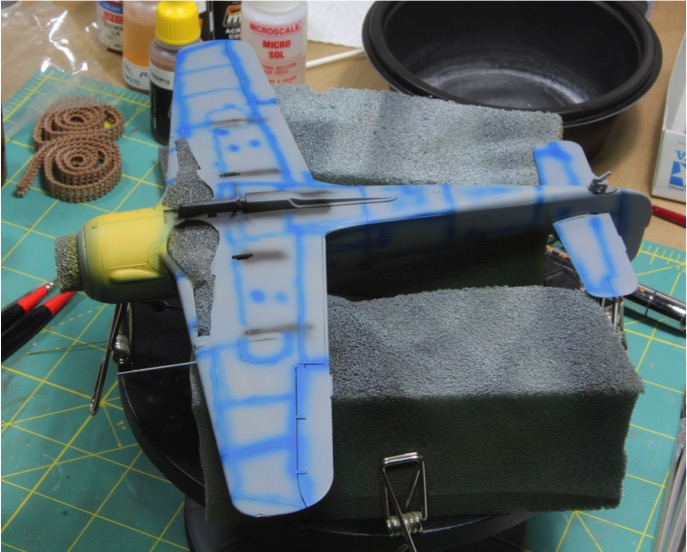
I tried a new pre-shade on the fuel tank. I saw this tried somewhere and thought it turned out pretty well. So I pre-shaded with two different blue shades to provide some subtle shading under the RLM76.
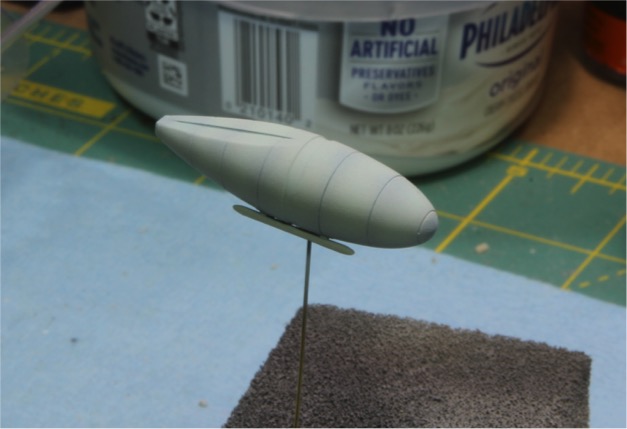
Then I painted the tank with Mission Models RLM76. This is a different shade then what I want to use on the airframe, so it should provide some contrast.
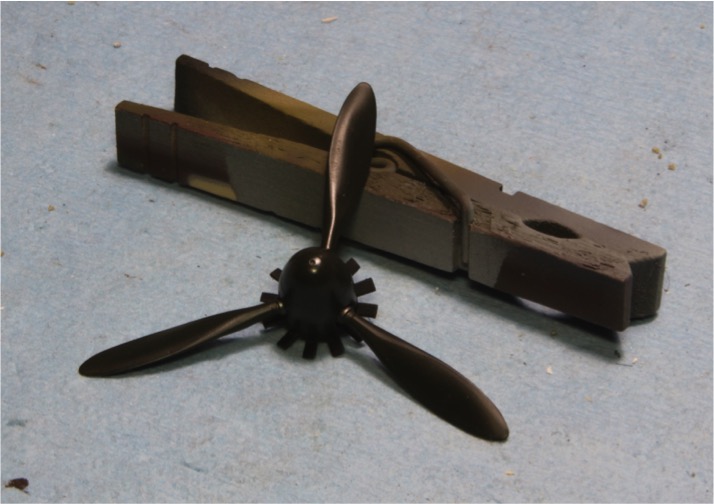
I think the dark blue worked very well, but not sure the light blue was necessary. Last thing was the propeller. I painted it up and assembled all the pieces.
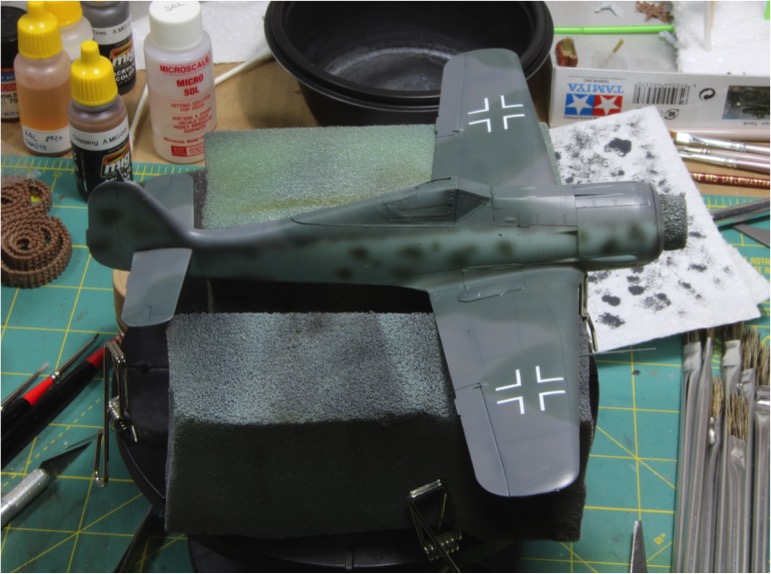
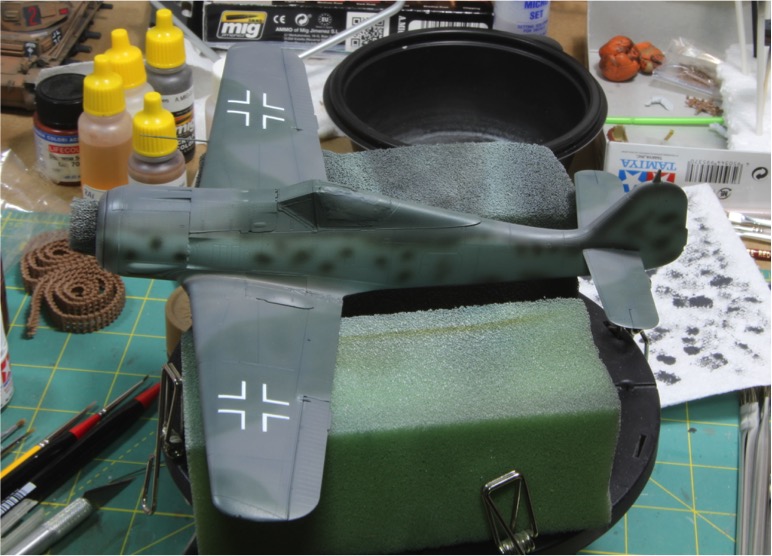
Next step is to check all the seams and clean up any blemishes before I start painting this butcher bird. Well, there you go, now we are all caught up. Hopefully I’ll get my next post up sooner!
Thanks for looking
Mike
 :tomato
  :tomato
  :tomato