• Modelers Alliance has updated the forum software on our website. We have migrated all post, content and user accounts but we could not migrate the passwords.
    This requires that you manually reset your password.
    Please click here, http://modelersalliance.org/forums/login to go to logon page and use the "Forgot your Password" option.

Finish MS.406

phantom II

Master at Arms
Here's my bid :)

mandatory_pixs_002b.jpg
 
Here you go Bob. My prime area is being taken up by a George who's gear is glue and drying ( hopefully straight )

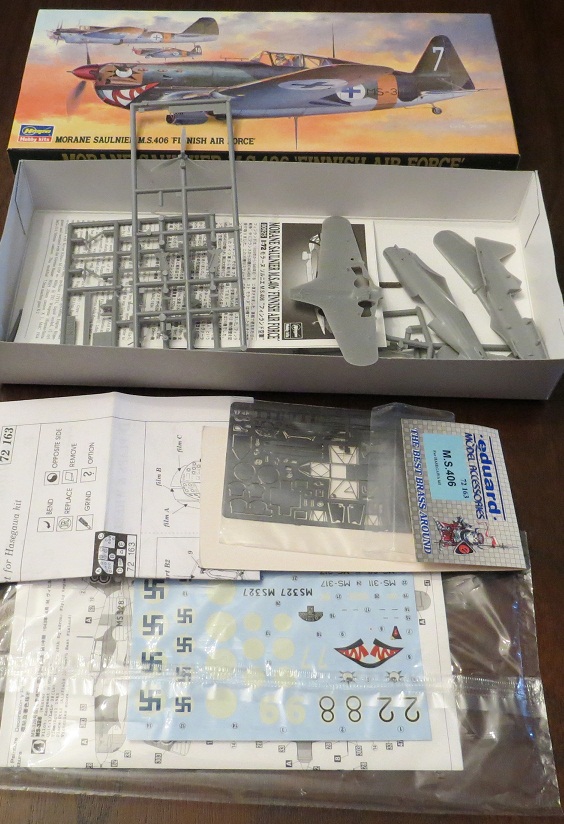
The kit has had the wings and fuselage cut from the sprues but all else is intact. There is also an Eduard update and perhaps extra decals ( need to look ) .

next_pix_001a.jpg


Thanks for looking !

Dave, you must have been waiting on this one :rotf

Cheers, Christian B)
 
No pressure here ! :facepalm But you know I have two builds and only one me :pinch:

Cheers, Christian B)
 
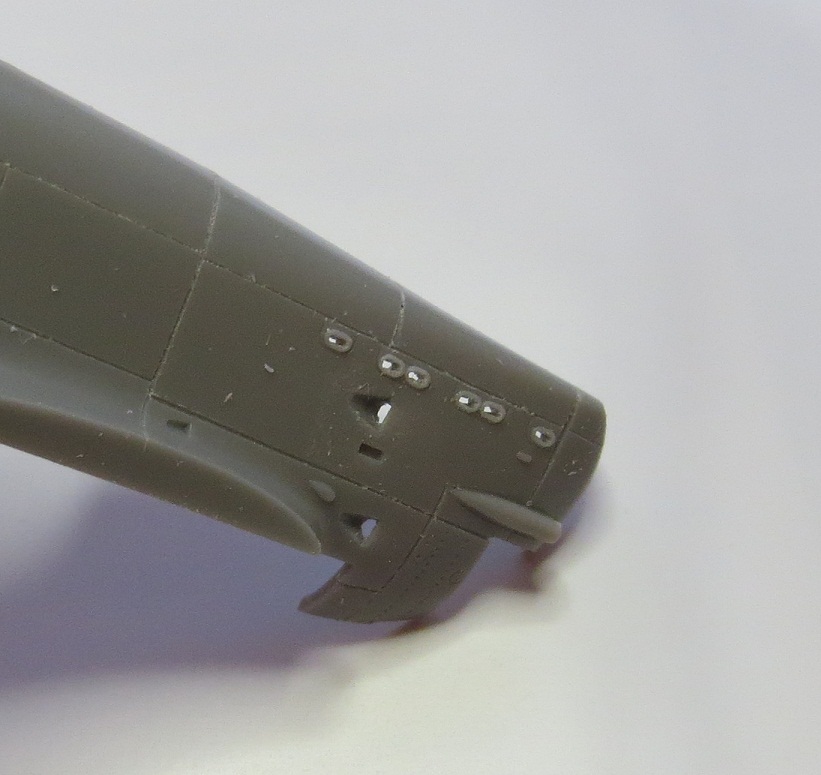
I have started this build. The panels have been scribed and the various scoops opened to add a little realism to the kit.

004a.jpg


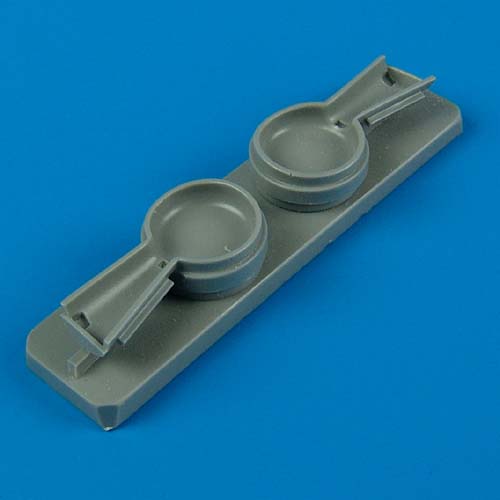
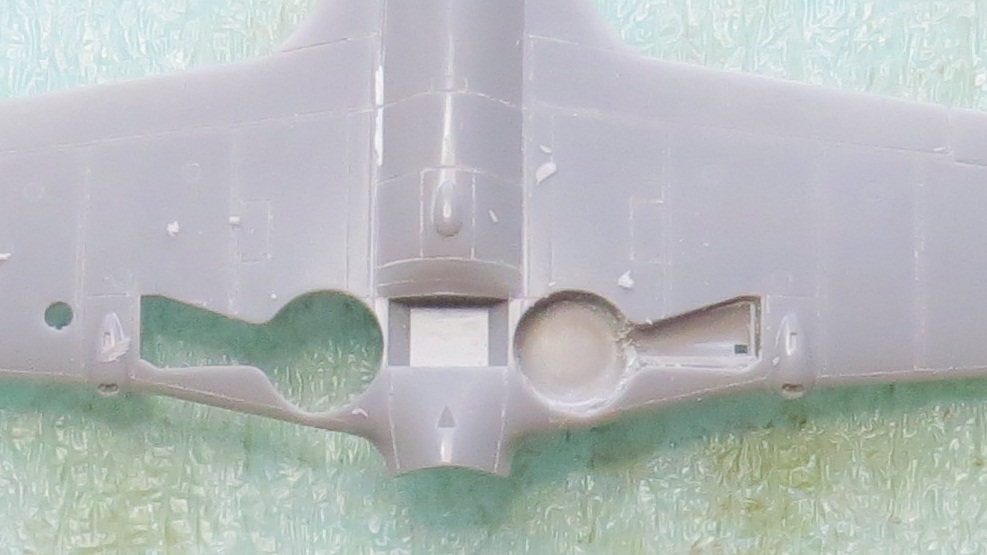
I then proceeded to installing the Quickboost wheel wells .

72197.jpg


Looks very easy doesn't it ? Don't waste your money .

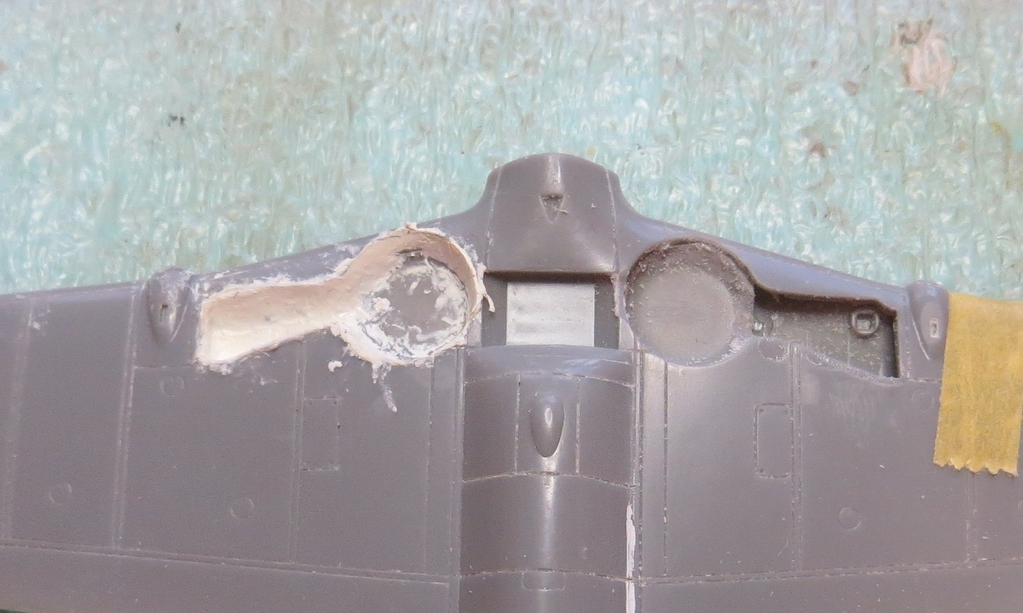
After what seemed like careful trimming of the resin and grinding on the model, this is the best I could do :vmad :vmad :vmad

They are too small no matere where you check them . The kit plainly stated for Hasegawa kit .

002a%7E0.jpg


So, I am on plan B , but just how I can smooth out the Milliput is still needing some figuring.


003a%7E0.jpg


I am opened to suggestions from you guys that work with that stuff . Bear in mind this is a pretty small place.

Thanks for looking. Comments are welcomed

Cheers, Christian
 
Chris if you've got a Dremel tool go to your local hobby shop or anywhere that sells mini rotary tools and get some burrs, they come in all shapes and sizes.
001-29.jpg


Tony lee
 
Hi Tony . Thanks for the idea. I have all the small Dremel bits but I'm not sure I can contour all those curves to a satisfactory finish .

Actually, I'm considering some mister surfacer for the final bit. At least I can manipulate it with cu-tips and alcohol.

I could not exist without my Dremel ! :S

Cheers, Christian B)
 
What an extremely bad fit :vmad

That's an extremely polite description of my feelings :S

Cheers B) Christian
 
Just a little update Morane . Seems like a very small update for such a long time period.

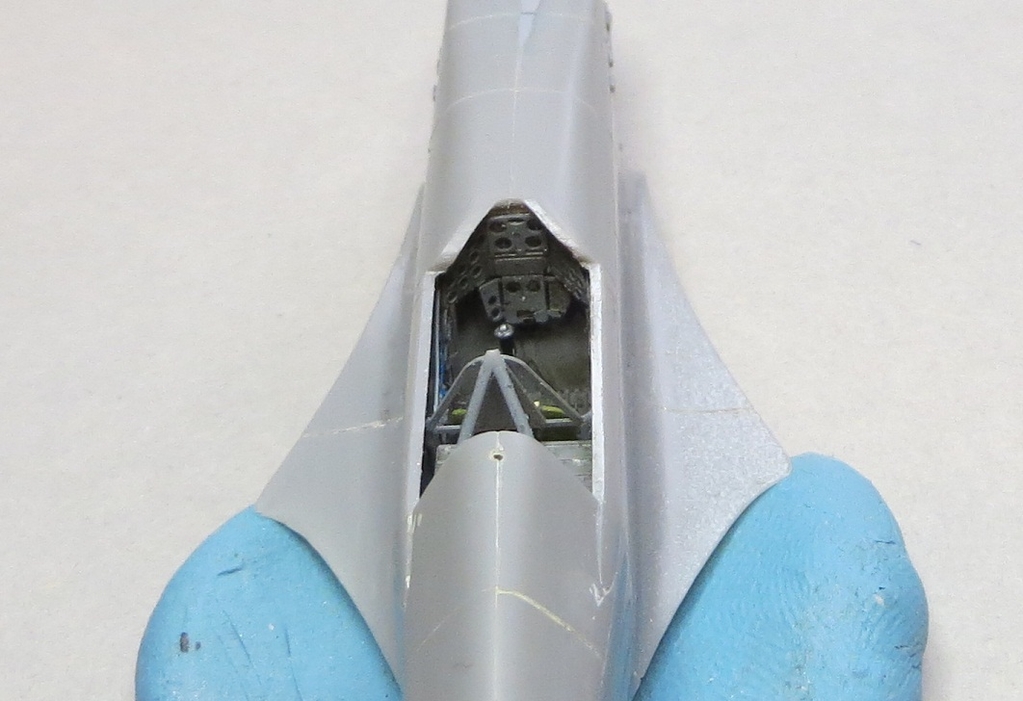
The cockpit is made up of just a bunch of small fiddly pieces that would do better if one was able to solder the corners of the cage in it's proper place.

more_cockpit_001a.jpg


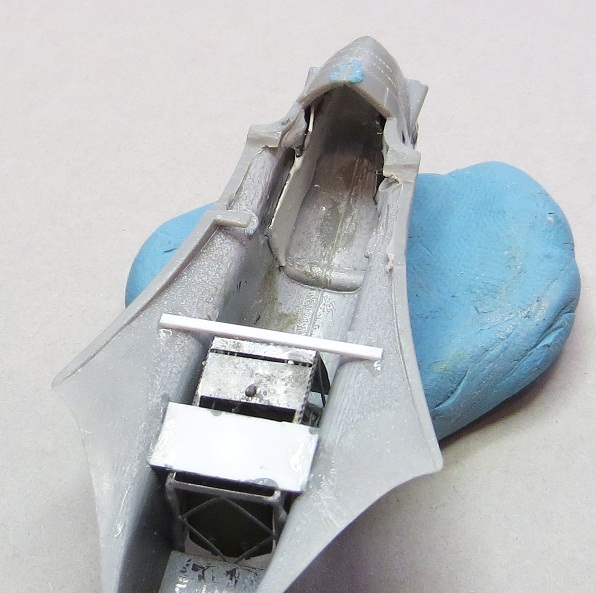
Eduard did not provide any hints as to how to mount the assembly inside the fuselage.
It did not fit on top of the kit floor or on the tabs to mount the plastic floor.

Result: unorthodox method of keeping it in place but it works.

more_cockpit_002a.jpg


Also visible in the nose are the black card sock with the illusion of greater depth in the fuselage openings.

I'm still debating what to do about the wheel wells ( wish I had a spare wing ) .

Considering putting the Dremel to the Miliput and making the interior from PE .

French_cockpit_005.JPG


I think I'll work on the LA-7 while I consider the options.

Thanks for looking . Comments are welcomed.

Cheers, Christian B)
 
Hey Christian,

Looks like those wells are giving you a headache! The rest seems to be coming along fine though!

I agree with Tony, you can probably find a very small bit for the dremel to get in there and smooth things out. If you're looking for something smaller, you could check out Brasseler USA.

Brasselerusa.com

They make a variety of very small bits for dentists (I think their smallest is a 0.3 mm Round), both diamond tipped and carbide. Much more selection than Dremel has. They're a bit pricey but worth it. Might even be able to hit your dentist up for one.
 
Thanks for the web site sharkman . I think that could be usefull

My only issue with the Dremel is that the grinding will still need to be polished out and I have yet to figure out how to accomplish that.

Cheers, Christian
 
Bummer about the problems Chris. I may not be reading this right, but you dont like the wheel wells. Could you smash mold the old ones and detail up, then glue in place? What was the issue with the old wells?
JAmes
 
James, there was not none provided by Hasegawa ( the usual pit without any walls )and the Aires AM. were way too small. :sick:
So,I there is no pattern to work from .

Cheers, Christian B)
 
Back
Top