• Modelers Alliance has updated the forum software on our website. We have migrated all post, content and user accounts but we could not migrate the passwords.
    This requires that you manually reset your password.
    Please click here, http://modelersalliance.org/forums/login to go to logon page and use the "Forgot your Password" option.

Fiat CR.42 plus photo etch.

Thanks James it really is a good little and I do stress the word little. It will appear bigger when the upper wing is on.
Thanks Bob that was a fun visit. You give my eyes too much credit. Anymore I owe it all to Doonigan optivisor. B)
 
I'm calling BS on that one too!! Chris can spot a dust speck on a flea's butt! Nice work, buddy, she's looking awesome!!
 
Hi Chris, enjoyed watching you coax the cockpit in place. Where theres a will theres a way and it didn't involve a hammer. Looking great.

Tim
 
Yeah, well when fineness and a crow bar don't work Sometimes you just have to go for the saw ! :blush:

Cheers, Christian B)
 
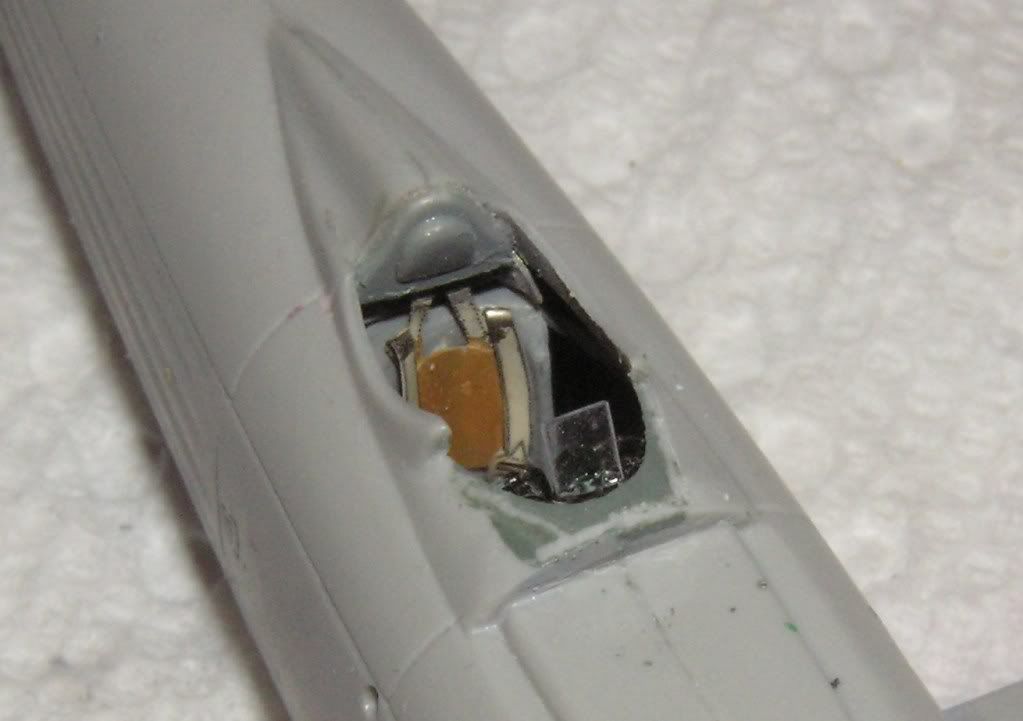
Once everything was secured into place I drilled out the gun sight and filled the hole with glass colored paint.

fiatcr42006-1.jpg


Made the glass reflector plate that Italeri overlooked.

fiatcr42007.jpg


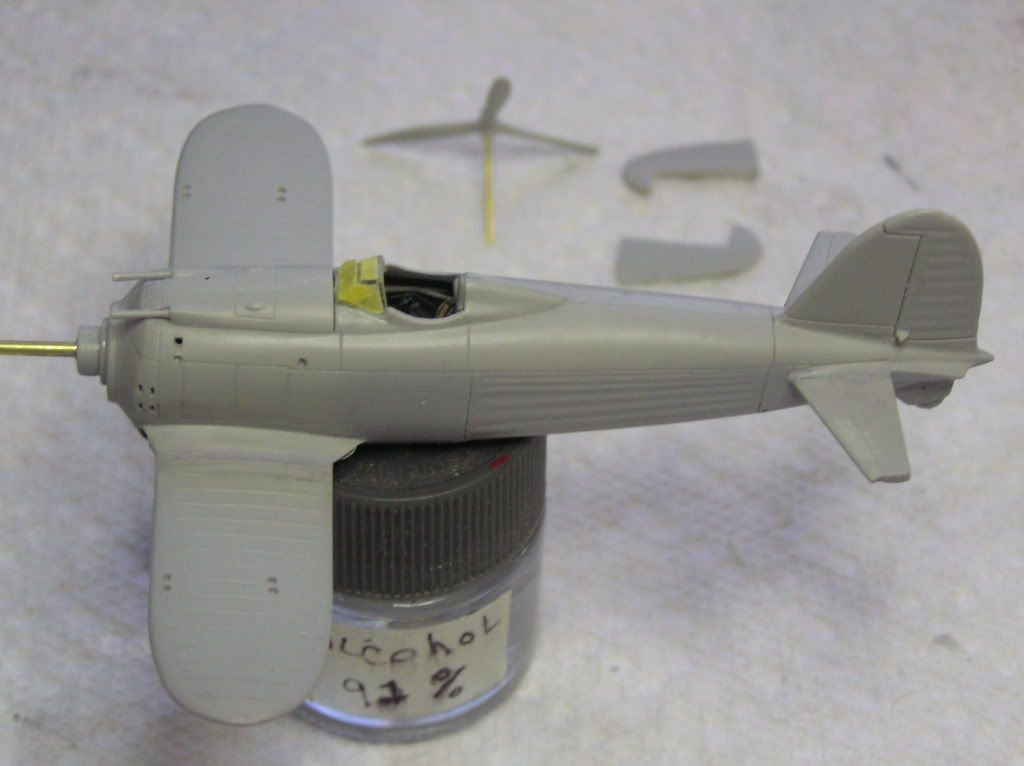
After that, the brass tube was installed to the airframe to facilitate the alignment of the engine , exhaust and numerous cowling pieces. The windshield was installed and masked.

fiatcr42009.jpg


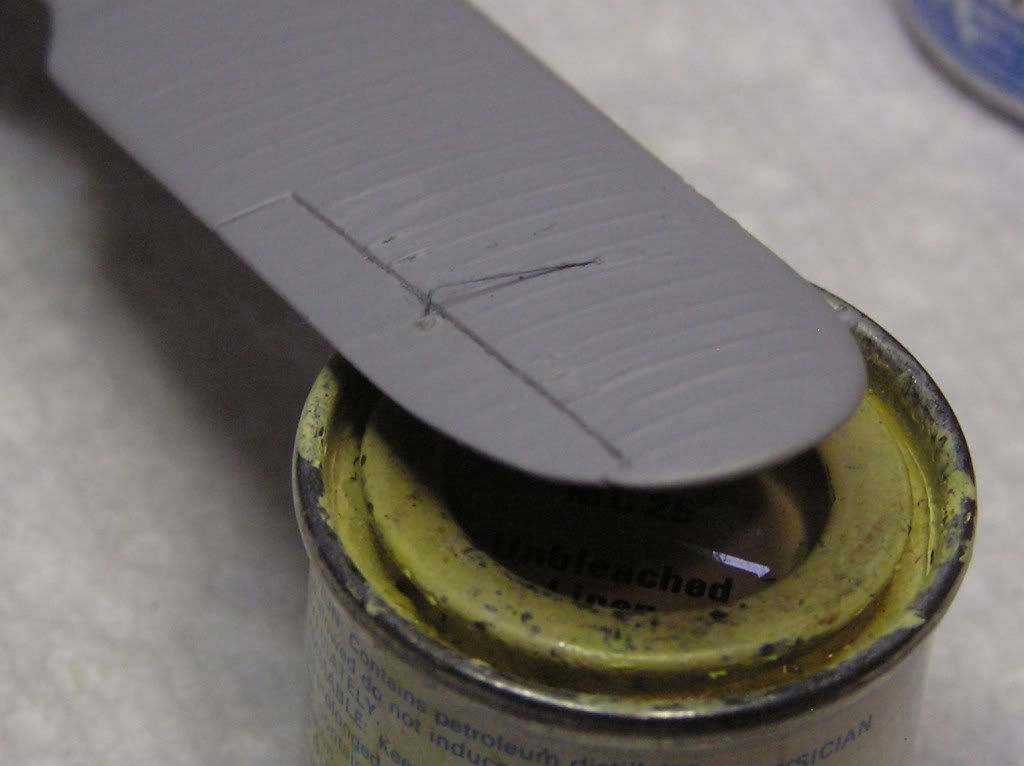
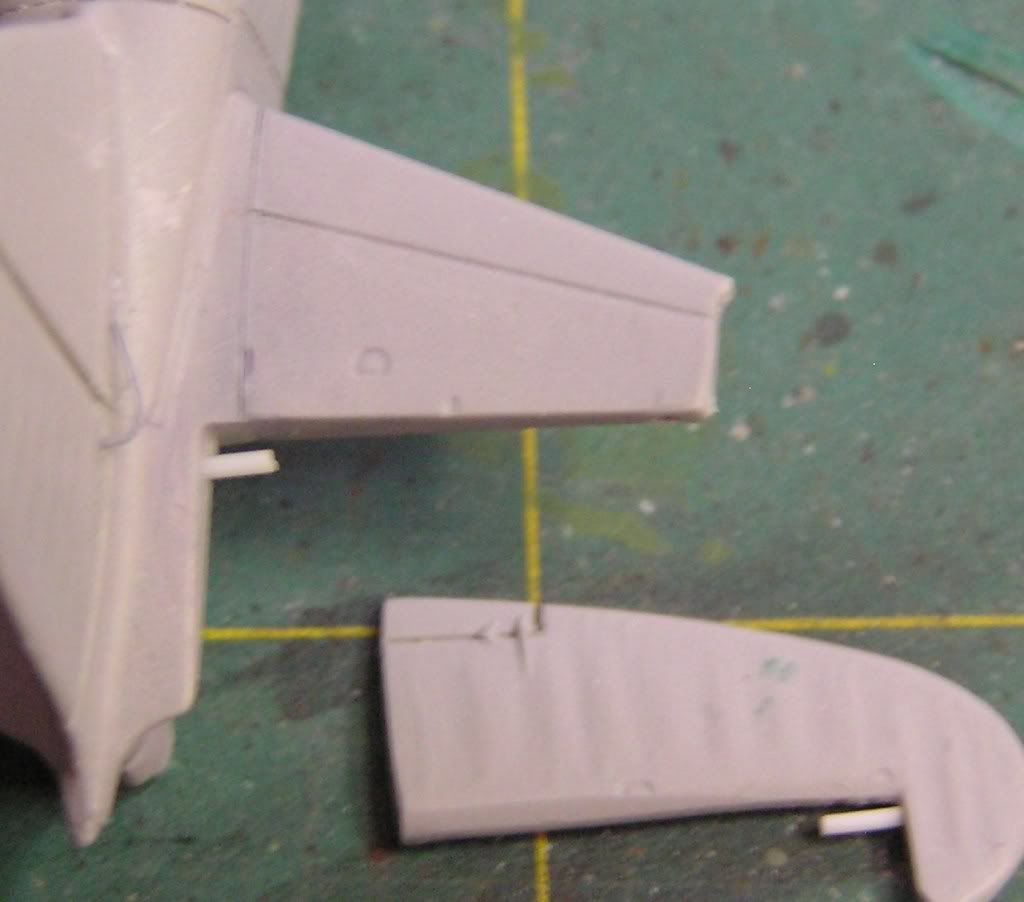
The next step was to pin the elevators so they could be repositioned latter.

CR-42008-1.jpg


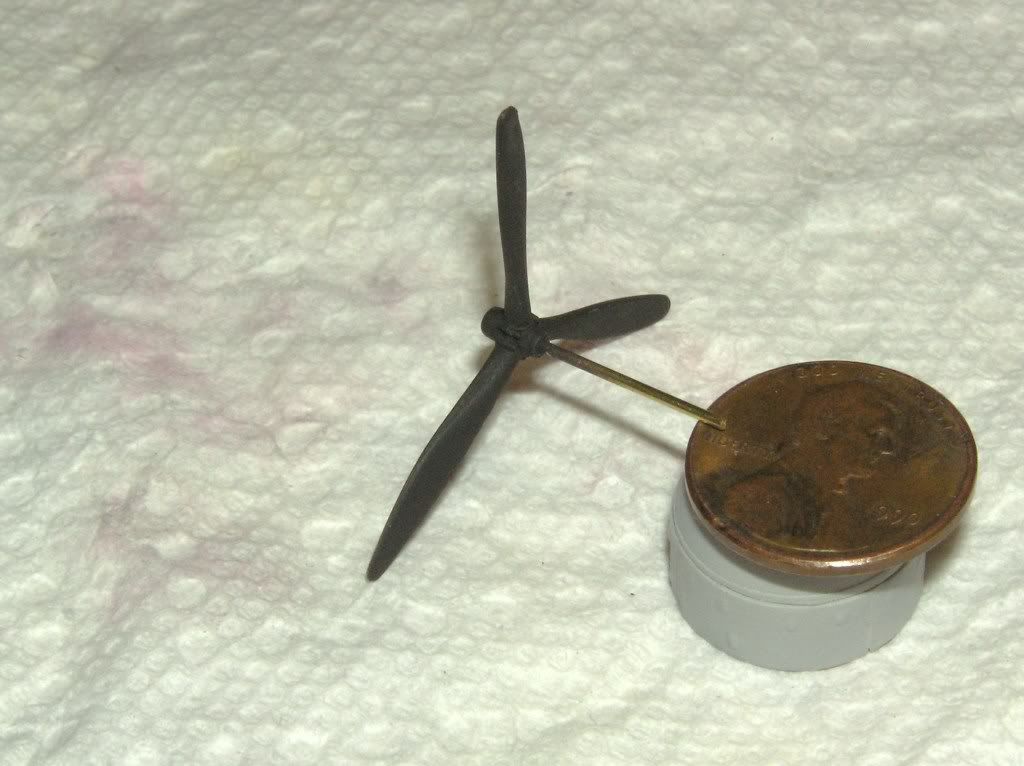
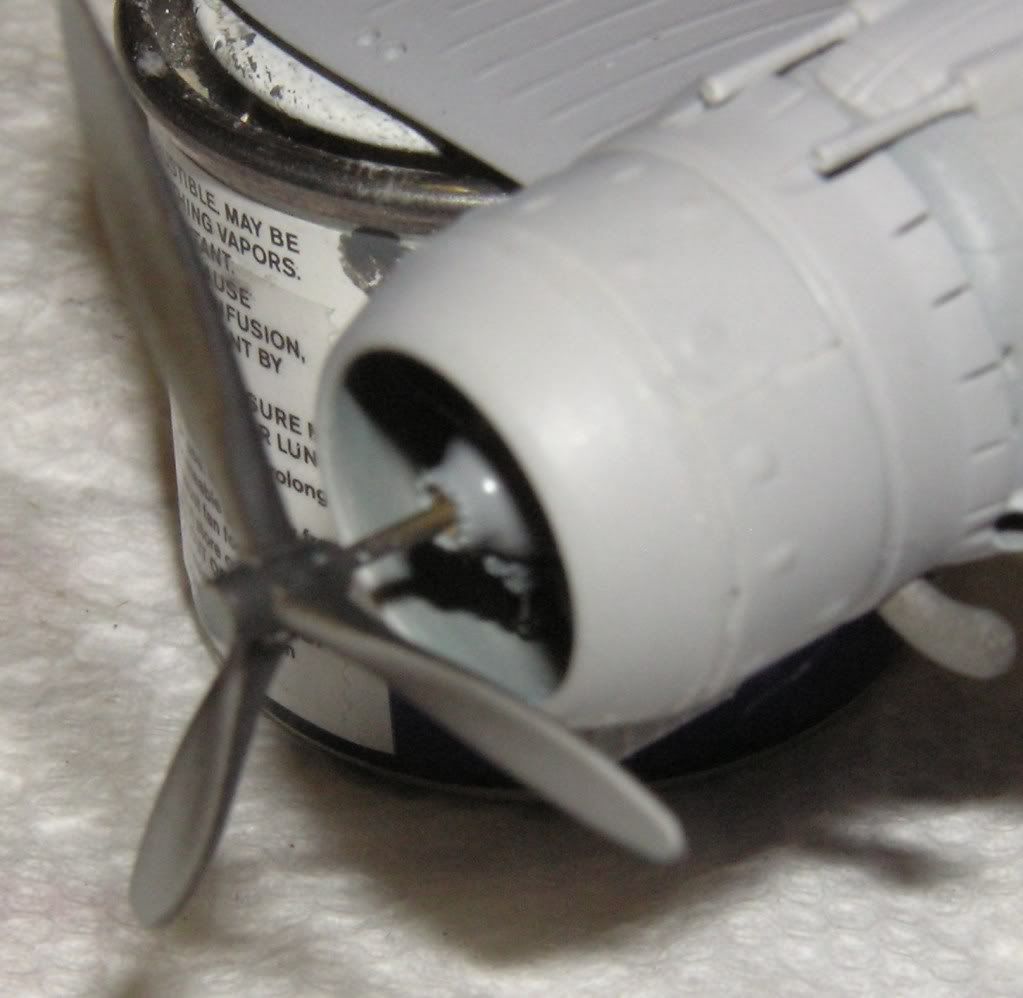
The prop was also pinned with a brass rod so as not to break it during transportation.

cr420062.jpg


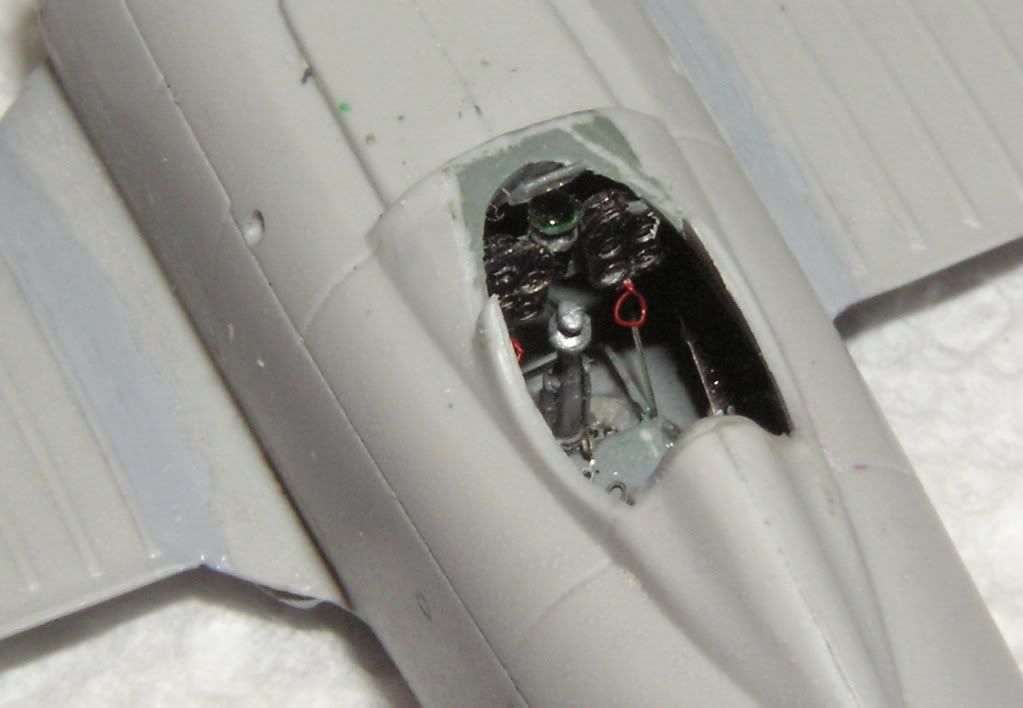
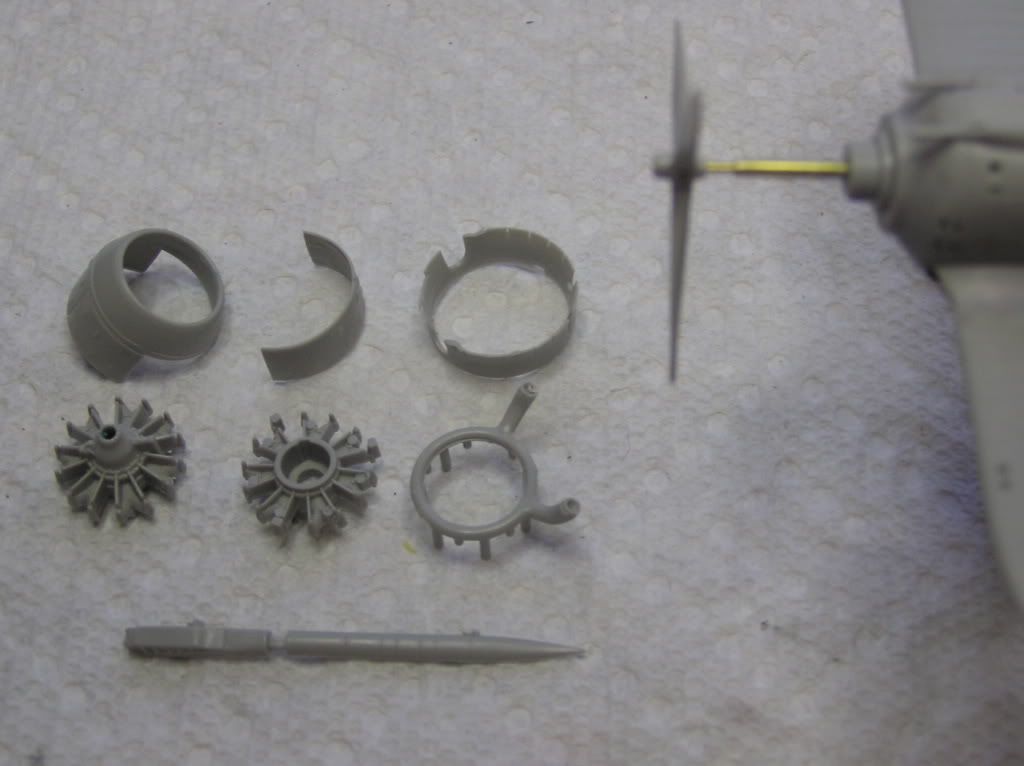
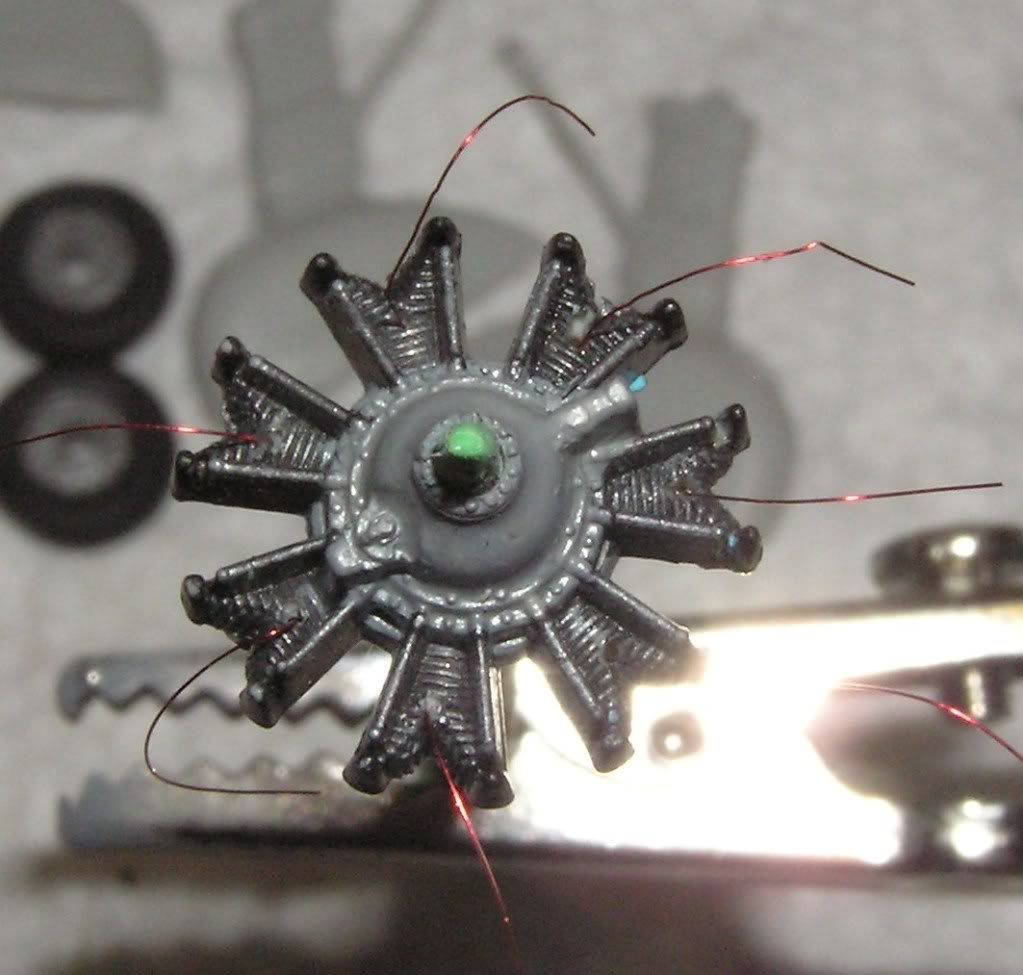
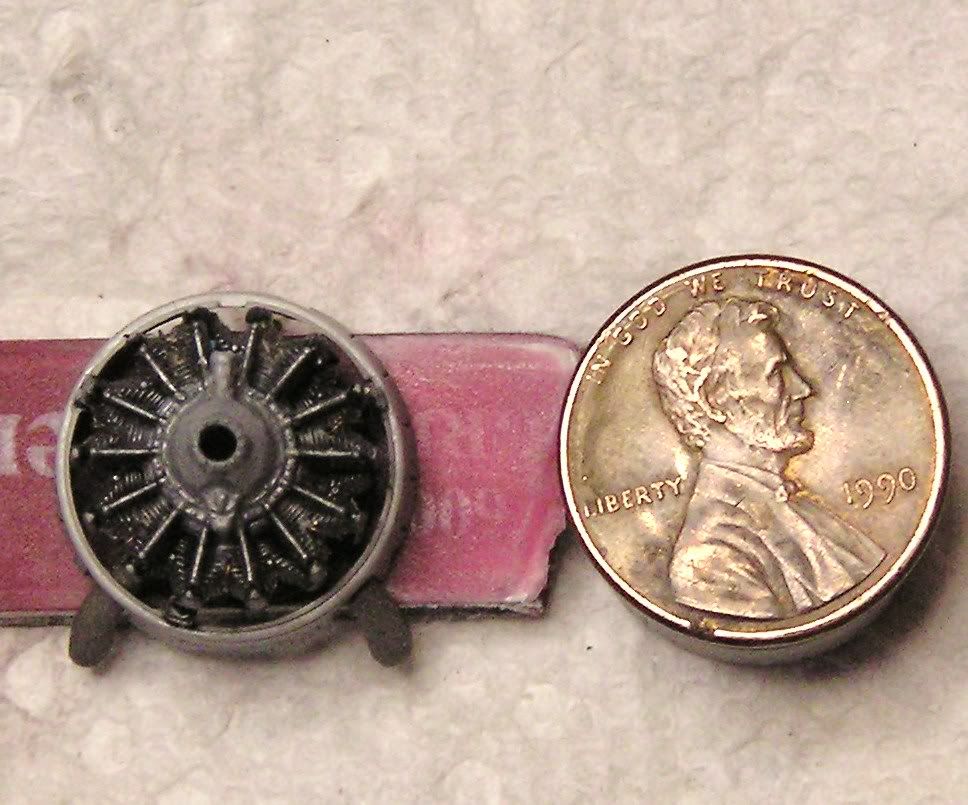
engine parts were cleaned and painted

fiatcr420082.jpg


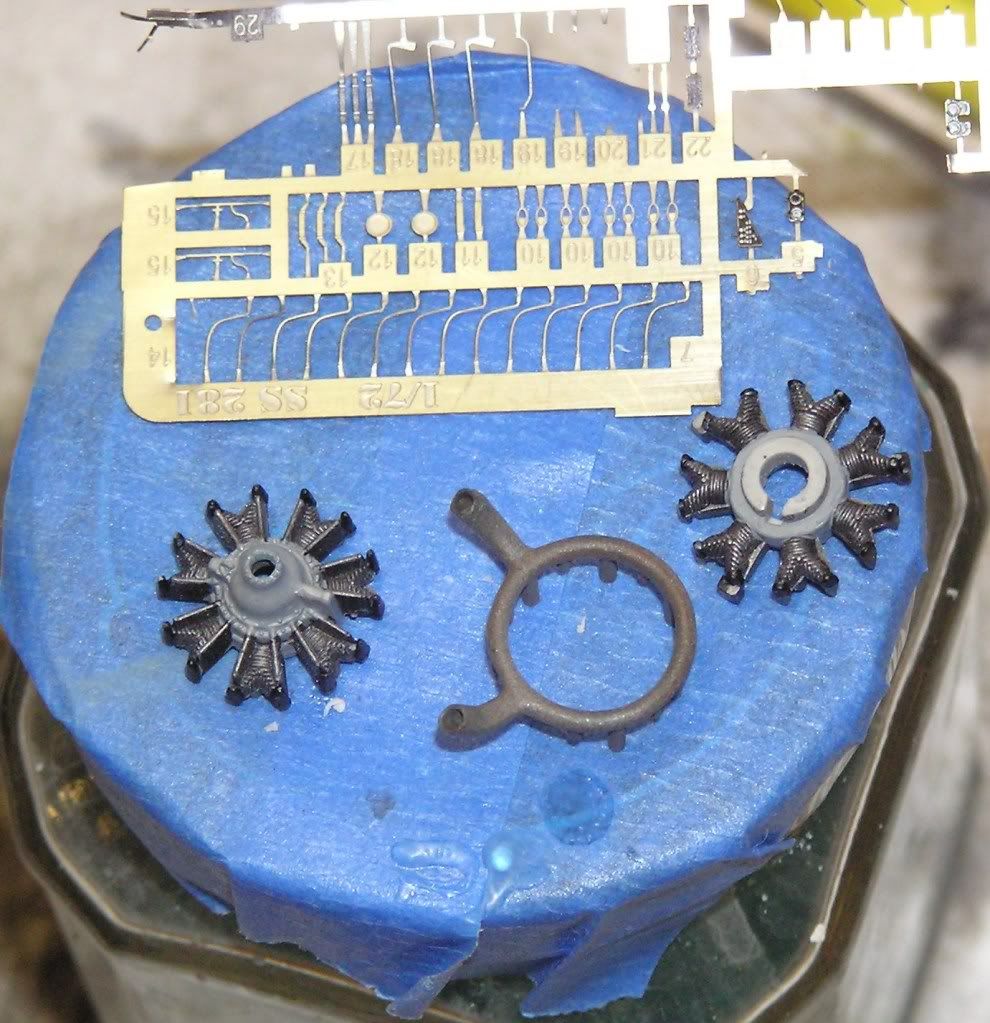
Eduards provided the ignition pieces but I found it easier to make up my own wiring and it's more three dimensional to boot.

CR42004.jpg


CR42006.jpg


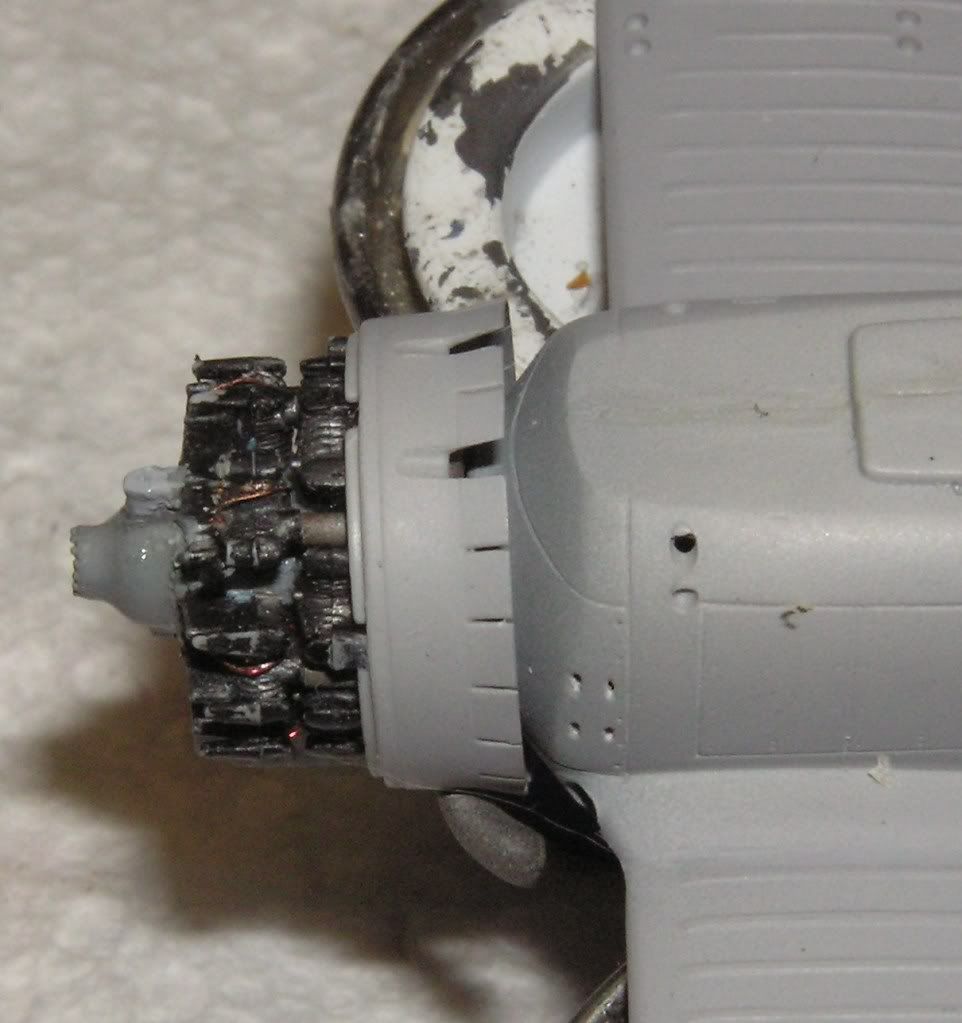
Finally the engine assembly is ready to go on. All it need now is some washes and a crankcase data plate that will be installed latter on.

cr420042.jpg


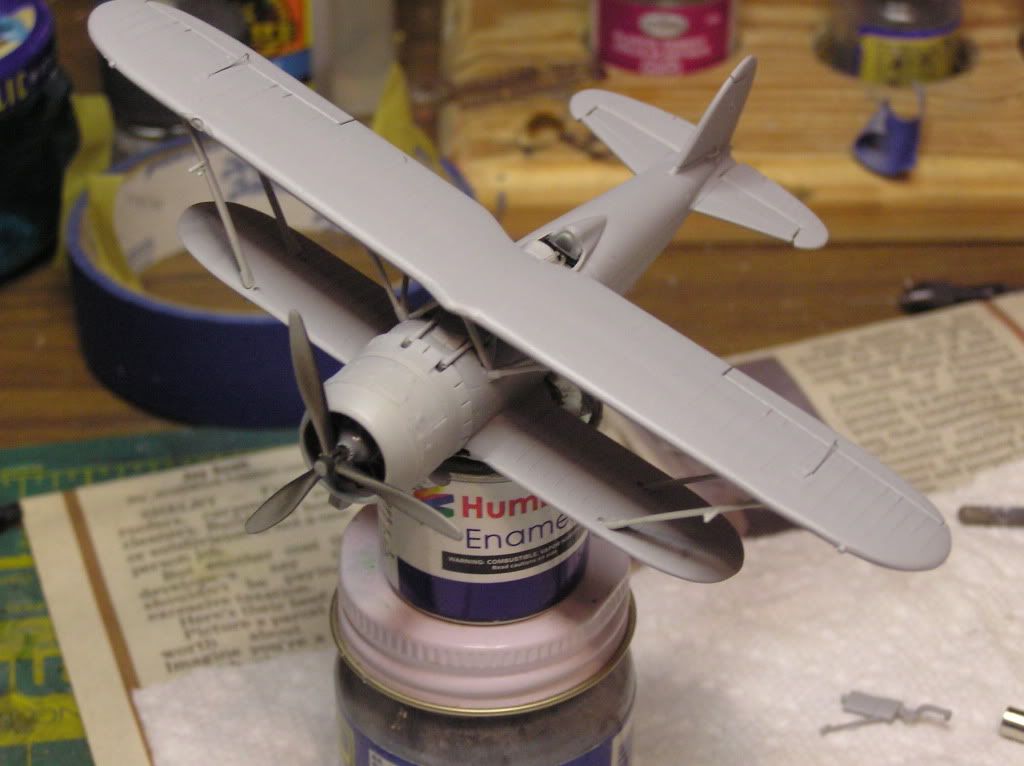
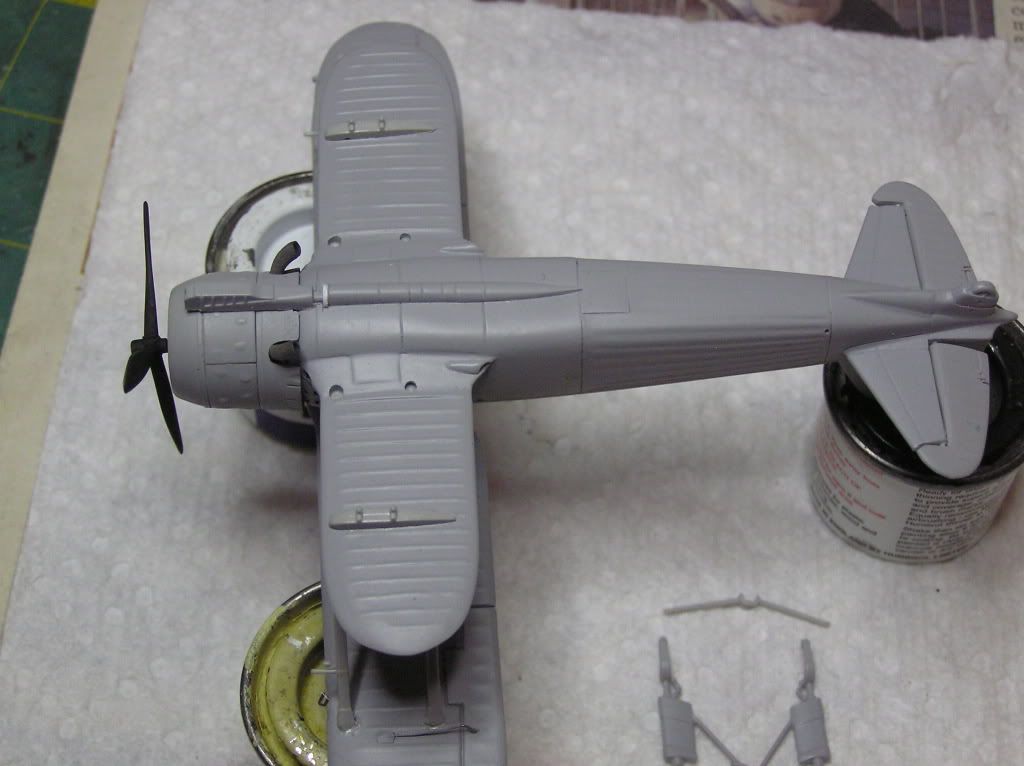
and now the dry fit of the assemblies.

CR-42006.jpg


CR-42007.jpg


Well folks , we have an ice storm on the way which also means that we could be without power for days.
I will post more when able.

Thanks for looking. I hope you enjoy and comments are always welcome.

Christian B)
 
But the beer will stay cold!!

Nice work Chris, get the generator powered up enough to get the compressor going. damn the heat, we need air for the airbrush!!
 
Hi Chris,

I really don't know how I missed this one!
emoticon_confused.gif
If I'm not mistaken I saw some pics of this build in the Gallery, but I think they're no longer there...
emoticon_noidea.gif


Anyway, your little Fiat is taking shape and a darn good shape at that! That belly surgery must've been a tough one but it looks as if it came along very well. The cockpit is a fine example of what can be done detail wise in the 1/72 scale - and I concur with Mike: you must have a 120% eyesight!!! :)

I hope the blizzard you're waiting won't be too tough on you guys - here in Brazil we're getting some pretty strong Summer storms... :S

Cheers and congrats on your build!
101.gif

Fernao
 
Thank you everyone for your encouragement. I'm top the point where I think we will emerge from the ice without any harm. Hurray . !
 
I have made and installed the horns and the control rods for the flight controls but I have already decided that I'n not happy with them so they should be replaced next post.

cr42020.jpg


cr42002.jpg


My next step is to rid the struts of these lovely dimples

Voila .Just a little MR surfacer and a sand stick and we're ready.

So, this is the point where we start from. I am gluing the wing struts to one of the wings so aI can paint all surfaces without a major problem.

Well, that sure did not work out. The struts did not want to line up and just be glued on one end only due to the pins being too sort on one end .The struts are glued on both ends but have left about four out to see if it facilitates the paint.
Hole have been drilled to install guy wires.

CR420022.jpg


That's all for tonight. Thank you for looking and as always any criticism is welcome.

Christian B)
 
Well
i don't know why these are not posting correctly so I'll try to fix it.

cr42003.jpg


These are the struts after the MR Finisher.

and this is the lower part of the airplane. Note that I had to add the whit shim so that the landing gear cross brace would fill the gap.

CR420032.jpg
 
I like your treatment of the control actuator. Just the mere suggestion of if makes it work in that scale. The cowl looks like it's multipart,could it be posed open or is that just really deep panel lines?
 
Hi Bob, thank you for your comments. Believe it or not I am going to attempt some new control horns/control rod out of solder. I'll have to see if it looks close enough to scale to make it worth my time as I am not overly impressed by the shape of these .
As far as the cowl flaps go that's pretty much the kit plus a bit of saw work. Most likely will do a pass with the scribe before I put it to rest.
My preferred method for cowl flaps in this scale is usually to make them from a soda can but this one has so many pieces that the exhaust manifold and the cylinder heads did not leave much room to work with. For once wisdom showed up before the disaster struck . B)
 
Very nice !! My hats off to you Christian. Where did you find the giant bottles of paint?

Tim
 
Me too ! it's gonna be painful since I had to attach the upper wing . I have been trying to work up the nerve to start for days. Of course my eye difficulties have not helped either but that will be resolved soon.

Cheers, Christian B)
 
Back
Top