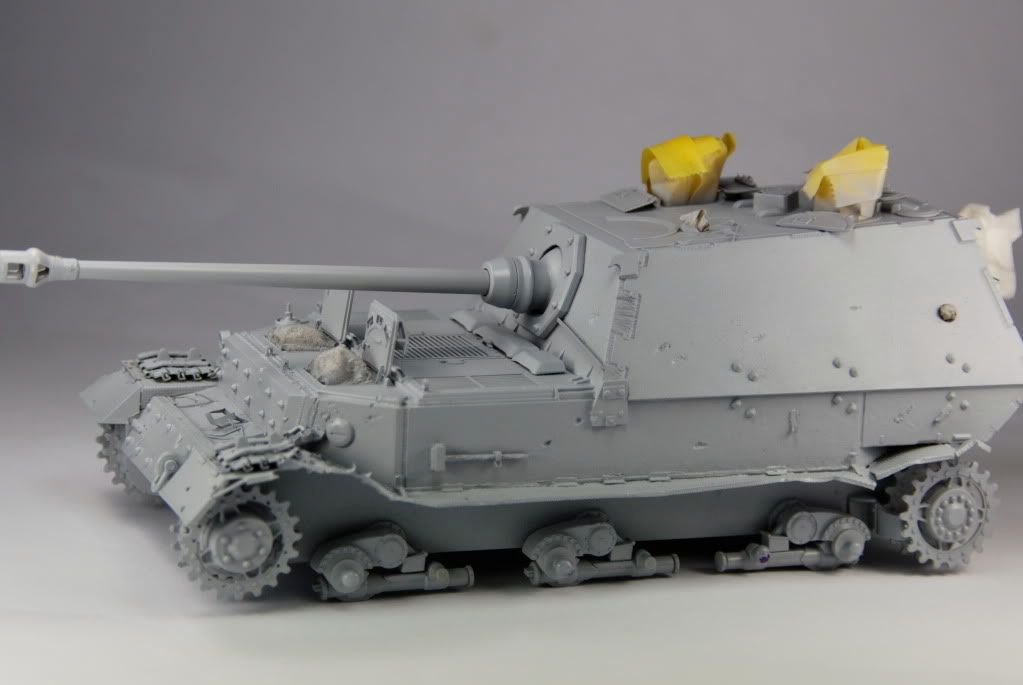
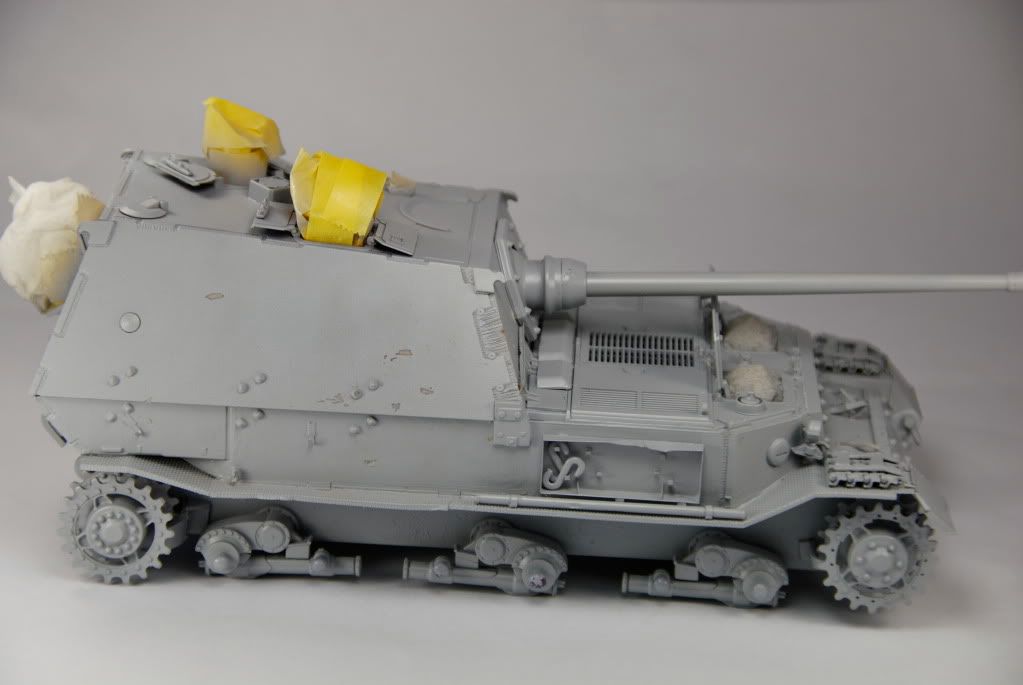
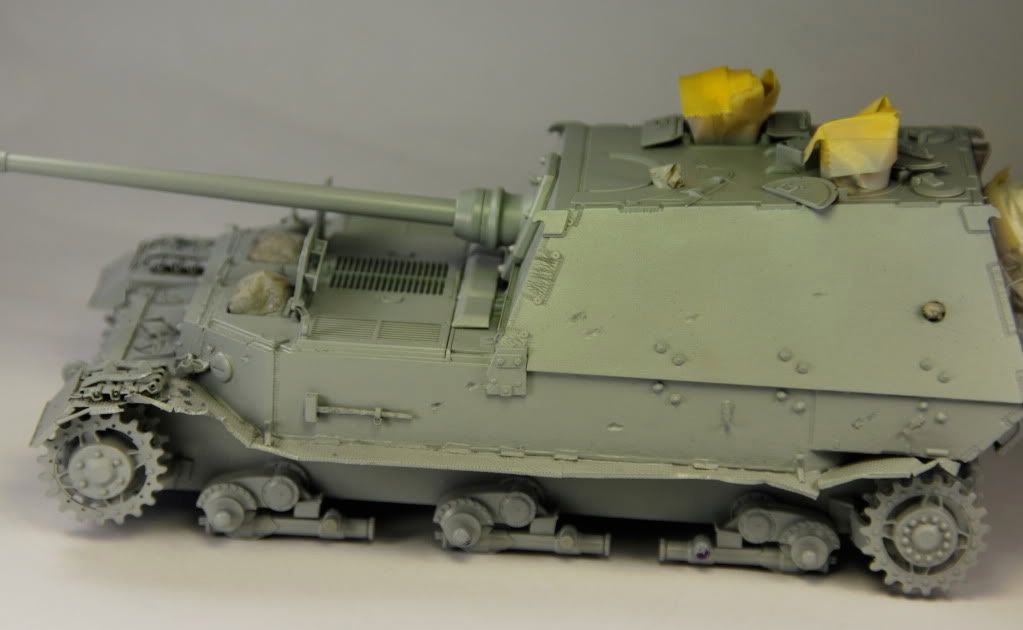
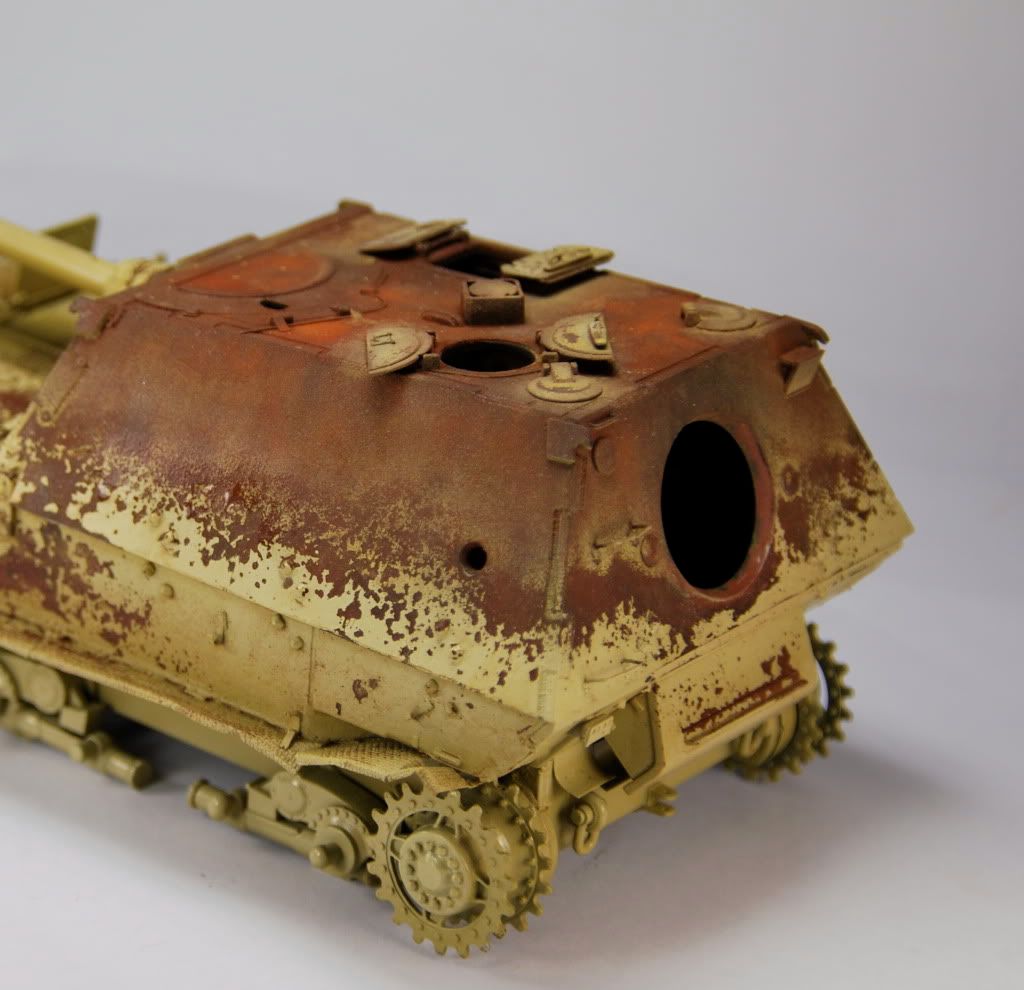
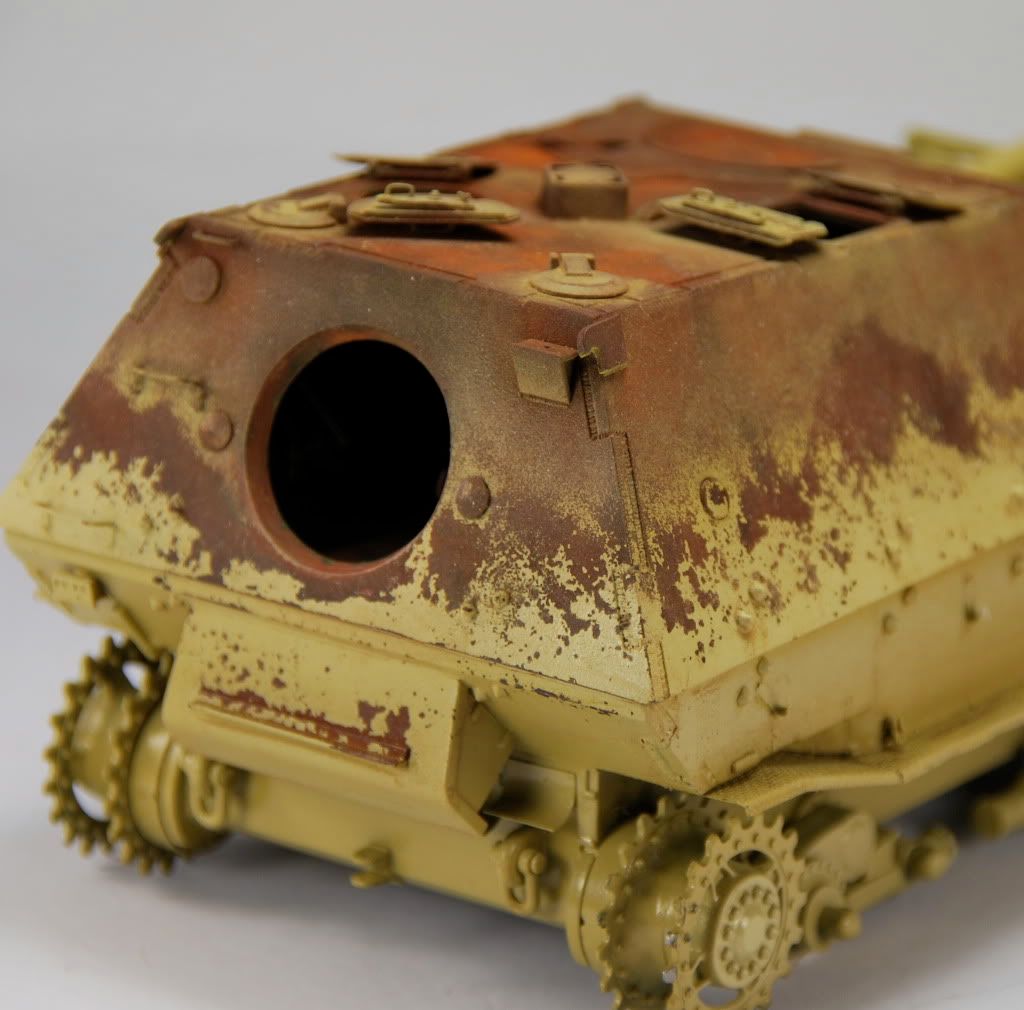
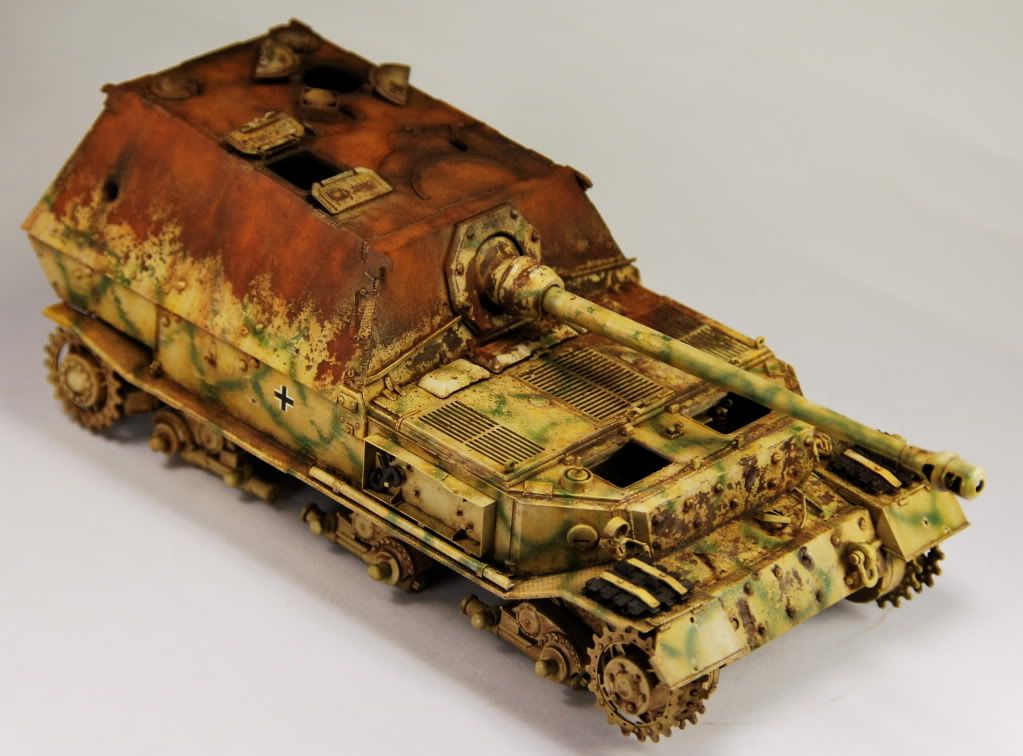
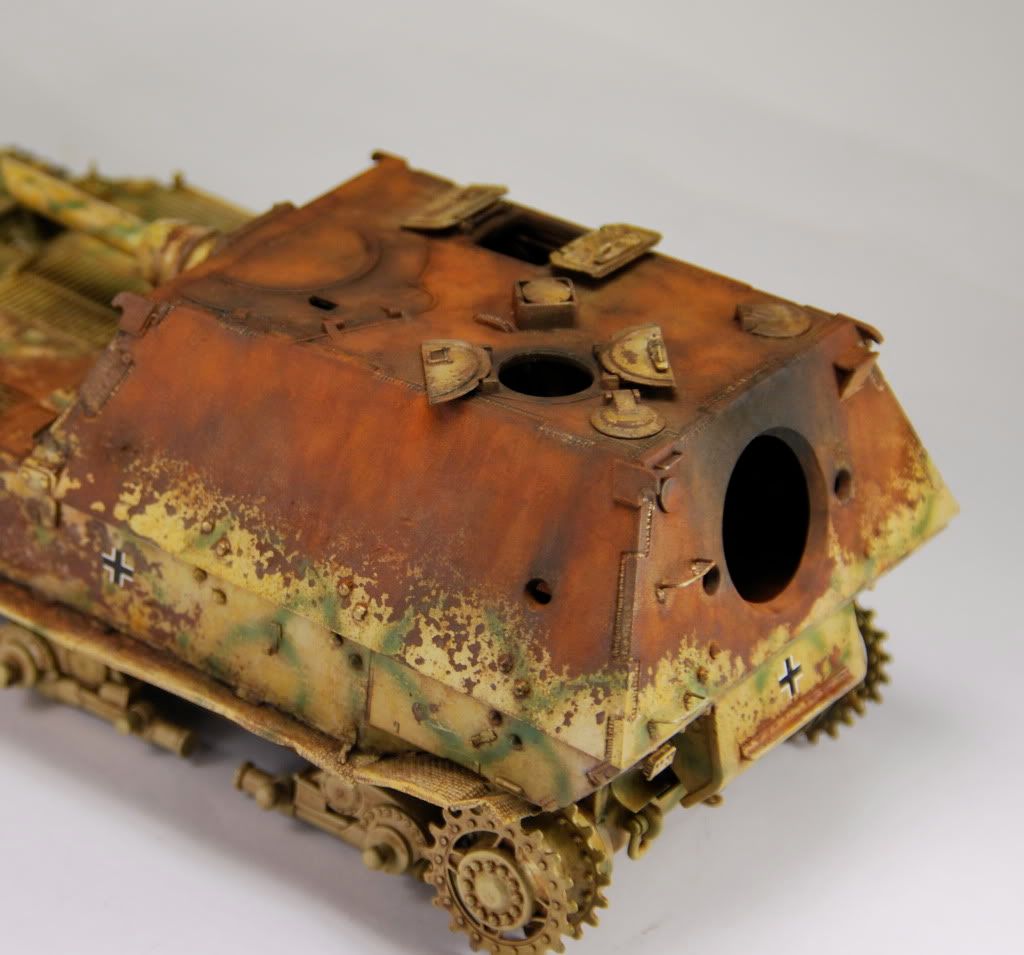
• Modelers Alliance has updated the forum software on our website. We have migrated all post, content and user accounts but we could not migrate the passwords.
    This requires that you manually reset your password.
    Please click here, http://modelersalliance.org/forums/login to go to logon page and use the "Forgot your Password" option.

Ferdinand ' 624 ' Kursk 1943

Well Matt I really like it except :unsure: you cannot have a badly burnt cartridge on the floor , the heat would cause the propellant to explode but unlike in the barrel of the gun , the shell is not the projectile but the case . Path of least resistance .

Jenny :kiss:
 
agentg , jenny thanks for your replies , much appreciated

Arr yes , the cartridge , it was one of those thing Jenny ( i know excuses , excuses :S ) when i initially did the interior it wasn't going to be as destroyed but i got a little carried away trying out this technique , by the end i didn't have the heart to remove it , chop off the projectile then replace spent shell ( as i was happy with the result on how it looked) in hindsight i wouldn't have mattered as now the upper hull is on you can not see it that well anymore

cheer's

Matt
 
Thanks Laura that's what i meant ;)
I have now finished the build , added the primer using Mr Surfacer 1000 thinned with Tamiya Lacquer Thinner , the hatches have been taped and tissue papered up to avoid overspray getting into the finished interior
All the exterior is straight OOB except the barrel , tracks and added weld seams which i find outstanding , no real need for after market etch sets etc.
So this is what she looks like as we speak ............ :cheer:
DSC_0001-9.jpg

DSC_0005-15.jpg

DSC_0006-14.jpg

DSC_0007-12.jpg

DSC_0008-13.jpg


Next is the fun part of painting , weathering and hopefully trying to replicate a realistic looking burnt out tank

Any feed back etc is alway's welcome

cheer's

Matt :)
 
Rudi , Mike , Rob thank you all for your kind words
I have started the burnt out effects on the hull so some more updates will be soon

cheer's and merry christmas guy's

Matt :)
 
Matt,
I would go with the dud, That's what got it shot...
While ejecting the Dud, she was hit and destroyed...
That's my story and I'm sticking with it... LOL
Shawn
 
Matt , that's some very , very nice work you're doing !!!!

The rust outs and interior are beautiful !!!!
 
Hey Matt, that interior came out awesome and had I found the new TnT earlier I would have given you some pionters. Glad you like the tech. and enjoyed doing a burn out but be careful as it can get addictive, I've been doing wrecks for over 8 years now and am still having fun and trying new stuff out.

I'm looking forward to seeing the exterior painting/rusting, please keep us(me) updated on how it's coming along.

Rob
 
Shawn , arr yes that's exactly what i meant ;) and thanks for your kind words

Glenn , thank you as well my friend , being the first time for doing a knock out i am happy with the result so far

Rob , any pointers or assistance would be great and if i do need help i will come begging :) i can see how it can be addictive as i am having a ball doing this so far . I have completed the first rust layer and i am off to do the hairspray , salt , dark yellow paint etc today so an update will be soon

cheer's again guy's

Matt :)
 
Well here is my next update ( been busy today )
With the help of Rob's technique i have given it a coat of hairspray , while it was still wet i added fine grains of rock salt on to areas i wanted chipped
Letting it dry for a little while i gave it a coat of Dark Yellow using a slight modulation ( lighter on more exposed areas )
While Rob doesn't use warm water ( i think , correct me if i'm wrong :unsure: ) to remove the salt , i decided to as the initial oil paint and pigment areas were done last week and have since dried making the yellow paint remove a little easier
This is how it look's so far ..................
DSC_0008-14.jpg

DSC_0001-10.jpg

DSC_0002-14.jpg

DSC_0003-6.jpg

DSC_0005-16.jpg


Next i will be giving it another coat of hairspray followed by the green web camouflage then many filter , washes , oil paint to replicate paint fading , chipping , more rust , some more rust , even a little bit more rust , the list goes on ( man i'm going to be busy ) the track have already been completed so thats a bonus
Any feedback , comments are more than welcome

Thank's again

Matt :)
 
Awesome Matt, really cool that it's working great for you. This part of the painting is the most because you can see it come to life as you add each layer of oils, washes and rust.
I'm really impressed how this is looking, top notch buddy.

Rob
 
Hey Rob , thanks for your kind words and encouragement
I've now added the cob web camo and man am i happy with the result
Off to the bench to do some more while i'm on a roll

cheer's

Matt
 
Shawn , Rudi , Johnny , thanks guy's for your kind words :)
This latest update would have more photo's but for some stupid reason Photobucket kept failing the other uploads :angry: so these will have to do
I have done quite a bit since the last update , as you can see i have added the camo , applied many filters and pin washes added tonal variation to the upper hull paint ( lower hull and running gear have only had filters and a basic wash added )
I have been experimenting with rust coloured oil paints and pigments to the burnt upper hull and am quite happy with the result
Some superficial chipping has been added as well so next will be the final chipping and dust pigment to finish off the upper hull . The decals will also be chipped and weathered after i give them a varnish coat
Here's what i have completed so far .........................
DSC_0001-11.jpg

DSC_0010-7.jpg

DSC_0009-6.jpg

DSC_0008-15.jpg

DSC_0002-15.jpg


More i think needs to be added to the rusty upper hull be it more smoke residue , ash something like that
So off to do the painstaking ( bun fun ) chipping process
Thanks in advance

Matt :)
 
Back
Top