centaur567
Well-known member
WOW!! Gary S.
Modelers Alliance has updated the forum software on our website. We have migrated all post, content and user accounts but we could not migrate the passwords.
This requires that you manually reset your password.
Please click here, http://modelersalliance.org/forums/login to go to logon page and use the "Forgot your Password" option.
Well, it could very well be,I tried to post this the other day. Is that a '35 Rothschild?
Tanks, Bro. Not yet, how bout you? It's comin fast ya know.That's amazing BroSki !!!
Fer , real , real , 1/1 scale building ............
Hey man you doing your firewood yet ?


Hey, Brother, me too! Yes, time to get er done. Hope all is well over yonder.Glad to see you back to work on this, Ski. Nice grouping of accessories.
F' unreal. They look hyper realisticOk, snow fly is here, the bunker is powered up and runnin!
Building the Accessories
Building up the accessories is another fun part of the build and usually signals we’re getting close to finishing the project, but not always. A lot of times I’ll work the accessories in between other larger portions of the build to keep the momentum going. In this case, after almost twelve years, we’re getting very close to being done. Ya, this isn’t the first glacial build I’ve done, but I plan on it being the last, and that goes for the huge base foot print, too. HA!
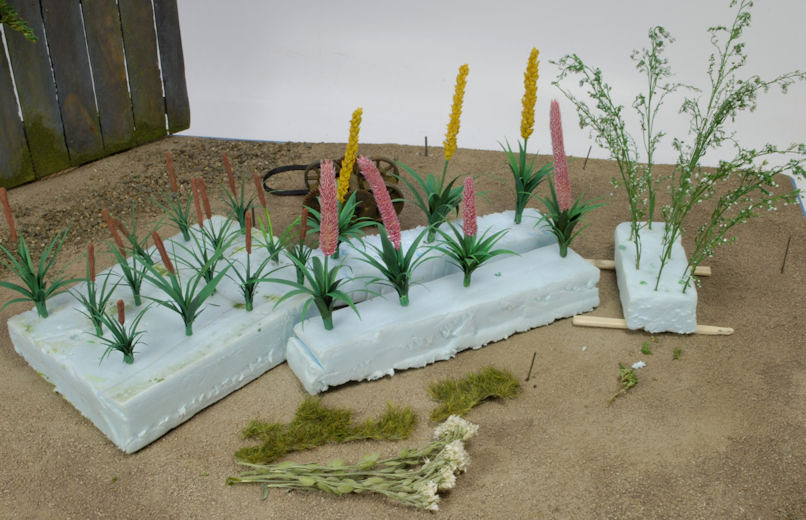
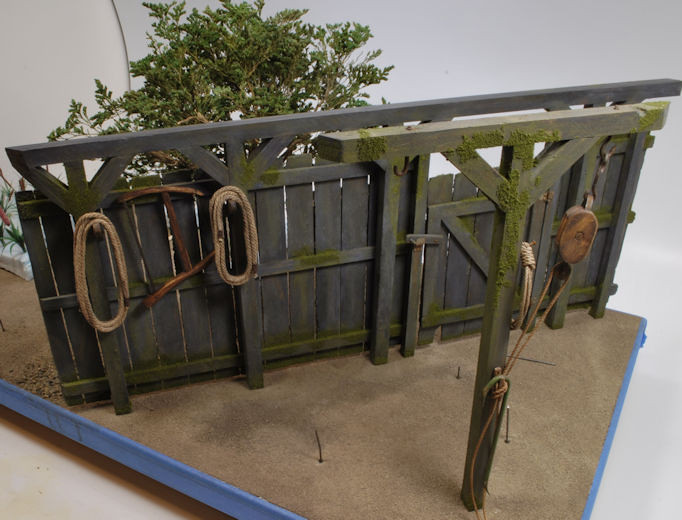
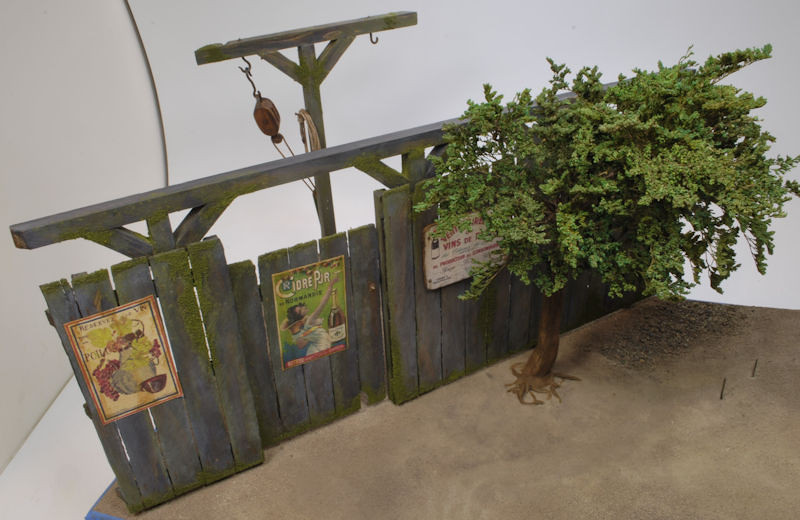
Since I’ve built the out-building/work shop there needed to be enough junk and tools placed around the area to give it a well-worn aged appearance. The veggies will make a big difference in telling the age of the structure, but so will weathering, and the rusted, worn-out tools, junk, and old equipment. Looking over old sheds and structures from Normandy in the 40’s I didn’t find too many detailed photos, but enough to get an idea of French country style builds. Yes, many were stone and brick, but several were wooden structures, so this will fly nicely.
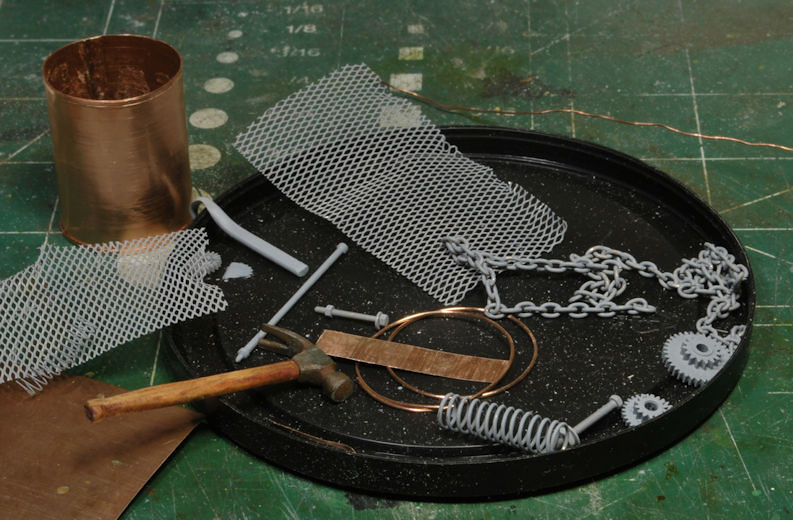
After rummaging through tons of photos I ran across some old milk jugs, wooden buckets, brooms, shovels, and tools of all kinds. I made the milk jug out of scrap roof flashing and copper wire. The wine grape bucket was made in the same fashion as the barrels, a pretty simple process. But that gear “thingy majigey” is made from a hand full of gears from some old toys I found in my oldest son’s old toy stash. Call it whatever you want, but it could have been from an old conveyer system, who knows?


The cutters are a bit large for the scale, but they’ll have to do. As you can see it’s made from 12ga. wire hammered flat on one end and bent to shape for the hand grips. I used actual broom thistles cut very thin for the old-style broom and chunks of resin to form the sledge hammers. The pry bars are heavy gage wire bent and shaped and the old-style oil can is made from very thin sheet metal. There’s even a funky old-style candle lantern that will hang from the rafter beams. I knew those old beer bottle tops would come in handy someday.

I also made a loaf of bread, a round of cheese, some sausage, and a convenient picnic blanket to round out the scenario. Oh ya, one of those wine bottles will be opened, guaranteed.
I do believe I’ve got enough accessories to round out this shop in decent fashion, but if anyone can think of anything I might be missing, please holler, there might still be room for more small items.
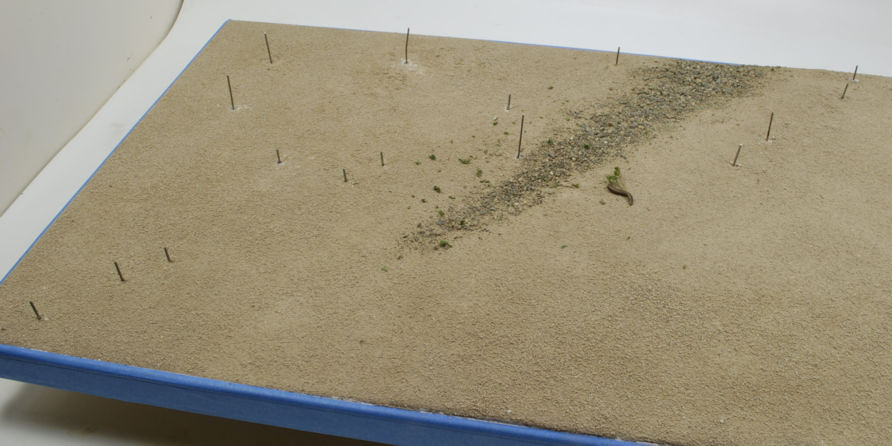
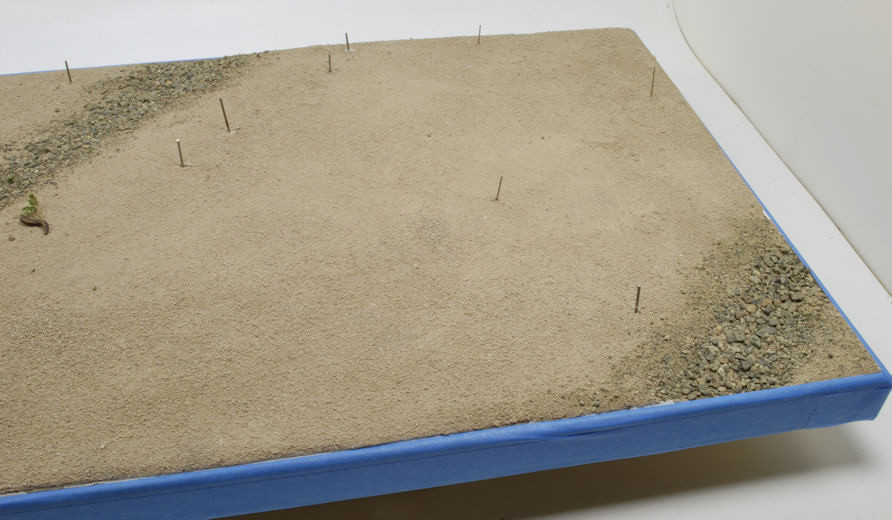
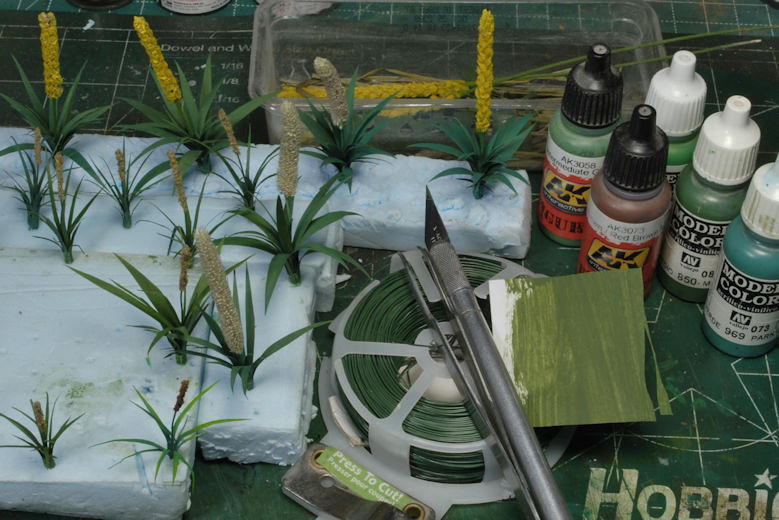
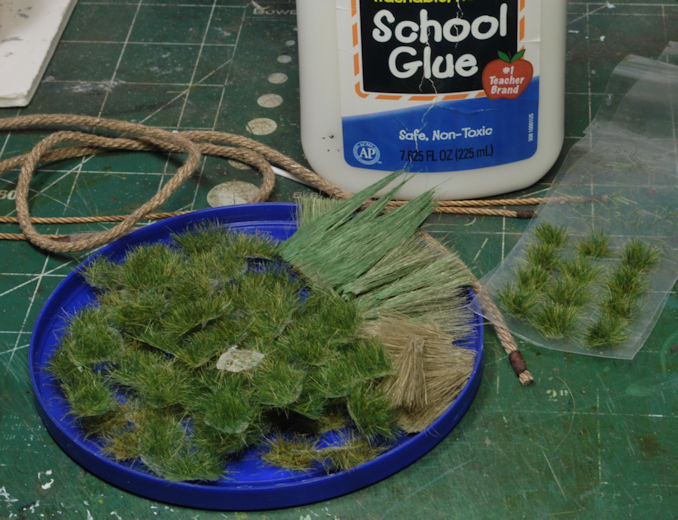
Next up, planning the ground work and veggies. This is going to take some time planning the flow of the pour and placement. More to follow soon.
Thanks for watchin. Cheers, Ski.


