Wow Bob, sorry to hear that. I had no such issue with my Hasegawa Dragonfly, so maybe you want to consider one of them.
Meanwhile, here's some progress I made a couple weeks ago. Due to heavy work, Comicon and extreme frustration, I am only just now able to post this Maddog Manufacturing update. I really didn't get very much done at all relative to my usual productivity, but progress is progress. I'll start with my aircraft so I can explain the extreme frustration part...
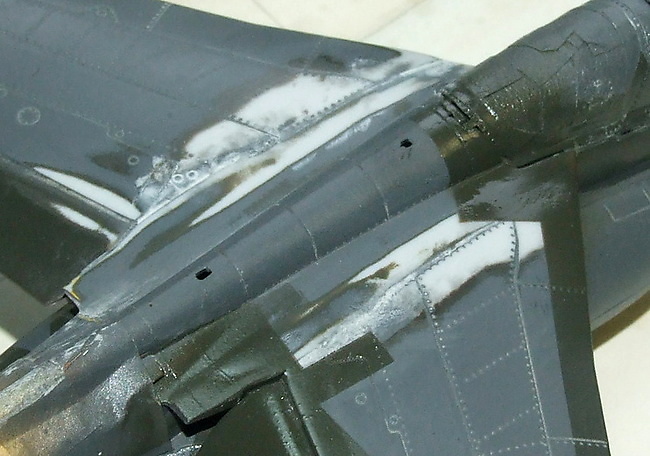
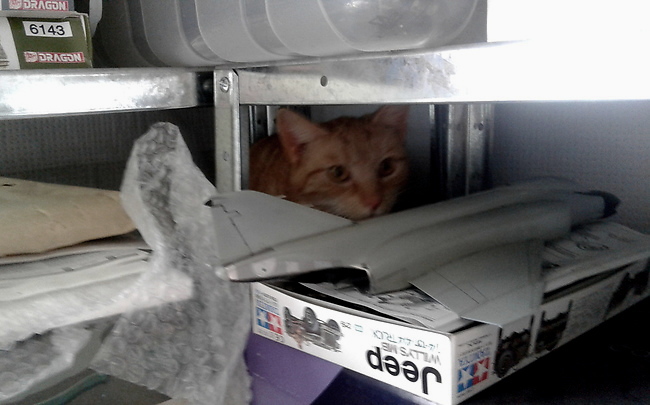
Once I sanded the cracks out of my C-118 wings; I was preparing to re-paint the wings by masking off the fuselage. Since I had already shot a couple coats of clear over this; I decided to use frisket film. The frisket film shifted a bit during application and so I pulled it up slightly to re-position it in place and this happened:
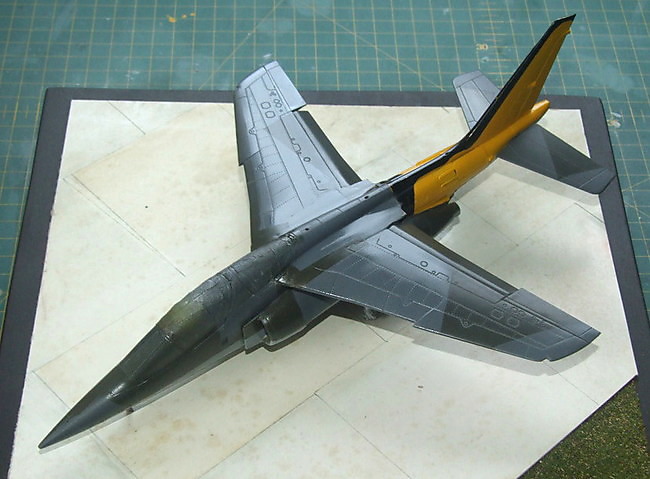
This plane damn near impacted the wall with the velocity of an unladen African swallow! :frantic

:angry:
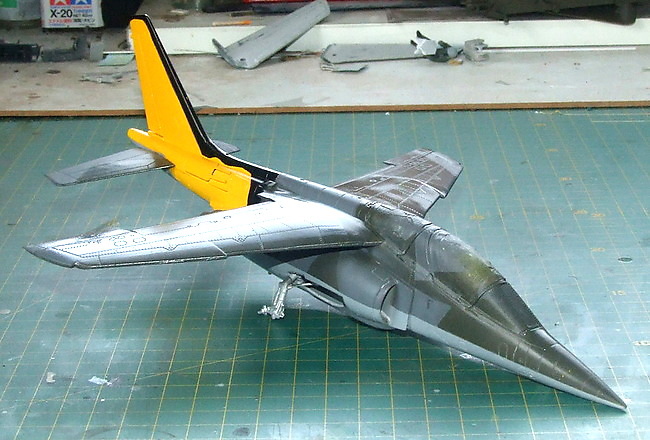
I controlled myself though and set it aside....gently. My friend Steve picked up another kit of this same plane at the Nationals for me so I'll be able to replace that decal. Then I'll be shooting TEN coats of clear over them to be sure!
Moving on, I also dealt with the decals on my Jetstream. Here they are after I applied a coat of Liquid Decal Film over them. They have been sitting in my window for a couple weeks now to bleach out:
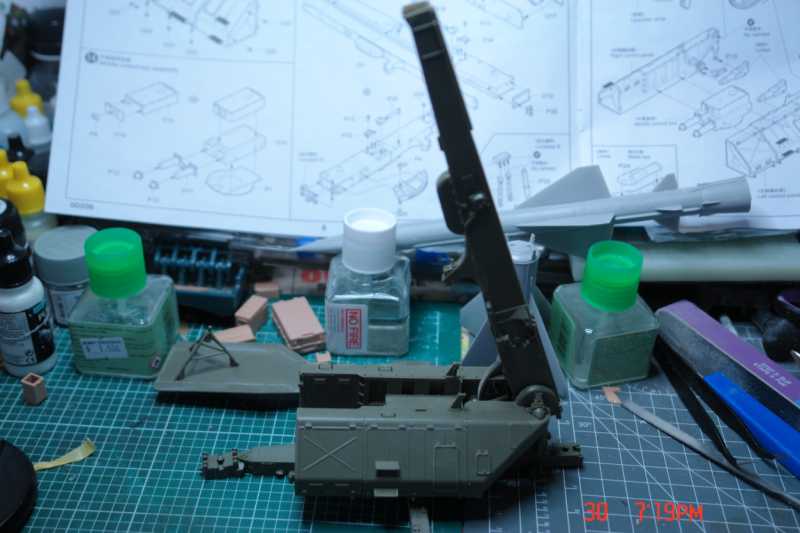
Moving on, there is a One True Scale Group Build on another Forums so I submitted this model for it. This is Dragon's LCM-3 that I started when I was bored and had nothing else to work on due to wet glue or paint:
I started with the cockpit(?). For the life of me I could not get that assembly to line up. This was the best looking job I had managed to do:
I then moved on to the front ramp, adding the hinge parts to the bottom:
Of course, that meant that I now had to finish adding the bars on top:
That is all ready for installation now. Man, I expected this model to fit better, but it has been a mass of ill-fitting parts and unclear positioning!
Moving on I added the top deck to the lower hull and that is as far as this got to date:
From here, I pulled out my Borax Wagon Train and finished the dark wash on the wagons; removed the masking on the wheels and suspension; and re-assembled everything. I also completed the water wagon which had never been assembled to the chassis. This is now ready for some dusting and dirtying:
I also have to paint up the 20 mules for this so I can get everything assembled. Now where did I put that base for this......
Finally on my armor; I did a few minor things. The Schturmtiger got almost all the P/E it needs as well as the wheels installed; I just have to add the P/E crane parts and then find the driver's vision slot and I'll be able to paint this:
You can see one of the side fenders disappeared so this is going to be missing a fender....
I also lost the P/E fret for my Sherman so I improvised the fenders with some sheet styrene. I do still need to sand it smooth, but the fenders are now closed off on this as they are supposed to be:
Just another test fit to make sure my new fender additions won't conflict with the mine roller mount:
Finally, I shot a gloss clear over the Vauxhall car to shine it up. Here it is all test fit together now. I had to rob a steering wheel from one of my Aerosans since the Vauxhall one disappeared:
Disregard that piece of lint on this; that was easily removed once I saw it later. Now all I need to do next is start on the interior detail painting. I also found the clear parts for this so I'll be able to finish it now!
That's all I have for now. I'm not sure when I'll be able to work on anything again for a few days... or maybe weeks.... so stay tuned and I'll post again when I can get something else done.
Thanks for looking in, comments are welcome.