• Modelers Alliance has updated the forum software on our website. We have migrated all post, content and user accounts but we could not migrate the passwords.
    This requires that you manually reset your password.
    Please click here, http://modelersalliance.org/forums/login to go to logon page and use the "Forgot your Password" option.

All Righty ... What's on the bench today?

Tony, have been married twice. First wife accommodated my hobby and I had a room AND the garage. Then she decided on a lifestyle change and (wasn't the hobbies, it was the gender :blink ) (It explained why everything had always been so messed up :facepalm )

Second wife would probably not have been as accommodating, but we never had the time to find out. While the first one basically screwed my life up the second one gave it back.

Dated for a bit and came to the conclusion that single women my age are single for a reason and I no longer want to deal with it. There is something to be said for NOT having a "War Dept". No one to give grief over how cluttered (or not) my house is. So far it is peaceful, quiet, and I am content.

TA-DA!! :woohoo:
 
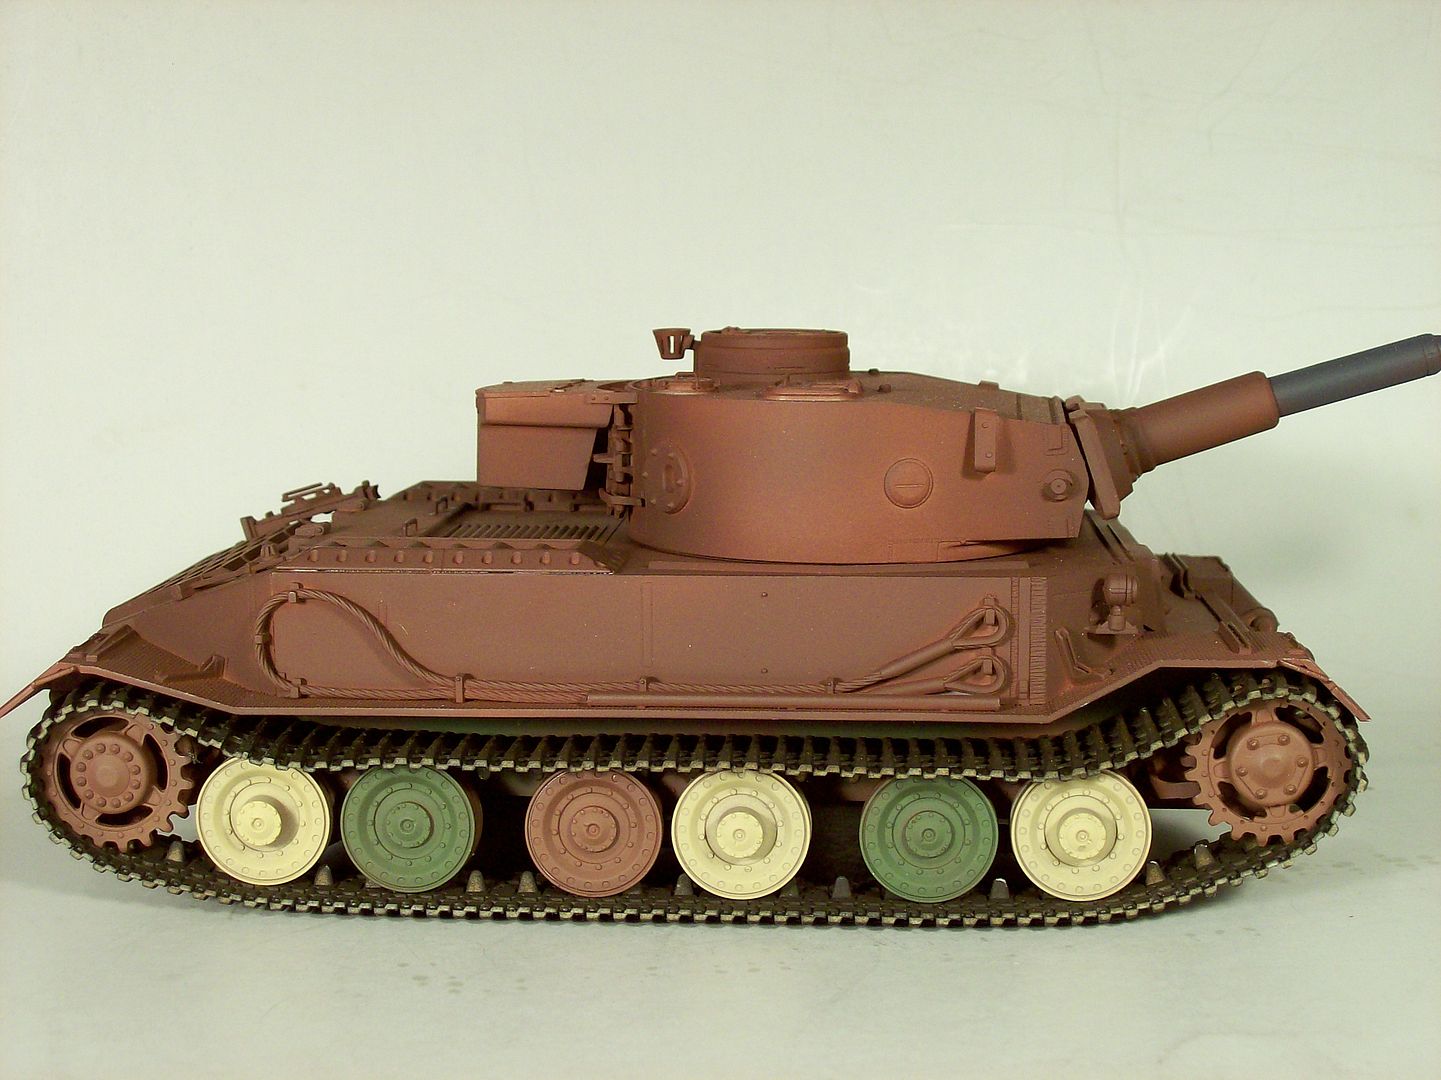
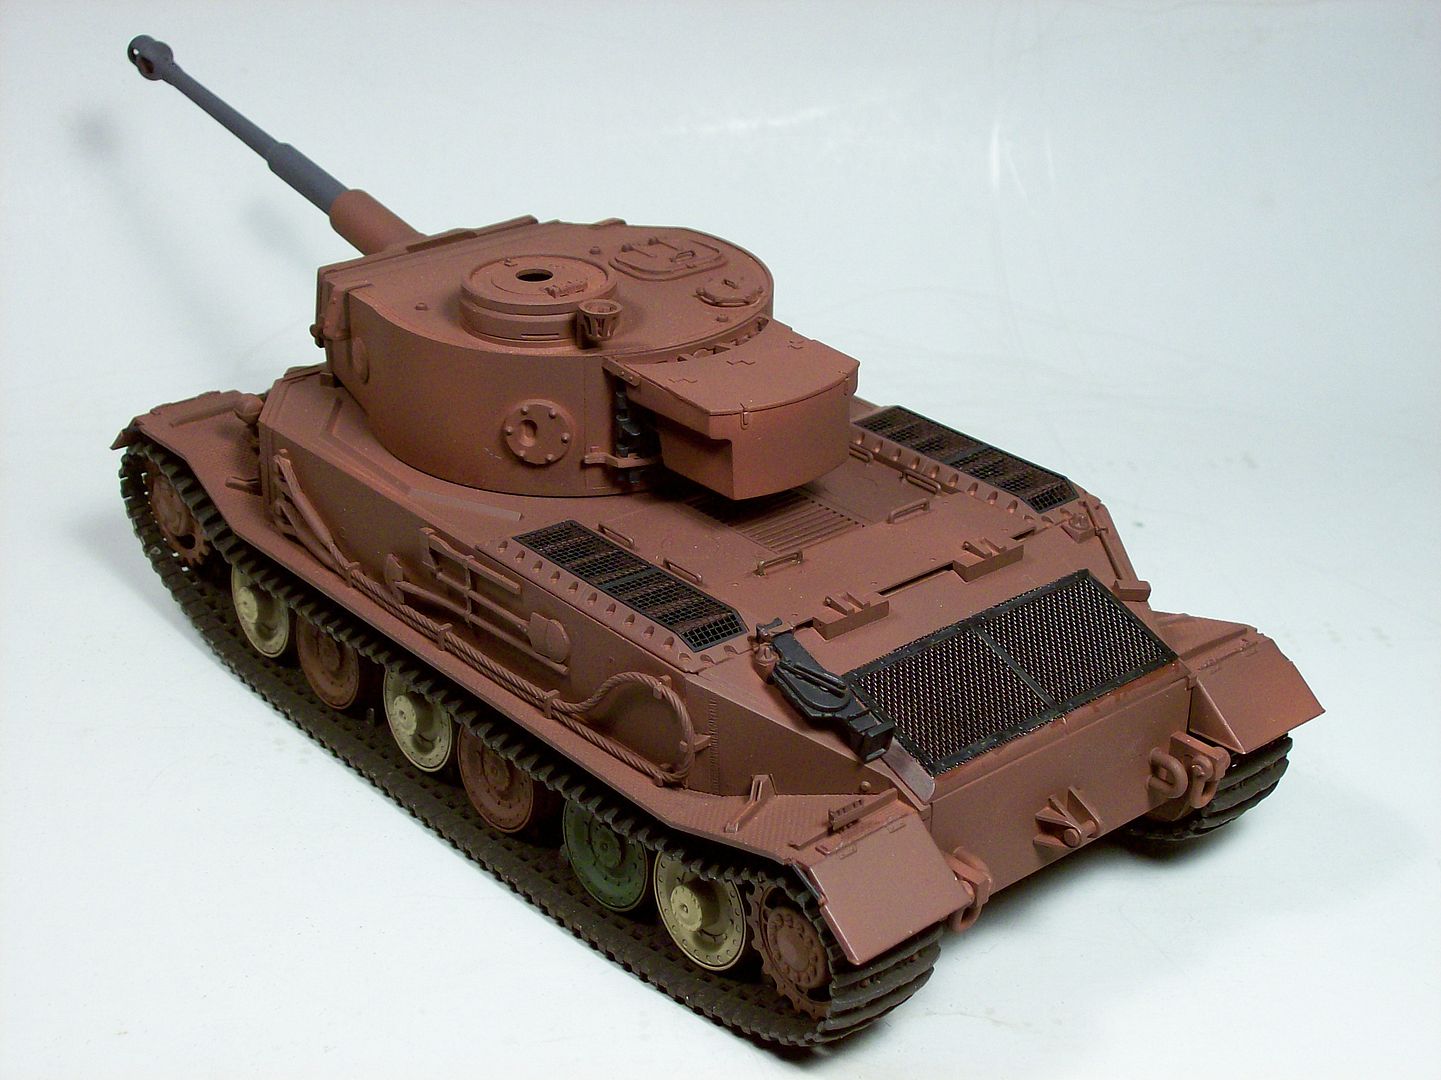
Wow, it's fantastic seeing all this activity on this Thread! Beautiful work Tony, that Tiger is looking magnificent. Paul, that is an excellent work space. I should try to do the same thing and clean mine up again. Your post there is really pushing me to get started.
 
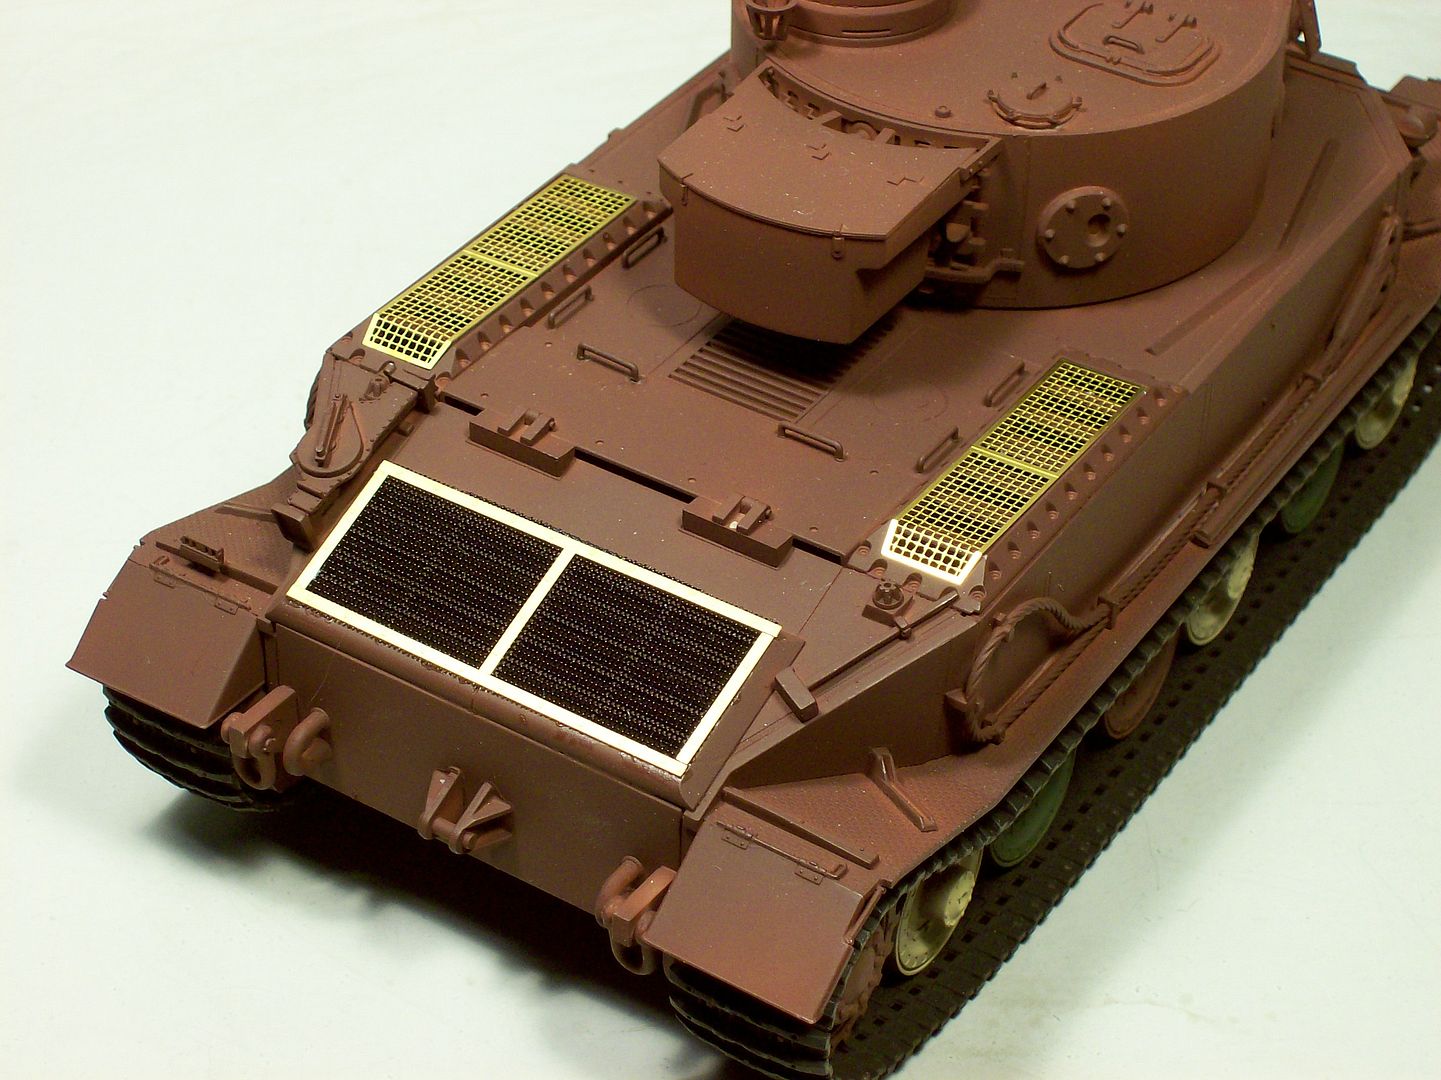
Grills


I made the large grill using fine mesh screen and scrap PE.

Uncle Tony :eek:ldguy

Looks great. What glue do you use and how do you apply it to make it look so neat. I always seem to get little blobs that show up in the paintwork.

EJ
 
Not so much on the bench per say...but I decided to build some shelves this weekend to consolidate the stash in one location, rather than having stuff scattered about. :laugh:


I am experimenting with Mud. I did this last night, using the ingredients pictured along with play sand.

uVr6OfR.jpg


I also found this recipe on the office server from 2004 when I was looking for something else. Looks like I time doesn't change how I think.

While there are certainly more than one way to model mud, and you may already have a favorite, this is a method that has been working for me for a long time, is fairly easy to do, and achieves what I believe are fairly realistic repeatable results. This is what you will need:
Ingredients
• Water
• Plaster of Paris
• Play sand
• PVA glue
• Acrylic gloss media
• Burnt umber acrylic paint
Each of the ingredients plays an important part. The plaster is the main filler. The sand is for texture, the water and PVA glue act as the binders, the gloss media slows the set, thus increasing working time, and the paint pre-tints the final product. While I have NEVER measured out the above, the main ingredient is the plaster. As long as this dominates the rest, it has always set rock hard.
A note of Importance: DO NOT USE Durham’s water putty. Mixing in the acrylic paint and gloss media interferes with its curing process, and when it eventually does set, will be crumbly.
Making the Mud
1. Add water to a large mixing bowl.
2. Add plaster, and incorporate completely into the water. (ALWAYS add plaster to water, never water to plaster.) It should be a fairly dry mix at this point.
3. Add play sand and mix well.
4. Add a healthy squirt of PVA and mix well.
5. Add acrylic gel and paint, again mixing well
6. The tightness or looseness of the mix can be adjusted by adding more plaster, or more PVA and Paint, do not add more water.
7. At this point you should have a cottage cheese like consistency.
Applying the Mud
For a base, drop large goops of the mud onto the base with a spatula, and blend together with a large old paintbrush. Do not smooth it out, as this removes all the texture. If you are applying it to a vehicle, apply with a medium sized round brush and dab and push it into the desired positions.
Painting the Mud
Depending on the finish you are trying to achieve the amount of finishing necessary will vary from just a light drybrushing, to full paint, washes and multiple drybrushings.
If you are modeling dried mud, all you will need to do is maybe apply a light mudstone (Buff) dry-brush to highlight. Damp, but drying mud can be done by pin-washing depressions with a burnt umber wash to deepen the shadows. To model wet goopy mud, Paint with a semi-gloss burnt umber, when dry apply a 50/50 wash of burnt umber with dark grey, then dry-brush with a 50/50 mix of burnt umber and buff.

And this was the results:

goFrNc5.jpg
 
"What glue do you use and how do you apply it to make it look so neat."


I use Gator Grip Glue and apply it with a small brush. I've used this product for years to attach PE and it's water soluble for easy clean up if you get a little sloppy. :D

Tony lee :eek:ldguy
 
Thanks Tony. I've got some of that stuff and have tried to attach ship railings with it with limited success. Guess I just need more practice.
EJ
 
Chris those shelves look awesome! I wish I could get my stash looking that good!

John, that mud looks magnificent! Looks like Old School is still the Best School.

Tony, I agree. Gator Grip Glue is the best for that.
 
Not so much on the bench per say...but I decided to build some shelves this weekend to consolidate the stash in one location, rather than having stuff scattered about. :laugh:


Come on lets be honest WHO ZOOMED IN TO SEE WHAT HE HAD IN THAT STASH :geek
 
T-54 started and put away. T-55AMV started and put away Latice frame for Frog 7 finished and black hand painted on Shilka. Some over spray to fix and log to paint and then guns and all the detail stuff and then start weathering. Just waiting on tracks right now.

DSC06891.JPG


DSC06892.JPG


DSC06893.JPG


DSC06894.JPG


DSC06895.JPG
 
Nice Shilka. :coolio I've got a Dragon kit in the stash for whenever I get the courage to attempt armor.
 
The Meng one is incredible but it takes a lot of careful reading as there are around 5 versions. This one is missing the big dish which makes it look unique in my eyes.
James
 
Looking good Tony. What an ugly beast though. Looking forward to more.
I think the black does change things also. Many thanks.
 
Back
Top