• Modelers Alliance has updated the forum software on our website. We have migrated all post, content and user accounts but we could not migrate the passwords.
    This requires that you manually reset your password.
    Please click here, http://modelersalliance.org/forums/login to go to logon page and use the "Forgot your Password" option.

All Righty ... What's on the bench today?

On the bench now

1004_zpsdifeuo6z.jpg
 
Man Duke, you build more models at one time then I've built all together in the last 10 years.
Of course, that's only one! :frantic

Tim
 
Yes Mark it must be nice to have large bench ... And Jeff I don't know what your building unless that the secret project, you mentioned ... I admit I've gotten behind ... But I feel revitalized after walking in the Relay for life event last night ... I looked at My bench this morning and I felt better, and decided that this week end I kick it in gear ... So I'm finishing my bench clean up ...

h6cca844.JPG


I will start on that 'ol catfish fry truck in the background ... then I found a old pullback & let her fly car motor ...

hf99074a.JPG


I painted it grey primer ... I'm thinking this will make a great looking Flatcar load ... looks like a hoist motor ... or something ...

hc89827e.JPG


Also while digging around I found this ... old 1970 thing ... The spud made by Tenshodo

hdceda34.JPG


Randy will know what this is for but I had started a Gas electric Texas Midland motor car ... so this will be the drive for it ... stalled build will be restarted ... then I may jump on that Confederate submarine ...

h4f4eeec.JPG


That's all until next Bat time same Bat channel ... :train
 
So cool stuff Gerry and know what you mean. So need to finish something on my bench and a good clean up..

Not having a lot of time at the moment due to life and bloody work but have done a few things

So i got here for a build for easter comp but didn't start them in time :bang head


And after watching a build by someone remembered i had this in the stash, so u guessed it, started


But today is my only day off for a few weeks or so and may try and get some detail up for u guys to see what little i have been doing
 
So good to know that others are behind as well. Last night I was able to get some work done on my catfish fry wagon. It had one of those pull motor spensions in it. I was able to rip that out, found a donor rear end, plus I made a place for battery holder to power the lights inside the shack.
 
Well-- kids went to my moms for the weekend which gave the wife and I the entire weekend to create and plant the garden...which does nothing for model time :(. Hopefully will get back to it soon once the girls go back to riding horses ;)
 
That's Okay Mike! Despite battling a deep depression these last few weeks, I've kept my sanity by slowly plugging away at the workbench myself. Finished another couple models and got further along on some more. Hopefully I'll get pics up after all the holiday madness goes away.
 
Have the 5 inch Arizona guns to about the 90% mark but have set them aside and have been building other parts. The last week have been doing some major rework on the crane assemblies. Been taking pics but nothing put together for posting yet. Let's just say Trumpy really misses it on getting detail right. Using pics to correct things. The Eduard PE sets help a fair bit, but they have some things off as well. Eduard gets it more correct than Trumpeter though.
 
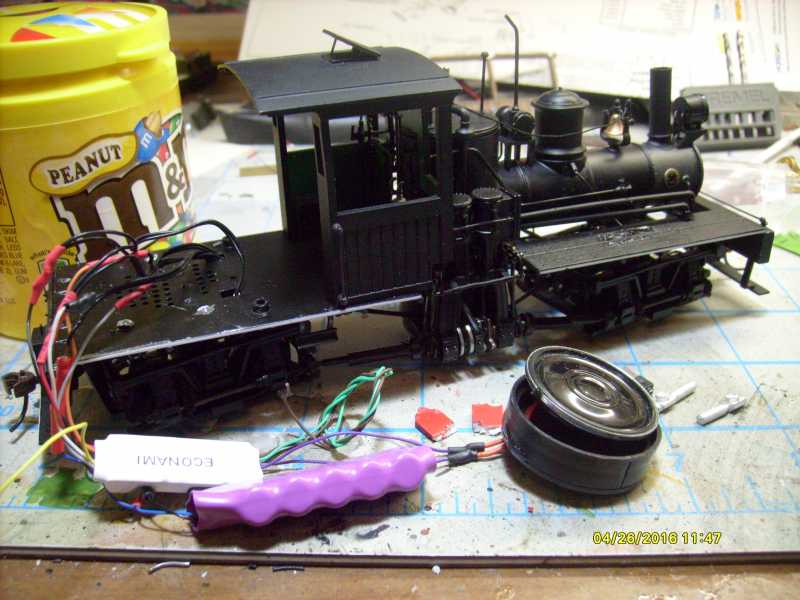
I finally found some time to post something here. I have a lot to show, although it may seem like only a little was done to each model I'm going to show. I'd been fighting a deep depression over this past month and some of what kept me going was being able to sit in the hobby room and just work on something. Part of the issues I had was the hobby room was getting messy again. A friend offered to let me pack up and store a bunch of models at his place in his garage, so I went on another cleaning and packing spree. While pulling out everything in my stash and going through it; I found a number of models I had started some years ago, put aside and promptly forgot about for years. I figured it was time to get some of them done.

While I shall try to do well on these, I'm just going to get them finished. If they are less than contest quality, oh well. I just want them done so I can toss the boxes and clear some more space.

I'll start with a couple of my 'maritime' models I've been doing. I found this old Revell fishing boat that I'd started some long time ago. This past month I took some time to touch up the paint, repair a couple broken parts and add the fishing platform on the bow. Here is where it sits now:

WIP_ChrisCraft_II.JPG


Next I took some time to repaint the white on the decking of the USS Arthur Radford. It doesn't look perfect, but it's better than before. I might just go ahead and move on with this:

WIP_USS_Arthur_Radford_X.jpg


Moving on, I finally was able to progress further on the Airfix P-51 Mustang that had been languishing because the instruction sheet was gone and I had no way to apply any decals. So, I went to my local hobby shop and purchased another kit of the exact same Mustang, pulled out the instruction sheet and went to work. I painted some more of the details and then added the decals.

Saul, this one's for you:

WIP_Columbus_Mustang_XI.jpg


I'm hoping to be done with that one pretty soon.

During this past month, I'd been trying to smooth out the surface of the C-118; especially where the area had to be built up behind the cockpit. It kept revealing tiny pits whenever I tried to smooth it out. While spending a couple hours sanding down a re-fill of putty during a long distance call with a friend, the canopy popped off:

WIP_CargoHaulersCampaign_XV.jpg


Later on, I re-glued the canopy back on and when it was dry; I then shot a bit of Tamiya putty from a spray can over the offending area (after masking the canopy windows again). I then spent the next three days sanding and buffing that plane. I still have a long way to go, that's why I didn't take any more pics of it yet.


Next up, I'm going to show you a couple cars that I had found which had been started and forgotten about. First is my Revell Corsair 'Rebel Racer'. I had painted this before, but the paint on the body was rough and uneven. I took some time to sand it down and smooth it out:

WIP_Rebel_Racer_Corvette_III.JPG


Now to get another coat of red on it.

I also painted the leather bucket seats inside:

WIP_Rebel_Racer_Corvette_II.JPG


I may have to re-think that interior somehow.

The other car I found was the old Revell Mach 5 from the old Speed Racer TV show. I had painted the upper body on this white and then promptly put this away some years ago:

WIP_Mach_5_I.jpg


It was time to get this back on track. I spent a few hours assembling the interior of the car, and dry-fitting it to the lower chassis:

WIP_Mach_5_II.jpg


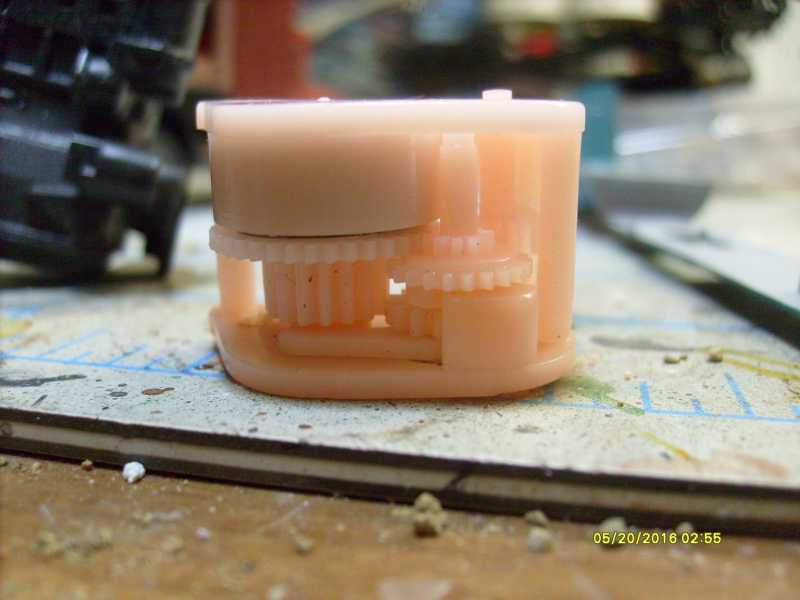
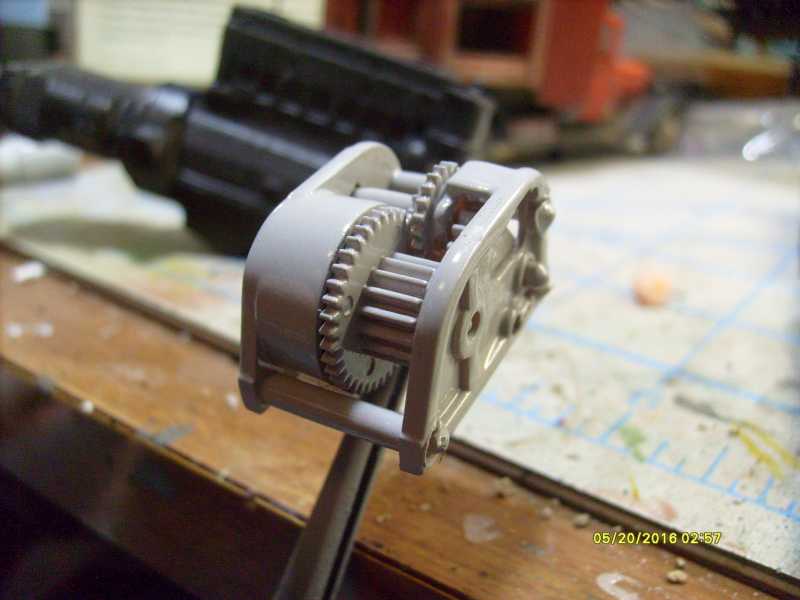
This car has working steering on the model. How cool is that?!

The engine compartment fits under the upper body, trapping the engine cover in place so it could be opened to show the "engine" inside. Here it is only dry-fit in place again so I can pull it out and paint the engine and interior compartment:

WIP_Mach_5_III.jpg


Later on, I sprayed some red in the interior of the Mach 5:

WIP_Mach_5_IV.jpg


That's as far as I'd gotten on that to date.


Now on to my small scale vehicles.


I started out by painting the interior of the Vomag bus. I couldn't find any references that showed or described the interior of this bus, so I winged it. The instructions said to paint the floor black, so I did that. Then I painted the seats leather, the rails chrome, and the backs of the seats and the front of the cab in a wood pattern. It ain't perfect, but then it won't really be able to be seen much anyway. I just wanted the suggestion of it when seen through the windows:

WIP_VOMAG_7_Bus_IX.jpg


After setting that aside to dry, I decided to start my other bus, the Ludwig Areo. The first thing was the chassis:

WIP_Ludwig_Areo_Bus_I.jpg


Next I assembled the interior:

WIP_Ludwig_Areo_Bus_II.jpg


Finally, I assembled the body of this bus. There are a lot of places I'll need to fill and sand smooth:

WIP_Ludwig_Areo_Bus_III.jpg


Just for fun, here is an interesting pic showing the relative size between these two buses:

WIP_Ludwig_Areo_Bus_IV.jpg


I didn't stop there. I shot paint on two other models, my BRDM with Konkurs ATGMs and my German Boxer. They both got a basecoat of Dark Green:

WIP_Braille_Scale_OOB_GB_VI.jpg


WIP_APC_GB_XII.jpg


Back when I was putting decals on the Mustang, I also added them to two of the trucks I've been working on. My Canadian 15CWT truck got decals:

WIP_Canadian_Truck_VII.jpg


WIP_Canadian_Truck_VIII.jpg


After this one, I added the windows to the cab of the Japanese 3-ton Fuel Truck:

WIP_Japanese_Fuel_Truck_VII.jpg


Later I applied the decals to it:

WIP_Japanese_Fuel_Truck_VIII.jpg


WIP_Japanese_Fuel_Truck_IX.jpg


The cab and the tank are only mocked up in the above pics, as you can see here below. This shows where I weathered the wheels and added them to the lower chassis:

WIP_Japanese_Fuel_Truck_X.jpg


I also weathered some more of the upper cab and tank, but not much. I wanted this truck to be lightly weathered. Here it is mocked up again after the weathering:

WIP_Japanese_Fuel_Truck_XI.jpg


Later on, I also weathered the wheels to the Canadian truck and added them to the chassis. I finished weathering the rest of the truck as well, after gluing everything together:

WIP_Canadian_Truck_IX.jpg


WIP_Canadian_Truck_X.jpg


Both these last two trucks still have a few little bits and bobs to add, as well as some touch-up painting and detailing to do. I should be able to finish them in another day or so, I hope.


Well, that completes my long tedious post showing everything I've been able to get done between down times over the last three weeks or so. Maybe sometime this week I'll be able to post some finished models.

Thanks all for looking in, and for your patience with my long post. Comments are always welcome.
 
Geeze, you get more done in a week than I can in a year. I need you to give me some motivation.
I'm really liking that bus.

EJ
 
I'm constantly amazed at how you can juggle so many projects Duke. :notworthy If I were to try half as many as you have got going on, I'd wind up with sprues & parts from one kit in the box of another. :rotf The only thing saving me on the 2 I have going now is they are different scales.
 
Thanks EJ! I'll see if I can bottle you up some and send it on. :coolio :D I myself can't wait to get those two buses done.

Thanks Helios! I admit, that has happened to me a couple times. I'm still able to get things sorted so I am able to finish some. What I hate the most is when a stack of boxes falls and parts scatter, some to be lost forever; rendering certain models uncompleteable.

Stay tuned for more; I might even get a few finished models posted.....
 
;Ok time to get back on some projects ... My Shay was modified quickly on the Jefferson show ... so I had hastily installed a backup light on my cab roof, wires running through cab ... plus all these electronics.

h8ef2d2f.JPG


So now lets get our Shay under control, I don't know why but all people love shays ... I feller followed mine, all the way around the layout, at the last show, and it was fresh shopped.

h260b9df_2016-06-07.JPG


First thing is to get rid of that large speaker, This is SoundTraxx's new mini cube speaker ... Sounds great at 1 watt output ... that's what the sound chip puts out.

h009a61e.JPG


All this stuff must go inside this tender box ... I think with the smaller speaker it will ... :hmmm

h9e1e9b1.JPG


hd3e20ac.JPG


Now for the light I used a front headlight off one of my Porters ... I had drilled two holes in the roof to get the light going for the show ...

hd1eb9d4.JPG


So all this heat shrink looked very crappy ... so I made a wire guide for the wires that need to go to this rooftop light ...

h1aaab78.JPG


hffd6dc7.JPG


h8a5569c.JPG


hf80db49.JPG


Now I'll paint it when I get home ... and hook up the wires ... I think it will look real good ... :good:
 
All the little knick-knacks for trains are neat. I don't remember seeing near the amount of addons back when I was building in the basement w/ my dad. The wonders of modern microprocessors. :coolio
 
All the little knick-knacks for trains are neat. I don't remember seeing near the amount of addons back when I was building in the basement w/ my dad. The wonders of modern microprocessors. :coolio

I know the clinic I went to Saturday for the Soundtraxx Tsunami 2 would blow you away with what it can do go to www.Soundtraxx.com and read up on it ... 32-bit processor the size of a Dime ... I give you the TSU 1100

h72cc158.jpg
 
Back
Top