Well, I finally found time to get to the workbench after all this time. Now I managed to get enough progress to show here.
I'll start with my armor. I had left off before my trips with the Atomic Annie unfinished so she was the first one I started on. I completed the wheels and some details and touchups. Now to clearcoat this for decals:
This one is so close I can taste it!
Next, I decided to start a new model for the next Braille Scale Group Build on another Forums. This is the Modelcollect 1/72 scale T-90A with the welded turret. I started by assembling the road wheels and then gluing them with Gator's Grip Glue to the (metal) lower hull:
Since I couldn't get the road wheels to line up properly, I adopted a radical solution: I placed this in a vice and carefully tightened it up until all the road wheels were aligned:
Yeah, crazy idea, but it worked! I doubt I'd try this on a plastic-hulled tank though...
Moving on to my latest aircraft progress, I decided to work on some aircraft that had been sitting for far too long. One of these was my F/A-18 Hornet I'd started for the Modern Aircraft Campaign here on the Modelers Alliance. So, I pulled it out, dipped the canopy and windscreen in Future, and then continued with the extensive sanding and filling and sanding again until I'd gotten it done as well as I could expect. Then I installed the canopy and windscreen on the model:
When this was dry, I applied the liquid mask to the windscreen and canopy in preparation for painting:
As I was waiting for that to dry, I realized that my little Mustang was right about at the same stage as the Hornet. So, I pulled this one out next.
Now this Airfix 1/72 scale Mustang was a raffle prize I'd won at the Nationals and I'd started it at mt brother's house after the Nationals. Here is where I was on this at the time I came home:
So, I dipped the canopy and windscreen for this in the Future and then filled and sanded this while waiting for the Future to dry. Fortunately, I didn't have to fill and sand as much as I did on the Hornet. After I finished, I added the canopy and windscreen to this Mustang:
After that was sufficiently dry, I masked the clear parts along with the Hornet's clear parts:
Now I'll have two aircraft ready for paint once those masks dry...
Now I went back to trying to finish some aircraft that had been sitting for a long time. The one most in need of attention was my ancient Aurora 1/72 scale Jet Commando. I had lost the main windscreen pieces and couldn't for the life of me, fabricate a suitable replacement set due to the complex curvature of the cockpit area. So I had set it aside to be a long-term shelf queen.
No more! I found another Aurora Jet Commando being sold at the Nationals, and it was only $7.00 because it was "started". Well I snapped it up, and now that I'm home, I pulled this out and the old one out and I started once again to work on this.
The first thing I noticed was some incredibly bad sink marks on the main wings where the plastic at the wheel wells had shrunk. Out came the Mr. Surfacer 500 which was liberally applied to the upper wings:
I apologize for the severity of the brightness/contrast on this pic, but the original was so washed out, you couldn't see the Mr. Surfacer. Here you can see how much area had to be covered. Later, after doing other work (shown below) I sanded and buffed the wings until they were smooth and ready for paint:
Now back to the fuselage. I added the curved windscreen pieces to the front of the cockpit area, but the side windows were unusable due to having massive injector pin marks in the
center of the clear part!
You can see it more clearly on the left hand window. So, I did what anyone would do: I used Testor's Clear Parts Cement and Window maker on the side windows. However, it didn't dry completely clear! I still had a bunch of white on the window, so I took them out. Here's what I saw: (pic taken after I'd removed the glue)
That was after a day and a half of drying; that's why I pulled it out. I then used Micro Crystal Clear to make the windows and they came out far more clear and clean. You can see it here after it was first added:
Next I did some rudimentary painting of the interior of this plane. I only did a suggestion of the interior due to it not being seen too well from outside since the windows were so thick. Here's what I did do though; the tan on the lower section was supposed to represent paneling. Not how clear the Micro Crystal Clear turned out in the side window:
Here's a slightly better view of the interior cabin:
Next, I added some nose weights just to be sure. (the bullet weight in the previous pics was shoe-horned into the nose after some modifications) Then it was time to close this bad boy up:
Just for fun, I dry-fit the wings, tail surfaces and engines to this plane to see how it will look down the line. I am really pleased with this little jet:
Anyway, aside from all that, I was able to complete a small ship that had been sitting for a while. It was one of my Modeling New Year's Resolutions that I resolved to complete by the end of this Year. Feel free to check it out in the Ships Forums.
Meanwhile, thanks for looking in, comments are welcome.


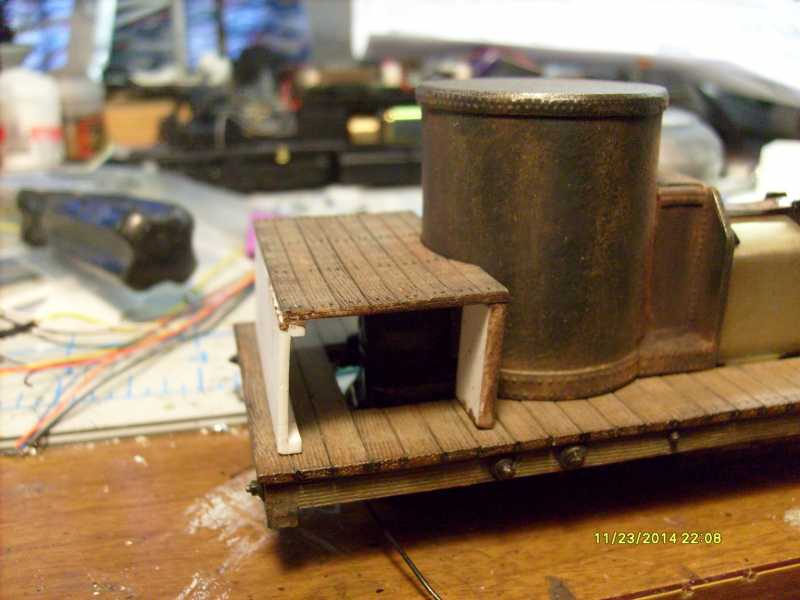
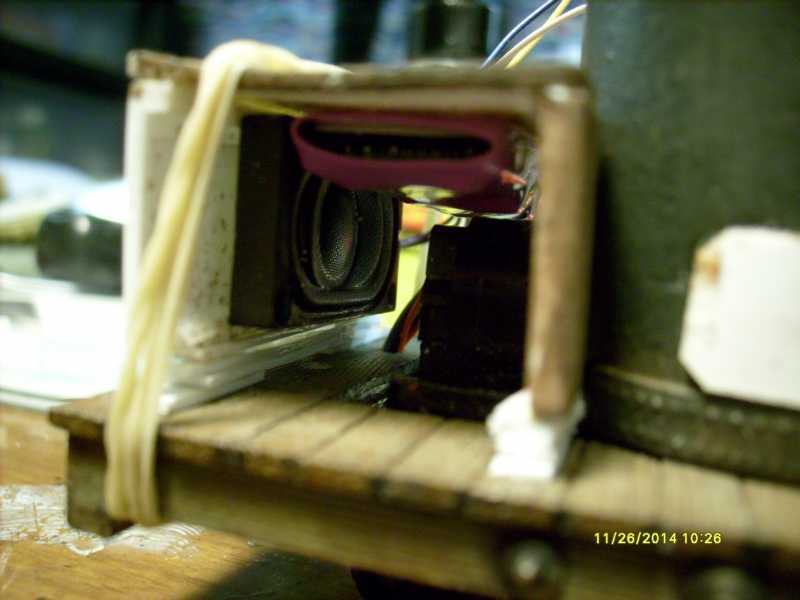

 ... I really like the wood grain effect I was able to achieve with the saw all you do is drag it at a 45degree angle to the wood ... kinda aggressive ... and it looks very scale after painting with the marks a coat with the paint pen ...


Gladta see ya at da bench!! :woohoo: B)
