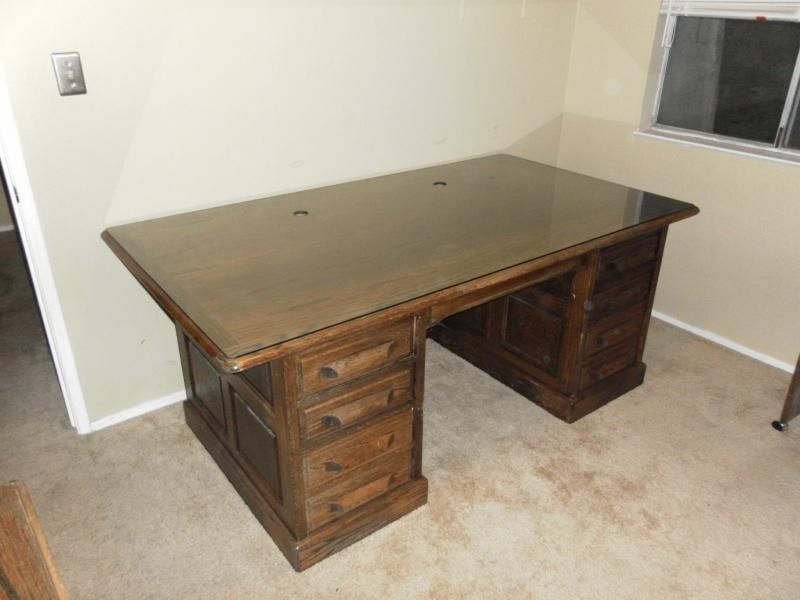
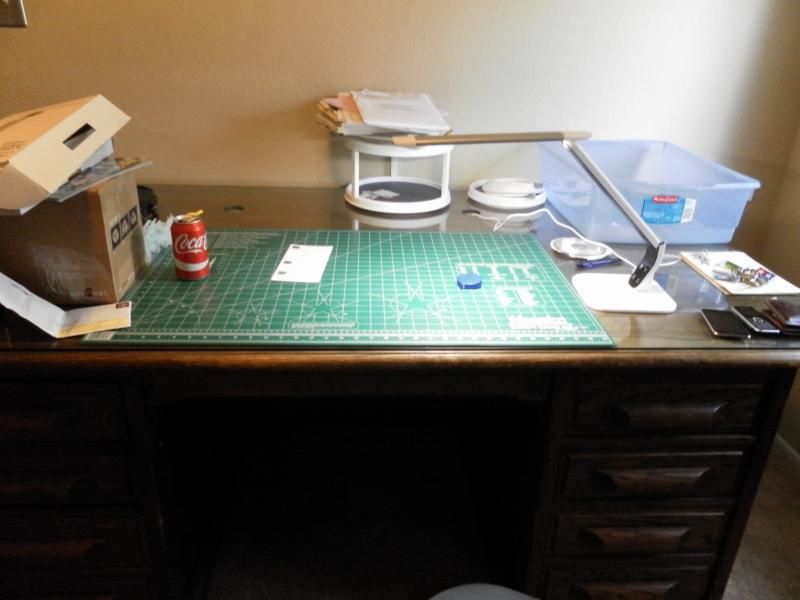
nice clean slate though, really to be filled up. 
-
Modelers Alliance has updated the forum software on our website. We have migrated all post, content and user accounts but we could not migrate the passwords.
This requires that you manually reset your password.
Please click here, http://modelersalliance.org/forums/login to go to logon page and use the "Forgot your Password" option.
You are using an out of date browser. It may not display this or other websites correctly.
You should upgrade or use an alternative browser.
You should upgrade or use an alternative browser.
All Righty ... What's on the bench today?
- Thread starter panzerace007
- Start date
Prop Duster
Member
This is what is on my bench..... not a thing....Still getting some things together so I can start building again.

Wont be long and this will be a distant memory. Then you'll wonder :hmmm "was it ever like that?"
MM2CVS9
Active member
This is what is on my bench..... not a thing....Still getting some things together so I can start building again.


Welcome to the nut house, good to see you here.
EJ
Tankbuilder
Active member
All this time I thought you were working on your model of the Invisable Man, Woman or plane and using new invisible paint and glue. VBG LOL
Cheers from Peter
Cheers from Peter
Well I got called up for a second interview for a job this upcoming Monday :yipee :yipee Pay starts out higher then what I make now. Hours are also Monday through Friday. So Hopefully I get it. On a more interesting note I also just found out that my work will be losing the campaign that I am working in so I would be looking for work in a month anyways :gogo I know I should be concerned about that but honestly at this point in time I could care less.
Good luck Ryan!
I have a Staff Car, P6-E that is in the sand fill sand repeat process and a Bf109 waiting a flat coat and some washes...skies are clouding up and threatening rain and the temps are mild. Earned major brownie points doing some Ma-in-Law chores yesterday. Stage is set for a Marathon session.
I have a Staff Car, P6-E that is in the sand fill sand repeat process and a Bf109 waiting a flat coat and some washes...skies are clouding up and threatening rain and the temps are mild. Earned major brownie points doing some Ma-in-Law chores yesterday. Stage is set for a Marathon session.

This is what is on my bench..... not a thing....Still getting some things together so I can start building again.


AInt changed much since I last sat at it!! :huh: :smack C'mon Bud, timeta slap some glue & paint on her!! :geek :yipee :captain
Duke Maddog
Well-known member
Bud, you need to get that bench looking like mine!
I'm posting this here since I have so many different things going on, it ain't worth it to split it up on different manufacturing threads. I just wish I could have one in-progress thread instead of splitting it up all the time. Oh well, when in Rome....
It has been awhile since I've posted anything but now I've completed enough progress on my models to actually post something here; and since it's a small update, I'm showing you what is on my bench now...
I'll start with some of the simple things I did that didn't take long.
First of all I shot some more black on the Headless Horseman to see where any seams and other issues were found. Not too many, but I still have a few touchups to do before I go further. I was also getting some good advice for painting this from one of my IPMS club's resident figure experts.

Another simple little model I did was this basic, snap-together model of an Italian heavy gun, with crew. It's made from soft plastic so it's gonna be a bit difficult to paint and such, but I'll try a few techniques on it. Here it is after assembly; I haven't started on the crew yet:

This was a pallet-cleansing build to relax after the difficulty I had building this next little model:
I had decided to buckle down and get the running gear done on the little FT-17 that is going in my Mack truck. That was an ordeal! Some pieces are missing and others aren't glued in right, and the drive sprocket on one side isn't the same since the original got lost; but it looks close enough that I'm moving on. I've had it with this stupid little tank. I had a devil of a time with the turret as well, but now this little beastie is ready for paint:


At Hobby Day, I also tried to get some work done on my Saturn V. I was so busy with so many other things that I barely had the chance to get anything done! I did manage to work on the remainder of the main booster nacelles. It took some extra work drilling out some of the holes for two of the brace parts:


Finally, I was able to complete all five of these engine boosters and test fit them into the bottom of this rocket:

Now to get these all painted and I can move on...
Speaking of moving on, I spent a lot of time on one of my projects that I had made a resolution to finish before I started another major project. I spent a day applying all the fuselage decals to my DC-6 Super Cloudmaster. Once that was done, I clearcoated them to seal them in:

A day later, I went to work applying the decals to the wings. While not as extensive as the fuselage decals; they had their own issues. I finally got them all on the wings and then cleacoated them as well to seal them in:


Now I'm finally able to move on with this plane. The first thing I did was to remove the window masking on the windows and the cockpit canopy:


I knew I had to do this now. Since I completed that, I am now free to re-install the landing gear to this model. I also need to add the engine nacelles to this as well. There's supposed to be some orange decal striping to apply around the front of the engine cowls, but given the difficulty I had getting the orange decal to fit around the compound curve of the nose of this thing; I don't want to deal with that issue times four again, so they are staying off! I know I could paint them on, but I don't want to hassle with trying to match the paint and then mask etc. I just want this thing done; it's been sitting on my workbench since 2012! After that, I think I'll be finished with it and I'll be able to chalk another resolution build off the list! It won't be any kind of award-winning model, but at least it'll be done.
Well, it's a small update but at least it's some progress. I do hope to have more to show later. Meanwhile, thanks for looking in and comments are welcome.
I'm posting this here since I have so many different things going on, it ain't worth it to split it up on different manufacturing threads. I just wish I could have one in-progress thread instead of splitting it up all the time. Oh well, when in Rome....
It has been awhile since I've posted anything but now I've completed enough progress on my models to actually post something here; and since it's a small update, I'm showing you what is on my bench now...
I'll start with some of the simple things I did that didn't take long.
First of all I shot some more black on the Headless Horseman to see where any seams and other issues were found. Not too many, but I still have a few touchups to do before I go further. I was also getting some good advice for painting this from one of my IPMS club's resident figure experts.

Another simple little model I did was this basic, snap-together model of an Italian heavy gun, with crew. It's made from soft plastic so it's gonna be a bit difficult to paint and such, but I'll try a few techniques on it. Here it is after assembly; I haven't started on the crew yet:

This was a pallet-cleansing build to relax after the difficulty I had building this next little model:
I had decided to buckle down and get the running gear done on the little FT-17 that is going in my Mack truck. That was an ordeal! Some pieces are missing and others aren't glued in right, and the drive sprocket on one side isn't the same since the original got lost; but it looks close enough that I'm moving on. I've had it with this stupid little tank. I had a devil of a time with the turret as well, but now this little beastie is ready for paint:


At Hobby Day, I also tried to get some work done on my Saturn V. I was so busy with so many other things that I barely had the chance to get anything done! I did manage to work on the remainder of the main booster nacelles. It took some extra work drilling out some of the holes for two of the brace parts:


Finally, I was able to complete all five of these engine boosters and test fit them into the bottom of this rocket:

Now to get these all painted and I can move on...
Speaking of moving on, I spent a lot of time on one of my projects that I had made a resolution to finish before I started another major project. I spent a day applying all the fuselage decals to my DC-6 Super Cloudmaster. Once that was done, I clearcoated them to seal them in:
A day later, I went to work applying the decals to the wings. While not as extensive as the fuselage decals; they had their own issues. I finally got them all on the wings and then cleacoated them as well to seal them in:
Now I'm finally able to move on with this plane. The first thing I did was to remove the window masking on the windows and the cockpit canopy:
I knew I had to do this now. Since I completed that, I am now free to re-install the landing gear to this model. I also need to add the engine nacelles to this as well. There's supposed to be some orange decal striping to apply around the front of the engine cowls, but given the difficulty I had getting the orange decal to fit around the compound curve of the nose of this thing; I don't want to deal with that issue times four again, so they are staying off! I know I could paint them on, but I don't want to hassle with trying to match the paint and then mask etc. I just want this thing done; it's been sitting on my workbench since 2012! After that, I think I'll be finished with it and I'll be able to chalk another resolution build off the list! It won't be any kind of award-winning model, but at least it'll be done.
Well, it's a small update but at least it's some progress. I do hope to have more to show later. Meanwhile, thanks for looking in and comments are welcome.
Swordsman
Active member
Hurumph

Sherman 18
Master at Arms
Maddog that headless horseman looks so COOL!  What kit is that?
I'll 4th with the DC-6 is very nice!
I'll 4th with the DC-6 is very nice!

Duke Maddog
Well-known member
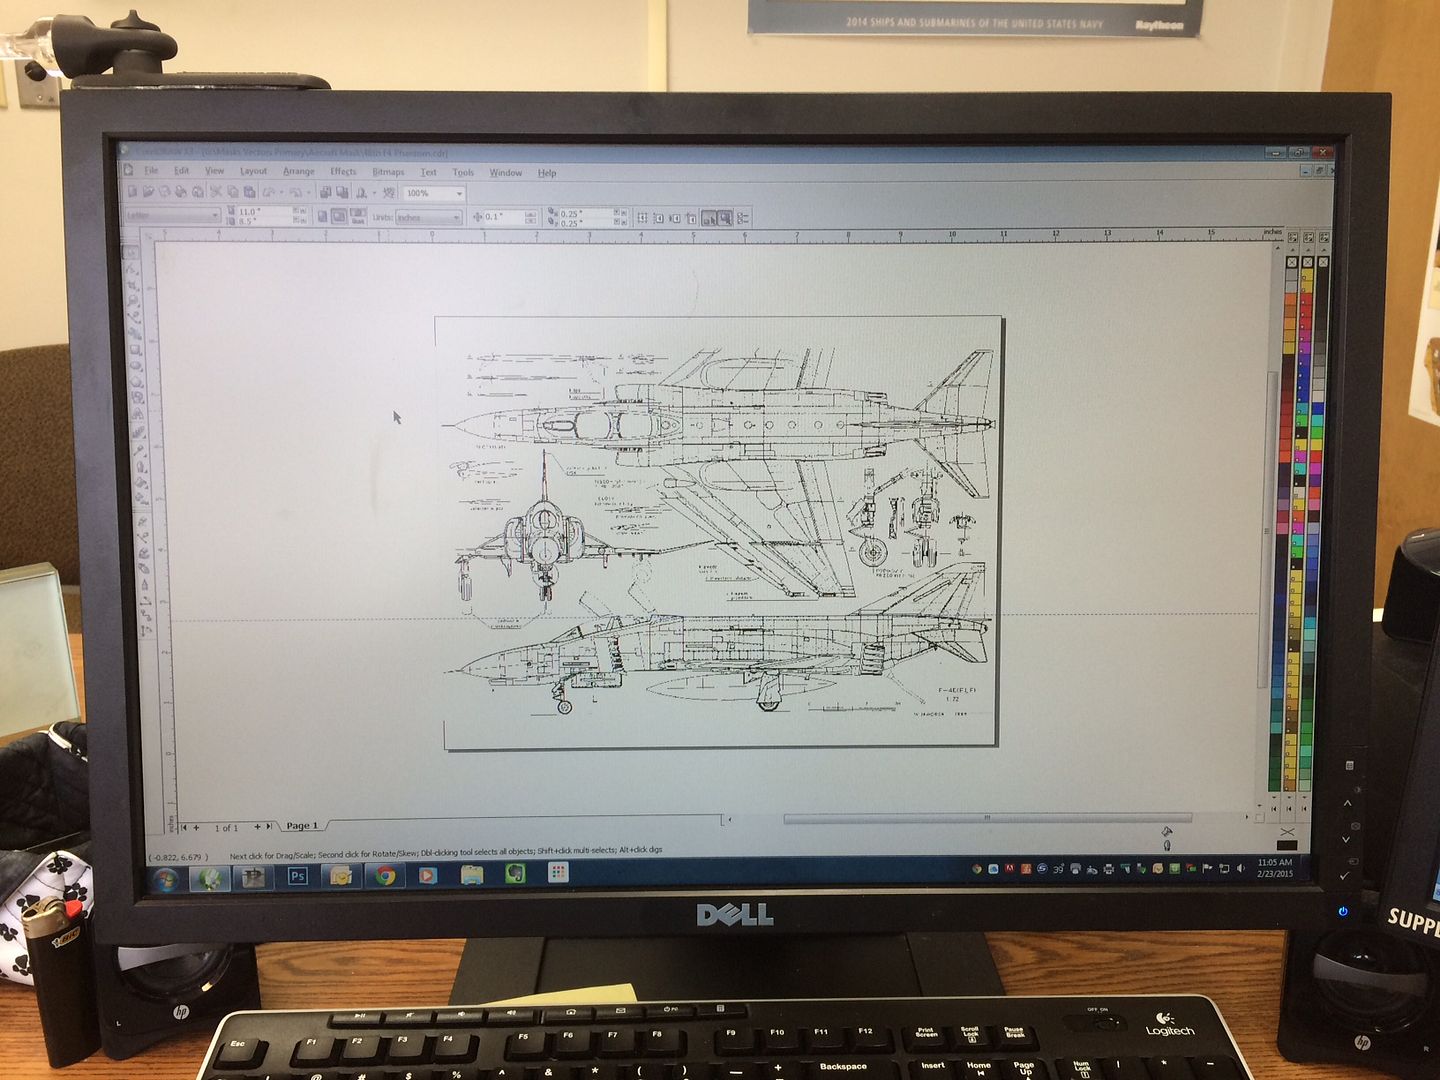
Looking good Kenny. That Phantom II mask looks particularly interesting.
Thanks for the compliments on the DC-6 guys. The pics don't show the many extensive finish issues with the bare metal finish.
Sherm, the Headless Horseman kit is a Polar Lights issue. I never even knew they had released it myself. When I saw it I had to snatch it up.
Maddog that headless horseman looks so COOL!What kit is that?
I'll 4th with the DC-6 is very nice!
Thanks for the compliments on the DC-6 guys. The pics don't show the many extensive finish issues with the bare metal finish.
Sherm, the Headless Horseman kit is a Polar Lights issue. I never even knew they had released it myself. When I saw it I had to snatch it up.
Similar threads
- Replies
- 39
- Views
- 10K
- Replies
- 60
- Views
- 19K


