
-
Modelers Alliance has updated the forum software on our website. We have migrated all post, content and user accounts but we could not migrate the passwords.
This requires that you manually reset your password.
Please click here, http://modelersalliance.org/forums/login to go to logon page and use the "Forgot your Password" option.
- Home
- Forums
- Current Campaigns
- Past Campaigns
- Finished Campaigns
- 2017 Campaigns
- Armored Personal Carrier
You are using an out of date browser. It may not display this or other websites correctly.
You should upgrade or use an alternative browser.
You should upgrade or use an alternative browser.
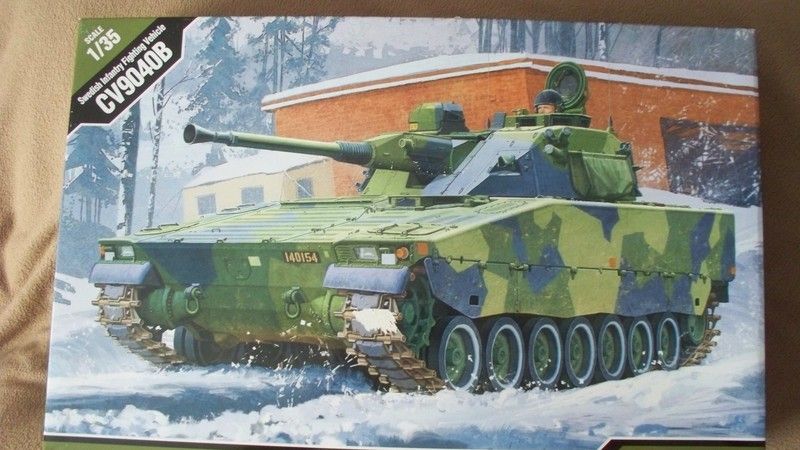
Academy Swedish CV9040B
- Thread starter iambrb
- Start date

Looks neat.
") ...
...  !
!
iambrb
Well-known member
Look what showed up from South Korea today:
OK I MUST get the KV-2 finished before I can start this, but I had to open it up to see what it looked like:
unboxing:
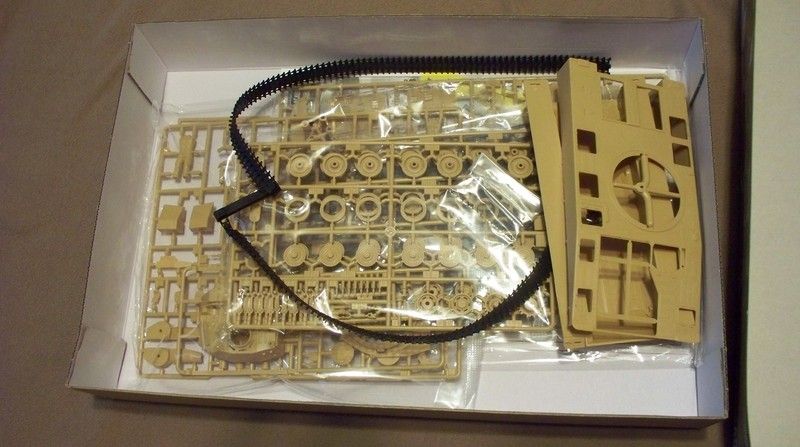
I really like that it gives you the choice of seperate link tracks or the vinyl type. Not sure which I am going with:

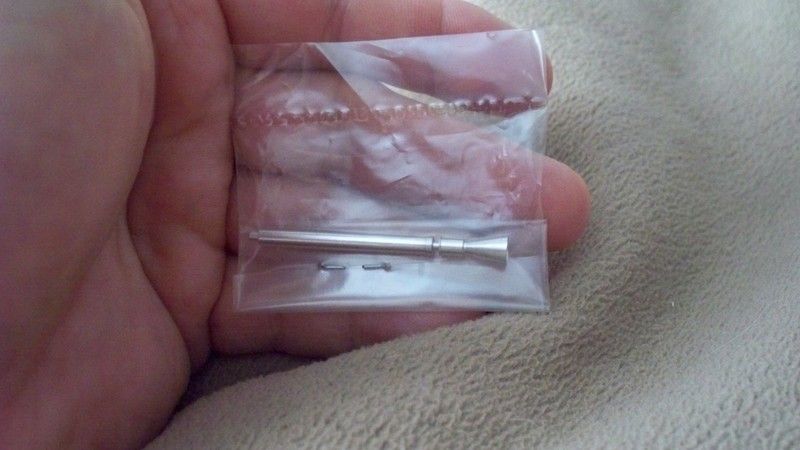
In addition to the tracks are a neat little aluminum barrel:
Lastly I thought it might be neat to do some basic comparisons of the hull with other armor in 1/35. Here it is beside a T-55, pretty close to the same!
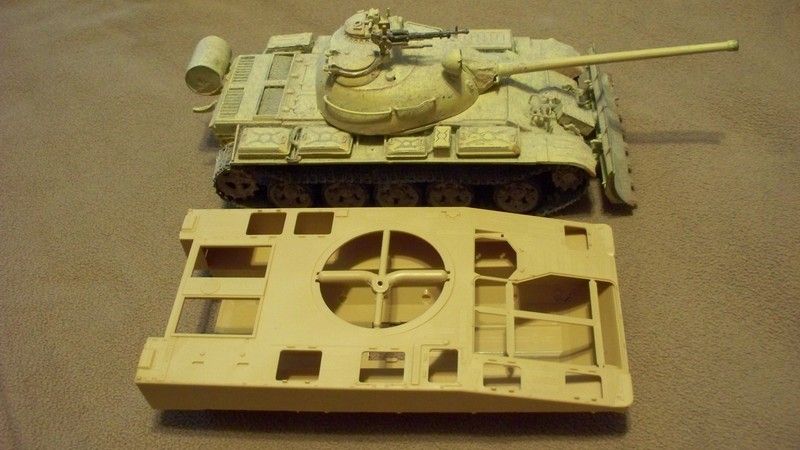
Now to me this is a real indicator of size, next to a WW2 M3

Hopeful to get started soon!

OK I MUST get the KV-2 finished before I can start this, but I had to open it up to see what it looked like:
unboxing:

I really like that it gives you the choice of seperate link tracks or the vinyl type. Not sure which I am going with:

In addition to the tracks are a neat little aluminum barrel:

Lastly I thought it might be neat to do some basic comparisons of the hull with other armor in 1/35. Here it is beside a T-55, pretty close to the same!

Now to me this is a real indicator of size, next to a WW2 M3

Hopeful to get started soon!
iambrb
Well-known member
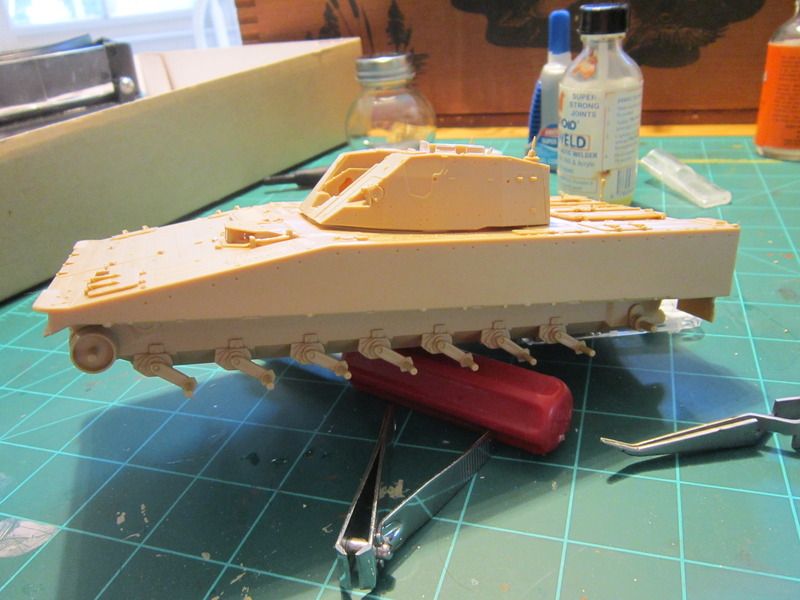
Well I finally got started on this. really only had about an hour plus to dedicate to this, but got a bit done on the lower hull as you can see:
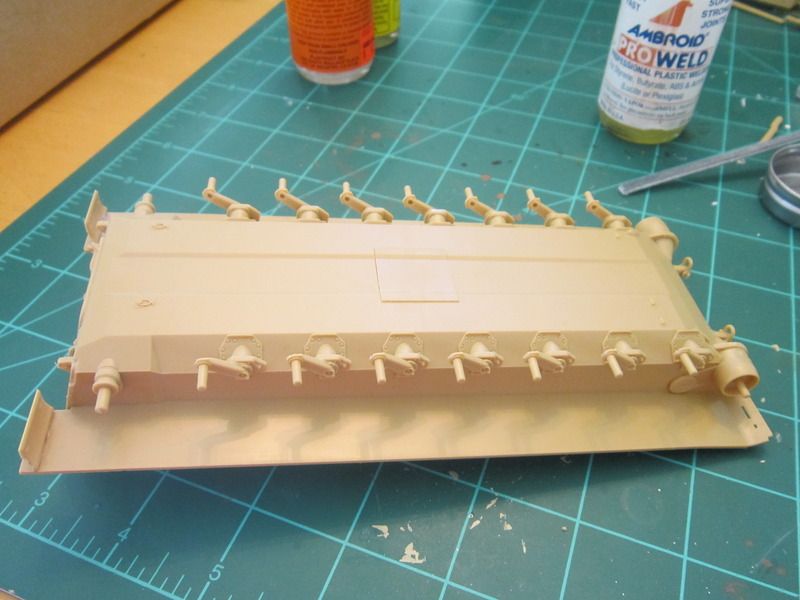
The lower is a one peice tub and you build up the back and attach, it really fit right in. Note tht I am leaving a lot of the pioneer/engineer gear off the back at the moment, until I get very close to the end. I notice alot of y'all have it one there from the jump, but my preference is to add it at the end (always have to mark the instructions so I don't forget!)
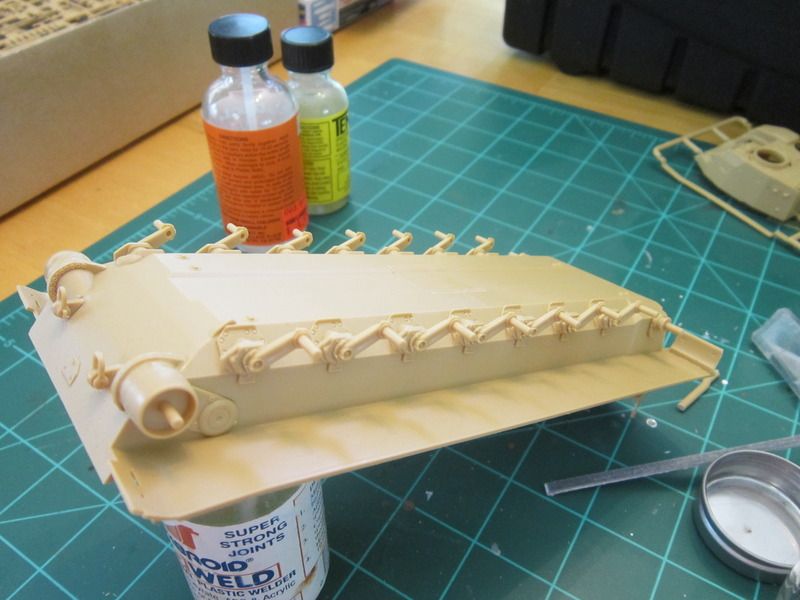
Lastly I took the one-piece upper and just press-fit it on to make sure the rearwall was on properly, it fit great! I had noticed that a few online tutorials/builds showed the lower was warped, but mine just fell together, the only part that will cause very slight concern would be the very front where there is a tiny space between the upper & lower

really hoping to get some time on this in the week coming, but doubtful, with work and my usual Saturday build-time being taken up with a trip to the IPMS show in Columbia SC. Hope to see some of y'all there!


The lower is a one peice tub and you build up the back and attach, it really fit right in. Note tht I am leaving a lot of the pioneer/engineer gear off the back at the moment, until I get very close to the end. I notice alot of y'all have it one there from the jump, but my preference is to add it at the end (always have to mark the instructions so I don't forget!)

Lastly I took the one-piece upper and just press-fit it on to make sure the rearwall was on properly, it fit great! I had noticed that a few online tutorials/builds showed the lower was warped, but mine just fell together, the only part that will cause very slight concern would be the very front where there is a tiny space between the upper & lower


really hoping to get some time on this in the week coming, but doubtful, with work and my usual Saturday build-time being taken up with a trip to the IPMS show in Columbia SC. Hope to see some of y'all there!
Yep, that's a start. 
135engineer
Active member
iambrb
Well-known member
Very nice start, are you going to do the splinter cammo pattern?
ABSOLUTELY! it's why I bought the kit to start with!
FWIW...I am REALLY digging the Academy kit. More detail than Tamiya, but still and easy build for my skill level
135engineer
Active member
diggin this

iambrb
Well-known member
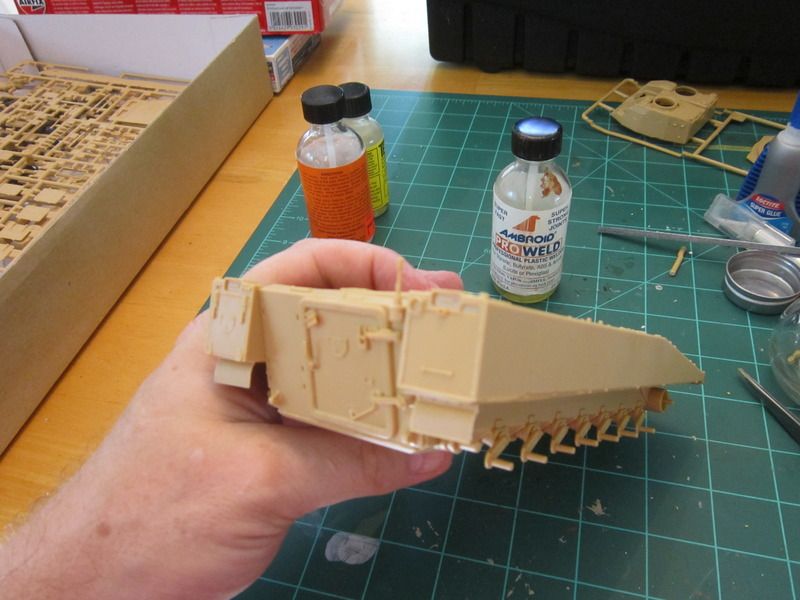
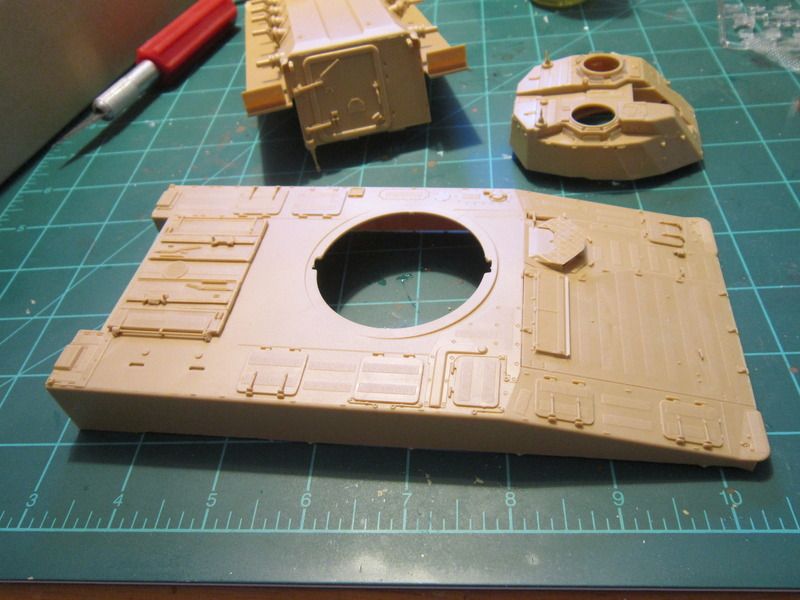
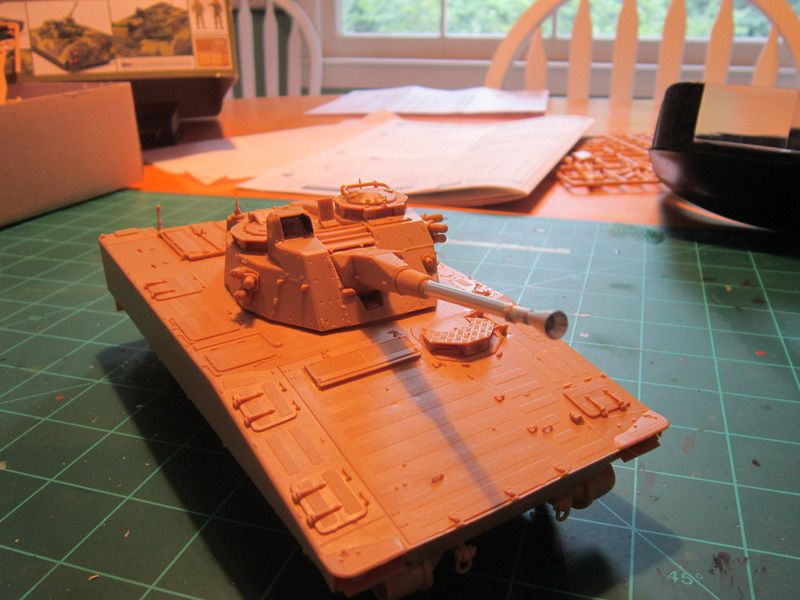
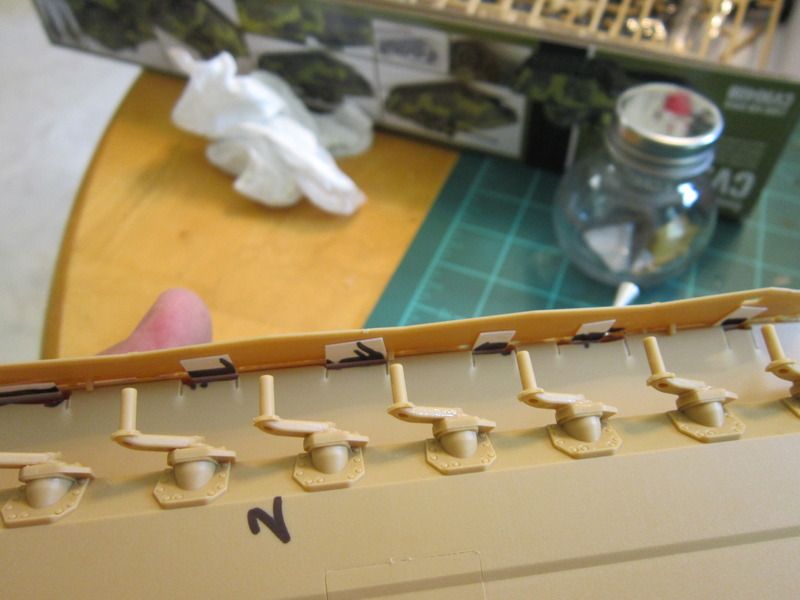
OK So some more progress here. This has actually been alot of fun to build! The Academy is, as I have said, a pretty easy build. exception would be some of the truly itty-bitty parts, like the smoke grenade launchers. each one of those had some cleanup involved, but the end result is coming along nicely! Just a few small bits + some PE, and she will be ready for paint:
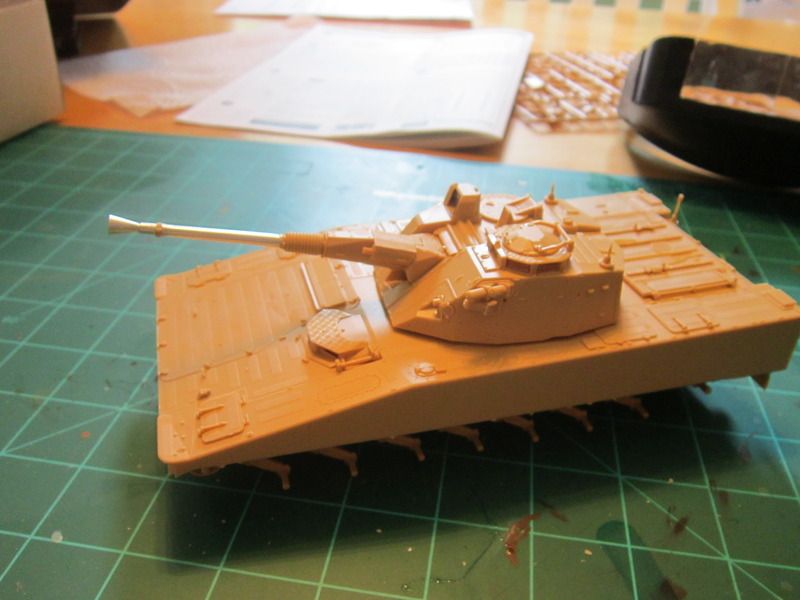
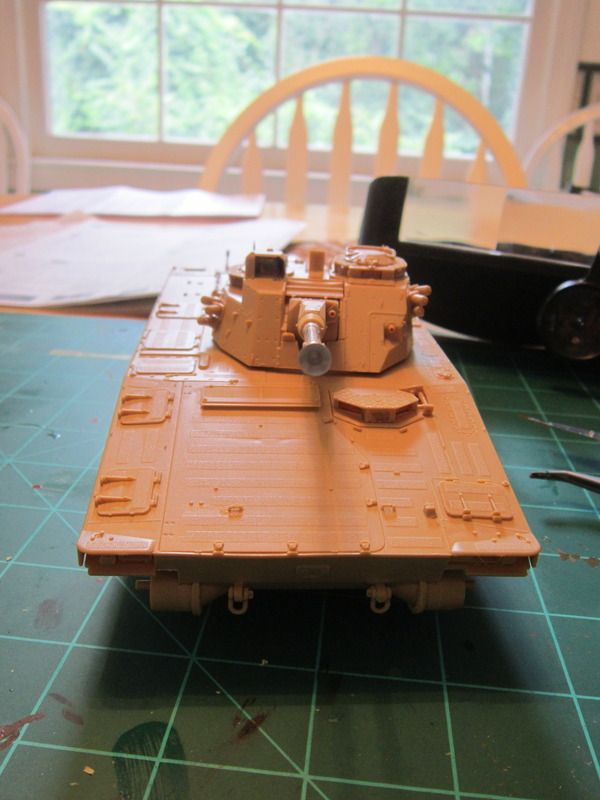
About the paint.....it has cooled slightly here int eh South Eastern United States, it is still regularly between 90-85 degrees F (that is about 32-35 degress C for you peeps outside the US) so it is going to have to get a bit cooler still before I do anything paint wise! Will post some more when she is all up & ready.....'till then!


About the paint.....it has cooled slightly here int eh South Eastern United States, it is still regularly between 90-85 degrees F (that is about 32-35 degress C for you peeps outside the US) so it is going to have to get a bit cooler still before I do anything paint wise! Will post some more when she is all up & ready.....'till then!
Duke Maddog
Well-known member
Looking great so far! Keep going.
iambrb
Well-known member
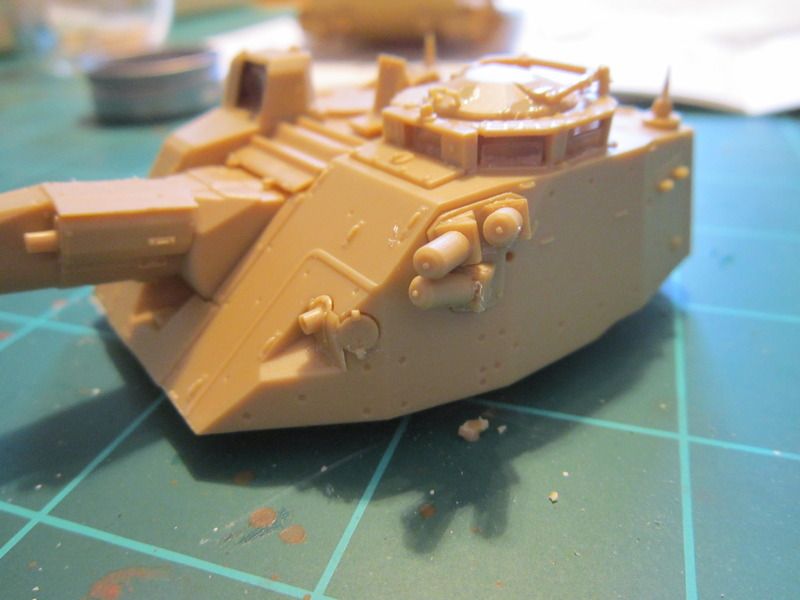
Hey dave, I know, it has a Blunderbuss look, right?
Gun is actually the venerable Bofors 40mm, and with the newer ammo it can be pre programmed to be used as AA, HE for troops, and with AP it can penetrate the back & side armor of the T-55 & T-62 MBT. Only recently have ATGM's been dveloped for it, in fact this earlier version lacks them.
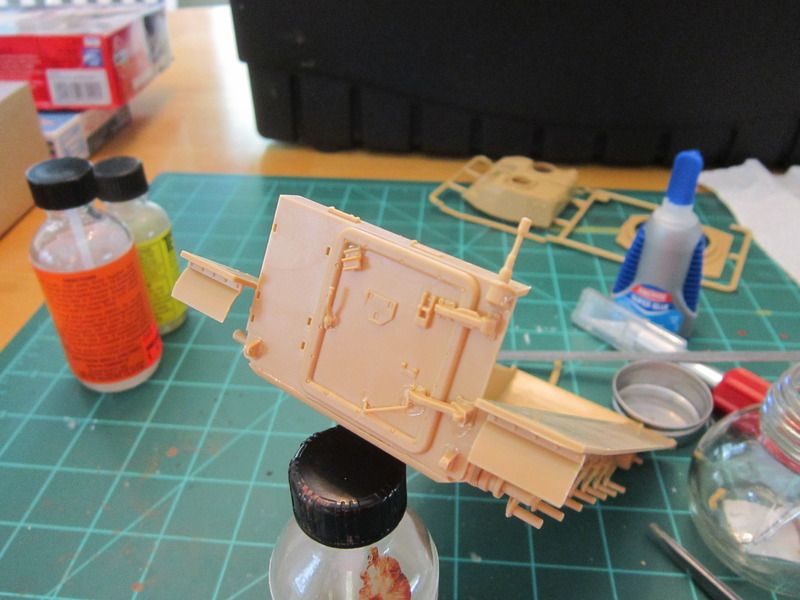
So here we are, I have added the PE. Those handles on the back hatch were fun, like trying to pet a porcupine fun! The PE was otherwise a good experience, actually worth noting is that this was my first experience with PE and it all went well. I wanted the side armor on for when I started the camo paint, & in so doing found the attachment so flimsy I used some plastic card to stiffen it, and as a result, I had to cut relief areas for them, which you can see in that last pic. Although a pain, this had the side benefit that the upper & lower soooo tightlythat little if any adhesive is going to be required to get them apart!
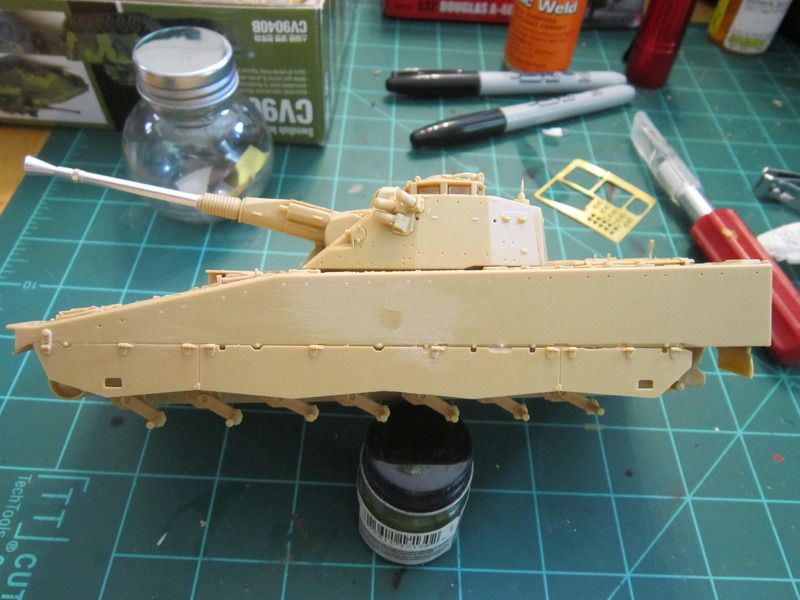
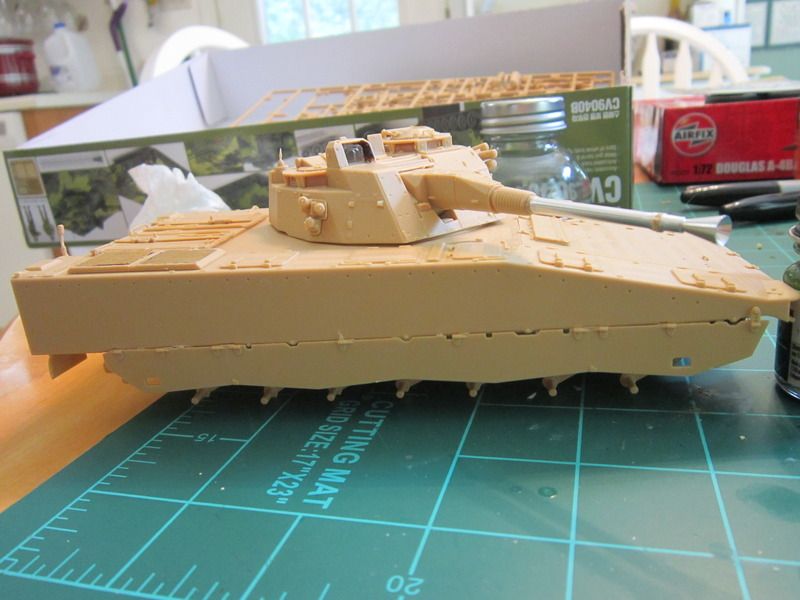

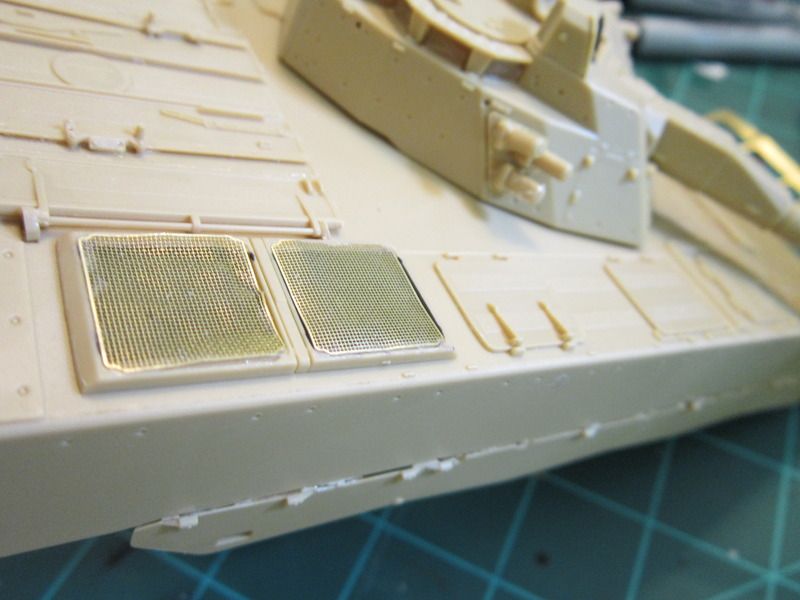
One thing not yet on would be the side turret baggage 'pockets'. The box art and online pics show it to be a very heavy canvas-like bag, but the kit parts are pretty poorly rendered, to the point I may decide to go with aftermarket resin, we will have to see.
Well, it is sitll plently muggy-hot here in SC, so I think I may wait until our upcloming Labor Day holiday to paint, but this has sure been fun so far!!!
Gun is actually the venerable Bofors 40mm, and with the newer ammo it can be pre programmed to be used as AA, HE for troops, and with AP it can penetrate the back & side armor of the T-55 & T-62 MBT. Only recently have ATGM's been dveloped for it, in fact this earlier version lacks them.
So here we are, I have added the PE. Those handles on the back hatch were fun, like trying to pet a porcupine fun! The PE was otherwise a good experience, actually worth noting is that this was my first experience with PE and it all went well. I wanted the side armor on for when I started the camo paint, & in so doing found the attachment so flimsy I used some plastic card to stiffen it, and as a result, I had to cut relief areas for them, which you can see in that last pic. Although a pain, this had the side benefit that the upper & lower soooo tightlythat little if any adhesive is going to be required to get them apart!


One thing not yet on would be the side turret baggage 'pockets'. The box art and online pics show it to be a very heavy canvas-like bag, but the kit parts are pretty poorly rendered, to the point I may decide to go with aftermarket resin, we will have to see.
Well, it is sitll plently muggy-hot here in SC, so I think I may wait until our upcloming Labor Day holiday to paint, but this has sure been fun so far!!!
Similar threads
- Replies
- 21
- Views
- 4K
- Replies
- 106
- Views
- 16K