
-
Modelers Alliance has updated the forum software on our website. We have migrated all post, content and user accounts but we could not migrate the passwords.
This requires that you manually reset your password.
Please click here, http://modelersalliance.org/forums/login to go to logon page and use the "Forgot your Password" option.
You are using an out of date browser. It may not display this or other websites correctly.
You should upgrade or use an alternative browser.
You should upgrade or use an alternative browser.
''A'' for Arado!
- Thread starter matrixone
- Start date
phantom II
Master at Arms
Thanks Bob,
I think a larger scale model would have helped more than anything. :laugh:
Were it not for the very poor fit of the engine nacelles the best solution would be to do part of the painting before the wings or engine nacelles were attached to the fuselage and then finish the rest of the painting afterwards.
Matrixone
Yup, considering that as a real possibility in future builds.
Cheers, Christian B)
Thanks guys!
Christian,
The fit of the engine nacelles was bad but that's not all...after I blended in the engine nacelles to the wings I went to glue the wings to the fuselage and found them to have a very loose sloppy fit needing filler putty and sanding so pre-painting the camo might not have worked on this Dragon kit. I suspect the larger 1/48 scale Hasegawa/ProModeler Arado 234's will have a much better fit of the engine nacelles making pre-painting the hard to reach areas possible.
I tried airbrushing earlier today and was going to make some major changes to the scribble pattern on the Arado but my air line had water in it, once I cleared the air line and the airbrush of any water I had a change of heart and just cleaned up the mistakes that were made yesterday and am now happy with how it looks.
My usual practice of testing paint spray pattern on one of my paint mules saved this model from a total repaint job, the blast of paint/water that came from the airbrush would have surely screwed up the paint job.
After the paint that was sprayed on earlier today is fully dry I will be painting the undersides semi-gloss black.
Matrixone

Dave The Chef
Member
HOLY ****!! Les, I've always been very impressed with your airbrush skills but that just blows me away 
Awesome work B)
Awesome work B)
Thank you Dave and Dave!
Been doing lots of painting today and some of that involves having to mask off some areas and I was so burned out from all the masking I did on the He 162 and B & V P.194 I not get around to masking off the Arado so I can spray on the black paint on the undersurfaces so no update pics today.
Matrixone
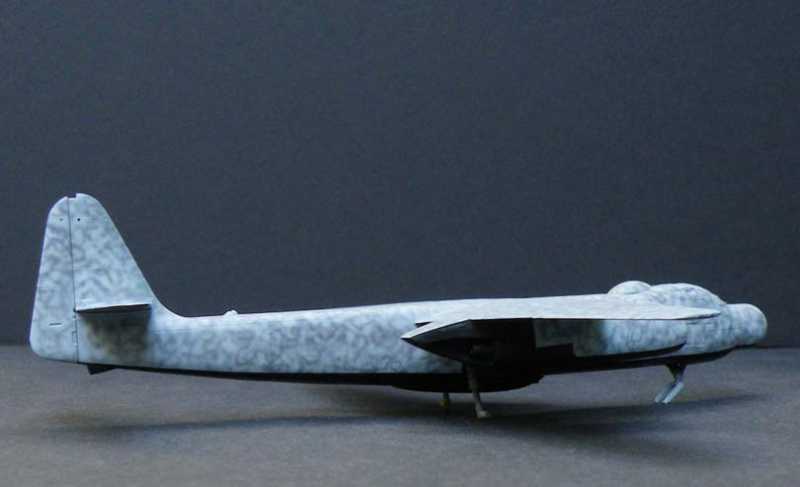
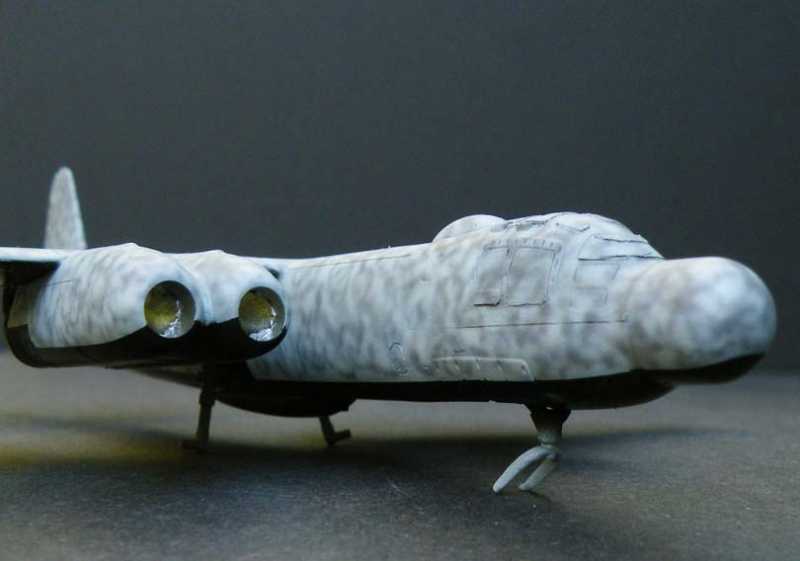
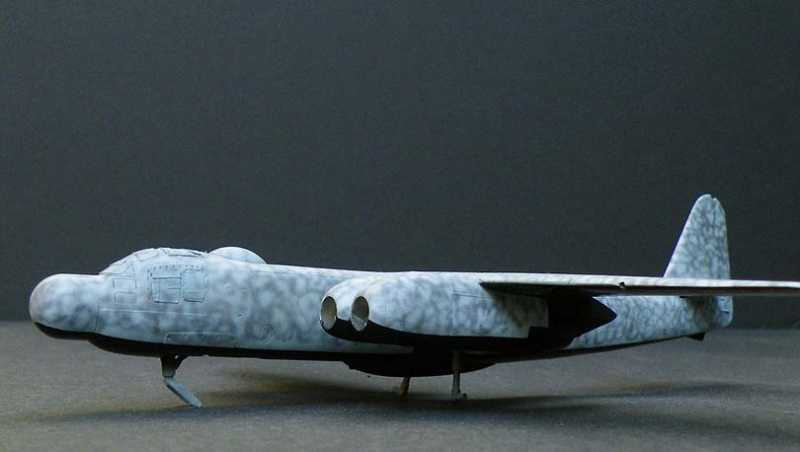
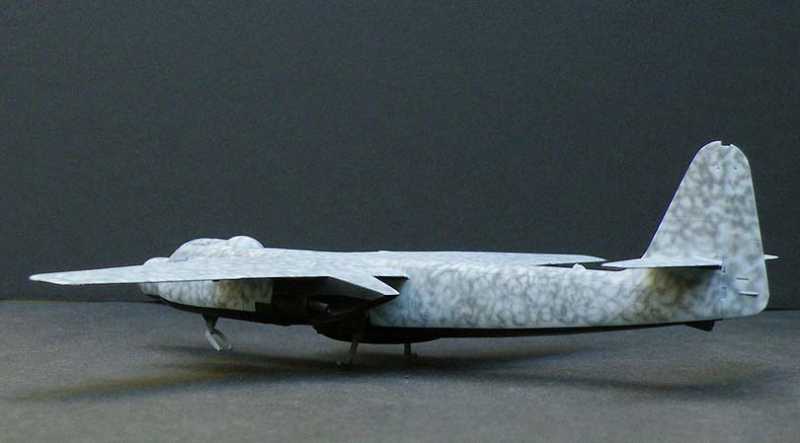
Here are some pics of the Arado after the airbrushing goofs were corrected.
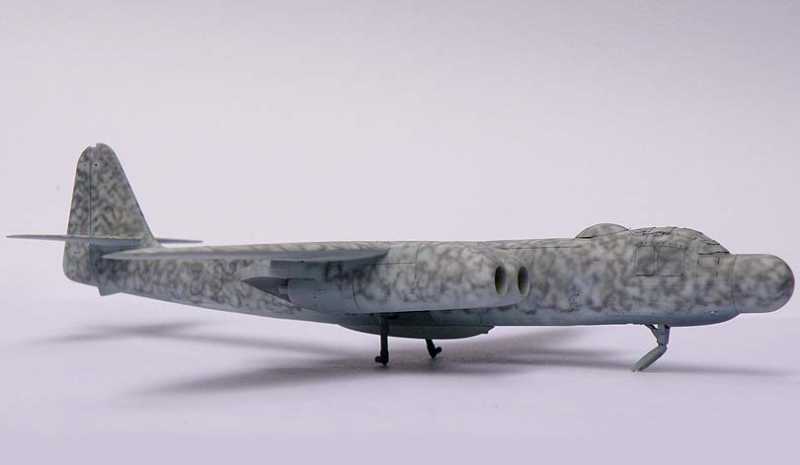
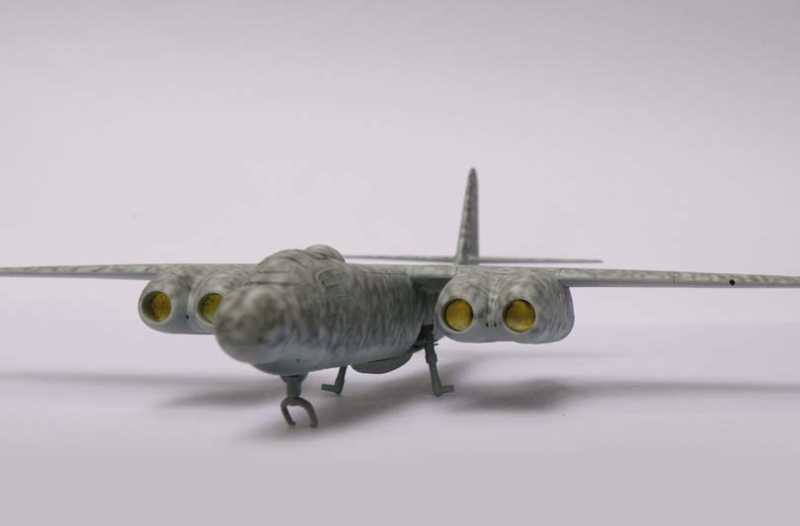
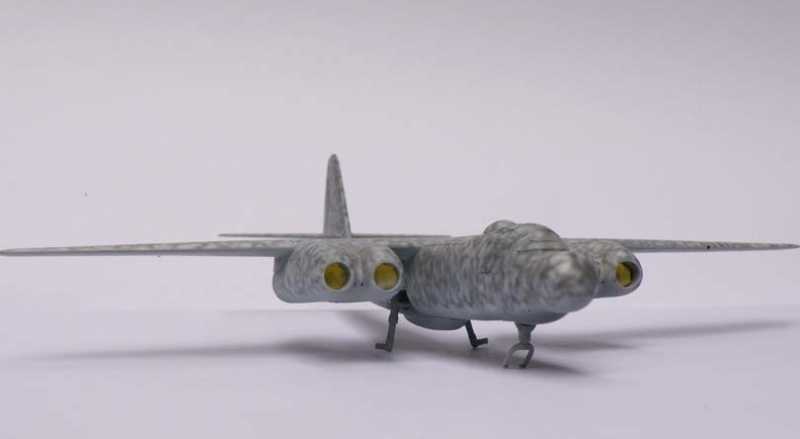
Matrixone

GReat job Les :coolio
Aint it always with Les :coolioSpectacular paint job Les!
randy_ditton
Master at Arms
Hi Les,
That is just AWESOME")
Randy
That is just AWESOME
Randy
Les you do squiggly lines full justice!
Can't wait to see this out on the airfield.
Can't wait to see this out on the airfield.