• Modelers Alliance has updated the forum software on our website. We have migrated all post, content and user accounts but we could not migrate the passwords.
    This requires that you manually reset your password.
    Please click here, http://modelersalliance.org/forums/login to go to logon page and use the "Forgot your Password" option.

1/72 Heinkel He-177A-5 with lots of goodies

Thank you gentlemen, you are ever so Kind.

So now I decided to try something new. And as usual screwed up, royally. Or maybe not, it actually turned out quite an interesting effect to me.

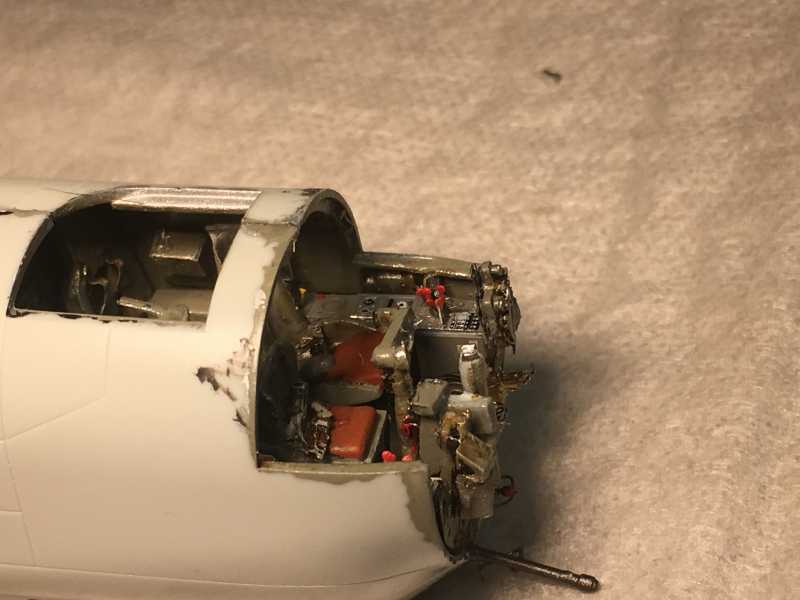
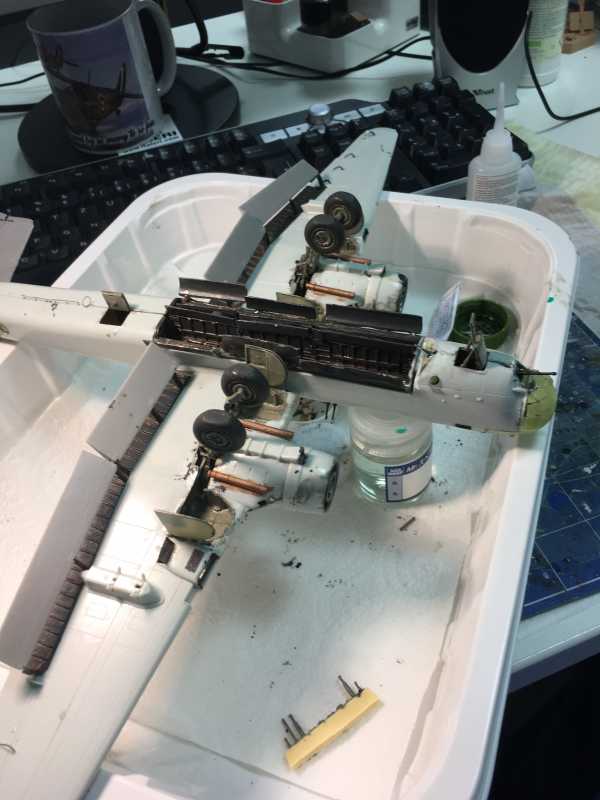
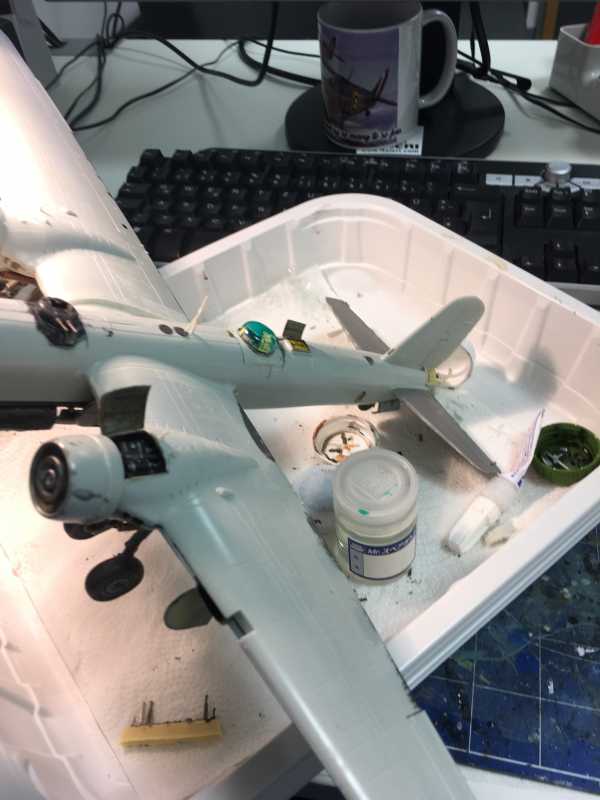
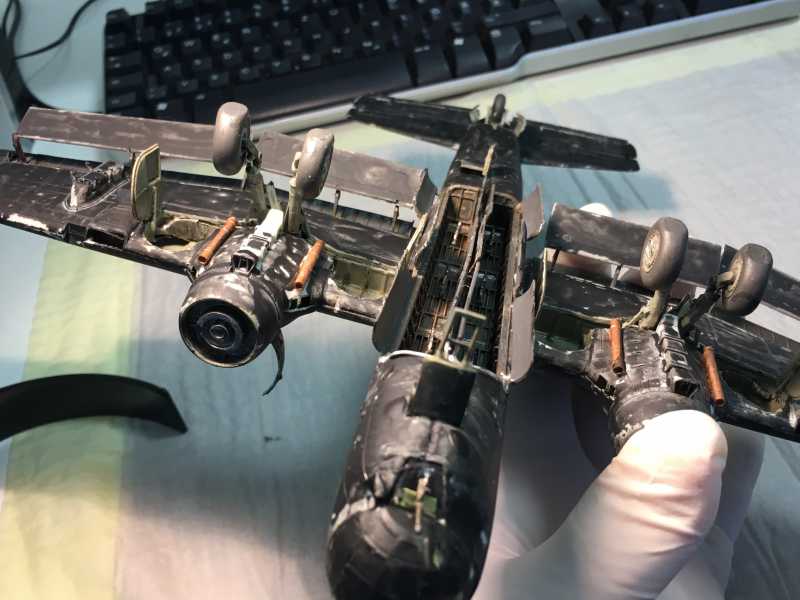
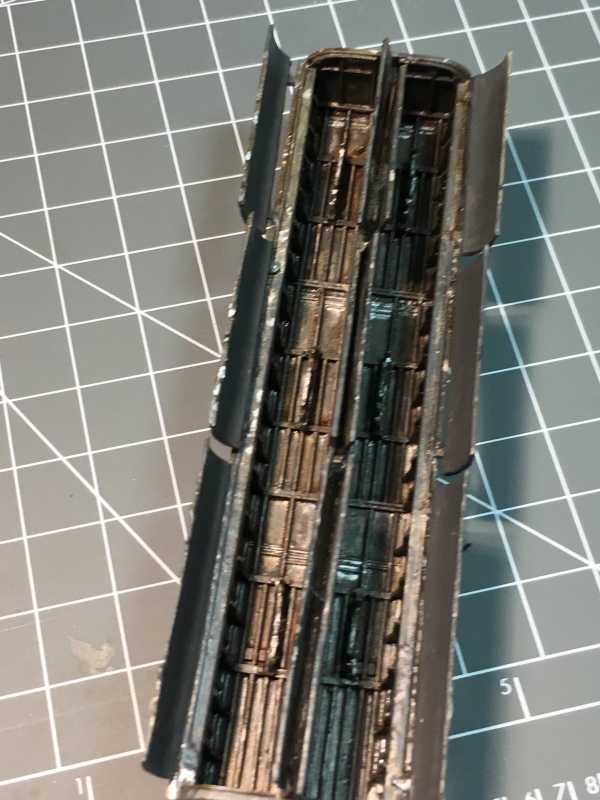
First Thing I covered the Cockpit with a black primer:


hf7a7610.JPG

hf22c7d3.JPG

h7293796.JPG


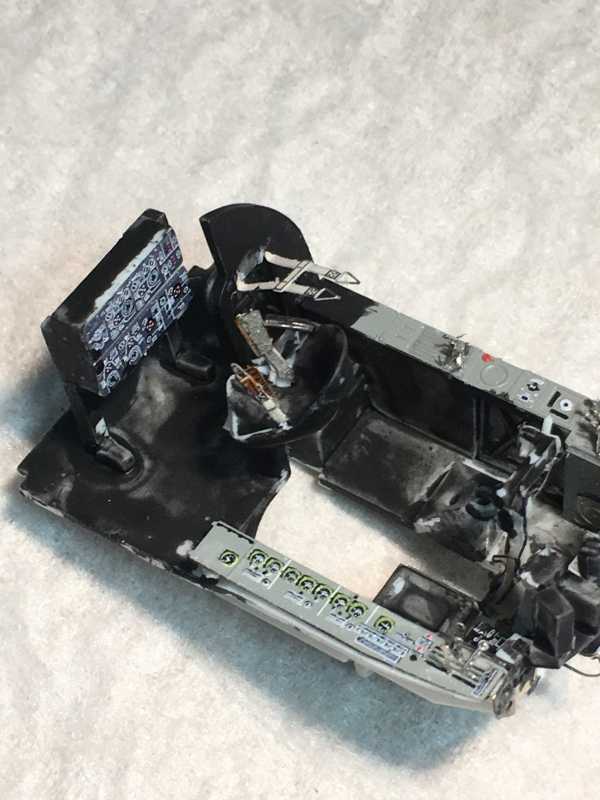
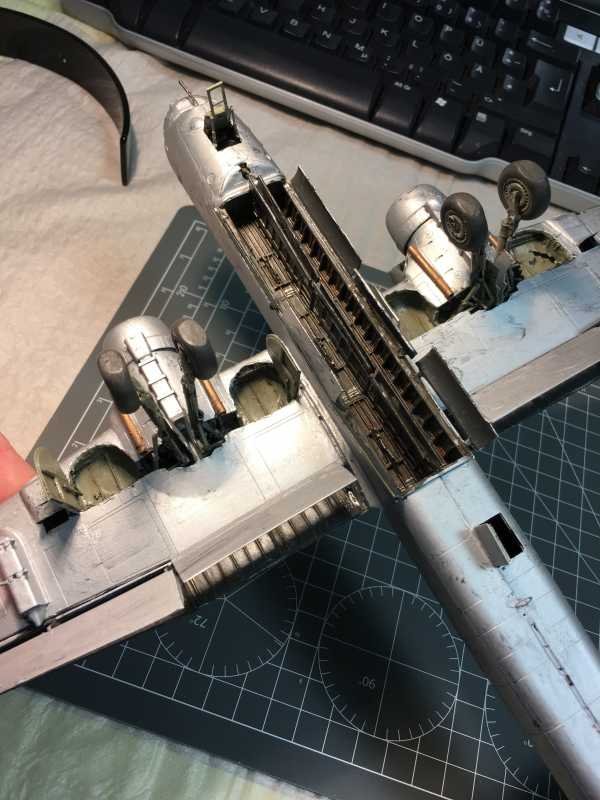
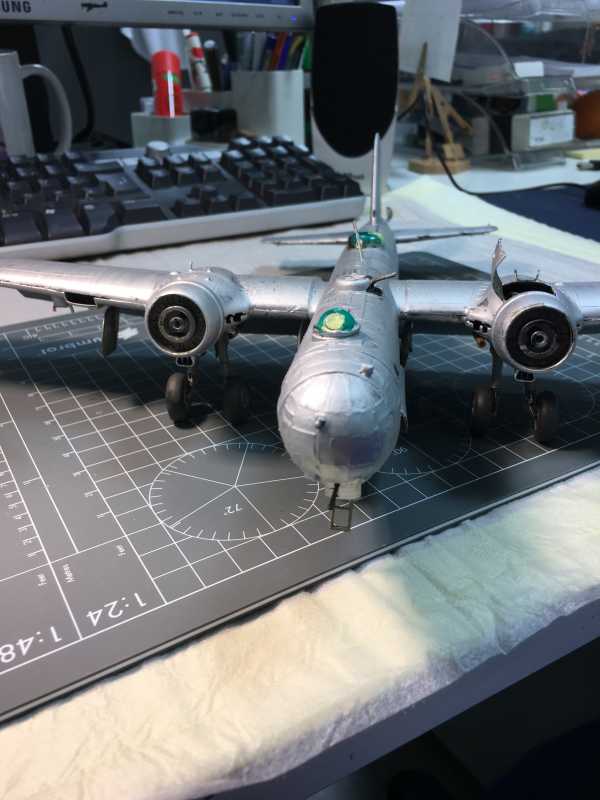
Then added an Aluminium coat Overall


hb30c4ba.JPG

hcb19b8a.JPG

hc0748fe.JPG


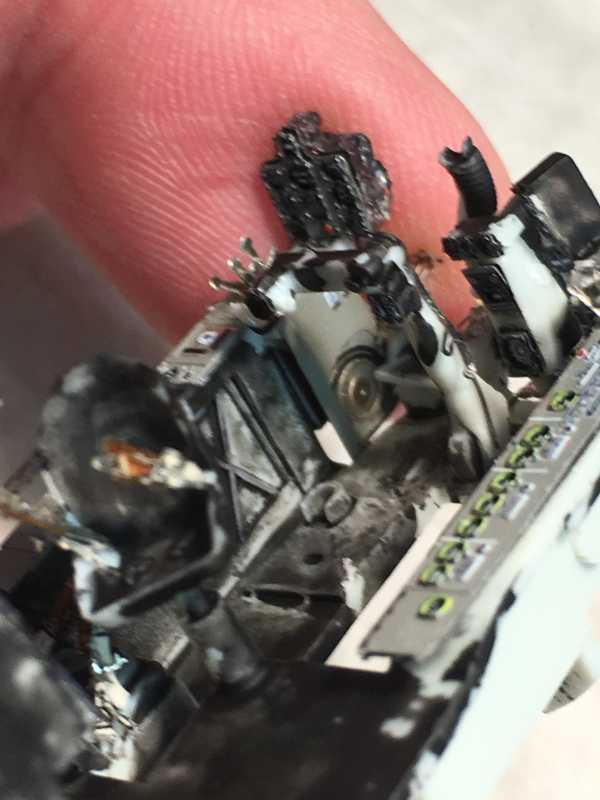
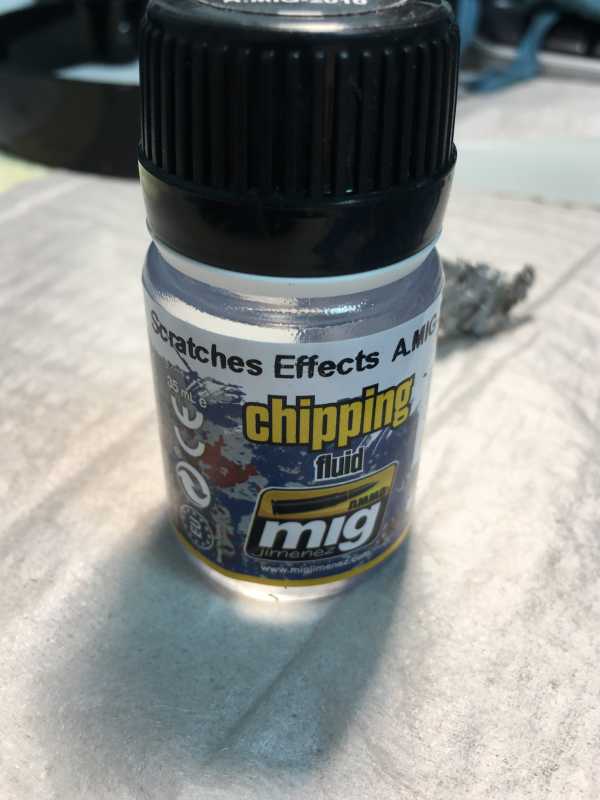
Then used this product here to get some chipping effects:


h7a77b8c.JPG


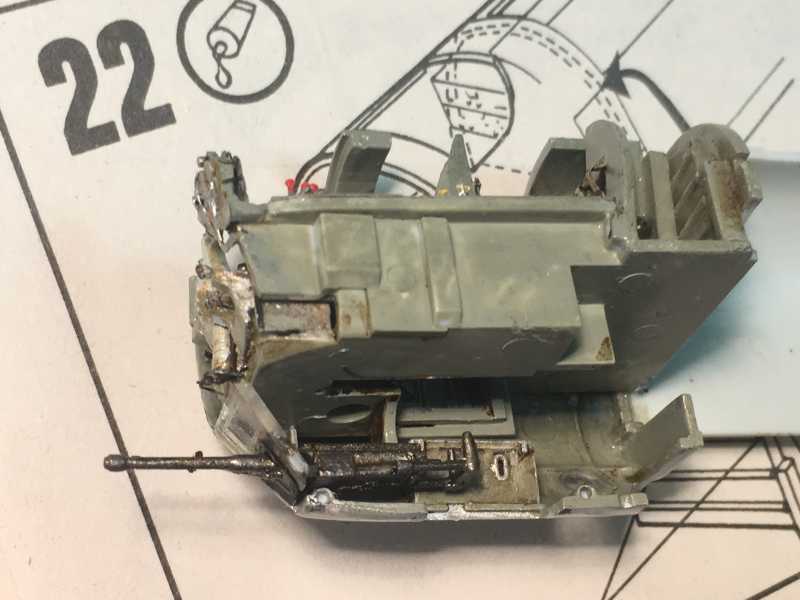
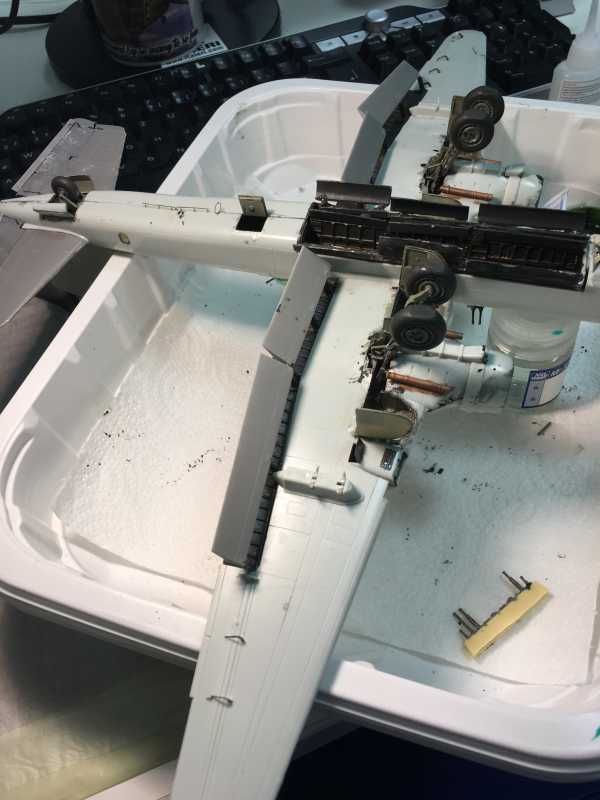
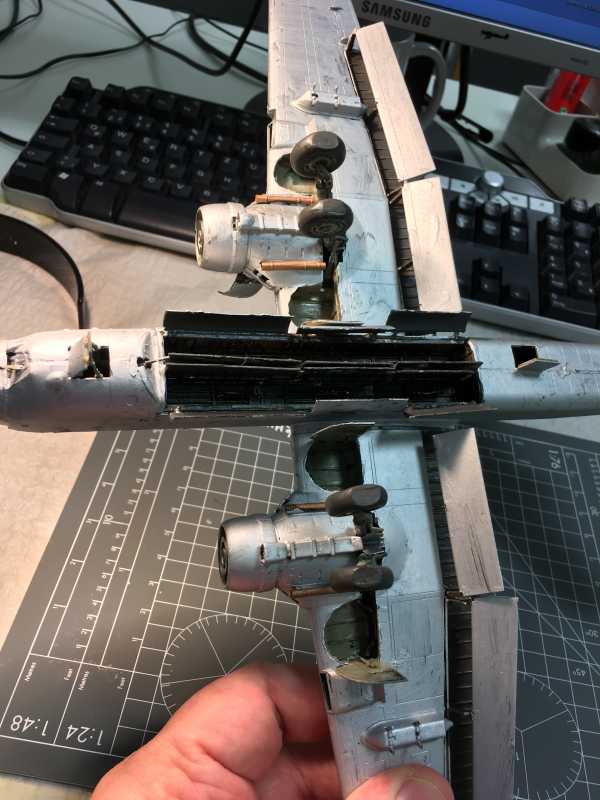
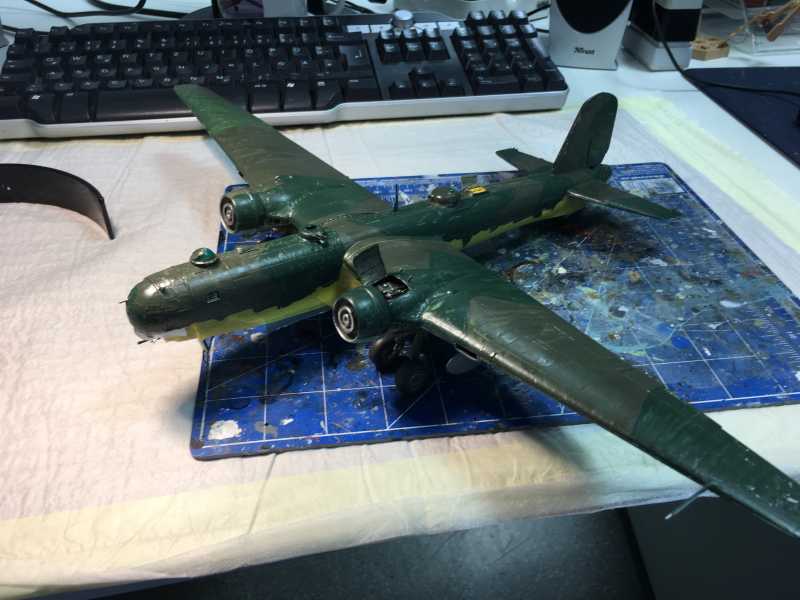
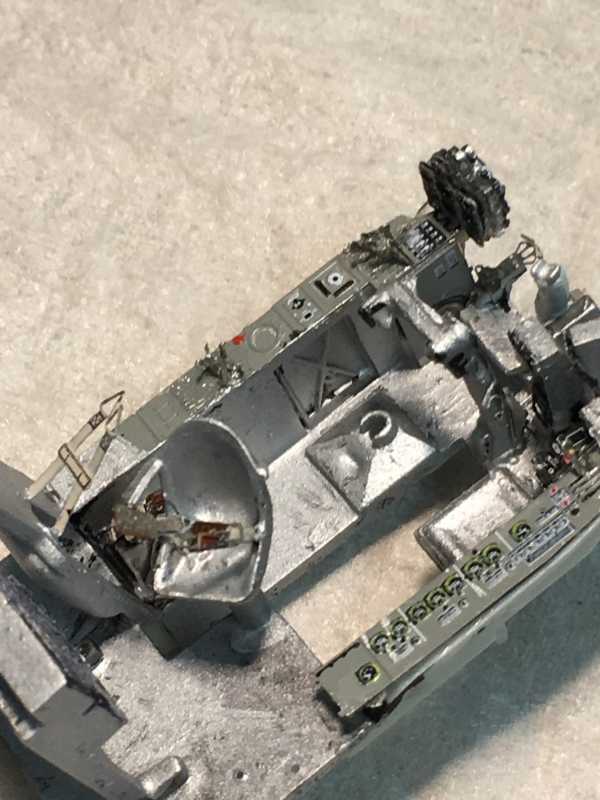
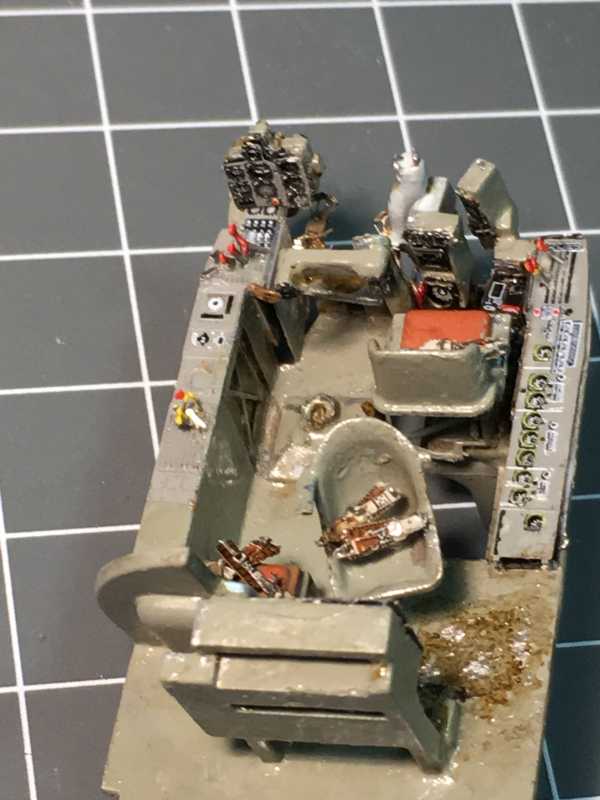
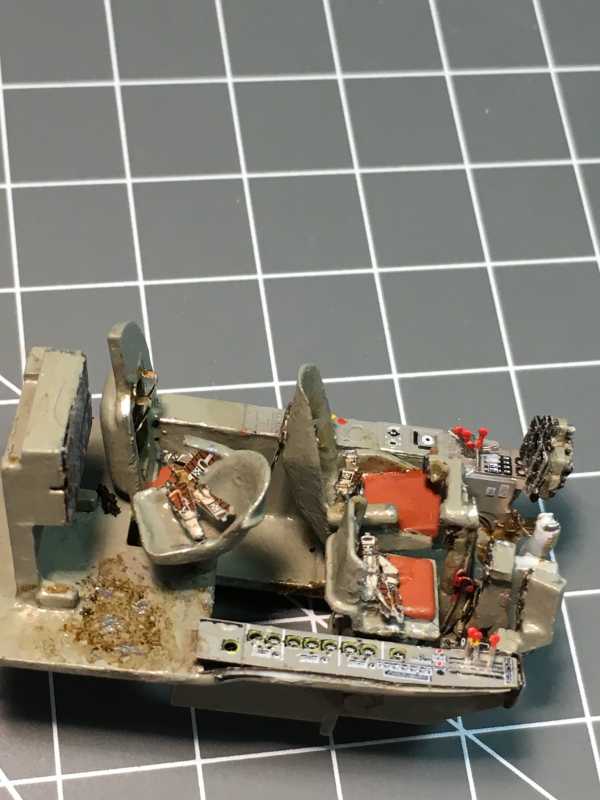
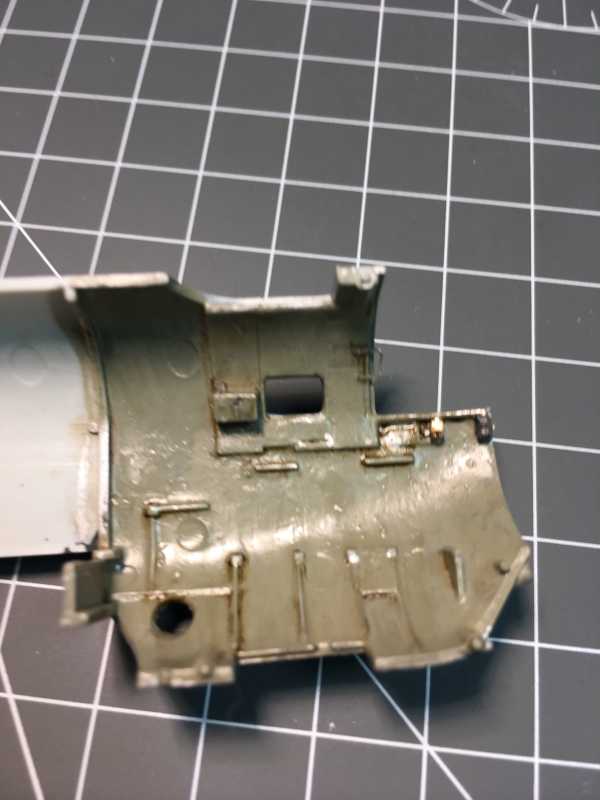
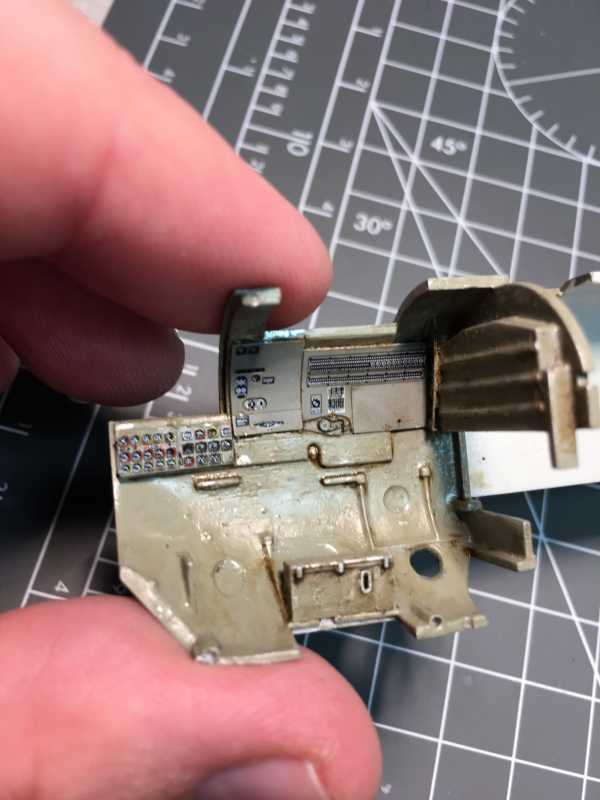
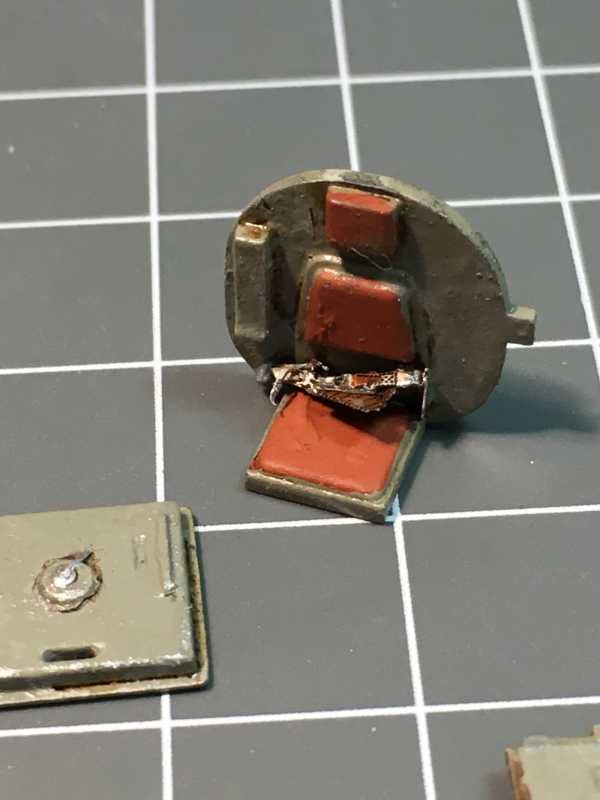
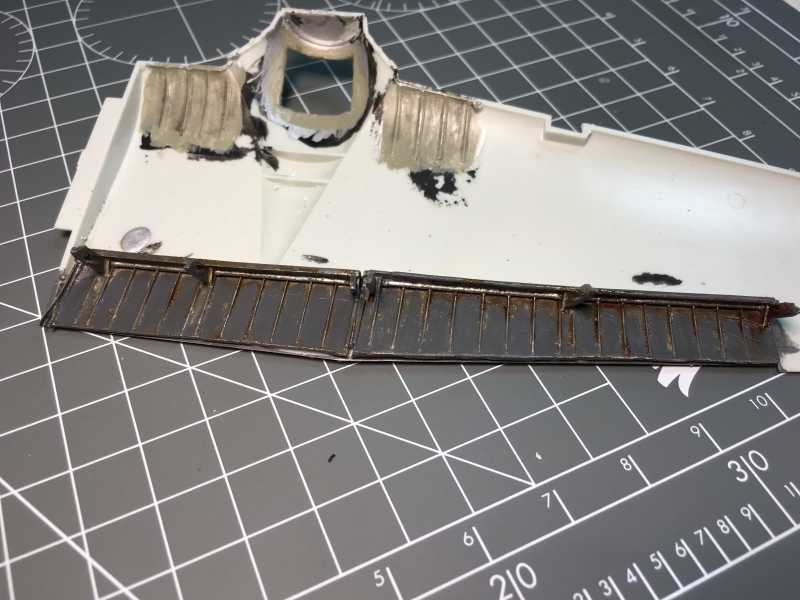
Now the RLM 02 is in place:


h7905f48.JPG

hde00914.JPG

h75f535e.JPG

hf92c32f.JPG


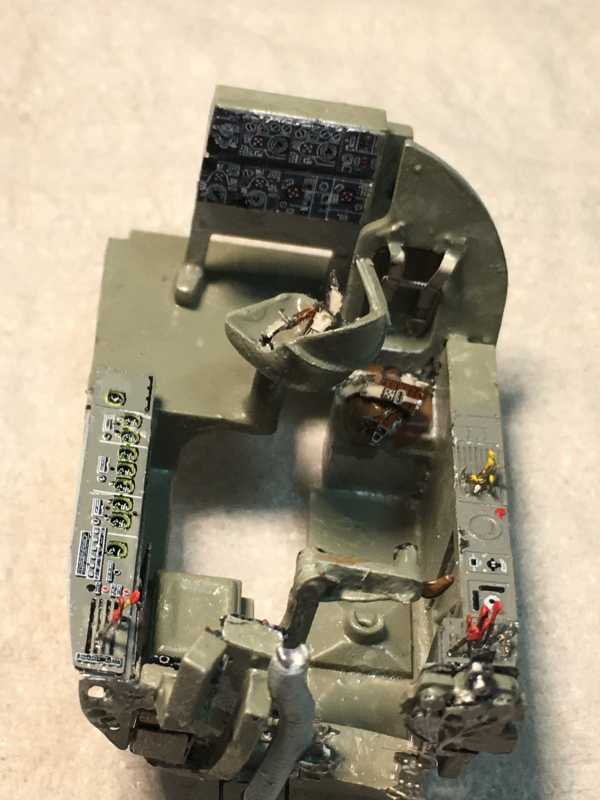
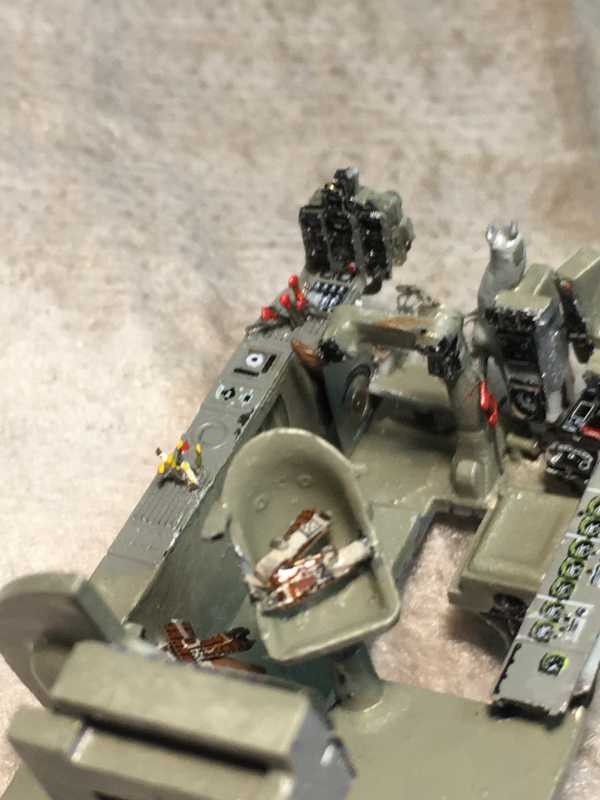
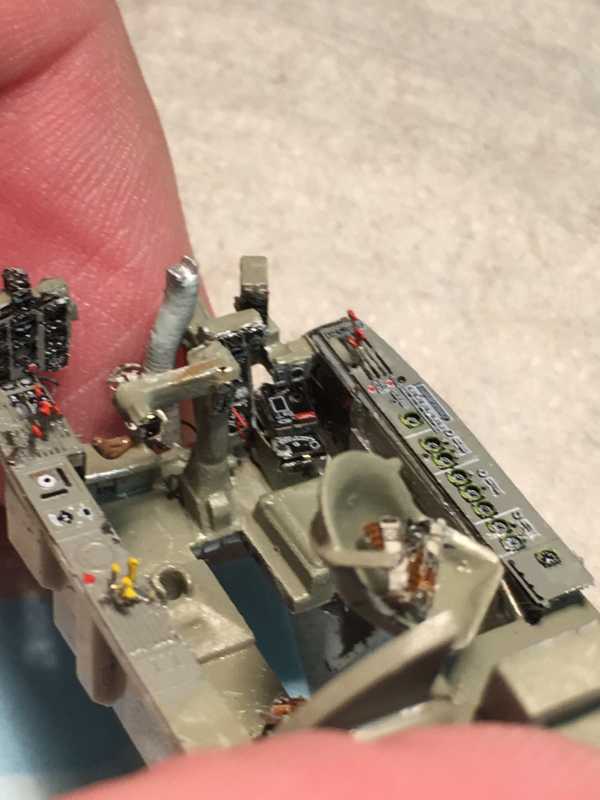
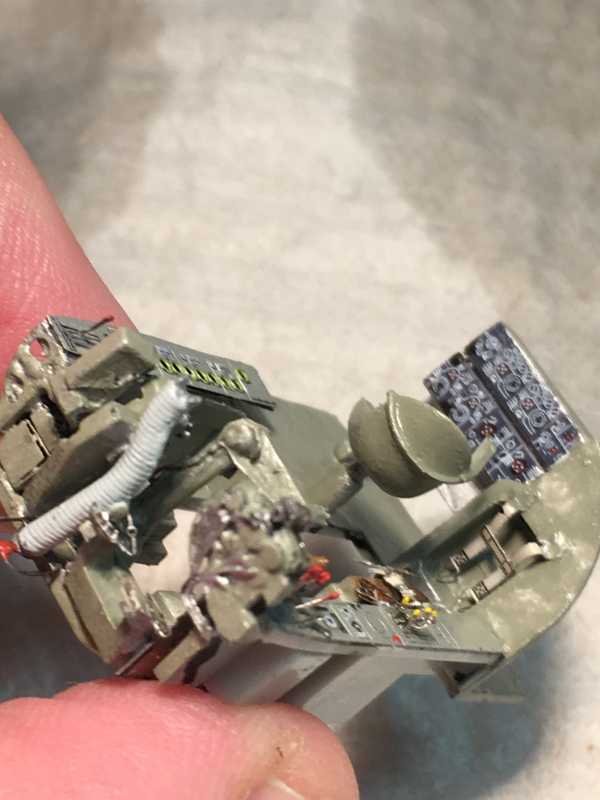
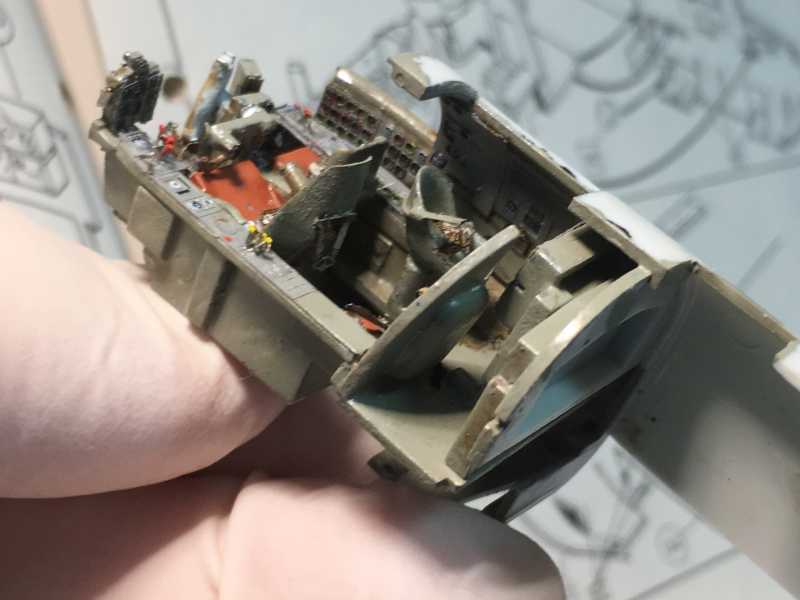
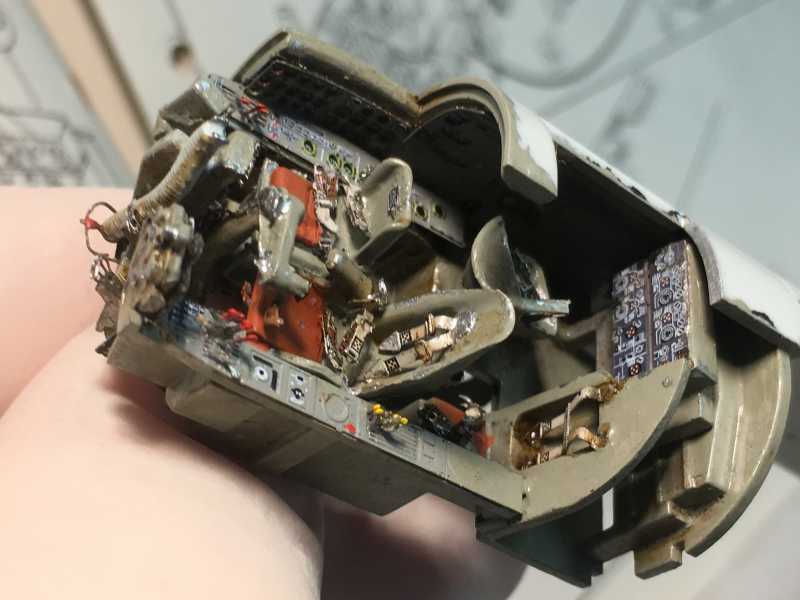
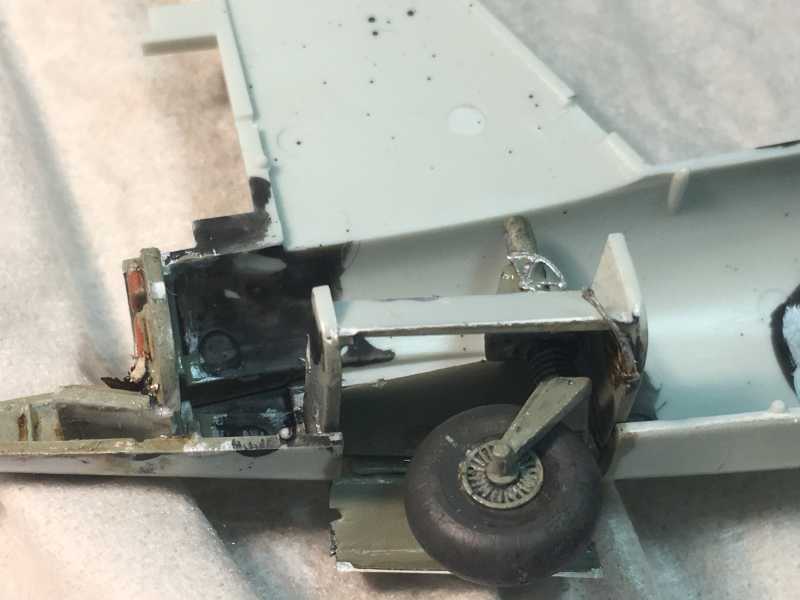
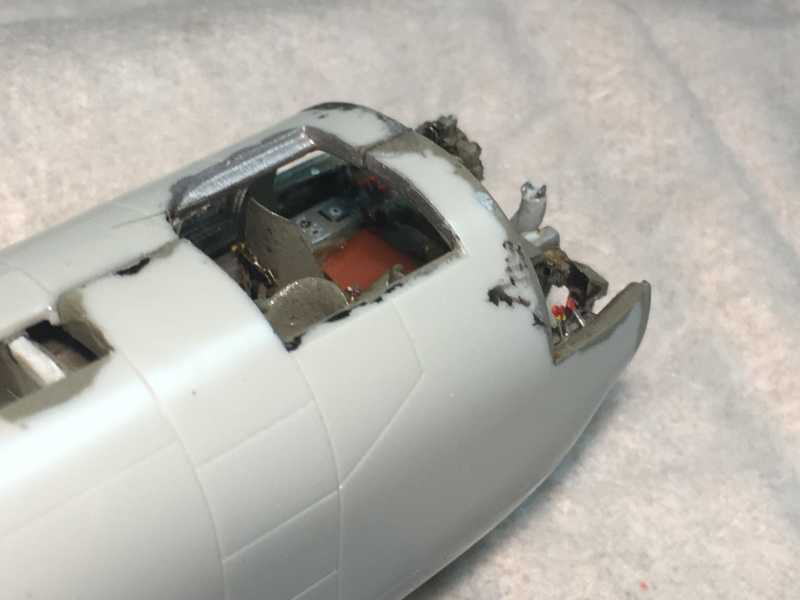
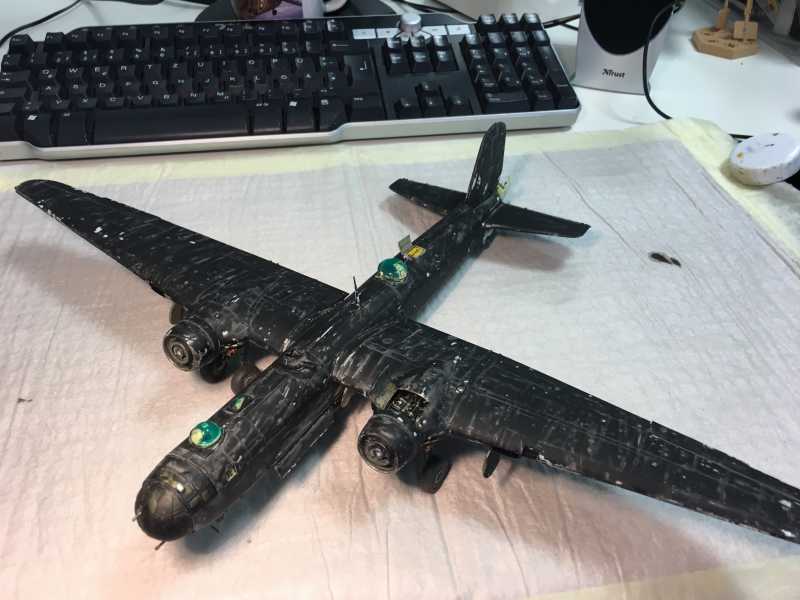
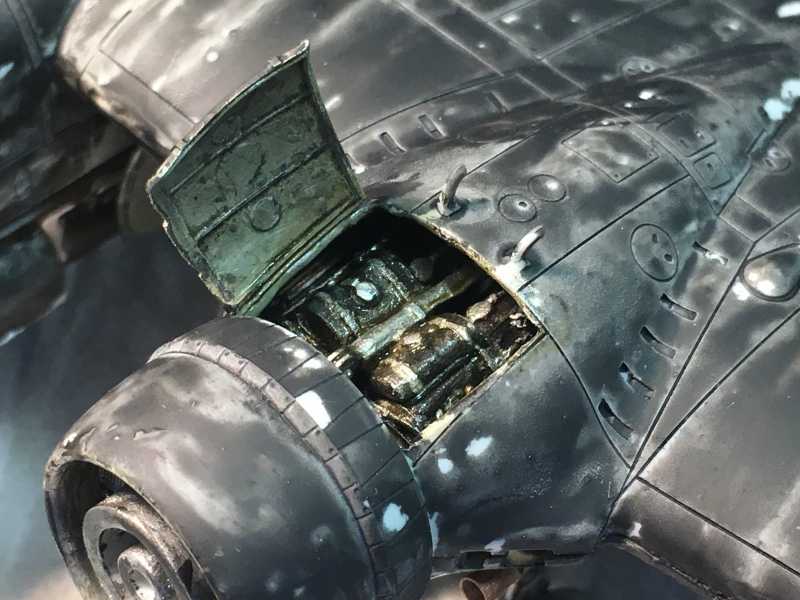
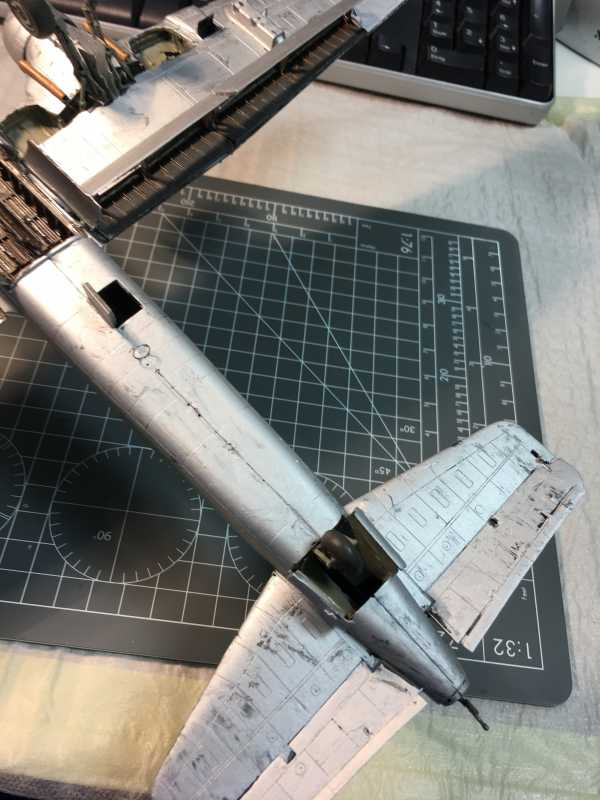
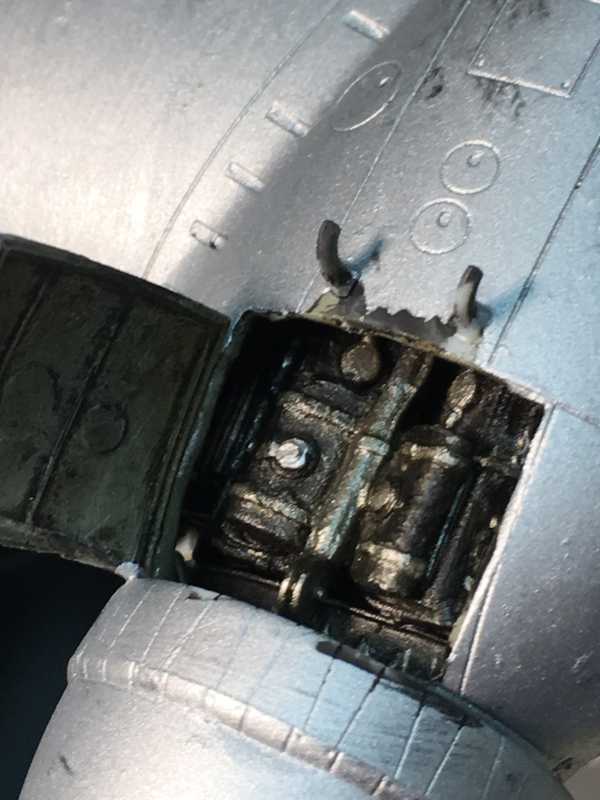
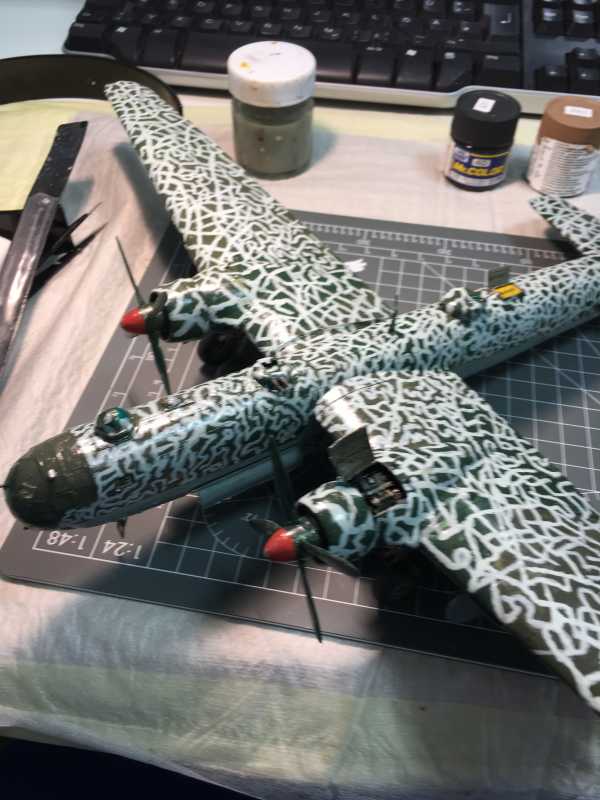
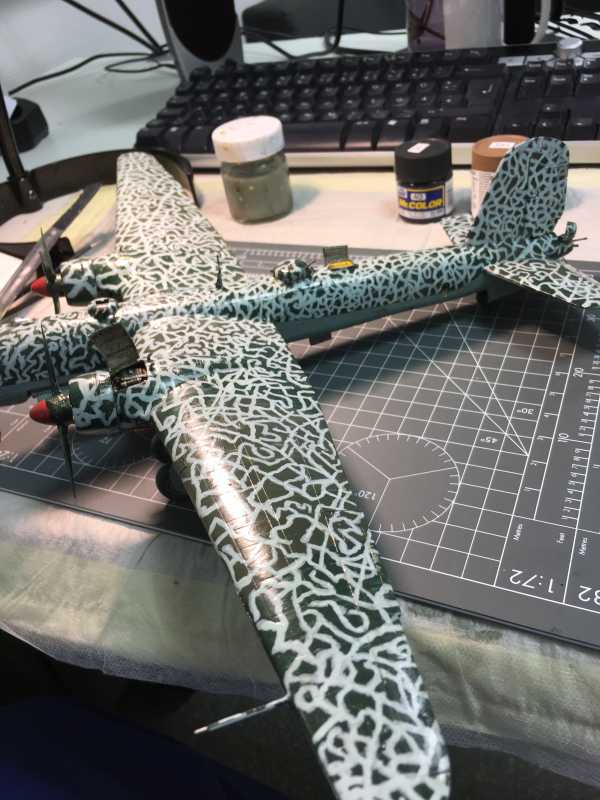
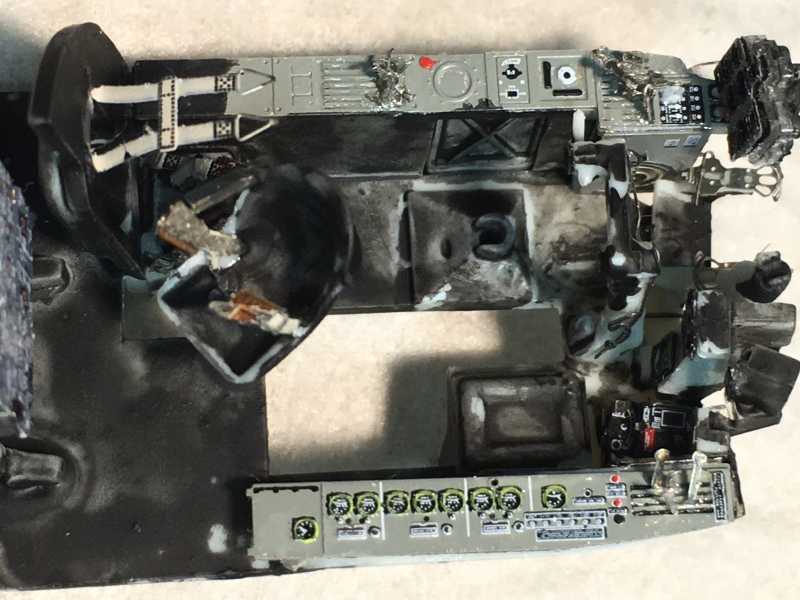
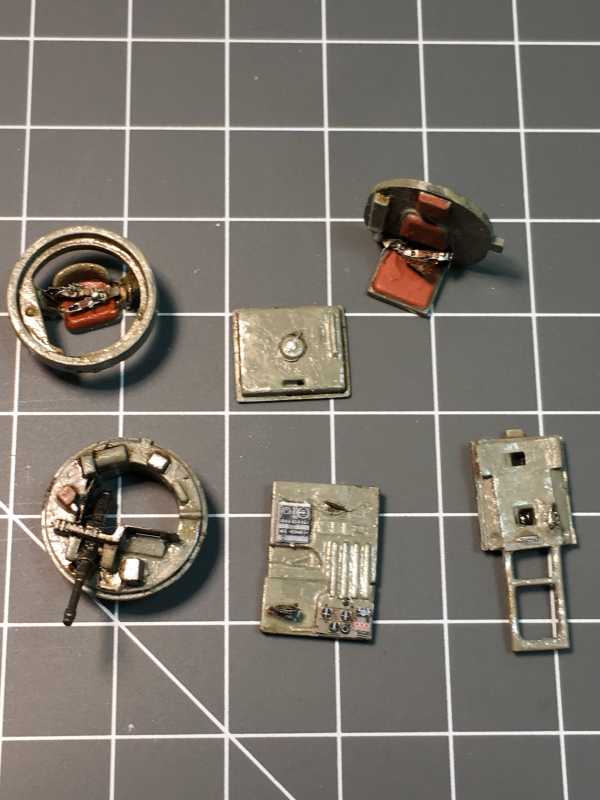
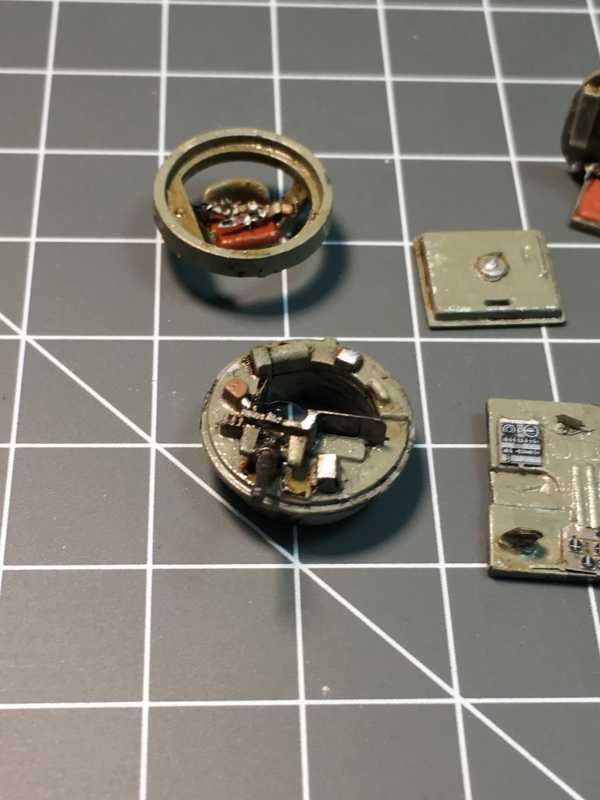
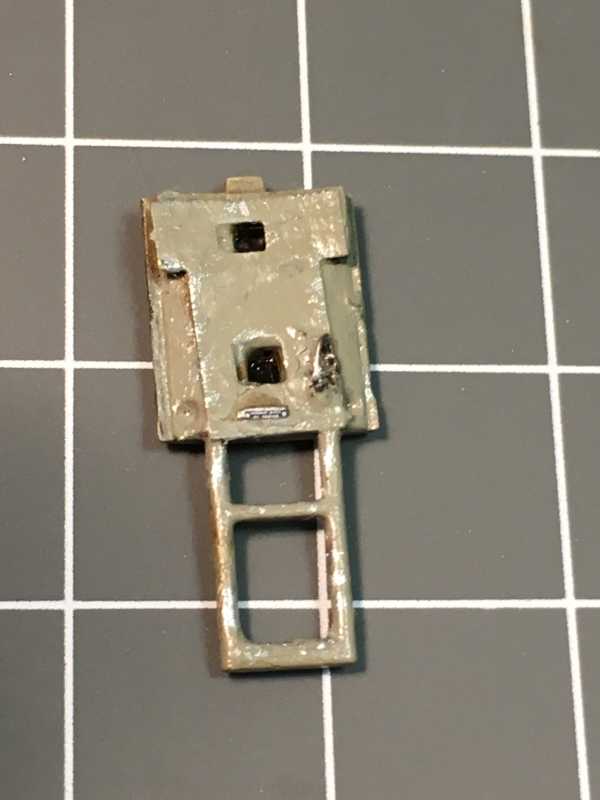
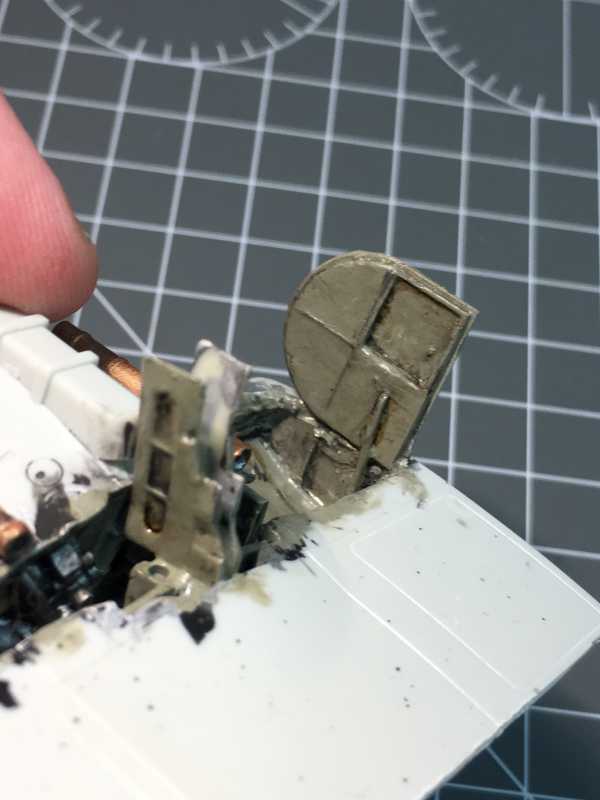
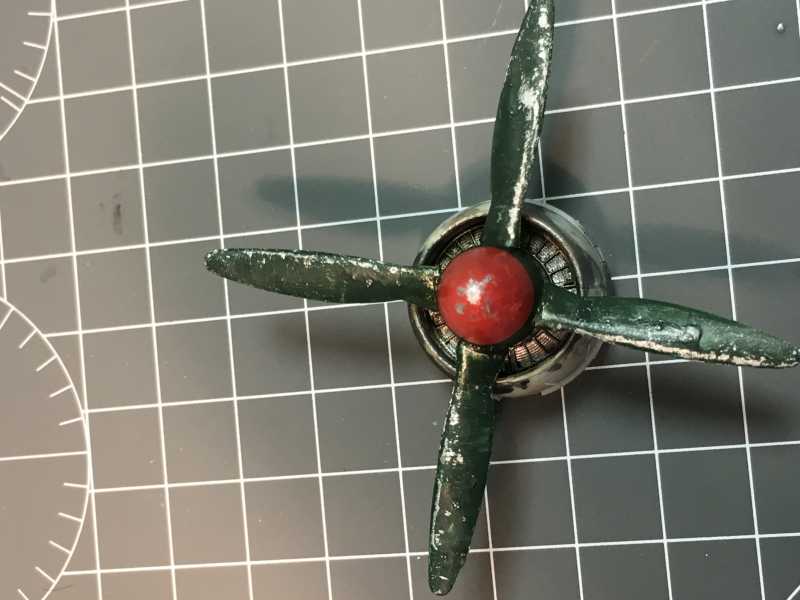
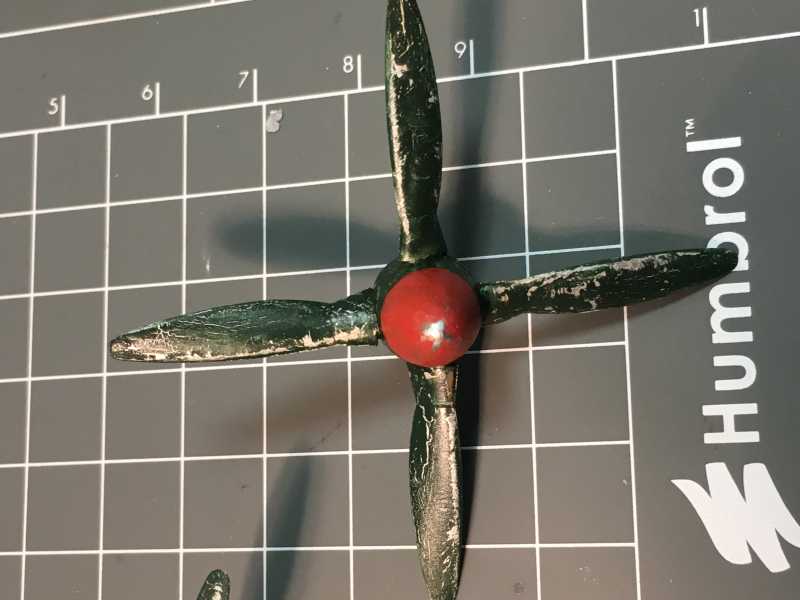
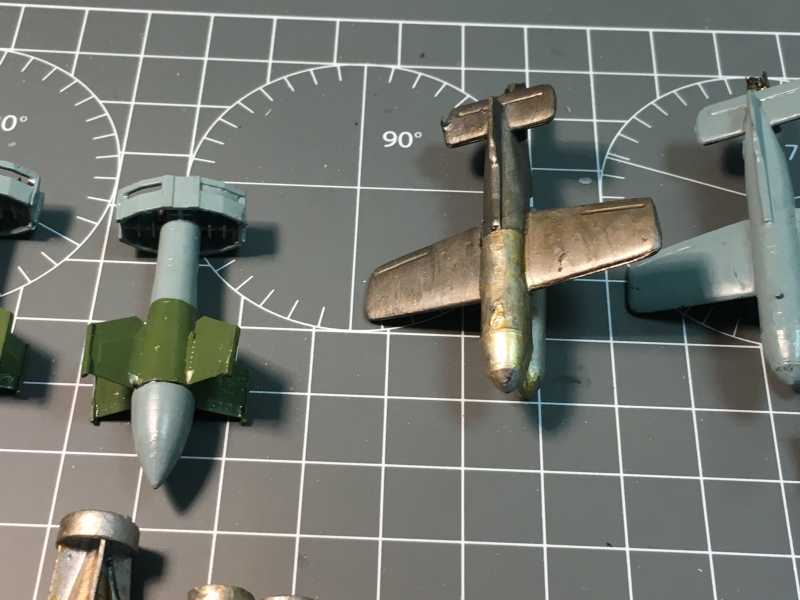
Now the Scratching Begins:


hcb1a4f6.JPG


h16ad990.JPG

h5bbf713.JPG


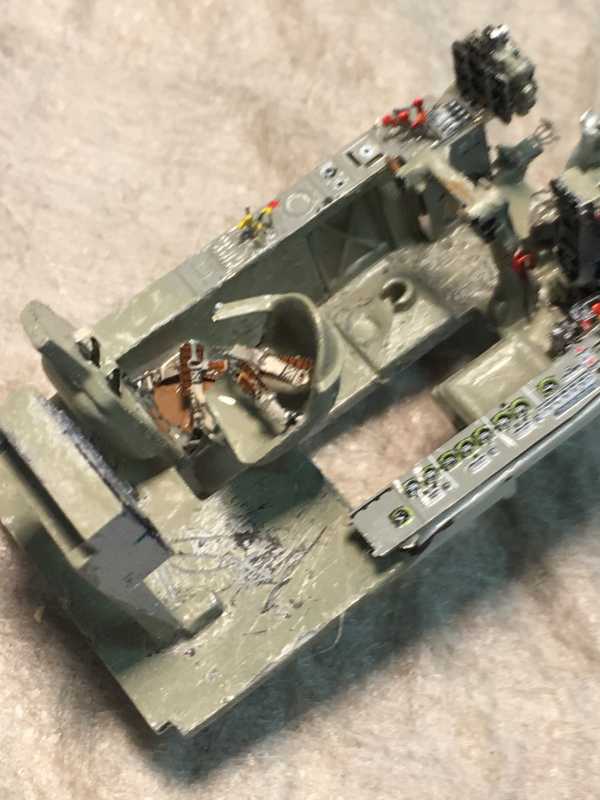
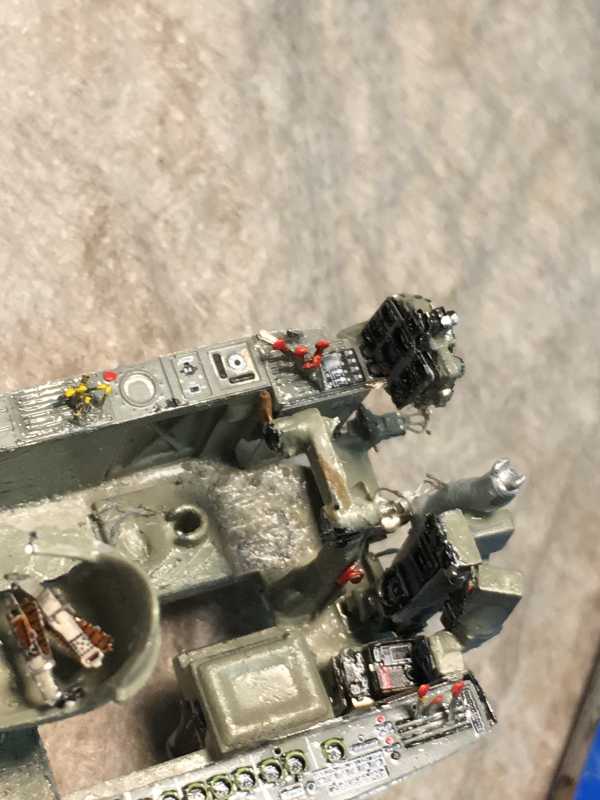
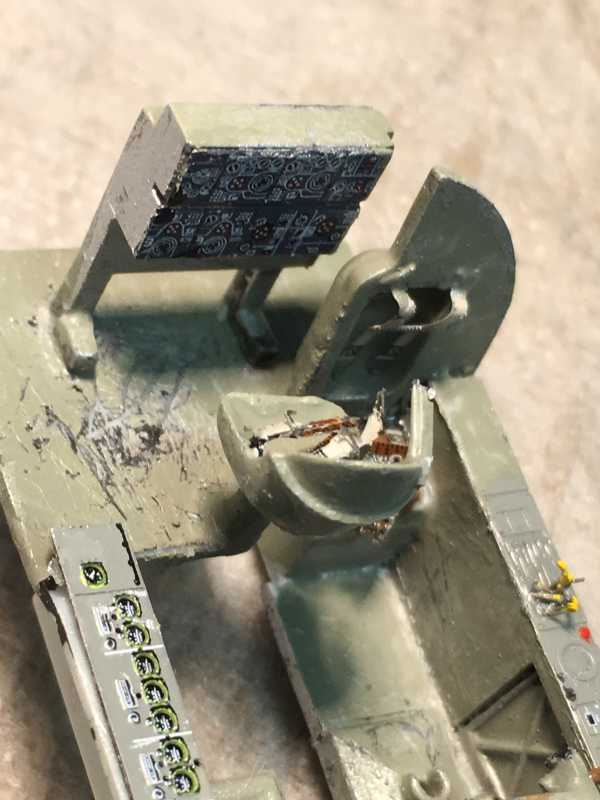
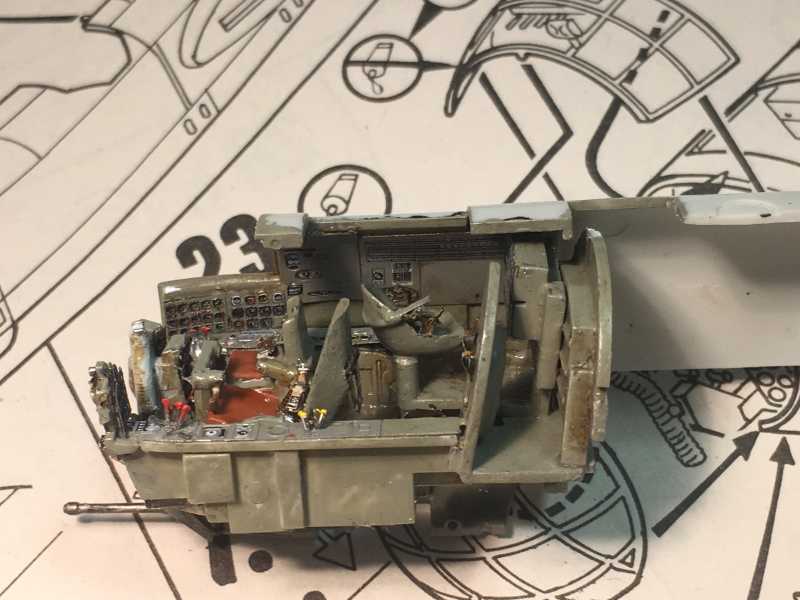
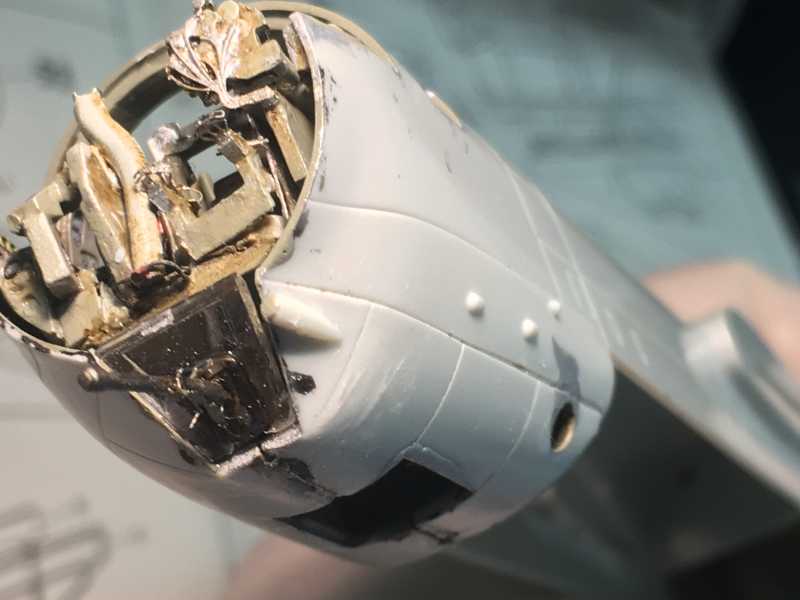
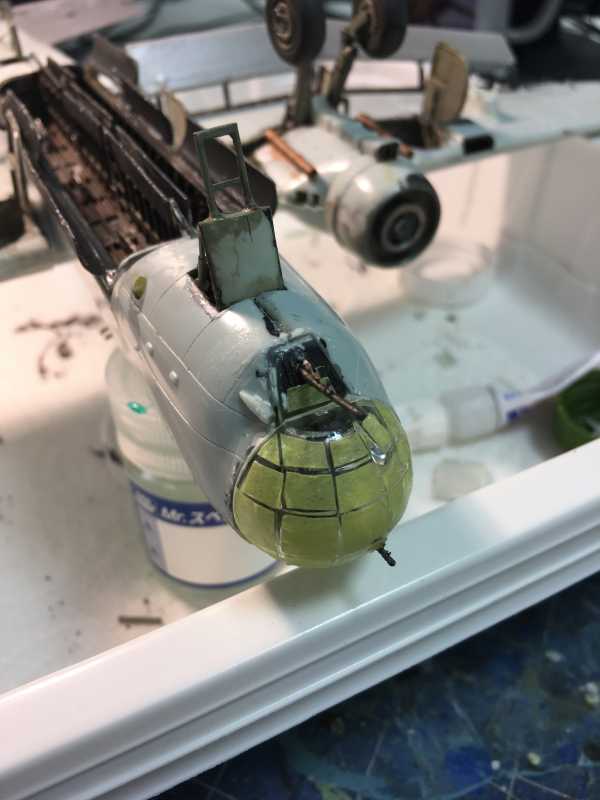
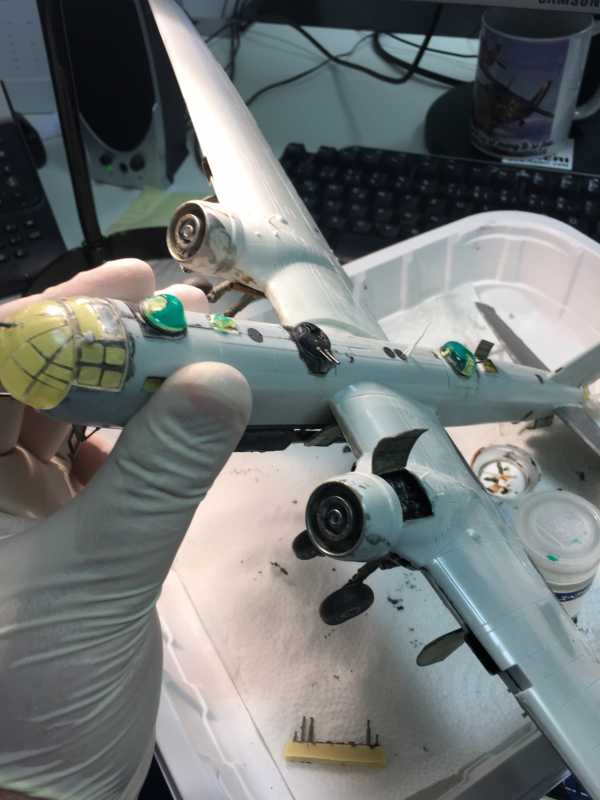
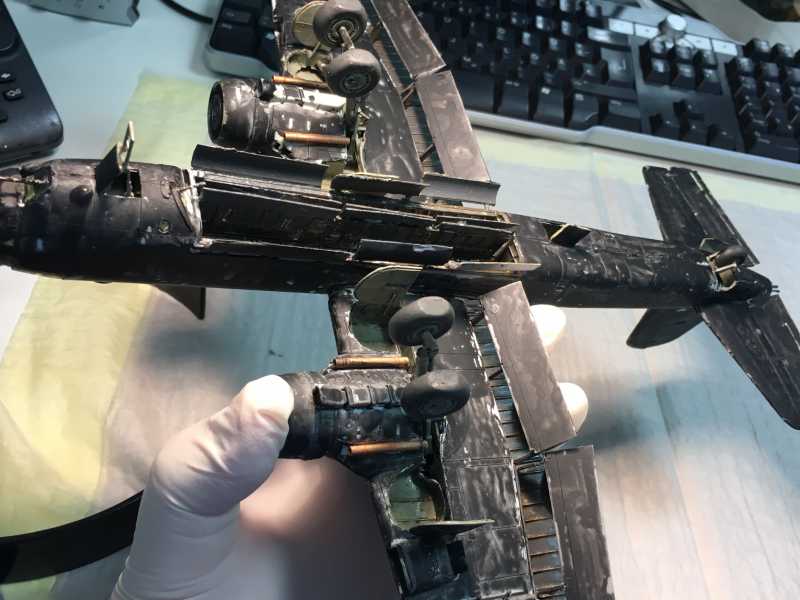
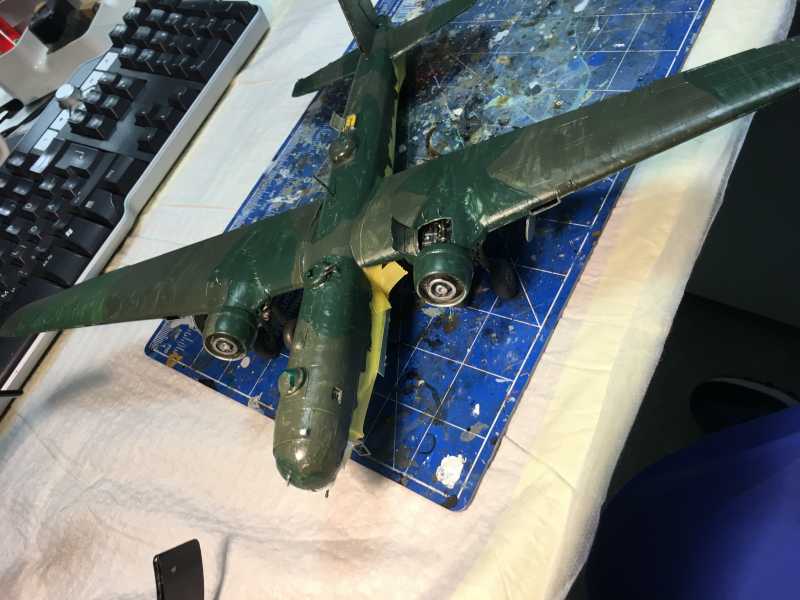
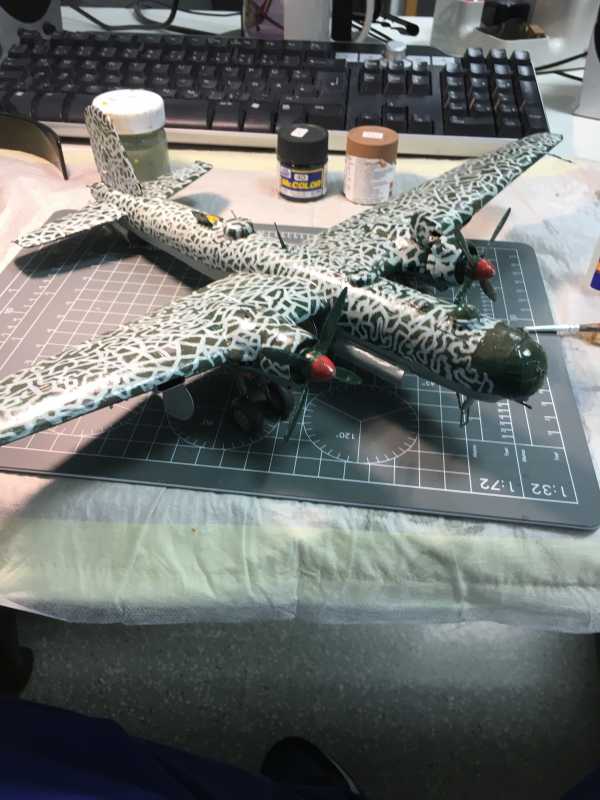
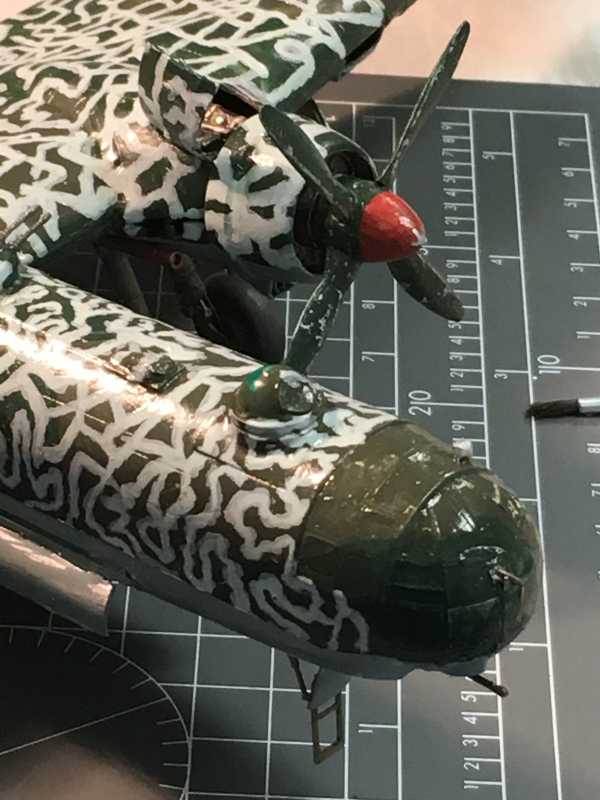
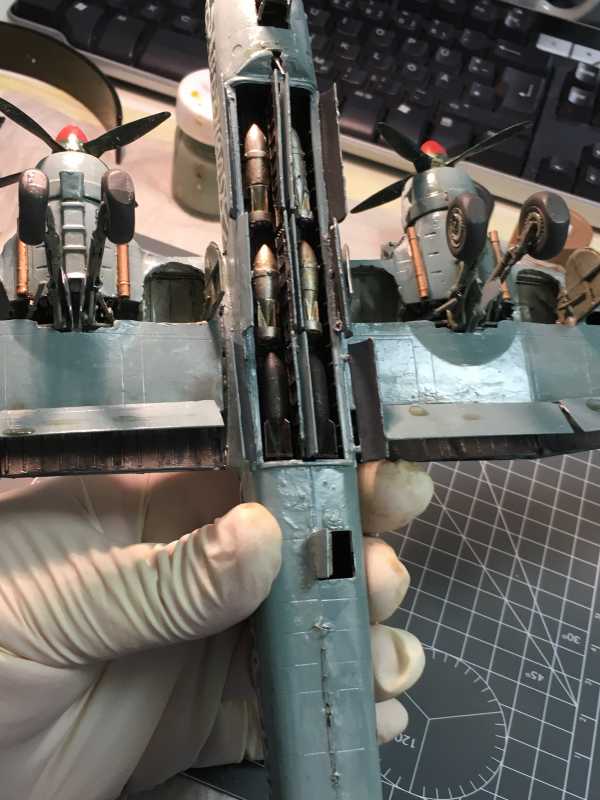
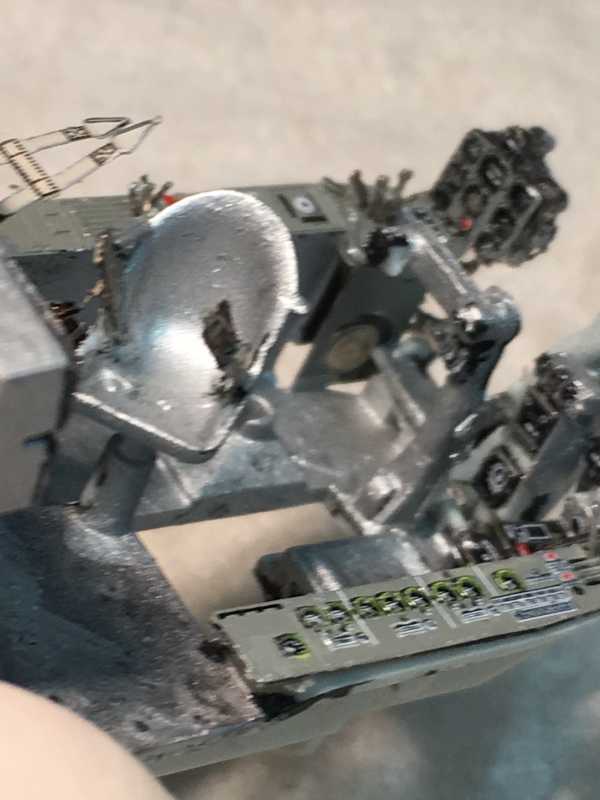
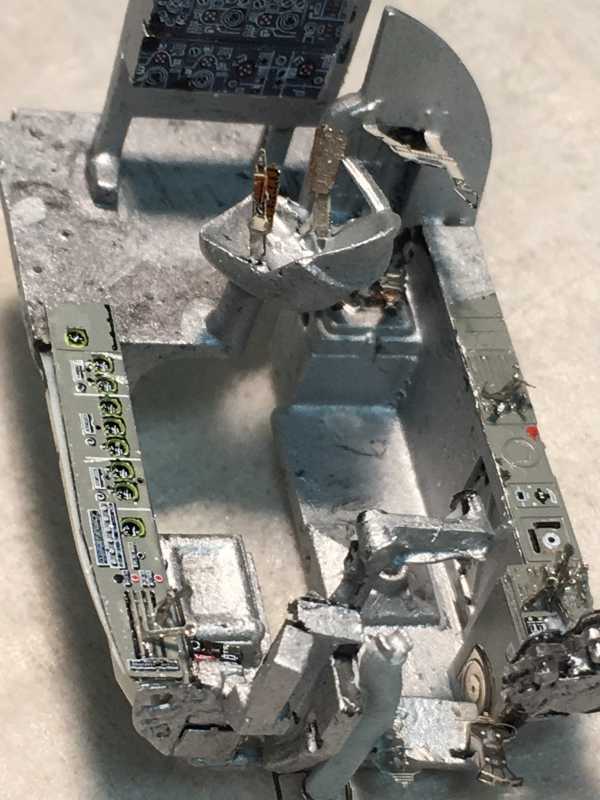
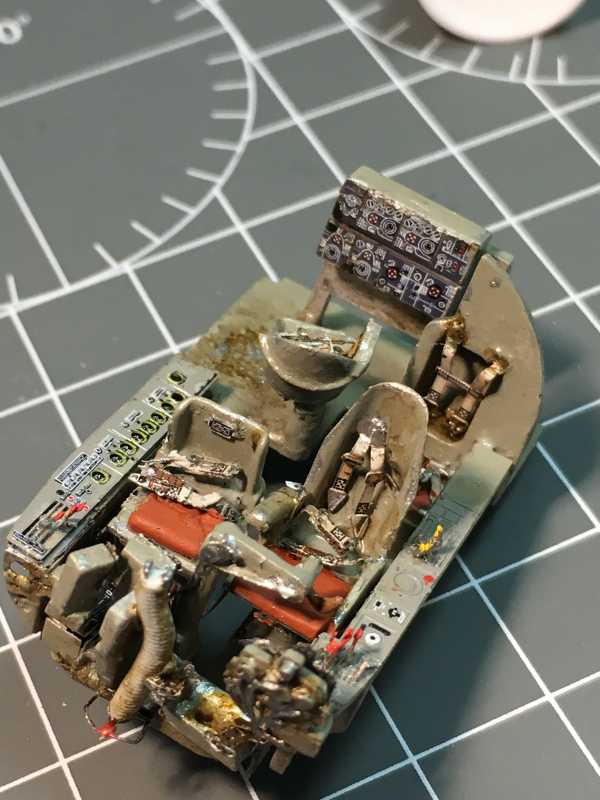
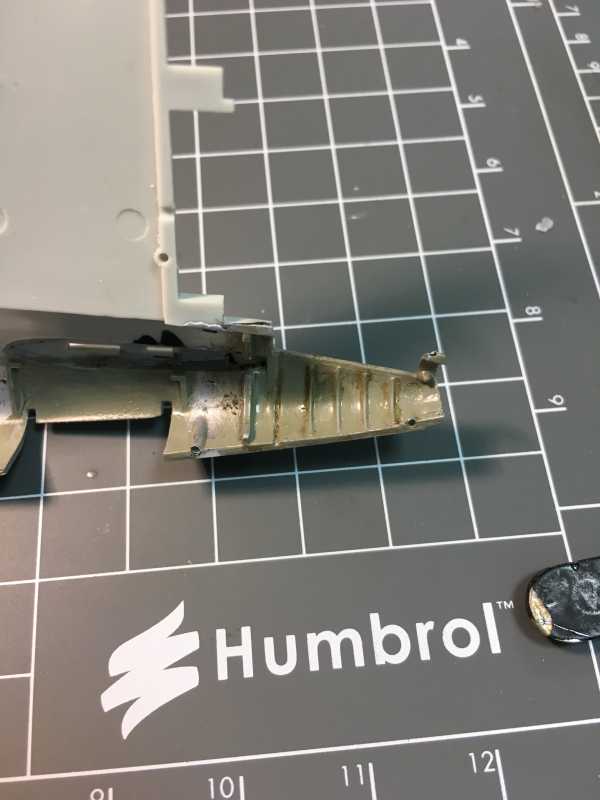
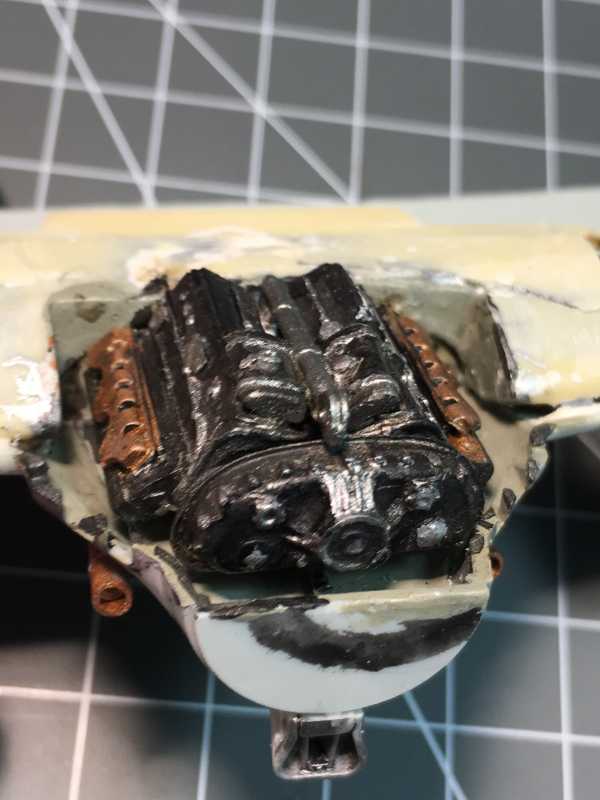
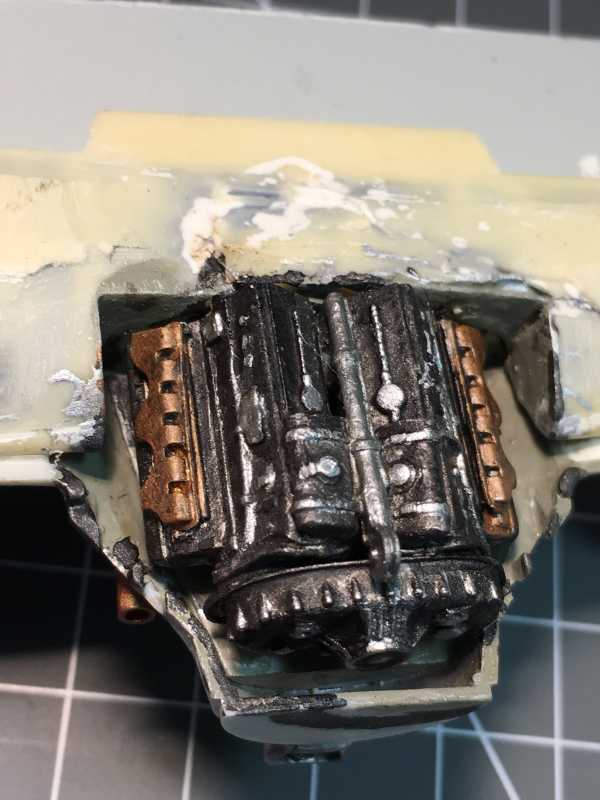
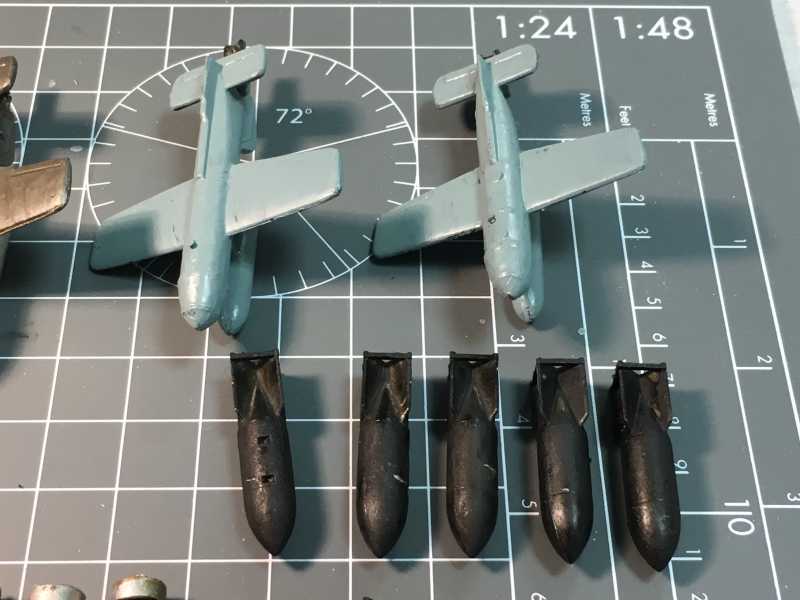
Then the weathering is added. I used enamel interior streaks and 2 powders: dark earth and airfield dust.


h6c7788f.JPG

h498fc5a.JPG

h00ed729.JPG

h437292f.JPG

habf9a0f.JPG

hb94137a.JPG


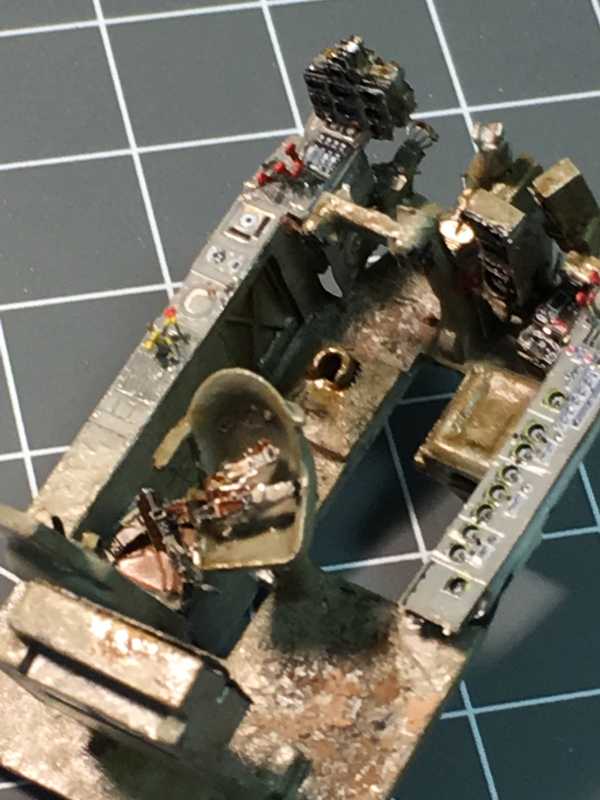
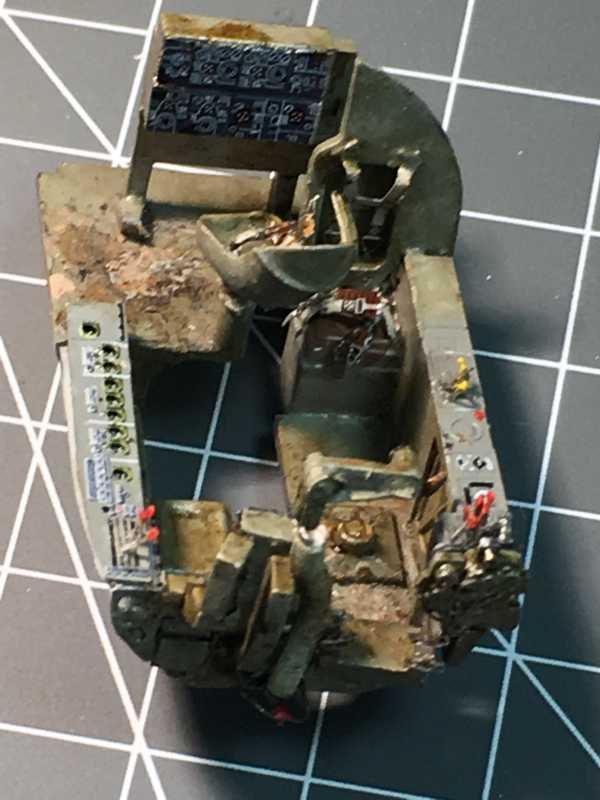
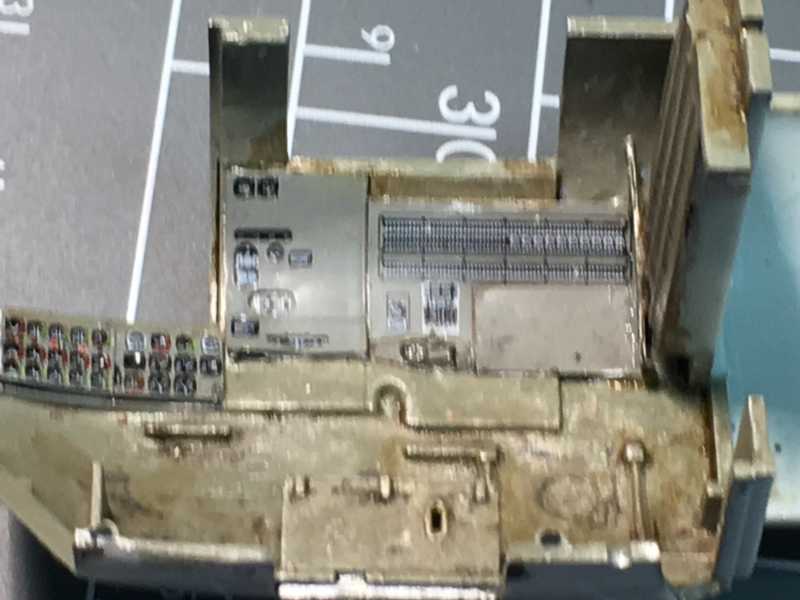
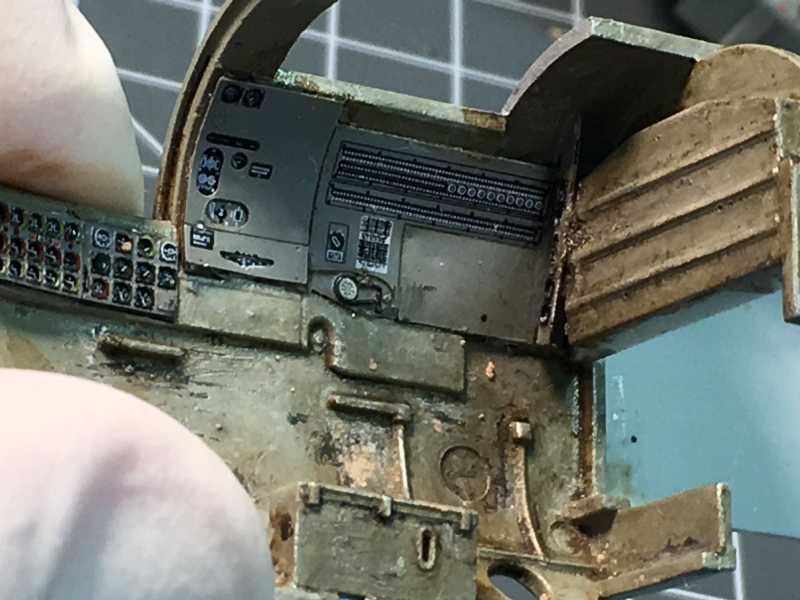
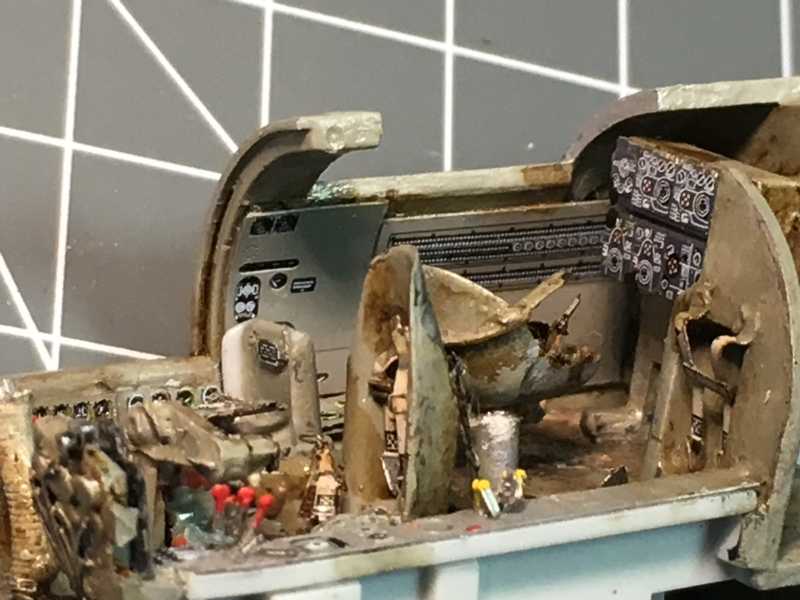
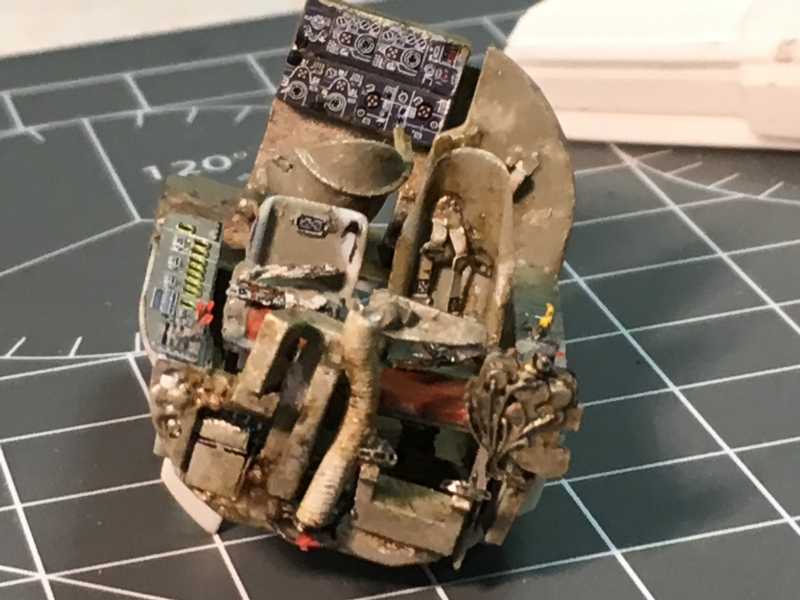
I know, again too much. The Pictures were taken when it was still wet, so it may dry up better in a few days. Still, a different effect.

What do you think?

Cheers

Alex
 
Well, I liked it till you drug in all the mud.

Right now it looks like an abandoned wreck out in the field.

Can you use something to wash some of that dirt off ?

Cheers, Christian B)
 
well, I can certainly try to clean up a bit after it dries up. Now it would be a fiery mess.
This airplane was used in the North Sea based in Denmark. I saw pictures of the Aarlborg airfield during the war and the thing was plain mud. Also, the pictures on my He-177 book show some very dirty aircraft. That is why I muddied it up.

I'll try to clean on Monday. We're off to Switzerland this weekend.

Cheers

Alex
 
Sooo

Indeed I learned a lot with this model. Not only I was able to clean up, but I think the effects are way better now. Very subtle but for 1/72 I guess this is right. I hope you agree with me.

Lots and lots of Pictures now:

First, the clean-up of the Cockpit (I still left a bit of mud, but only in the floor):

hce33c00.JPG

h15b54e3.JPG

h42ba6b3.JPG

h37f9518.JPG


Then the main fuselage

hd24aec6.JPG

hb2e9288.JPG

h8b75db6.JPG


Now some Details of the guns, seats, hatches, etc.


h7ce2fa0.JPG

he7a4e7a.JPG

hef579e0.JPG

h120107c.JPG


These are the main struts of the landing gear, wheels and the wheel bays

hf051dd4.JPG

hf456722.JPG

h98cccb4.JPG

h5769ea6.JPG

h8817698.JPG


The Daimler-Benz DB 606 Engine

h720a9f9.JPG

h12e0ba5.JPG


The flap bay


h9572cfd.JPG


The Propellers and cowling

h1769516.JPG

hfdd8217.JPG


Finally, the BOMBS!


h02e3373.JPG

h94bc6e2.JPG

h3c96511.JPG

h2fb8812.JPG


Cheers

Alex
 
That is a tremendous improvement in the interior with all the cleanup. Excellent work! I love the look of everything else as well. Your landing gear is particularly effectively done.
 
Wow , that looks very good Alex . This bird has a lot of good details to it :woohoo: You're making me anxious about mine .

This thing also has 2-3 entire bomb loads to play with . Interesting (y)

Awaiting more building :D

Cheers, Christian B)
 
Huge improvement on the interior Alex!! (y)

While I am sure there would be some dirt, it would never be very much as it could get into "something" that could matter. These planes were notorious for having mechanical problems anyway, so there would be attempts to keep problems to a minimum.

Looking Good! (y)
 
hello everyone

Just a quick note to say hi. I was sick as a dog most of the week so not much bench time, the fumes were killing me. Still I managed to get some work done and finally got the Monster together in one big Piece (I really do not understand how can you guys work on 1/48 or 1/32 models...)

This is the Progress, now on to priming and then painting.

Cheers

Alex


h818d504.JPG


h6cd440e.JPG


h4c752da.JPG


h73f8544.JPG


h12a9fe0.JPG


he82eb1a.JPG


hd279fff.JPG


h0329372.JPG


he6c90dc.JPG


he67875e.JPG


h6fa3f10.JPG


hec97d15.JPG


h7fdeb80.JPG
 
Looking very nice Alex! (y)

As to 1/32 scale stuff, while I can work on 1/72 scale stuff, I like the "Wow" factor the larger kits have. In addition I can let my AMS go crazy. :D
 
Hey everyone

Thanks for the comments. I was really sick for a while so only now I can add some Progress Pictures of this HUGE Girl.

Of course nothing is airbrushed, so it does not look as I wanted. But oh well. It is getting there.

This is the black primer


hdcca336.JPG

hb57eee9.JPG

h5ad58ce.JPG

h0999917.JPG


Now the Aluminium coat


hbd75e81.JPG

h311c9f1.JPG

h38f49e9.JPG

hda41c8a.JPG

h5256fc9.JPG


Then the Primary colours: RLM 65 - RLM 70 - RLM 71


h05c8384.JPG

hfb721c3.JPG


And finally the Scribble with RLM 76.


h4e62061.JPG


h681a91b.JPG

hf45aebe.JPG

h4349cae.JPG

h3bf1b7d.JPG

hab1d144.JPG

h550e096.JPG


Now on to decals and weathering.

Cheers

Alex
 
Paintwork on this is actually looking pretty good Alex! (y)

Glad you are feeling better! Was feeling rather puny myself last week.
 
Back
Top