• Modelers Alliance has updated the forum software on our website. We have migrated all post, content and user accounts but we could not migrate the passwords.
    This requires that you manually reset your password.
    Please click here, http://modelersalliance.org/forums/login to go to logon page and use the "Forgot your Password" option.

1/72 Heinkel He-177A-5 with lots of goodies

Thanks guys.

With the weathering and decals it is coming along quite nicely! I will try and get some Pictures up tomorrow.

Cheers

Alex
 
Personally , I think your builds are still improving with every new attempt .

That paint job took a lot of effort . Congratulation (y) Very classy.

Stay at it Alex, you'll get there . Just be careful around nurse Ratched .

Cheers, Christian B)
 
Hello dear friends

Thanks for your Support and encouragement. Yes, I will stay at it - It is fun learning so much in this period of time.

What worked out this time: the scratches and chipping fluids work wonderfully; I managed to put a lot of resin in and it did fit; the Overall camo was difficult but very interesting to make.

What Needs to improve: the seam lines have to be better fitted (the Problem is the dust - it kills me!). The paint is still WAY too thick but I am not sure if it can get better with a brush; the Overall assembly was very difficult and this is such a huge Monster! So much more of course, but you will tell me in time.

These are the pics of the ready bird. I created a small Diorama for it, I have posted under the section "just like the real Thing!"

See you now in the helicopter Campaign with the Mil Mi-35 Sabre of the Brazilian air force.


Cheers

Alex


h828f051.JPG


h99fb3a3.JPG


hc30075e.JPG


h72e3857.JPG


h8713e39.JPG


h2e1e24c.JPG


hc0e96f8.JPG


h49a1e6a.JPG


h2b94175.JPG


h6f893f2.JPG


ha65f0ab.JPG
 
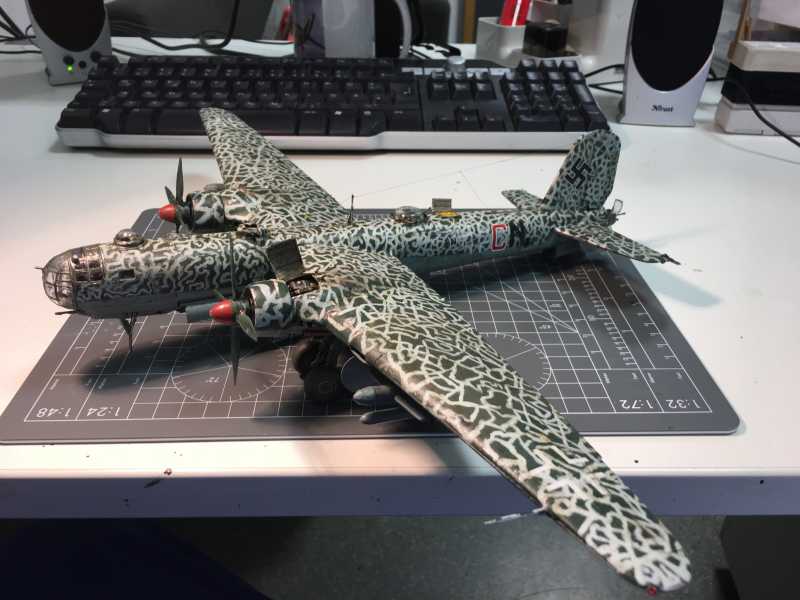
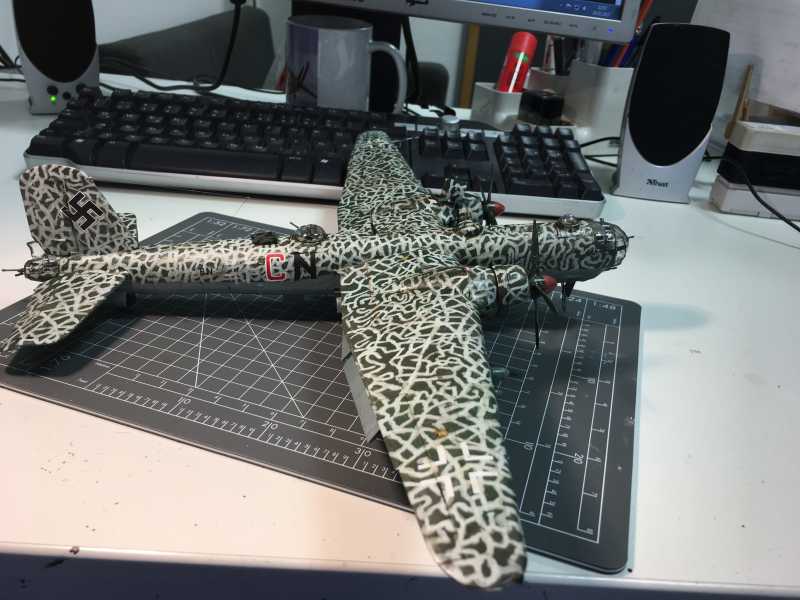
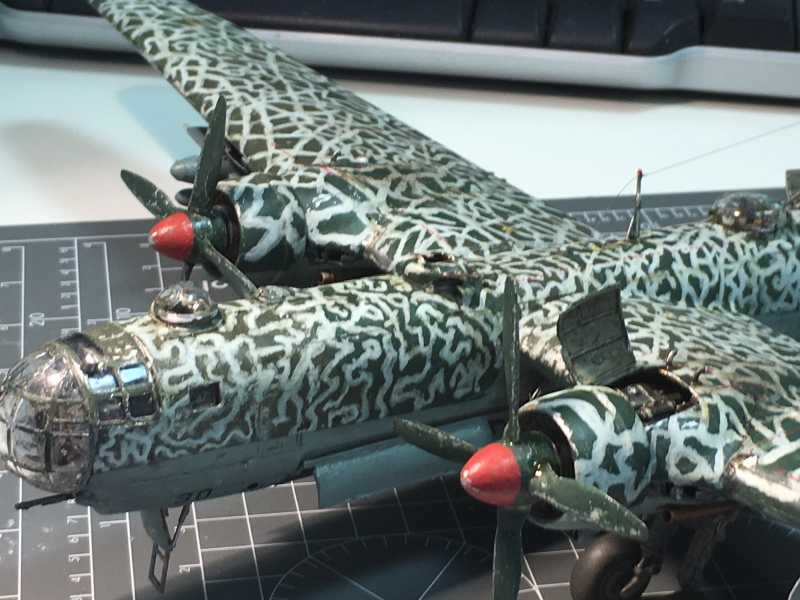
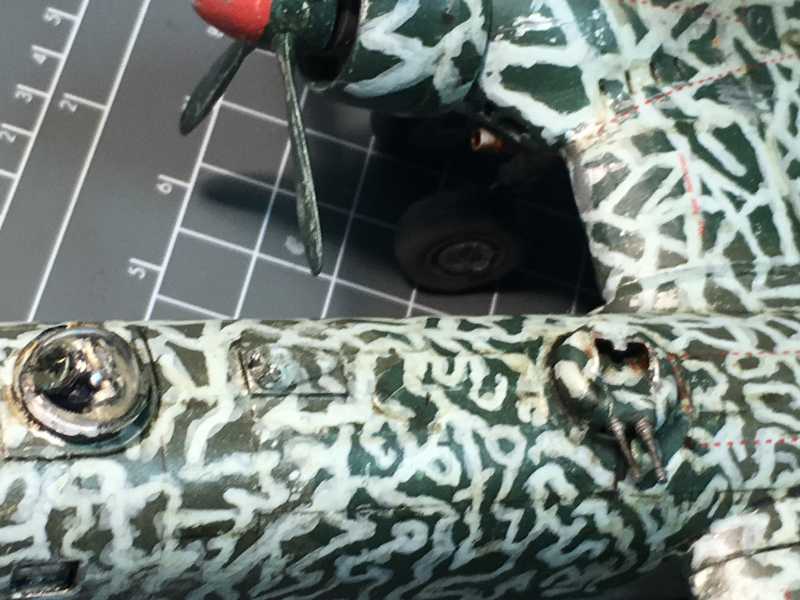
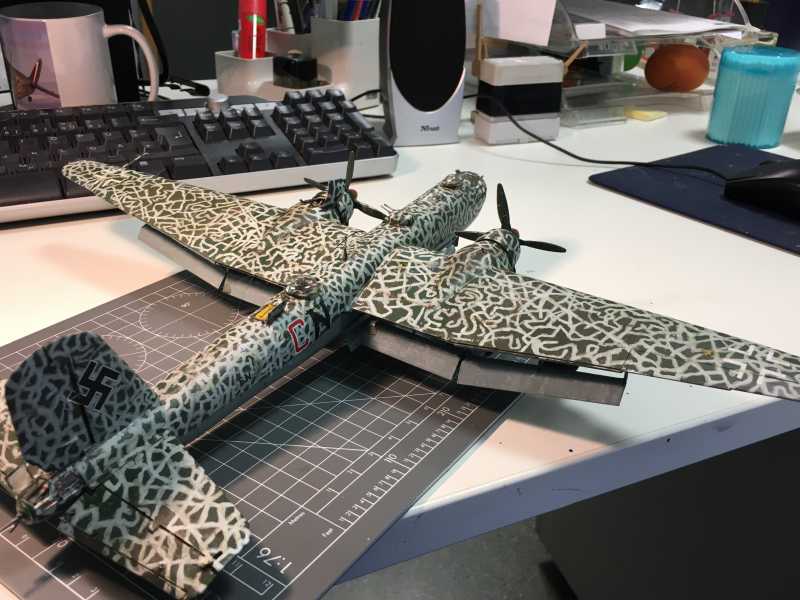
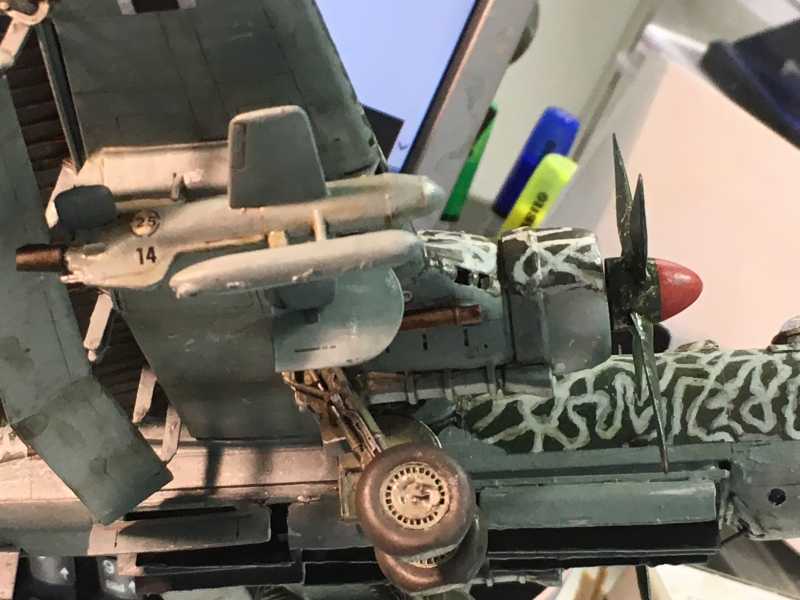
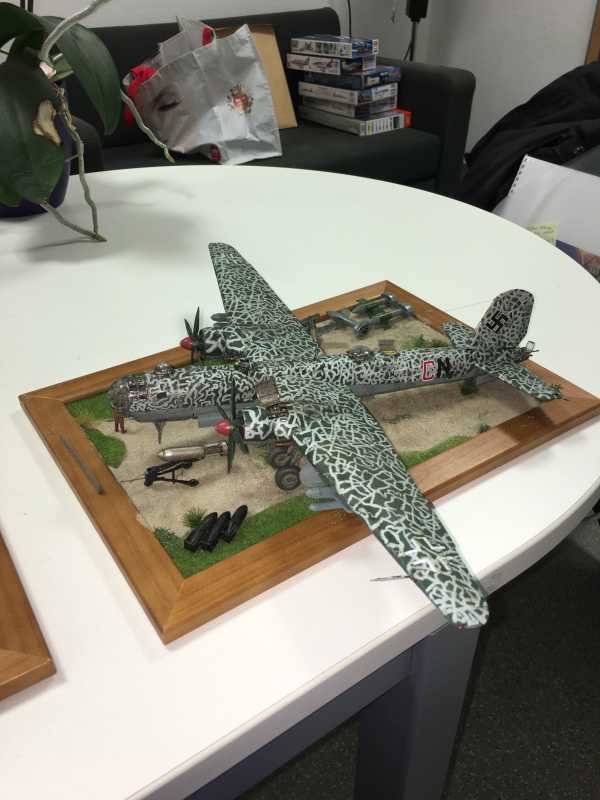
Most impressive, despite the issues you had with it. It certainly looks far better than the two that I built! I just might have to start a third one just to make it better than the first two. One suggestion for your paint, particularly the basecoat and any other solid camo colors: thin it down a bit, almost to the consistency of milk. Then paint it on and let dry. You will see a lot of thin spots, but don't worry. When it is dry, paint it again using the same consistency. It will slowly fill in all thin spot over the course of three to four coats and will look closer to airbrushed on. This takes more time, but it does look more improved.

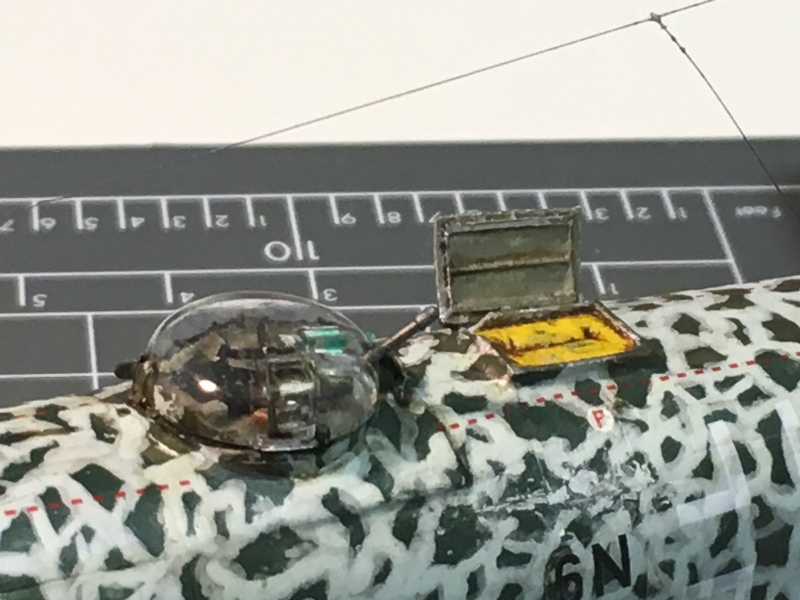
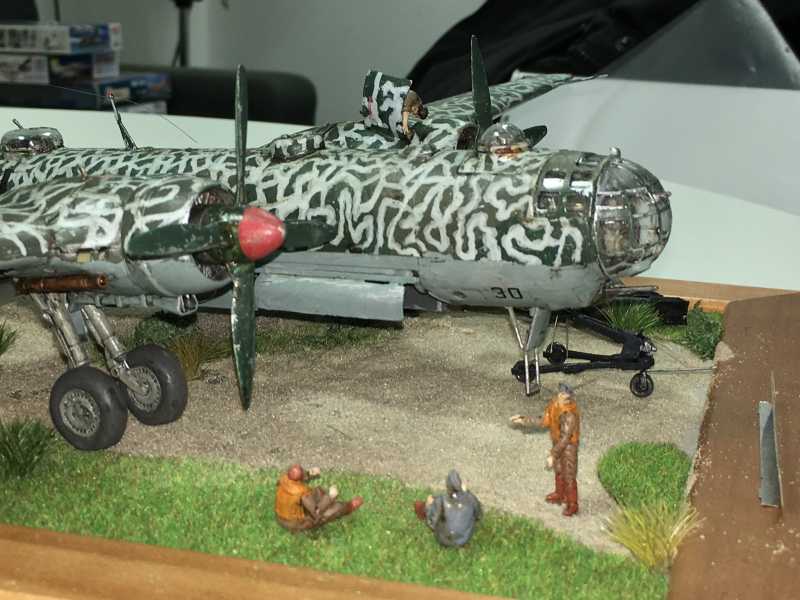
When it comes to seams and sanding; if you wet-sand, the dust remains in the water/moisture and is far easier to clean up. Otherwise, try to have a fan behind you blowing the dust out an open window if possible. That's what I do, along with a dust mask. Just some ideas from me for the next ones. Now I'll be following along with your other Threads since it's always a thrill to see your work.

Keep 'em coming Doc!
 
Looks quite good Alex! The landing gear really look spot on. They can be so difficult especially on this plane. It actually has 4 main gear that come down in two sets. The coloring and camo came out quite well on this one. Your best to date my friend! (y) (y)
 
Thank you so much guys,

as I mentioned before you are way too Kind to me.

As for your suggestions, thinning the paint is absolutely a must and I will do it from now on.

As for the sanding, that is still what kills me, no matter how much Ventilation I use (a fan behind me and one to the side). I cannot promise I will be able to deal with that, specially with resin. I do use the wet sanding technique but still... it is very difficult to breathe when a small part gets into my lungs. I will try.

I really appreciate the comments and supports. Now there are more chapters on the way, stay tuned!

Cheers

Alex
 
Back
Top