• Modelers Alliance has updated the forum software on our website. We have migrated all post, content and user accounts but we could not migrate the passwords.
    This requires that you manually reset your password.
    Please click here, http://modelersalliance.org/forums/login to go to logon page and use the "Forgot your Password" option.

1/35 Pzr 4/70 A STUFF update 13August 2026

Brokeneagle

Master at Arms
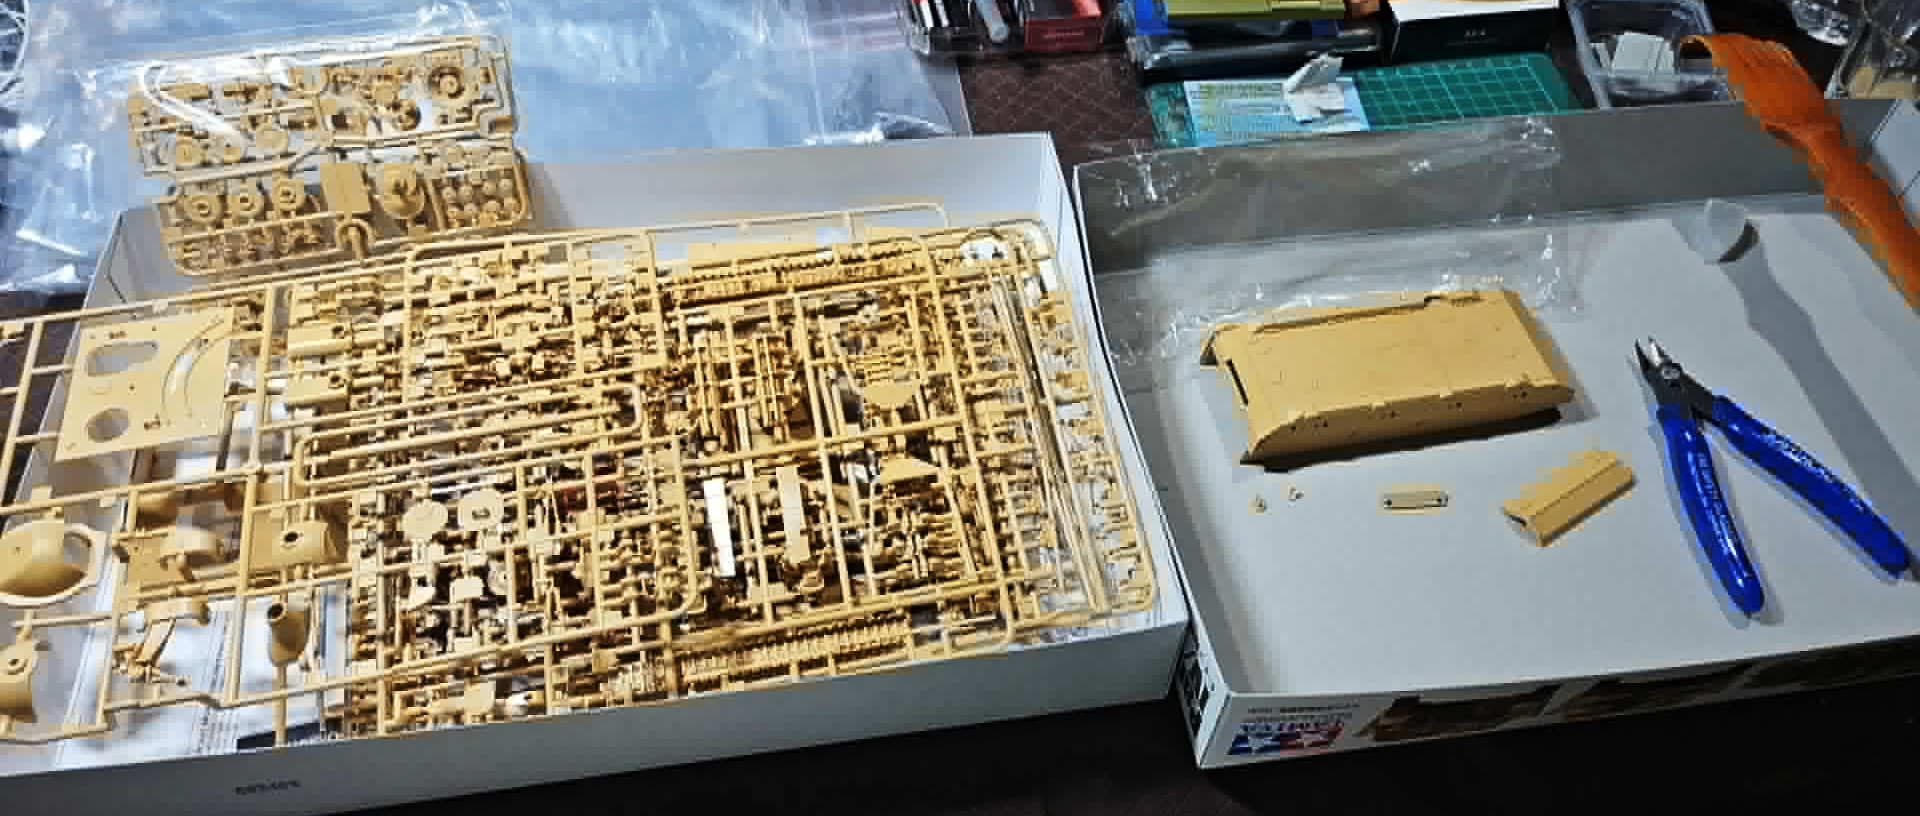
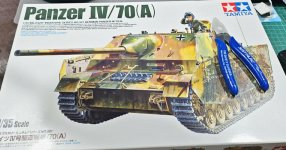
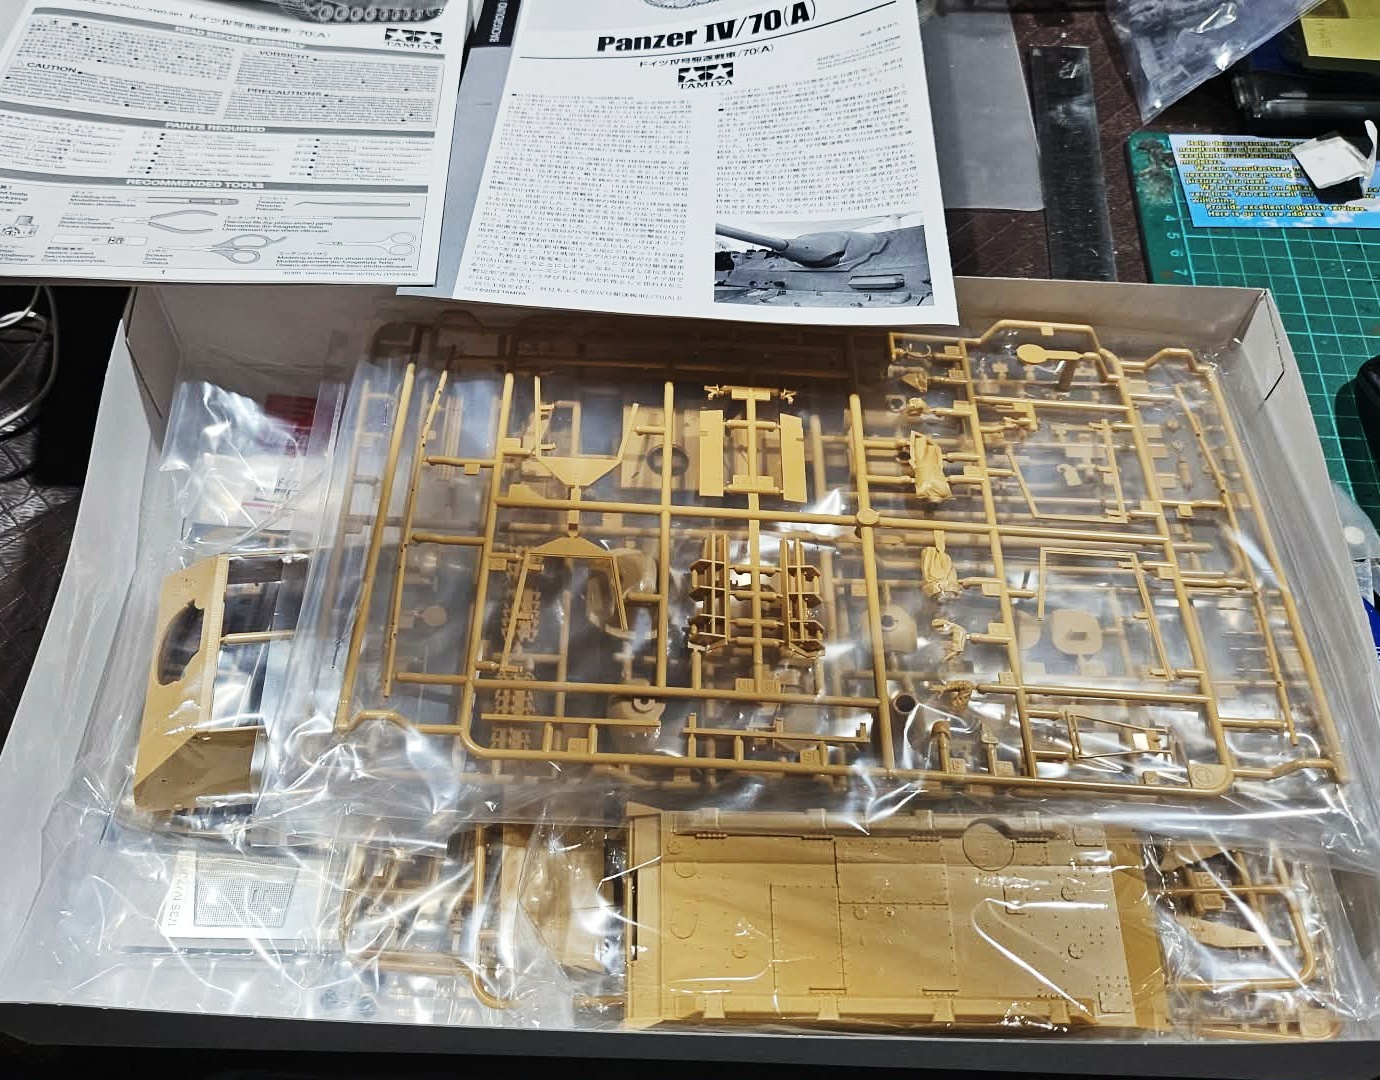
Discussions with a mate of mine has had me down the Panzer 4/70A path .................first up the early version from Tamiya.
3dd34286-e1b8-4294-b624-b8e2f800f893.jpg
Early Version
5143d70c-df16-4124-859b-ed0a140613b4.jpg

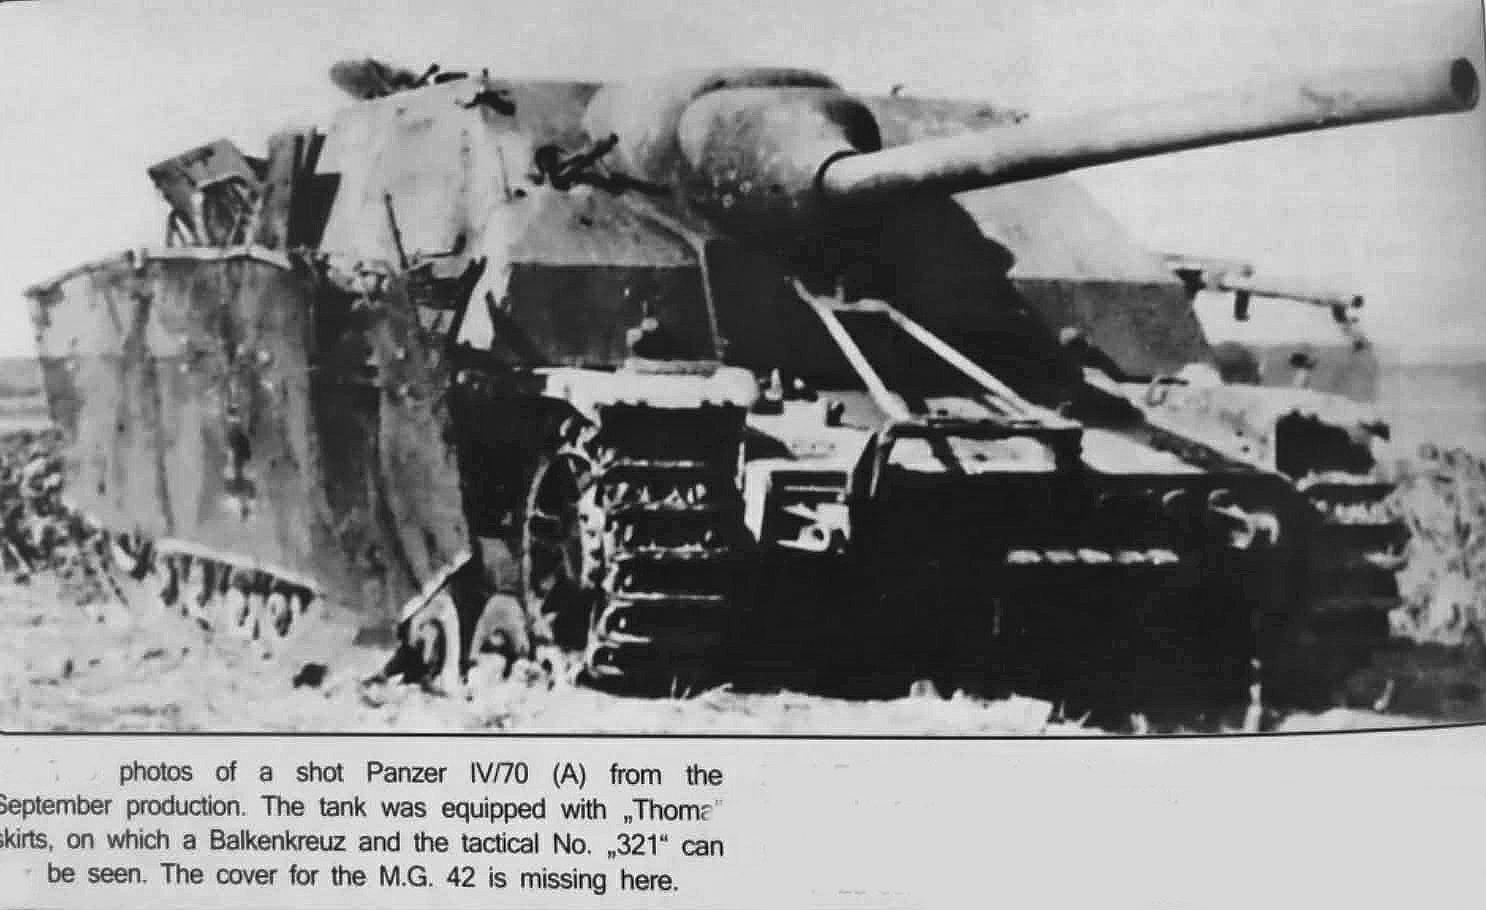
The above version was built in late September 1944, just after the intial batch that still had Zimmerit (but were the last to have it applied). These vehicles were painted in the 3 color scheme and if in original paint should have ambush cammo, however this seems to be in hard edge tri color which was another possibility, especially if repainted by 1945.

I will model a command vehicle from this same unit at the same time in a small dio, then come back and model this vehicle.
efad69ec-0552-4585-9637-adef1ebb924a.jpg
db2e47a8-0a06-4b6a-b31f-7cba82cdc9f3.jpg
 
Last edited:
Progress.......... tracks on (and rear idler wheels replaced with welded ones)

9742776c-699b-4b16-9582-402162555657.jpg

72c55898-9a15-4e07-9420-4f2a67cdc569.jpg

f009c07c-e5a8-4eef-9b55-931080fa1792.jpg


Mud added to underside of the guards while I can still get to them.
81367a80-cb28-4bb9-ab07-a176083fbcec.jpg


I used the Tamiya upgrade pack for the breech that will be seen through the hatches. I used railway lettering and numbers for the factory cast serial numbers on the manlet. I also craved in the cast line seen on some mantlets as well as enhancing the flame cuts

62c0539d-3c23-4fc3-9375-46308512768d.jpg

dfd71b23-ef09-4c87-8747-c3918edc4c19.jpg


I then drilled out the cleaning rods and scribed out the gaps at the ends for a more 3D appearance. I will remove the securing latches and add after market ones later.
a9d1ba9c-bb46-4f50-88e5-53099d5d6c64.jpg

I attached 2 chains to the rear of the chassis, one on the top rear plate and the other to the tow pintle and latch.
ac981f54-e1ab-47cf-8fa8-cca0207458c2.jpg
 
That's sharp details with the cleaning rods. You knock me out with weathering before assembly, talking about all the mud. :soldier
 
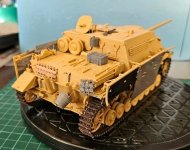
Upper chassis on and details started.
  • Chains added to the tow pintle locks at the front.
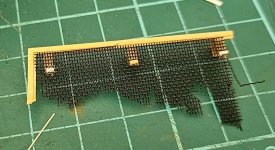
  • Damage added to the rear right fender and Thoma shield (which was replaced with Dragon netting, which I could cut).
  • Command aerial and armoured cup used from the Border kit.
  • Nut heads added to Thoma shield mounts.
  • Gaps in Tamiya bar mounts(where shields are left off) filled with half circles made from white plastic rod.
  • slight damage added to tyres.
  • Head pad added to commanders hatch.
Some more still to go once roof is fixed in place after painting the gun breech first, plus its getting late so more pics soon.

3c1075dd-5aa2-4cd9-a055-33f9bea64501.jpg64f5caaf-1dd4-4ddb-b365-e2b8e073f880.jpga7499c35-108a-428d-a3a6-0b4d890a7aab.jpg
84e73d44-4a69-4012-b739-060e5ca217f7.jpg
b743eba8-1a86-4afd-bb2d-170a73c2f99d.jpg
2618b196-2985-46ea-a880-44394b28164b.jpg
 
Last edited:
............and continuing on from the last post -
  • Front guard replaced with a Dragon kit version and wire spring added to Tamiya kit.
  • PE clamps replaced kit molded ones
  • Wingnuts replaced on barrel cleaning rod clamps
  • Head pad added to commanders hatch.
  • Gaps in Tamiya bar mounts(where shields are left off) filled with half circles made from white plastic rod.
  • Damage added to Thoma shields
  • wire and nuts added to bosch headlight
  • holding guides added to sliding roof sight panel plus inset bolt heads embossed into surrounding.
  • Horizontal braces added to exhausts
  • Front holding bar for spare tracks added
  • holes drilled in front side mounting frames.
96a5466c-ffed-4cbc-bd76-43478999d316.jpg
c4c8ce14-4abc-4bf6-b796-38e09ea8b0e3.jpg

a9e18be5-a26d-4caf-aa69-f1ccc11782f7.jpg
b3070059-d07b-48f9-8901-0a7abe6a209f.jpg

3c087e02-b02d-47e0-ba56-3450f5b6c83d.jpg
3f8c5375-81c9-44e2-9f8d-9b48247b4954.jpg
270fa651-60b1-4cf0-9f09-9dc3f59c0397.jpg
00042878-3528-4d2c-99cb-5b92091ab070.jpg
32b61782-dbe4-494d-a604-2dac7230e589.jpg
9a0028ec-dc1d-41d6-b6b2-ee6a55342cc6.jpg

0bea5255-6b61-47de-87ac-7fec562fa1ff.jpg
93989f12-8f7d-4368-a818-3486daba4ce8.jpg
cbaab9dd-9876-4126-9676-8b97f761bf75.jpg

and some of the extras
5e27cfdd-0d0b-458c-a2d2-07d96531c0b4.jpg
 
I will be having this on a small base with a tractor in 1945.
I have also decided to model the vehicle in the photo, as there is a possibilty its a command vehicle. I was originally going to do the photo vehicle seperately but changed my mind. There are a number of interesting details which I will add or back date to better condition than in the photo.
829380bd-f2cc-4b50-8c4a-4e5b0ef58c54.jpg
314de402-605e-4ab7-98fe-7a4e6f23f765.jpg


THE BASE
b6de9e13-f20f-4758-b795-7f33cccfb79d.jpg

80550ff4-6e47-468f-881c-a5a171ee8fe2.jpg


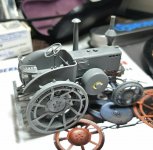
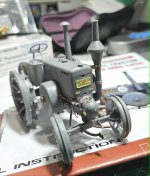
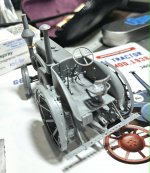
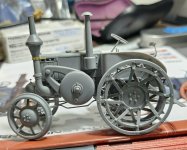
The Miniart kit was reasonably straight forward and a quick build, all I needed to add was some wires at the front.
6d2ad429-9996-4937-b9c3-3d56a896ed9a.jpg


79ca878c-3f3e-4a64-a54e-f9e278692935.jpgd0c6cc11-c9a7-49e7-8406-77521fb24e32.jpg2a26d959-f31d-466e-a11f-ee140b409951.jpgf18879ee-b2ce-46fe-b9ec-3bdc665881fa.jpg
 
Last edited:
So the beat goes on..........
Placed the models and added a Telephone pole - the Tank will need more mods now that I am doing the model as the vehicle in the photo so I will need to replace the rear right hand Thoma shield with a completeone, add the rear stowage rack and the Vorsatz P on the loaders hatch.

16084d0b-047e-4fdc-95d0-13ebfee64dcc.jpg

e59bd7c5-9bc8-4f0a-87b3-55fbf7c0d2b9.jpg
b66bb4b1-c90e-4b22-aaee-be80fb3371db.jpg
3c44fb29-e2ab-4898-9fd0-46976315da55.jpg
 
Inspiring. Will the tractor be hooking up to the wreck to drag it off to the scrap yard?
Hey MP, thanks for the look.
No, it will be abandoned and bogged in dried mud from the end of winter. The tank will still be in operational condition and set a day or 2 before the knockout. There will be some soldiers standing behind the tractor observing the distance beyond the dio and consulting with the tank comander stillin the tanks hatch.
 
COMPLETED TANK BUILD
I have completed the tank build now and its ready for paint. The roof plate has not been attached permanently yet as I need to paint the interior. Figures also need to be chosen and built. I am now modeling this with an undamaged right rear Thoma shield and one at the front left as it would be before the photo.
This particular tanks has some unusual armour plates added to the side. They seem to be field modified, maybe by the platoon field workshop or just picked up along the way. Because the other side is not available as a ref photo, this allowed me some freedom with extra plates on the opposite side of the tank.
The additional inset (modified with further lighting shows the front plate has holes and a little more detail on the nuts and bolts on the side plates.

aplique armour study.jpg


I used some modified spare Panther side shields fom the old Tamiya kit, covering them with another layer of thin sheet plastic. I then added some nuts , bolts and holes using the details I can see in the photo and some imagination. I added flame cuts to the sids where cuts would have been made with a Oxy Torch.

57f3cd3a-5fd1-4560-957b-078d4ce7e513.jpg
f0153bbf-382e-414e-82bd-2198fc38466f.jpg


This is also, the only known example of an early prod. model with a rear stowage railing added. These railings appear on some of the late model vehicles but not all. Mine is basically guess work as you can't see alot due to the poor quality of the photo.
11697c29-7559-4335-916a-8e6a4f29613d.jpg

bfbb0799-67b8-4bce-9612-beedddb71a8d.jpg

85590631-1676-4f7e-ba69-29737d1b45ab.jpg

8c95c62a-20e5-4aac-8f82-9bd941648de9.jpg

e702941e-958b-4315-8fec-6c18a4a7a78e.jpg
fc6a0bfd-a21c-4969-bbc2-6fafe484639b.jpg

This will now go on hold for paint until I have finished some other versions such as the next build , which seems to be a mid production model. The photo I have for reference puts it in the East, abandoned on a dirt road in Hungary with a column of Panthers.
STAY TUNED FOR MORE Pz IV/70A FUN.
 
Last edited:
Back
Top