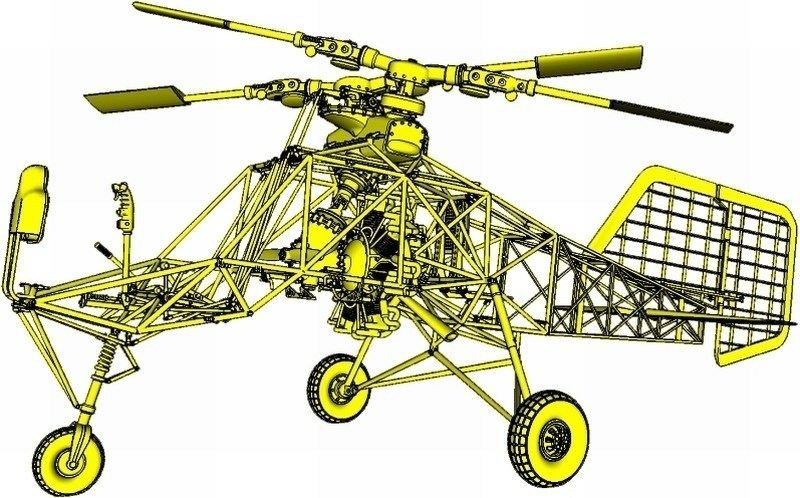
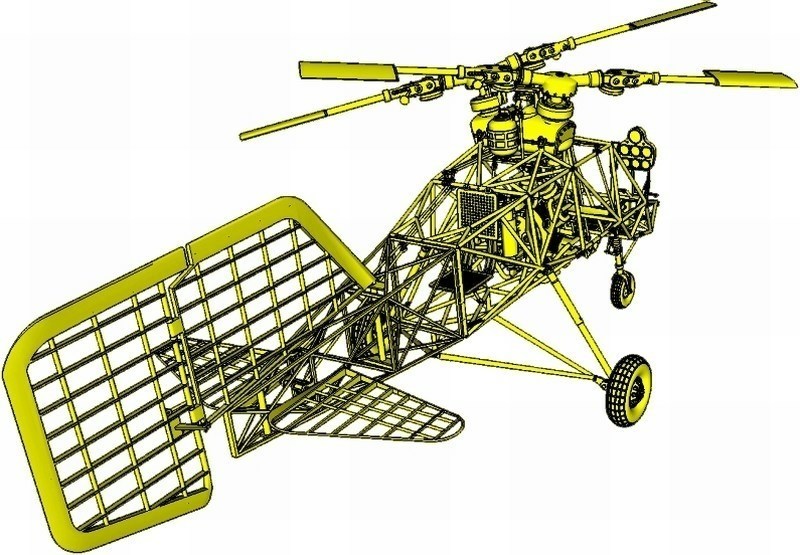
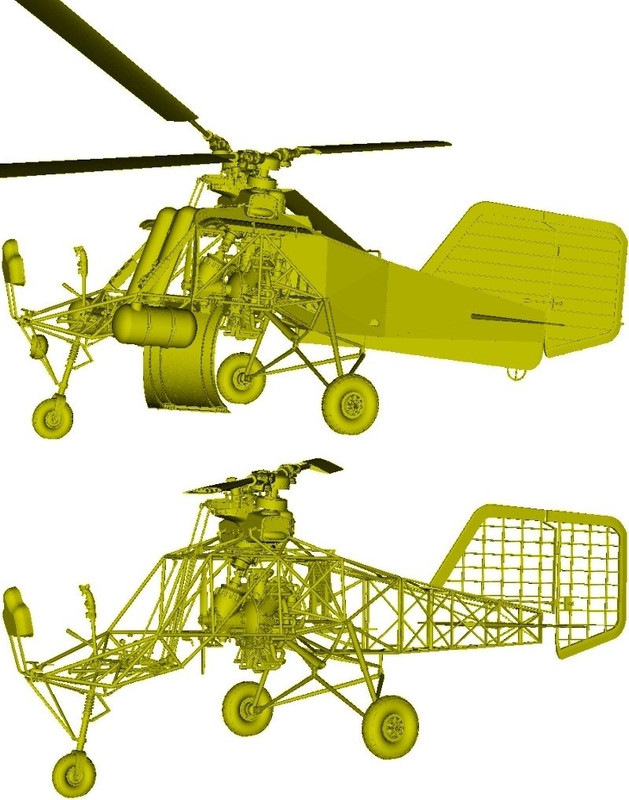
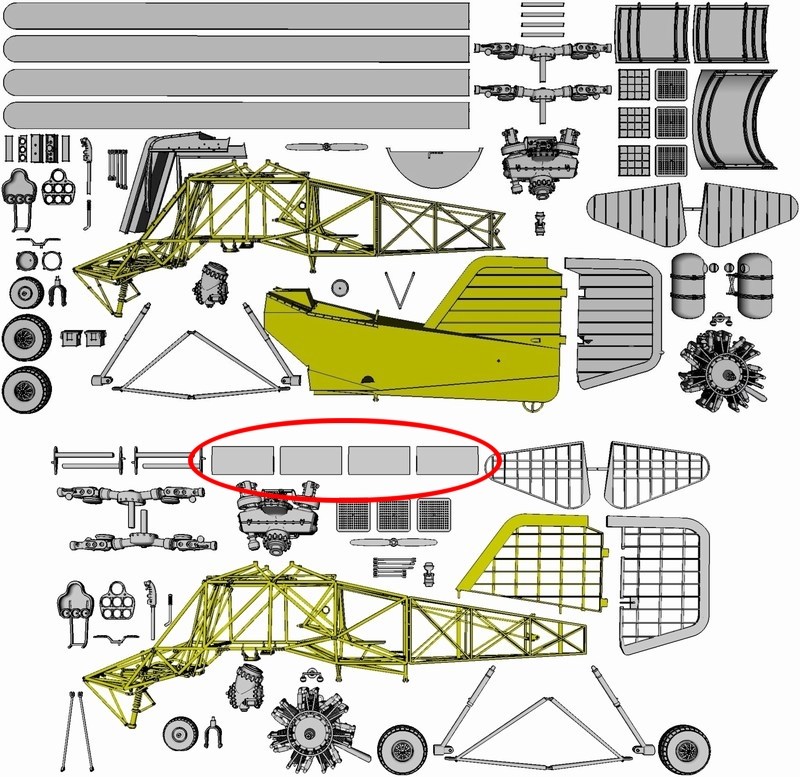
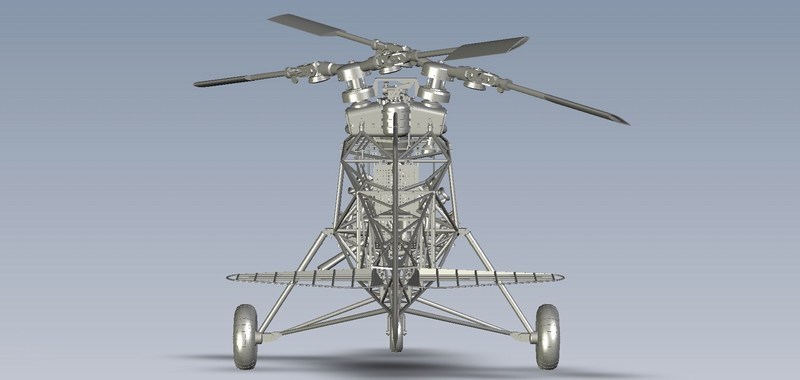
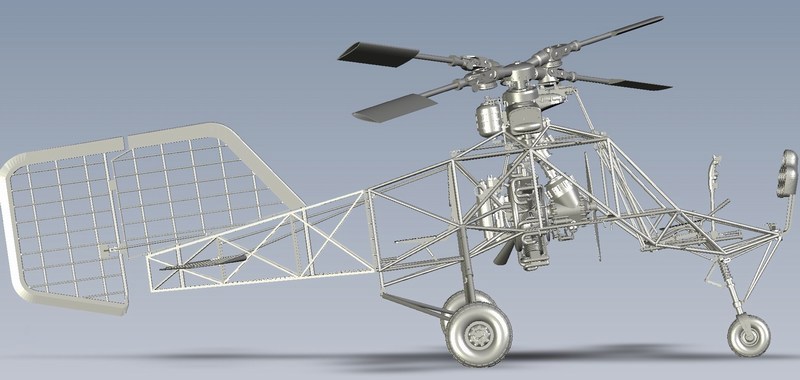
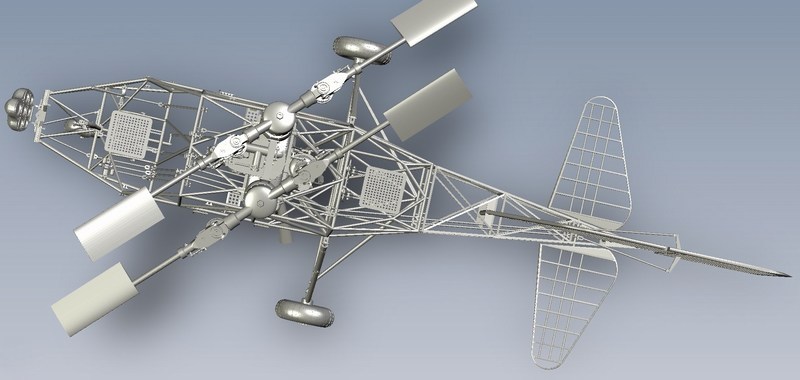
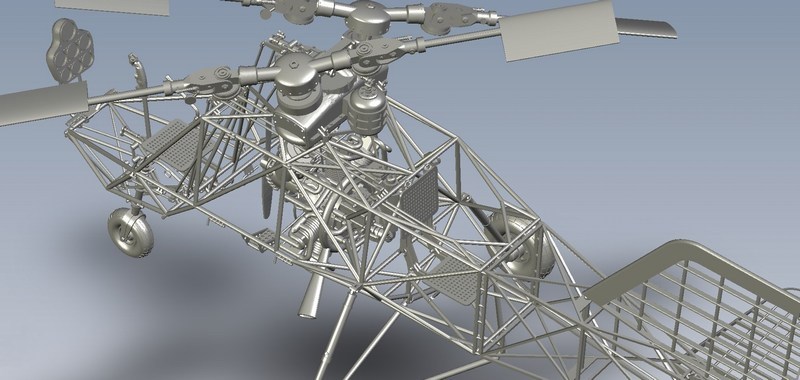
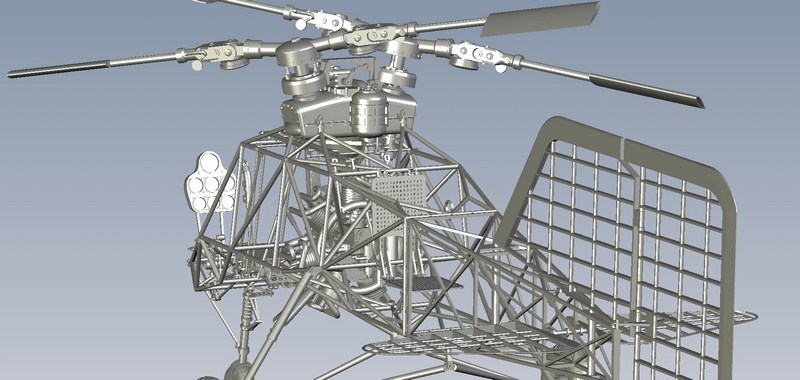
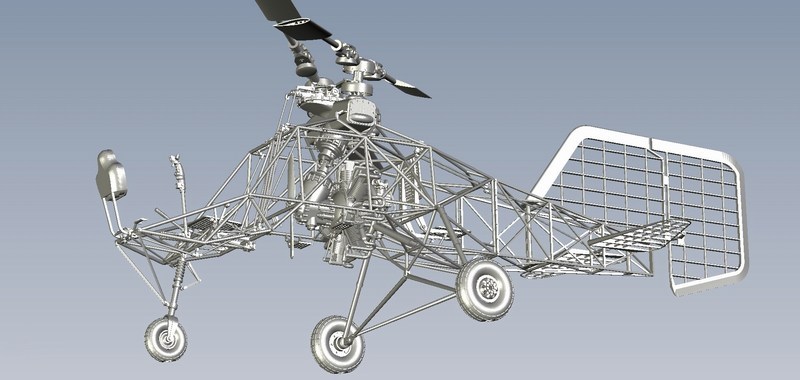
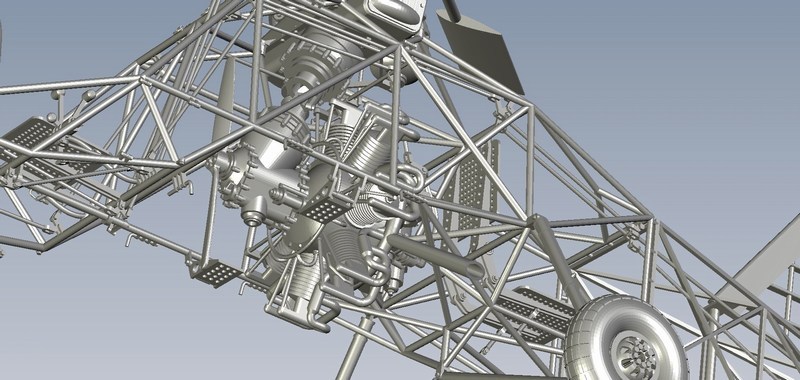
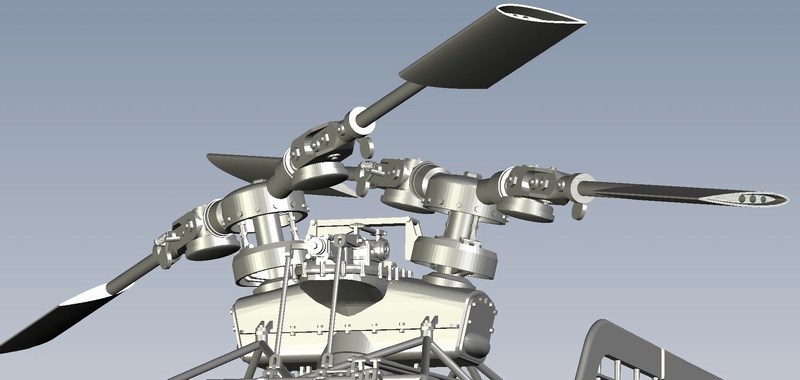
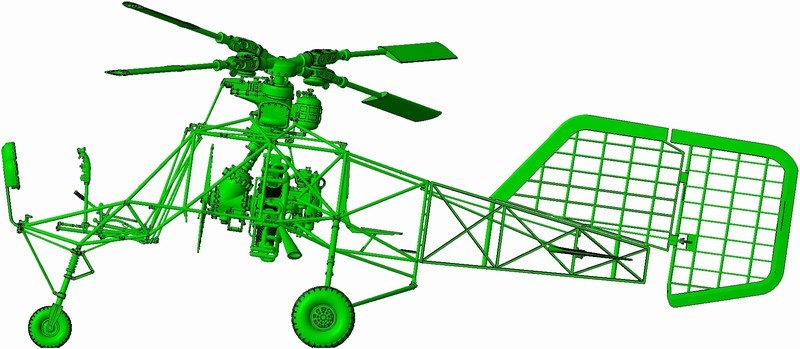
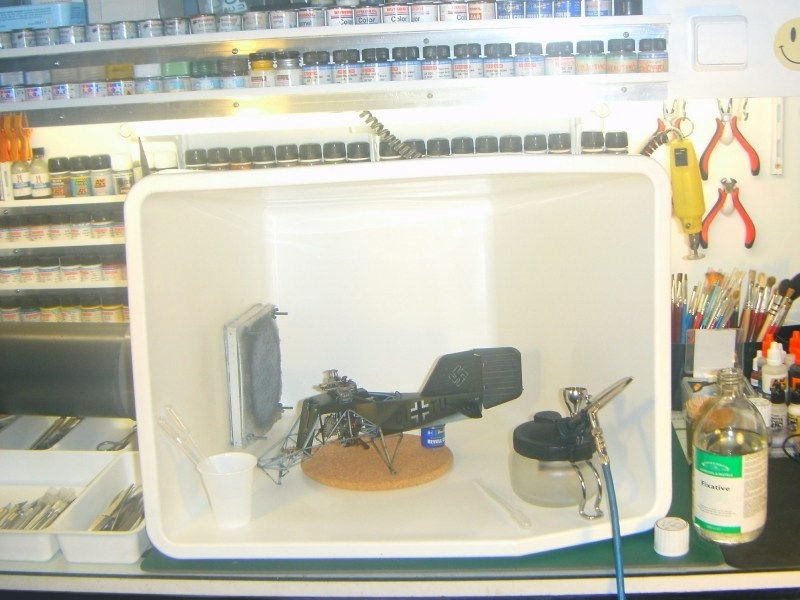
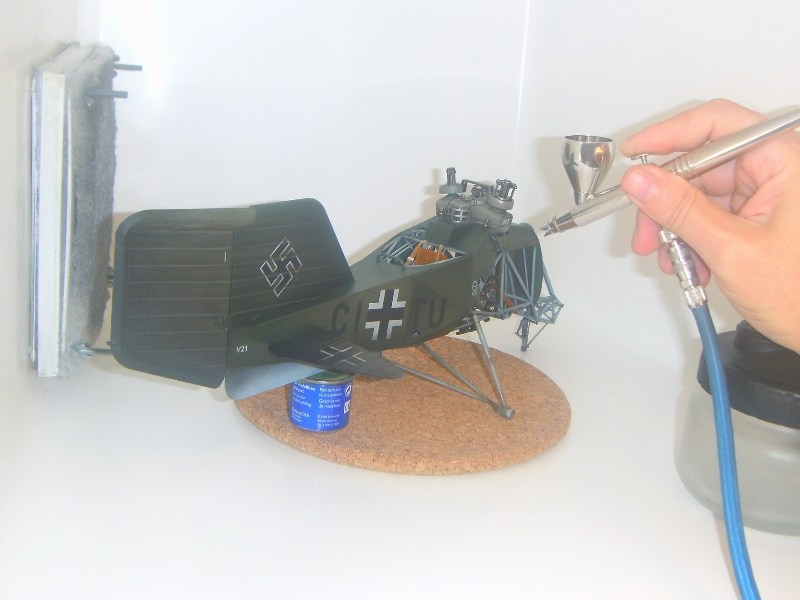
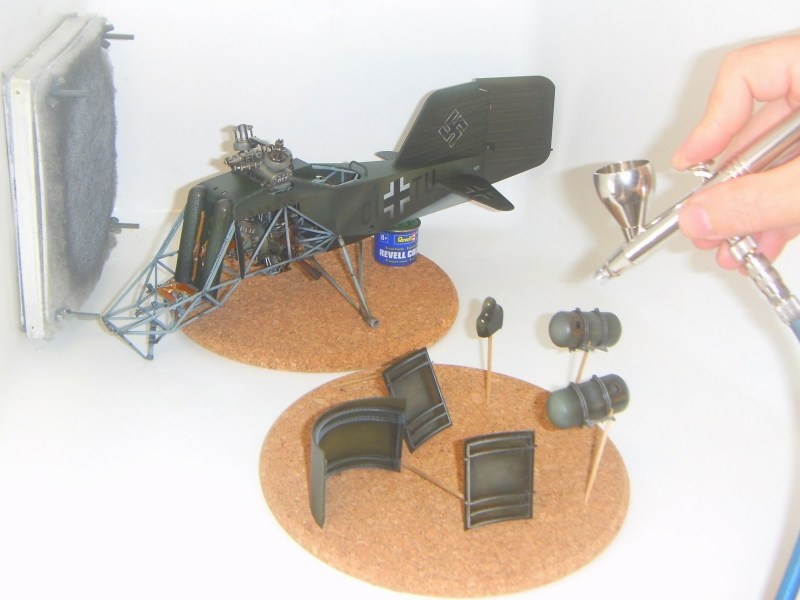
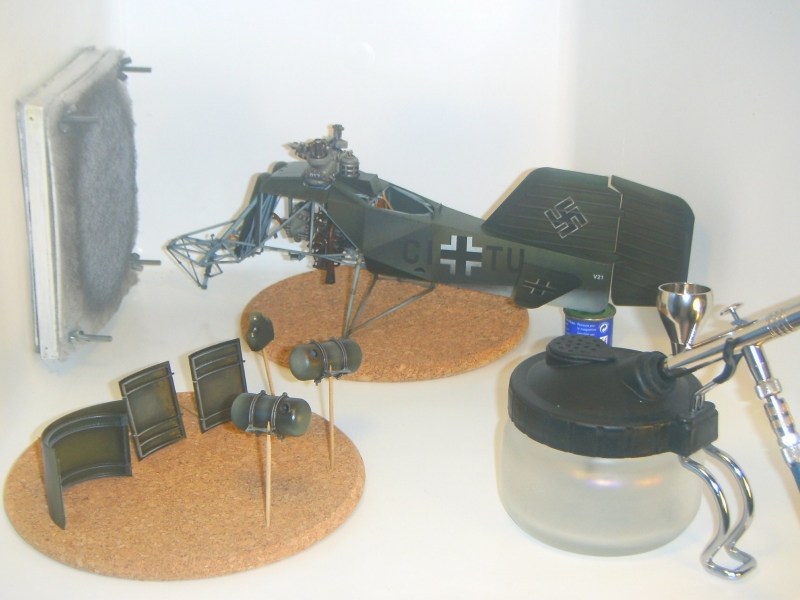
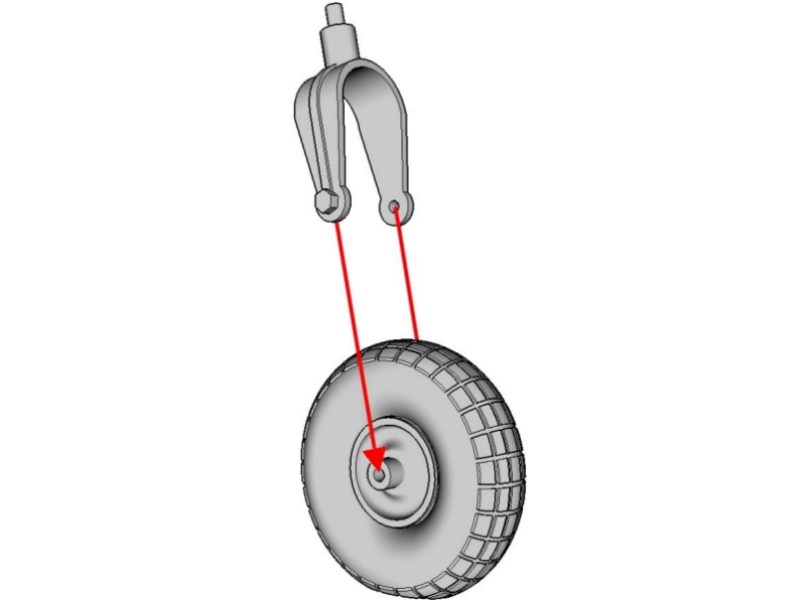
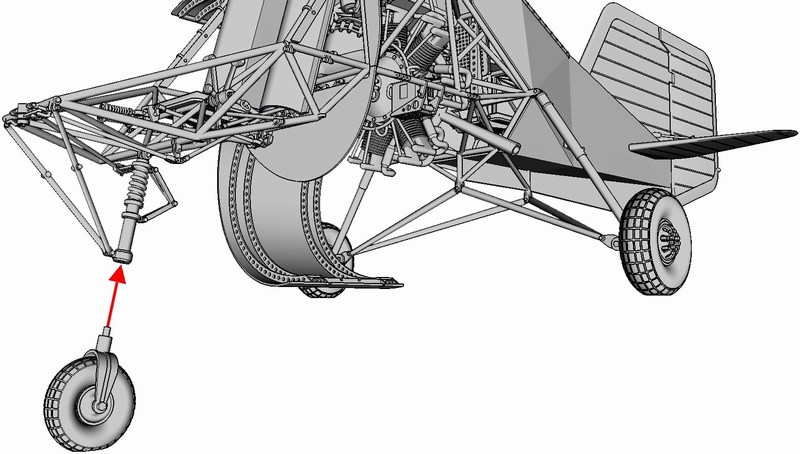
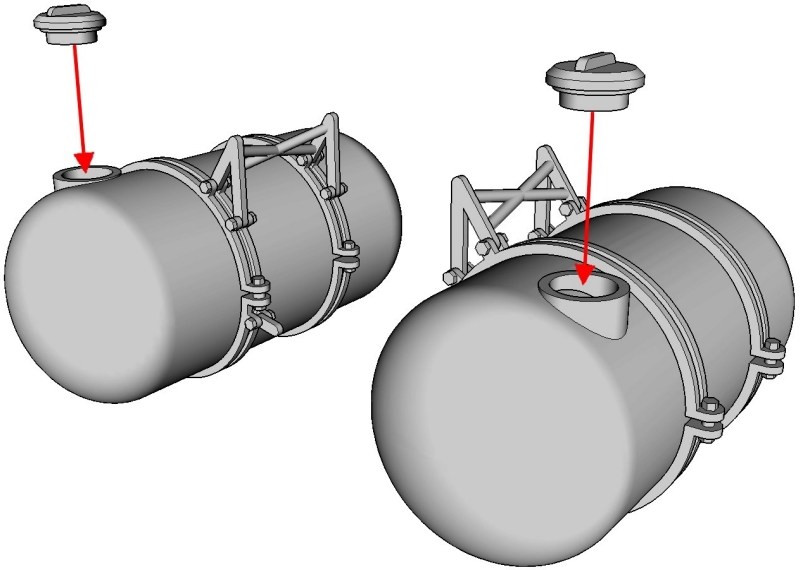
1/18 scale Flettner Fl-282 V21 Kolibri scratchbuil
CHAPTER XII - Concrete apron display base construction
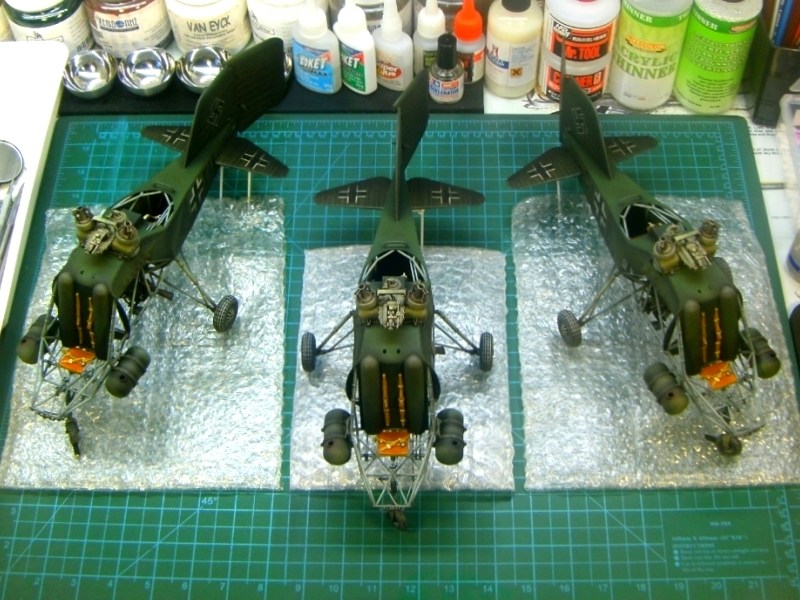
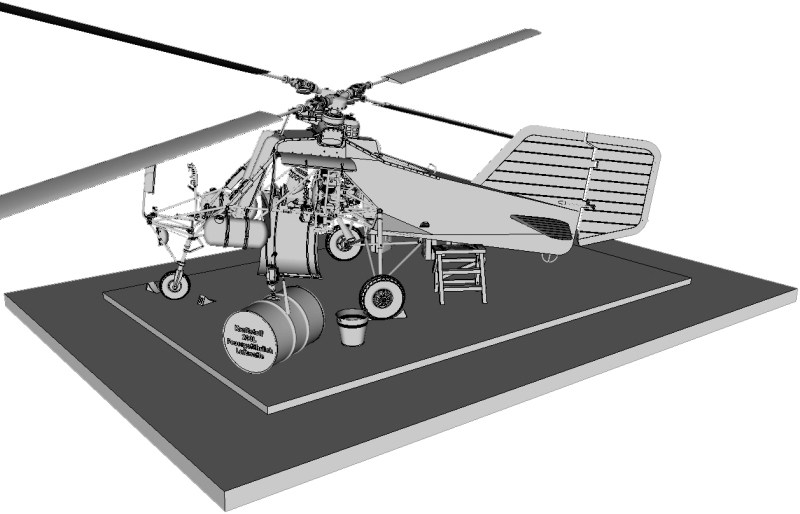
When I started this Kolibri project for a collector located in Kiel, Germany and later built more identical helicopters for other customers and my own collection at home too, I was concerned about a proper display option, on which the model would be placed. My goal is to build up a simple diorama scene, which looks like a “
maintenance & refueling area” on a forwarded airfield. From an artistic point of view, a “
maintenance & refueling area” scene might possibly dictate everything to be into a state of complete engine oil ‘n’ grease messiness. My goal is to keep the Kolibri helicopter as protagonist into the scene, while filling the empty space with few “
maintenance & refueling area” related items, to maintain a visual balance. What I am actually trying to present here, is an intentional setup to show scale model’s details through opened maintenance panels, opened hatches, removed engine unit etc without extreme diorama action, nothing that could possibly distract viewer’s attention from the Kolibri helicopter which is always the main protagonist of the story. Any other item should be standing as an uninvolved walkon to simply complete the directorial picture.
While scale model painting was underway, I thought as good idea to place the Kolibri helicopter scene on a “
grass airfield” area. My opinion had been probably shaped (aka influenced) by viewing WWII era pictures, where the Flettner Fl-282 V21 Kolibris were stationed on the fresh green grass. Unfortunatelly, the problem that would arise from such a choice, is that the (already painted green) helicopter would be visually lost into this greenish backround. Due this reason, the idea of placing the Kolibri model on grass abandoned and the idea of a concrete covered airfield apron area (with just a few short grass sprouted between concrete slabs) where pre-flight activities were done, seemed much better. The scene would require at least a 450 x 350mm display base, considering that helicopter measures approx 357mm long and 138mm wide, without counting the rotor blades with disc diameter approx 700mm each.
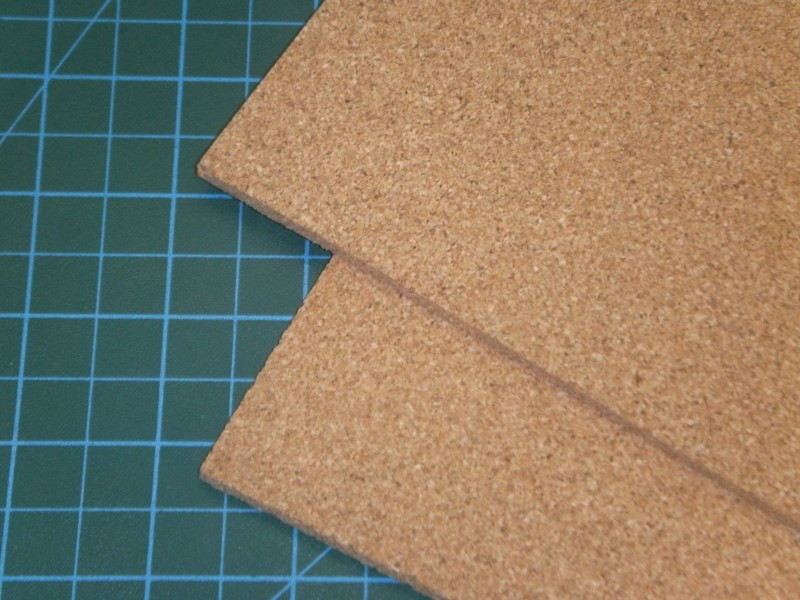
Those who have read my previously uploaded projects, might remember that I prefer using plaster powder to build the section that recreates the ground, especially if it is asphalt. However, the 450 x 350mm dimensions of the scene dictate plaster quantity more (and therefore heavier) than usual and for this reason I chose to use another material, because the goal was to build a airfield display base instead of weightlifting equipment for champs. For this reason, I decided to follow a different way, by replicating concrete covered airfield apron with cork sheet. I purchased two 500 x 500mm sized & 4mm thick sheets of cork from my local hobby shop, which I cut & shaped around with my Black & Decker 400W / 3000spm jigsaw. The basic idea, is to build an approx 8mm thick & flat surface which protrudes above the polished wood display base, on which short vegetation (grew between the concrete slabs) and diorama accessories (such as maintenance tools, fuel canisters etc), will be added later.
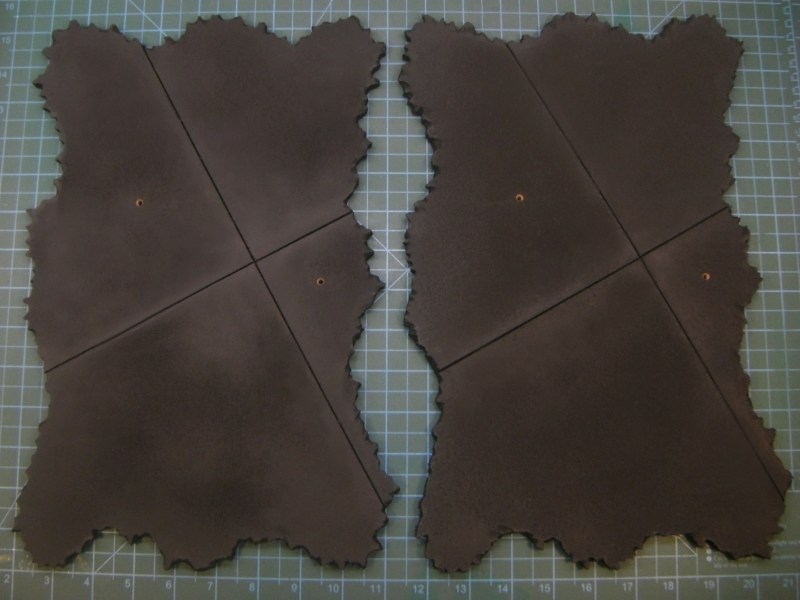
As soon as the 4mm thick sheets of cork identically cut into shape, sandwitch glued and the concrete plaques were lined, I used my airbrush to paint it. As I usually like to do, three different acrylic paint layers were applied on the concrete apron surface. First, mat black colour covered the area and then lighter greyish and earth layers applied, while airbrushing in almost zero degrees angle, to let the darker areas between the concrete plaques remain naturally dark.
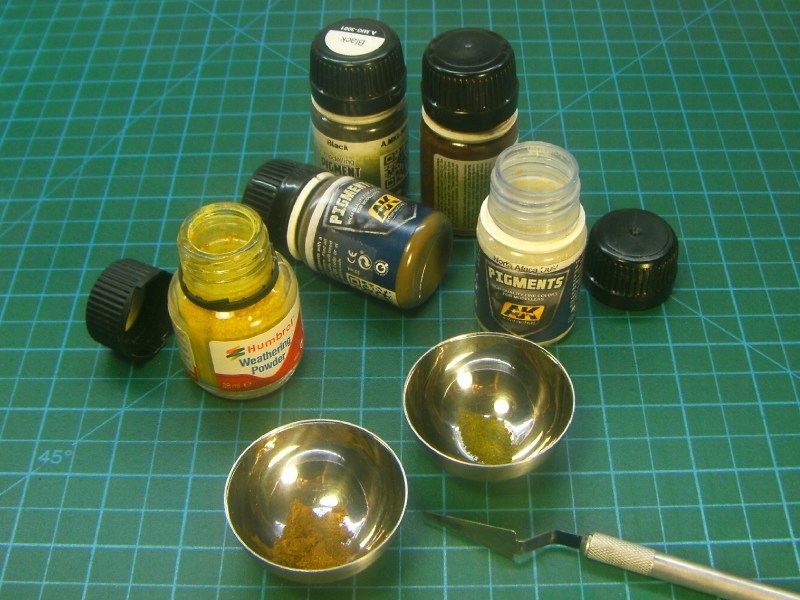
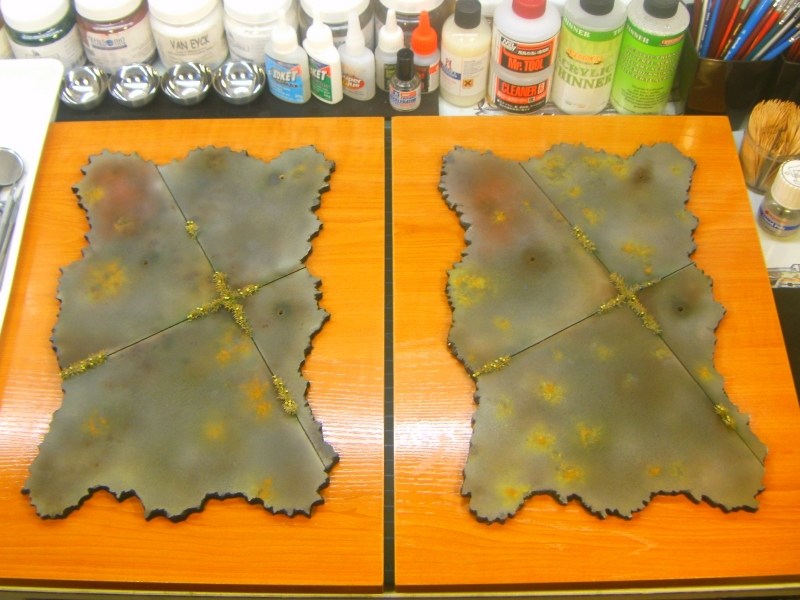
The concrete apron surface was paint with different greyish & earth tones and as soon as the acrylic colours dried, I tried some drybrushing on selected spots using sand tones. Concrete areas on which the oil drums, the fuel canisters, the under maintenance radial engine etc will be placed later (probably resulting oil & fuel stains on ground), painted differently with more yellowish shades to replicate sawdust spread to absorb leaked oil & fuel. As for the vegetation that grew between the concrete slabs, I used some
Heki static grass, secured in place with water based white glue for wood which becomes transparent when it dries. When it looked OK to me, I sprayed over with Humbrol enamel matte coat, to seal the paint & vegetation result so far and left it overnight to dry.
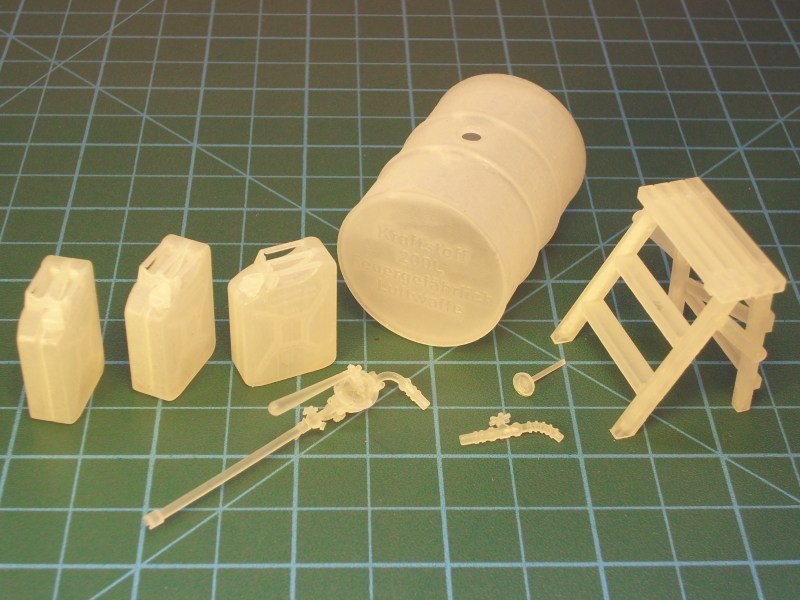
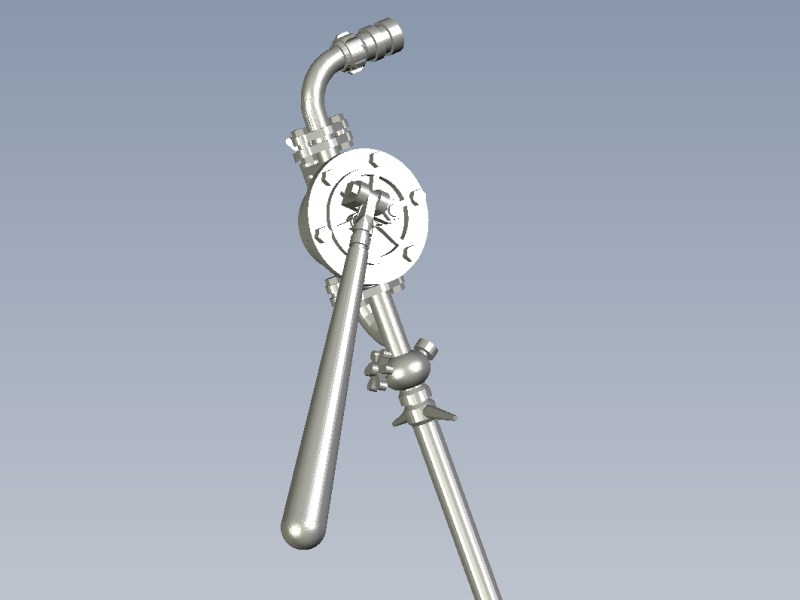
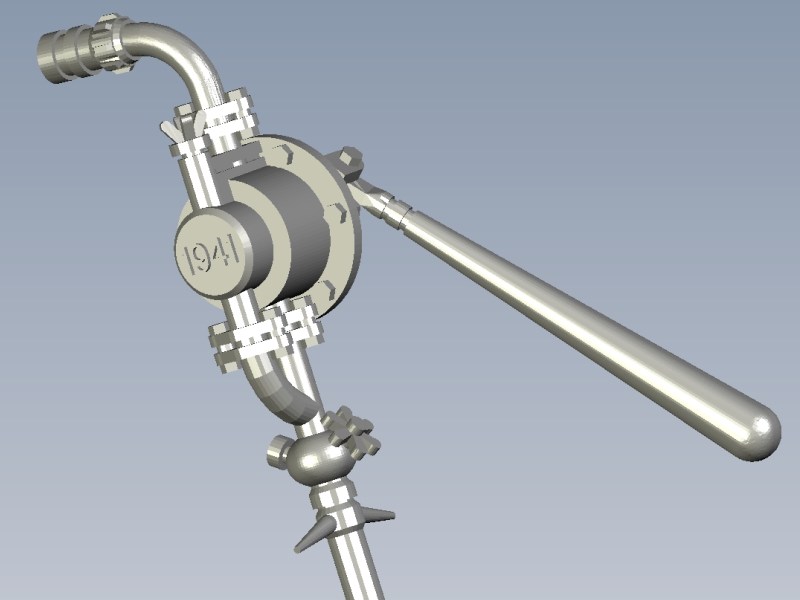
Meanwhile, some of the earlier described 3D printed items (unrelated to the helicopter structure) such as few
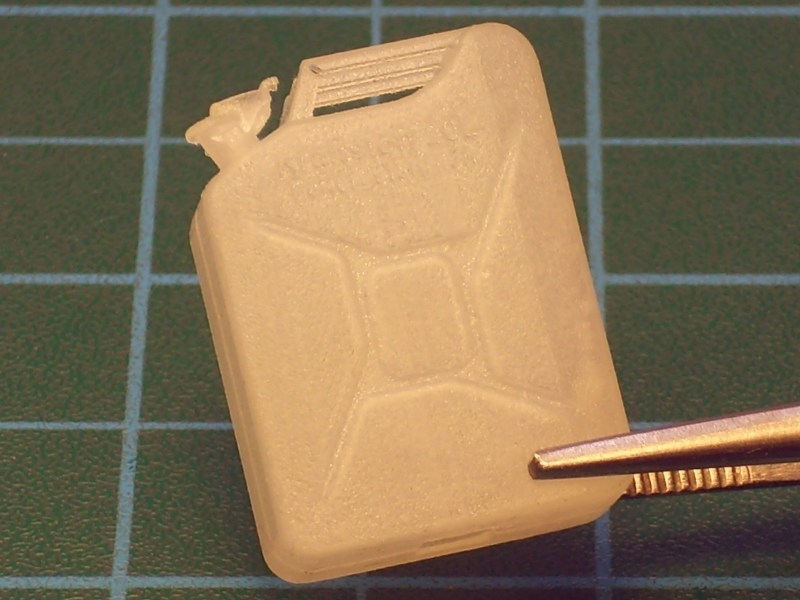
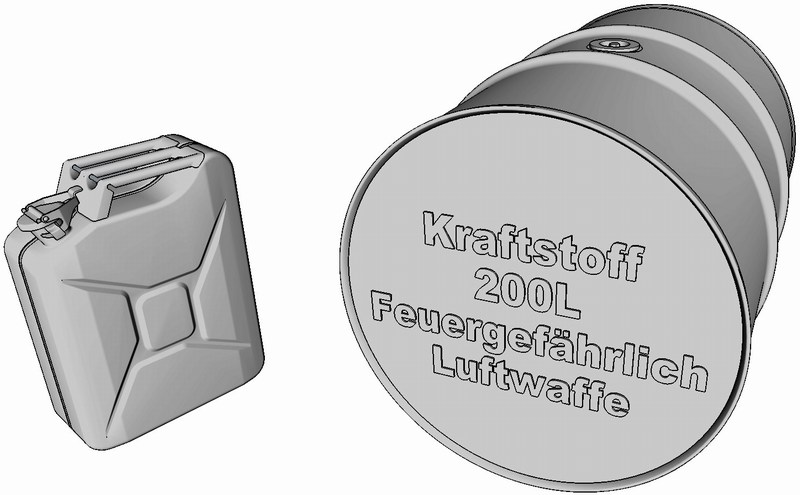
1/18 scale 20 litres fuel canisters, one of these
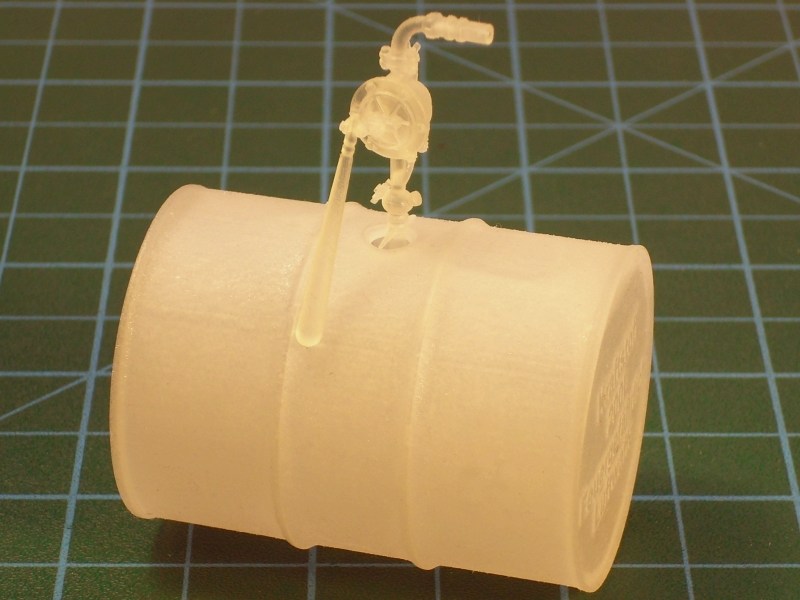
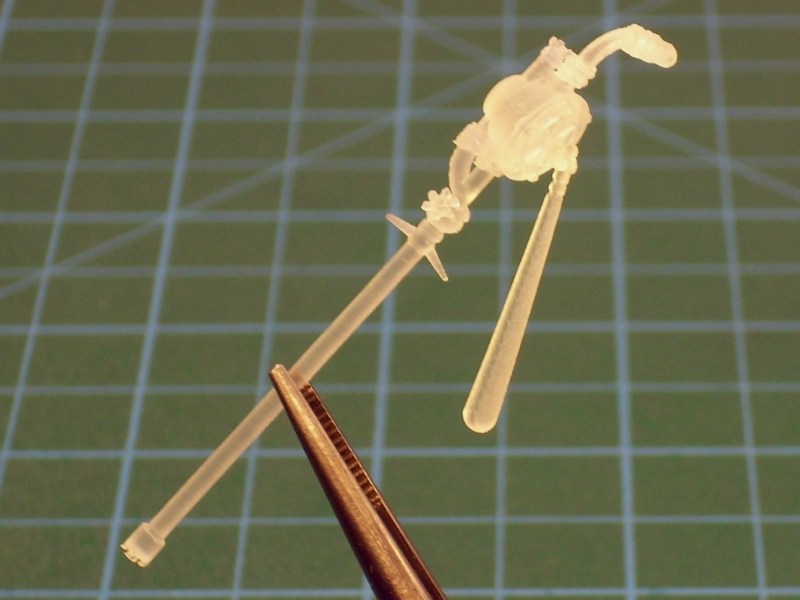
1/18 scale 55 gallons oil drums and one of these
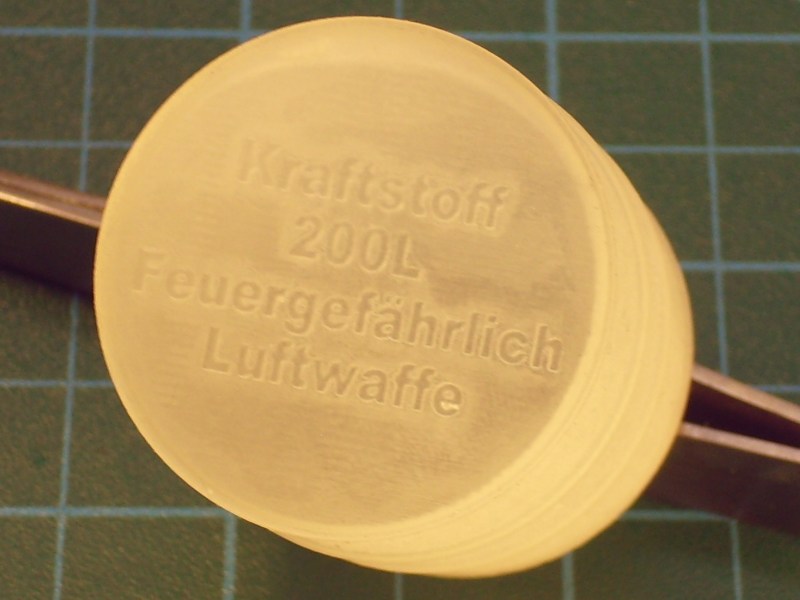
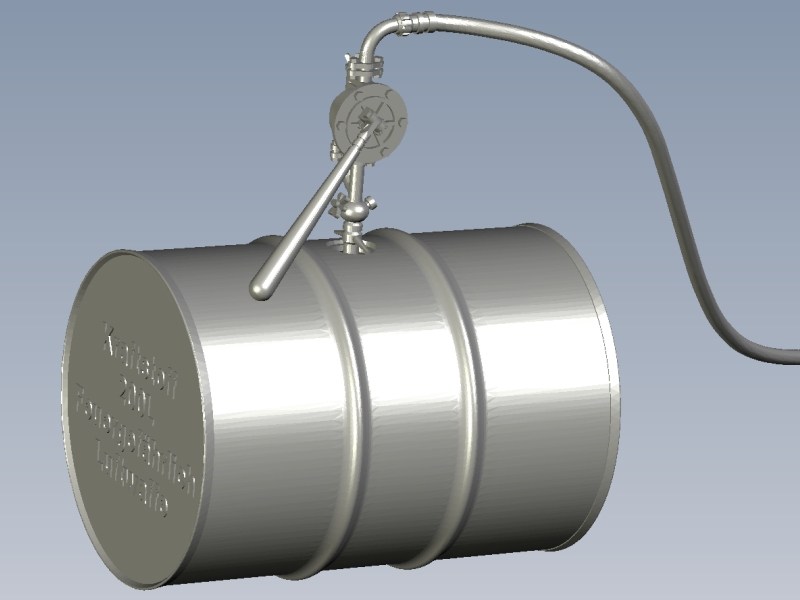
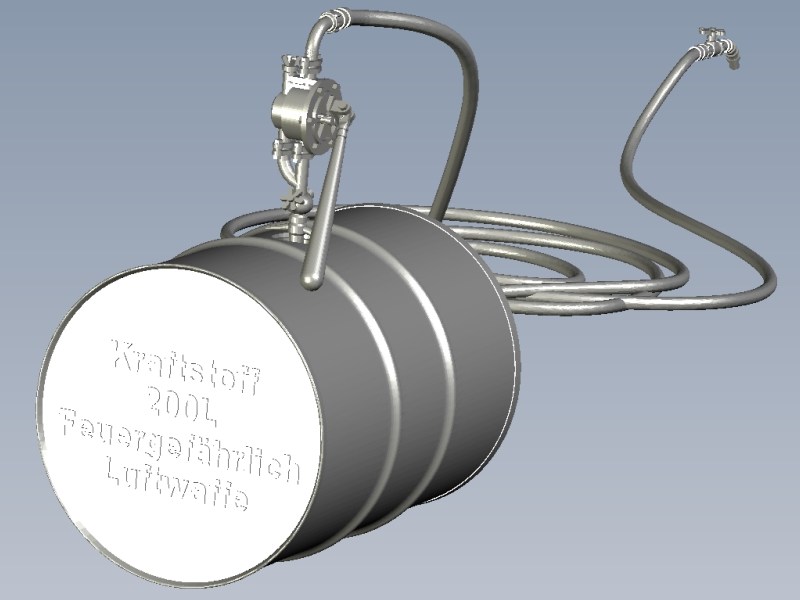
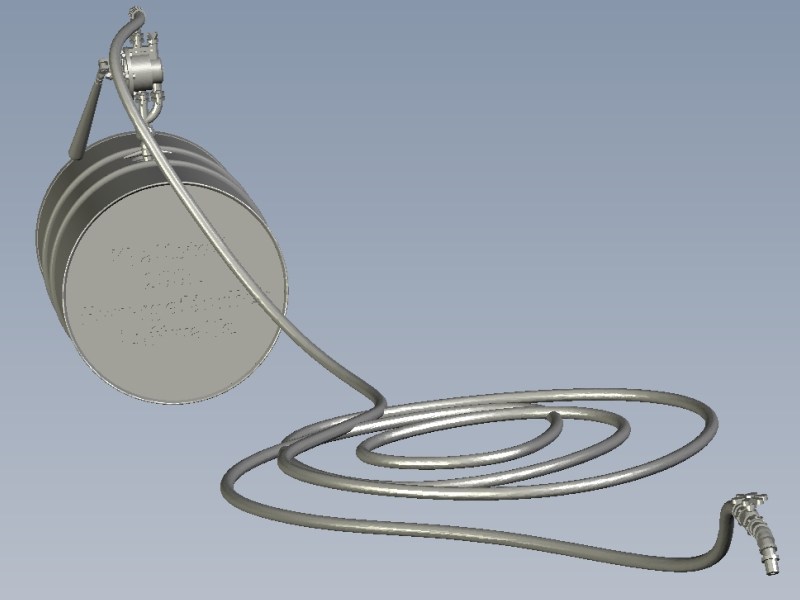
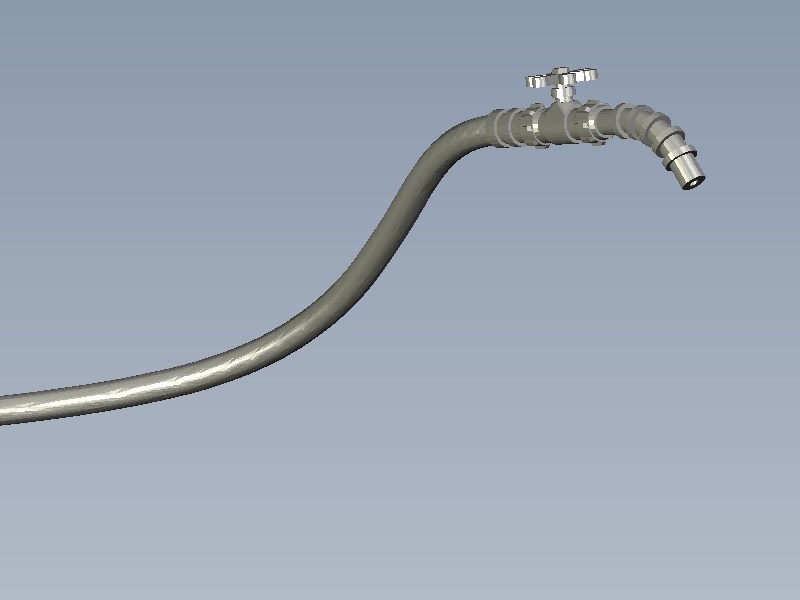
1/18 scale 200 litres fuel drums as used by Wehrmacht, Luftwaffe & Kriegsmarine during WWII with “Kraftstoff 200L Feuergefährlich Luftwaffe” & “Kraftstoff 20L Feuergefährlich 1941” inscriptions engraved or embossed on side, also got some paint, dirt & weather effects.
All the above mentioned diorama accessories are listed into
Anyuta 3D products catalog and available for sale under various scales and sizes.
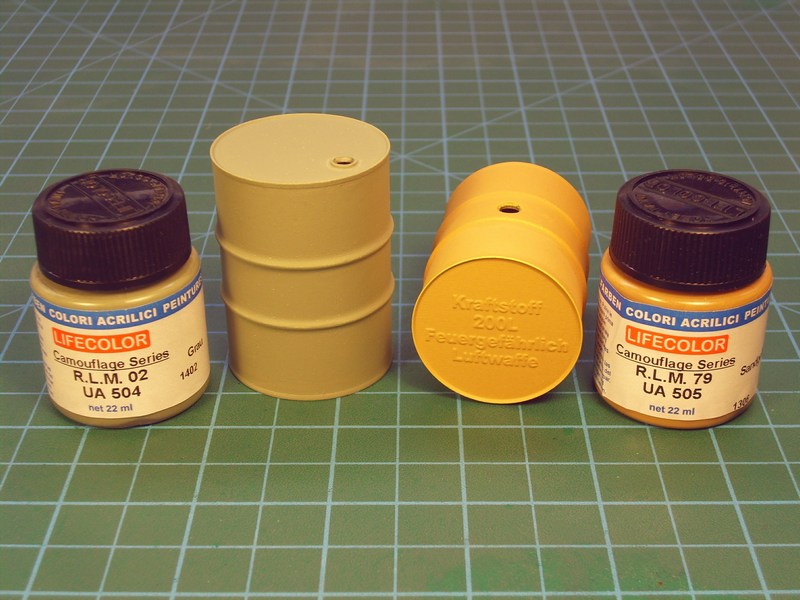
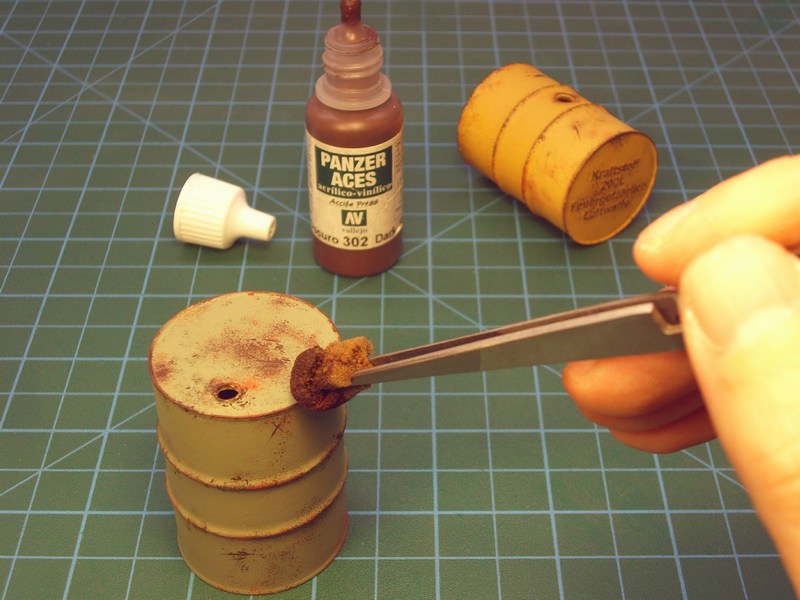
The previously mentioned 1/18 scale 200 litres fuel drum received a basic layer of Life Color UA505 RLM 79 Sandgelb II / Sand Gold II acrylic paint and the 1/18 scale 55 gallons oil drum painted with Life Color UA504 RLM 02 Grau / Grey acrylic paint and allowed to dry overnight.
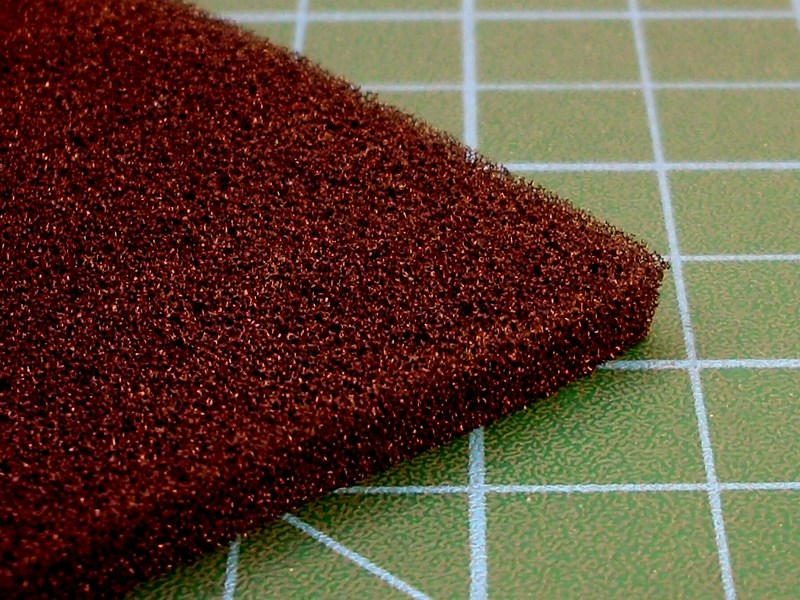
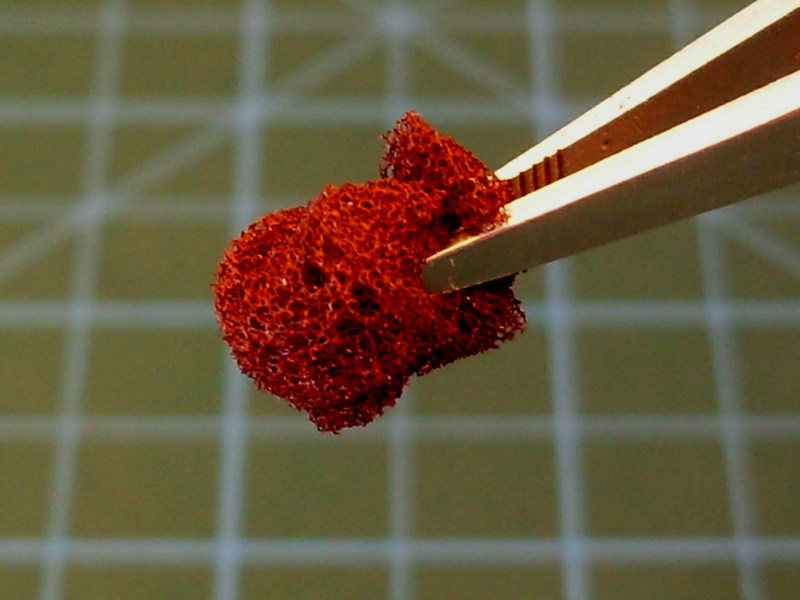
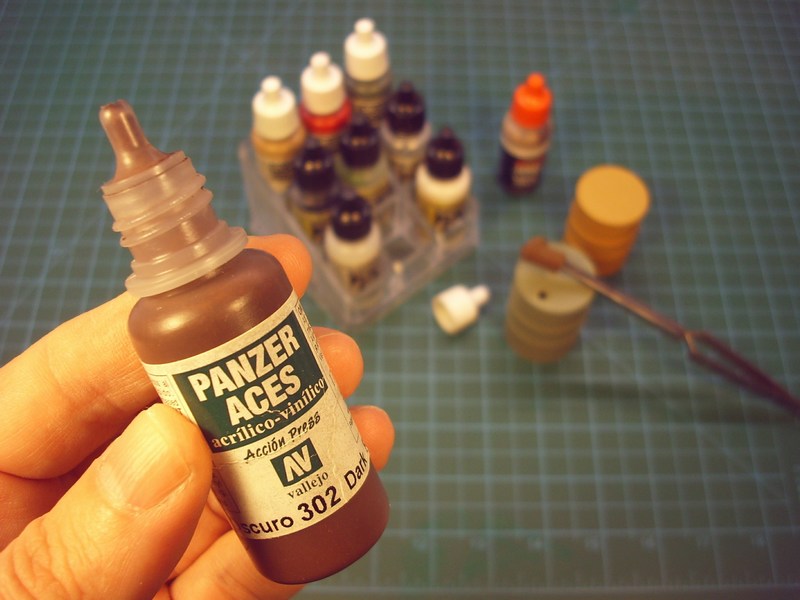
Once the acrylic base coat has cured, both drums got some weathering, paint scratches and rusty chipping effects while using the sponge technique to give visual interest to the base colour. To achieve best results, I did use a fine textured sponge like those used for packing of electrical items. Fresh rust marks also added in some selected points, with some of the Life Color UA704 Rust Light Shadow 2 acrylic. Using a fine tipped brush, the Light Rust Brown & Dark Rust oil paints by 502 Abteilung & AK Interactive series painted in vertical lines from various chips and scratches added earlier. Once the oil paints had been allowed to dry for a short while, a brush dampered in White Spirit used to blend and soften these streaks for a more subtle effect and obtain visible signs of wear & oxidation.


