-
Modelers Alliance has updated the forum software on our website. We have migrated all post, content and user accounts but we could not migrate the passwords.
This requires that you manually reset your password.
Please click here, http://modelersalliance.org/forums/login to go to logon page and use the "Forgot your Password" option.
You are using an out of date browser. It may not display this or other websites correctly.
You should upgrade or use an alternative browser.
You should upgrade or use an alternative browser.
1/18 scale Wallis WA-116 Agile scratchbuild model
- Thread starter Nick_Karatzides
- Start date
Adam Baker
Active member
Wow, very cool idea!!!
Very nice, not sure how you got powder to look like fibers but wow! Nice job 

phantom II
Master at Arms

Cheers, Christian B)
Sherman 18
Master at Arms
Very very cool!


Nick_Karatzides
Member
I thought that I explained before, but OK lets repeat with more details, explaining the simple steps.Very nice, not sure how you got powder to look like fibers but wow! Nice job
- Check the following picture. OK? Now, imagine that I cover around the black painted part of the seat with masking tape, so the only visible partis the yellow "blanket" area made by Milliput. OK so far?

- As soon as I masked the seat, I sprayed glue (you can also apply by brush if you like) on it. As you understand, since the black parts are covered with the masking tape and only the yellow vissible, the glue apllied only on Miliput area. Right? So, I took some flocking powder and start sprinkling on the seat as you can see at the following picture. Ofcourse, the flocking powder stuck everywhere on seat, but as long as we 've already covered some areas with masking tape, its OK for the moment.

- The reason I sprinkled the flocking powder through a sieve, is to achieve a smooth result and prevent lumps of flocking powder to stuck. I continue sprinkling flocking powder through a sieve, over the seat until it looked OK to me. As you understand, the previously applied glue with spray, helped a lot to keep the flocking powder in place, but I also need to seal the result and stay in place. To do so, I sprayed over with hairspray to secure everything. I left it few minutes to get the hairspray dry and then I removed the masking tape which (as I explained earlier) protected the black painted parts of the seat. the result is the following. I hope, now its clear to you...

Nick_Karatzides
Member
CHAPTER V - Applying paint, wash & weather effects
Before dealing with this project, I had the impression that all Wallis autogyros, were all same - at least identical. The fact that each one of them is not a product of a factory assembling line but the result of custom hand work, shows that there are plenty of differences between them - obvious differences or just small details identified after careful observation. The autogyro represented here, is the s/n G-ARZA, one of the five first built WA-116s, typed as "Wallis WA-116/Mc Srs.1" (the “Mc” means McCulloch engine and the “Srs.1” goes for series 1). The three of these first five Wallis autogyros were produced on behalf of British Army Air Corps for further evaluation and had no cabin cover. After a brief military carreer, these three Wallis WA-116/Mc Srs.1 remodified, repainted and received new civilian callsign reguster. One of them, was destined to become very famous as "Little Nellie" after appearing in the 1967 James Bond film “You Only Live Twice” movie. Research based on the published files & info, shows that the serial numbers of these first built "Srs.1" are the following:
- G-ARRT was the first Beagle Aircraft built prototype, first flown on 2 August 1961 at Shoreham. Aerodynamic cabin cover added later.
- XR942 initially built on behalf of British Army Air Corps and later renamed to G-ARZA. Aerodynamic cabin cover & beacon lights on rudder fin added later.
- XR943 initially built on behalf of British Army Air Corps and later renamed to G-ARZB. Aerodynamic cabin cover & dummy rocket launchers added later to become the widely known 007 James Bond’s "Little Nellie".
- XR944 initially built on behalf of British Army Air Corps and later renamed to G-ATTB. Aerodynamic cabin cover and longer main rotor blades added later.
- G-AXAS was the last built "Wallis WA-116/Mc Srs.1" and was Ken's favorite, since he was usually demo flying with it at Reymerston Hall Dereham, UK until his last days. The tail rudder fin was replaced on 1986, by a Wallis WA-122 spare part.
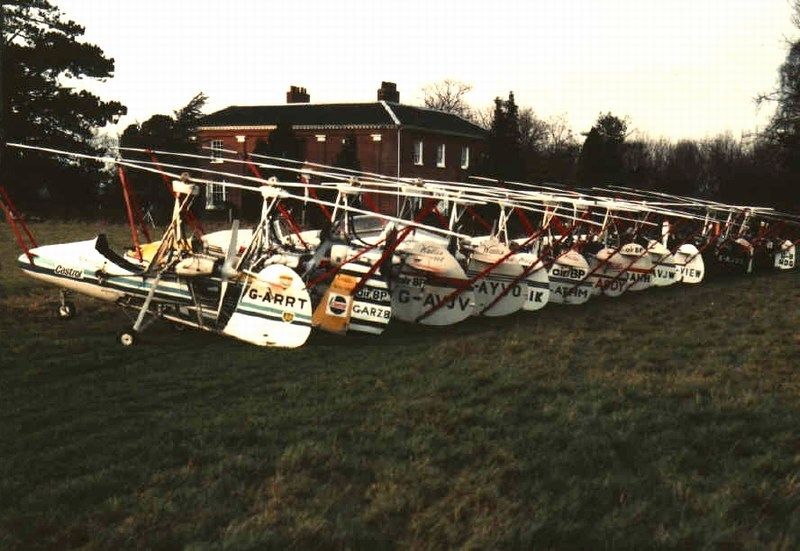
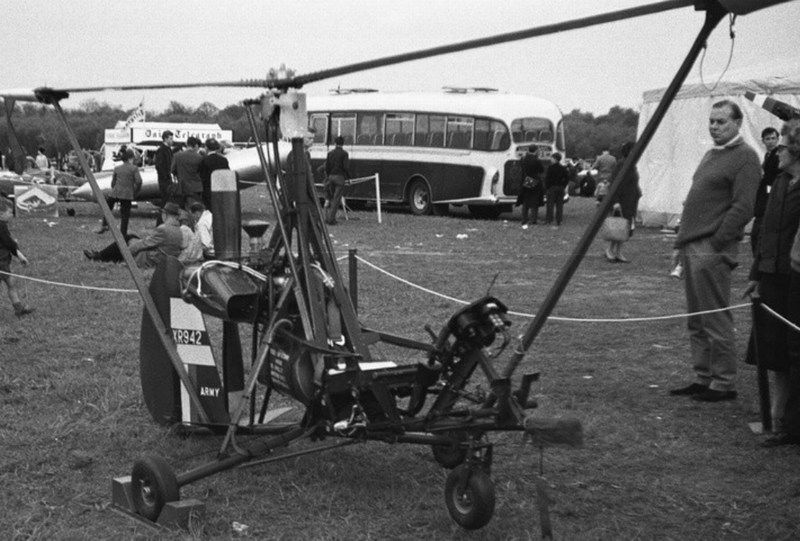
My goal is to paint the scheme of the G-ARZA, dressed up with it's new civilian colours, as appeared at EGBK Sywell, UK during the PFA Rally, back in 1973. Keep in mind that the specific autogyro, was initially built for military use, registered as XR942 and painted dark olive with official British Army markings - as seen at EGKB Biggin Hill, UK during the Biggin Hill Air Fair, back in 1964.
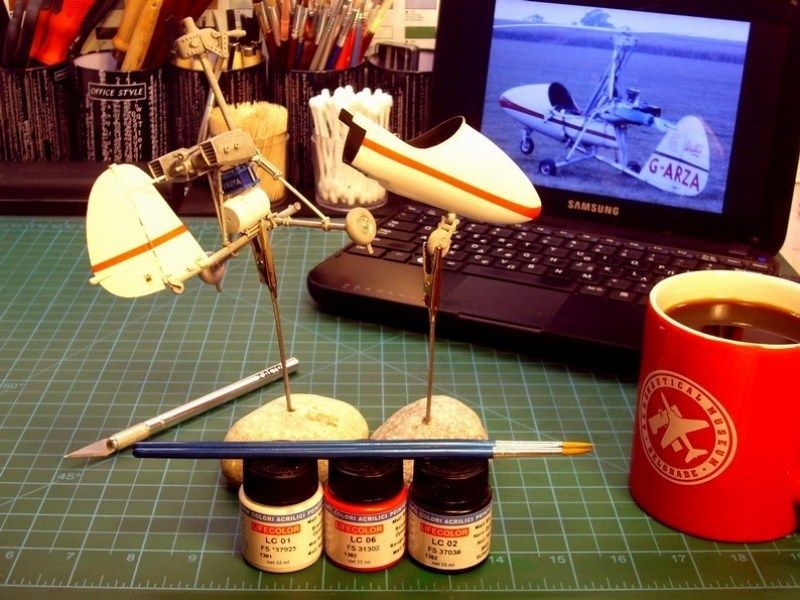
Model parts were washed with liquid soap and warm water to disappear leaving oil traces, fingertips etc and prepared for painting process. When it comes to apply paint on a scale model, I usually have the following two available options:
- Paint the individual parts first and assemble the scale model later and
- Assemble the scale model parts first and paint the overall built model later.
Since I designed this 1/18 scale Wallis WA-116 Agile autogyro in such way to look like a kit instead of 3D printing it as a fully built model, the first option seemed as more appropriate and would certainly make my job much easier. After preparing the engine’s basic elements, connecting electric cables and oil or fuel lines, the aft part consists of the tail boom & rudder fin structure, the McCulloch 4318A engine and the transmission components etc painted by using fine brush. The front part consists of the cabin aerodynamic cover & flight controls, airbrushed with with Life Color LC01 Matt White FS37925 acrylic paint for exterior and Life Color LC02 Matt Black FS37038 for interior. The red stripe on aerodynamic cover and tail fin, painted with Life Color LC06 Matt Red FS31302.
Thanks Nick.
Nick_Karatzides
Member
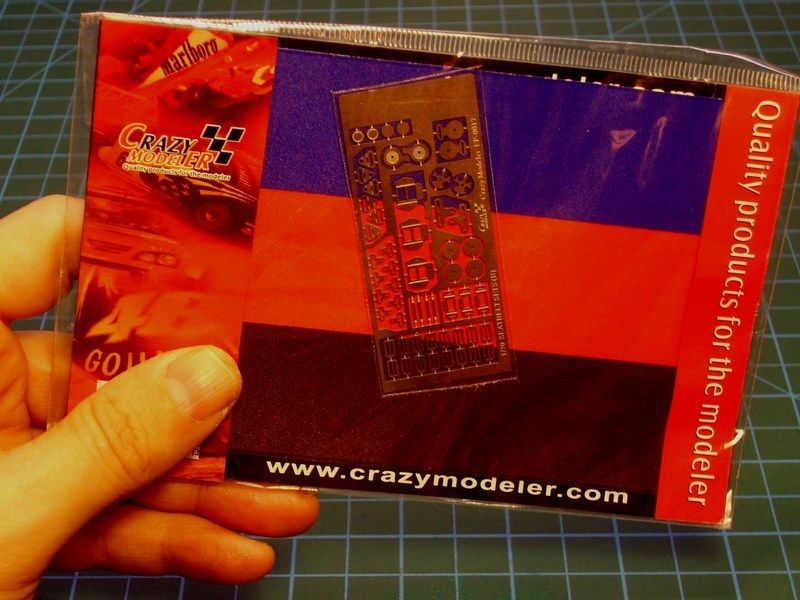
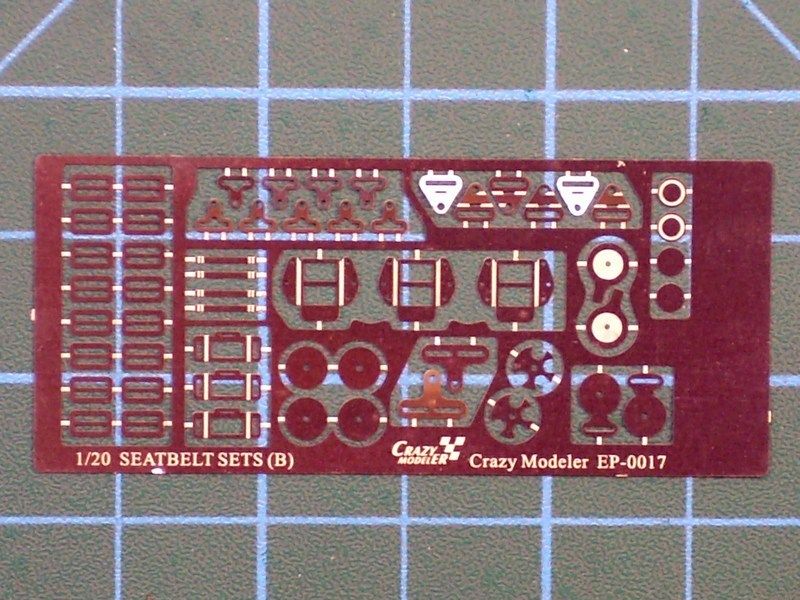
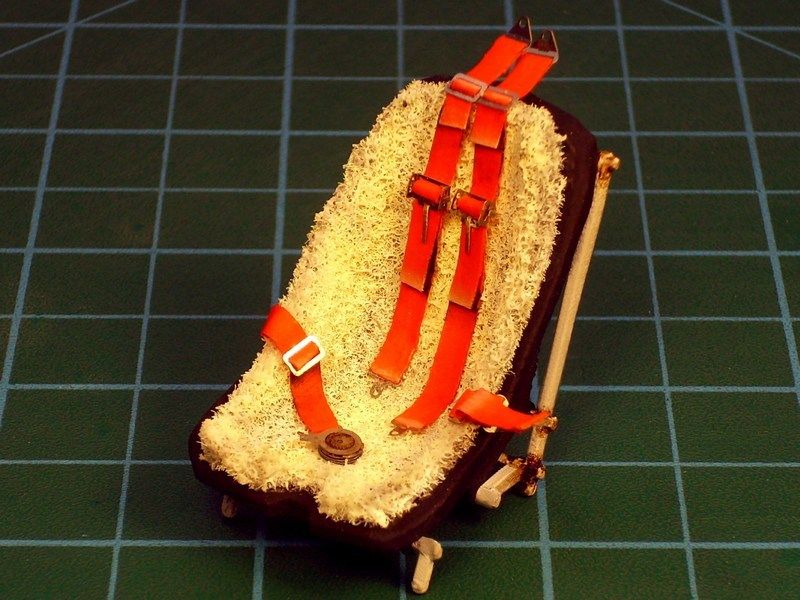
To form a complete pilot’s seat, I used the “EP-0017 seatbelts” photoetched set by Crazy Modeler, under 1/20 scale. The seatbelts got paint with red color - although they looked like khaki color in B&W pictures of the actual gyro - so as to make sharp & nice looking contrast with the previously mentioned (into CHAPTER IV) wool flock blanket covered seat.
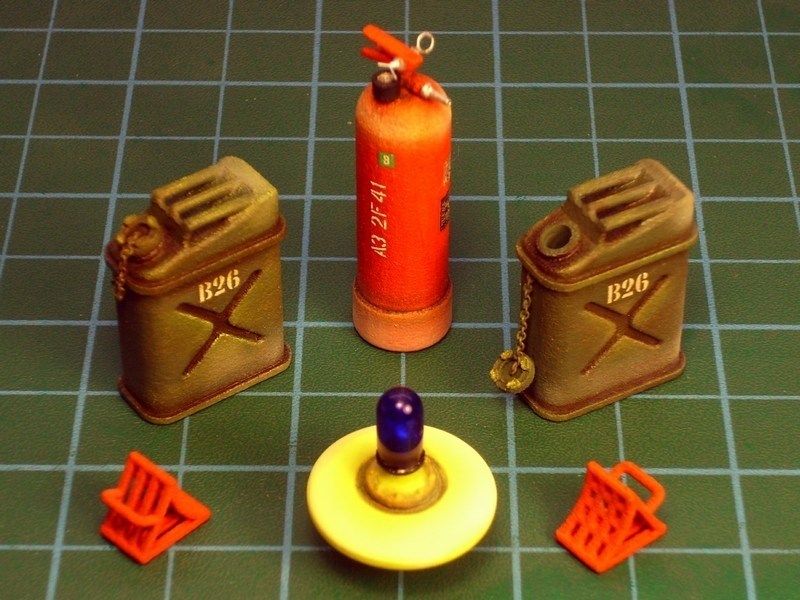
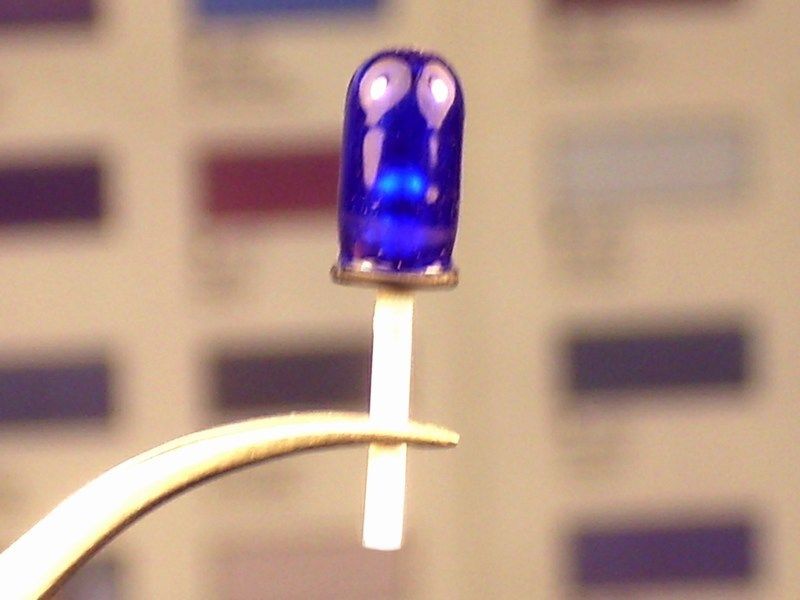
Some additional items, also designed from scratch and later 3D printed under 1/18 scale, such as fire extinguisher, 20 lt fuel canisters, wheel chocks and taxiway light unit, got also some paint & dirt effects. Maybe is not easily vissible, but there is also a bulb inside the blue cover of the taxiway light unit. Unfortunatelly, its hard to discern behind the dark blue glass
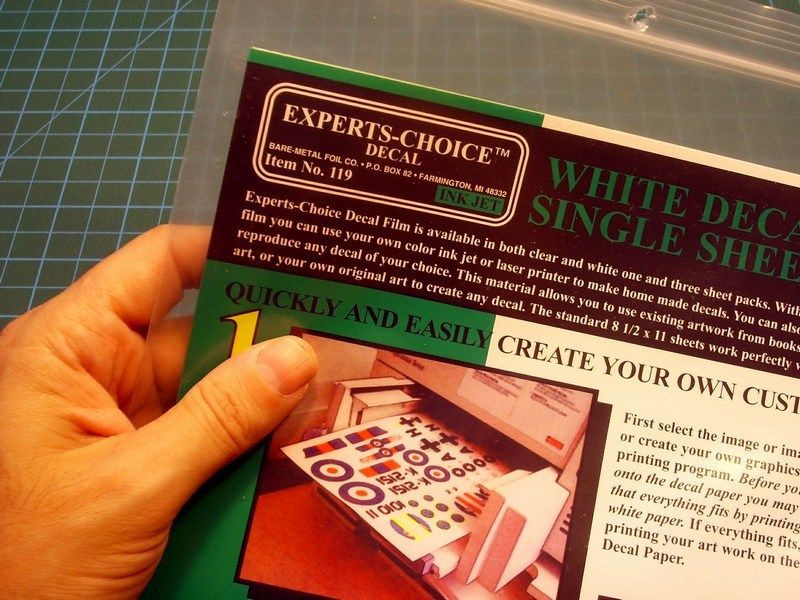
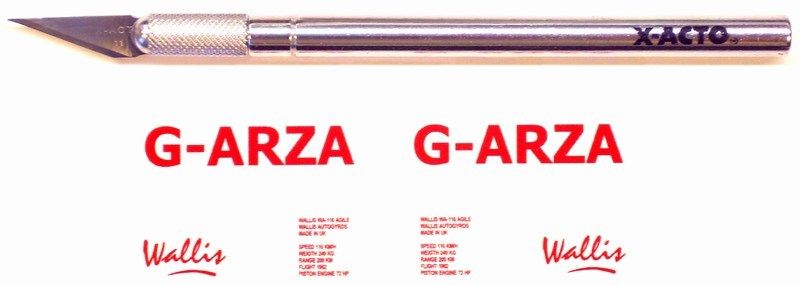
To replicate the G-ARZA callsign & Wallis logo on autogyro’s tail rudder and a few more written details on fire extinguisher & fuel canisters, I had to create some right-in-scale custom water slide decals. To do so, I used the A4 sized printable “Experts Choice Decal” film by BMF - Bare Metal Foil Co. The decal film is available in both clear and white one. The decal film can be printed on color inkjet printers, on LASER printers or a color photocopier to reproduce any digital image. Keep in mind that the inkjet decal film is intended for use with inkjet printers only. For photocopiers and LASER printers, the LASER decal film should be the best choice. After designing the images on Corel & rescaling on right dimensions, LASER printing the water slide decals on film and thereafter applying decals on model, I used a soft brush to apply a light coat of Microscale MicroSol to soften the decal and allow it to become part of the surface.
As soon as the water slide decals were dry, an acrylic gloss coat applied to seal the result so far. Once the acrylic gloss coat has cured, I tried to wash the paint by brushing artists grade oil paints with a broad, soft brush and spread the paint around until the desired colour density is achieved. At this point the oils would be workable for several hours. With a broad, soft, clean and completely dry paint brush, I draged over the oil paint, leaving dirt streaks. As the brush picked up the paint, I wiped it off on a clean, lint free cloth and continue process. “Lint free is the key phrase, as any speck of lint would adhere to the oil paint and destroy the finish. The beauty of this technique is that you can clean the oils off and try again if you goof up. I used a clean cloth and turpenoid paint thinner - not lacquer thinner - to wipe clean any mistakes and start over again. Some of the wash mixture is re-applied and the wash being wiped completely out of the narrow points.
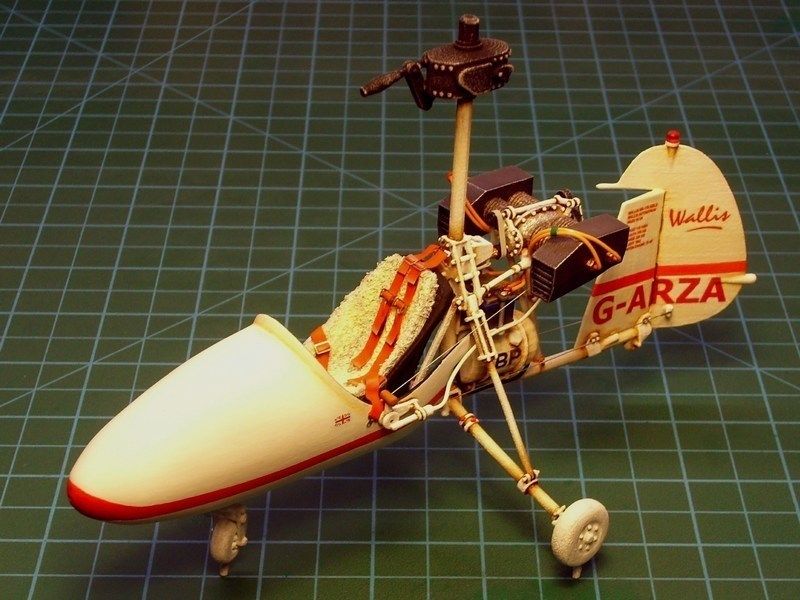
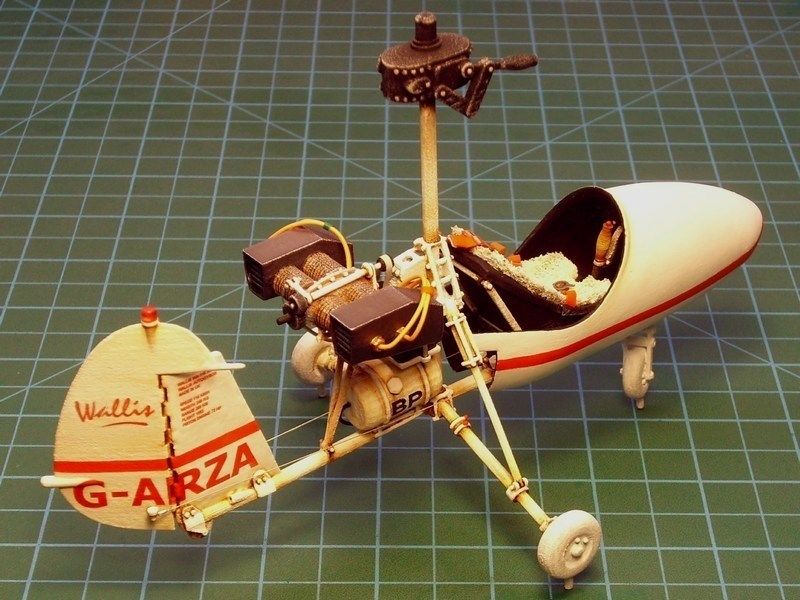
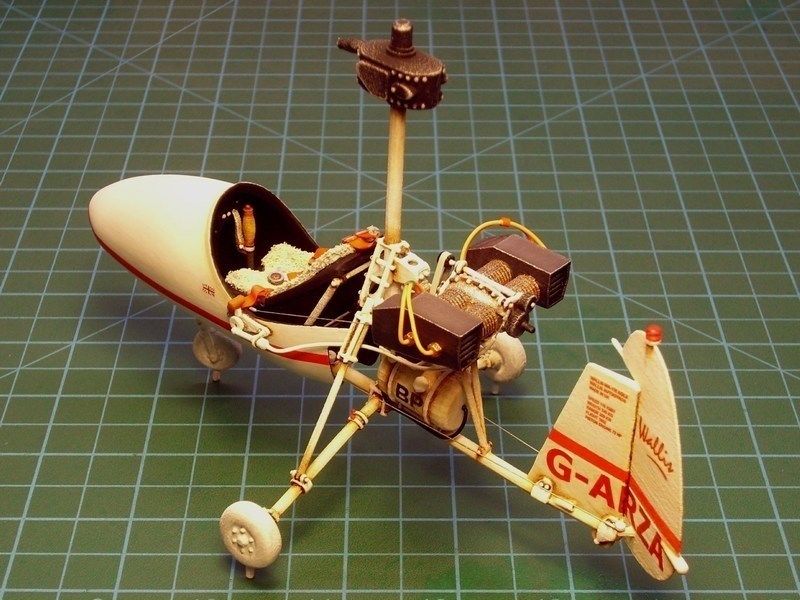


Some additional items, also designed from scratch and later 3D printed under 1/18 scale, such as fire extinguisher, 20 lt fuel canisters, wheel chocks and taxiway light unit, got also some paint & dirt effects. Maybe is not easily vissible, but there is also a bulb inside the blue cover of the taxiway light unit. Unfortunatelly, its hard to discern behind the dark blue glass


To replicate the G-ARZA callsign & Wallis logo on autogyro’s tail rudder and a few more written details on fire extinguisher & fuel canisters, I had to create some right-in-scale custom water slide decals. To do so, I used the A4 sized printable “Experts Choice Decal” film by BMF - Bare Metal Foil Co. The decal film is available in both clear and white one. The decal film can be printed on color inkjet printers, on LASER printers or a color photocopier to reproduce any digital image. Keep in mind that the inkjet decal film is intended for use with inkjet printers only. For photocopiers and LASER printers, the LASER decal film should be the best choice. After designing the images on Corel & rescaling on right dimensions, LASER printing the water slide decals on film and thereafter applying decals on model, I used a soft brush to apply a light coat of Microscale MicroSol to soften the decal and allow it to become part of the surface.


As soon as the water slide decals were dry, an acrylic gloss coat applied to seal the result so far. Once the acrylic gloss coat has cured, I tried to wash the paint by brushing artists grade oil paints with a broad, soft brush and spread the paint around until the desired colour density is achieved. At this point the oils would be workable for several hours. With a broad, soft, clean and completely dry paint brush, I draged over the oil paint, leaving dirt streaks. As the brush picked up the paint, I wiped it off on a clean, lint free cloth and continue process. “Lint free is the key phrase, as any speck of lint would adhere to the oil paint and destroy the finish. The beauty of this technique is that you can clean the oils off and try again if you goof up. I used a clean cloth and turpenoid paint thinner - not lacquer thinner - to wipe clean any mistakes and start over again. Some of the wash mixture is re-applied and the wash being wiped completely out of the narrow points.


Simply amazing!
Great job Nick 

phantom II
Master at Arms
Holly Molly  Outstanding


Cheers, Christian B)
 Outstanding
 Cheers, Christian B)
Nick_Karatzides
Member
CHAPTER VI - Concrete apron display base construction
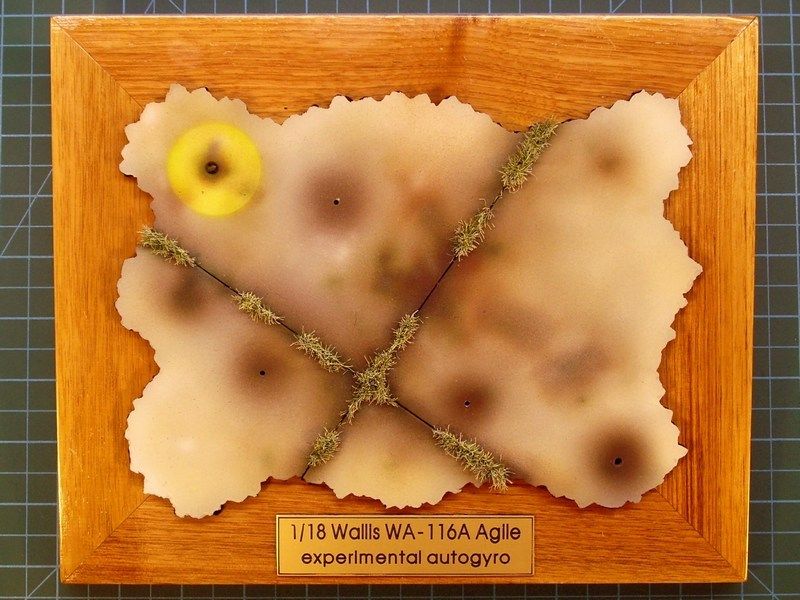
I found nice idea to place the Wallis WA-116 Agile autogyro model on a display base, simulating a maintenance & refueling area with short grass sprouted between concrete slabs. My goal is to recreate a scene of an airfield apron area where pre-flight activities were done. An apron is any area for parking and maintenance.
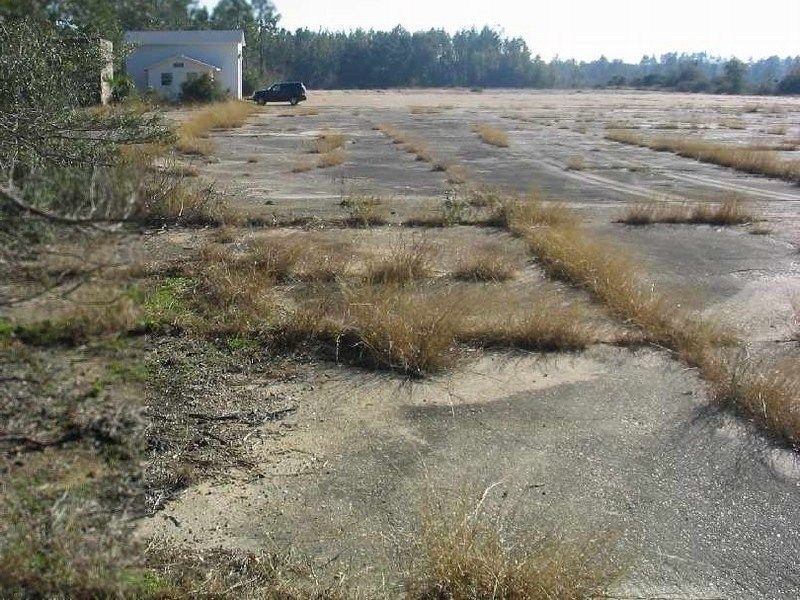
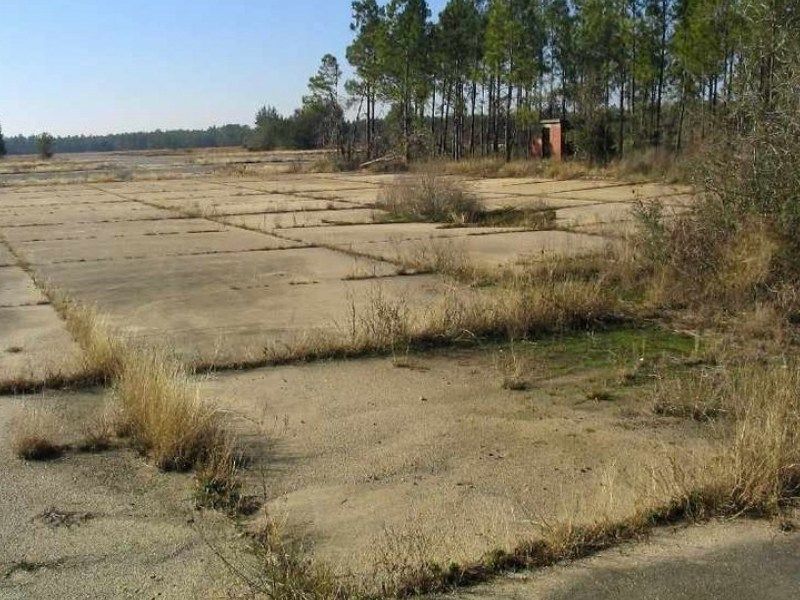
I add some grams of plaster powder and few drops of water into a soft rubber cup to make the right mixture. Materials like plaster, start as a dry powder that is mixed with water to form a paste which liberates heat and then hardens. Plaster remains quite soft for few hours after drying and this characteristic make it suitable for the job.
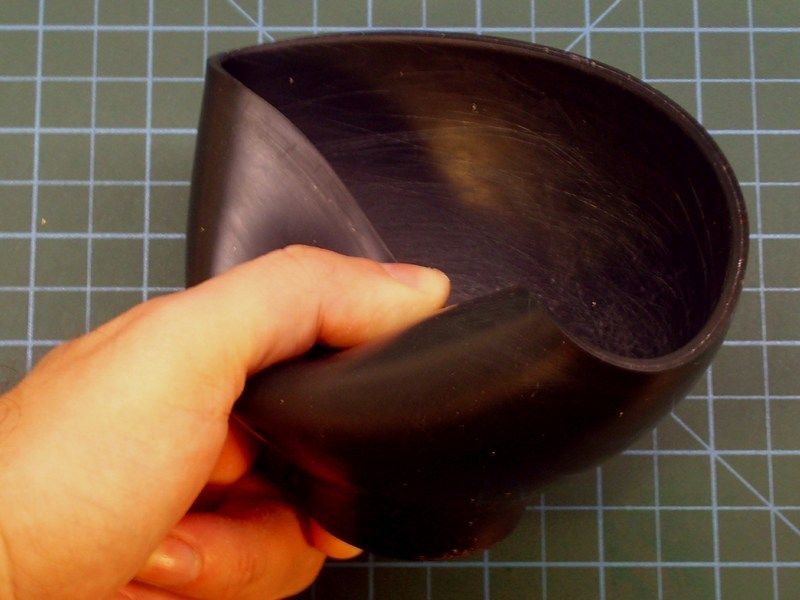
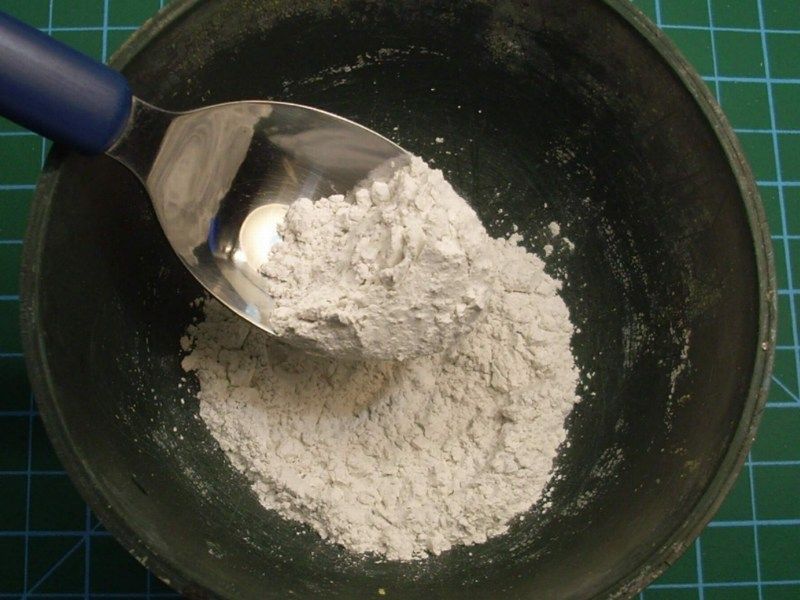
Keep in mind that:
- Adding salt into wet plaster mixture, reduce the plaster's hardening time,
- Adding vinegar into wet plaster mixture, extend the plaster's hardening time.
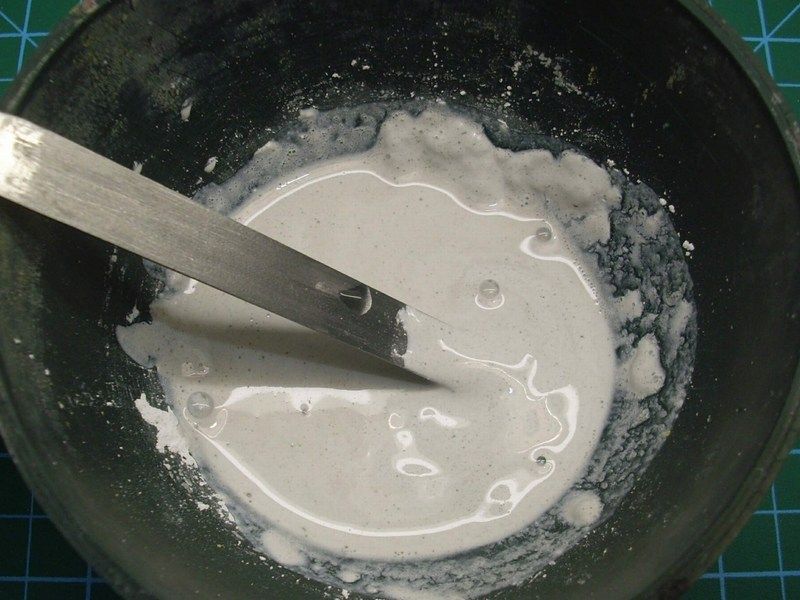
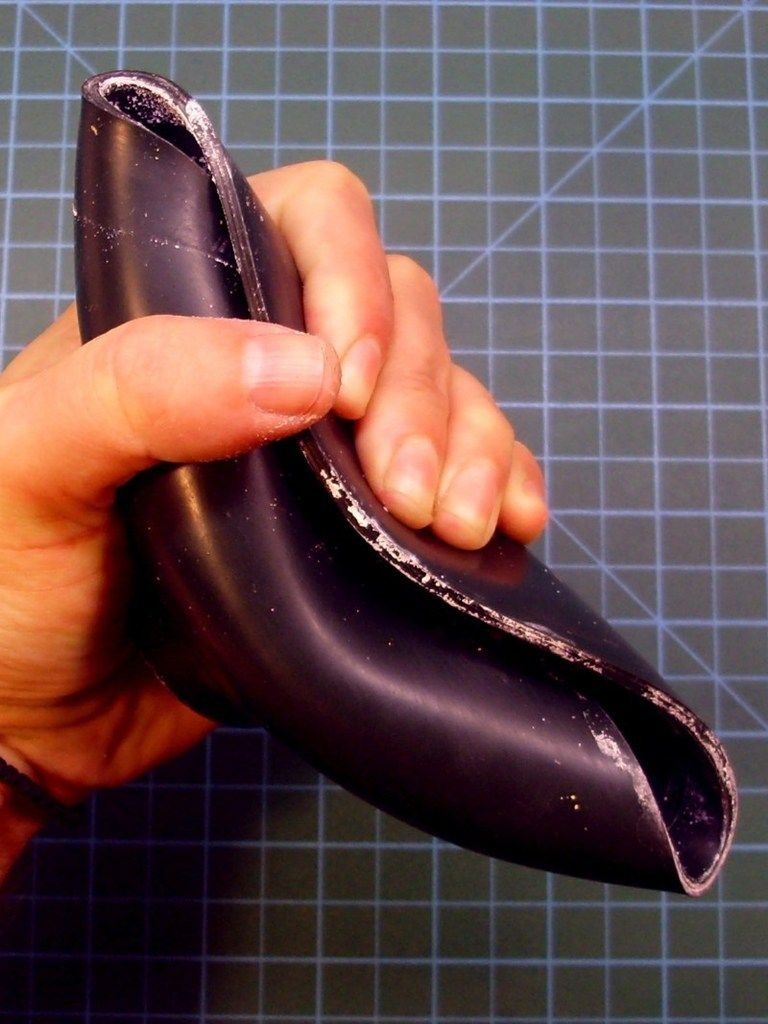
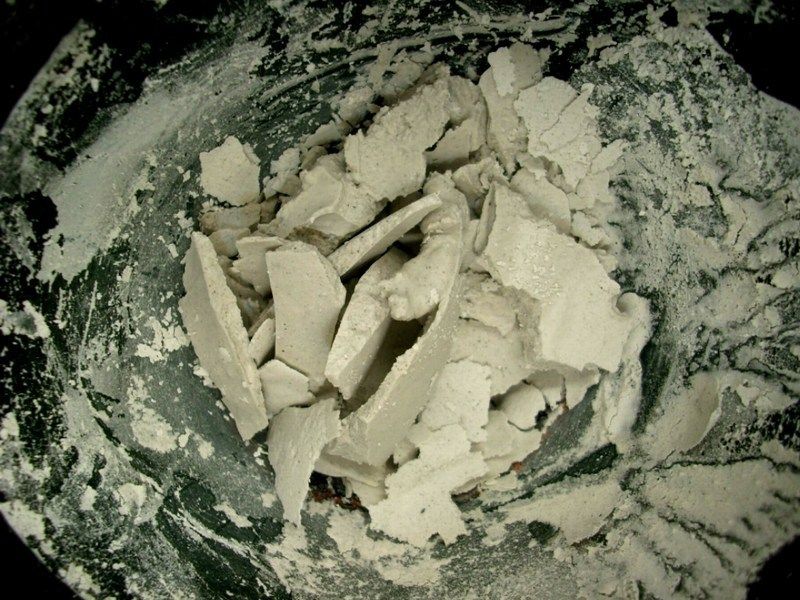
When the first layer of thinned plaster applied on a clean surface, a flat glass were pushed against the plaster to form a flat basic strong cast. The basic idea, is to produce a totally flat cast and later add some detail or apply extra stuff where is needed. I left it few hours to get harden in order to be sure that the cast wouldn't break when I would try to cut it into desired shape. Meanwhile, I took the soft rubber cup which I used to make the plaster mixture, squized it to break the last hardened plaster left inside, so it would be easier for me to clean it afterwards and prepare it for any future mix. That's the reason this soft rubber cup were used for.
As soon as the plaster cast got harden, cut into shape and the concrete plaques were lined with a scriber, I used my airbrush to paint it. As I usually like to do, three different acrylic paint layers were applied on the plaster surface. First, mat black colour covered the area and then a light grey applied with airbrush, spraying in almost zero degrees angle, to let the darker areas between the concrete plaques remain naturally dark. The corner was paint with lighter grey & earth tones and as soon as the acrylic colours dried, I tried some drybrushing on selected spots using sand tones.
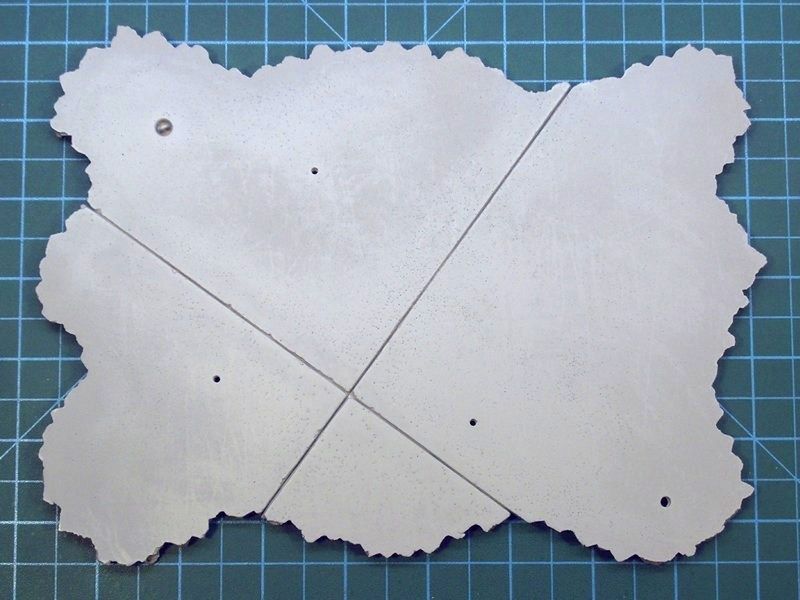
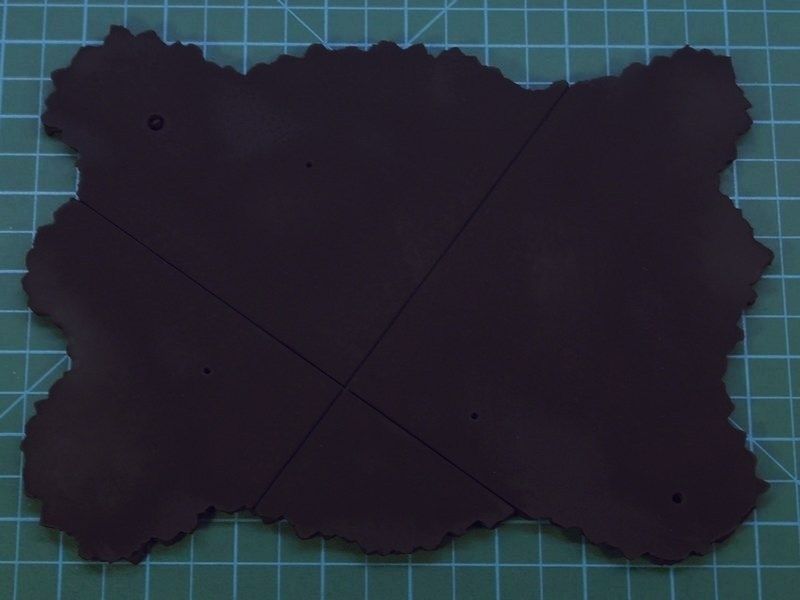
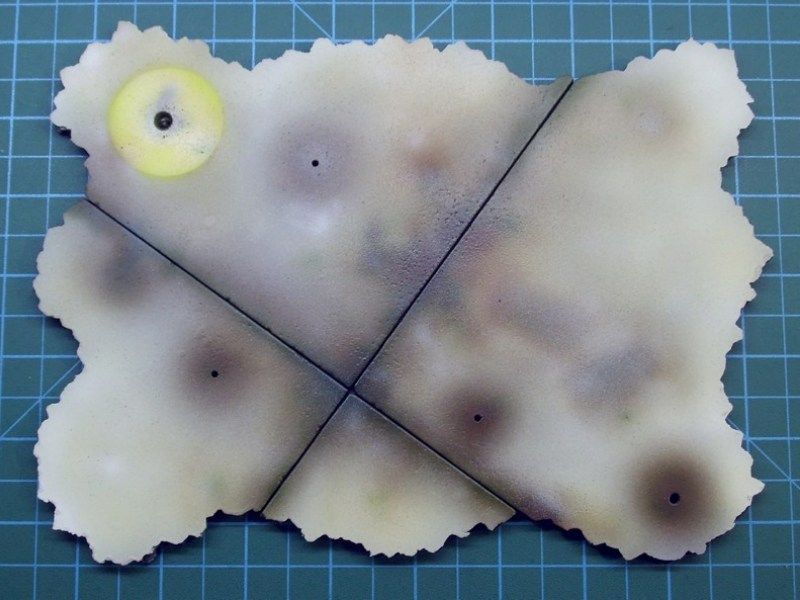
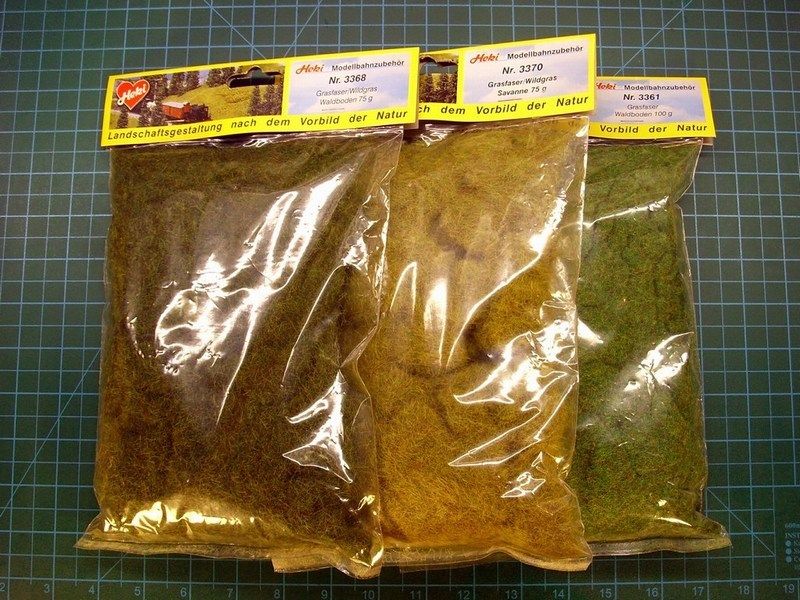
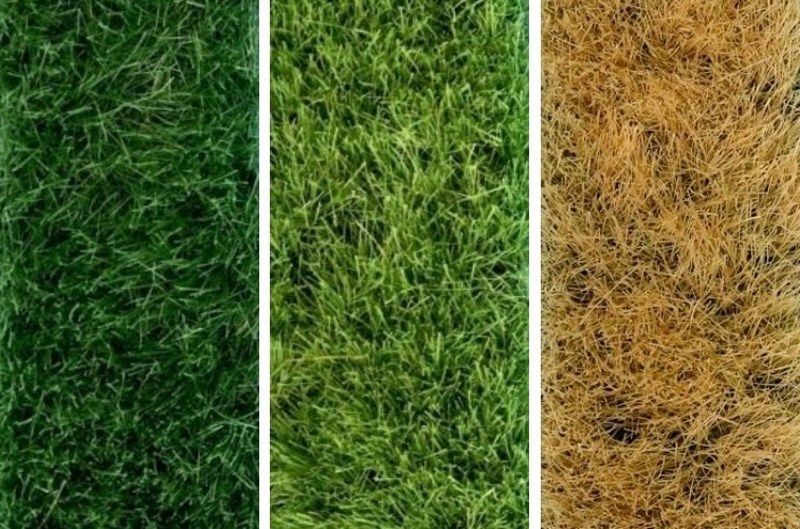
As for the vegetation that grew between the concrete slabs, I used some Heki static grass found at my local hobby shop. Heki, specializes mostly in train dioramas.
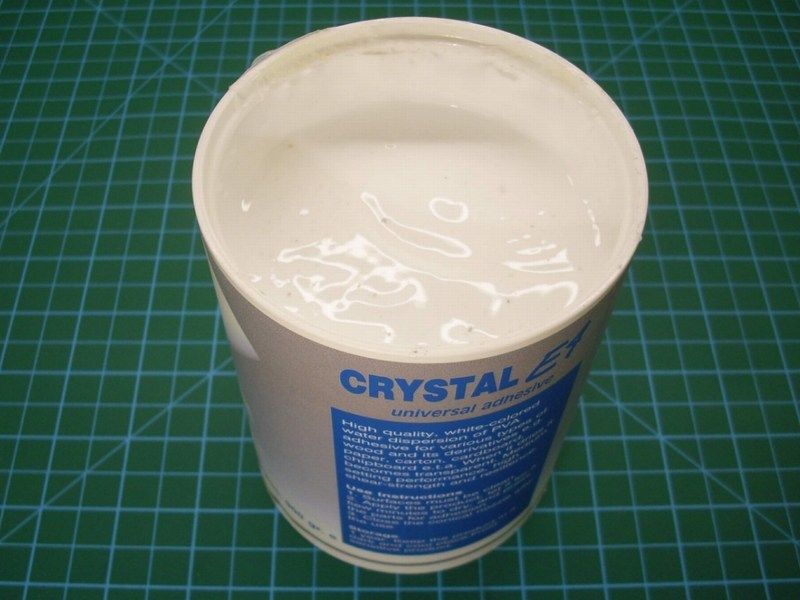
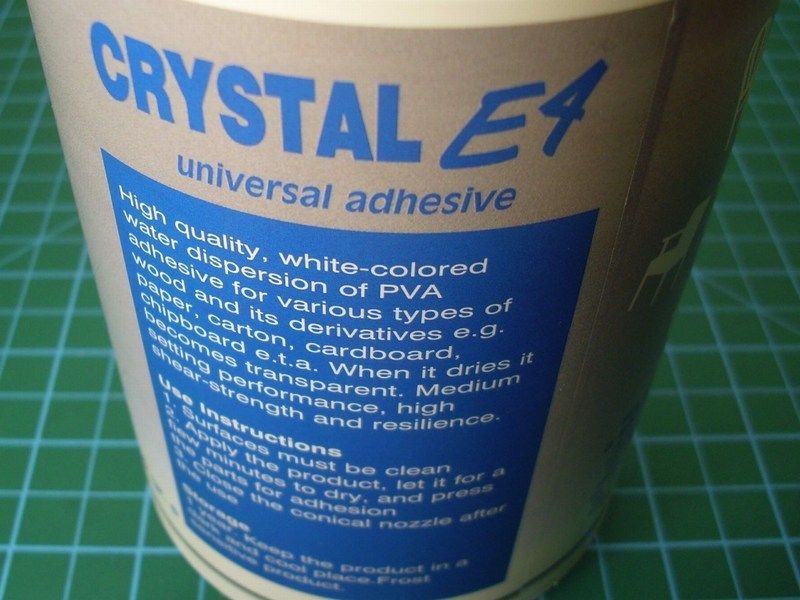
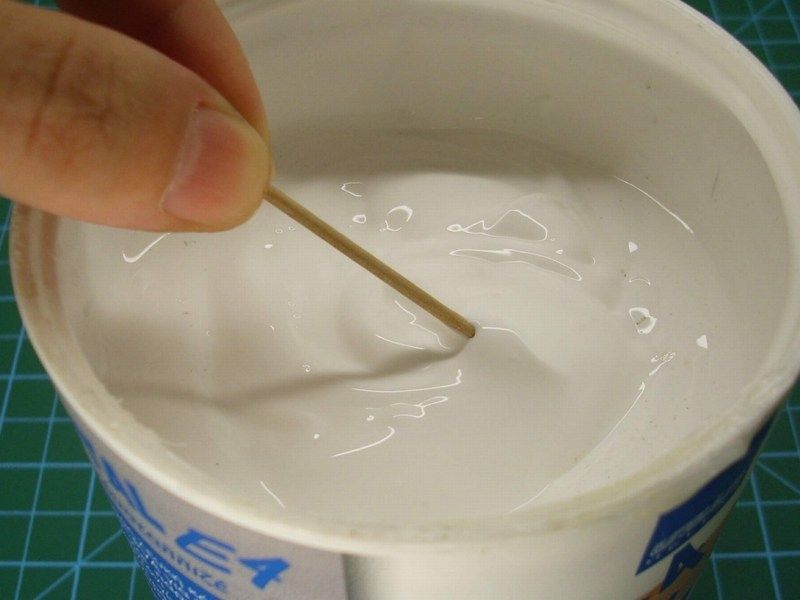
Water based white glue for wood, which becomes transparent when it dries, is just the right for the job. So, I opened a 500gr canister bought for €2 only, pick a small quantity, add just few drops of water with a syringe into a small metal container to make the right mixture and finally I applied on the desired areas to be filled with grass & plants, using a wet brush. Because the mixture is enriched with water based glue, it is easy to correct possible mistakes.
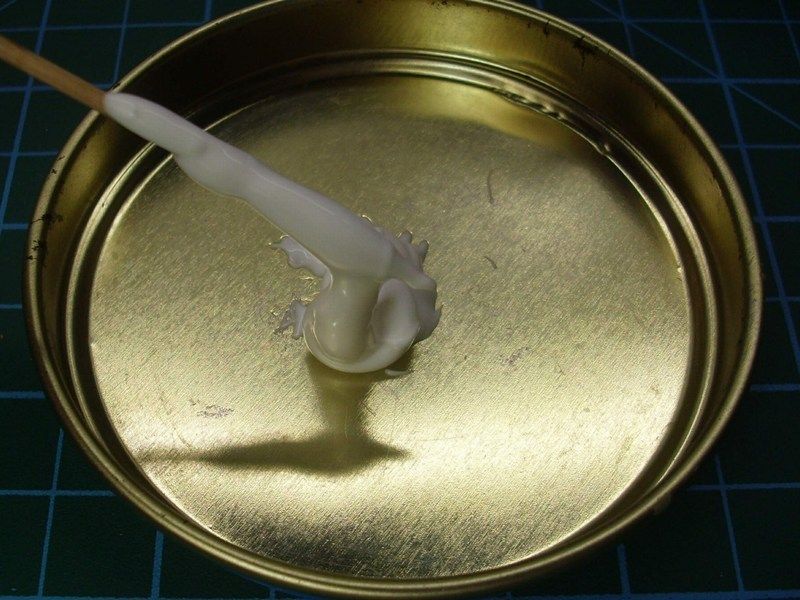
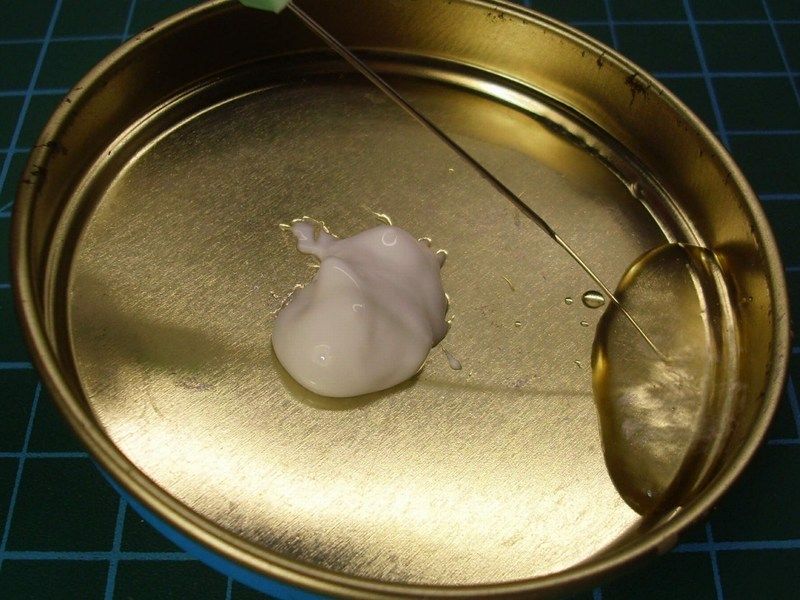
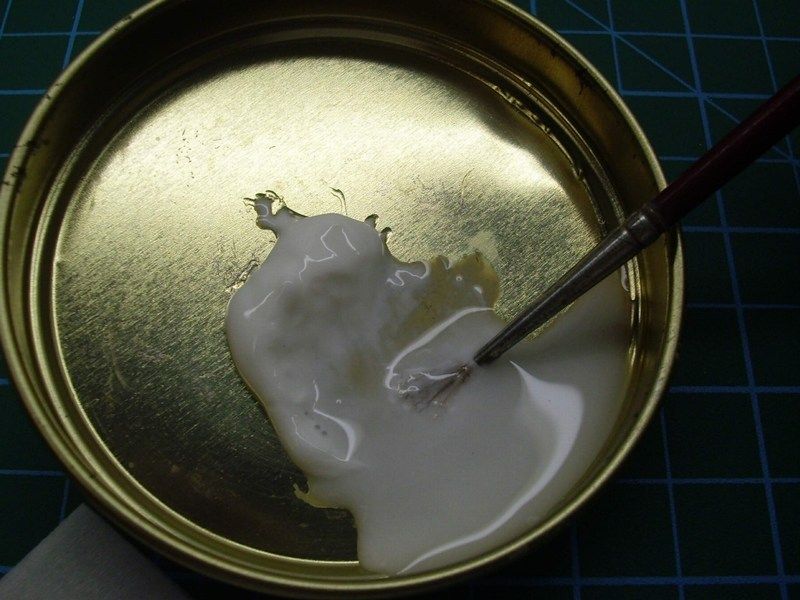
As soon as the result was OK, I sprayed over with Humbrol enamel mat coat, to seal the paint and grass, so far. I left it overnight and as soon as the enamel mat coat dried, I add very few light & dust effects with chalk dust and pigments. For those who may say that the vegetation sprouted between the concrete slabs looks excessive for an active apron, think again. I 've seen European capital international airports, with jungle-like grasss on apron ground area.
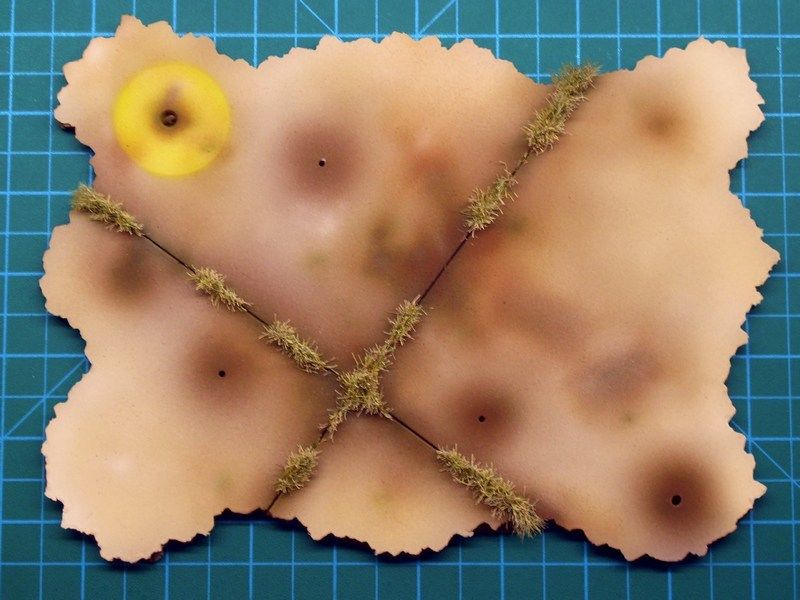
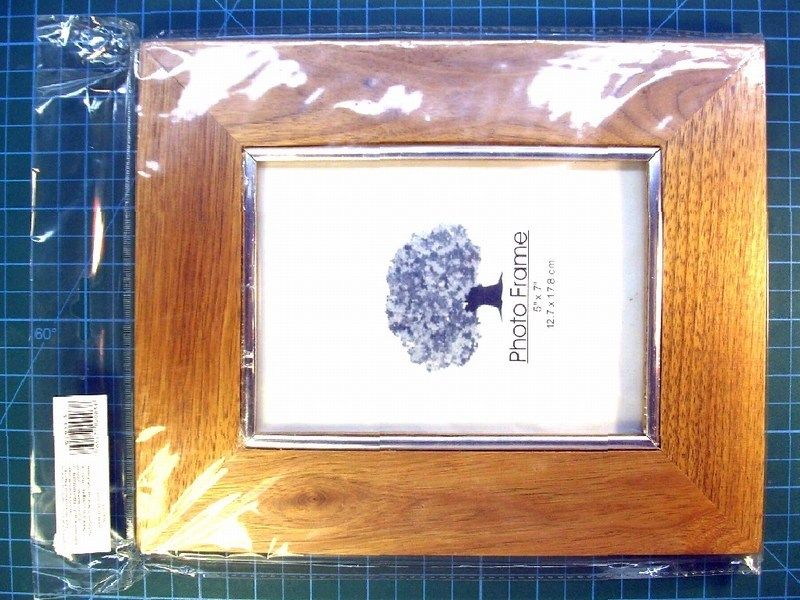
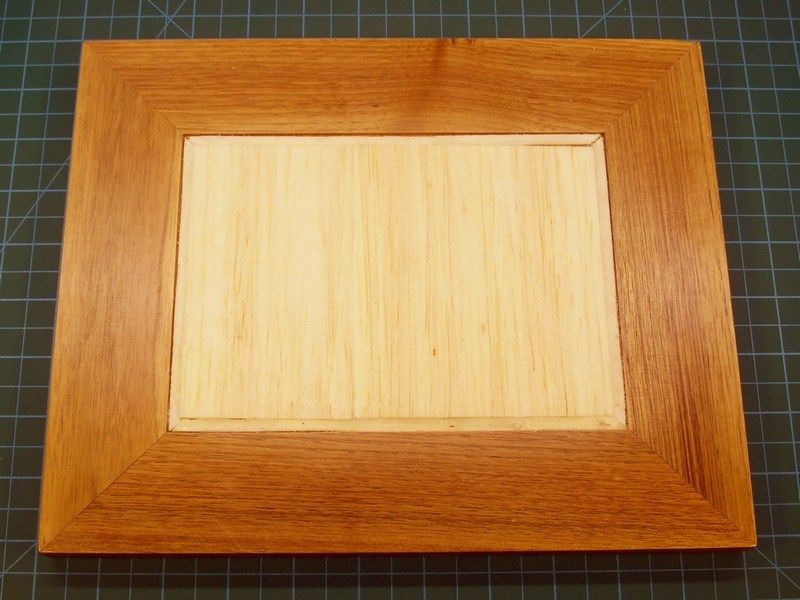
From my local store, I bought a 20x30 cm shiny laminated wooden picture frame. The empty space, filled with 5 mm thick sheet of balsa wood. The plaster made ground, paint already, carefully moved on laminated wooden base and secured in place with silicon glue.
Great tip about the salt and vinegar. 
Nick_Karatzides
Member
Use of catalysts in the process of a chemical reaction. Hundreds of MacGyver watching hours in front of TV during my childhood and simple chemistry applied to the needs of our hobby.Great tip about the salt and vinegar.
Nick_Karatzides
Member
CHAPTER VII - Attempting the final scene setup
As soon as the individual scale model’s parts, fuel canisters, fire extinguisher, both main & push rotor blades were already painted & weathered, I had to conclude the final part. To assembly everything in one piece and setup the final scene. The autogyro, would be the first to be placed on the apron concrete ground display base. The model secured in place, by wedging the pins under the wheels into holes that had been already opened on plaster. Yes, that was the reason that the wheels had pins underneath! Later, the fire extinguisher & both fuel canisters secured on ground with hidden metal pins and glued with transparent silicon. Final details were added, such as headphones set, tire chocks on main LG wheels, rotor blades & locking bars, some extra dust & weathering effects on some areas, etc. As a last moment’s addition, an earthing cable also added to connect autogyro's frame with ground and discharge electricity while refueling process.
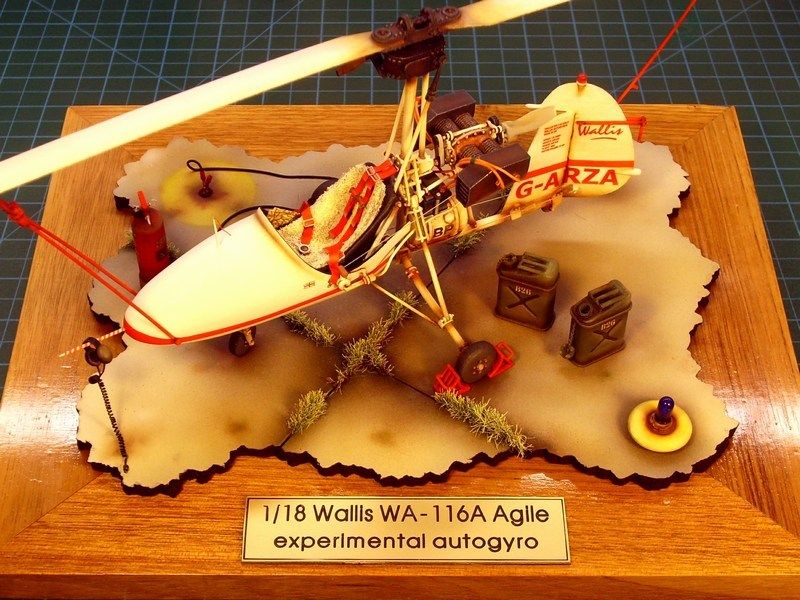
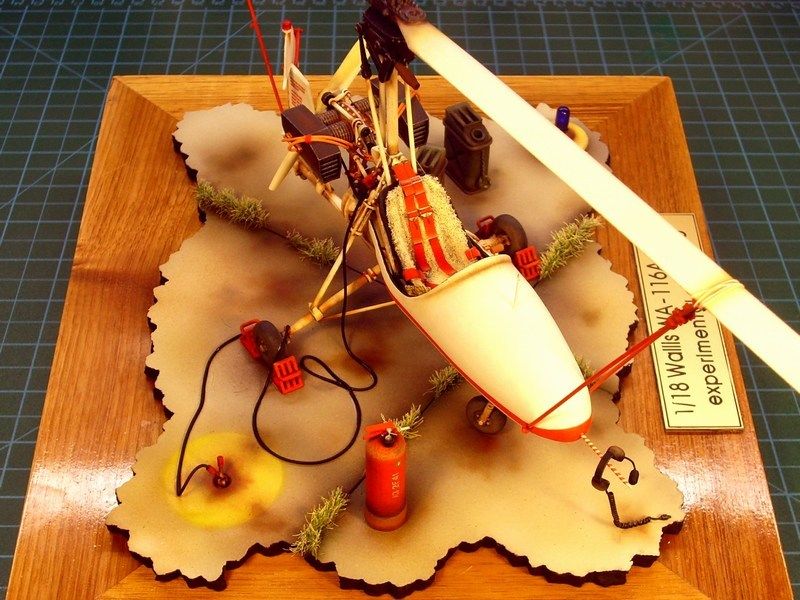
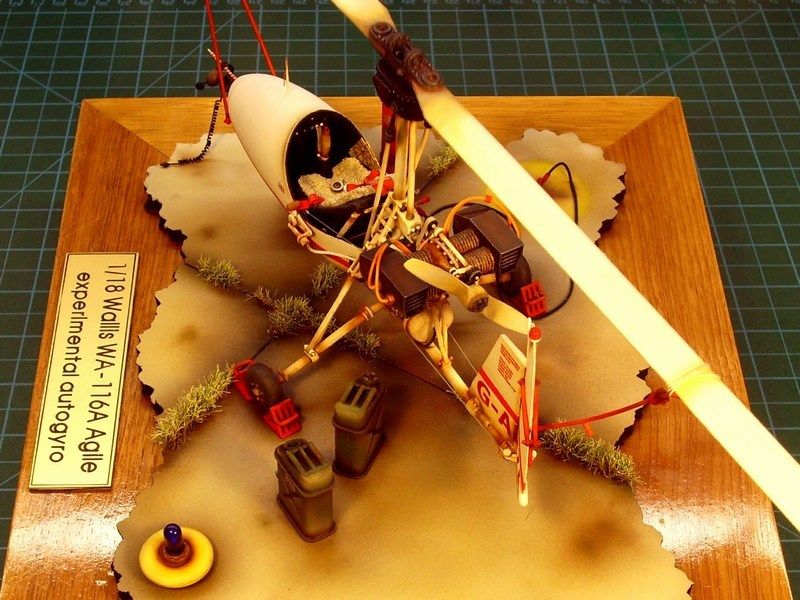
As soon as the result was OK for me, the scene sprayed over with Humbrol enamel mat coat, to seal the work so far and left it overnight to dry. The next day, I did a final inspection on result and set it up to shoot some pictures.
Nice work Nick 
Similar threads
- Replies
- 4
- Views
- 1K
