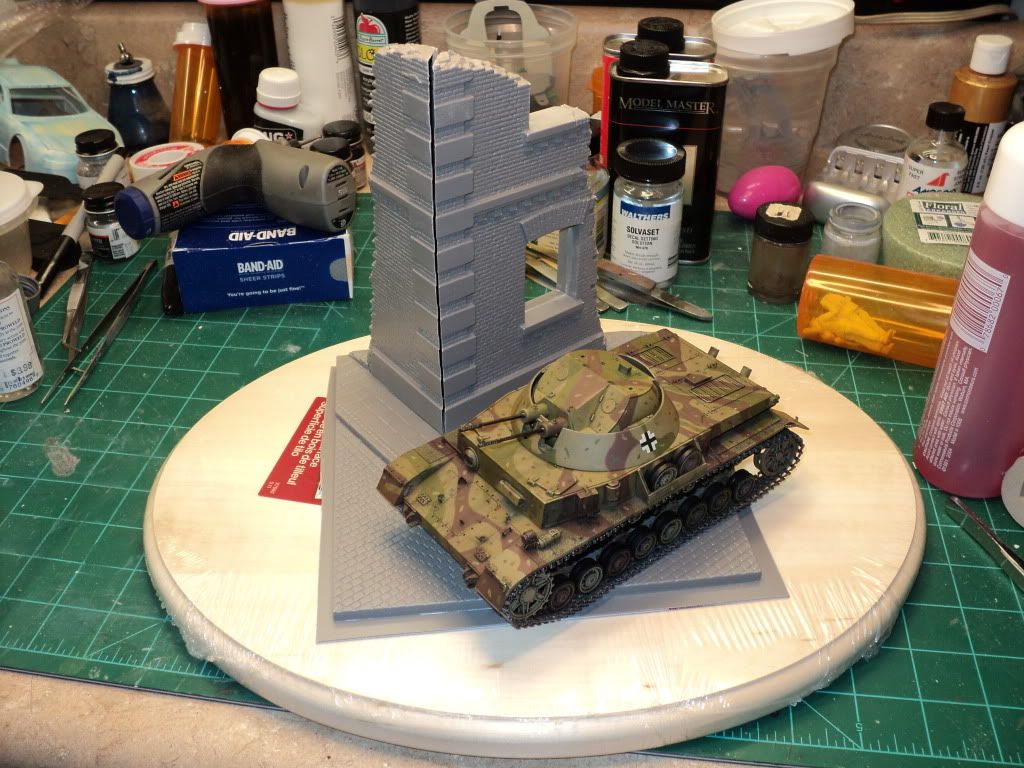
More progress!
I think this might be the first time I've posted updates 2 days in a row on this project, haha.
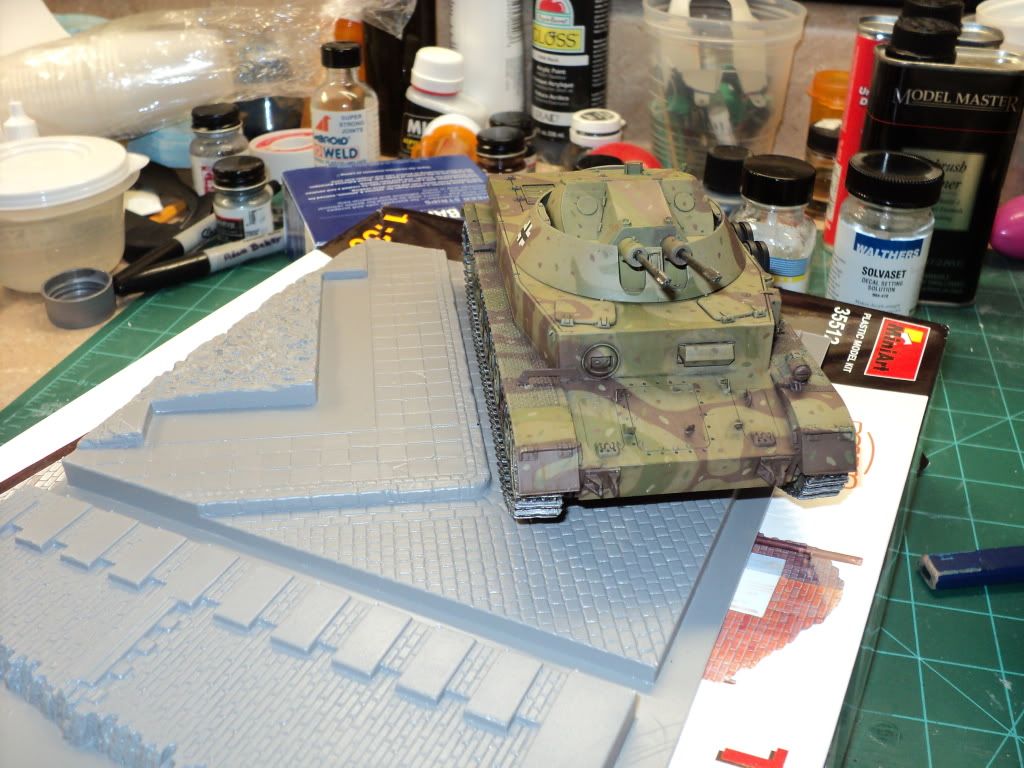
Got home from some family stuff this afternoon, and pulled the walls out and started working on it again.
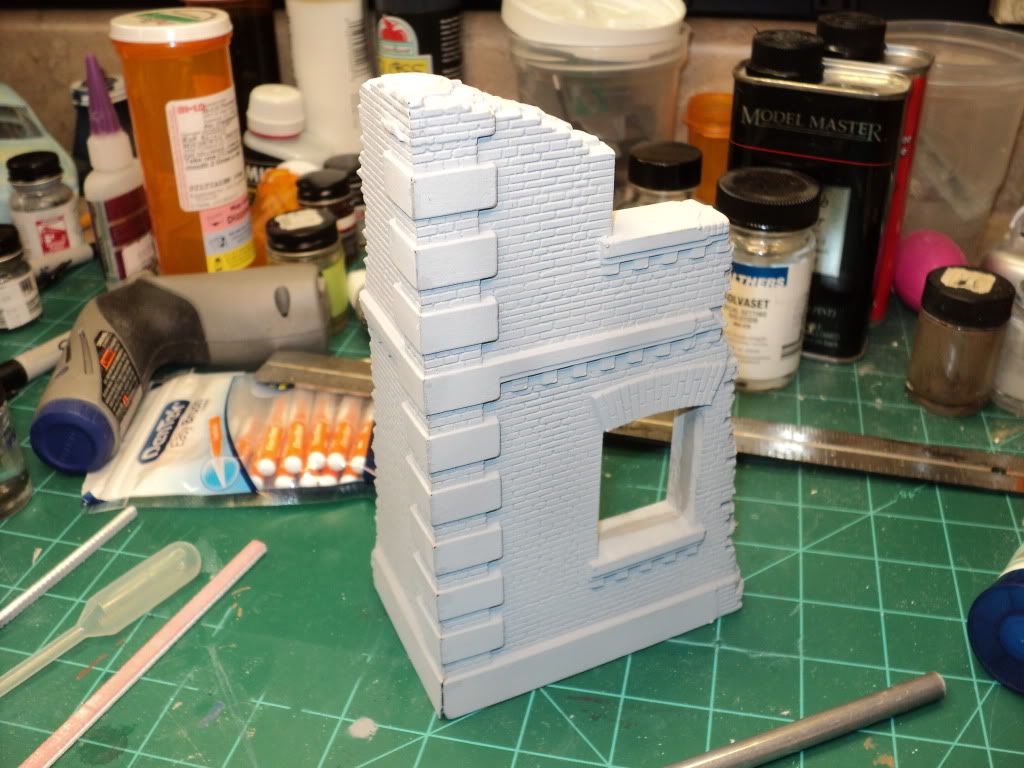
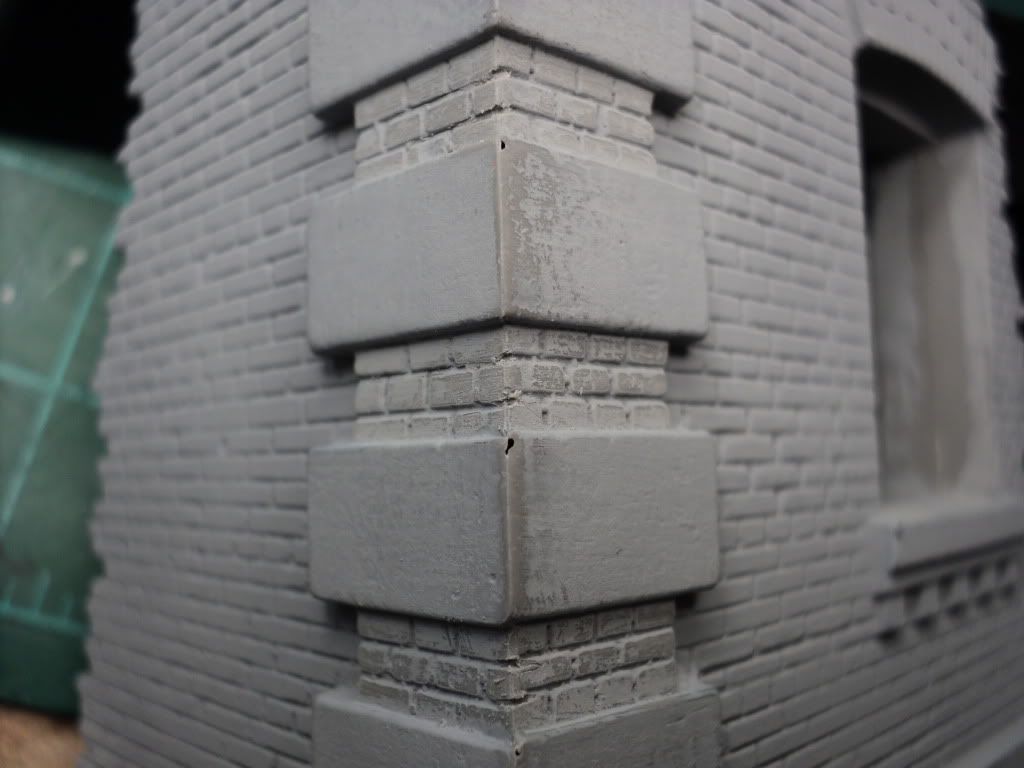
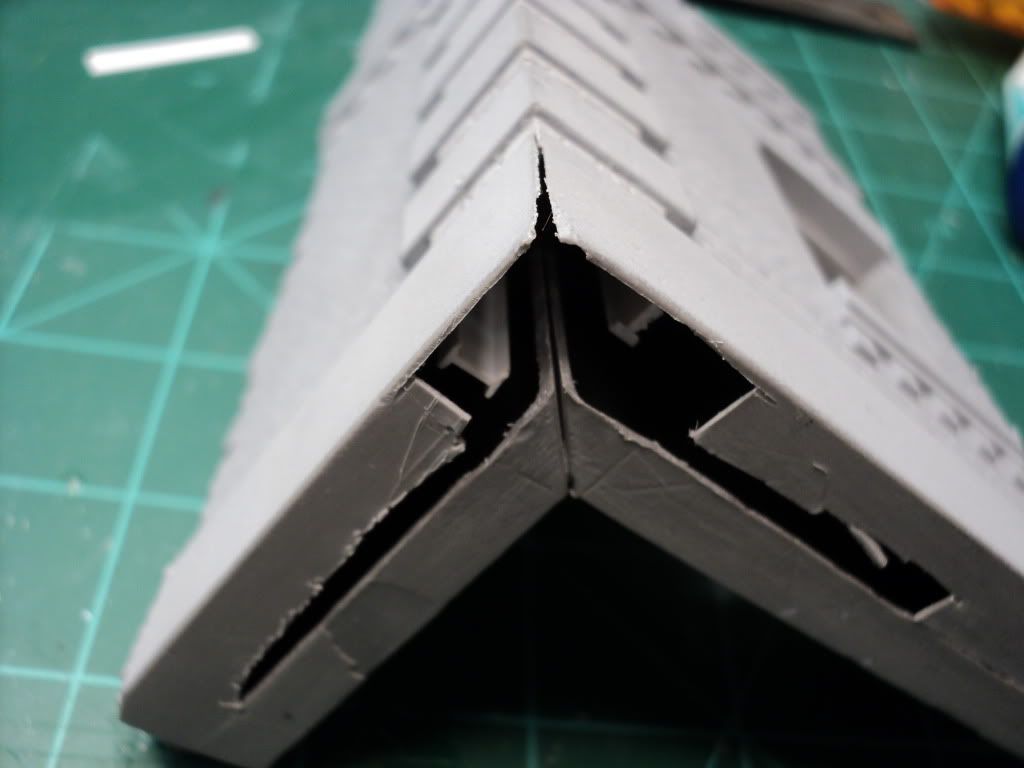
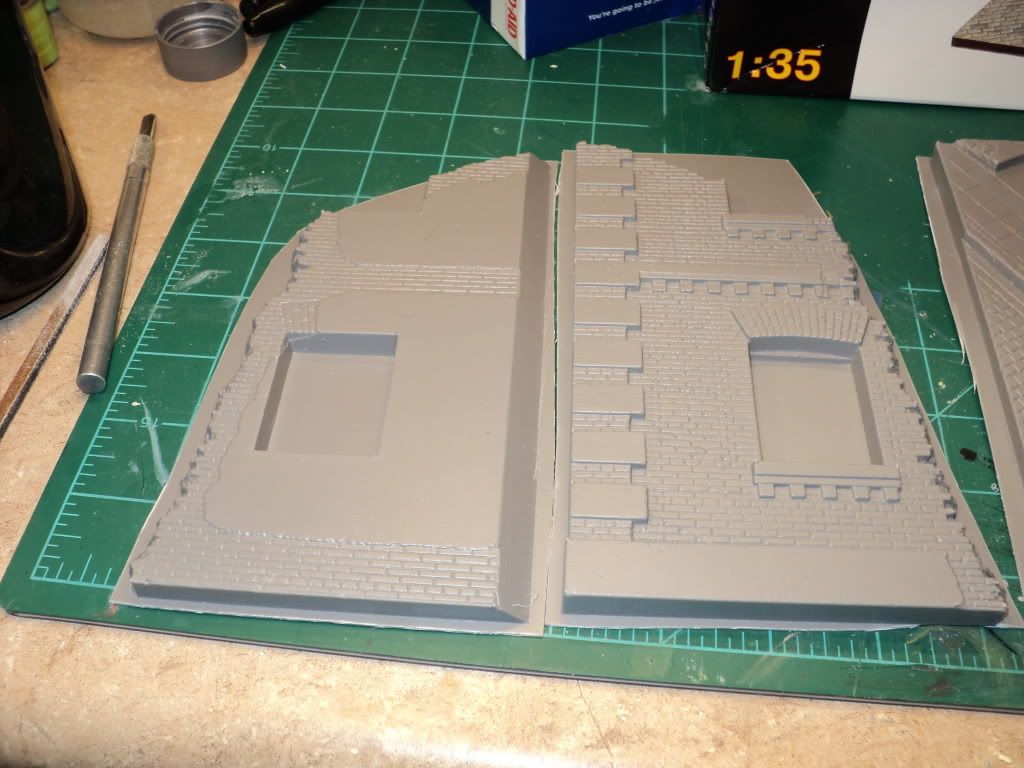
Last night, one of the things I noticed after they were glued together, was a mismatch in the brick pattern at the corner joint. At the top, the mortar joints align pretty nicely, but as you get lower on the wall, the joints start to move apart, and by the time you get to the bottom of the wall, its off by almost half a brick.
Here's what it looked like.
At first I thought I could fix it by just carefully working the joints w/ an x-acto blade and one of my razor saw blades, but after awhile I realized this just wasn't possible, as you can see in the picture above.
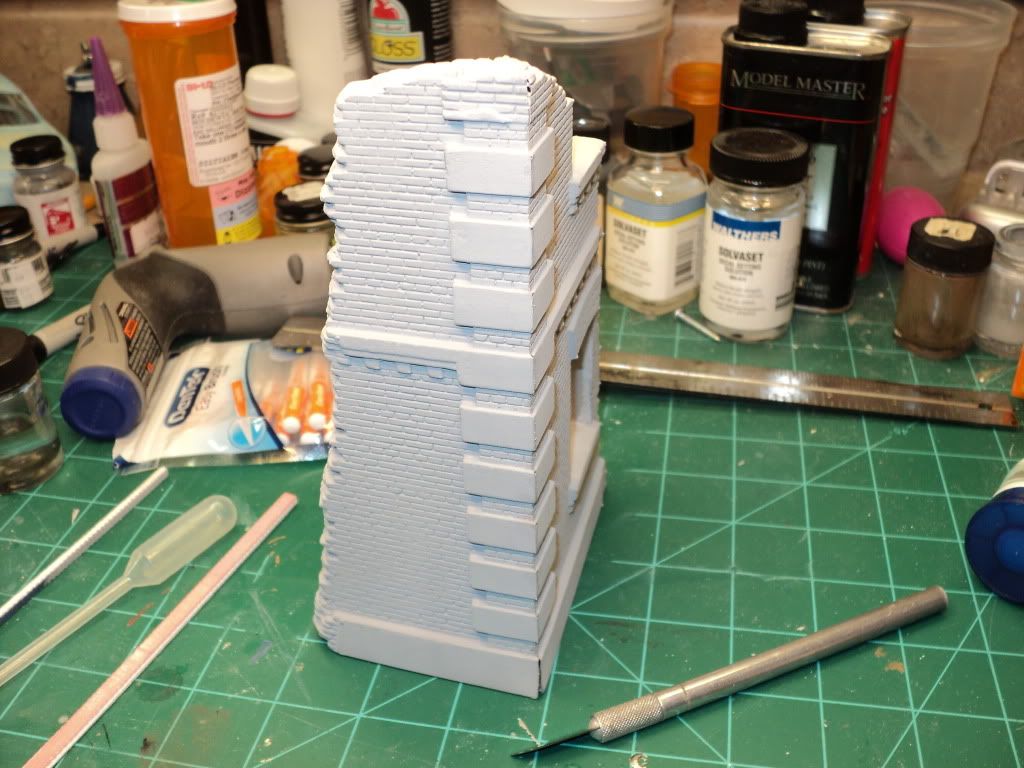
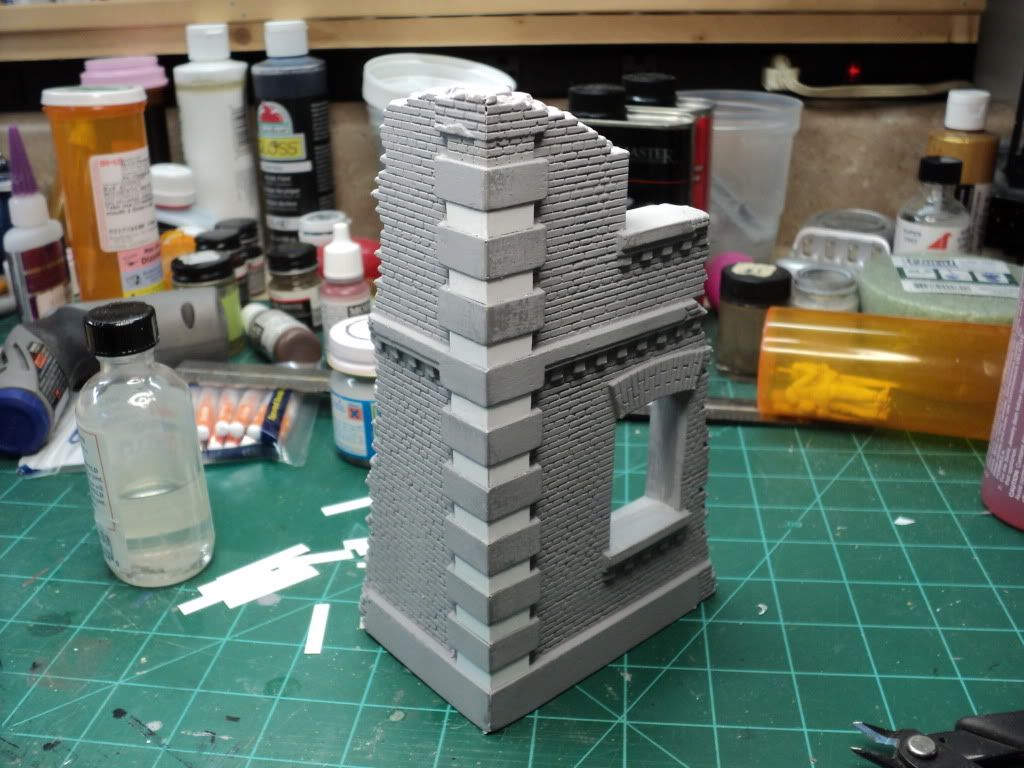
So I started thinking about my options for fixing it. One thought I had, was to fill the mortar joints in w/ superglue, and then re-scribe the the joints, but I really didn't like that idea. I've never done much scribing, so I figured it wouldn't come out real good, plus its pretty tight in the opening, only about .225" wide, so not a lot of room to work w/. So I started thinking about just covering up the bricks. I've seen architecture where there are concrete or stone at the corner, so I started looking for images last night, and came up w/ this one, and it was exactly what i had in mind.
You can see how all the corner joints are stone/concrete w/ the rest of the wall being brick. Incidentally, Iron Mike informed me this morning, after much painful searching last night, that the term for this is Quoin (pronounced Coin), which thus yielded all kinda of wonderful examples of what I was looking for, haha. Its amazing what you can find, when you know what something is called.
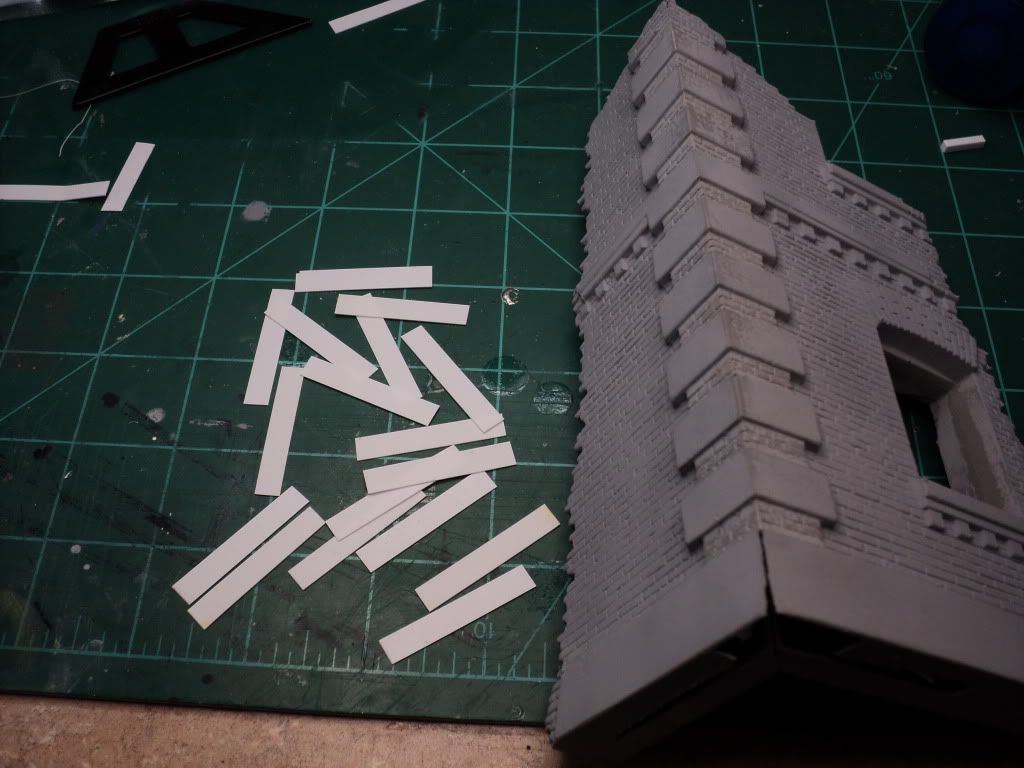
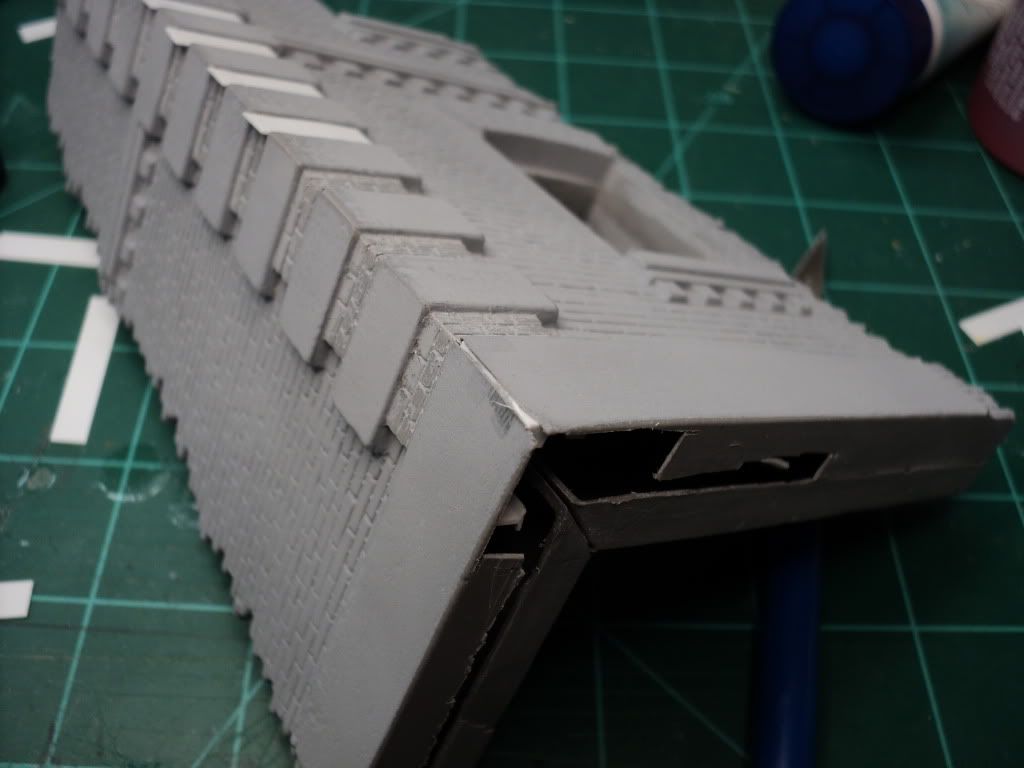
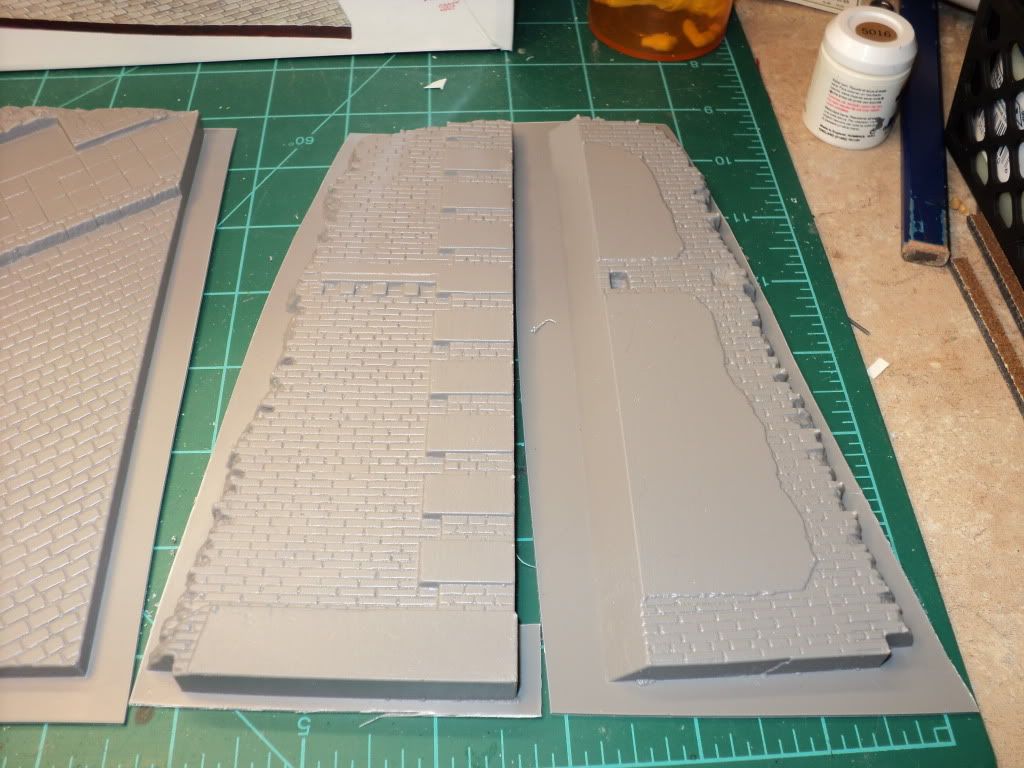
So anyway, the plan is to cover the mismatched brick pattern w/ sheet styrene, and then I'll paint the whole corner up to look like brick.
I started by measuring the openings and pulled out my Chopper II and cut several strips that were close to what I needed, but ended up being slightly over-sized, which I think worked out for the best.
What this let me do, is fine tune each strip for the opening it would be used in. I found that the openings weren't all the same size, so I pulled out an Emory file and sanded each one till they fit.
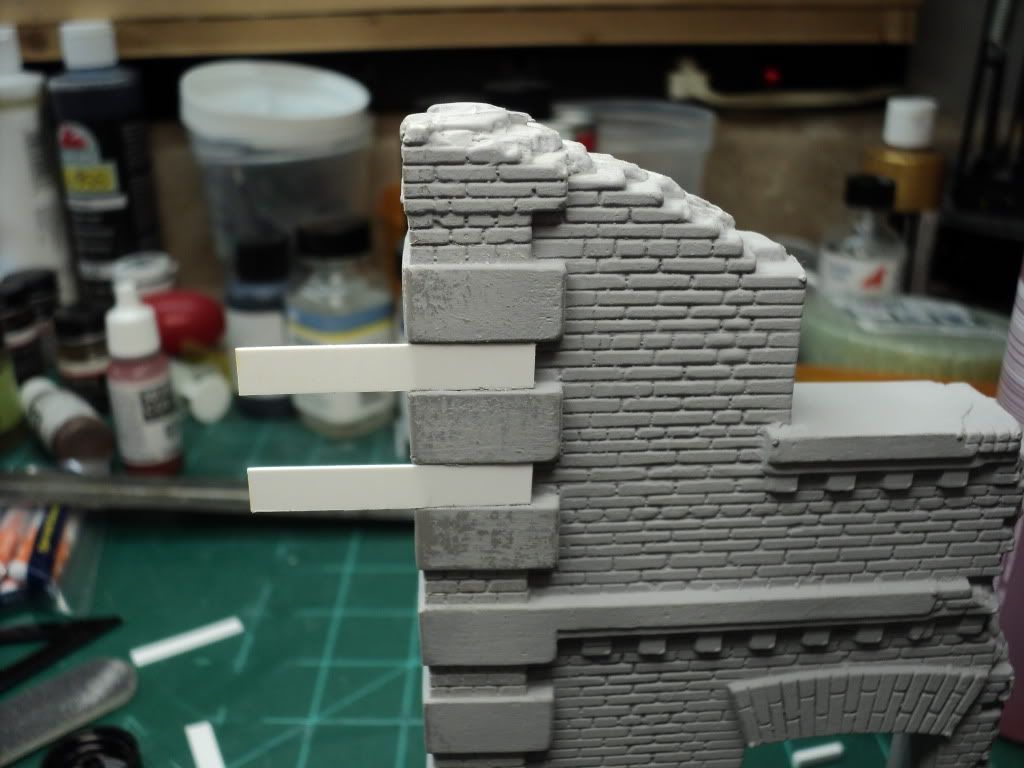
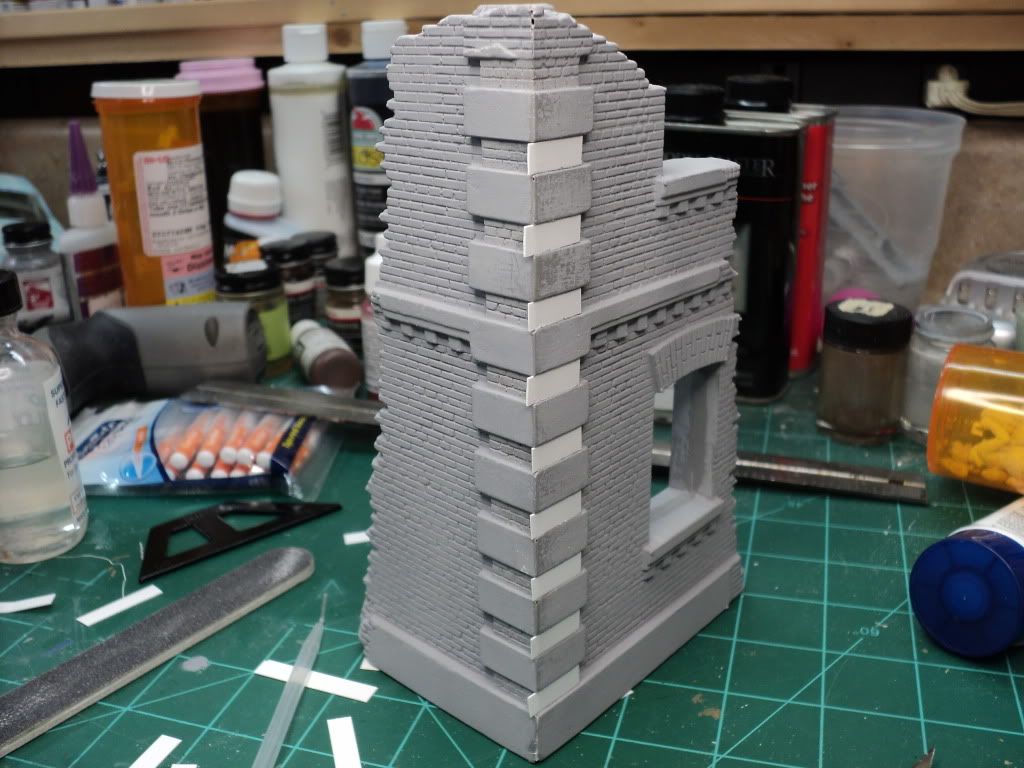
I then glued each one in place, and cut short the extra material.
The plan is to let the glue dry overnight, and then tomorrow (a paid holiday I have to add :yipee ) I'll carefully trim the extra plastic off and then sand it flush, and I'll repeat the process on the second side. I think that for the side opposite the corner, I'm going to add a small amount of Mr. Surfacer 500 instead of trying to add a very narrow strip of plastic that may, or may not, work how I would like it to.
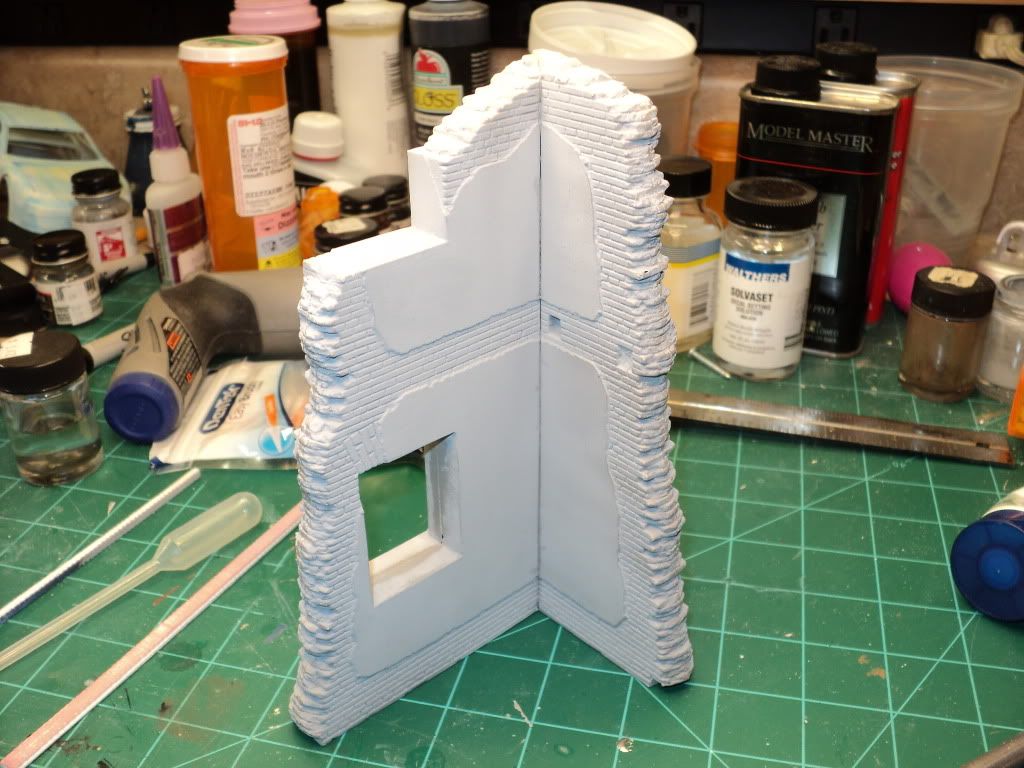
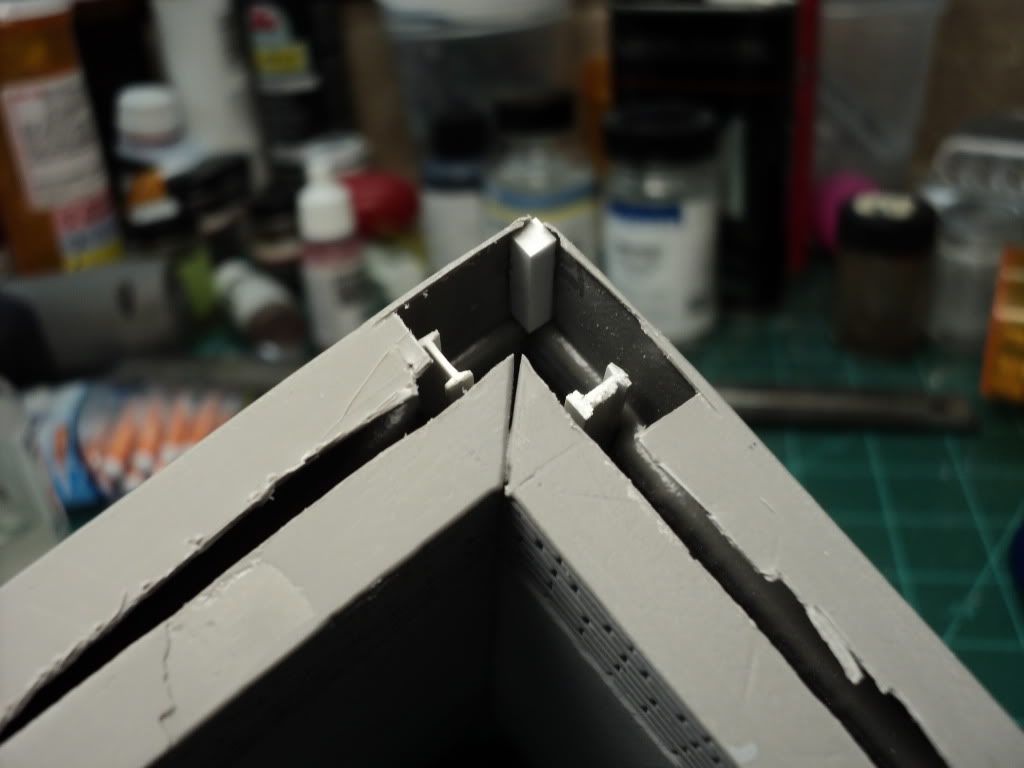
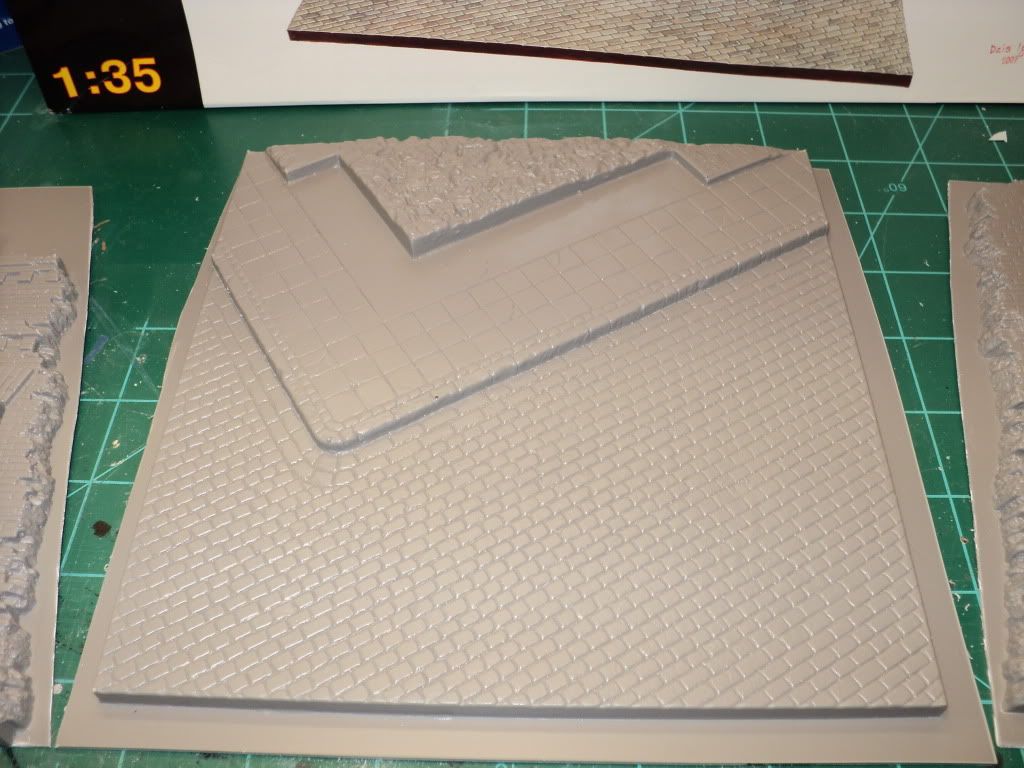
Also tonight, I was able to finish gluing the wall. As mentioned last night, I cut the bottom of the wall panel, to give access to the inside of the joint at the bottom.
Once this was done, I measured the length of the faces, and then cut a piece of the .1" square rod I had, and carefully glued it to the first face. After a couple of minutes, I then applied glue along the rod and the 2nd face, and it seems to have worked quite well. The corner feels tight, and it doesn't move at all. Now I just need a little bit of putty, and no one will ever know that there was a problem w/ this corner joint.


")