• Modelers Alliance has updated the forum software on our website. We have migrated all post, content and user accounts but we could not migrate the passwords.
    This requires that you manually reset your password.
    Please click here, http://modelersalliance.org/forums/login to go to logon page and use the "Forgot your Password" option.

BATTLE BLOG # 1 - THE LAST TIGER / BERLIN '45

Hi Christian, :Hiay
yeah that's a bit of a mod - I wanted it to appear to be in the jammed open state from heat and rust, keeping in the mood of the whole vehicle being a old soldier sent in for final battle.The kit allows you either position if you choose to use the older sprue included in the kit instead of the recommended newer moldings.
Just wait for the wheels, they ended -up being quite a task matching the missing ones in the photos and finishing off the damage - next post.
(y)

Ian.

That was my thought as I spotted it....Neat idea .

As you probably know, I'm not a armor guy but I am certainly enjoying all this modifying and carnage taking place right here (y) (y) (y)

Cheers, Christian B)
 
Chassis update - WHEELS

Well I have had exceptional fun working out which wheels are missing and which are damaged, plus a little license for a few damaged parts of my own. 6 - 7hrs on these wheels, matching and damaging. :cheer:
I have followed the references for both sides of the vehicle and was surprised that most details were viewable.
I have once again bought us back to my starting photo as this has the best shot of the left side, which I have matched the missing details plus shapnel and shot hits as best as possible. I did the same for the opposite side but the details is not quite as clear so please go back to the beginning if you wish to look at more reference photo detail.
Each side was damaged differently as per the reference photos - from what I can see of the right side it has less hit damage to the road wheels.

6882959150_74de9ef3b9_o_zps3d63aae3.jpg


The right side (left side looking from underneath)front double has been severely damaged and I finishing -off stripping the rubber Tyre from the outer wheel.You can also see where I have used the grey Dragon hub basically because I ran out of 'Kasten ones. The size difference is notable in these shots.

DSC00746_zpsb5519e58.jpg

left side
DSC00740_zpsa6c5fc79.jpg

DSC00744_zps8374f444.jpg

DSC00743_zps90579db4.jpg


RIGHT SIDE
The right side has a couple of axles with missing double wheels that allowed use of the outside hub detail that was hidden behind the road wheel - my reason for using the ModelKasten road wheel set - they build -up like the 'real deal ' allowing damage detail to be modeled easily.
I still need to model the mounting bolts sticking out of the hub - that will be next.

DSC00741_zpsbbfec663.jpg

DSC00742_zpscf382463.jpg
 
That's really cool stuff Ian, you going to use any type of threaded rod for the mounting studs on the wheels? Scale Hardware has some great stuff!

Thanks MP - looks like the 'Shizzle'
- I have used Scale hardware nuts and bolts before (my Stug 3 on a flat car build )but did not realise that they had threaded rod. I will work out the size and 'get me some'.

Ian.
 
BATTLE BLOG # 1-THE LAST TIGER1 BERLIN '45 Update

September update.

Finished off the construction finally.
Lots of fiddly bits added to the outside in the way of small PE and wing nuts, some scratched clamps and a new fender. Also added the last interior bits needed from the Academy Kit.
The tool box frame needs fixing and I still have to add the radiator pipe on the exposed side of the rear deck. Can't do that until I have painted the interior.

Here is where I am up To. Small details will get some clean-up as well as the tank overall - remember that the Macro is a harsh Mistress and shows more than you can see with the 'naked eye'.

DSC00846_zps06acda07.jpg


DSC00843_zpse34a5f0e.jpg


DSC00848_zps434b4c26.jpg

ADDED THE CENTRAL WHEEL PINS BUT JUST USED PLASTIC ROD.They look bent so I will need to adjust them - the Macro is a tough gig on detail. :(
Also added a new 'scratched' fender with the triangular rear end frame
DSC00850_zps7924083e.jpg


DSC00849_zps2e922cec.jpg

Measured the side clamp's positions for the PE track cable without the cable - measured this off a nice scale diagram that Dragon provide in the instructions - once again though no positioning information provided beyond a diagram. I marked the positions according to the 2 different assembly pieces 'M or N.
DSC00842_zps9d188611.jpg


DSC00851_zps7ec77951.jpg


Tool box frame has come off partially and will need fixing.
DSC00855_zpse733158c.jpg


DSC00858_zpsc01592a0.jpg


'Scratched' tow cable to match the photo - position will be right when final placement is done. The cable does not show on the other side so I am going with a damaged one. :eek:hyeah
DSC00860_zps20147c1c.jpg

DSC00847_zps495234cf.jpg


-And as it appears in the original photo - apart from the fact that I forgot to leave open the rear escape hatch.
DSC00862_zps36bcd40d.jpg

DSC00866_zpsf859a5b9.jpg

I have decided to stick with the magic track as the detail is quite nicely done and I would like to keep the individual Kasten track for another Tiger that is being worked on.
DSC00870_zpsa4b7b389.jpg


My Bison decals have also arrived so I have the correct numbering
DSC00868_zps6103c18e.jpg


See you soon for Paint! :Hiay
Brokeneagle
DSC00869_zpsf8e5e6fc.jpg


I will use these nice Gen 2 figures from Dragon.....
DSC00871_zps3708ae43.jpg


Paint will be the next stage so see you then!
Brokeneagle
 
(y)
James, Christian, Luiz, Andy, MP, Bob, Mr T & Ron. ;)
Thanks everyone, glad you liked the build and thank you for posting a reply.

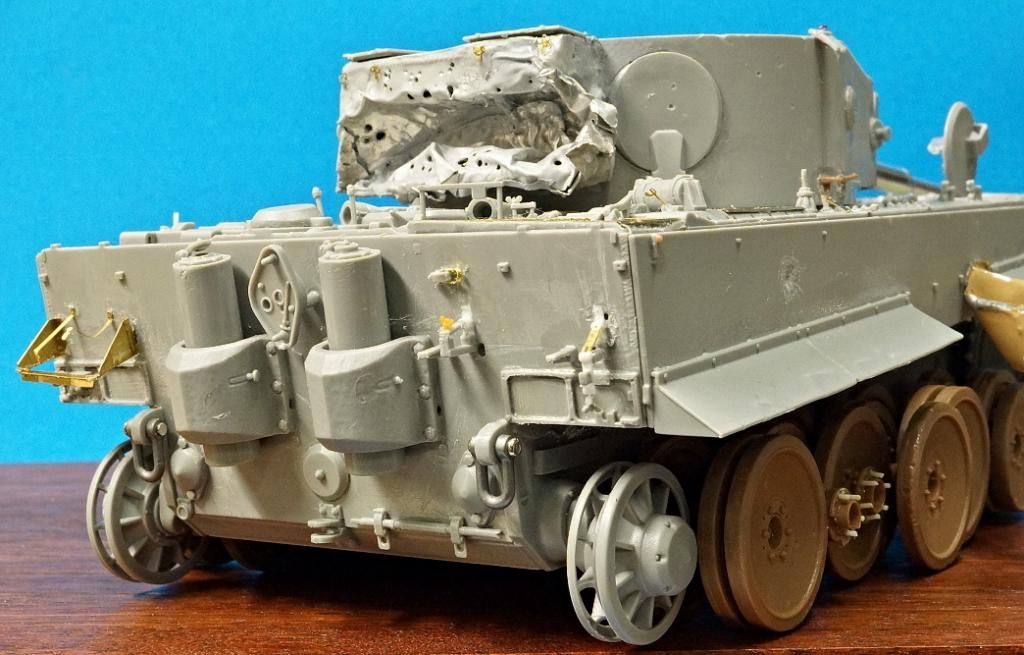
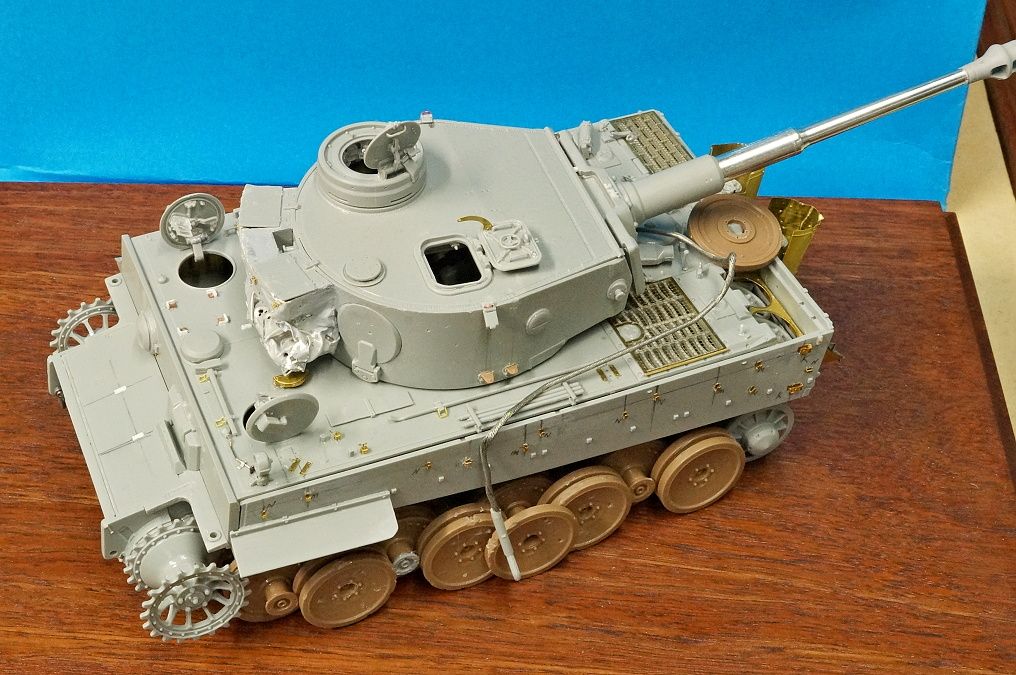
I must say though , I am glad to be done
- Tiger 1's are very complicated compared to some other tanks, such as Panthers (my next blog). Probably the only tank from WW2 that is just as complicated; maybe even more so, is the Sherman.
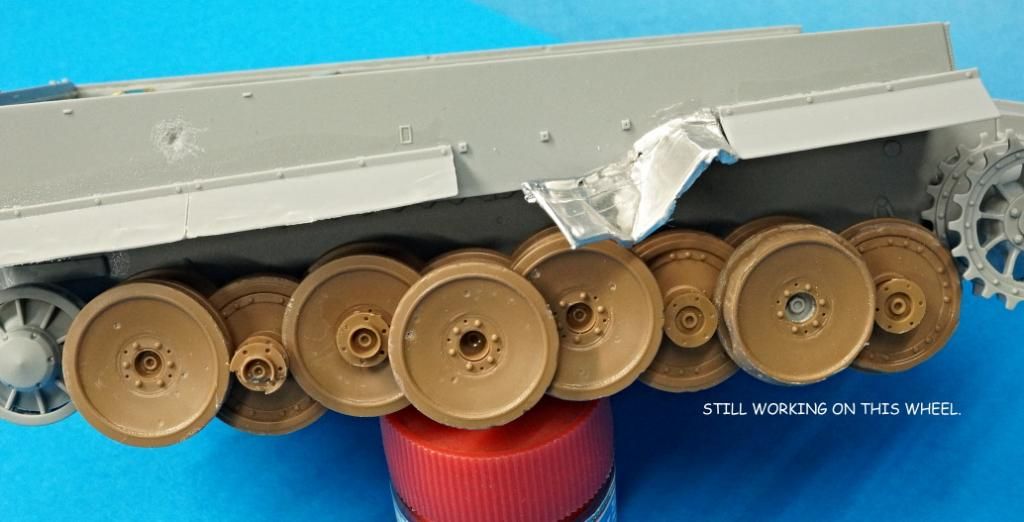
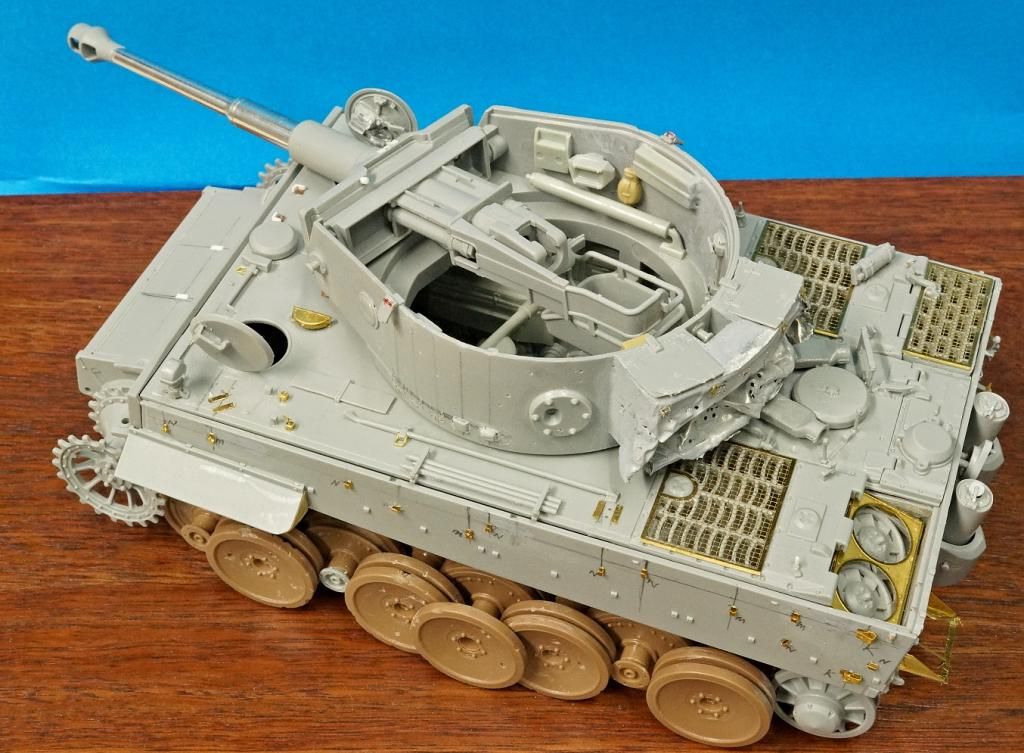
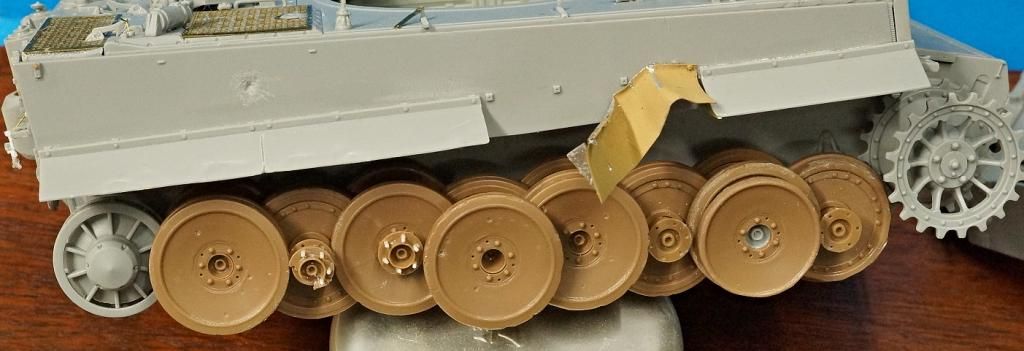
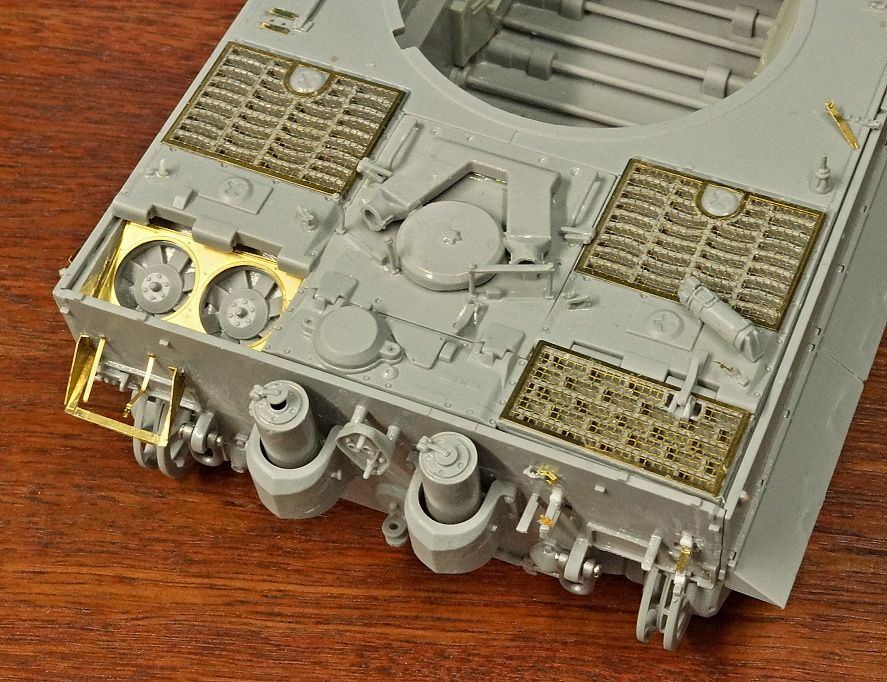
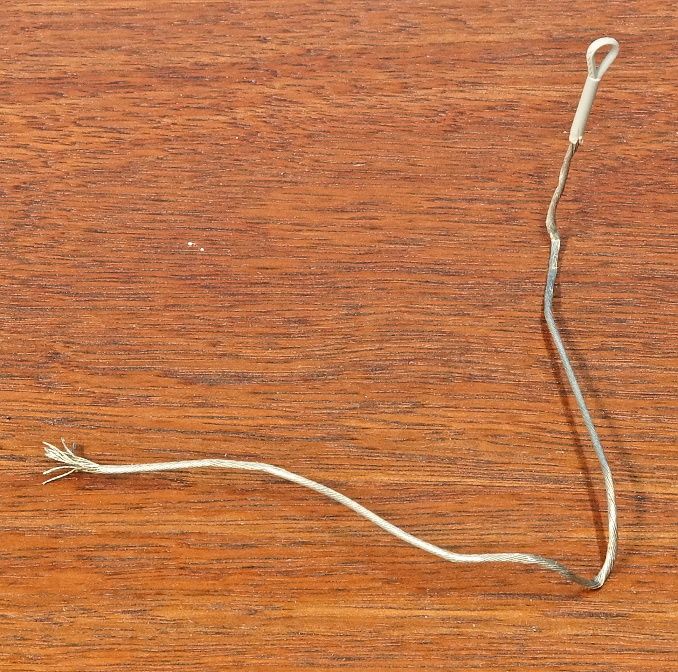
I fixed the REAR PE tool box frame and repositioned the lowest, side cable clasp (k) on the left side superstructure as it was too low - only noticed after looking at the Macro shots.
Also didn't mention that I added the cast number on top of the gun mantlet [as seen on some Tigers] and added the mantlet elevation stopper.

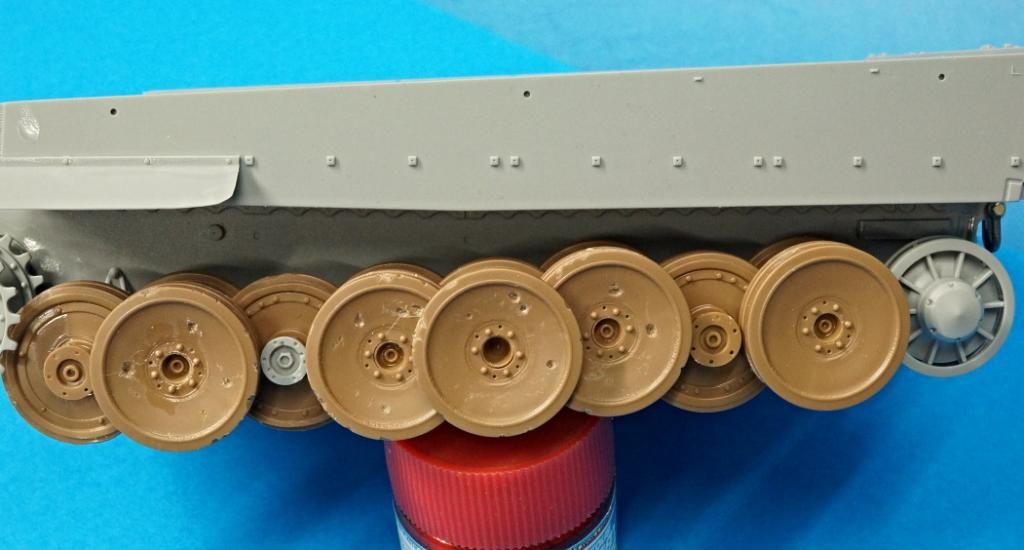
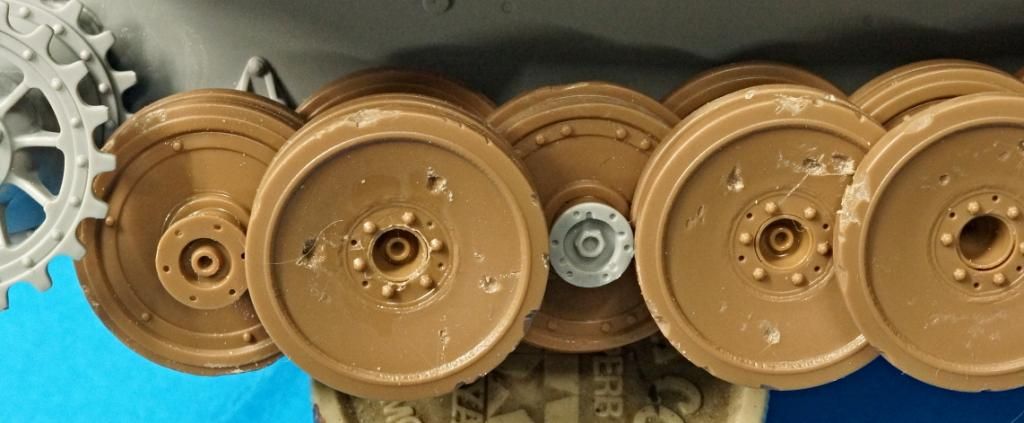
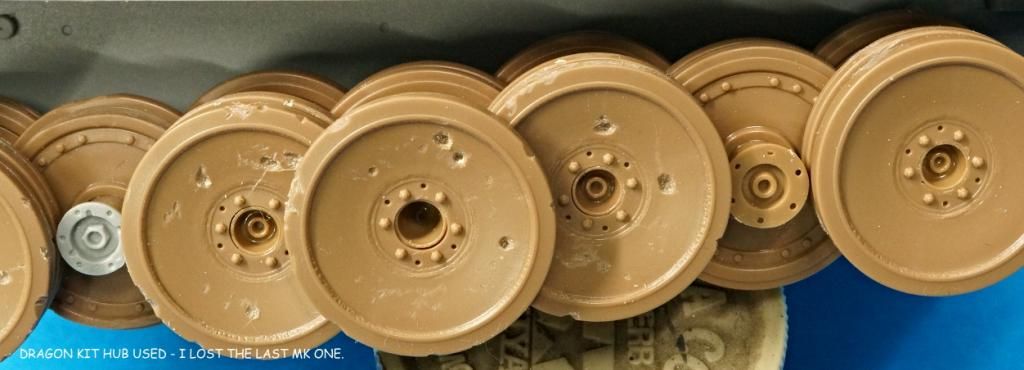
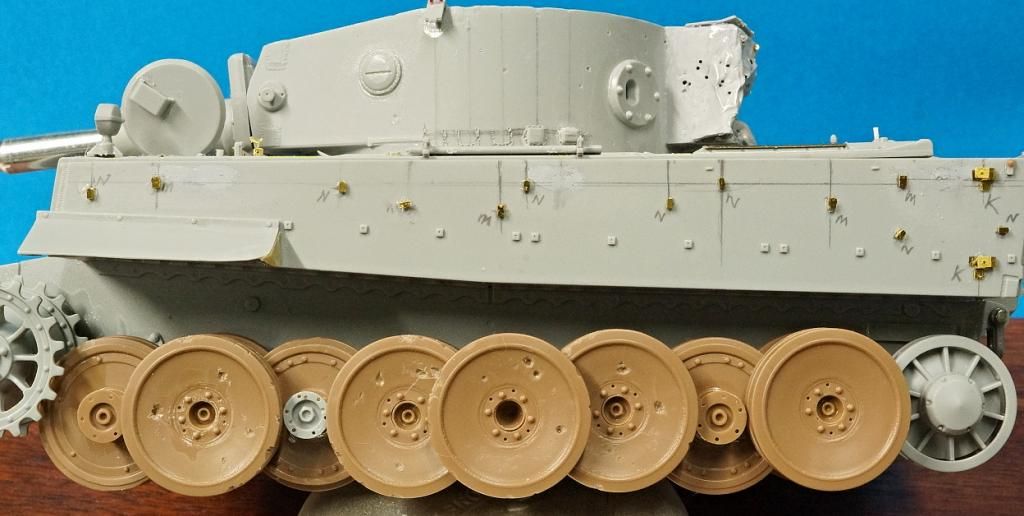
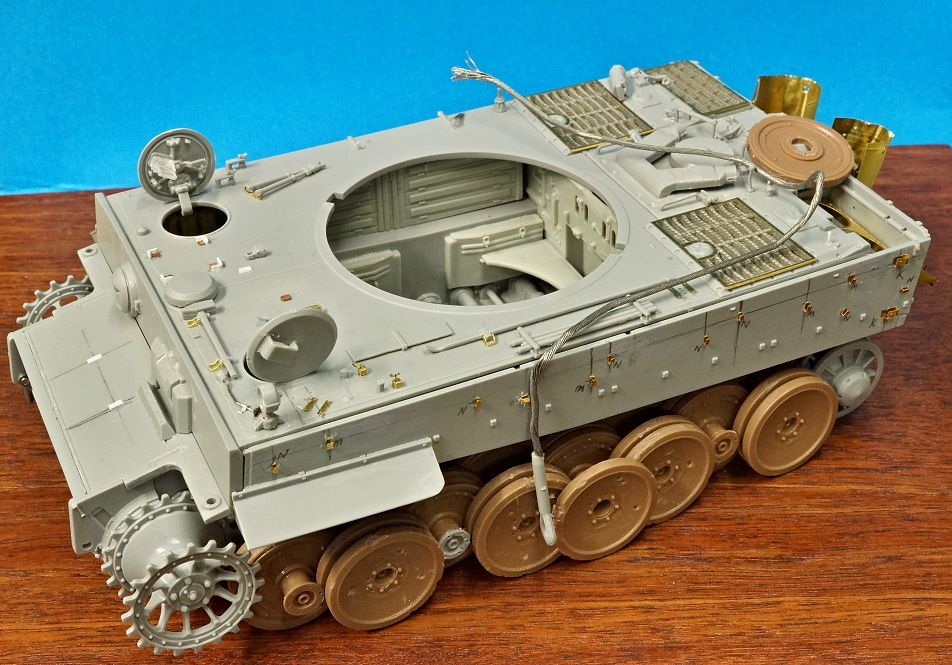
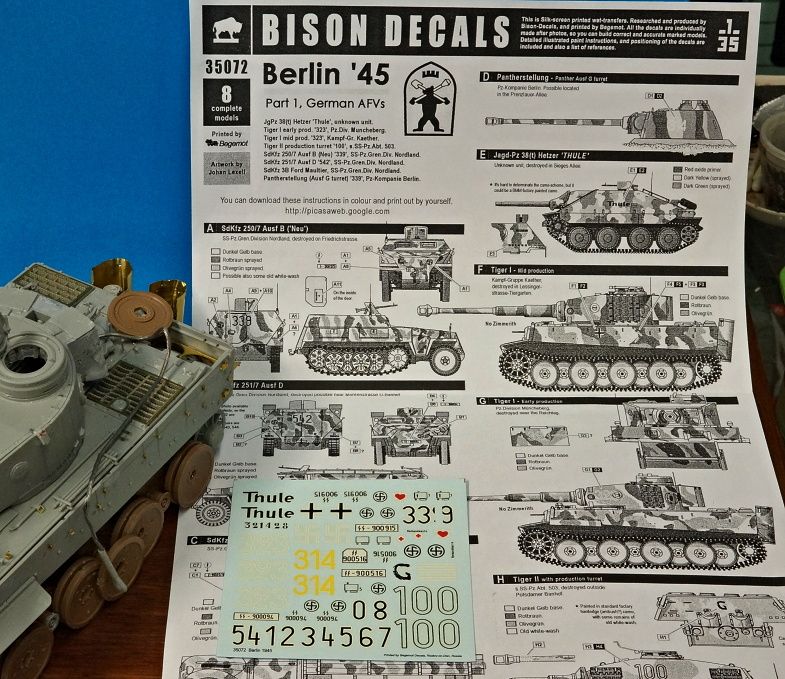
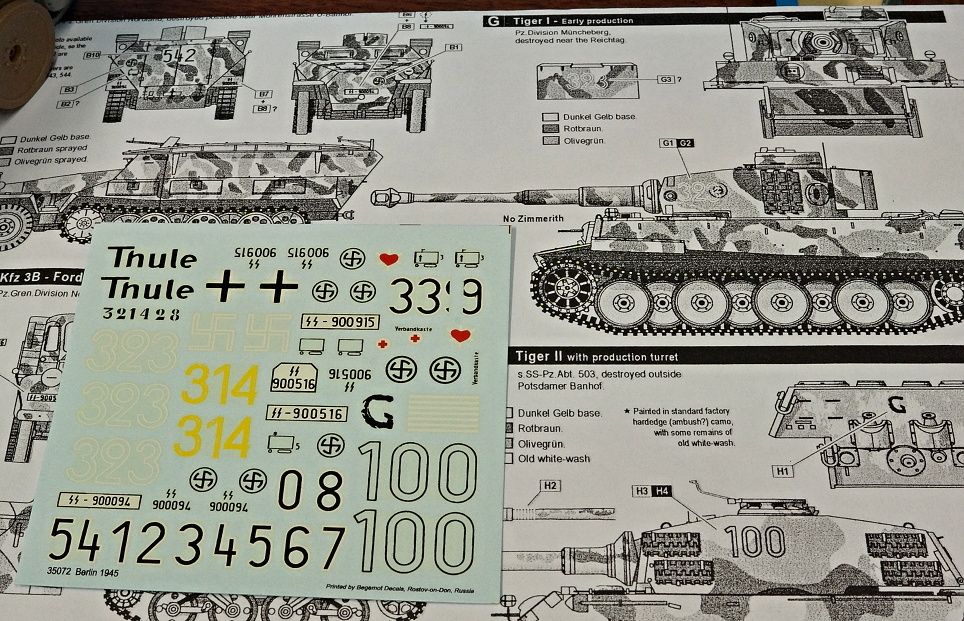
OK so know it gets even harder - PAINT.
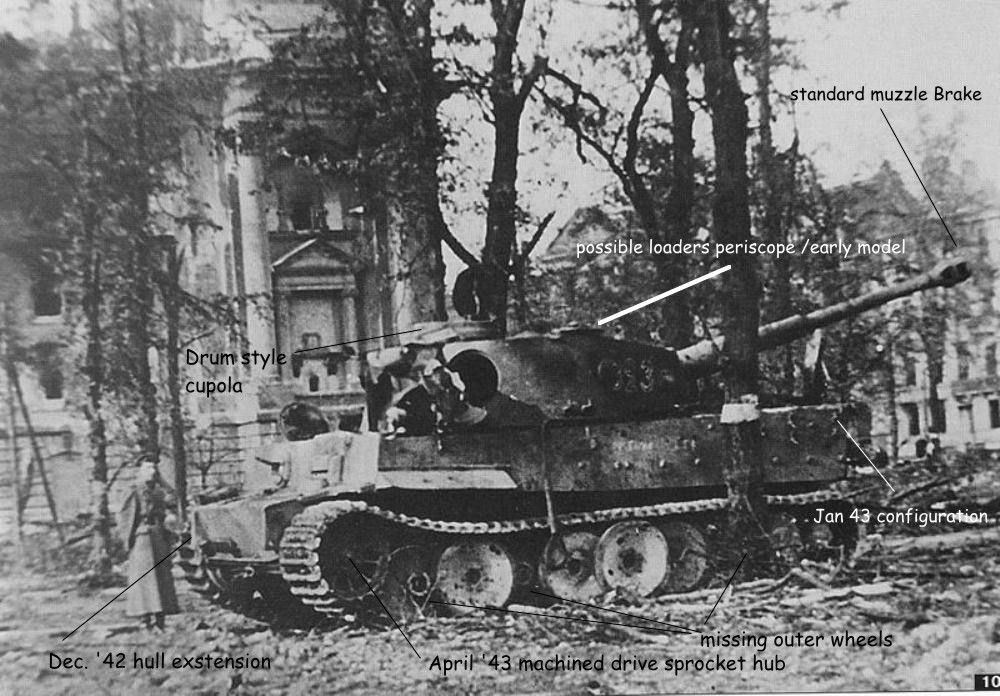
I have been looking into this one quite a bit and have compared a number of black and white photo's from other tanks in the unit, Tiger 1's from the time when it was originally built, and some late war color photo's.
I have also considered some art profiles from books and the decal guide / paint guide from Bison. Plus a little knowledge of my own applied as educated guess work. :smack
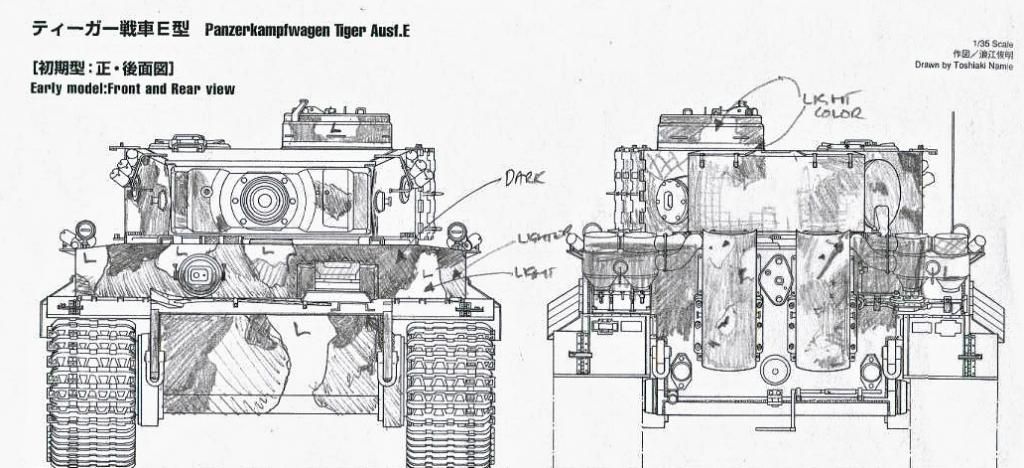
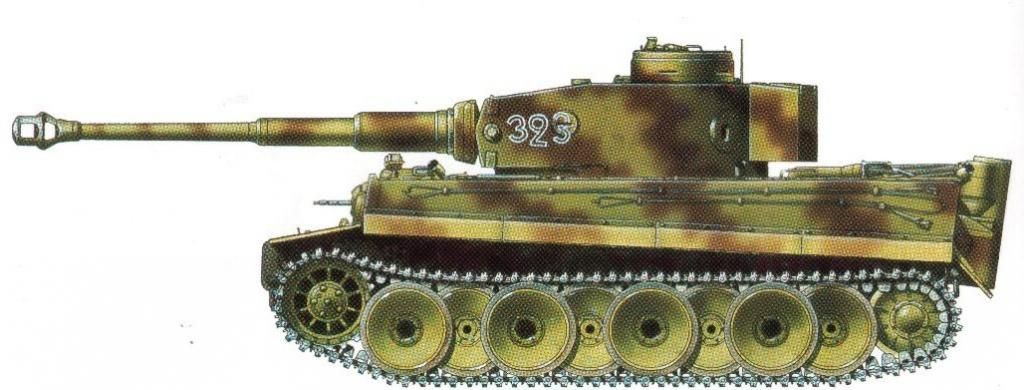
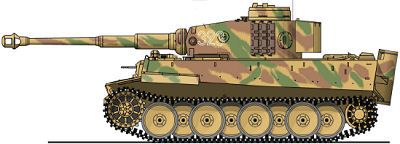
This is a rough guide to the pattern that I can see.

sidecammo_zps38e41197.jpg

frcammo_zps15b88101.jpg

topcammo_zps2e55502d.jpg


I am going into the cammo to this level of detail because at first it appears simple, but once you start looking you quickly recognise that there are a number of shades which are just diffuicult to see - probably because of dirt/ dust/ grime.
There are also a number of variations that other people have put forward ...

1)
colorprofile_zps5eb8d8ac.jpg


2)
eladc1601e_zpsb75f1ab1.jpg


Basically it's all conjecture - I can confidently say that the lighter areas (such as the wheels) and the initial base coat are most probably German dark yellow, but even then the shade of Dark Yellow does not look very conventional to me. It is so light as to be almost white (obviously that's not the case) but it is certainly not factory standard or the sun reflection as I will discuss further down.

The cammo is up for grabs, so I like the idea of a mainly red brown over-spray with a little, subtle German light green, as seen on late war vehicles.? :hmmm
Should give it a nice base for some shadows and grit, but is may also need a little peeling as can be seen around the turret rear near the cupola. The turret roof pattern is guess work based on the upper front plate pattern and will end up pretty dusty anyway..

823e9f71a758_zpsf6085af2.jpg


The top deck will get a good amount of Berlin summer dust.
overallsharpened_zpsa0aa81cd.jpg


Overall is a fairly dark shade for a dark yellow base coatI think, but the Chassis is definitely from the post initial production period[when they came from the factory in Dark yellow base],so it should not have a German grey factory base finish.
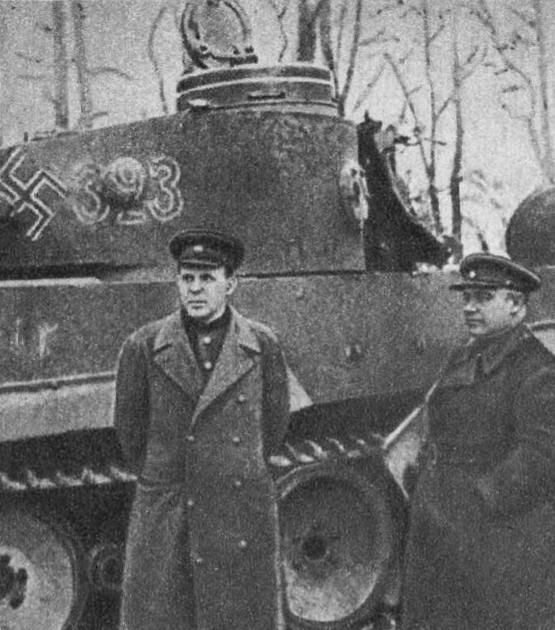
I expect that the original factory finish would most probably have been painted over by this stage, but if you look at the state of some of the details on the chassis and especially the turret details (which I am not so sure was the turret that was issued with the tank)there is original damage,that is to say damage from before it was sent out into the field for the last time,during this battle.
I say this because of the reasonable appearance of the flat rolled plate armour all over the tank. There are not a lot of hits except for some minor grazes, and a riddled and crushed stowage bin, which most probably happened later I think (another story that I will get to).
A definite example can be found on the remains of The track holders on the turret side.
They have been missing for some time, as there does not seem to be recent battle damage around them, yet the weld marks, showing where they were,still seem to be showing exposed metal and are quite visible even in the bad photography. So this tends to signal to me that these areas at least may still be in original cammo or at the very least paint that was applied some time ago - the overspray on the left front of the turret side appears to be more recent.
Is the tank a rebuild or just a fix-up from a training battalion?
As mentioned earlier this unit received a number of Tiger1's that came from another unit which was being supported and supplied via a maintenance / recovery unit. Could be anything?

The wheels are a really strange aspect as they are not in direct sunlight but show a very light appearance, more so than the standard d.yellow.The sun is coming from the left in the main shot that I refer to yet the front plate is not nearly as light as the wheels[this is seen on both sides].
The inner wheels vary as well and appear to be quite dirty and probably still in original factory paint, possible yellow or may even be grey.

? I love it! :geek :dude

I will be back - T1 :ro:
 
Those really light wheels, wonder if they would be primer only? I know it's suppose to be red but who knows what red would look like in this B/W shot. Didn't someone tell me that some primer was white? :hmmm
 
Like the considerations...very interesting blog :coolio

:popcorn ...anxious for the next update!

Best!

Luiz.
 
Back
Top