• Modelers Alliance has updated the forum software on our website. We have migrated all post, content and user accounts but we could not migrate the passwords.
    This requires that you manually reset your password.
    Please click here, http://modelersalliance.org/forums/login to go to logon page and use the "Forgot your Password" option.

Zugkraftwagen 5t "Diana" Sd.Kfz.6/3 by Bronco 1/35

Here's some paint for you.:eek:hmy:
Now I have no idea what Russian Green should look like other than all the opinions that you find with a net search. It seems even the Russians can't agree so I just swagged it.:idonno
100_1037.jpg

I used a Vallejo Black Green for a base in case I missed a spot with the Tamiya Nato Green. After spraying the Nato Green there was a little paint left in the cup so I put a few drops of Tamiya Yellow Green in it and that gave it a lighter shade that will darken when the wash coats are applied.:hmmm

We'll know tomorrow I guess.
Tony lee
 
Mike I don't know how it's going to react to the filter and washes.
They say "War is Hell", recreating it ain't exactly heaven.:bang head :lol:

Tony lee
 
Well Tony, if it's a bit on the light side that's a good thing, the filters/washes will only darken it.

So, what were you thinking about using for a filter color? Any idea yet?
 
Oh I don't know????? I was going to play with MIGs Faded Green and or Luftwaffe Yellow.
Hey you're the Little Green Man in my way of thinkin, ya got any ideas?????

From what i've heard these guns were not repainted before dropping them in the Diana so they wouldn't be fresh factory units. The amount of wear and tear could be at just about any level I would think. :hmmm

Tony lee
 
Oh if those soldiers knew what agony their paintwork would cause 60-70 years later!! :bang head
Looks real sweet Tony and given the sun factor and the wear and tear i think the paint warried alot, and also straight from the can it was not identical (especially not in russia)
Take what you have and paint it! as long as it's green!!
(y) (y)
 
looking super tony!

the green - like mats wrote, there's no "the" color but a variation of all kinds of tones depending on weather conditions, wear 'n tear, dilution of paint andwhatdoiknow ...

so if i were you, i'd lay back and be satisfied with the look of the gun! (so far since weathering is still to come!)

:popcorn
 
Oh I don't know????? I was going to play with MIGs Faded Green and or Luftwaffe Yellow.
Hey you're the Little Green Man in my way of thinkin, ya got any ideas?????

Unca' T I gots lots a ideas. Not all of them are good'ns though. :pp I'll answer here but if you want to jaw a bit about it you can call me, I'll be here at the workbench and 'puter on and off all day. I know it's sometimes hard to follow text.

:java

I wouldn't start with MIG's faded green, your paint is pretty light already so I don't think it needs to be lightened, it is good to have on hand though because if you make it too dark, you can bring it back later. The Luftwaffe Yellow would be awesome on a three colored Panther, muting the stark red brown and dark green and tying it all into the base color yellow, but I wouldn't use that here. At least not at this stage, if further weathering makes this green too gray, you can use the yellow to bring it back a bit.

So what would I do? Well a brown filter will work with green, on say a half track I use that on the upper surfaces and sides etc. but for the deep recesses, nooks and crannies around running boards and fenders and shadow areas etc. I use a very dark blue. I have normally mixed my own because it's just too simple. If you have oils paints there's no need to buy anyone's product but having said that, I have been using AK Interactive's wash 'Brown Blue for Panzer gray vehicles' It's a wash but after applying it into the recesses, I will drag it out onto the surrounding areas and then blend it in with another, clean brush, damp with spirits.

In short, I would use dark green or dark blue colors along the lower areas, especially under overhangs where shadows are cast, to imply shadow and maybe a brown filter on the upper most surfaces.

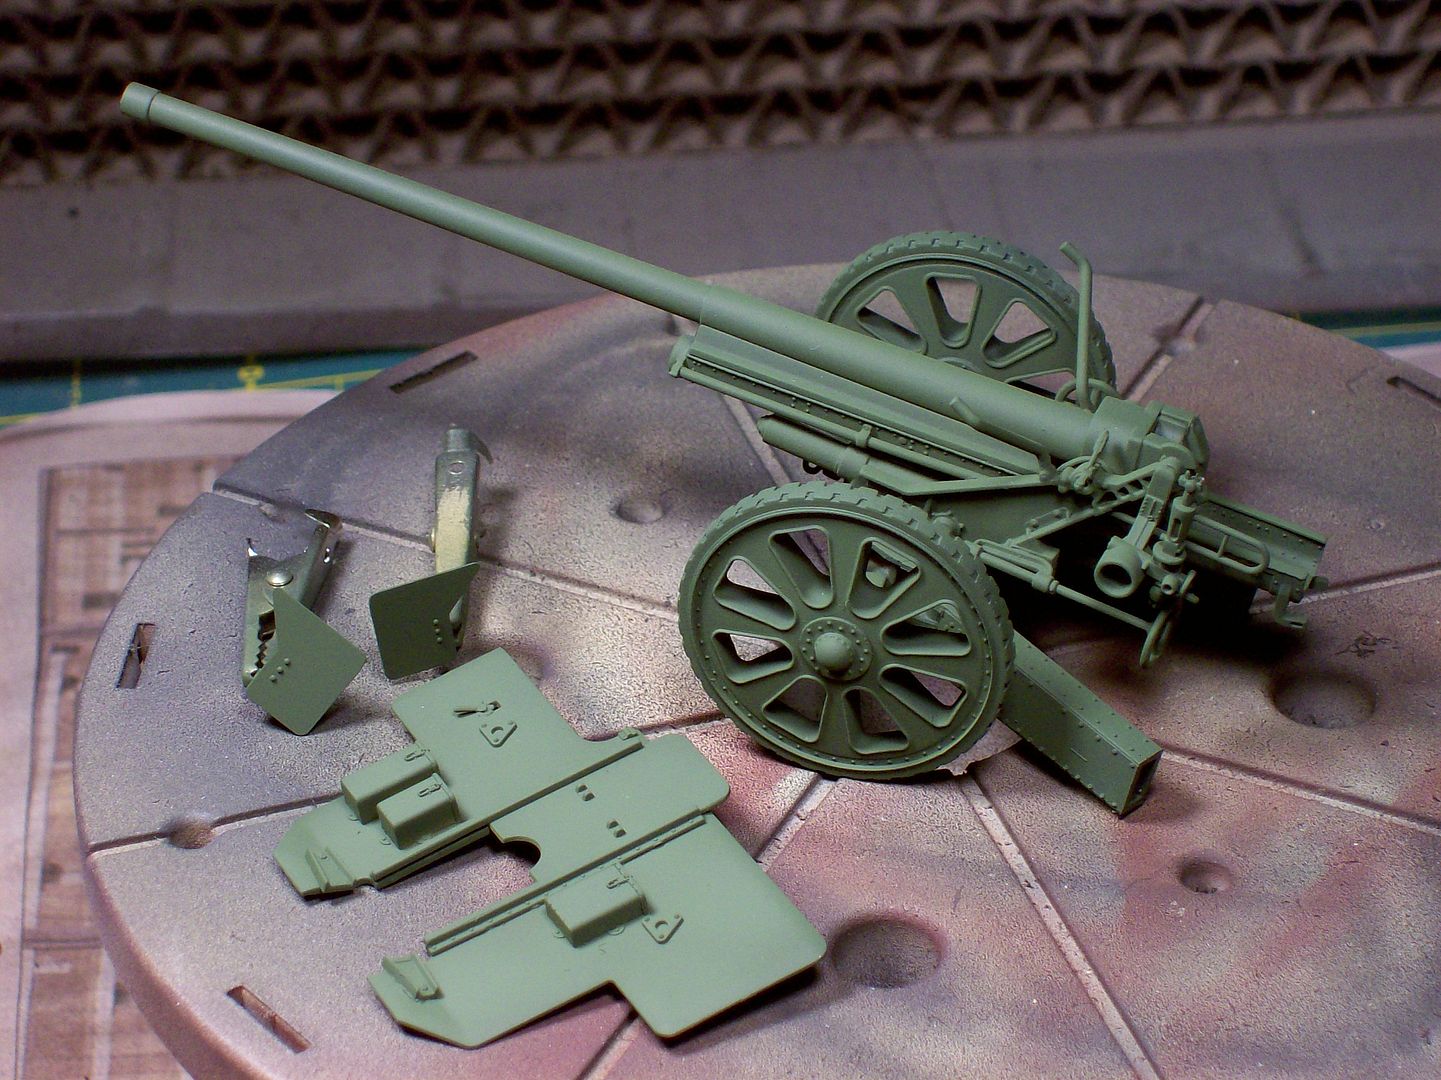
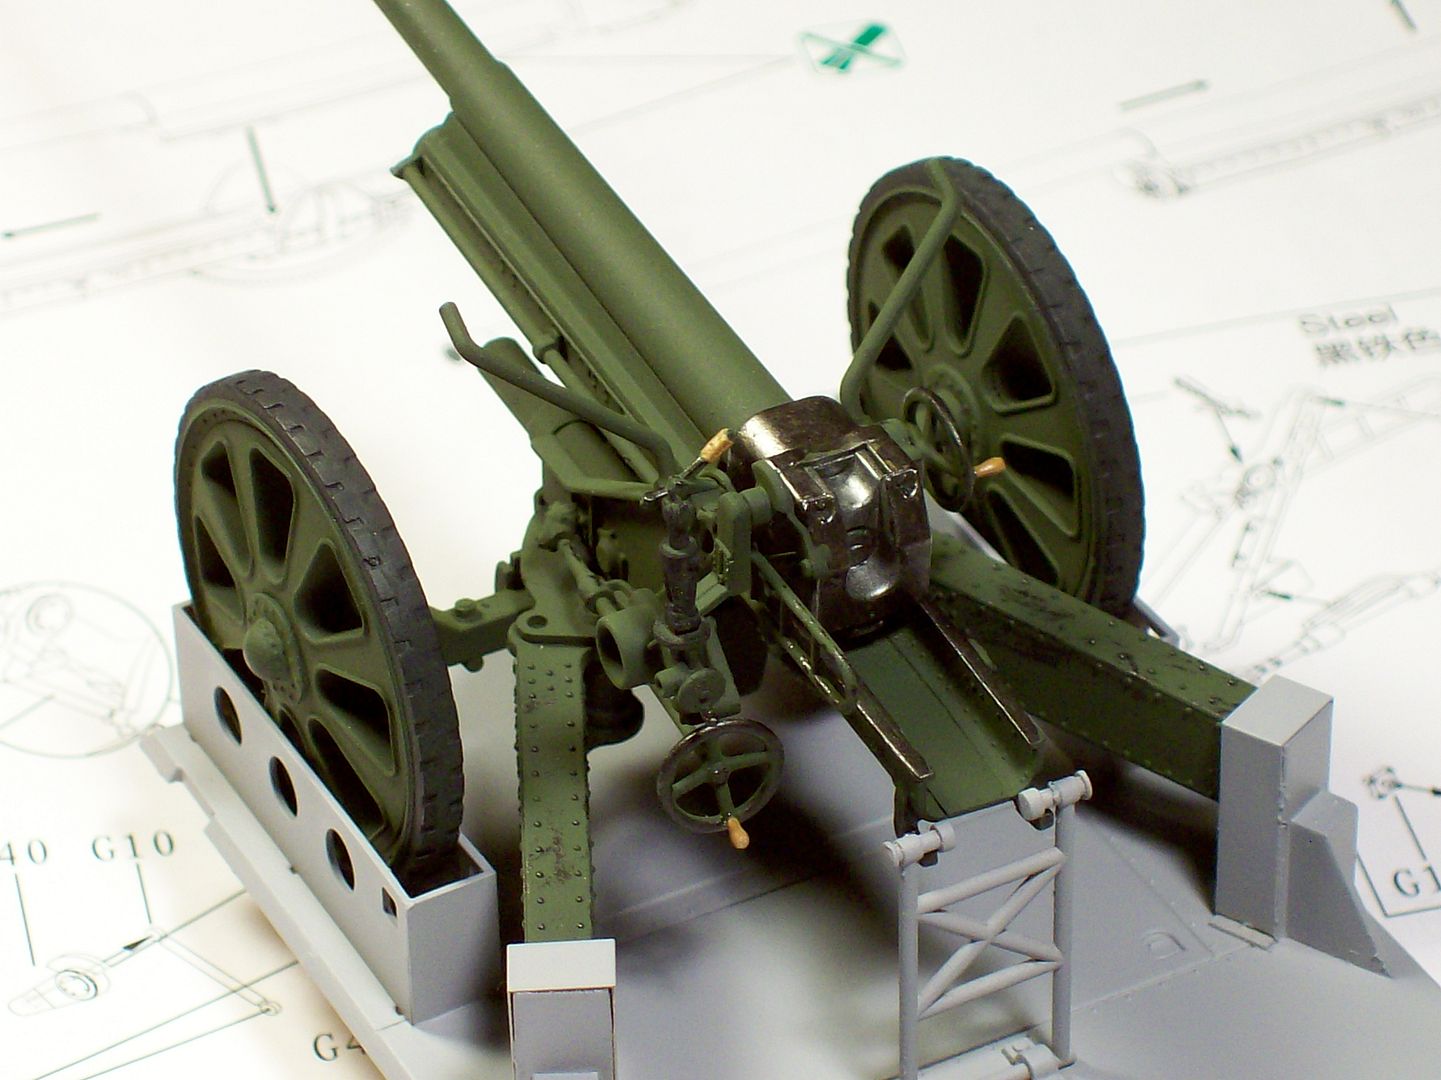
Look at your photo carefully, see how the light creates a bright green on every upper most surface like the gun barrel and then as the barrel wraps around into shadow it darkens. Try to mimic this effect with your filters/washes.

If after all you work it seems to dark to you, go over it all with the faded green. Just remember less is more and it should look like you are applying water, if you see pools of color it's too thick. Sometimes it's best to apply several layers to achieve the color shift instead of trying to do it with one application.

If it ends up too gray? try that yellow.

If it ends up too brown? try the green.

If it ends up too yellow? try the blue.

I know it seems like a lot to take in here but it's simple. tread lightly and go slow, you have the skill set big guy, I know you can pull it off and have fun too. :D
 
Yeah folks that's just what went through my mind too. The color is one thing for sure that can't be nailed down to fact.

Let the games began
Tony lee :)
 
Not sure if'n you read all that above but this is a quick example of what I'm doing today that may help explain what I was rambling about:


Apply the dark blue sloppily around the shadow areas


unca-t1.jpg


after drying for a few minutes, blend into surrounding areas with a clean brush


unca-t2.jpg


unca-t3.jpg


unca-t4.jpg


Pick your way around the model in this fashion and then, repeat as needed.

:popcorn
 
Appreciate all that info Ken (y) ,I missed your first post there, I think I was posting at the same time.
I got a little trim painting done before the rains came. Not complaining because we're 6 inches below normal.
100_1038.jpg


If it clears off later maybe I can get some more done??????
Tony lee
 
Beautiful stuff Tony. Ken awesome explanation. Dont mean to hijack Tony's thread but could you recommend a starter set of mig washes? Maybe where to buy? I am doing a drk yellow vehicle next with green cam. Thanks
James
 
As I mentioned in the PM James, oil paints are great as well to make your own...

oh wait, I think you just responded. :laugh:
 
Washes,first things first ;)
This morning I installed the breech block mechanisms and folded up three hasp for the top lid of the storage box.
100_1042.jpg


When I get back from getting my flu shot the base color is going on this part of the fighting compartment.
Later boys and girls
Tony lee :)
 
A little more color for you:
100_1045.jpg


100_1043.jpg


I mixed Tamiya Desert Yellow and Buff to lighten it up for a base coat and then over sprayed that with
LifeColor(UA 201) RAL 8020 Gelbbraun,this is a real light sand color. On the exterior there will be patches of LifeColor(UA 202) RAL 7027 Sandgrau,a real pale green.
A light coat of Tamiya Deck Tan was put on the canvas flaps and the tie straps were painted leather.

That's it for today people. :D
Tony lee
 
Back
Top