• Modelers Alliance has updated the forum software on our website. We have migrated all post, content and user accounts but we could not migrate the passwords.
    This requires that you manually reset your password.
    Please click here, http://modelersalliance.org/forums/login to go to logon page and use the "Forgot your Password" option.

Wellington MK III

Old Dog

Well-known member
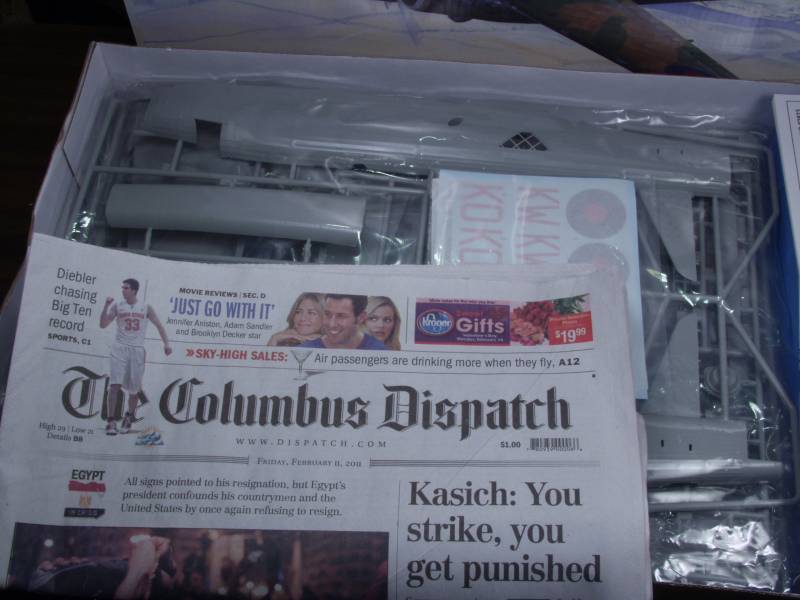
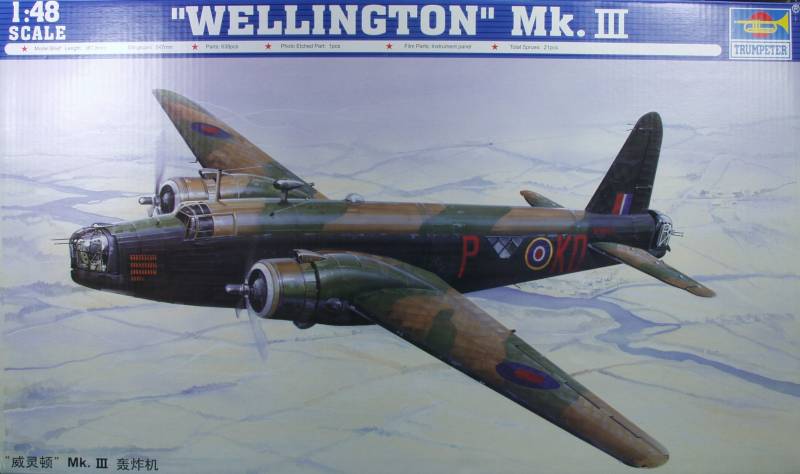
OK, for starters the kit

wellingtonbox.jpg


and the obligatory date stamp

wellingtondatestamp.jpg


In the next couple of days I'll discuss my plans for the kit as well as issues and things I need to work out. I am currently waiting on a reference book which should arrive the middle of next week, then I can make some final decisions and dive in to the build.
 
Before I start on the build a few words about the kit itself. If you are interested in what comes in the box, rather than waste a lot of bandwidth here, you can read my inbox review of this kit on my website at http://www.olddogsplanes.com/wellington.html.

The Trumpeter kit has been on the market for several years now, first as the Mk IC and shortly thereafter the Mk III. To the best of my knowledge, and I’ll admit I’m hardly an expert on the Wellington, there are no major accuracy issues which have been reported with the kit and that seems to be somewhat of a rarity for Trumpeter kits.

If there is any controversy surrounding the kit it deals with the treatment of the surface detail, specifically the under lying geodesic construction. Early on some of the reviewers felt that the surface detail was over done. At this point that is all I’m going to say about that.

It is my belief that this kit was not a big seller for Trumpeter. I have no proof to back this up but the fact that over the past couple of years it has shown up on sale at major retailers deeply discounted leads me to that conclusion. Whether the price was the issue, the discouraging early comments about the surface detail or the fact that it is a large model kept it from selling better I can’t say. I found the MSRP to be too high as are many of their kits but I picked mine up on sale for 60% off list and at that price it seemed to be a reasonable value for the money.

As far as the build is concerned here are some of the choices I have made so far;

1.) I am not a diorama builder or a vignette builder and for the most part prefer to build kits with no open panels and the like so the first decision I made was to leave the bomb bay closed. This reduces the workload and parts count considerably as Trumpeter supplies 3 sprues of ordinance containing 276 parts plus 10 others scattered about on other sprues and this also eliminates using the 30 bomb bay doors. This reduces the kits part count from 639 down to a more reasonable 323 parts in one fell swoop. While having the bomb bay open may seem like a good idea, I feel with a model of this size, picking it up to view it would result in more risk of damage than its worth.

2.) About the only other parts options involve the props, which are dependent on marking choices, cowling flaps opened or closed and different fuel dump pipes depending on whether one chooses to have the flaps up or down. In my case it will be flaps up.

Trumpeter supplies markings for two Wellingtons, both in standard schemes and my main issue with them are the colors as the red seems too bright for wartime usage. I have not found any aftermarket decals for the Mk III variant, there was one sheet released for the Mk I variant which also leads me to believe the kit did not sell well. I have a variety of decal sheets on the way, mostly lettering and fin flashes. The national markings could be painted on but I always seem to struggle getting the colors concentric with each other and I want to wait for my reference book to show up before deciding on markings. At this point it will not hold up the build.

3.) Trumpeter supplies a fair amount of internal detail, which in some ways is a shame as most of it will not be visible once the fuselage is closed up. There is also a whole list of other internal details available from after market suppliers, which can take this already pricey kit into the stratosphere if you are so inclined. The MK III has even fewer windowed areas that the MK I so again most of what goes inside will not be seen. I managed to restrain myself to an Eduard’s Zoom set for the cockpit which supplies primarily the instrument panel and some other black boxes and details and a seat belt set as neither Eduard’s Zoom set or the PE that comes with the kit contain them. I also obtained a mask set since masking is not one of my favorite activities and will most likely replace the machine gun barrels with resin or metal versions.

While it would be easy enough to just ignore the interior parts that won’t be visible, that is one area where I tend to be a glutton for punishment and most likely will install most of it. Even if no one can see it I know it’s there and will have photos to back it up.

OK, with that out of the way, I’ll cover my strategy for assembly. For a kit of this complexity I like to clear out any parts I know I’m not going to use for what ever reason to make room in the box and eliminate the possibility that I might try to use or paint up by mistake a part that I don’t need. In this case, four full sprues come right out and go to the surplus parts box. I should have enough British ordinance to last me a long time ! The other dozen or so other parts that I know for certain will not be used will be removed as well. With all of those removed the remaining parts looked a lot more manageable.

Assembly will start with the interior but I like to build other sub assemblies during times when I’m waiting for paint or glue to dry such as engines, wing and horizontal tail surfaces and paint up anything that can be in advance to allow them to cure fully before they need to be used.

One of the most interesting challenges with this kit is the color for the interior of the fuselage walls. The framework was covered with linen then given a coat of red dope on the outside. What you see on the inside is what soaks through the linen and of course this is not a uniform color but blotchy depending on how heavily and uniform it was applied on the outside. Color photos of this I have found on line show a color similar to that of Bondo spot putty with a hint of the linen color. I may be seeking help from you WW I modelers on achieving this effect. To add to the difficulty the framework itself was left natural aluminum. I have some ideas on doing this but am not sure how well it will work. Worse case scenario I can always abort and seal it up with no one being the wiser. The most visible area, the cockpit and nose area were painted black.

Sorry if I got a bit windy, I promise once things are started there will be more photos and less verbiage.
 
Yikes, it's been almost a month since my first post, where does time go ? :idonno

Well I got my reference material about two weeks ago and found it to be most excellent and of all the sources I've found I would rate this one #1
wellingtonresource1.jpg


It has the most color photos, most interior shots and drawings in 1/72 that do a good job of illustrating the differences between versions. It also has a left and right side fuselage diagram that calls out all the bits and pieces so you know what they are. The instructions give you no clue and many of the internal bits are difficult to identify without a diagram. Trumpeter's paint call outs would have you paint most of the interior details either flat black or silver, once you know what the parts are colors become more intuitive.

One of the main questions I had concerned interior color, the book answered that question, pulling it off may be a challenge but I'm going to give it a go. No more than can be seen of it once closed up will make some wonder why but it seems a waste to throw away all the interior detail. The interior framework was predominately natural metal as painting all of it would add a serious weight load. Where most of the color comes from is the red dope that was applied over the outer linen covering. This soaked through the linen in various amounts, no doubt due to how it was applied. In some areas it shows solid red in others you can see the texture of the linen very plainly.
wellingtonresource2.jpg


My plan was to paint the interior a linen color then apply a dark red color over it much like one would use oils to simulate wood grain, varying it from light to heavy. I chose a Humbrol Linen as a base but now feel that it is much to yellow as opposed to the off white color in the photograph. I may go back over this with a light gray to see how it looks. The next photo shows how it currently looks. The areas that were painted black have been done.
wellingtonresource3.jpg


I don't like using dead flat black unless I need to as it tends to be a great detail hider. For the interior black on British aircraft I mix my own from one of the RLM grays with some gloss black added till I like the look, gives it just a slight sheen as well.

As is usually the case there is always something that doesn't get answered and in this case it dealt with the gear bays. In photos of the Mk I versions they appear to be natural metal, later Mk X versions appear to be painted and I could find no photos of the Mk III so I'm going with my intuition that due to the exposure to the elements that it would be a good thing for them to be painted. FYI while looking for after market stuff for this kit I found a lovely set of drop in resin replacement gear bays for the Wimpy made by Royale Resin. They solve the issue with ejector pin marks which are prevalent on the kit's bay roof parts but at $40 I could not justify them. The gear bays are narrow and deep and once the complicated gear is installed the top of the bay will be difficult to see and I don't generally make a habit of picking up kits and looking in the gear bays anyway.

Anyway for the past couple of weeks I have been spending my available bench time cutting parts from sprues and cleaning them up. All of the major airframe parts and almost all of the interior detail parts of which there seems to be no end and as usual it seems like the small parts always have more mold seams to clean up and more ejector pin marks to deal with. Over the weekend I started painting these up as well as working on the PE for the cockpit and attaching the PE overlays for the gear bays. The bays must be installed before I can assemble the wings. A note to those contemplating this kit the gear strut mounting holes in both the plastic and PE in the gear bays are undersized and need to be opened up prior to assembling them as all the struts get trapped between the halves. I found this out in advance for a change. :huh: Here's a photo of all the interior and gear parts that have at least a base coat on them. The tan parts are ones that are either plywood or plywood covered so they will be getting some wood grain added soon.
wellingtonresource4.jpg


The PE IP was actually quite complex with as many as three layers in some spots, compass still needs to be added to the center portion and a couple more fiddly bits to the main panel. Throttles and other levers still to be added to the console. Still need to put some future in the dials as well.
wellingtonresource5.jpg


Hopefully next installment I will have some results of my interior attempts.
 
This is what I miss about OD's post. Modeling skill and techniques exemplified. Thanks for sharing Gary.
 
Well it's been a couple weeks since the last update so I guess it's about time for another. Following the last update the first thing to happen was to assemble the gear bays as they needed to be installed before the wings go together. The PE walls were attached to the plastic parts and the mounting holes for the gear bits and bobs were properly enlarged. Once that was done the parts were all painted flat black and when dry, the bays were assembled. Getting all the parts in the correct holes prior to gluing was a bit of a challenge but everything fit OK. Once together they dropped into the lower wing half and the upper half was attached. Once installed the gear bays are pretty much a black hole

wellington-b10.jpg


The wings fit together well and except for my own goof would have been problem free. I managed to glue one of the engine accessory bay covers on wrong. Unfortunately I did not notice until it was too late and removing it would result in more damage than just fixing it.

Next up was the engines. Trumpeter is the only one I know who has modeled the exhaust pipes from the cylinders to the forward collector ring on the Hercules engines and while I give them credit the part was the worst part in the kit when it comes to flash. I spent probably a half hour on each and still couldn't get it all. The part is difficult to hold and rather flimsy. I also found when I went to install it that aligning 28 separate pipes into 28 holes required more coordination than I have. I finally ended up cutting off the rear pipes just short of the mounting holes. While this is visible in a side view, it's not noticeable from the front which is the only way it can be seen once the cowls are on.

wellington-b18.jpg

wellington-b11.jpg


I considered adding some additional detail to the engines but being sleeve valved engines they have no push rods and the spark plug wiring comes off the top of the cylinders and runs back to the accessory bay behind the engines so no joy there either.

wellingtonresource7.jpg


I painted the cylinders with Alclad aluminum and then over sprayed with Alclad jet exhaust and got a color very close to my reference.

wellingtonresource8.jpg


So except for an oily wash before the cowl goes on it's finished.

Next up is the flight deck which came out reasonably well and fit together as advertised.

wellington-b12.jpg

wellington-b13.jpg

wellington-b14.jpg

wellington-b15.jpg

wellington-b16.jpg

wellington-b17.jpg


The cabin floor which is black was supposed to be aluminum but Trumpeter decided to put 15 ejector pin marks there that were impossible to repair without damaging the structure detail so I hid them with flat black and highlighted the structure. The floor area looks mostly dark in photos anyway. I think I came fairly close to matching the color of the plywood used in the cabin...

wellingtonresource6.jpg


Next up will be the turrets, which must be installed before joining the fuselage and my experiments in attempting to mimic the dope through linen effect on the inside cabin walls. Wish me luck !
 
Hi OD,
beautiful interior and a wonderful plywood finish. (y)
An ataboy to trumpeter for the attempt to make the engine up to snuff. Real shame to have to juggle that many small parts ( I know how that goes ).
Just ran into a similar on this Hasegawa B-25 interior. I think ejector mark were on sale the day they designed this one !

Cheers, Christian
 
It looks fantastic. Especially the wood. It would be great to have a SBS of your method because it is so realistic. The only thing I dont understand, and I mean no offense, but why is there grey on the floor traffic area? Other than that (y) (y)
James
 
Thanks guys ! That's the way the floor in photos appears, like wear marks from hundreds of dirty shoes passing over the bare wood. I don't claim my representation is accurate but the best I could do.
 
Gotcha. Would still love to see how you get the wood effect. One of the best I've seen. (y)
James
 
Thanks James, I'm going to be out of town over the weekend but when I get back I can probably come up with a quick tutorial, this is not my method, pretty much just followed what I have read over the years, the WWI guys are big on this and probably better at it than me.
 
Back
Top