DioRandy
Member
Re: The Australian SAS salutes Platoon Sandbagging
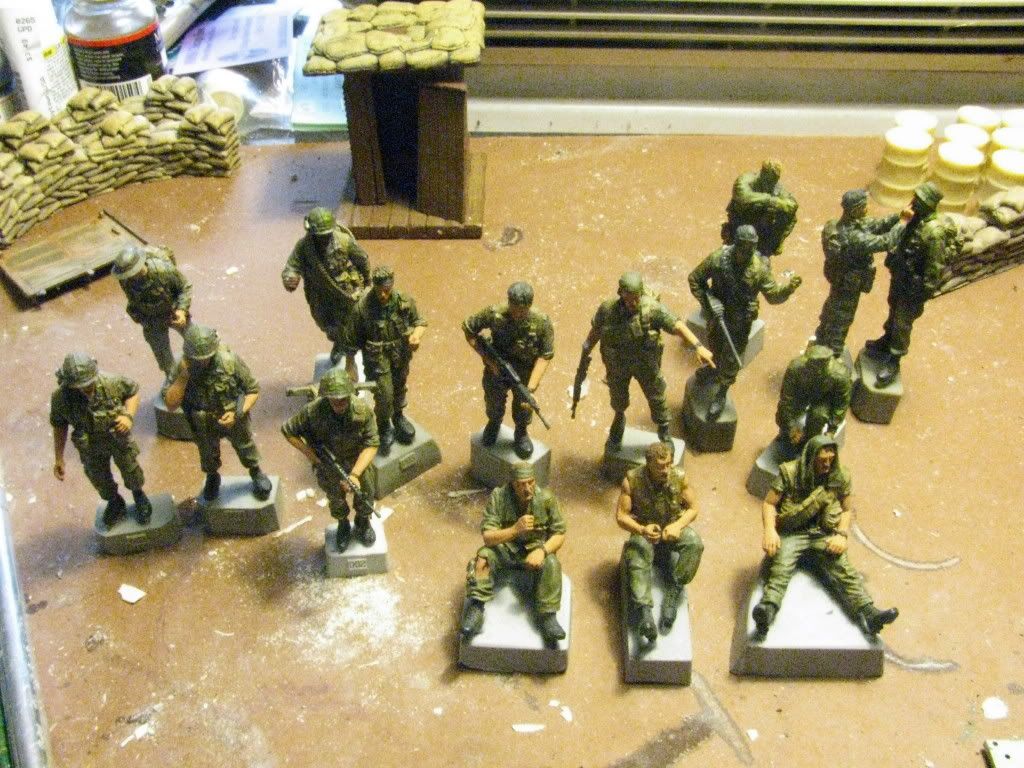
Hey, gang
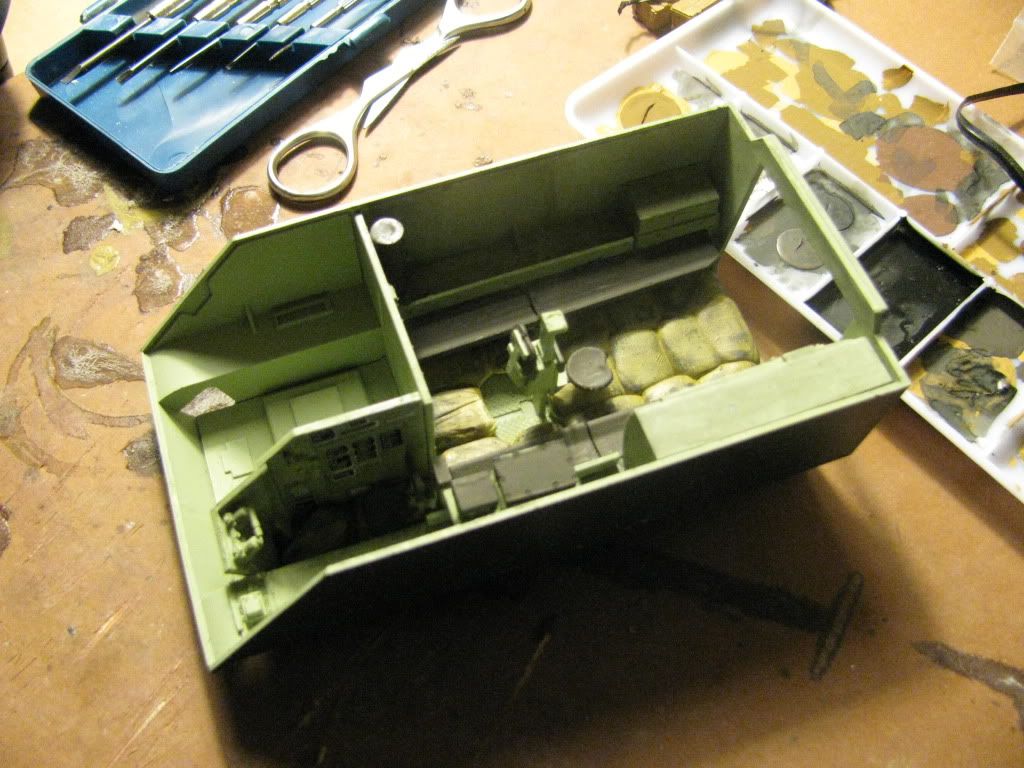
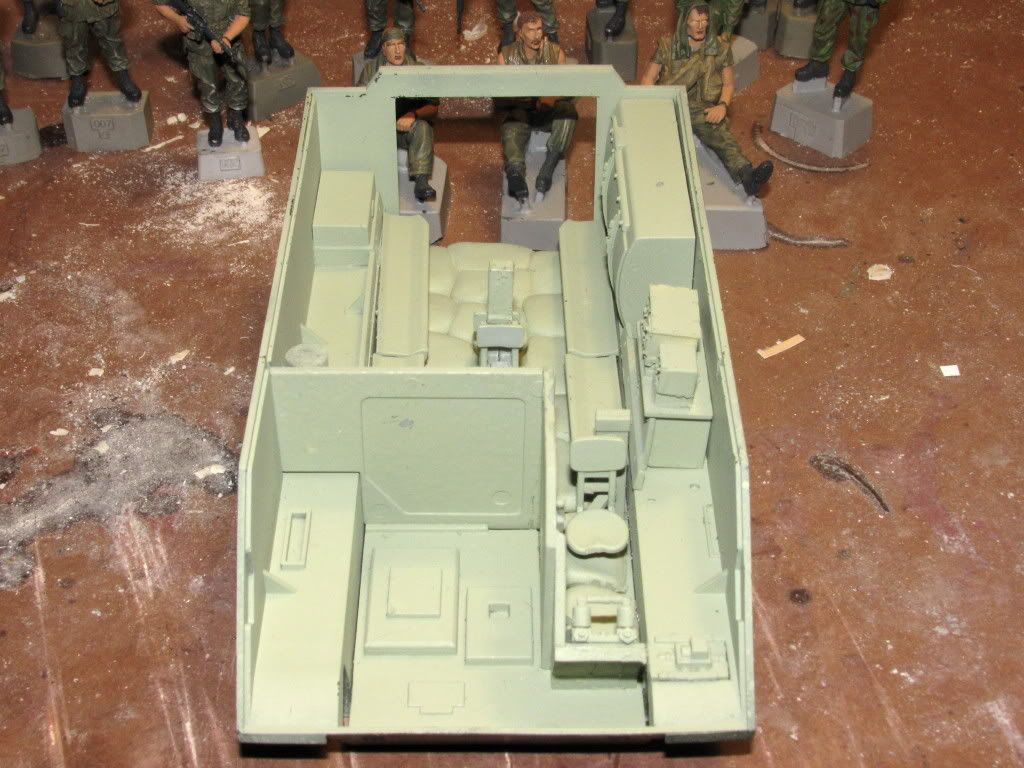
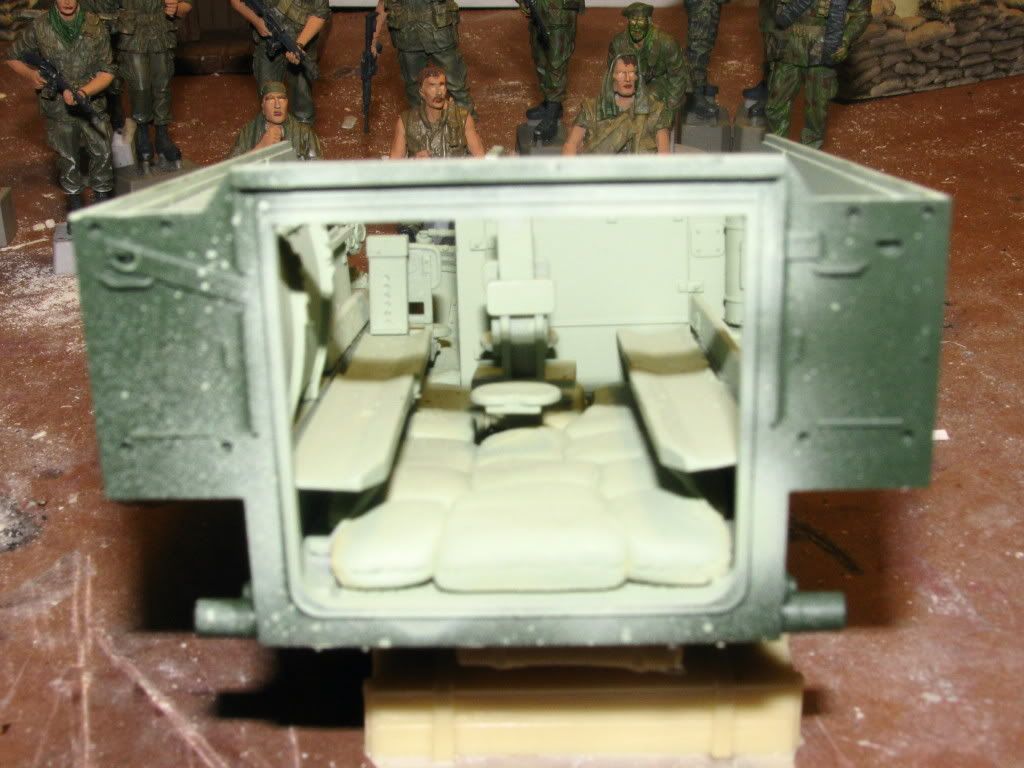
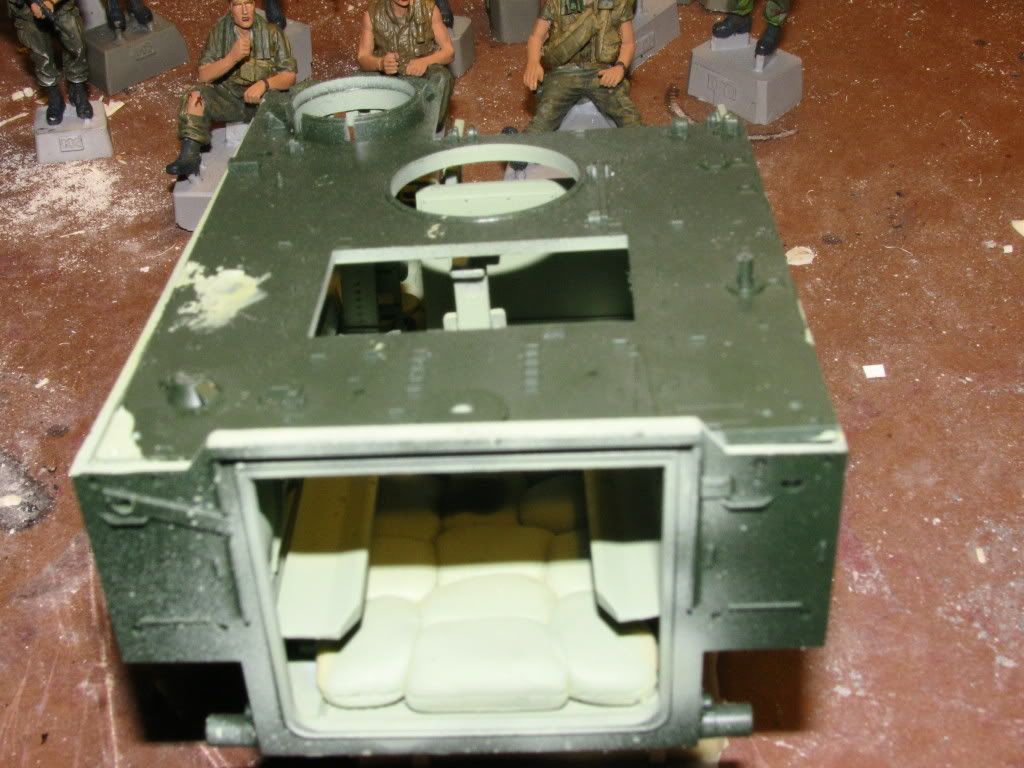
I approved an extended leave for the Brav0-6 figures while I begin to tackle Academy's M113A1. Step one was to sandbag the floor using Legend's M113 Accessory Set. I must say, it's packed full of goodies. The packaging says it can be fitted to the Academy, Tamiya and the Italeri kits, but the sandbagging required a bit of trimming here and there to get a proper fit. However, it was nothing extreme. Nonetheless, they MUST be test-fitted because you can't insert them after assembling the interior. I found that it worked best to assemble one side, insert the sandbags and then assemble the other side after making the required trims.
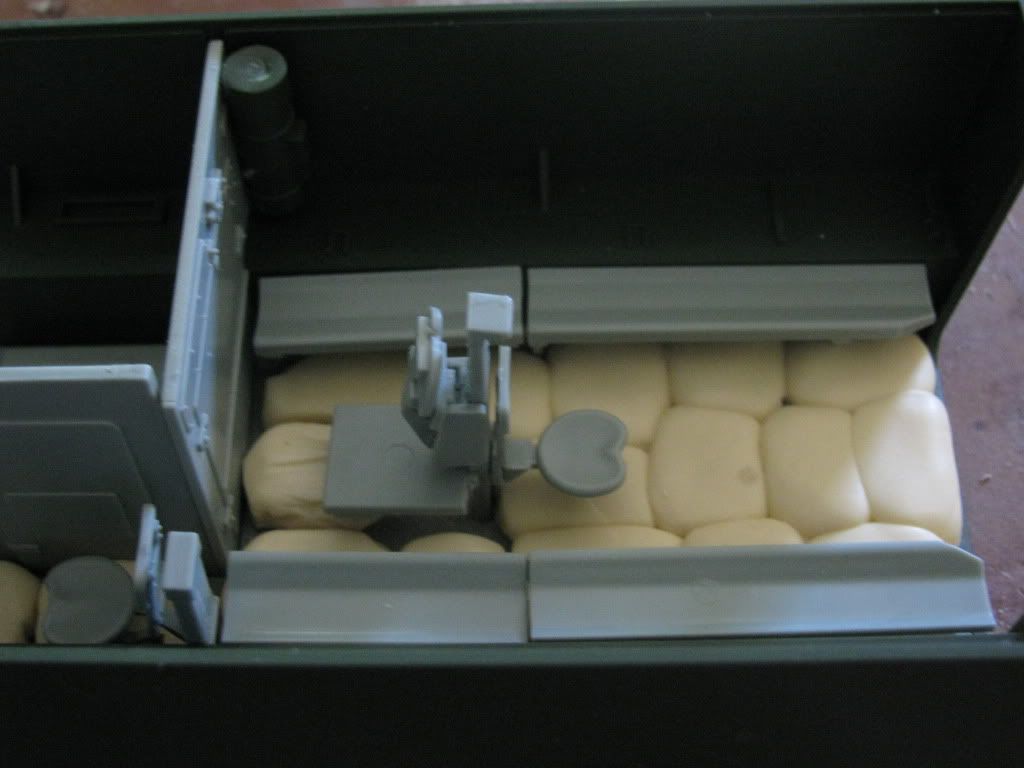
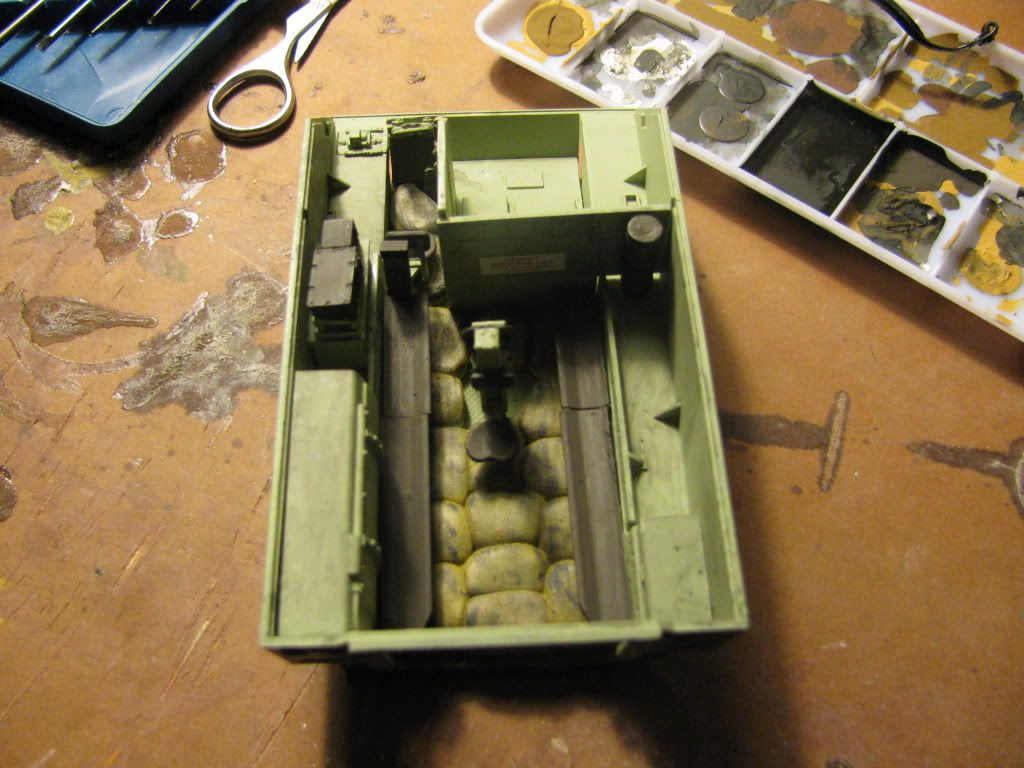
The sandbags are molded with notches that wrap around the bench supports, but, like I said, you'll have to test-fit and trim to make it work.
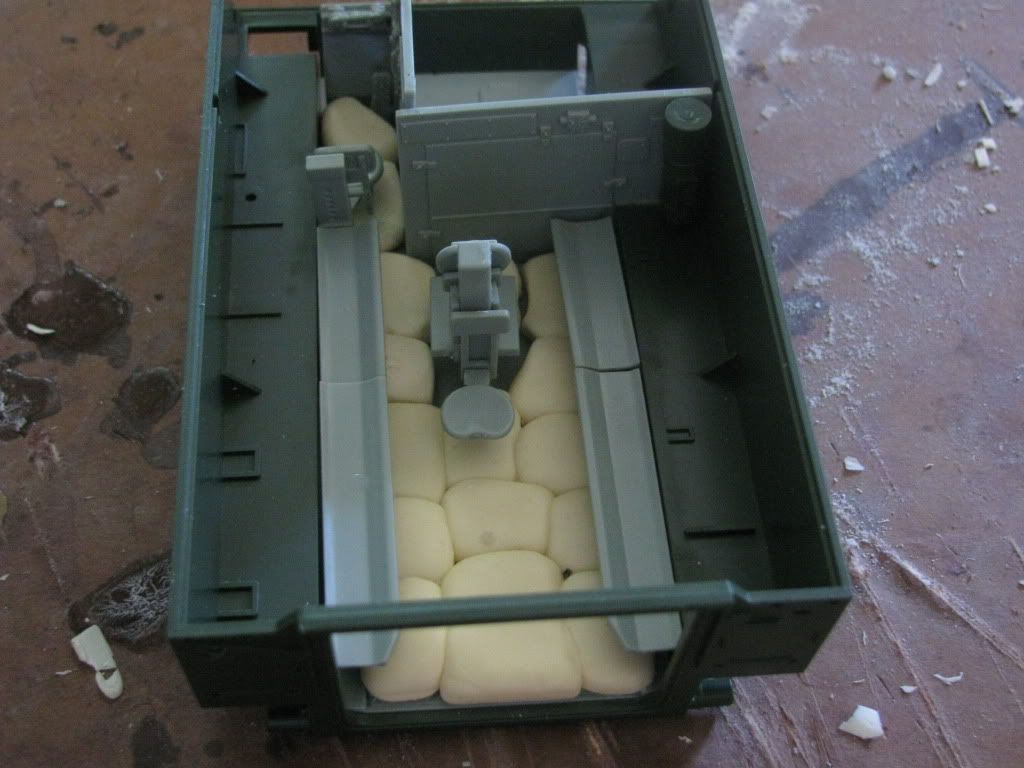
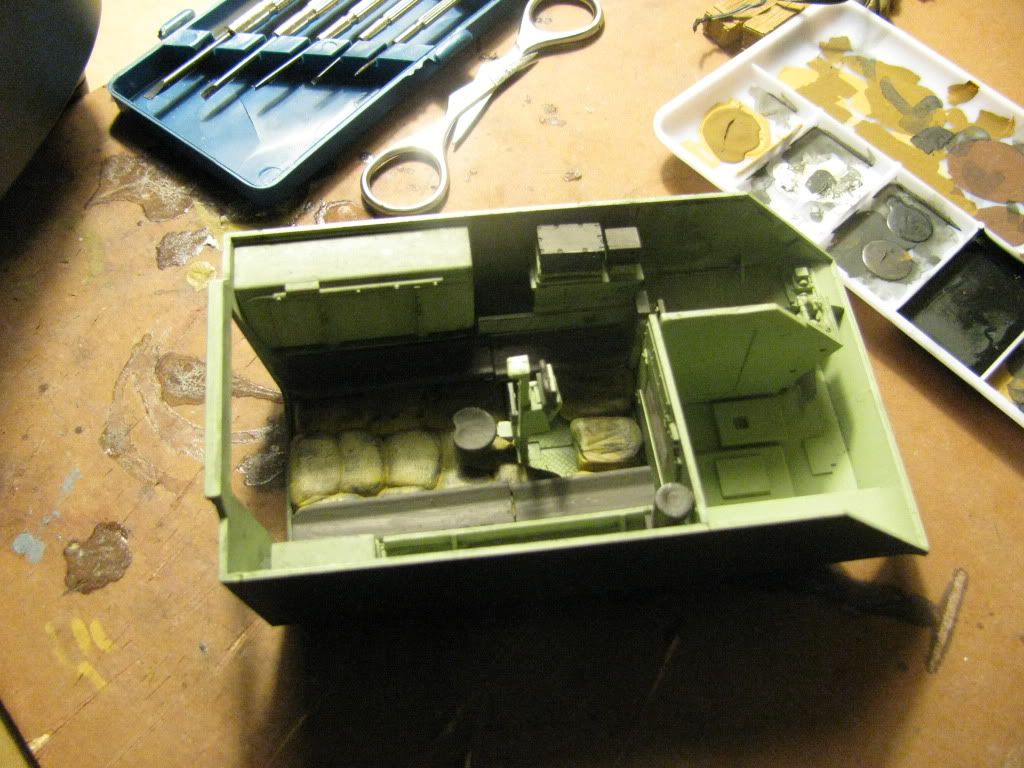
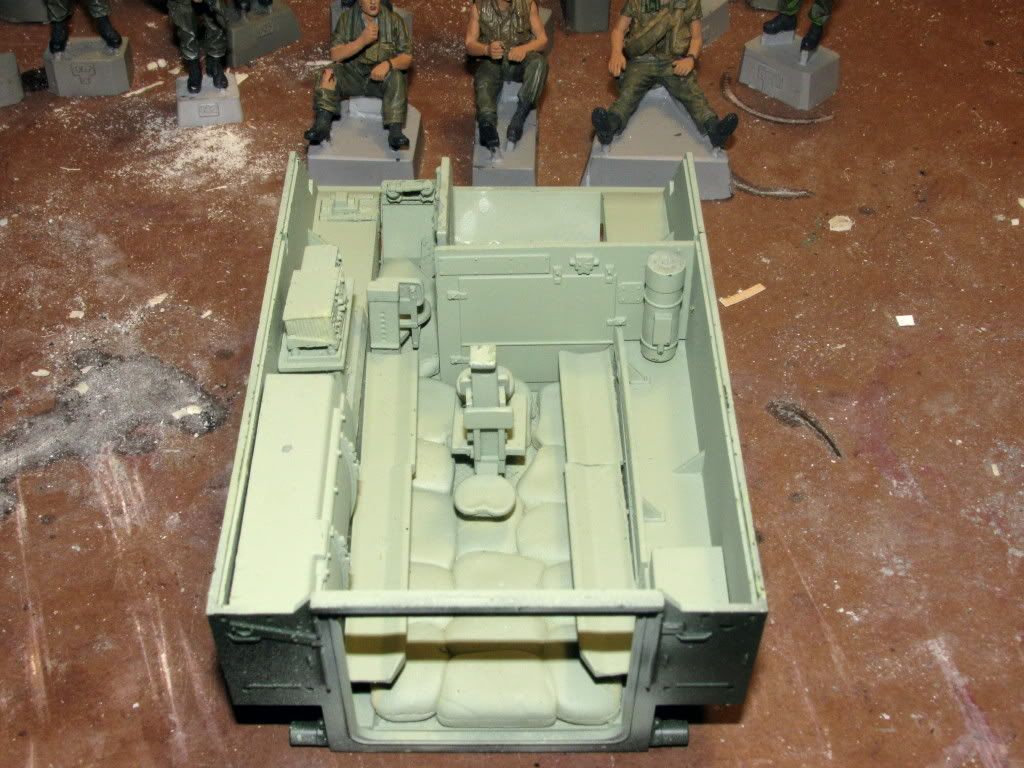
You'll also have to test-fit and trim the sandbags to clear the engine compartment walls.
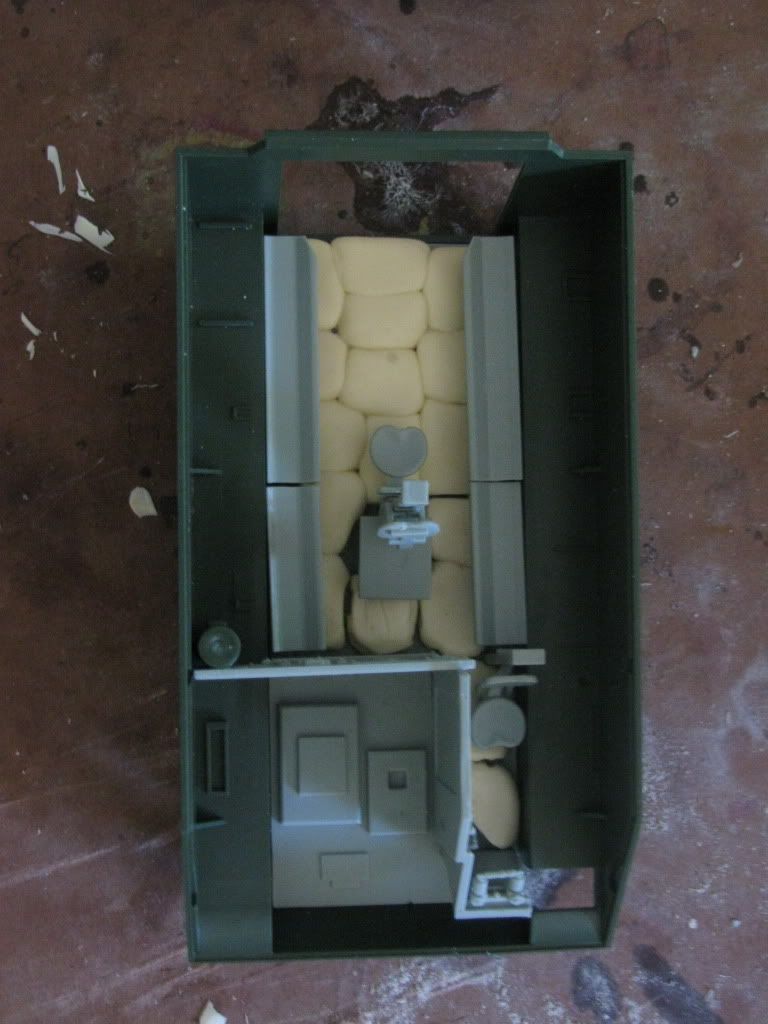

The sandbags under the driver's seat, although notched, will need to be trimmed to allow the joy sticks and gas pedal to fit properly, not to mention the engine compartment walls.
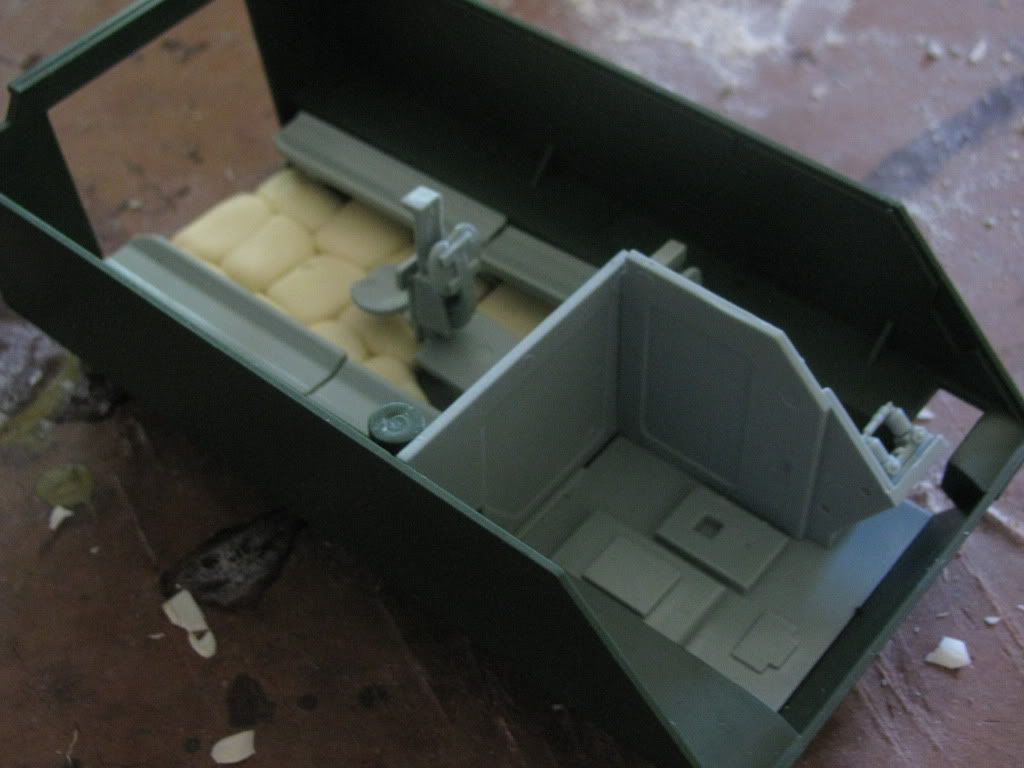
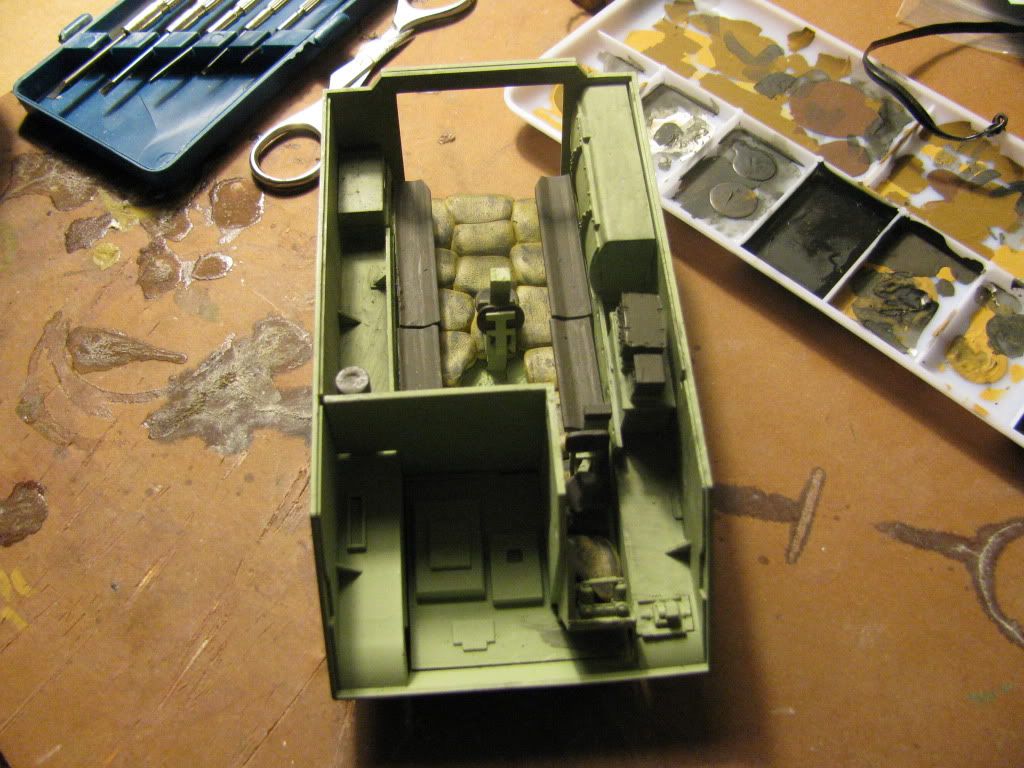
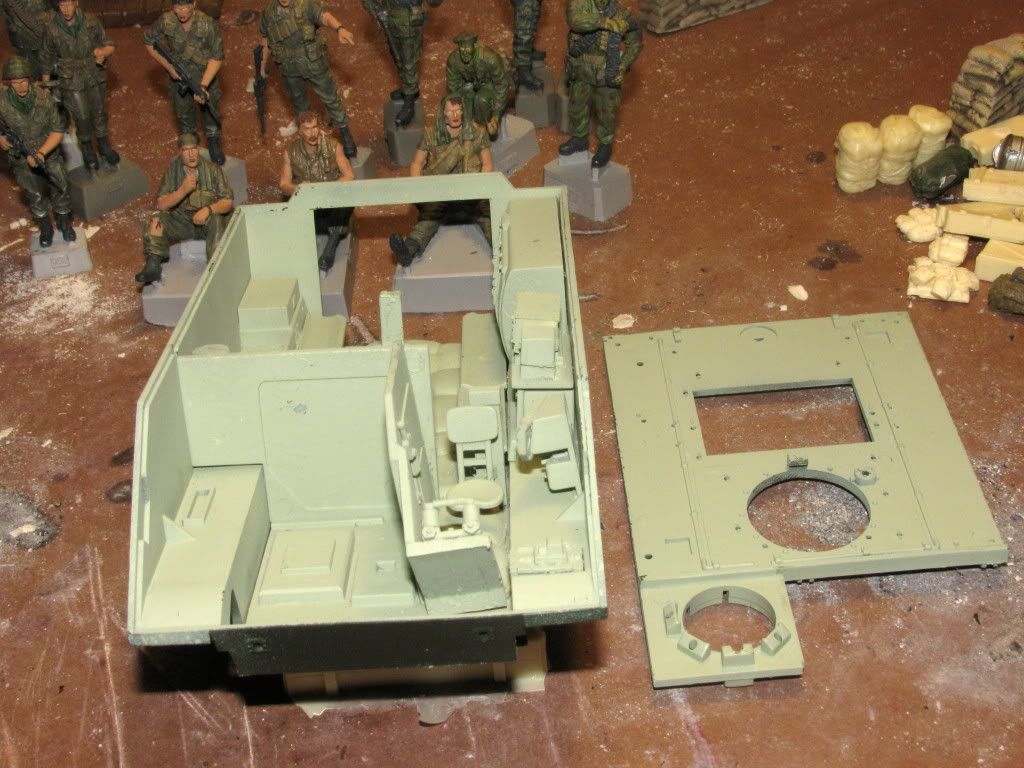
Because of the required assembly sequence, the painting and weathering of the interior will take some time and patience. I forsee some close-in fighting with this kit in my future. I haven't glued the engine compartment walls, yet, which I hope will make applying the numerous decals a bit easier. I can pull them out, paint, weather, apply the decals and drop them back in.
Peace and Love,
DioRandy
Hey, gang
I approved an extended leave for the Brav0-6 figures while I begin to tackle Academy's M113A1. Step one was to sandbag the floor using Legend's M113 Accessory Set. I must say, it's packed full of goodies. The packaging says it can be fitted to the Academy, Tamiya and the Italeri kits, but the sandbagging required a bit of trimming here and there to get a proper fit. However, it was nothing extreme. Nonetheless, they MUST be test-fitted because you can't insert them after assembling the interior. I found that it worked best to assemble one side, insert the sandbags and then assemble the other side after making the required trims.
The sandbags are molded with notches that wrap around the bench supports, but, like I said, you'll have to test-fit and trim to make it work.
You'll also have to test-fit and trim the sandbags to clear the engine compartment walls.
The sandbags under the driver's seat, although notched, will need to be trimmed to allow the joy sticks and gas pedal to fit properly, not to mention the engine compartment walls.
Because of the required assembly sequence, the painting and weathering of the interior will take some time and patience. I forsee some close-in fighting with this kit in my future. I haven't glued the engine compartment walls, yet, which I hope will make applying the numerous decals a bit easier. I can pull them out, paint, weather, apply the decals and drop them back in.
Peace and Love,
DioRandy
")
 , I'll be keeping a close Eye ! Great job so far. If you can Tone down th Drag show I think you'll be over the Hump !!