-
Modelers Alliance has updated the forum software on our website. We have migrated all post, content and user accounts but we could not migrate the passwords.
This requires that you manually reset your password.
Please click here, http://modelersalliance.org/forums/login to go to logon page and use the "Forgot your Password" option.
You are using an out of date browser. It may not display this or other websites correctly.
You should upgrade or use an alternative browser.
You should upgrade or use an alternative browser.
Stug III A France
- Thread starter jknaus
- Start date
Brokeneagle
Master at Arms
B) brown'n gray baby, brown'n gray :coolio
Ian.
Ian.
James, you're going for a double?! 
jknaus
Administrator
Yeah I guess so. Need to build something and I don't know what.
Started late last night and cut out the roof area above the scope in order to mate the earlier version in. Even done neatly the new roof piece doesn't fit as nice as I had hoped. Have some Mr Surfacer liberally applied and will clean that up today.

Also removed the front return roller mount on both sides and filled in a hole that is not to be used. The front return roller is placed further back on an A model.


James
Started late last night and cut out the roof area above the scope in order to mate the earlier version in. Even done neatly the new roof piece doesn't fit as nice as I had hoped. Have some Mr Surfacer liberally applied and will clean that up today.
Also removed the front return roller mount on both sides and filled in a hole that is not to be used. The front return roller is placed further back on an A model.
James
jknaus
Administrator
Good start.
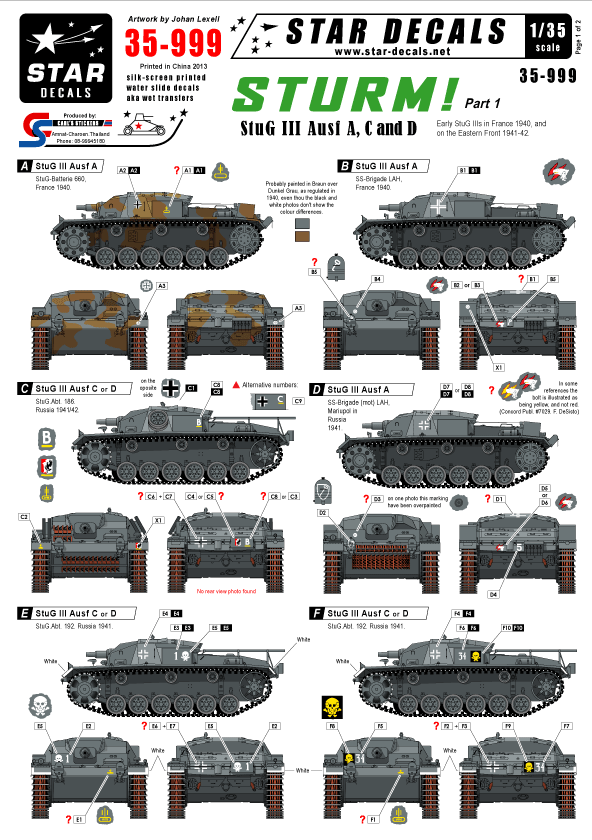
BTW I did a set of dry transfers for Archer for the Stg Abt 660 if decals are not your thing.
Unfortunately decals are inbound. Didnt look at Archer this time around
James
jknaus
Administrator
Okay so this is the first Stug A I have built and I must say the kit is quite rough. Not up to the current standards for sure. I hope they will redo the older Stugs in a smart kit format. Now I measured the points called for and placed a dot with a drafting pen. Then I drew a horizontal and vertical line. Where they intersected I drilled a hole. I used some round stock and jammed it into the new return roller mount and then pushed it into the hole. I did this for 2 reasons. The mount is lined up more exactly as it was measured to the center and it is much stronger than just a butt mount.
So hopefully here you can see the lines I drew.

And looking inside the "pin" I made.

I added the running gear arms and then I cleaned up the Mr Surfacer I had used to fill in the big gaps on the new roof and hatch.

And now its time to get ready for work.
James
So hopefully here you can see the lines I drew.
And looking inside the "pin" I made.
I added the running gear arms and then I cleaned up the Mr Surfacer I had used to fill in the big gaps on the new roof and hatch.
And now its time to get ready for work.
James
NICE Work James! 
jknaus
Administrator
Some more done. There is some wicked flash on this kit that masquerades as part of the kit. Top deck wouldnt snuggle down so I checked and started filing. Got everything squared up and the deck fit nicely. The rear idlers have some nasty punch out marks on the outer surfaces, but these were filled and filed down. Also the rear idler wheels inner and outer wheel are staggered. You cant see straight through the lightening holes. Thanks to Saul for finding me the info and Tony for helping me also.


Now I have to find some nuts and bolts. Behind the front of the gun face are nuts that are conspicuous in their absence on this kit. Also need to find some spare parts for the smoke candles. But first some tread mill time and then work.
Now I have to find some nuts and bolts. Behind the front of the gun face are nuts that are conspicuous in their absence on this kit. Also need to find some spare parts for the smoke candles. But first some tread mill time and then work.
Similar threads
- Replies
- 0
- Views
- 102


