
135engineer
Active member
I was asked how this was done so hopefully this helps . Instead of inserting images in the text I think it will be easier to follow the images after
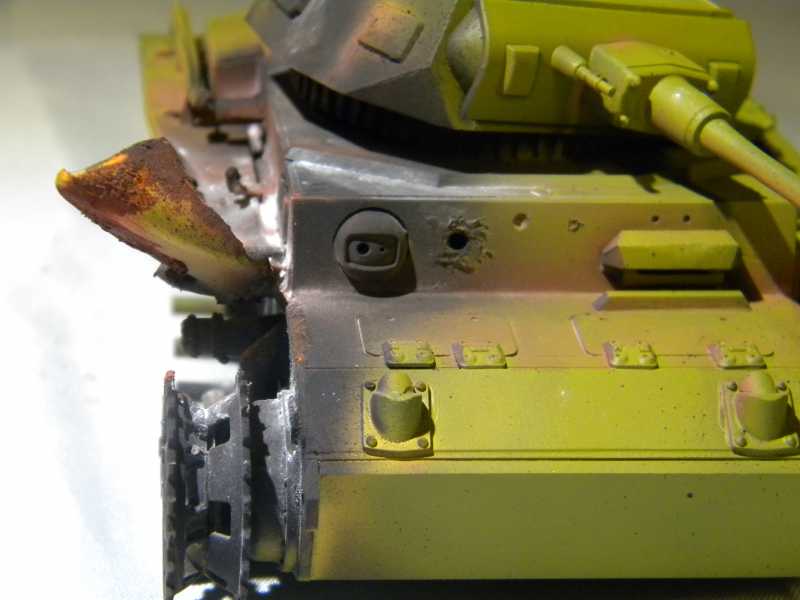
This is done as a step by step on burn and rust of a knocked out vehicle. Step one after assembly is to do a overall black base coat. I used stylenrez primer for mine. Once the primer had dried then its time to move on to the pre shade for the rusting that will come later. The pre shade is a medium orange paint sprayed over the are that will be the burn and rust. After the initial orange then a lighter orange is selectively sprayed to the highlight areas . Once both orange paint colors are on then it is on to a bit of highlighting with yellow, the one I used is a toned down version of insignia yellow.
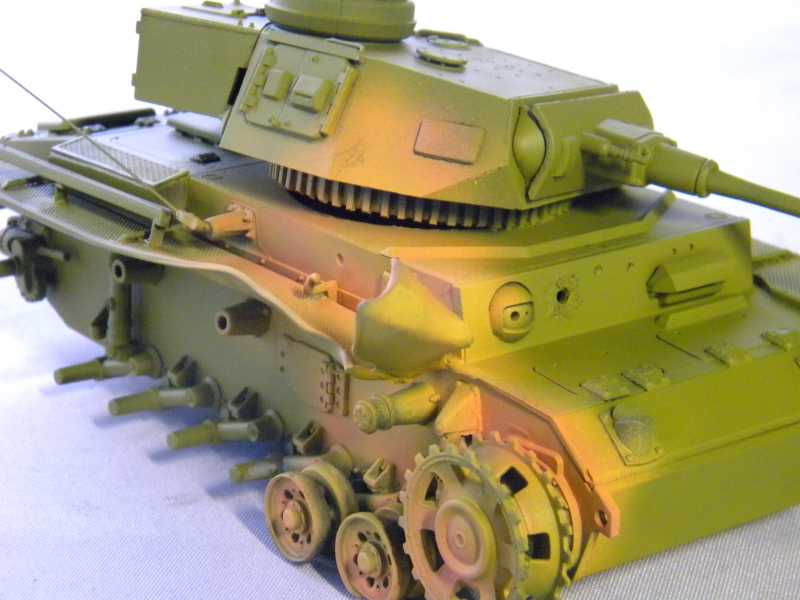
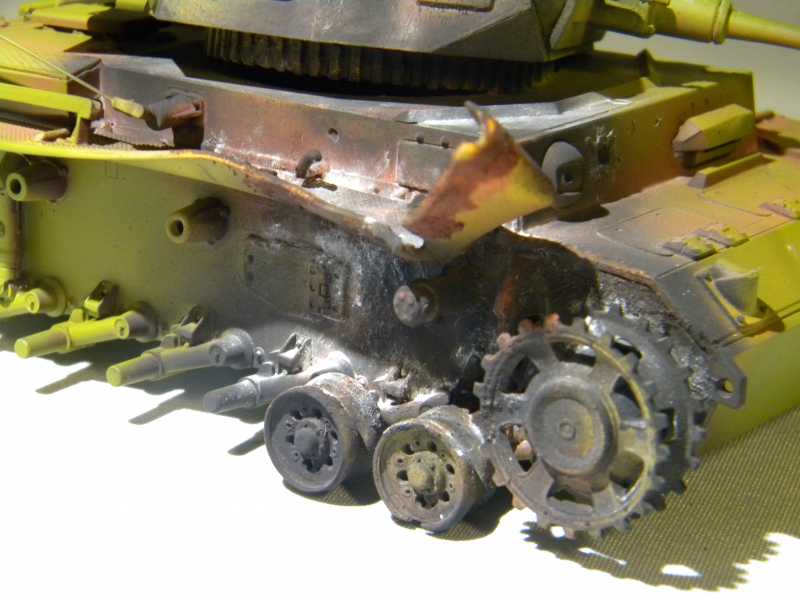
The preshade colors dry quickly so now its time to add a little medium orange oil paint to the rust areas with a fine brush. Do not put the oil on cardboard to remove oils. The oils are needed in the next step. The oil is in place and now we can use the same fine brush to start stippling medium rust weathering powder onto the oil . After the medium rust is on switch to a new rust color and repeat the process. It is fine to allow the rust to spread to areas that have no oil , simply rub it in a bit.
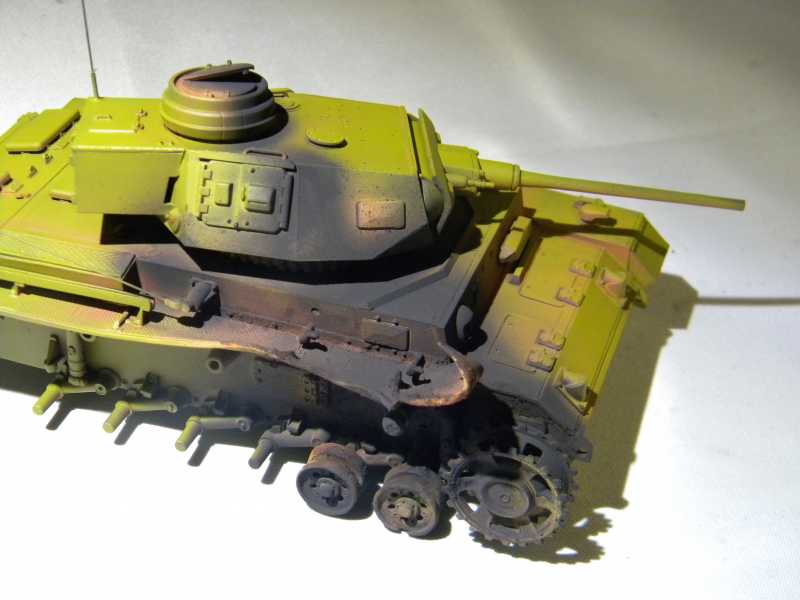
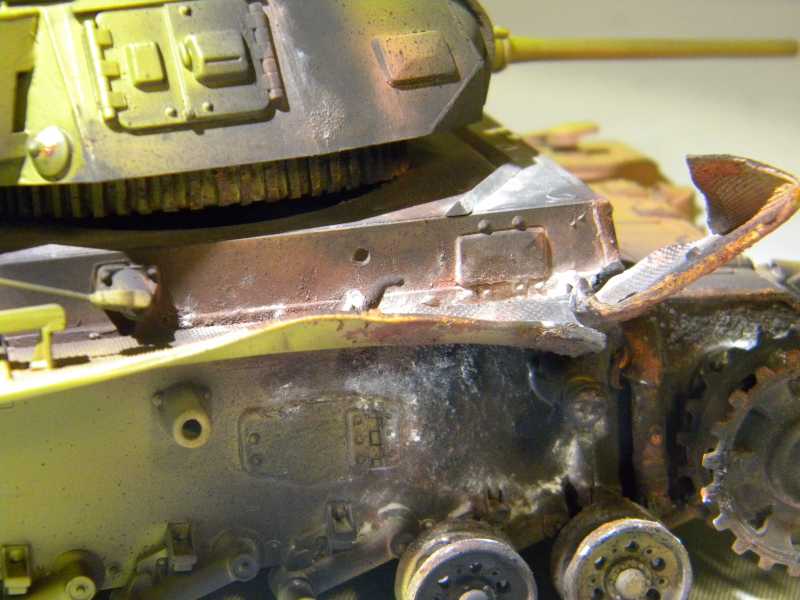
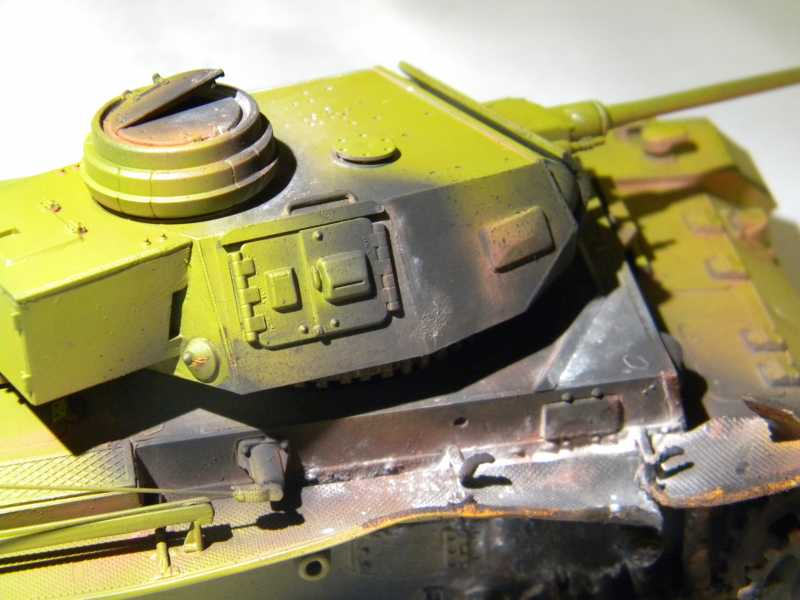
The burn part is the most fun , this is where the work starts to pay off. Mix some black grime weathering powder with alcohol to make a thin slurry and airbrush in light coats where you want the burn . Pay attention to how the flame and wind would move the fire and soot. Next add more black grime to the slurry mix to make it darker and highlight the smoke and burn.
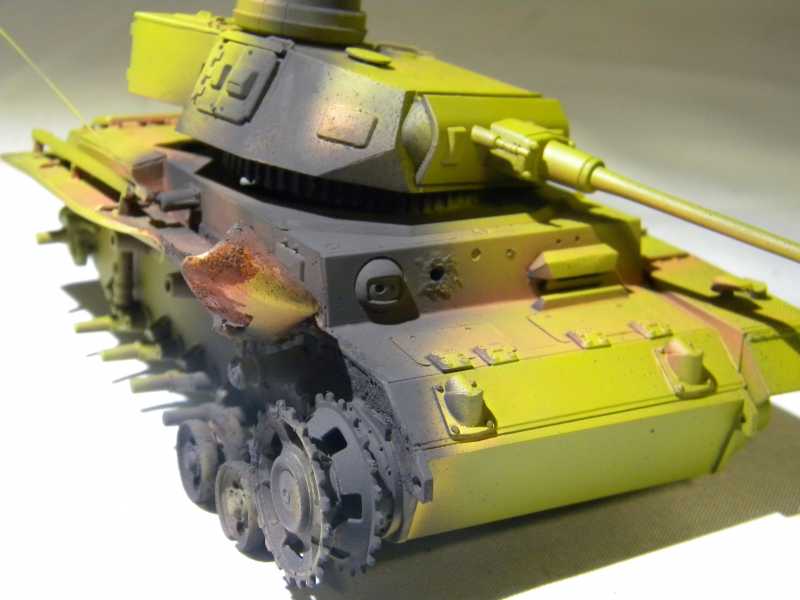
The final steps are to add some surface rust back over the burn and smoke and finally add some ash with white weathering powder.
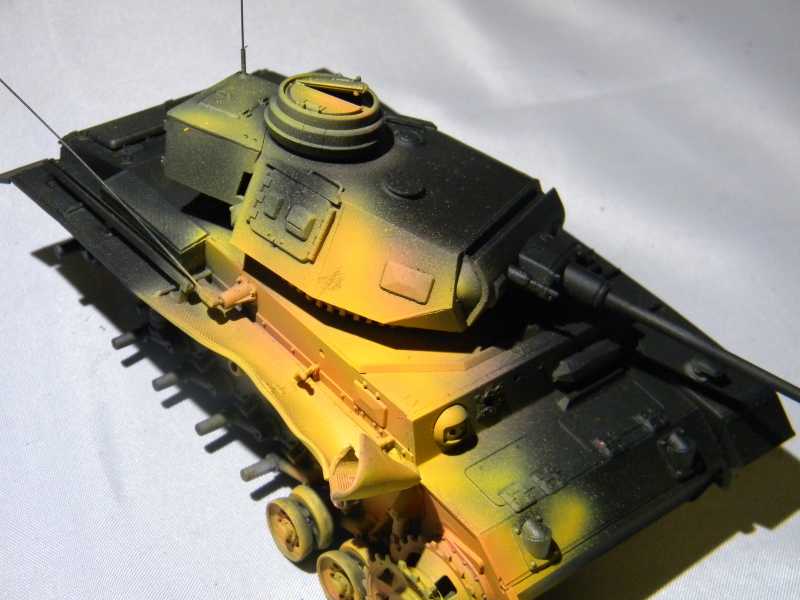


This is done as a step by step on burn and rust of a knocked out vehicle. Step one after assembly is to do a overall black base coat. I used stylenrez primer for mine. Once the primer had dried then its time to move on to the pre shade for the rusting that will come later. The pre shade is a medium orange paint sprayed over the are that will be the burn and rust. After the initial orange then a lighter orange is selectively sprayed to the highlight areas . Once both orange paint colors are on then it is on to a bit of highlighting with yellow, the one I used is a toned down version of insignia yellow.
The preshade colors dry quickly so now its time to add a little medium orange oil paint to the rust areas with a fine brush. Do not put the oil on cardboard to remove oils. The oils are needed in the next step. The oil is in place and now we can use the same fine brush to start stippling medium rust weathering powder onto the oil . After the medium rust is on switch to a new rust color and repeat the process. It is fine to allow the rust to spread to areas that have no oil , simply rub it in a bit.
The burn part is the most fun , this is where the work starts to pay off. Mix some black grime weathering powder with alcohol to make a thin slurry and airbrush in light coats where you want the burn . Pay attention to how the flame and wind would move the fire and soot. Next add more black grime to the slurry mix to make it darker and highlight the smoke and burn.
The final steps are to add some surface rust back over the burn and smoke and finally add some ash with white weathering powder.
