• Modelers Alliance has updated the forum software on our website. We have migrated all post, content and user accounts but we could not migrate the passwords.
    This requires that you manually reset your password.
    Please click here, http://modelersalliance.org/forums/login to go to logon page and use the "Forgot your Password" option.

Pz III Ausf A .... a really FAST work....

Thank you for your support!

Of course, I´ll inform you about my experiences with Mud-in-a-pot. I think that this product will be very similar to Tamiya´s texture paint to diorama.

I must confess that I´m afraid about this new product for three reasons:

1.- The color. When I apply Tamiya´s paint, I ALWAYS change the color to my taste. But it´s easy as I can directly mix it with any other tamiya acrilyc paint. Will I be able to change the color with acriyc paints (Vallejo...Tamiya....¿¿??...)

2.- The texture.... is too regular. Probably, I´ll have to mix it with plaster, sand .... to have a more irregular pattern over surfaces.

3.- Tamiya´s paint always strongly gets fix to any surface. No matter how strongly you manipulate it once dried. Do not get broken ... but ... this product?????

Gary ... I´m sure anyone can. In fact ... what about a Group build about this? :laugh: :laugh: :laugh: ....

Jokes appart, this is just a question of discipline. Just a pair of intensive hours per day!
 
Day 7: Dust

Strange and awful step. All the colors seems to dissapear under that bored XF-57 airbrused (enamel) paint. The excess of paint has been already removed with a fine brush damped with thinner (Tamiya Blue Thinner) aproximately 15 minutes after the Buff was airbrushed.

Now, I´ll clean some parts (road wheels, still not "cleaned completely" and add some nearly black filters here and there over the grey paint uncovered by dust to increase the color contrast

DSC_0077_298.jpg


DSC_0078_299.jpg


Next step ... use earth brown, black and white to add that bored dust a more atractive "taste". Again, using enamel paints. Fine strokes on vertical surfaces and clouds on horizontal plates. Also, some rust effects will be add and some efects with grgrease, pigments .... funny!!! ... can´t wait to tomorow!
 
Day 8

Some more progress. Still a lot of work to do on rear grills (add some dust), painting with love and care tools and muffler ... and the wheels, selective washes and some extra weathering. Tracks already painted and will be fixed at the end.

DSC_0081_300.jpg


DSC_0082_301.jpg


DSC_0083_302.jpg


... the end is closing .... but now time to wait to Mud in a Pot .... or may be not?

... tomorow, the answer in this channel, stay tunned!

EXTRA BONUS:

... the beginning ....

CORRECCIONES3.jpg


CORRECCIONES4.jpg
 
Stunning work.... :woohoo: Must try this method and not think about whether I have over done this or not done enough there.
Love it

Pete
 
Jose,
As always your builds have us captivated...
B) :D
We are all watching and wishing you luck on your wager. :arrrg
Seems a little unfair that you should take advantage of your buddy like that.
:drink
Enjoy the build (we all are) and also let us know how the reward is when
you go out to dinner.
Shawn
 
Many thanks for you opinions!! Your support is impressive! Many thanks!

Noel, I will be very proud if you really copy it!!

I finally decided to wait for the Mud in a pot set as I want to investigate and use new products. Onece I receive these products I will spend my last Days 9 and 10!! Anyway, my friend has already told me that I win the bet.... tomorow night we will all go to a nice Japanese restaurant in Madrid!

This mean I will not make kits until that moment??? No!

I´ll use this days to finish a Pz IV Ausf B from Dragon Cyberhobby (a real nightmare to assemble) that will be painted in a two tone camo were I´ll apply the same techniques as in this Pz III but with much more relax! ;) ;) ;) As usually, I´ll post a little step by step it in my favourite forum ;)

See you in a few days but keep modelling!!
 
Jose looking very kewl. Do you think the streaking is a bit too strong at this point? Any plans to tone them down a bit? Just thinking out loud.
 
This is one of the best painting tutorials I've ever seen- cheers! As someone who built armor back in the 70's, a wash and drybrush were all that was needed. The state of the art now id phenomenal- thanks for showing us so clearly this wonderful array of techniques- and talent!

chuk
 
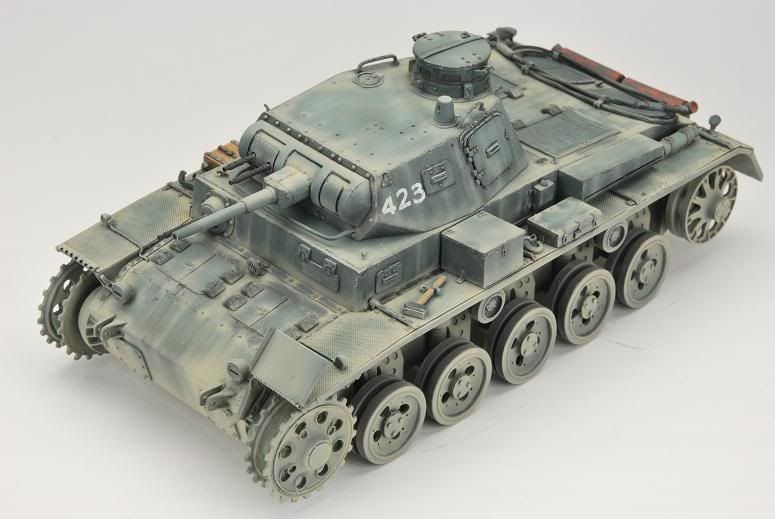
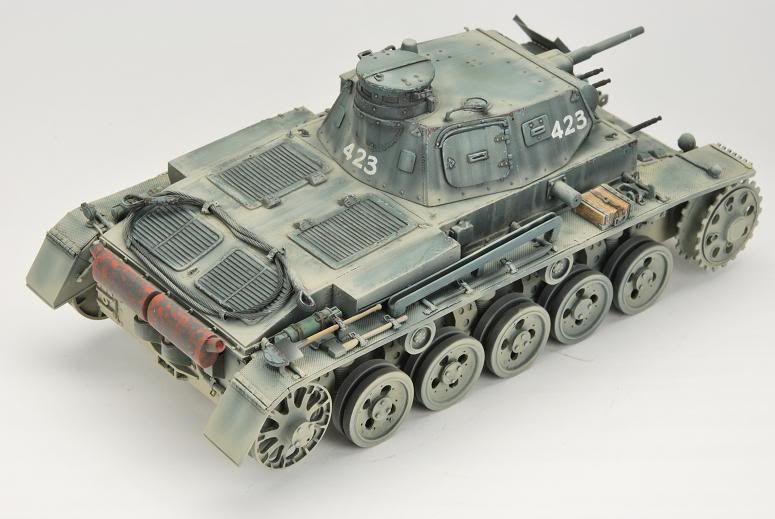
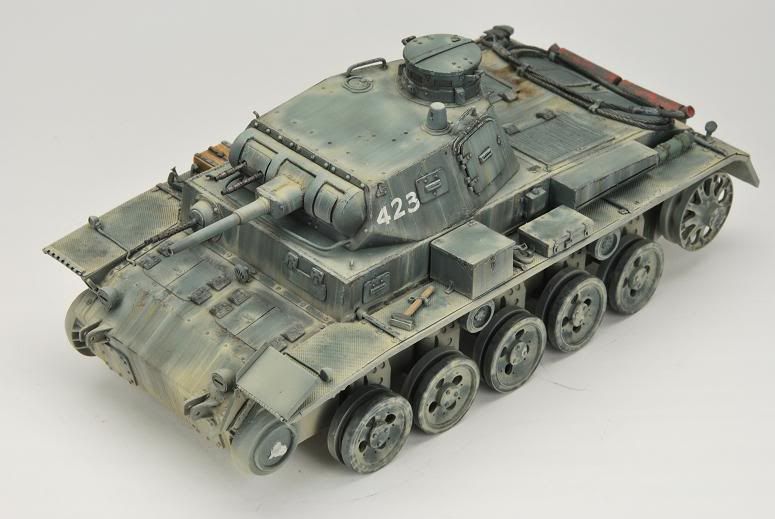
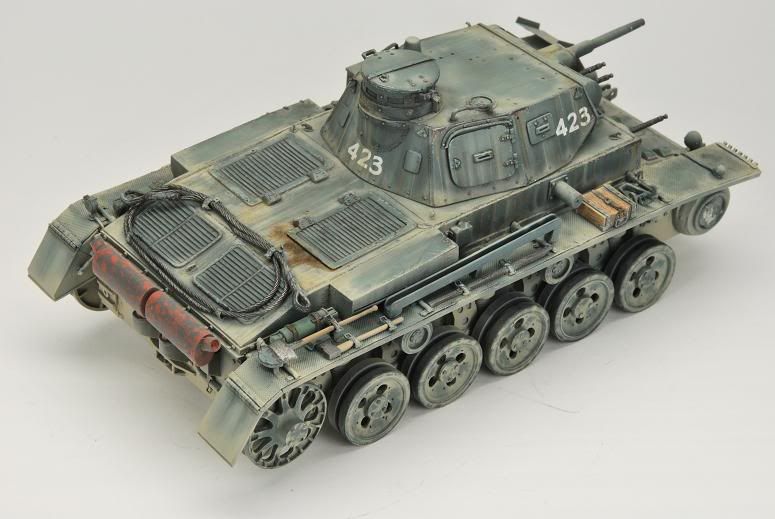
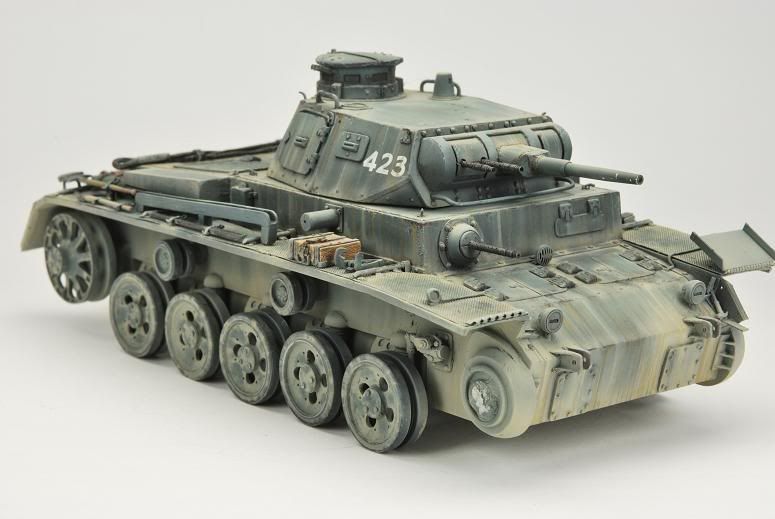
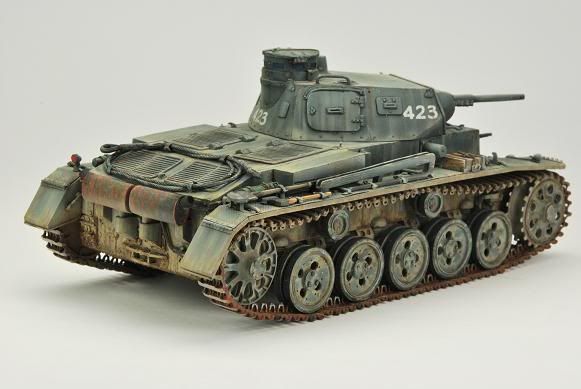
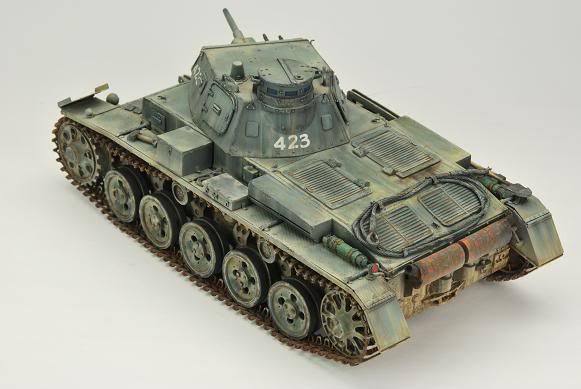
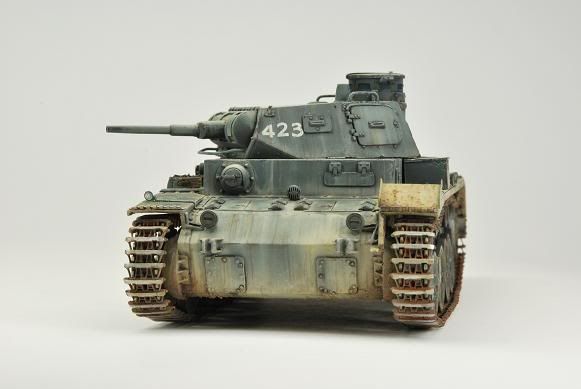
Finally .... finished!

Here´s the final result

c.jpg


B.jpg


A.jpg


D.jpg


I won the bet as my friend show that it was really possible to paint a tank in 10 days (I fairly spend two complete days painting and weathering the lower hull and adding some details here and there). ... just with a "one week total stop" waiting for the Mud in a pot set.

I must say that I´m a little dissapointed with this product. Actually, the product is really really good, excellent! ....very nicely suited to make realistic mud effects, with a really nice texture and color....easy to use, easy to change the color with Vallejo acylic colors... BUT ....

... it´s expensive!!

Why? ...

The new Tamiya diorama paint is nearly as good as Mud in a pot set... BUT it comes in a 100 ml bottle and Mud in a Pot set just in a 20 ml bottle

So, quantity ratio is 5/1, and price ratio 2,5/1 depending shops... (of course, may be just a problem for me!)

I just used a little amount of this product in this tank. But for a medium/big tank with a lot of mud, the Mud in a pot is fairly enough for 2 tanks.

Anyway, Mud in a Pot is excellent. The color is much more realistic than Tamiya´s color. You can apply it directly from the bottle, but I recomend to add some little grains of fine sand of diferent diameters to get a richer apearance to the mud. Use a brush to apply the mud and clean it just with water. No matters of adherence. And as Vallejo´s color range is much much bigger than Tamiya, you have much more options to have a "customized" mud to your taste.

Now ... a Pz IV Ausf B is waiting for me ..... see you!!

Thanks for looking and for your support!
 
Very nicely done, great weathering and dust effects......I have this kit in my stash but have hardly ever considered building it. Just one thing (which I may be wrong about 'cos I don't know much about the early panzer III's) I think the tracks are on back to front.....
 
Ahhh!!!! ;)

Now that is one very well built, painted and weathered model tank!!

Very inspiring work, love the earth and dust effects on the panzer grey.... very realistic.

Cheers, :lol: :silly:

Jase.
 
Back
Top