Brokeneagle
Master at Arms
Another project I am fiddling with is a Revell 1/72 scale MK7C/41 U-boat - late model. This will represent the Revell kit 'built out of the box' as a final model Mk7c. The following late war details are represented on this model:
- Atlantic Bow, Plank deck, Turm IV CT configuration, 37mm anti aircraft weapon on the lower platform, no deck gun, snorkel fitted during construction without the additional external pipe on the Right side of the CTower or the lower pipe at deck level on the Port side of the CTower, exhaust cover, 4xlife bouy containers and no forward external railings on the foredeck.
I have already built the early version for a collector years ago when the early version first came out, and have been waiting to do the late version(my favorite) for myself. This model will serve 3 purposes as it will allow me to test my water creation and painting on a 1/72 in preparation for a 1/35 scale early version, provide a nicely detailed Late war u-baot as a good shape and surface light reference for future paintings of u-boats that I am planning to do and allow me to create water line u-boat model for display in my collection.
1. Butchering the full hull model.
This was not an easy decision but one that I had to go with to get that 'U-boat at sea' look. As I mentioned I have already built a full hull version and still have an early version in storage that will be done as a full hull, so this made my decision a little easier.
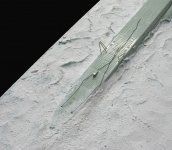
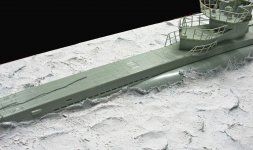
I started by building the actual hull as per the instructions, just in case I changed my mind. Once I decided I went ahead and looked at some references to determine the waterline at sea and cut the top of the model away from the lower hull at the appropriate place. For this I used a Dremmel tool with a thin cutting wheel and then ground off and smoothed the melted edges with a stone sander head piece.

As you can see underneath the model pieces, I have chosen a thin piece of custom board as the water base. This will be mounted onto an attractive piece of timber at a later stage.
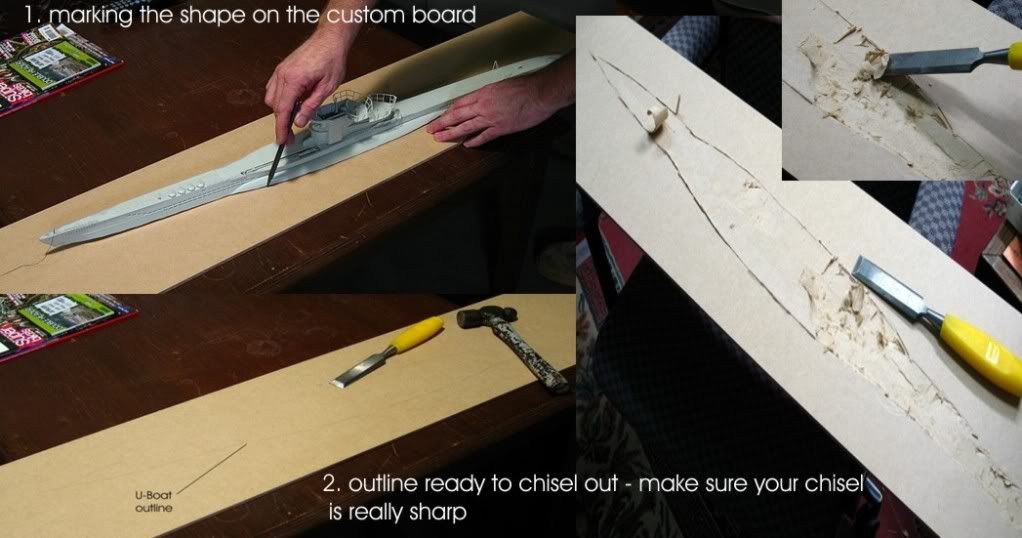
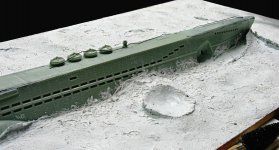
I marked-off the U-boat shape with a lead pencil and went about chiseling out the shape - but not all the way through!. I initially went around the edge with the chisel, hammering vertical cuts as a straight line all around the shape, to provide the initial depth. After this I used the chisel to 'scoop out' the material from the centre, starting at the rear, and also working out from the edges with a digging motion. The custom wood is quite easy to work with which I why I wanted to use this as the base surface.
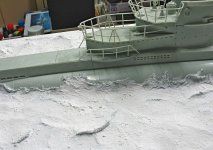
I went down about 3-4 mm so as the sub would sit nicely and allow me to sink the rear a bit more than the front. I have also tipped the boat slightly to the left to give it drama as it will be under attack from the air.
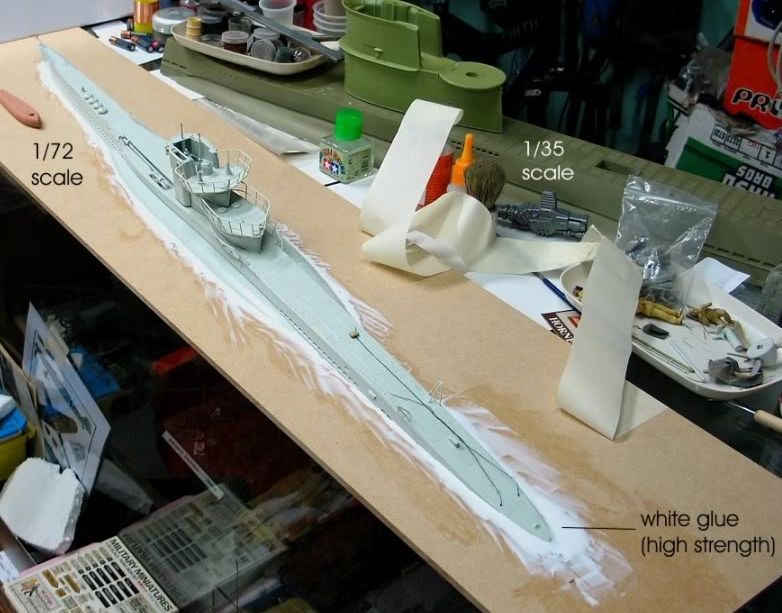
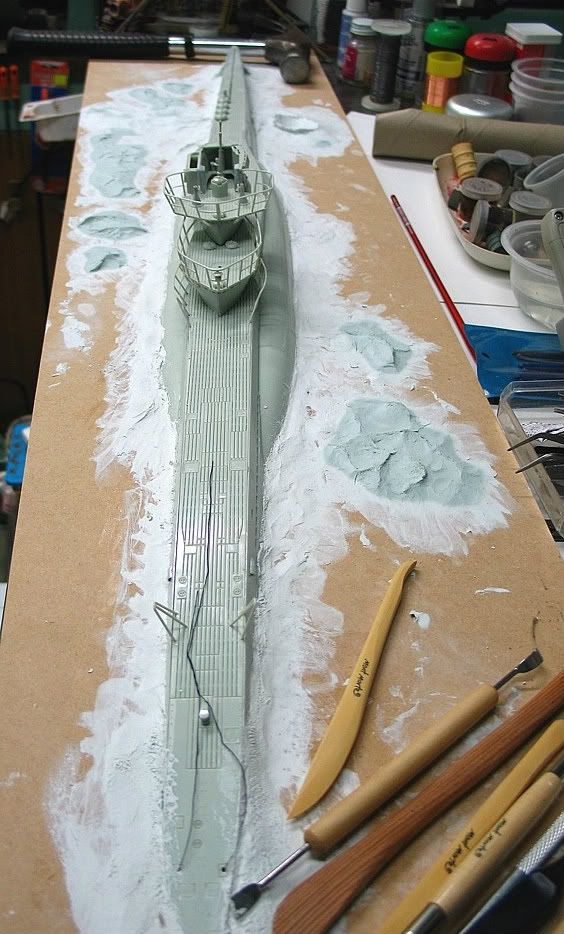
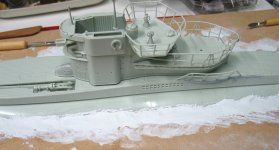
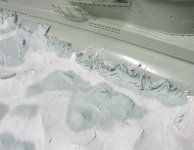
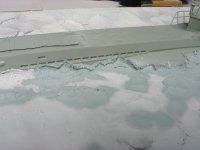
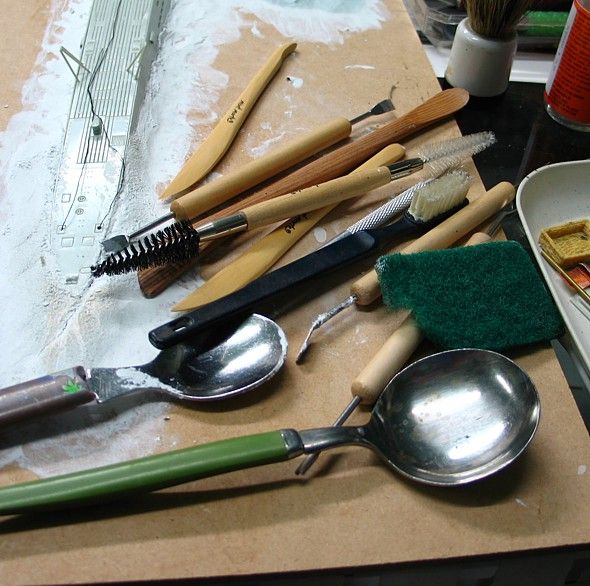
I embedded the sub into the wood and fixed it into place wit High strength White Glue. This was also useful to allow me to fill in the small trench surrounding the hull. I used a palette knife to get the glue into the trench and flatted out, without it going up the side of the hull.
At this point I have not added the anti-aircraft armament.
Till next time :snoopy
Ian.
- Atlantic Bow, Plank deck, Turm IV CT configuration, 37mm anti aircraft weapon on the lower platform, no deck gun, snorkel fitted during construction without the additional external pipe on the Right side of the CTower or the lower pipe at deck level on the Port side of the CTower, exhaust cover, 4xlife bouy containers and no forward external railings on the foredeck.
I have already built the early version for a collector years ago when the early version first came out, and have been waiting to do the late version(my favorite) for myself. This model will serve 3 purposes as it will allow me to test my water creation and painting on a 1/72 in preparation for a 1/35 scale early version, provide a nicely detailed Late war u-baot as a good shape and surface light reference for future paintings of u-boats that I am planning to do and allow me to create water line u-boat model for display in my collection.
1. Butchering the full hull model.
This was not an easy decision but one that I had to go with to get that 'U-boat at sea' look. As I mentioned I have already built a full hull version and still have an early version in storage that will be done as a full hull, so this made my decision a little easier.
I started by building the actual hull as per the instructions, just in case I changed my mind. Once I decided I went ahead and looked at some references to determine the waterline at sea and cut the top of the model away from the lower hull at the appropriate place. For this I used a Dremmel tool with a thin cutting wheel and then ground off and smoothed the melted edges with a stone sander head piece.

As you can see underneath the model pieces, I have chosen a thin piece of custom board as the water base. This will be mounted onto an attractive piece of timber at a later stage.

I marked-off the U-boat shape with a lead pencil and went about chiseling out the shape - but not all the way through!. I initially went around the edge with the chisel, hammering vertical cuts as a straight line all around the shape, to provide the initial depth. After this I used the chisel to 'scoop out' the material from the centre, starting at the rear, and also working out from the edges with a digging motion. The custom wood is quite easy to work with which I why I wanted to use this as the base surface.
I went down about 3-4 mm so as the sub would sit nicely and allow me to sink the rear a bit more than the front. I have also tipped the boat slightly to the left to give it drama as it will be under attack from the air.

I embedded the sub into the wood and fixed it into place wit High strength White Glue. This was also useful to allow me to fill in the small trench surrounding the hull. I used a palette knife to get the glue into the trench and flatted out, without it going up the side of the hull.
At this point I have not added the anti-aircraft armament.
Till next time :snoopy
Ian.
Last edited:





 Can't wait for the next installment!!
  on.
on.
