• Modelers Alliance has updated the forum software on our website. We have migrated all post, content and user accounts but we could not migrate the passwords.
    This requires that you manually reset your password.
    Please click here, http://modelersalliance.org/forums/login to go to logon page and use the "Forgot your Password" option.

Moon Puppy's Big Bone...

moon puppy

Administrator
Staff member
:D

From Wiki

The Rockwell (now part of Boeing) B-1 Lancer is a four-engine, variable-sweep wing strategic bomber used by the United States Air Force. First envisioned in the 1960s as a supersonic bomber with sufficient range and payload to replace the Boeing B-52 Stratofortress, it developed primarily into a low-level penetrator with long range and supersonic speed capability.

The bomber's development was delayed multiple times over its history, as the theory of strategic balance changed from flexible response to mutually assured destruction and back again. The initial B-1A version was developed in the early 1970s, but its production was canceled and only four prototypes were built. In 1980, the B-1 resurfaced as the B-1B version with the focus on low-level penetration bombing. The B-1B entered service with the United States Air Force (USAF) in 1986.

I got out of the service in 1985, six months before the B1 was deployed to Grand Forks ND AFB. I never got the chance to see one up close let alone load a SRAM AGM86 or B61 gravity bomb. I was there when they started digging up the hanger floors to reinforce them to carry the different weight load. Well that's what we think they were doing, need to know and all that.

Well that's the short history, what will I build?
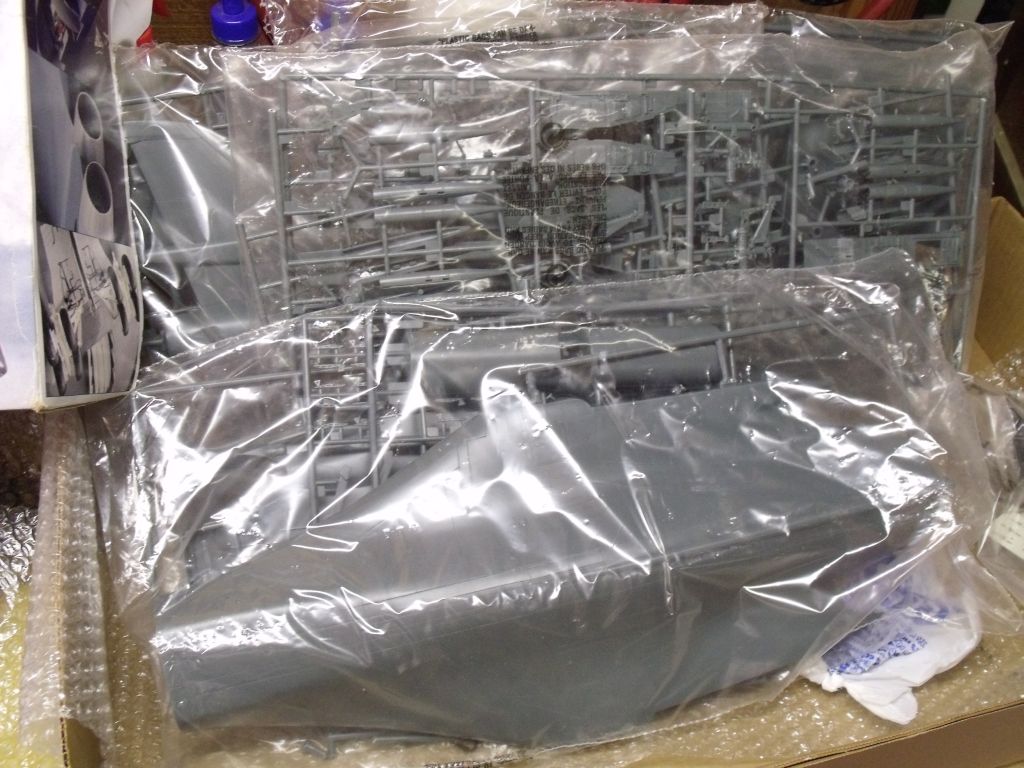
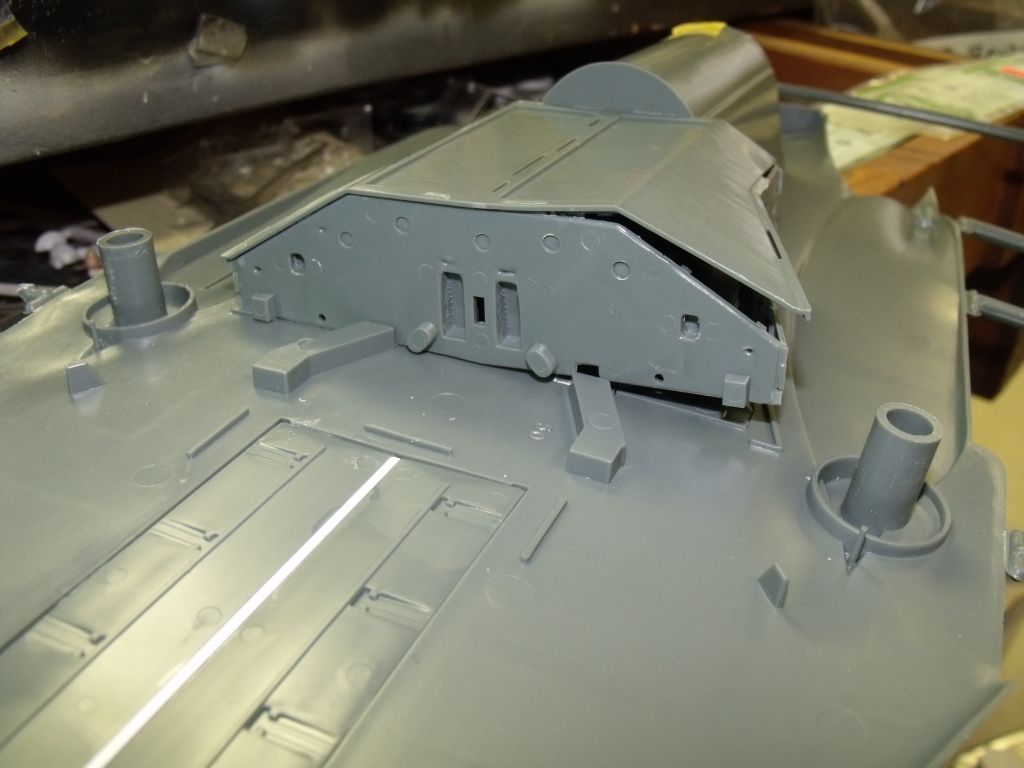
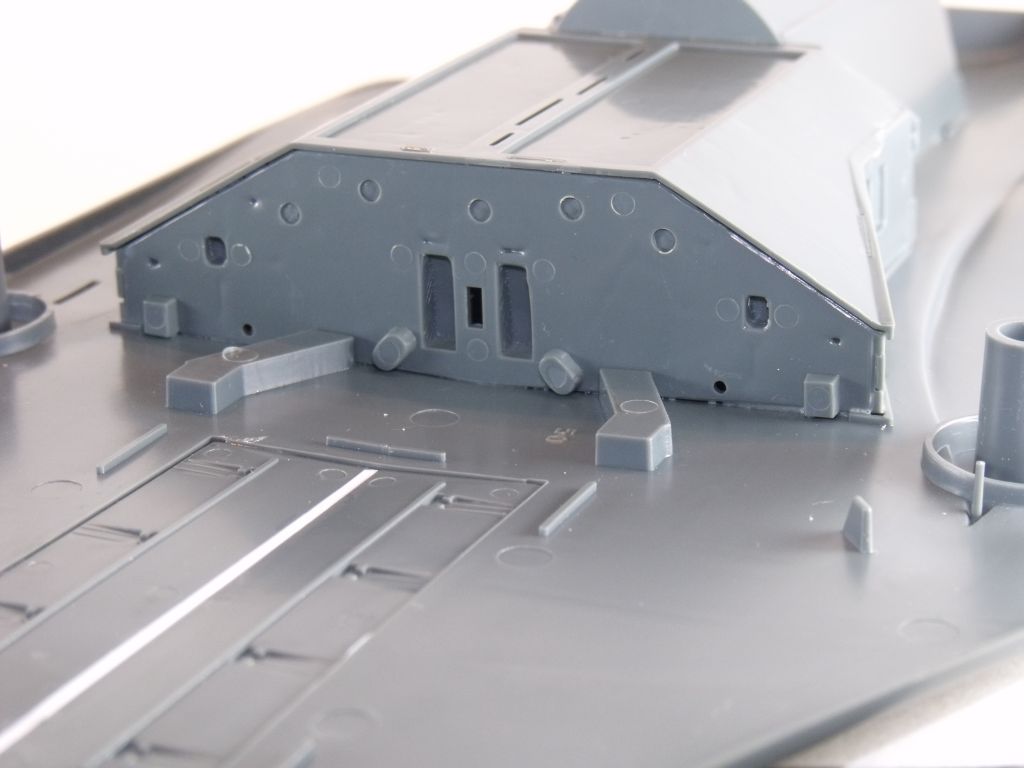
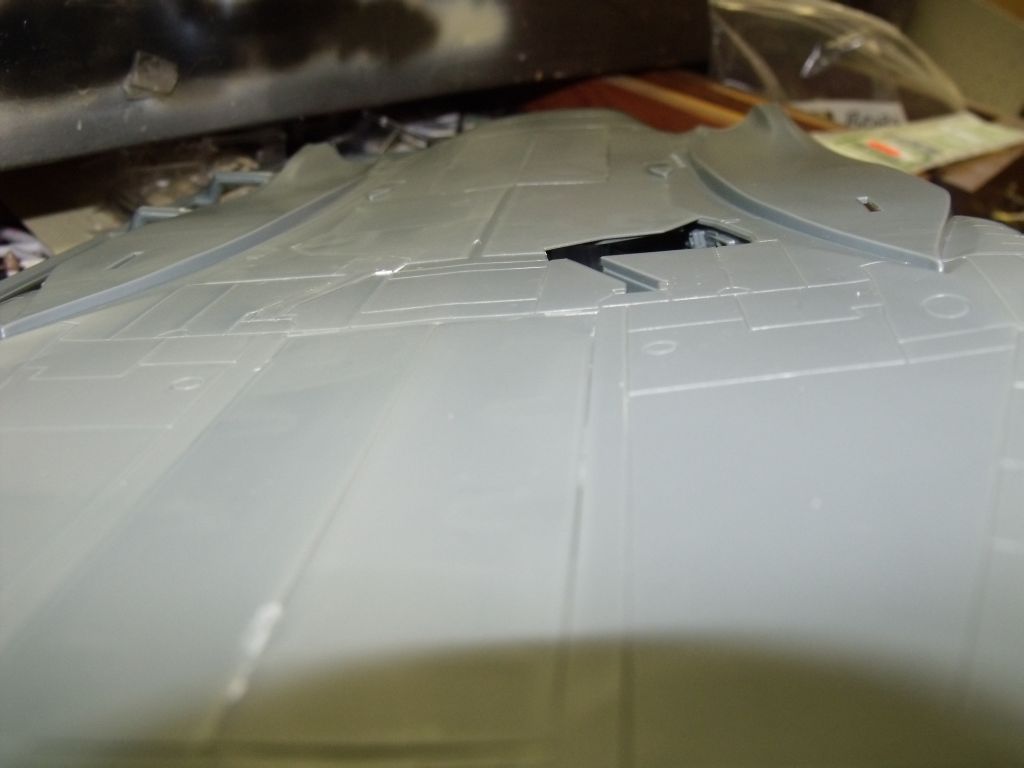
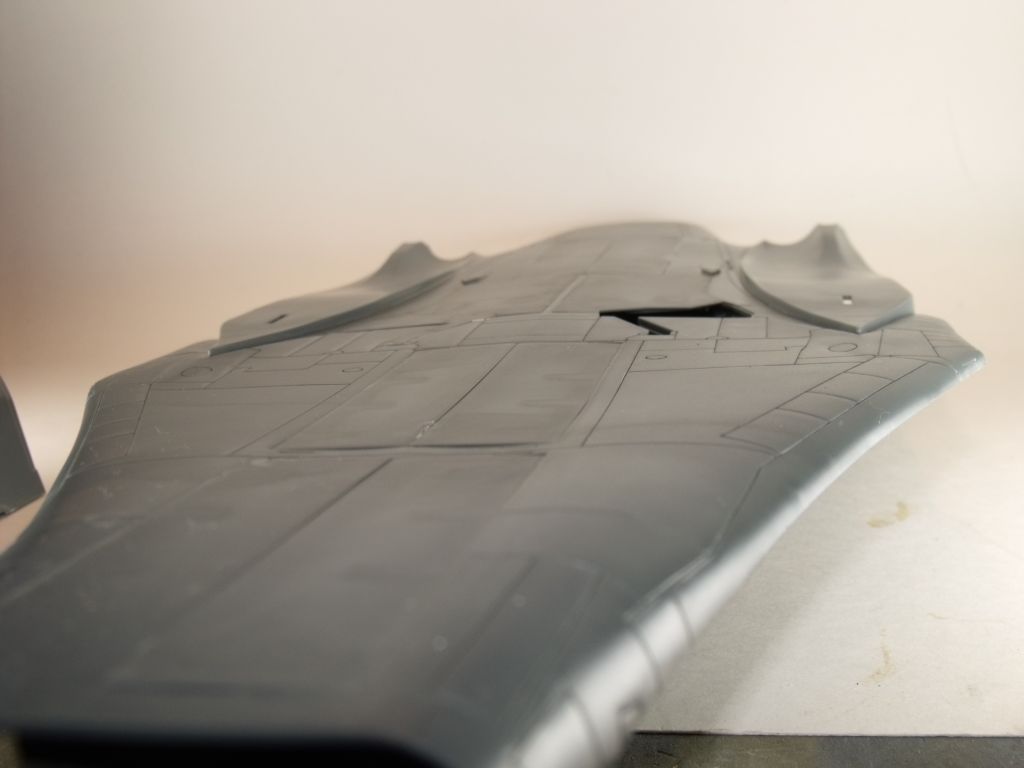
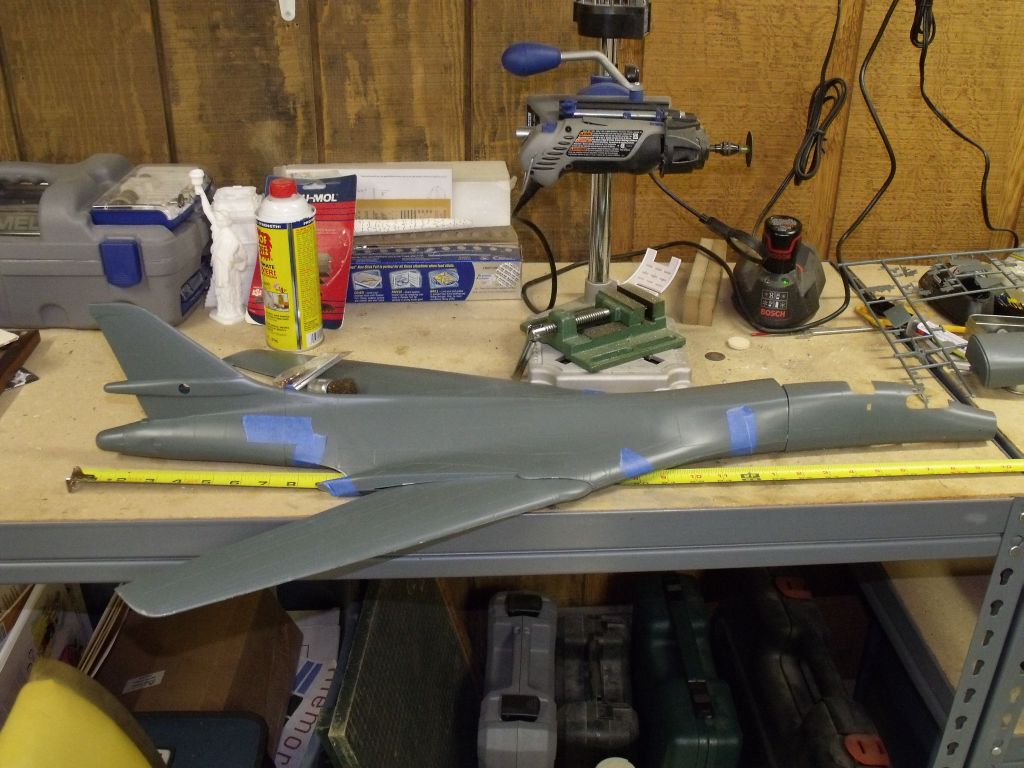
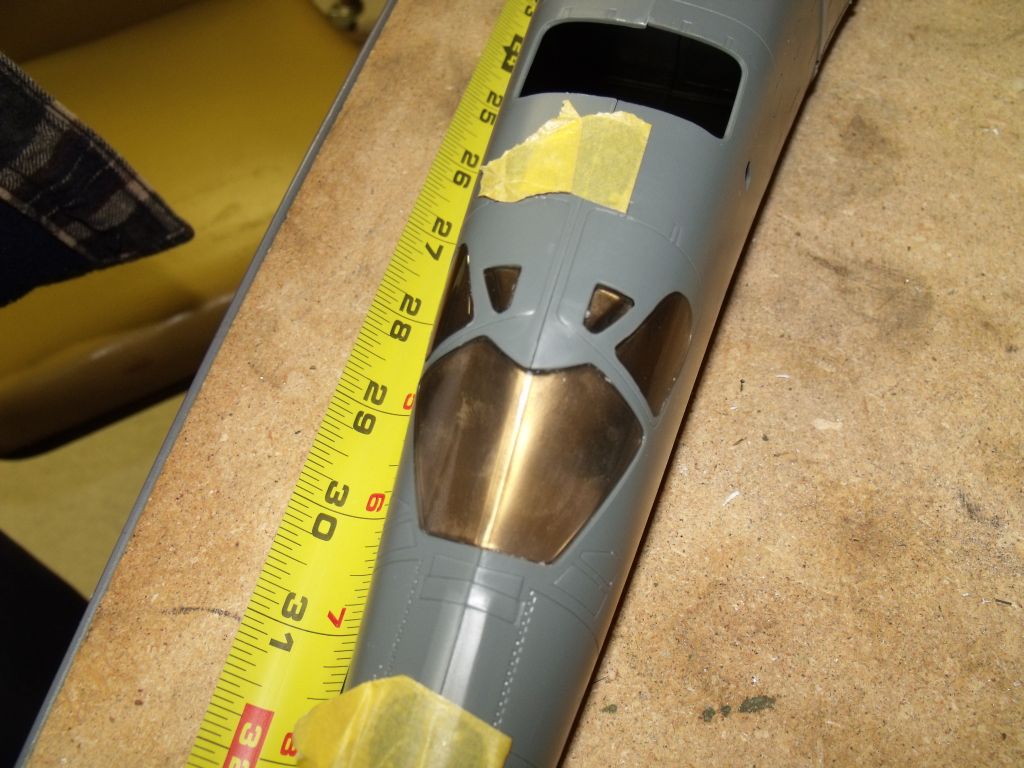
The Monogram B1-B
85-5714.jpg

yeah, that one!

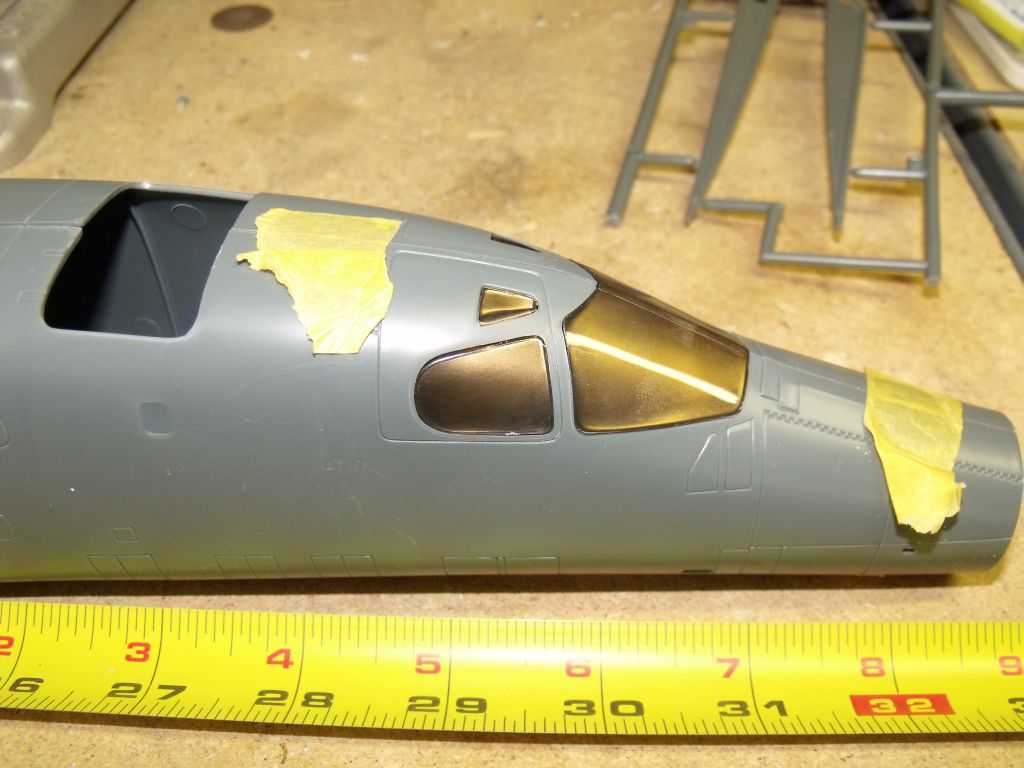
But I'm going to short cut this. Gear up, Wings Swept, Burners open (I think that's the state it should be when wide open), no interior and the windscreen will be blackened out.

Color scheme...more on that later.

First hurtle? While inspecting the kit I got off ebay a couple of years ago i found...No Instructions!!!!

Can anyone throw me a bone? I know someone has the instructions and a scanner..please??
 
The majority of the instructions are for the landing gear and bombbays..this may not take long.

Saul, have you built this? Do you know if the internal bulkheads are needed for any support?
 
The majority of the instructions are for the landing gear and bombbays..this may not take long.

Saul, have you built this? Do you know if the internal bulkheads are needed for any support?
If your worried about support, you could aways squirt a bit of expanding foam in. Not much and make sure there is somewhere for the overflow to com out. Bulk with low weight. win win.
James
 
i heard this is a pretty big plane ... i hope it will be big fun for you to build!

i surely will have big fun following!
 
Bone001.jpg

I know I said I was going to clean up, I did..really, I did!
Bone002.jpg

Bone003.jpg

Here we go!

I think the first thing I will start on is the Eduard PE afterburners. At least I have instructions for them.
 
Yeah it's big!!! I had one got scared and sold it. Hope you got a big bench.

Terry B)
 
OK so I lied. I didn't start with the burners I started in midsection. I wanted to close up the bombbays and gear well to remove any temptation to get off track and lost in hyperdetail mania.

To answer my own question, yes, the internal is necessary if only to hold the cord shape of the build, I'll post pictures shortly.

Dang thing is big...
 
So the answer to the question, is the interior needed?
Yes, I think so.
the bulkheads help give the cord shape of the airframe you can see here:
Bone004.jpg

This is the forward bulkhead of the gear well, with one side glued down you can see the gap on the other, not sure if that would be called a dihedral but that upward curvature would be lost and not defined
Bone004a.jpg

Here the other side is secured
Bone005.jpg

Bone005a.jpg

Not sure if you can see the difference, this is before and after the bulkhead was inplace.
 
Good ol' Monogram...I remember now how we could knock those kits out so quickly. But not doing any interior really has cut down time.

Today's work.
Tail plane is together, no elevators yet, mid section is dry fitted and wings are glued. There is a very nasty seam on the trailing underside of the wings that will need a lot of work. I haven't sealed up the mid section yet because I may want to rig some sort of break down of the three section and I really do want to create some sort of inflight base.

Bone006.jpg

yeah, that's 3 foot pulled out on the tape. Did I tell ya this thing is BIG!?

Please, anyone have any ideas on how to make a inflight base? I'm wide open for suggestions.
 
Here's what I'm doing with the windscreen.
AlcladII Gold...
bone007.jpg

bone008.jpg

think I'll do a squirt of black behind that to blacken it out more. You can't really see it here but the lip between the two side windows really distorts the effect. Not sure what I can do about that, replacement windows from somewhere?
 
In flight base on a jet... why not stick the stand up its ...

For the windows, did you not learn from my gap filling exercises? Try this on a scrap kit:

[ol]
[li]Use cellophane to mask around the cockpit framing.[/li]
[li]Glue or cement the cockpit glass in place.[/li]
[li]After it is cured, apply thin cyano-acrylate glue to the gap (use a drafting pen for control)[/li]
[li]After one hour, sand away and repeat steps 3 & 4.[/li]
[li]Sand and polish.[/li]
[/ol]

Regards,
 
Back
Top