shawngehling
Active member
Bob (M/P)
In my best Jedi voice... :evil: :evil: :evil:
Come over to the dark side... You know you want to.
 ")
Give up those wingy thingies... :peace Armor is for you...
Seriously great job... Keep up the good work.
But you want to build armor not planes,
Repeat after me, I love to build armor not planes...
Say this 10 or 20 million times and you'll be ok...hmy:
Shawn
In my best Jedi voice... :evil: :evil: :evil:
Come over to the dark side...
You know you want to. Give up those wingy thingies... :peace
Armor is for you... Seriously great job... Keep up the good work.
But you want to build armor not planes,
Repeat after me, I love to build armor not planes...
Say this 10 or 20 million times and you'll be ok...
hmy: Shawn

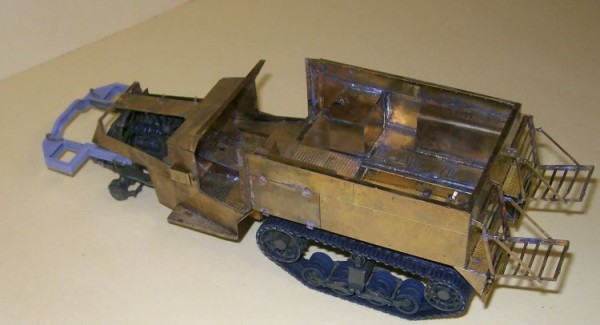

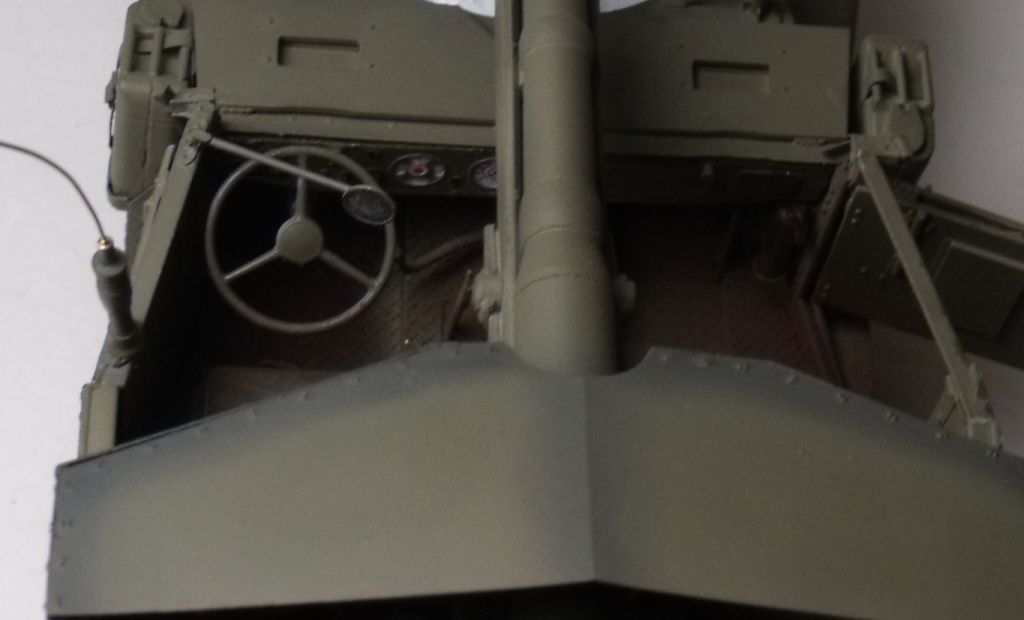
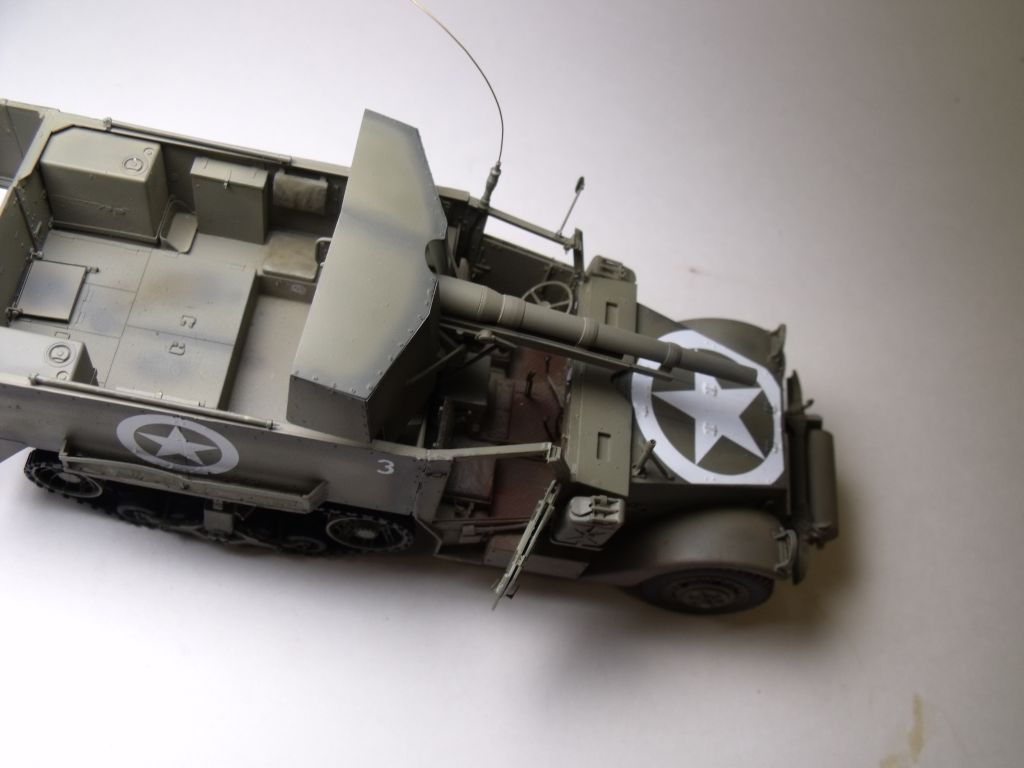
 OK, just leave us hanging! :laugh: