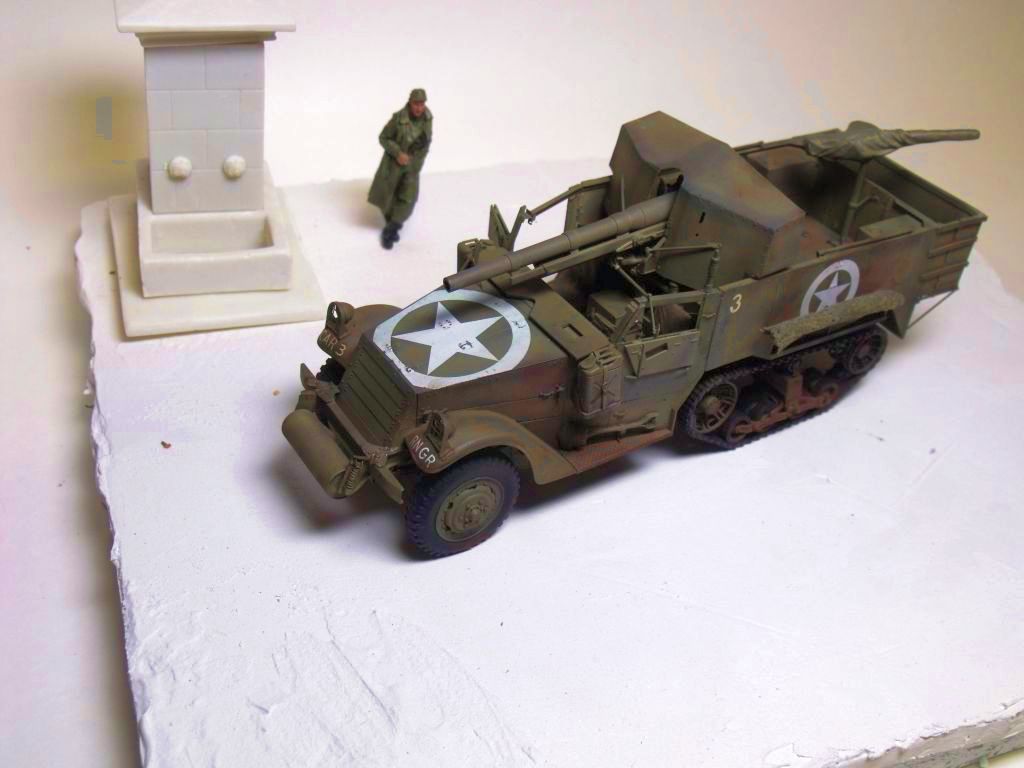
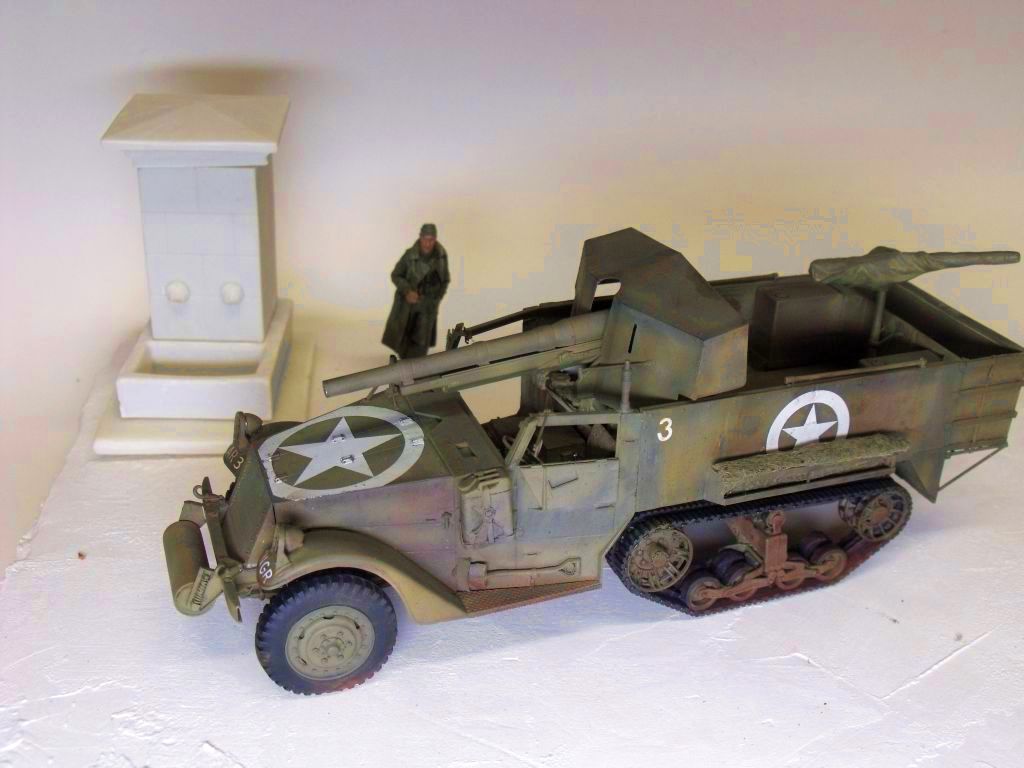
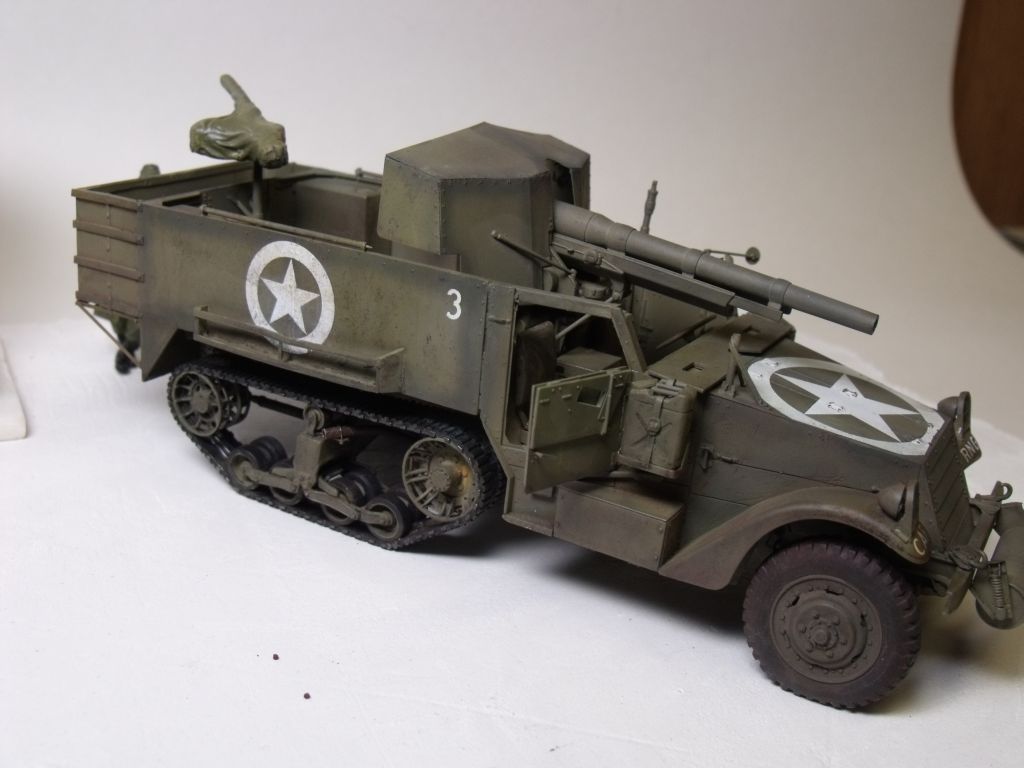
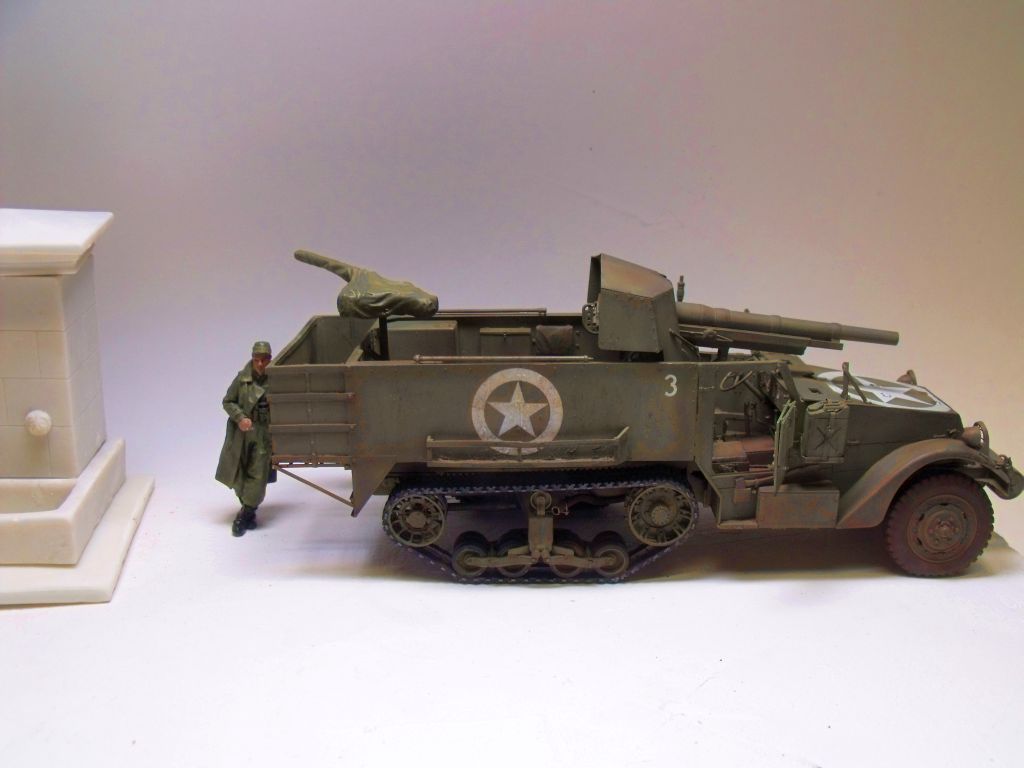
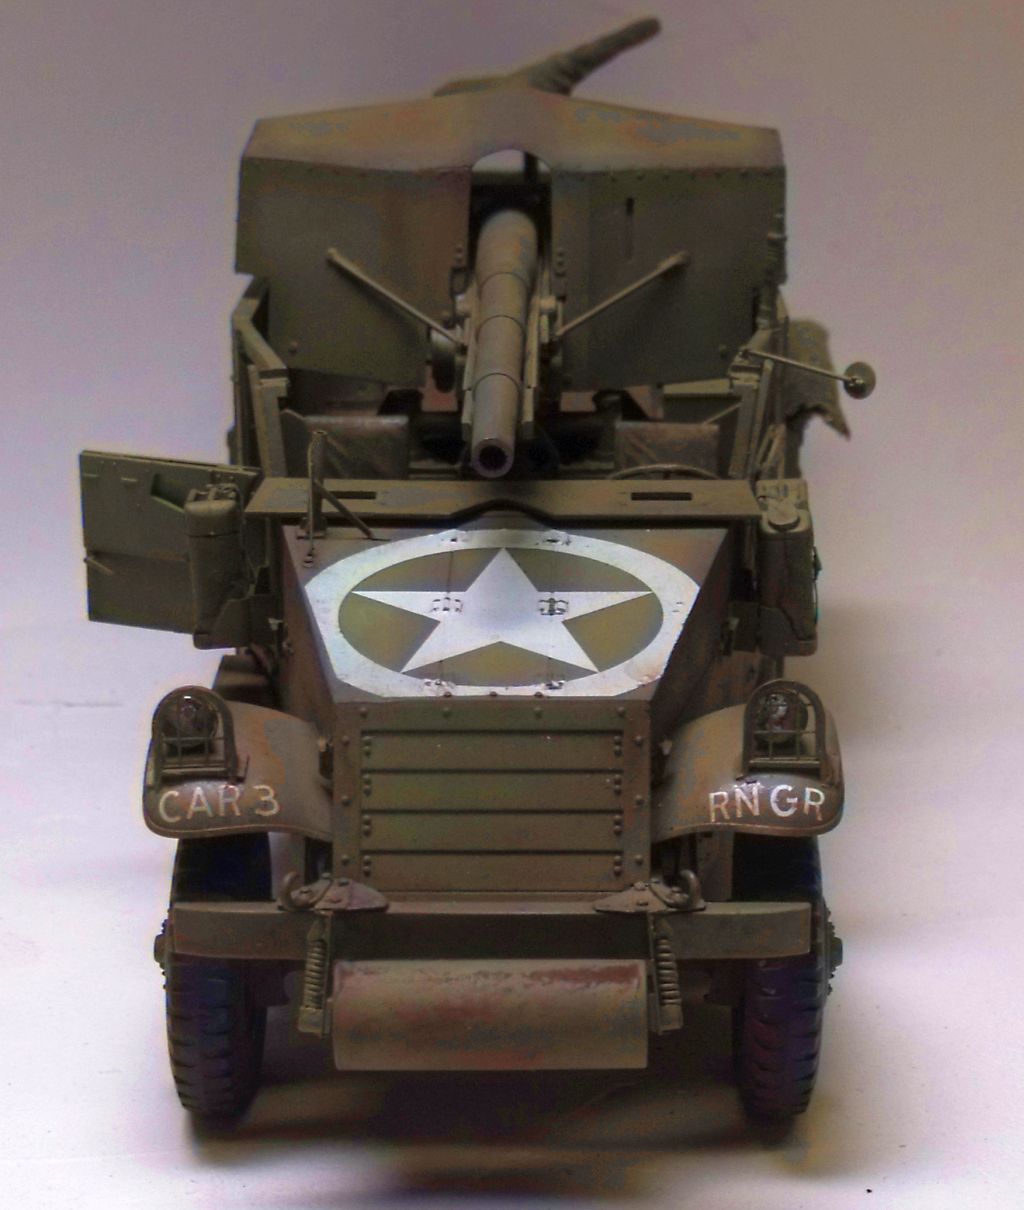
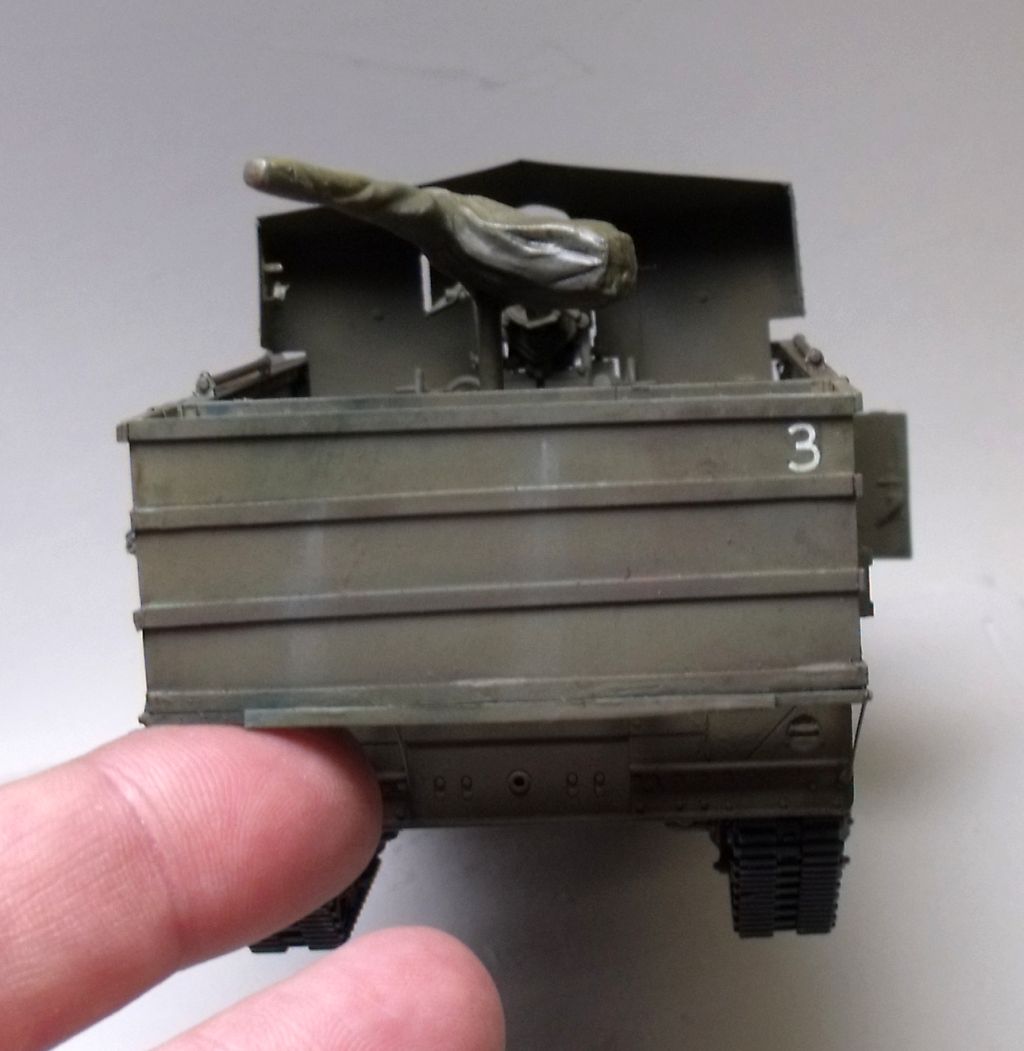
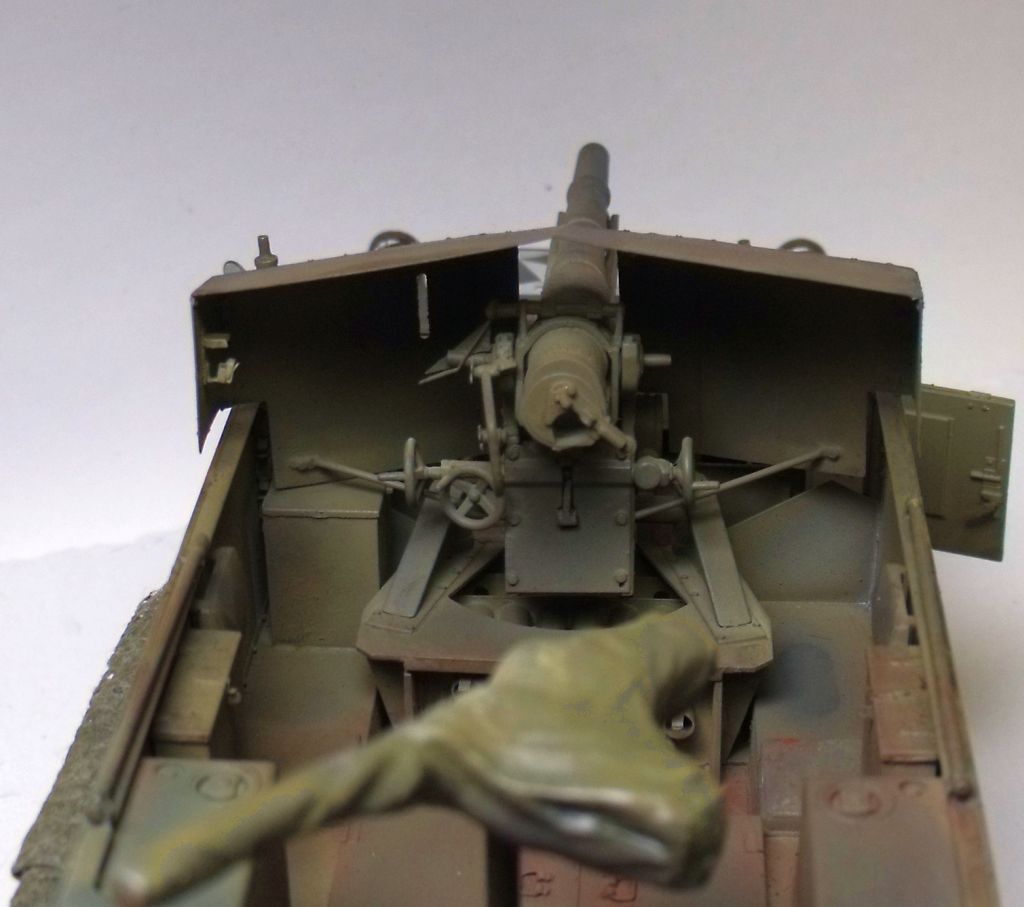
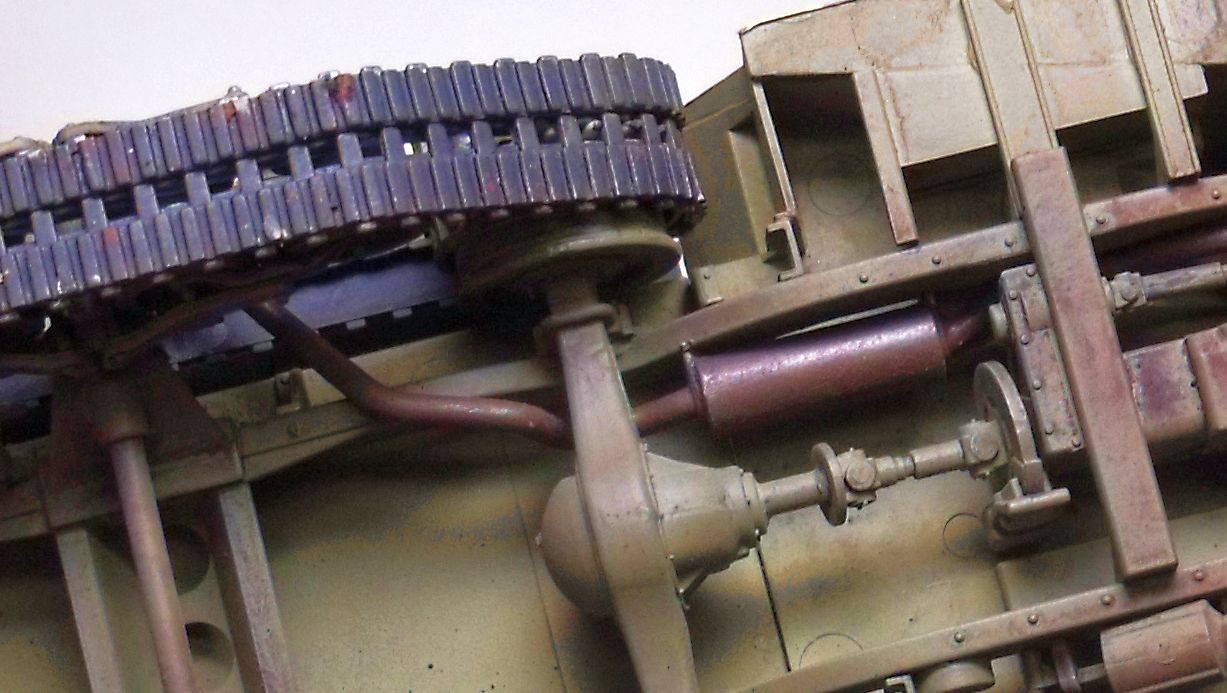
I don't get it, months building this thing and painting is moving right along.
Sorry for being image heavy on this update but I really want some feed back on the painting.
Here's what I have done. Once I got the decals in place and post shading the way I wanted I started with a dot filter right on top of the acrylic base coat. I've gotten in my mind that I like doing a dot filter on a flat surface because it seems to have more teeth to grab hold of. Using oils and turpenoid I didn't have to worry about the base colors coming off. I used turpenoid also as the medium for some pigment applications. So here we are right now.
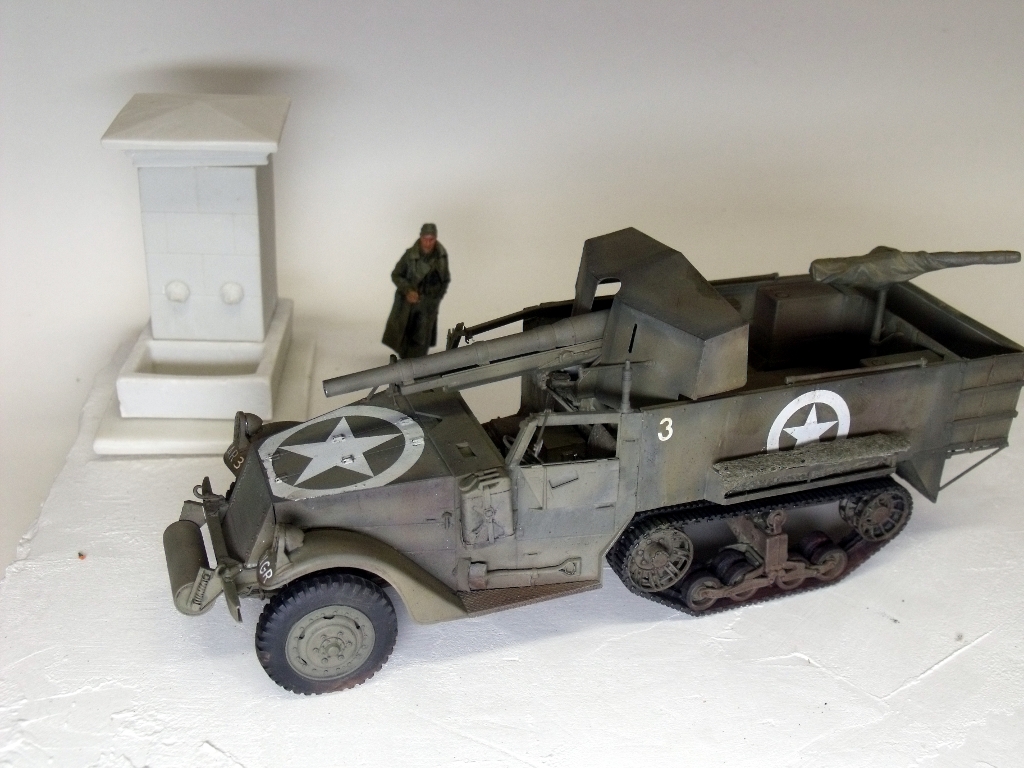
Well...hehe...here's where we stand right now. Trying for dirty, oily and sun streaked. I processed these images through Irfanviews Auto Adjust colors so it really is not this stark with the browns vers OD. I do think I need to do some more blending and get the dirt back up in the darker neither regions under the tracks and boogies. Front wheel needs work I can see that.
Little more light on the situation. More stowage will be added, trust me.
this is without the auto adjust, just resized the original image. tried some splattering up around the insignia but didn't look like John Steinmans effects..more practice.
Same side with the color adjustment. looking now I think more layers, layers and layers.
I"m hating on that RNGR decal, how it got so messed up I don't know.
I have to admit, I'm liking what's happened back here. I see a big ol' gap on the band around the box that should have been taken care of before painting, I'll figure out some how to camo it.
Down in the office. I'm thinking they would have kept this area cleaner than they would worry about the cosmetics of the side armor and stuff. Either I will install the Ammo that came with the ammo stowage or I will install the curtain cover. That one PE part is probably the least needed of them all. Depending on what you're modeling, I really think, as nice as it is, it's not worth the money. but the ammo is cool. I will not bother paiting the projectiles because when installed, they are total hidden.
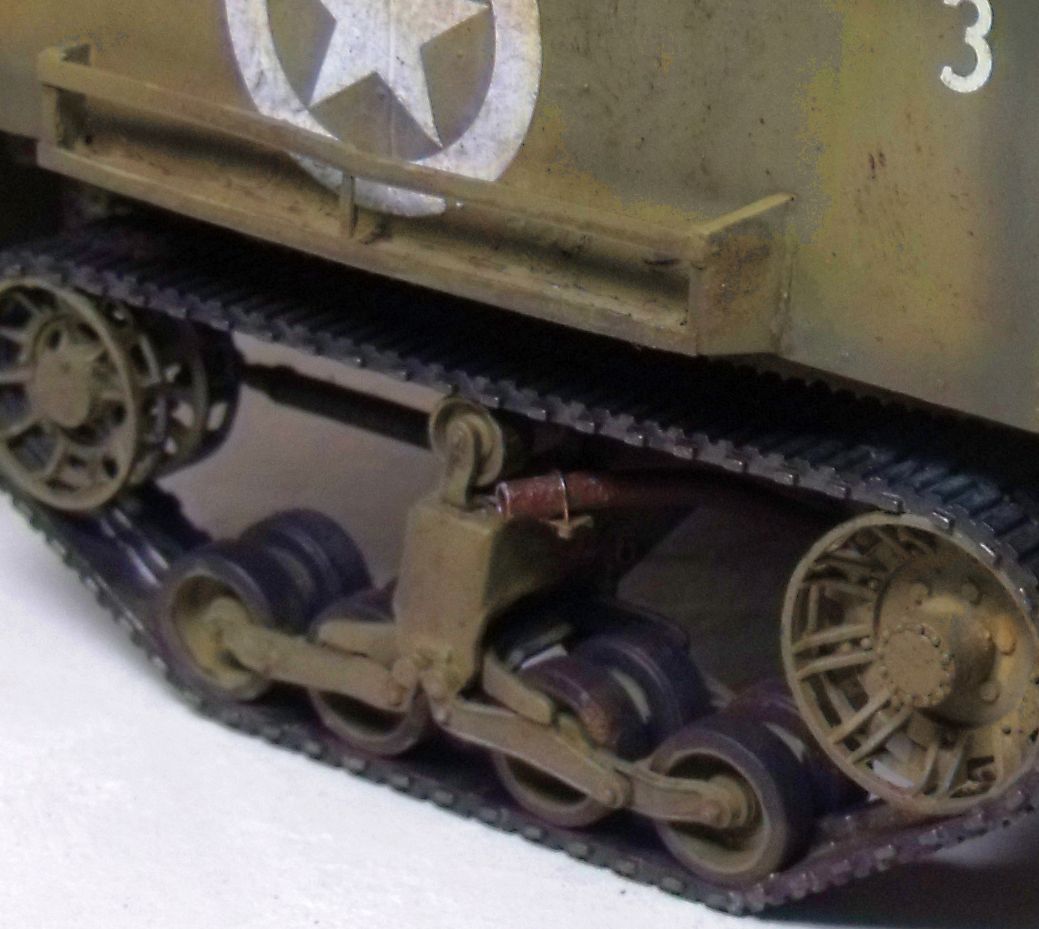
Here's a close up of the exhaust pipe and muffler. Had fun with this. I painted the pipe and muffler black gloss primer from Alclad, then Steel. then I took all the rusty dust I have been harvesting from the steel plate I use to model on top of and mixed it with Liquitex Acrylic Medium gel, made up an nice slurry of rust and painted it on the pipe and muffler. It dries absolutely neutral and the rust is nicely embedded on the muffler. Thanks Laura, worked like a charm!
and a close up shot of the boogie, I wanted to get in tight on the tail pipe bracket. But you really can't see the bolt head holding the bracket in place. I can see inside the road wheels and what a poor job of painting I did there. Solution...mud!
Here's what I think I'm going to do. Come back with a dry brushing of the base paint for scratches and just rubbing off the dirt and grim in traffic areas. sealcoat, a pinwash and more pigments to build up and repeat that process several times till I have the buildup I want. Or maybe not.
What would you Armor folk suggest?

