Maybe you can back fill it Les? Buildup material at that wing root while you're still separated from the fuselage?

-
Modelers Alliance has updated the forum software on our website. We have migrated all post, content and user accounts but we could not migrate the passwords.
This requires that you manually reset your password.
Please click here, http://modelersalliance.org/forums/login to go to logon page and use the "Forgot your Password" option.
You are using an out of date browser. It may not display this or other websites correctly.
You should upgrade or use an alternative browser.
You should upgrade or use an alternative browser.
Meng 1/32 scale Messerschmitt Me 163B in-progress
- Thread starter matrixone
- Start date
Thanks guys, usually ill fitting wings are not much of a problem for me but then again the Me 163 was not your run of the mill aircraft. ")
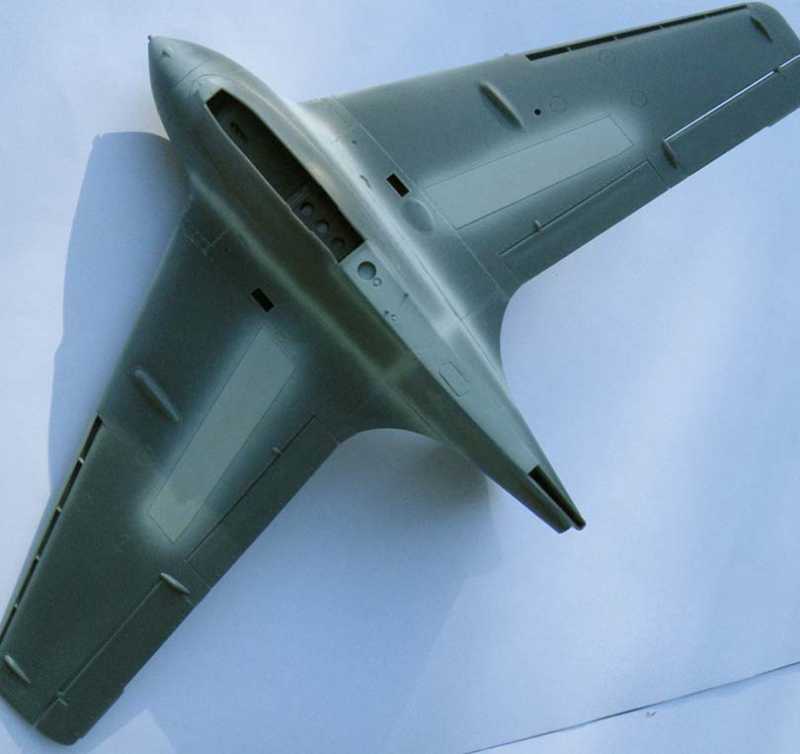
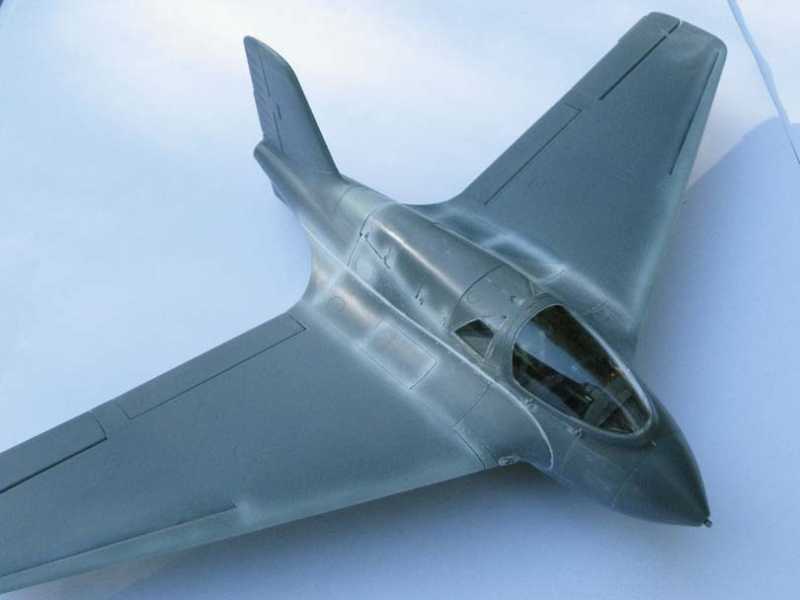
I really don't know what went wrong here but some of the larger parts of this kit are not going together well at all...the tail don't fit right and neither do the wings. The wings are too thick to slot into the grooves provided on the fuselage halves and there is a step at the wing roots that should not be there, it should be smooth. Had I known about this problem beforehand I could have easily sanded down the top and bottom wing halves before gluing them together.
The problem with the tail is similar...its not quite wide enough to match up with the thickness of the fuselage and there is a step that will be impossible to get rid of without destroying all that wonderful surface detail.
My next move will be trying several coats of Mr. Surfacer to reduce the severity of the step, that way I can save a lot of the fine surface detail.
Les
:zen :zen :zen :zen :zen
randy_ditton
Master at Arms
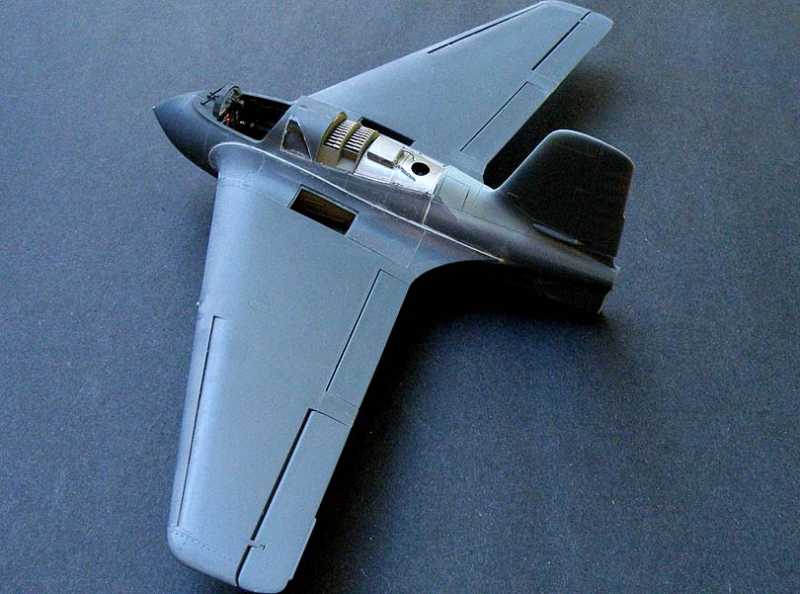
Hi Les, Good luck on the seams, that engine looks awesome and the ammo belts came out great
Randy
Randy
Thanks Randy,
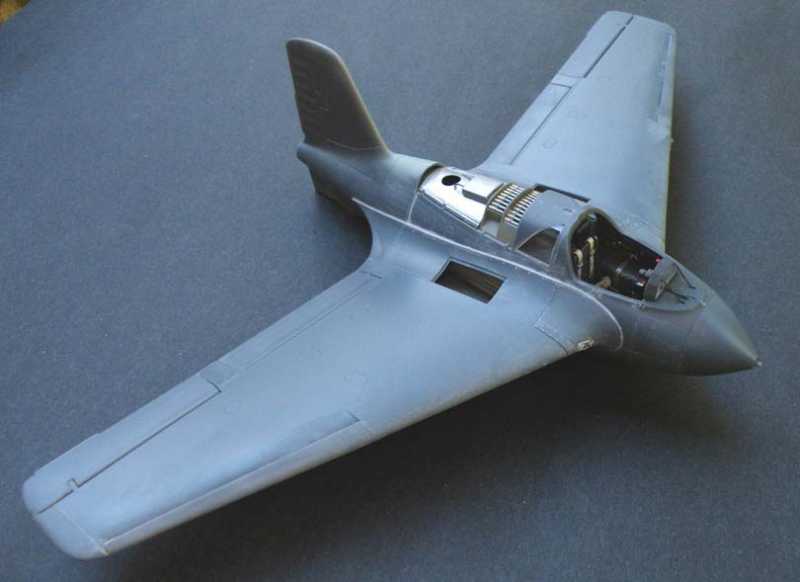
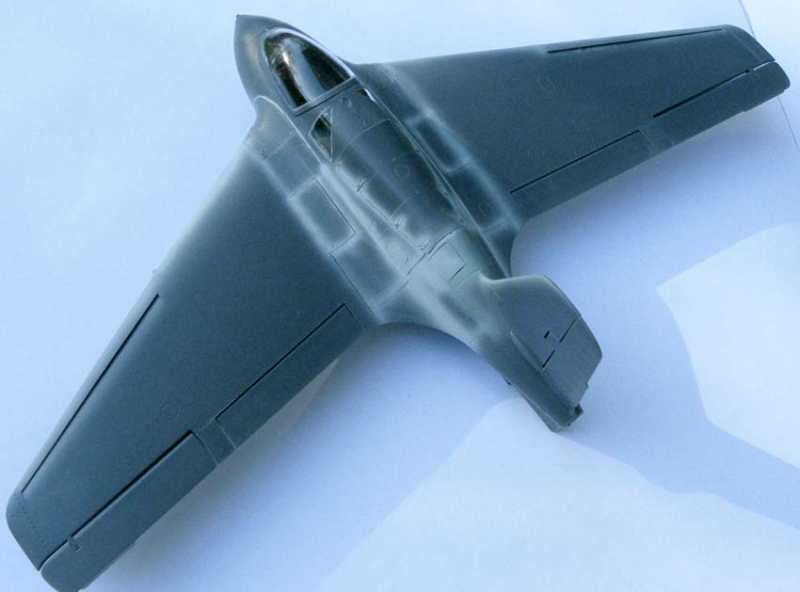
There was not too much else I could do with getting the wings to fit correctly so I glued them on and have used Mr. Surfacer to make the join look a little better than it really is, sometimes in building a model things can go wrong and I learned you just have to do the best you can when bad things happen. This poor fit of the wings to the fuselage has cost me almost a two week set back because of the high level of frustration forced me to take a break from it and simmer down (Hulk mad, Hulk smash!).
Anyway, here are some new pictures showing the seam lines after the excess Mr. Surfacer was removed by dipping a cotton bud in Mr. Color Thinner and wiping it off.
The flaps in this kit was done by photo-etch parts, before gluing the flaps in place I scuffed up the surfaces with fine grade sandpaper to give the paint a better chance of sticking.
Matrixone
Dang fine job cleaning up Les
Thanks Bob and Ian, don't be fooled by what you see here. Once some paint is on the model and its photographed in sunlight the shoddy workmanship on the seam lines will be easy to spot. Yes I know the full size Me 163's were not always perfect on their airframe construction either and had some poor fitting panels here and there but nothing quite as bad as what is on my model now.
Of course I could always take pictures of the finished model in the shade to hide the goof ups. :facepalm
Matrixone
Of course I could always take pictures of the finished model in the shade to hide the goof ups. :facepalm
Matrixone
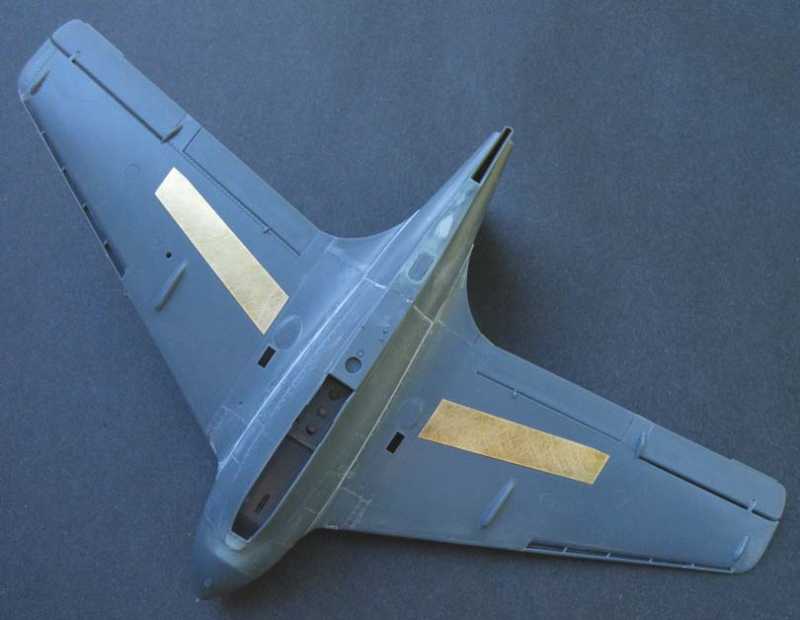
The basic Me 163 airframe is complete now, while I was spraying over the pre-shading on the 109's I did a quick test spray over some of the panel lines to see just how bad they might look with some paint on them. They don't look too bad right now but that could change with more paint on them.
Anyway, I will wash the model one more time and let it dry for a day and mask off the glass and give the entire model a thin base coat in preparation for pre-shading.
Matrixone
Anyway, I will wash the model one more time and let it dry for a day and mask off the glass and give the entire model a thin base coat in preparation for pre-shading.
Matrixone
A
alcm_b
Guest
Looks great! :v
Go Les!!! 
White_Wolf
Master at Arms
Got some Komet pics for ya mate - Monday that is. Sorry for the delay
Laurence
Laurence
Brokeneagle
Master at Arms
 B)
B)White_Wolf
Master at Arms
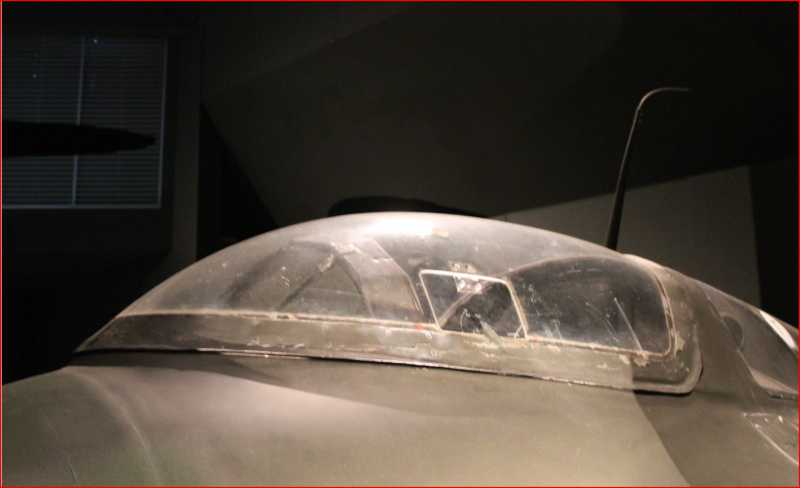
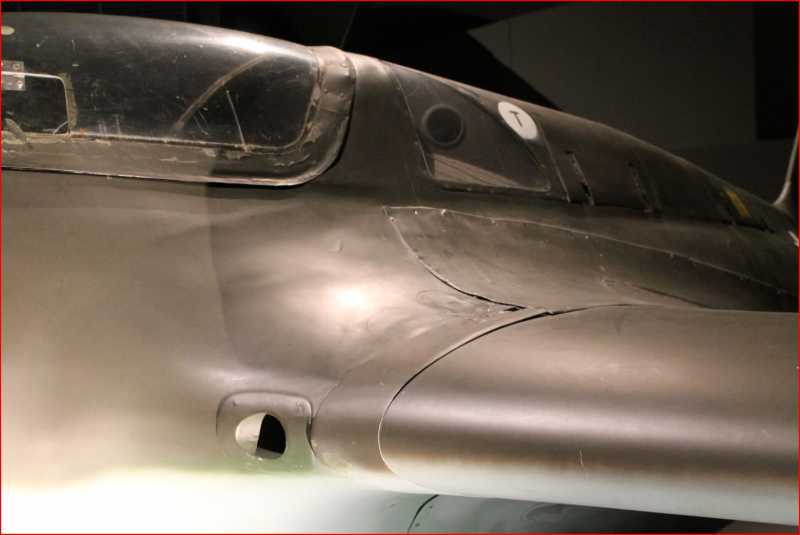
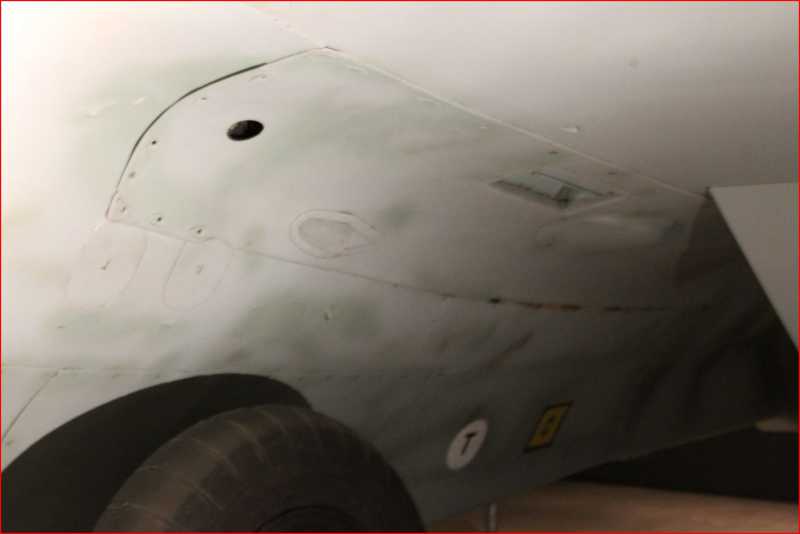
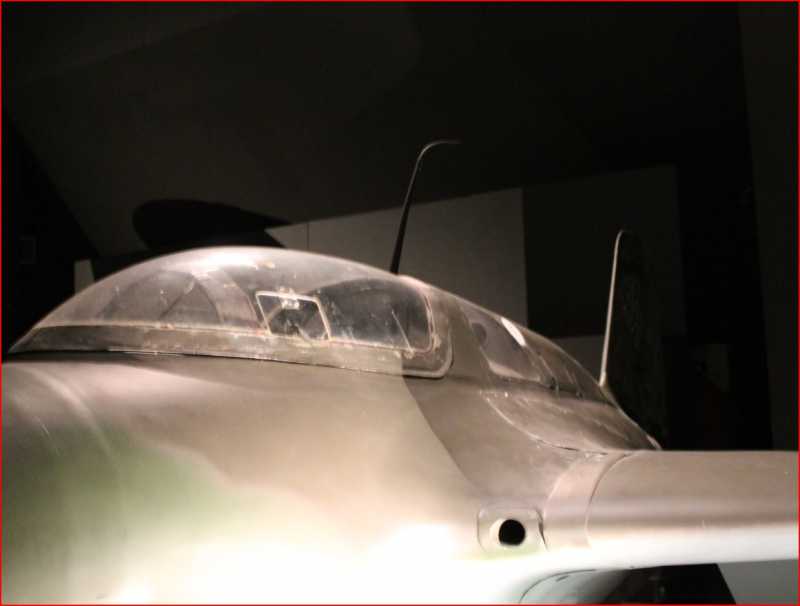
Hey Les, as promised, here's some pics of the Komet in Canberra. The area is weird, you can only get on one side to take pics so I have tried to zoom in to some areas of potential interest. Hope it helps.
Thanks for looking guys!
Laurence,
Many thanks for posting the Komet photographs, the gaps in some of the panel lines is noteworthy. Too bad the museum decided to repaint this aircraft because for a long time it was one of the best examples of a late war aircraft in 76/81/82. The good news is there were many color photographs of this machine taken before the repaint.
Matrixone
Cool pictures Laurence
White_Wolf
Master at Arms
Thanks MP

Thanks Paul, the build quality I did on this model is nothing but shite compared to the O.O.B. Bf 109 build by Dusan but I still appreciate the kind words just the same. :cheer:
Here are some snaps of the pre-shading done on the Komet before the pre-shading is covered up. When I do cover up the pre-shading I will be leaving a little more showing than I usually like to, the reason for this is I want to add all the small data stencils first and then spray on a very thin coat of pale RLM 76 to tone down the starkness of the stencils but still allow the pre-shading to barely be seen.
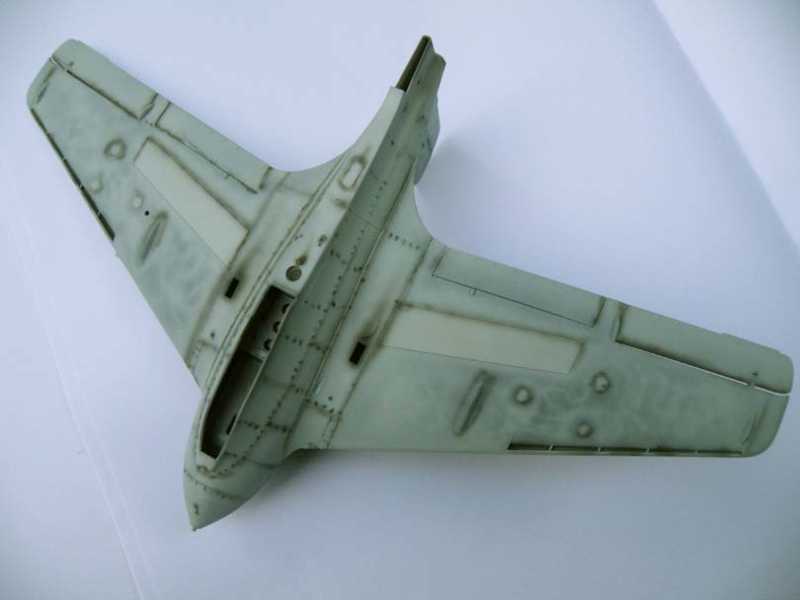
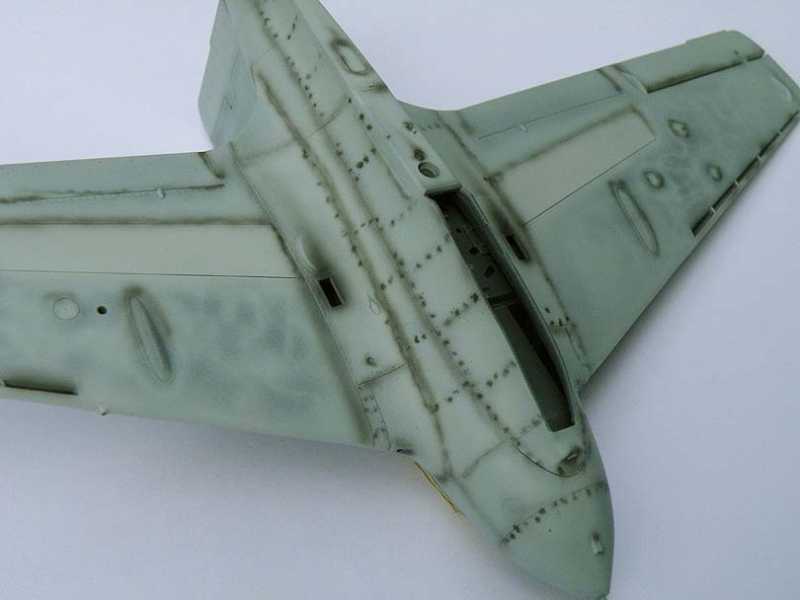
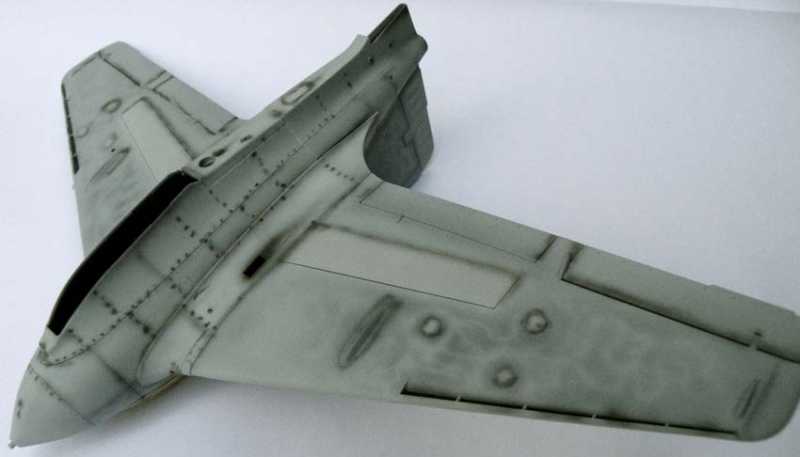
Matrixone
Here are some snaps of the pre-shading done on the Komet before the pre-shading is covered up. When I do cover up the pre-shading I will be leaving a little more showing than I usually like to, the reason for this is I want to add all the small data stencils first and then spray on a very thin coat of pale RLM 76 to tone down the starkness of the stencils but still allow the pre-shading to barely be seen.
Matrixone