

Duke Maddog
Well-known member
Today marks the culmination of another week of solid building, thus there's enough here for a new tour. So without further ado, anyone wishing to join this latest tour, feel free to board the trams and get ready for another exciting tour of the facilities. I must apologize for the quality of some of these pics; the auto-focus went out on my new camera and so I've been having to do things manually with not so successful results. I am using the best photos I was able to take.
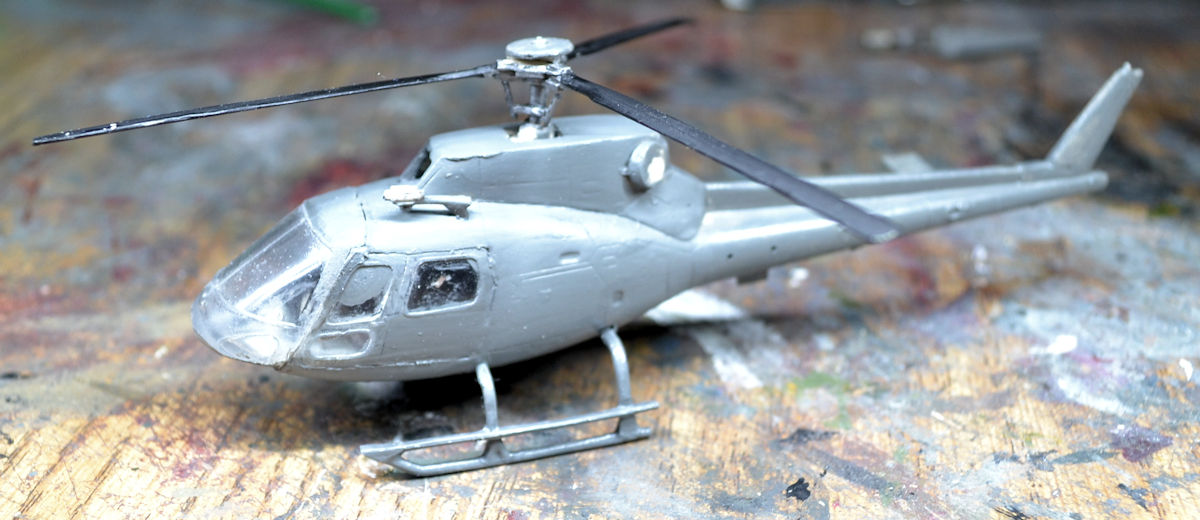
As always, we start in the Hangar. Work has picked up a bit in here. In the first bay here we have a new kit I recently acquired from Brookhurst Hobby's collections tables at the back of the store. This is a little Australian Navy helicopter they've dubbed the "Squirrel". It's from Mach 2 so it's a very crude and difficult model to do. After some fighting, we got to this stage:
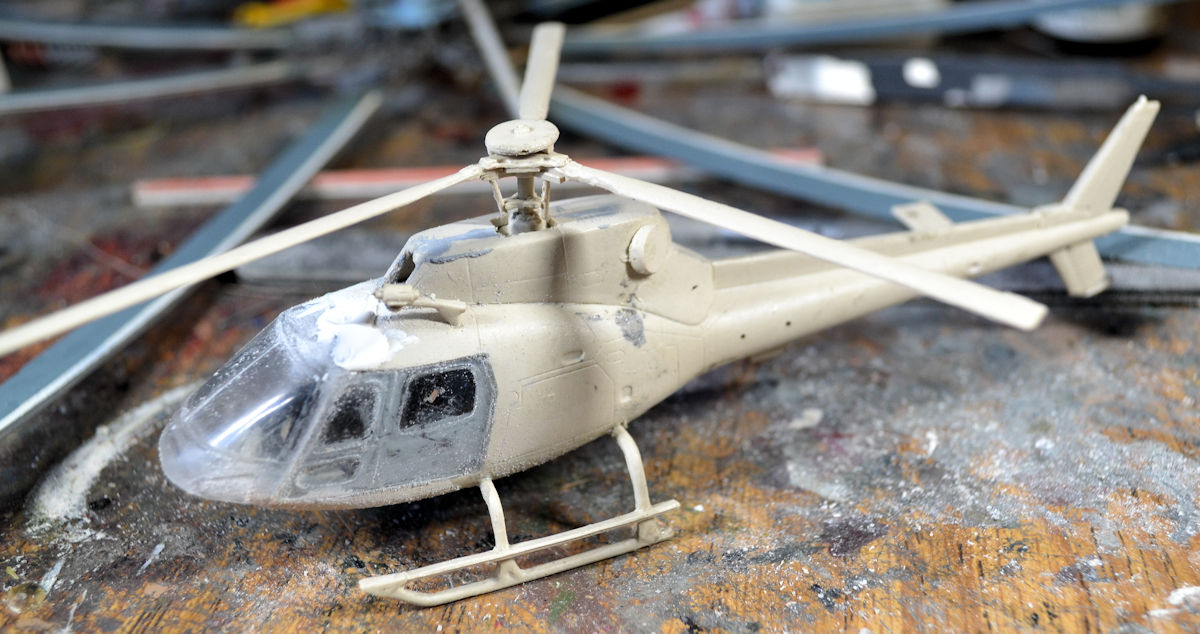
Naturally right after this, the tail rotor and one of the tail stabilizers went walkabout, making this impossible to finish unless and until these parts are found or suitable replacements installed
Later, despite the missing parts and to try to make it look better, it got it's base coat of grey. :
Moving on to the next bay we have the Iraqi Eurocopter finally assembled:
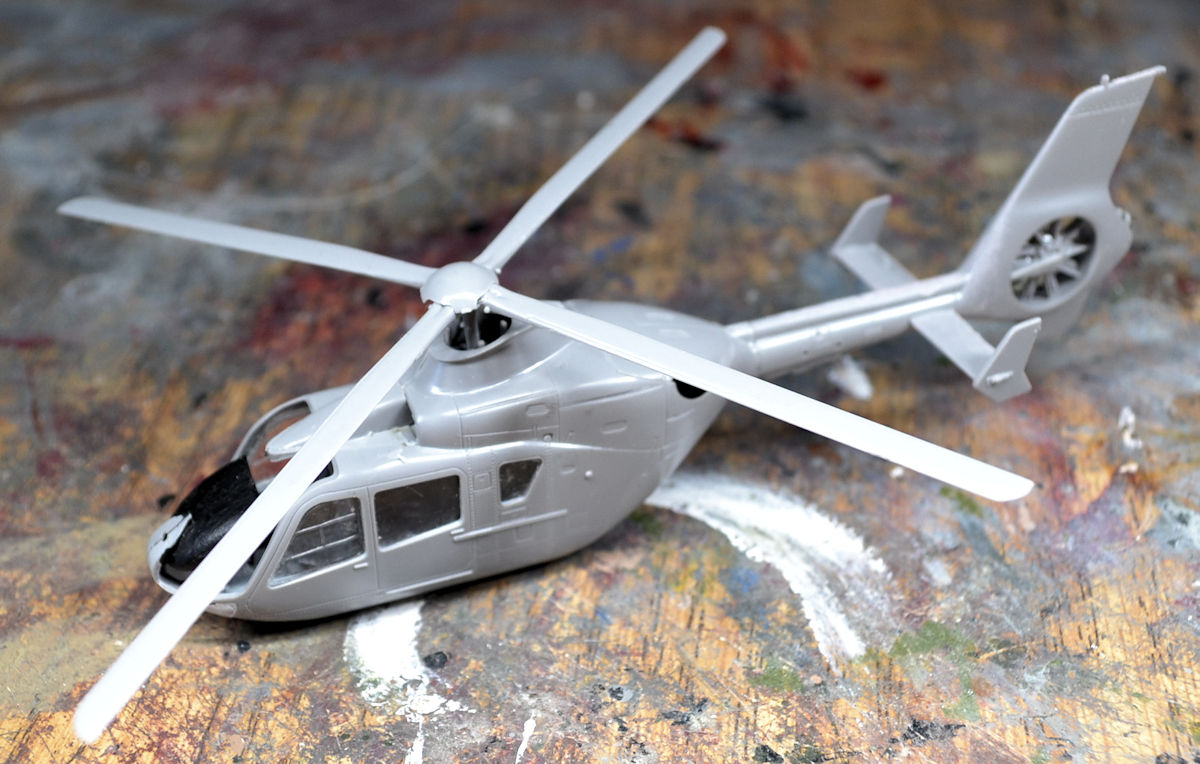
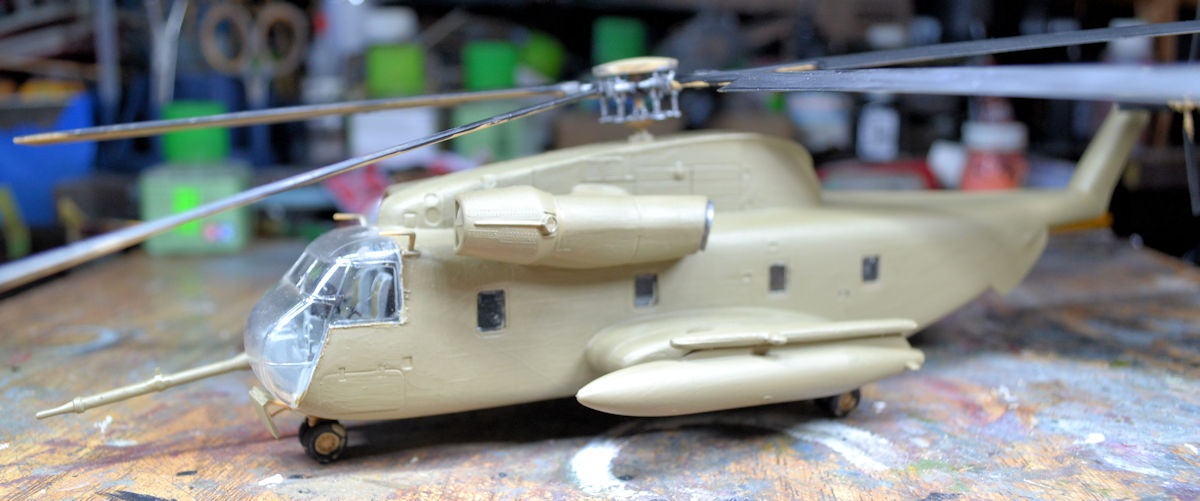
Later it got a base coat of paint but that will be shown later. In the next bay is a kit I got from the Distressed Kit Auction that was mostly started. So, I assembled the main fuselage and painted it, later adding things like the canopy, engines and other detail parts. Then I built up the main rotor to get this:
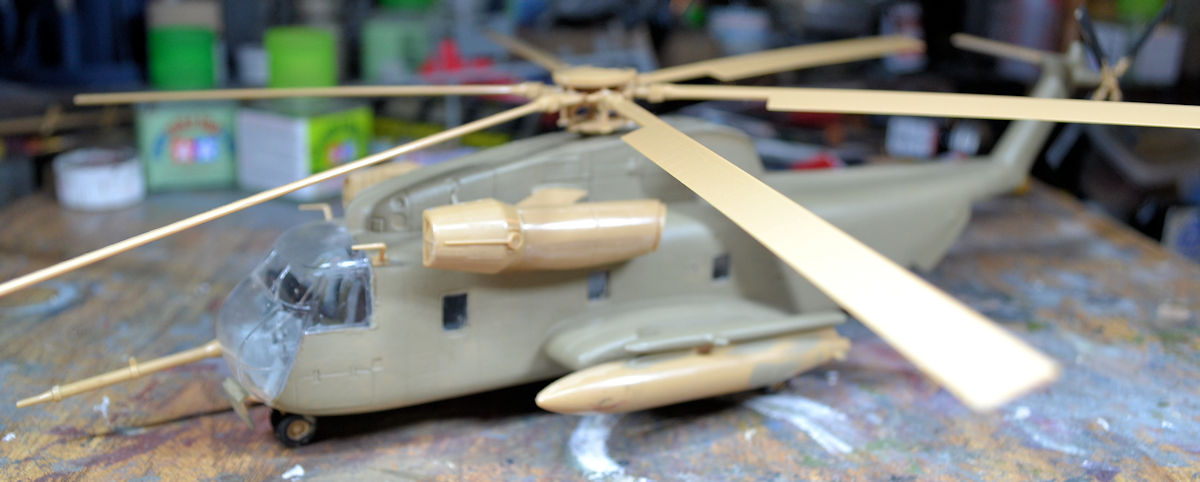
Later the rest of the helicopter was painted:
In the next bay, the F-86 that had been languishing was finally painted in a camouflage pattern I chose because I hadn't ever built an Italian Sabre. Here it is all painted up:
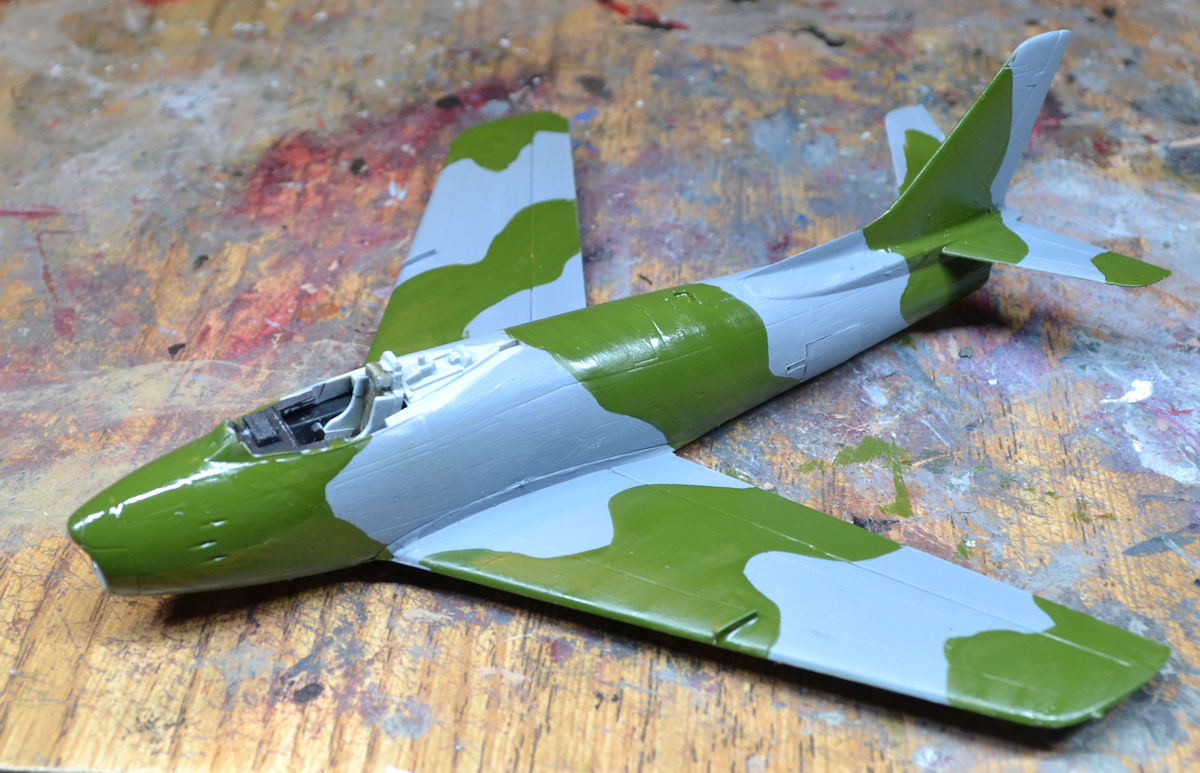
Later this got landing gear and I'm planning on giving this one sidewinders too.
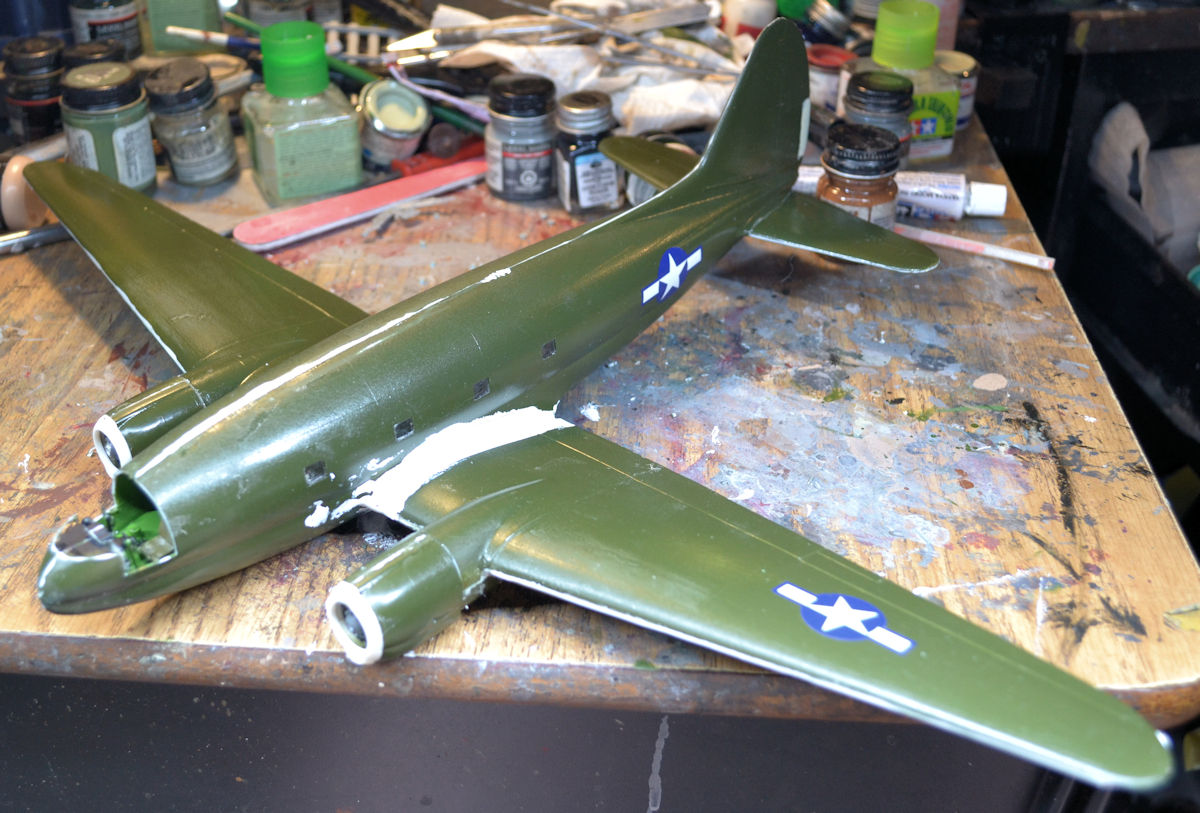
In the next bay, we have the C-46 that I'd gotten from a friend who'd purchased it painted and mostly unassembled from a thrift store. After some finagling and interior painting, this was finally assembled. Putty was then applied in places where gaps, steps and seams appeared. Given this is a Williams Brother's kit, there were a few...
In the next bay, my British Horsa glider got it's full paint work done:
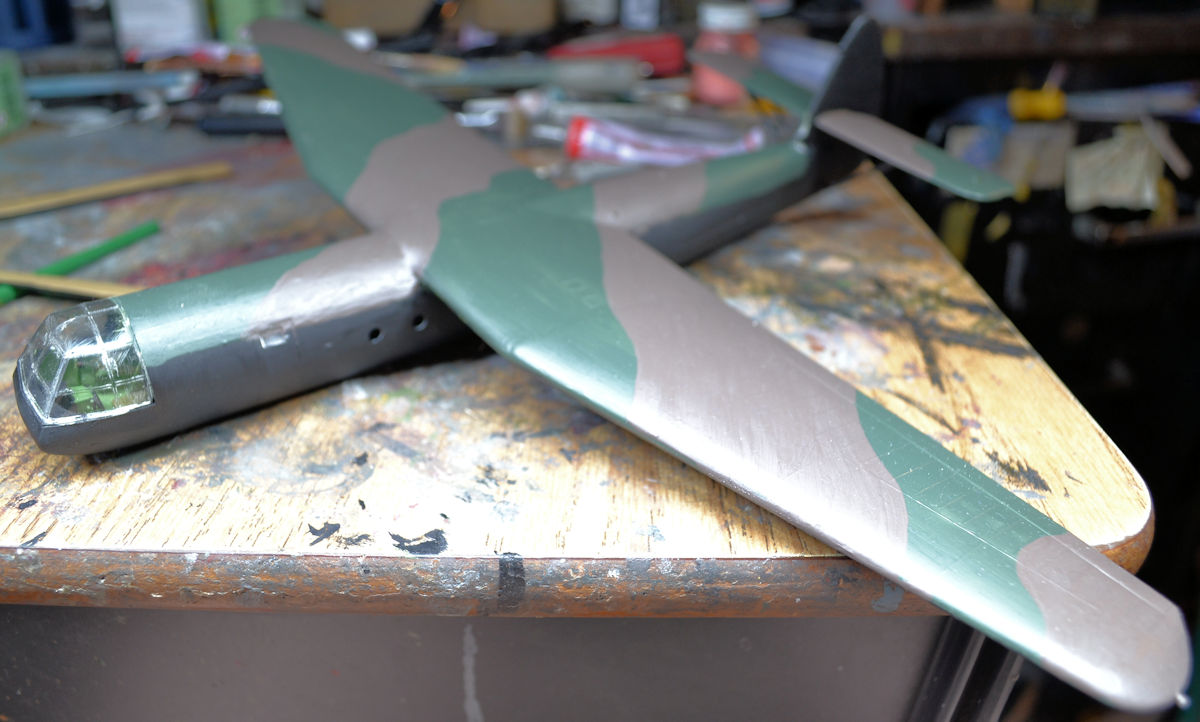
Now to get decals and landing gear on this and some more detail painting done and it'll be finished,
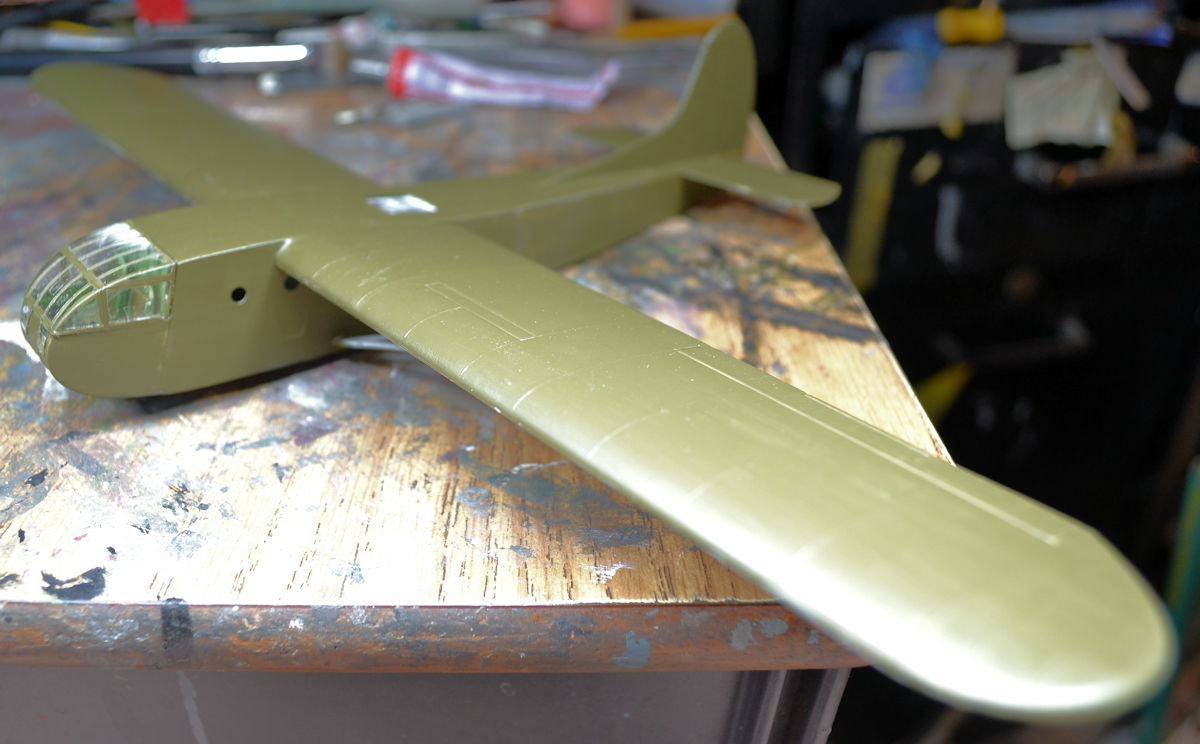
Speaking of gliders, we have the US Army Waco glider also sporting it's complete paint work. This one will also just need landing gear and decals for completion:
That completes the tour of the Hangar, now on to the Shipyards....
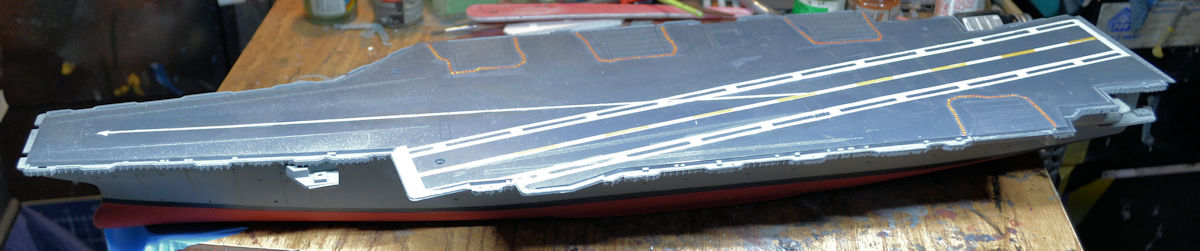
In the Shipyards, only one model got attention, the USS Enterprise which had been languishing for three years while I searched for the assembled missing island to no avail. It had been sitting like this for all that time:
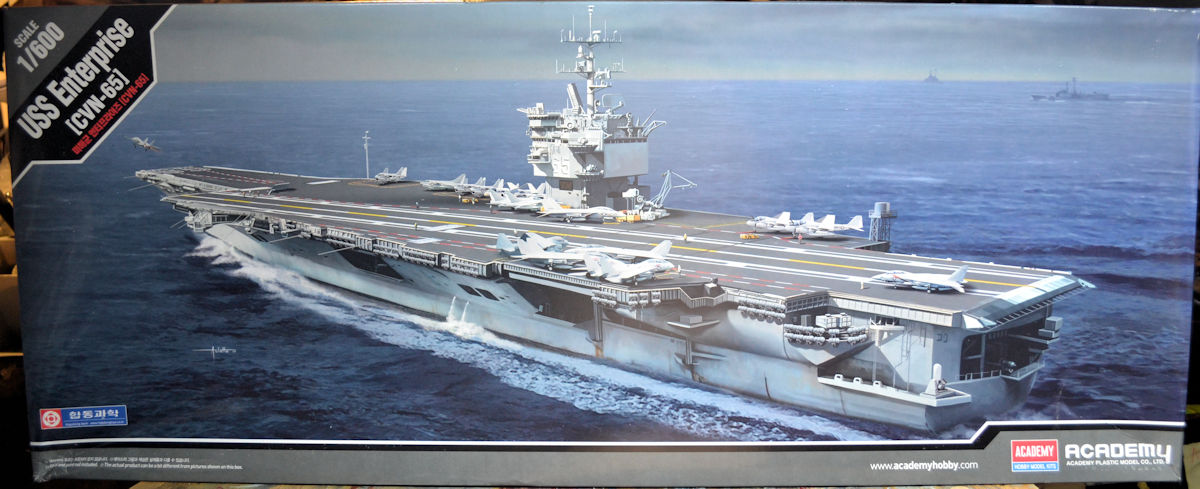
Finally I got fed up with the fruitless search and purchased a new kit of the same model:
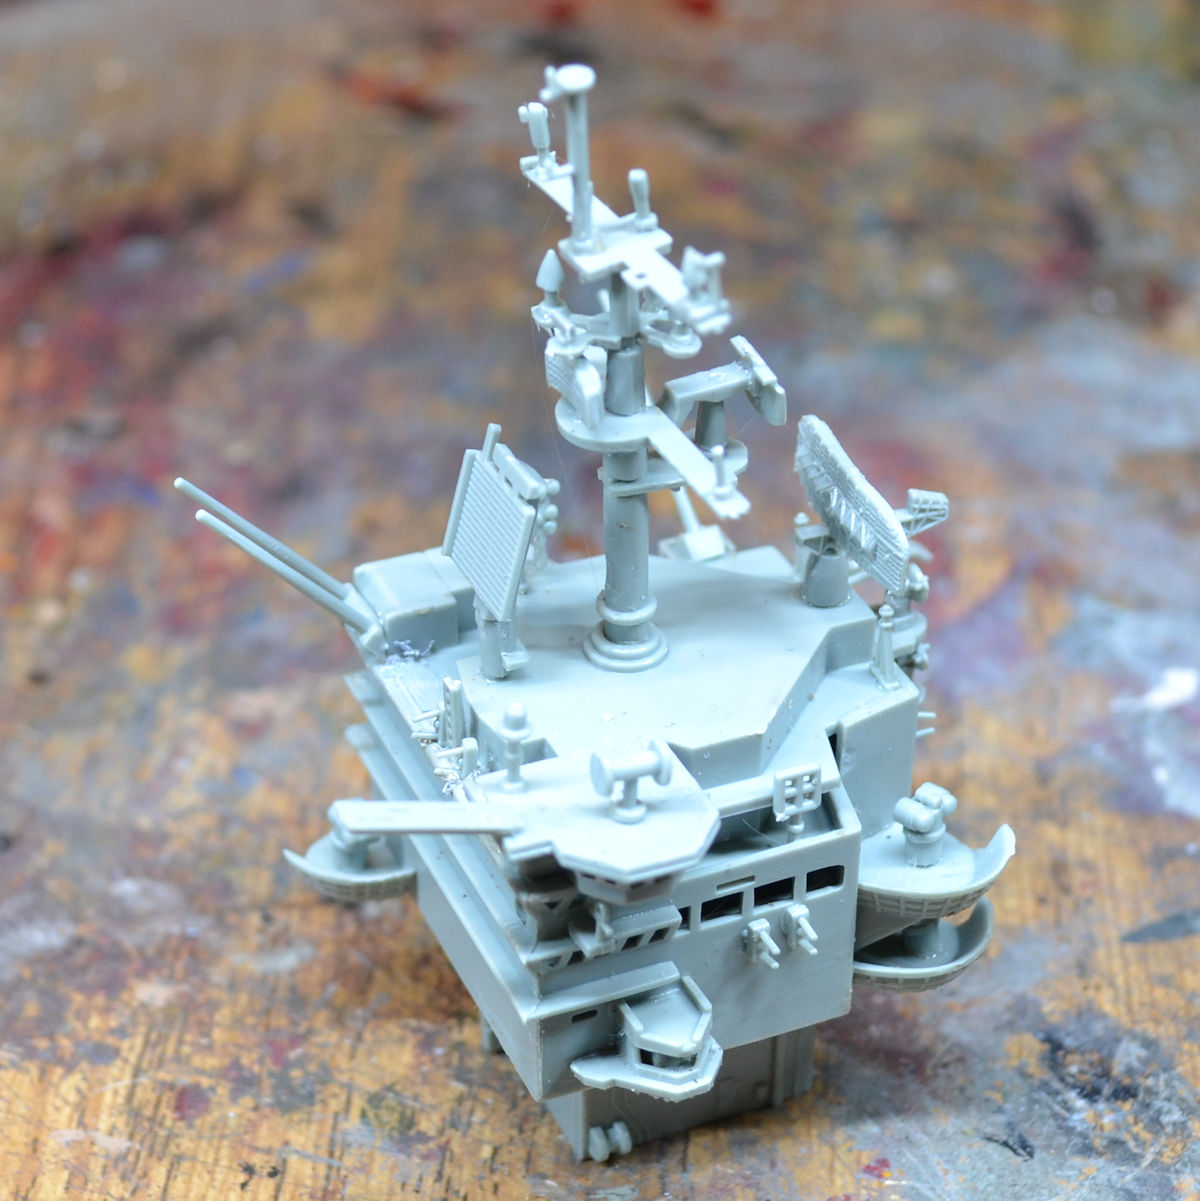
Using that I was able to finally build and complete a full replacement for the island that is still missing:
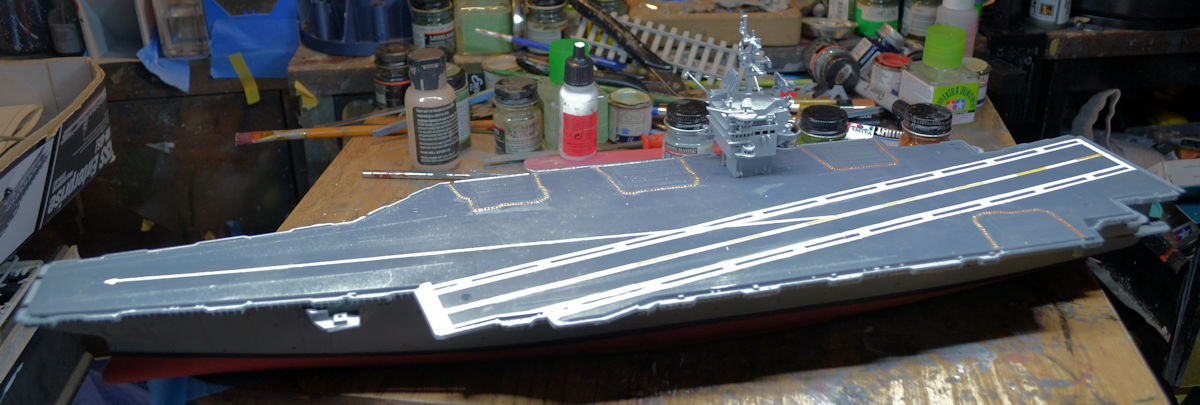
Finally I can move forward on this model. Detail parts and some touchup painting are all that's needed besides the air wing (all of which I'm also taking from the new model) and this beastie will finally be done:
Moving on to the Motor Pool, things have been active here. In the first bay is the German KF-51 Panther that got the camouflage pattern on it:
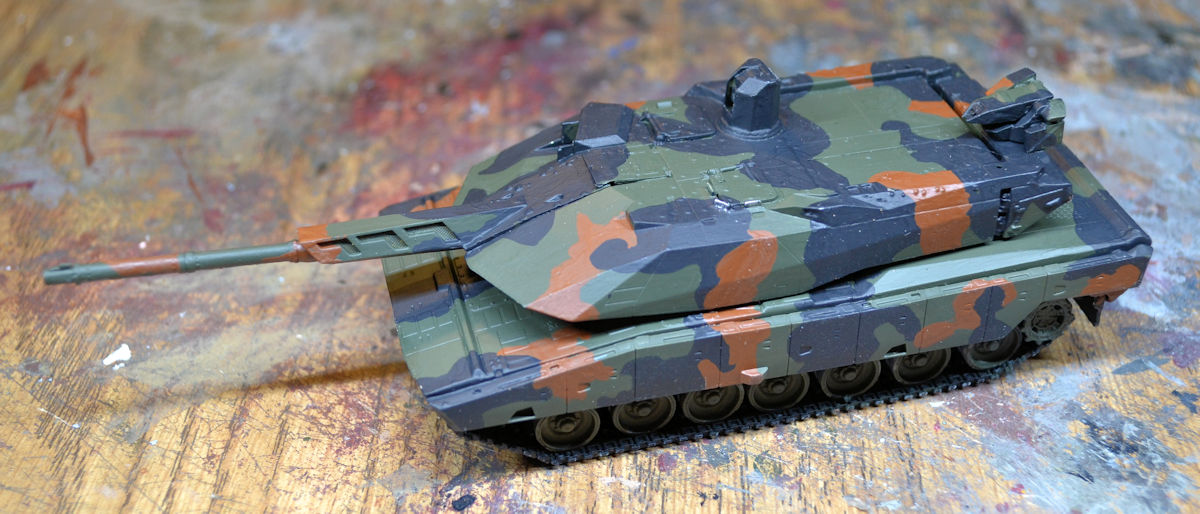
Yes I went with the standard Bundeswehr pattern, it fits my German army more perfectly, and I hate the look of that digital camouflage so this was my choice. All that's needed are decals and weathering and it'll be done.
In the next bay, the US Army Buffalo got the full basecoat on it, although additional detail parts are needed on it:
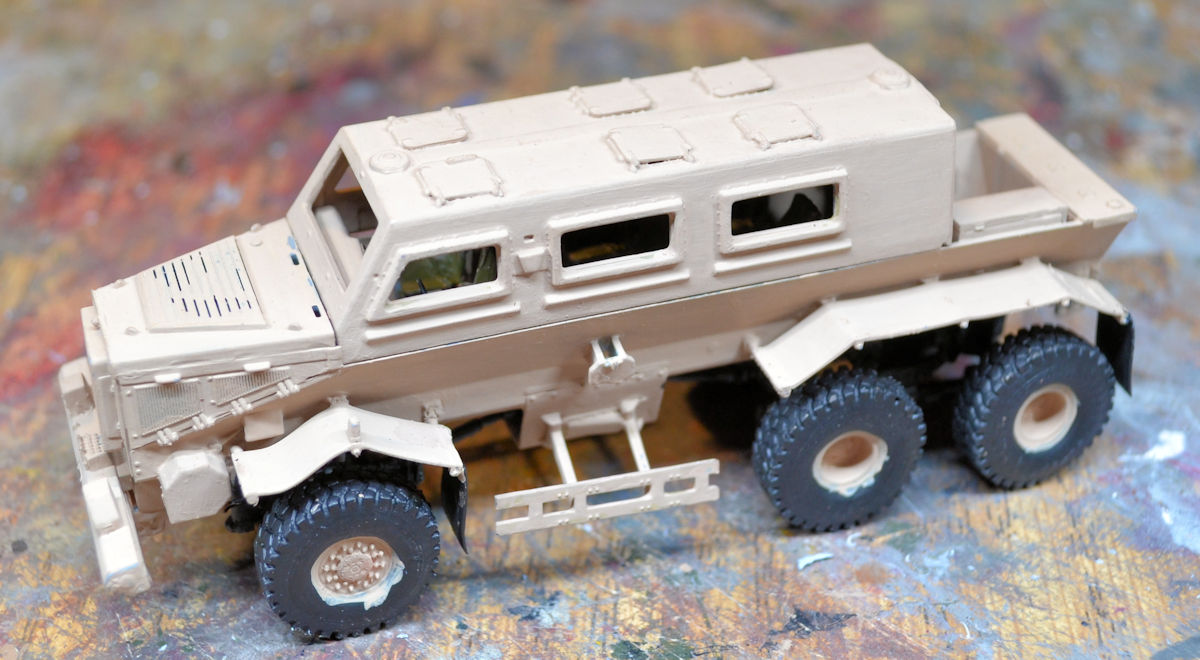
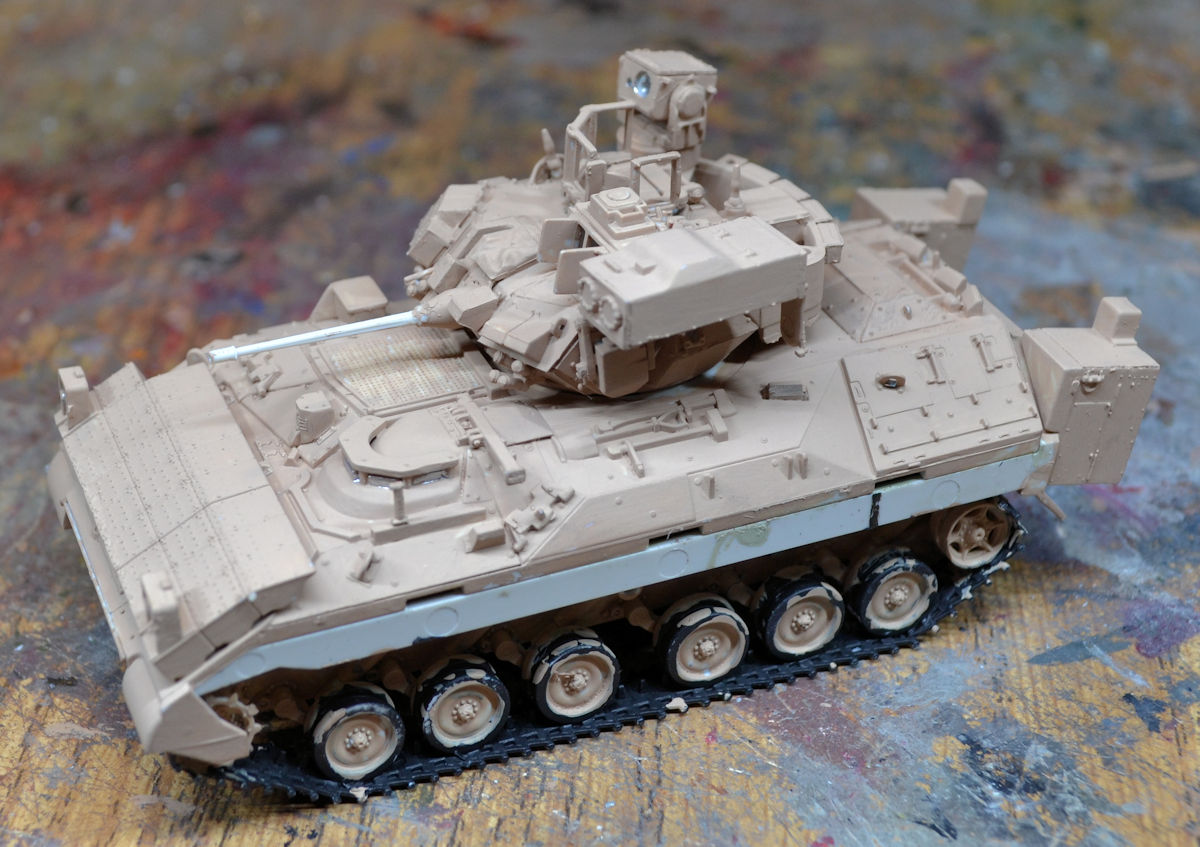
They went on later. In the next bay, the M2A3 Bradley got the interior finished:
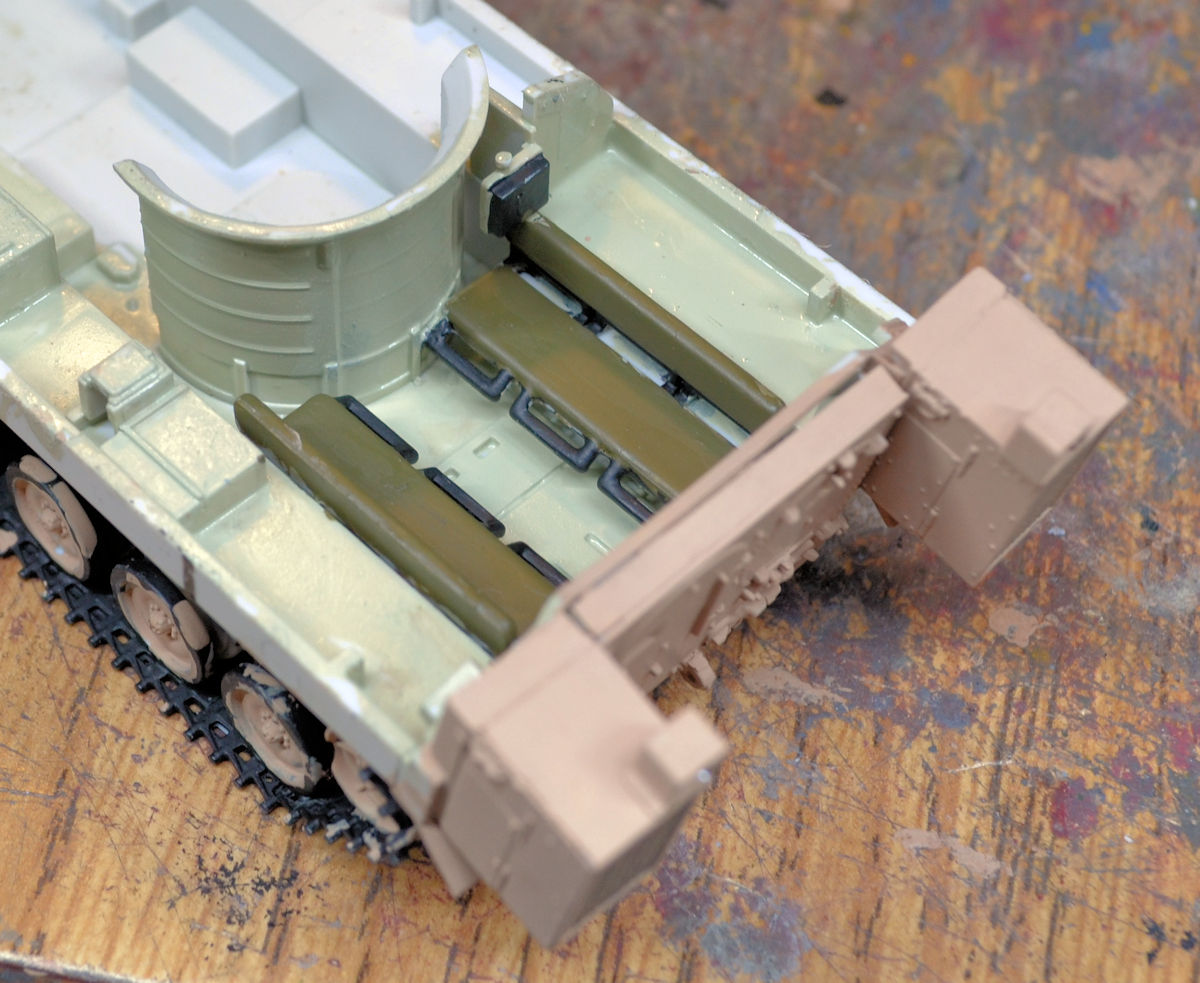
Later I'll add some Value Gear inside, once I find the container that has all of it. This then got all the basecoat on it, ready for final completion:
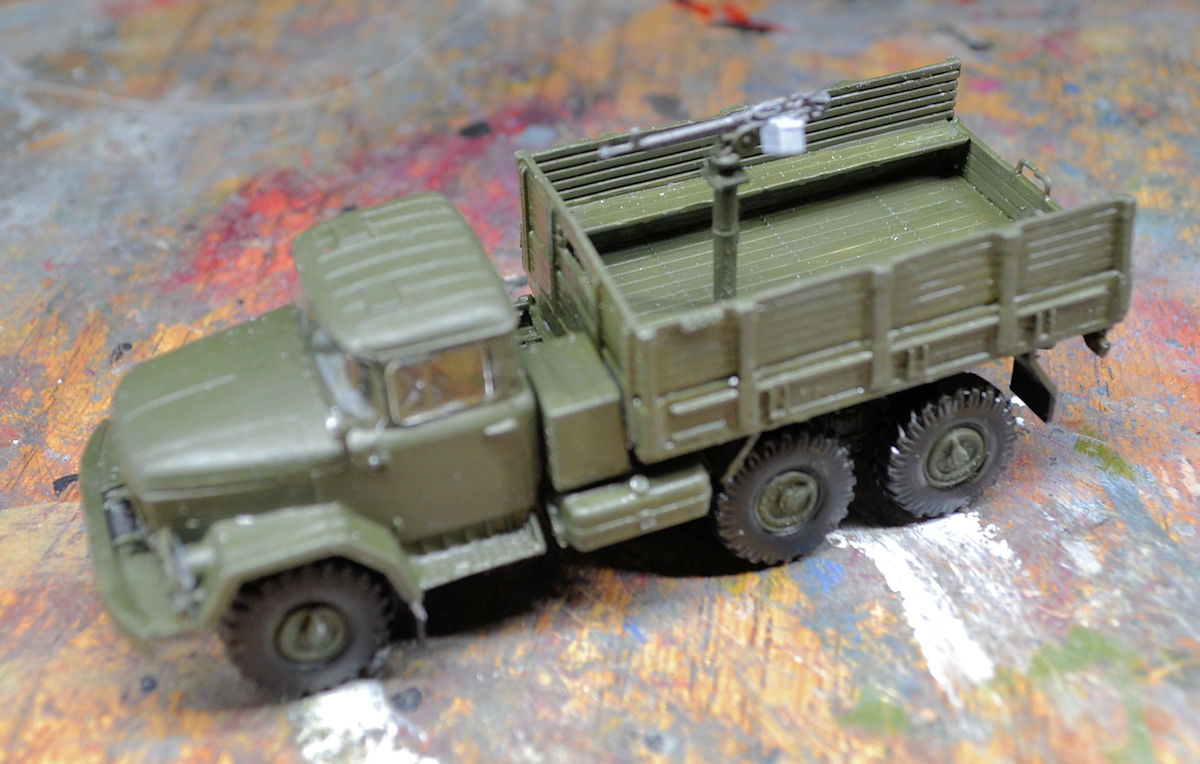
Next I worked on a couple simple models I got from Brookhurst during our SoCal AMPS Build Night. The first one in this bay is the ICM Russian gun truck. It was so fast and easy, I got all the way to this point before I finally took some pics:
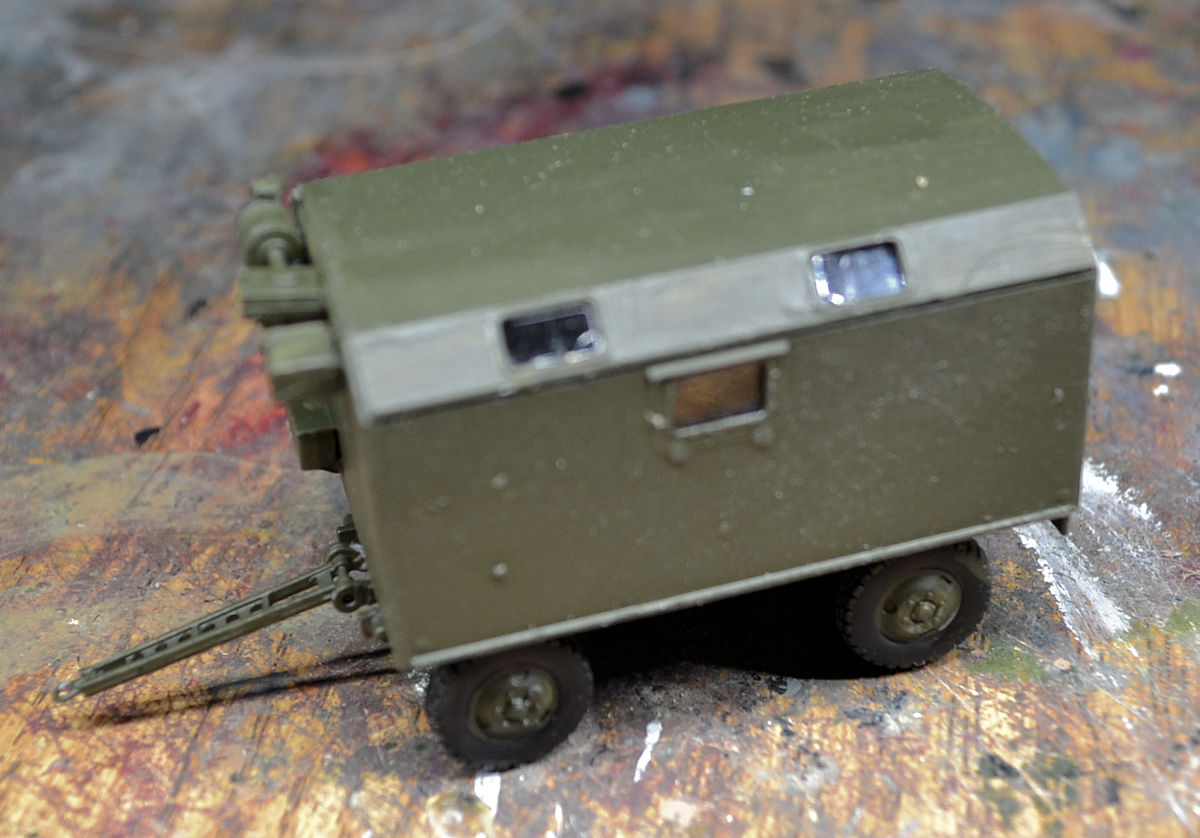
The other fast and easy ICM kit was the cabin trailer that the instructions said could be an ambulance, repair shop or command post:
I decided to go with a repair shop since I didn't have any of those, so I added some factory furniture I got a decade ago:
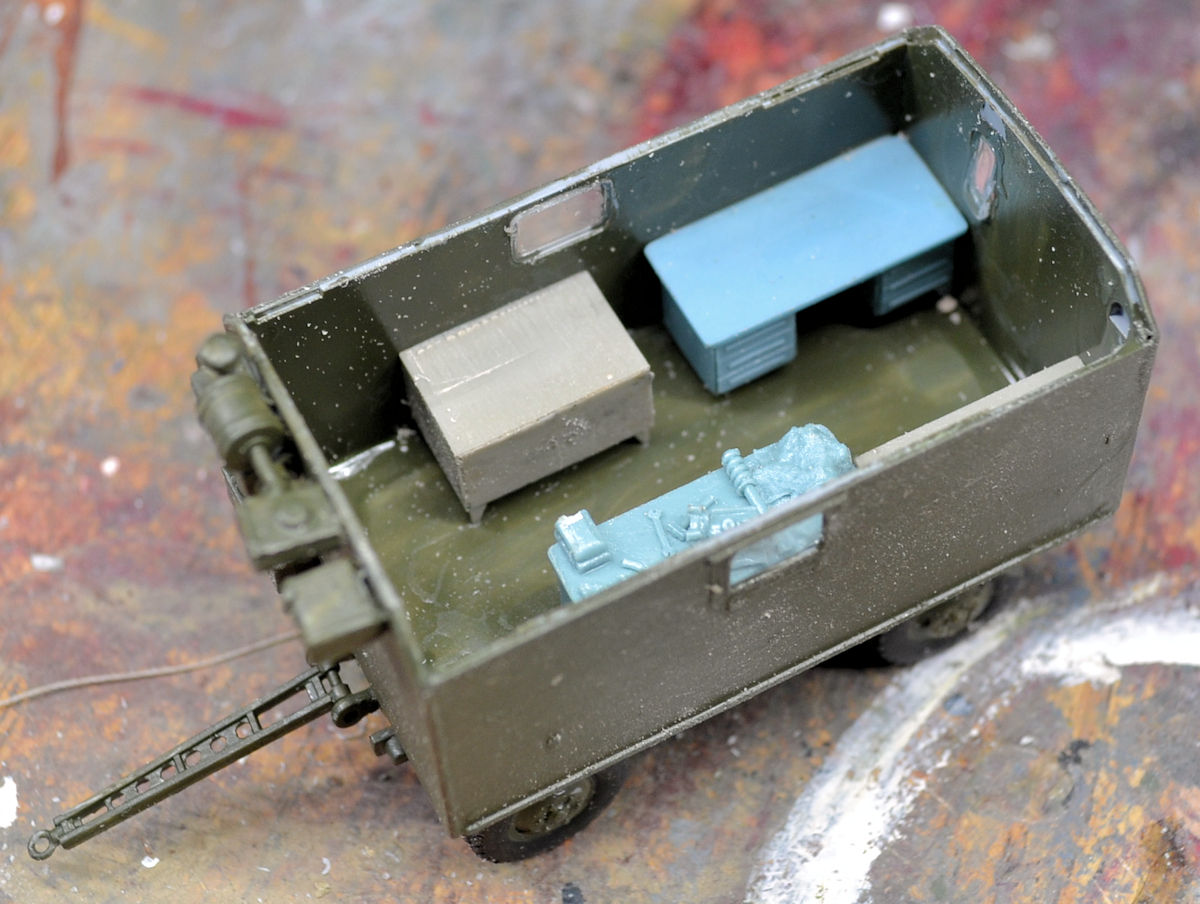
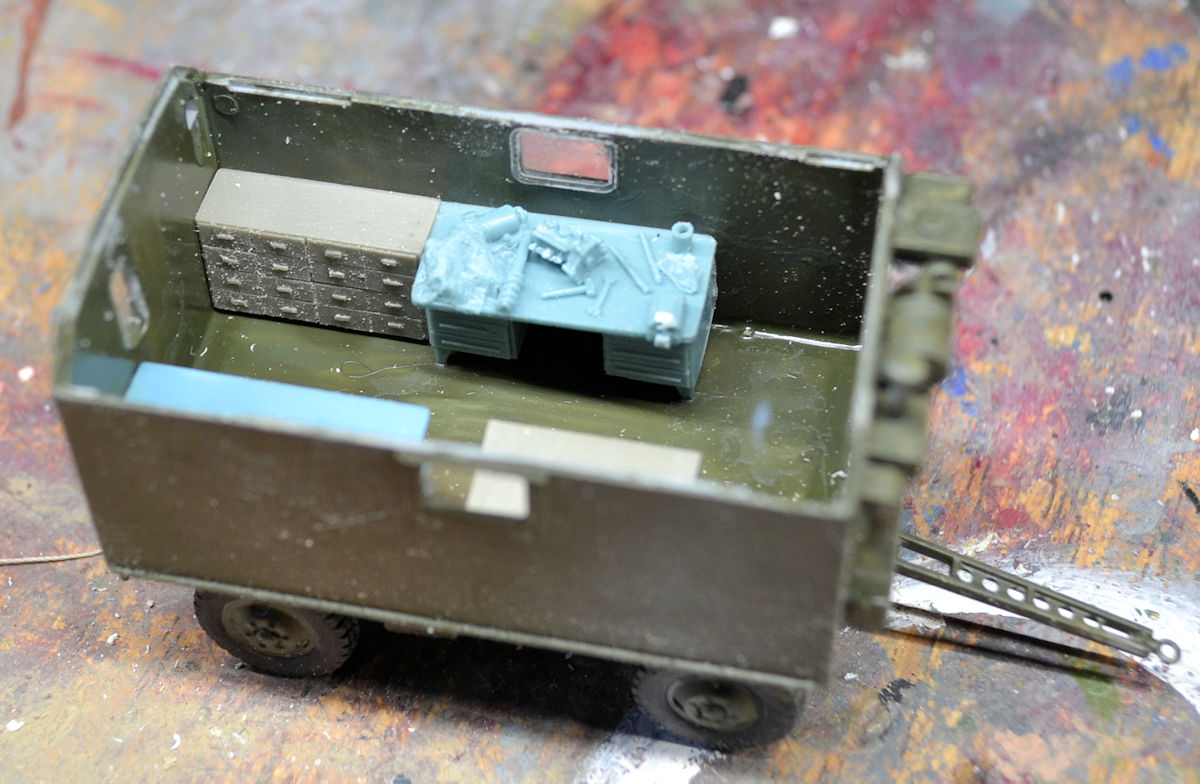
Later that got painted. This also means I won't be cementing down the roof so this detail can be seen.
And that concludes this tour of Maddog Manufacturing, thank you all who stopped in to tour and comment. Comments are always welcome.
As always, we start in the Hangar. Work has picked up a bit in here. In the first bay here we have a new kit I recently acquired from Brookhurst Hobby's collections tables at the back of the store. This is a little Australian Navy helicopter they've dubbed the "Squirrel". It's from Mach 2 so it's a very crude and difficult model to do. After some fighting, we got to this stage:
Naturally right after this, the tail rotor and one of the tail stabilizers went walkabout, making this impossible to finish unless and until these parts are found or suitable replacements installed
Later, despite the missing parts and to try to make it look better, it got it's base coat of grey. :
Moving on to the next bay we have the Iraqi Eurocopter finally assembled:
Later it got a base coat of paint but that will be shown later. In the next bay is a kit I got from the Distressed Kit Auction that was mostly started. So, I assembled the main fuselage and painted it, later adding things like the canopy, engines and other detail parts. Then I built up the main rotor to get this:
Later the rest of the helicopter was painted:
In the next bay, the F-86 that had been languishing was finally painted in a camouflage pattern I chose because I hadn't ever built an Italian Sabre. Here it is all painted up:
Later this got landing gear and I'm planning on giving this one sidewinders too.
In the next bay, we have the C-46 that I'd gotten from a friend who'd purchased it painted and mostly unassembled from a thrift store. After some finagling and interior painting, this was finally assembled. Putty was then applied in places where gaps, steps and seams appeared. Given this is a Williams Brother's kit, there were a few...
In the next bay, my British Horsa glider got it's full paint work done:
Now to get decals and landing gear on this and some more detail painting done and it'll be finished,
Speaking of gliders, we have the US Army Waco glider also sporting it's complete paint work. This one will also just need landing gear and decals for completion:
That completes the tour of the Hangar, now on to the Shipyards....
In the Shipyards, only one model got attention, the USS Enterprise which had been languishing for three years while I searched for the assembled missing island to no avail. It had been sitting like this for all that time:
Finally I got fed up with the fruitless search and purchased a new kit of the same model:
Using that I was able to finally build and complete a full replacement for the island that is still missing:
Finally I can move forward on this model. Detail parts and some touchup painting are all that's needed besides the air wing (all of which I'm also taking from the new model) and this beastie will finally be done:
Moving on to the Motor Pool, things have been active here. In the first bay is the German KF-51 Panther that got the camouflage pattern on it:
Yes I went with the standard Bundeswehr pattern, it fits my German army more perfectly, and I hate the look of that digital camouflage so this was my choice. All that's needed are decals and weathering and it'll be done.
In the next bay, the US Army Buffalo got the full basecoat on it, although additional detail parts are needed on it:
They went on later. In the next bay, the M2A3 Bradley got the interior finished:
Later I'll add some Value Gear inside, once I find the container that has all of it. This then got all the basecoat on it, ready for final completion:
Next I worked on a couple simple models I got from Brookhurst during our SoCal AMPS Build Night. The first one in this bay is the ICM Russian gun truck. It was so fast and easy, I got all the way to this point before I finally took some pics:
The other fast and easy ICM kit was the cabin trailer that the instructions said could be an ambulance, repair shop or command post:
I decided to go with a repair shop since I didn't have any of those, so I added some factory furniture I got a decade ago:
Later that got painted. This also means I won't be cementing down the roof so this detail can be seen.
And that concludes this tour of Maddog Manufacturing, thank you all who stopped in to tour and comment. Comments are always welcome.


