Well, I don't know why this didn't get posted; I entered everything and submitted it yesterday! Oh well, here's my latest update in it's entirety...
Okay here's more progress on my way to getting some of these models finished. All this is armor so far, along with the turret, since these are all so close to the finish line.
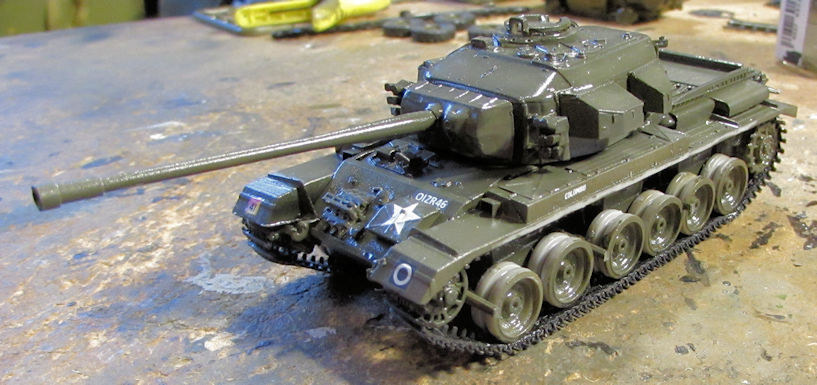
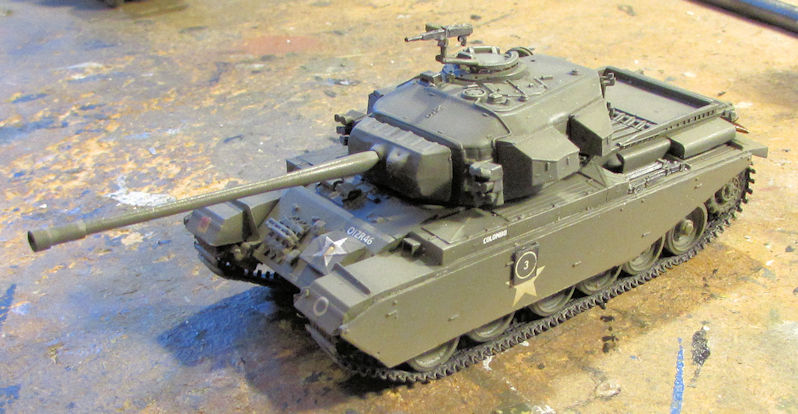
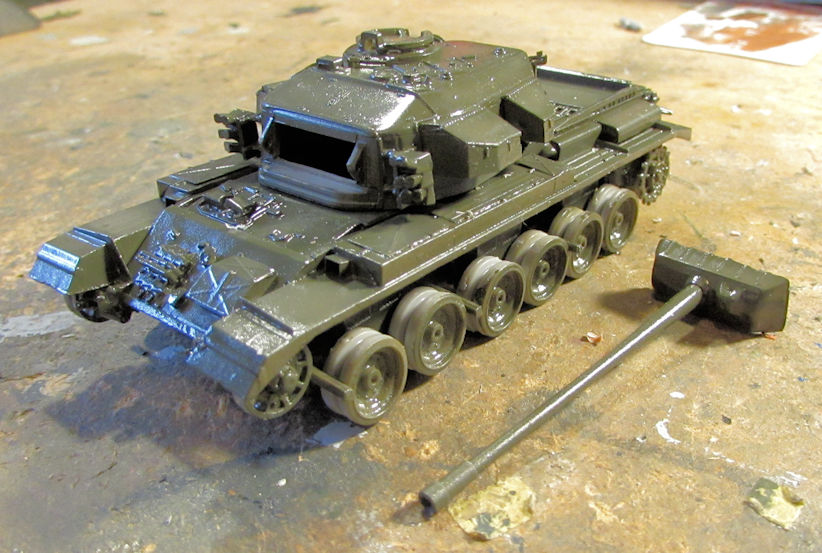
First up is the Centurion. Here it is with the decals on:
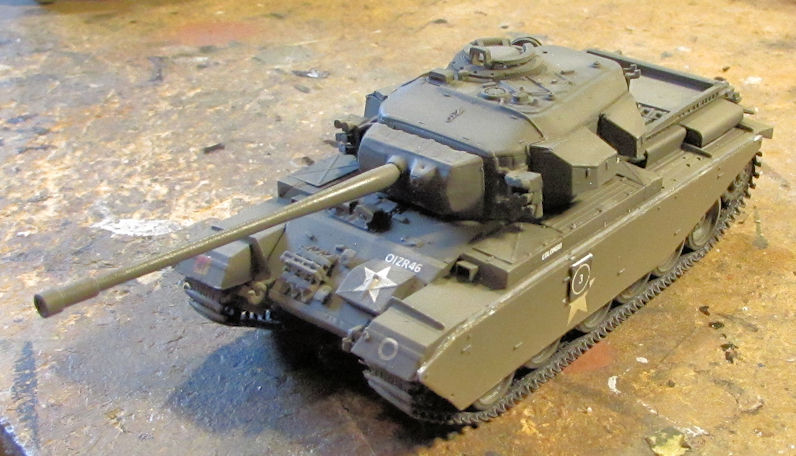
You can see that I also added the tracks to this. Alexey at ACE has you push three tiny stubs through holes and melt the protruding ends to hold the tracks together. The only problem with that technique is that the stubs are too small and flexible to be pushed through such tiny holes. They never make it through the holes, so I pulled out my black tire glue and glued these together using that. I then glued the tracks to the wheels using the same glue.
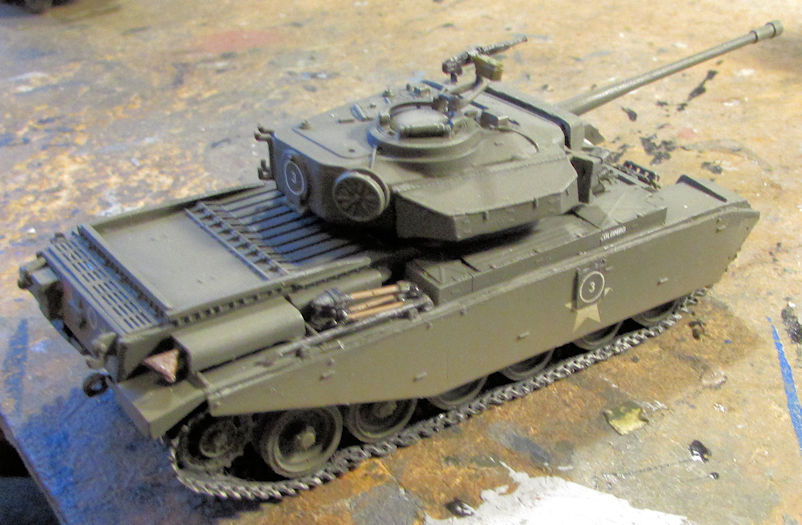
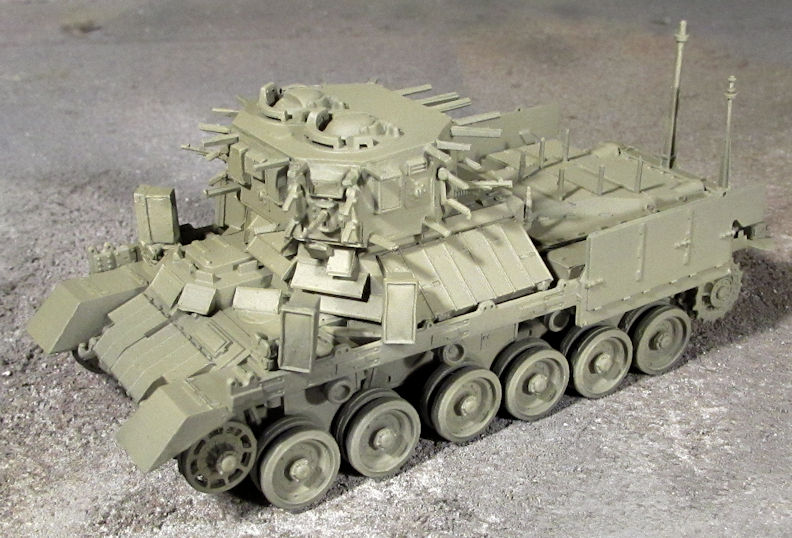
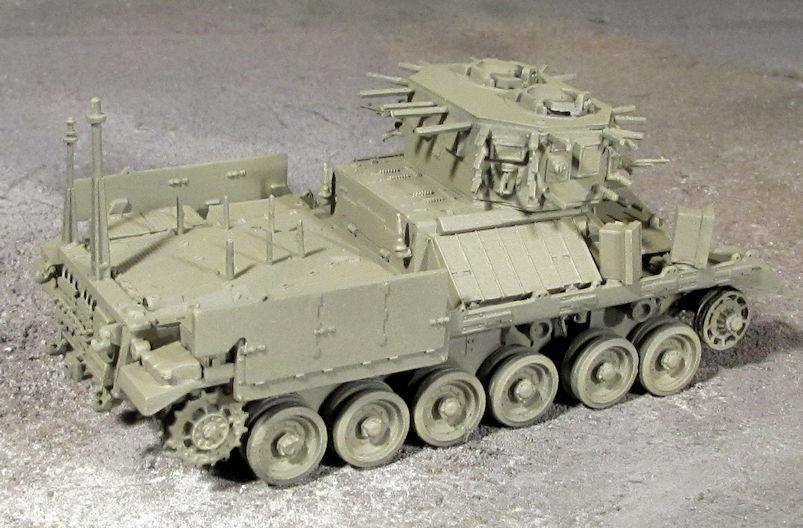
Next I dullcoated this and added the skirts to this model:
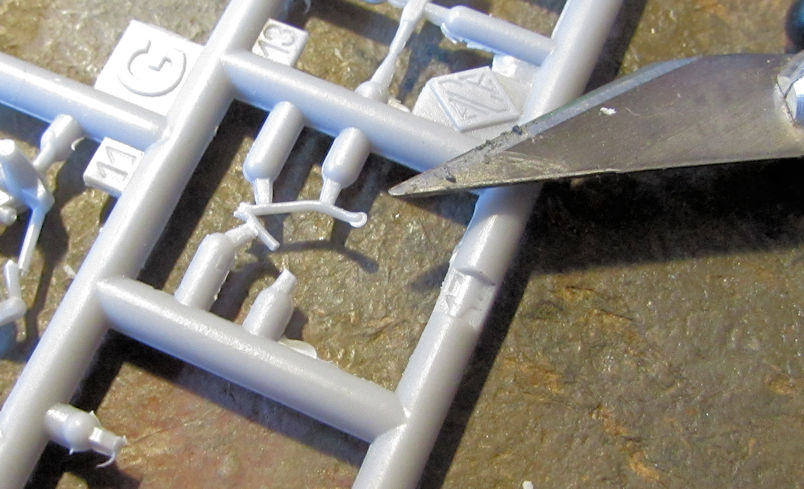
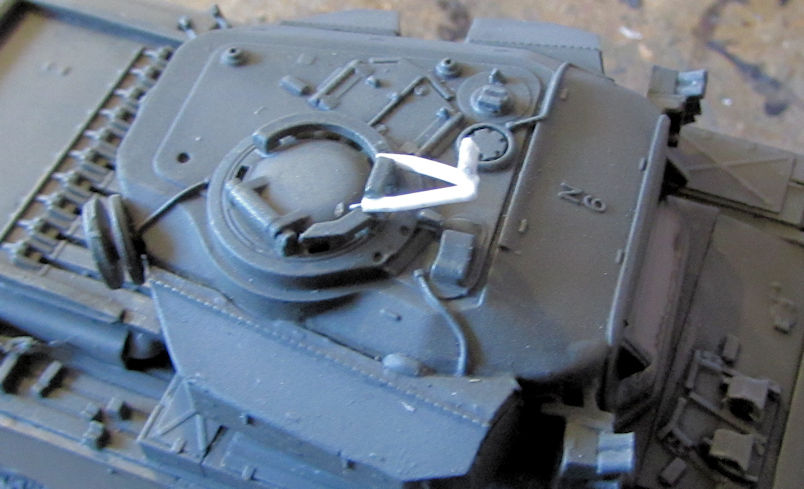
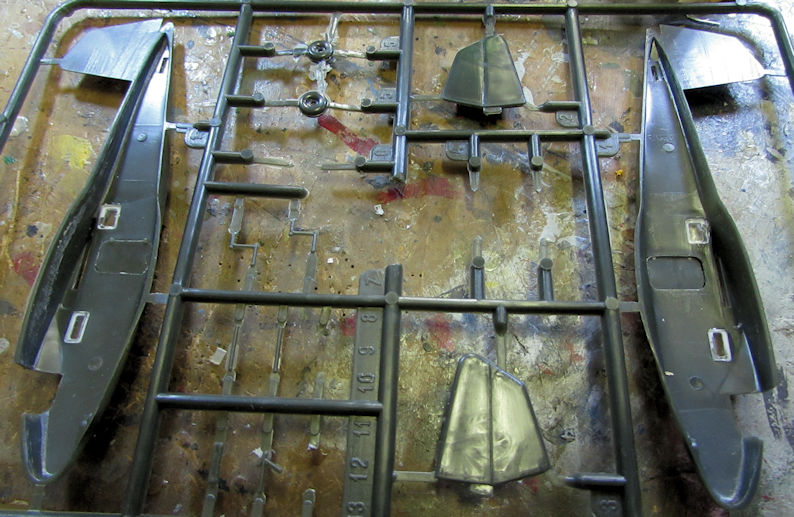
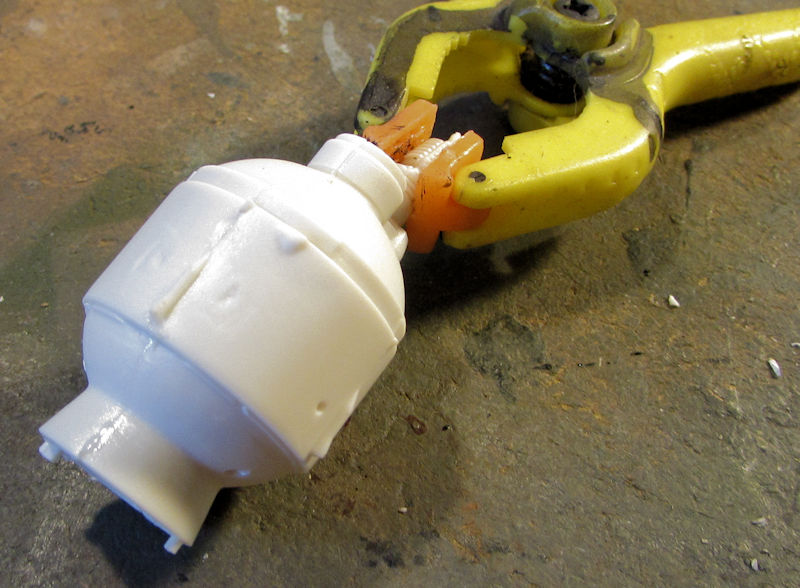
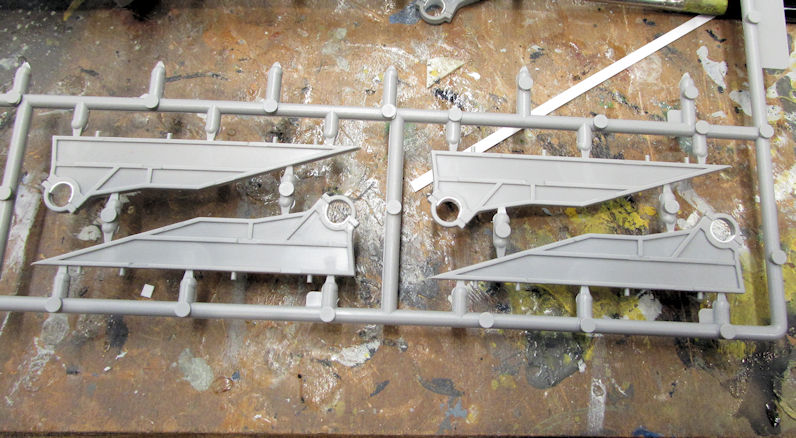
You can see the skirts were pre-weathered like the rest of the tank. After that, I went to add the machine gun to the top of the turret. However, the V-shaped part was far too delicate to remove it from the four large attachment points. The first cut with the newest, sharpest X-acto blade resulted in this:
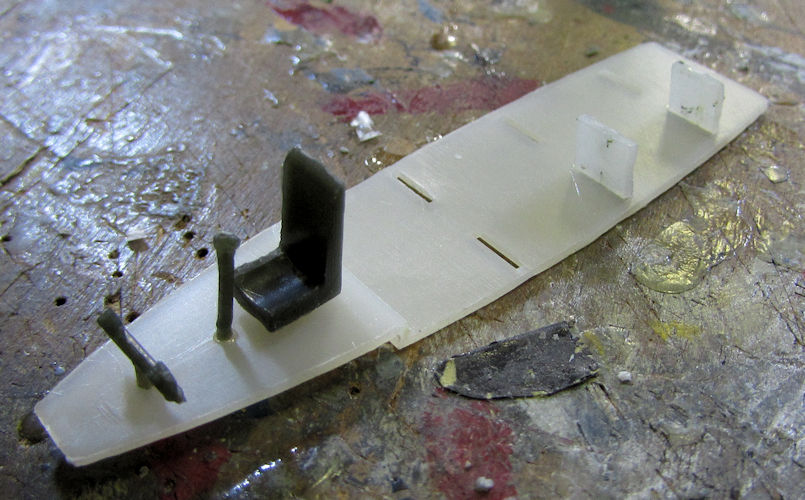
That did not bode well for any attempt to separate the rest of this part and I did not relish assembling four parts of this particular piece to mount the gun. So, I scratch-built a replacement. This is a bit out of scale, but it is sturdy and complete:
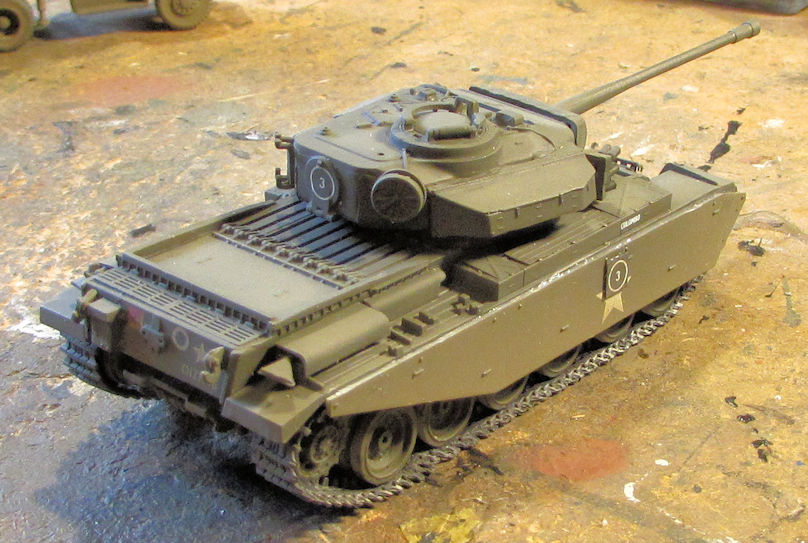
Afterwards, the gun got mounted; touchup painting was done and tools were added. Looks done right?
No it isn't. I had realized that I hadn't 'dusted' the roadwheels to match the rest of the weathering so I went ahead and did that. Now I could call this tank done. Pics of it will be seen in the finished armor forums.
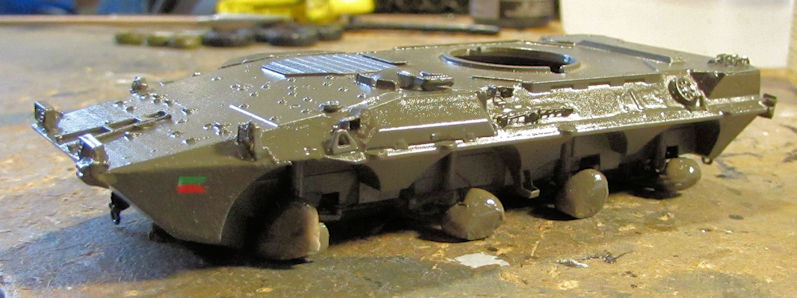
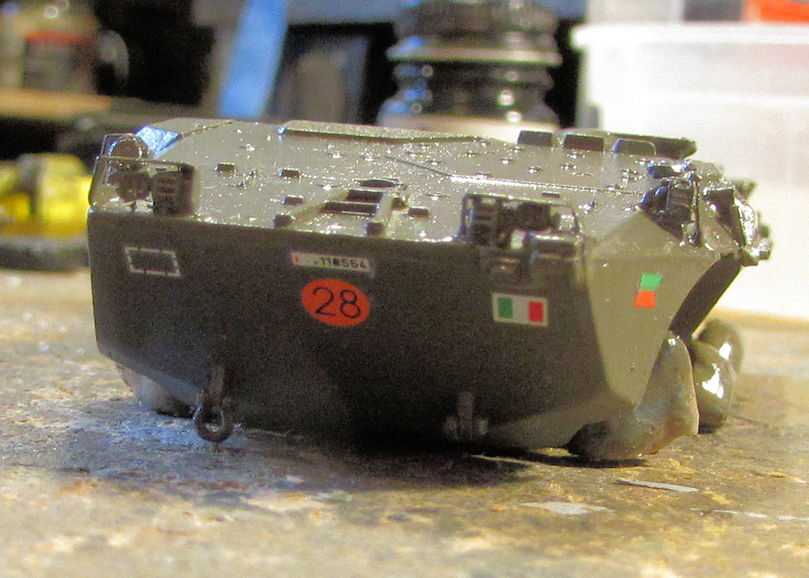
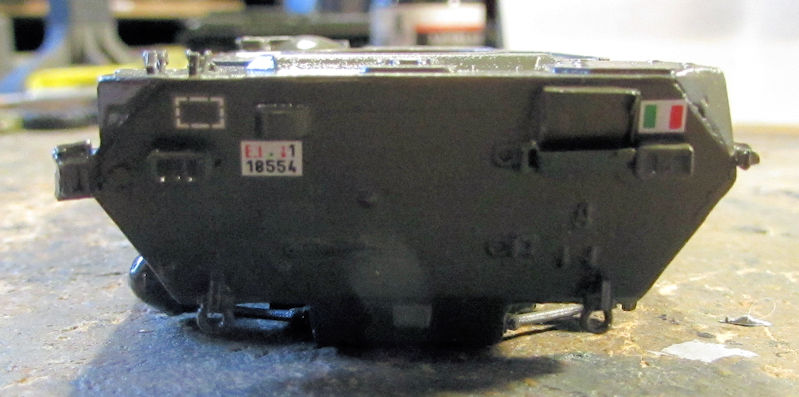
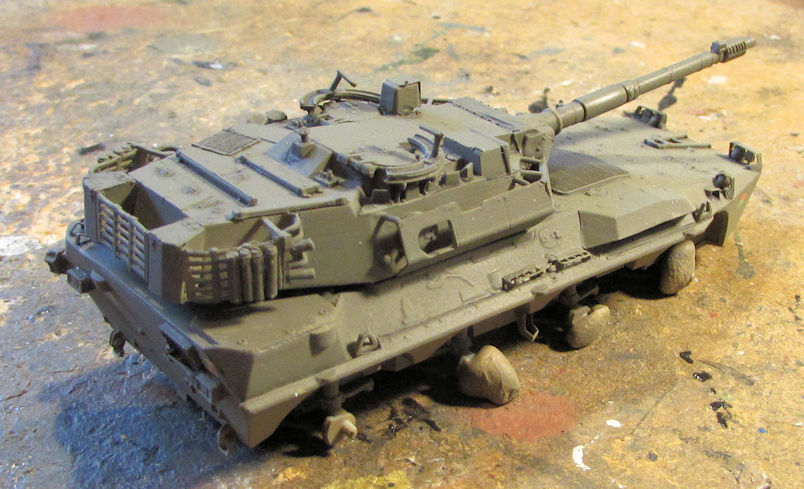
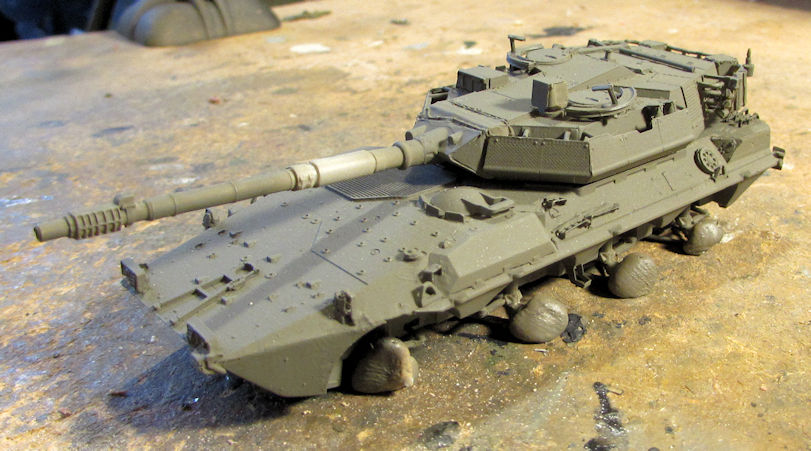
Moving on, I also added the decals to the B-1 Centauro:
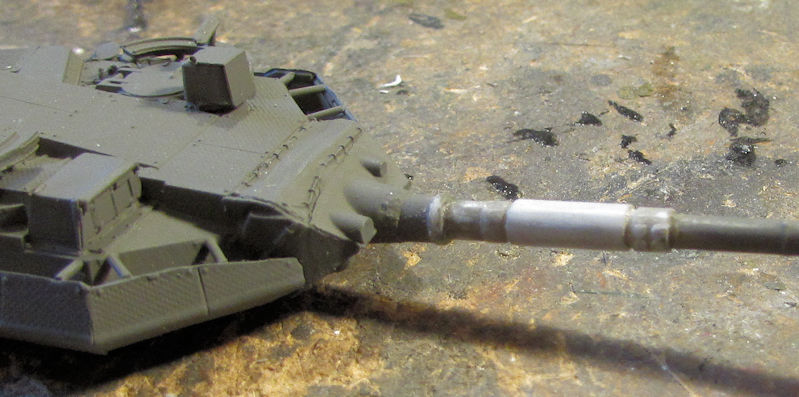
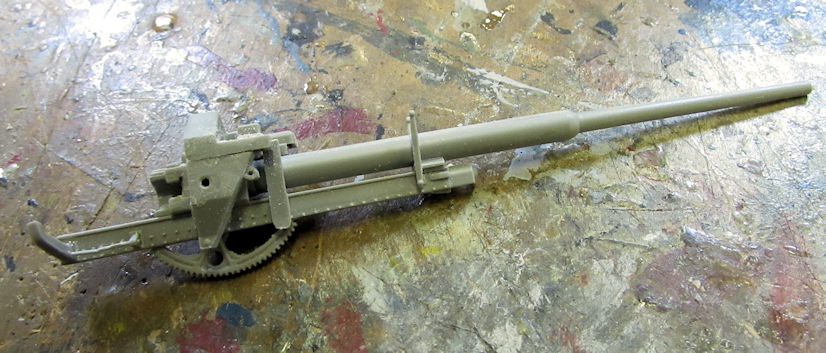
Also, remember that huge shrink mark in the gun barrel? If not, check back a few posts; it's there. Well, it finally got fully fixed:
After that this model got the final wash and then dullcoat:
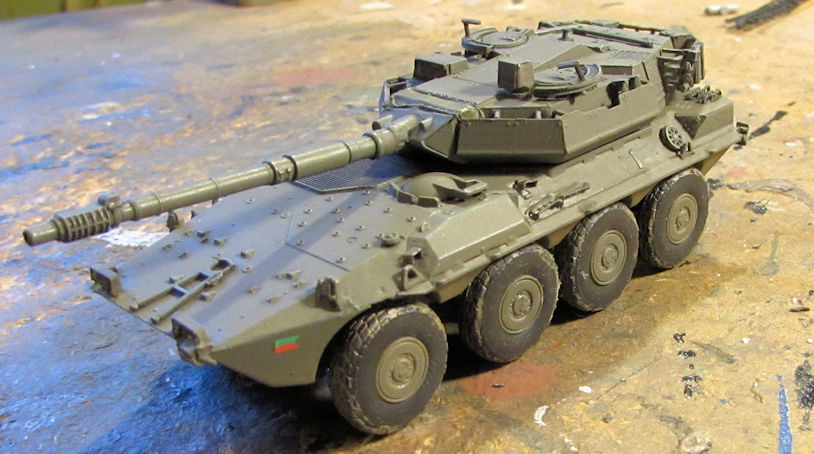
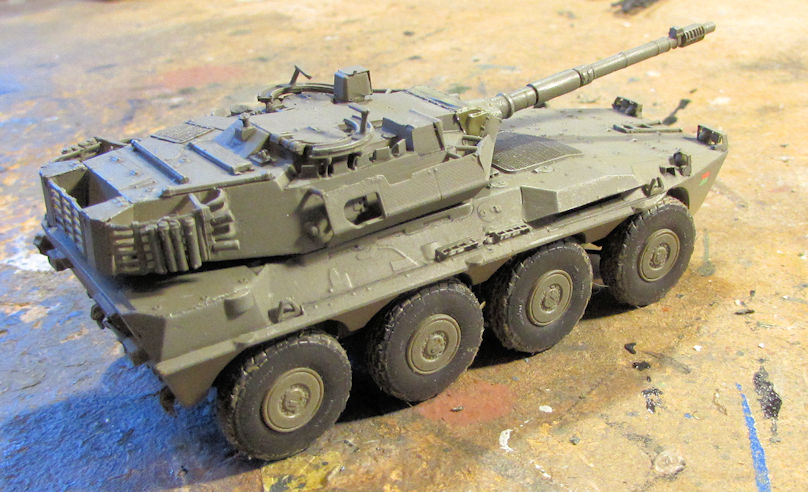
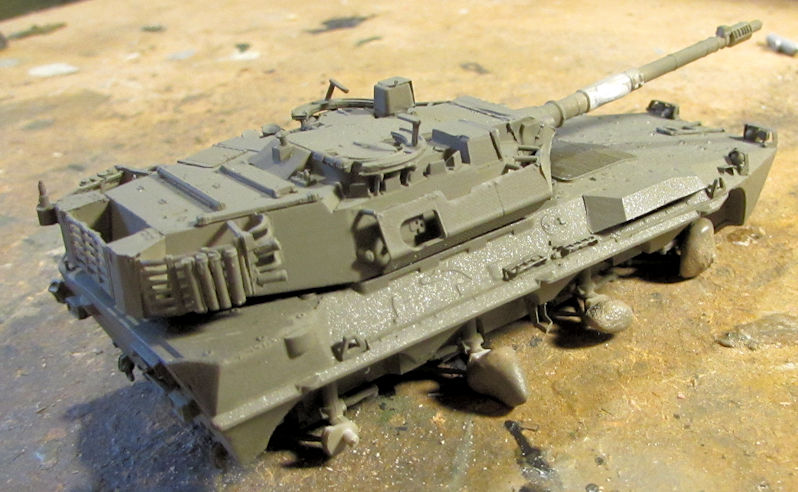
After doing some 'pre-weathering' on the wheels, I installed them on this vehicle:
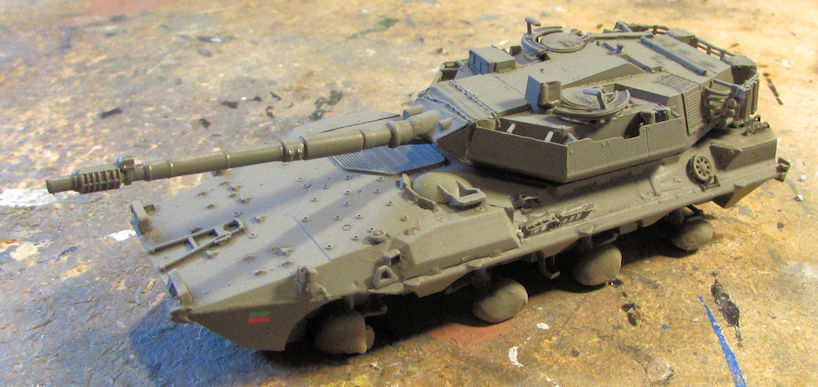
Some final 'dusting' later along with the Centurion, this beastie is done!
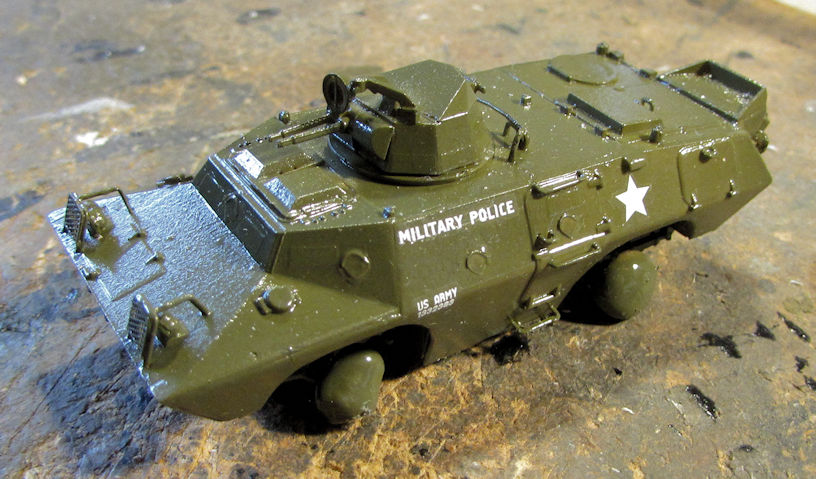
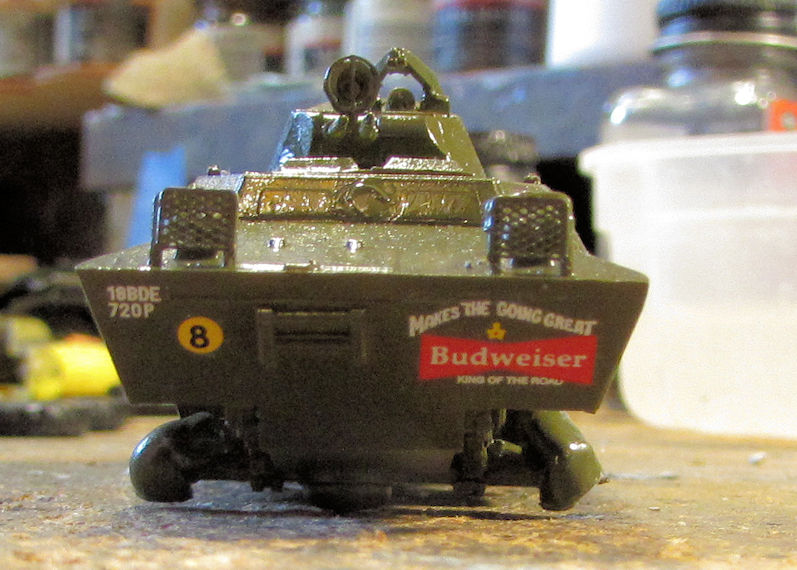
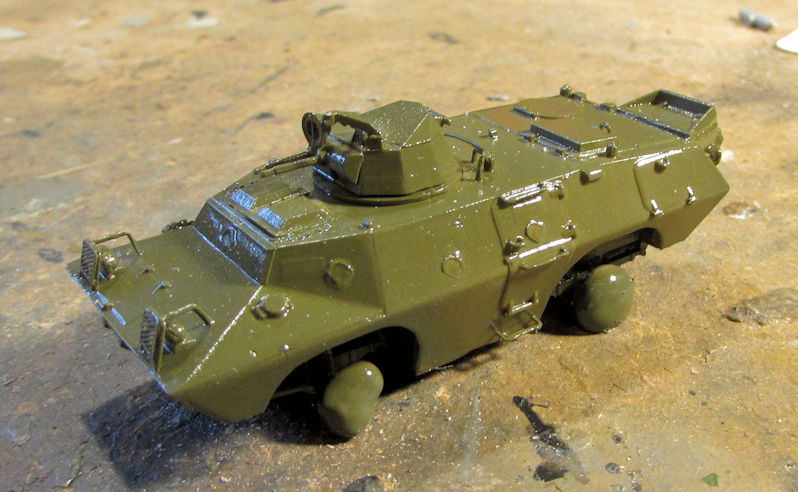
My next model I moved forward on was the little V-100 armored car. Here it is with the decals. I love that Budweiser logo!
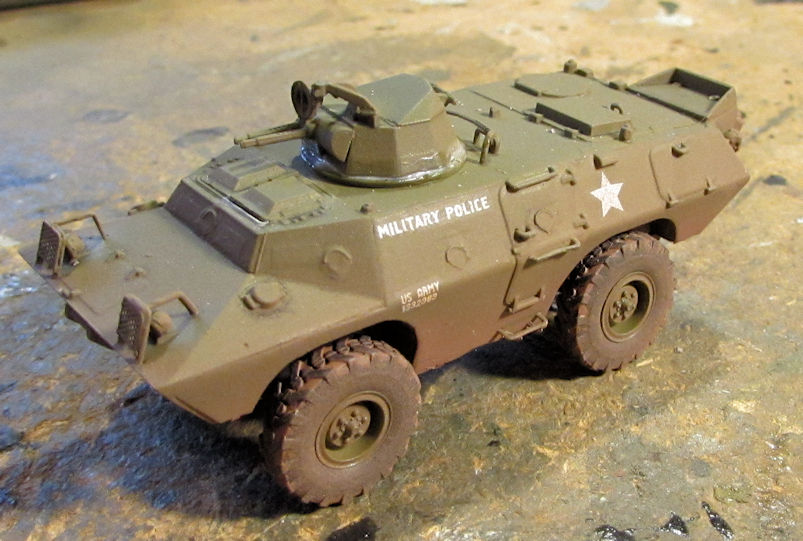
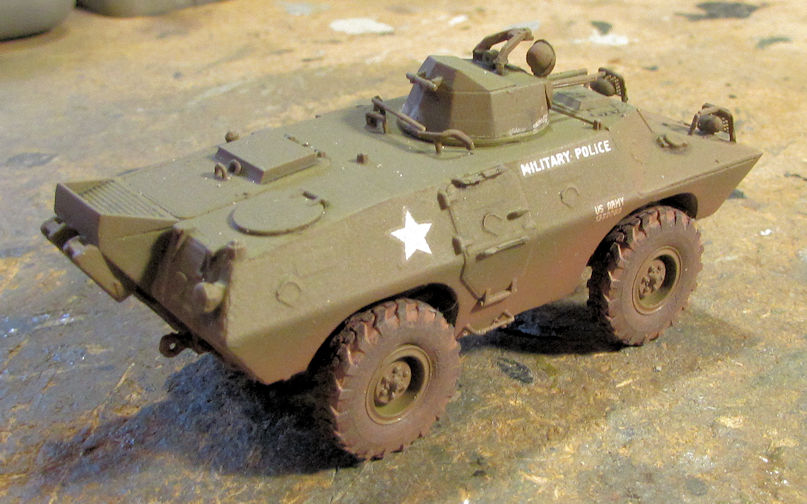
After that I 'pre-weathered' the tires with a reddish brown color to try and match the red clay of the 'Nam and mounted them up. I then dullcoated this and tried 'dusting' it. This was the closest I got to that red clay color:
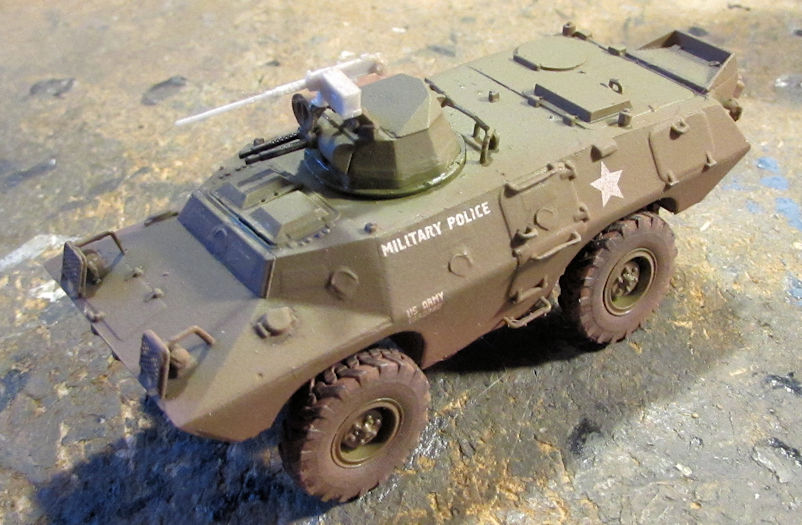
After that, I did some touchups on the details and then added the turret mounted .50 caliber Ma Deuce:
Painting that Ma Deuce brought this over the finish line as well.
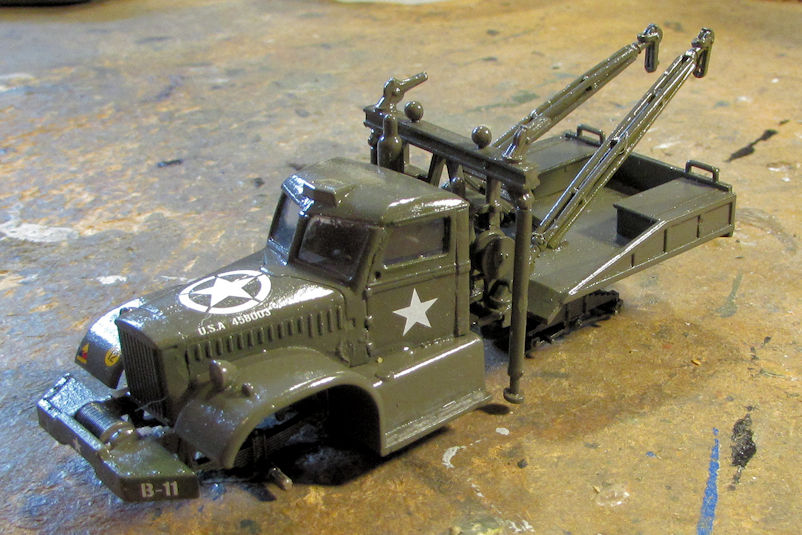
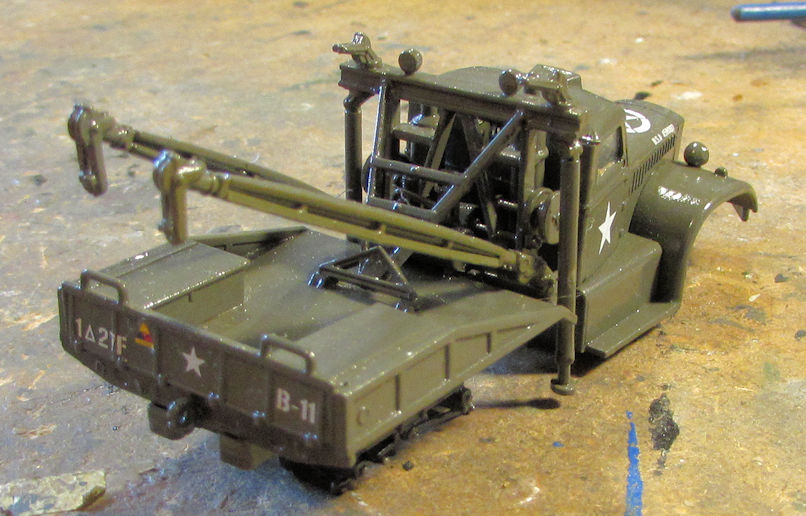
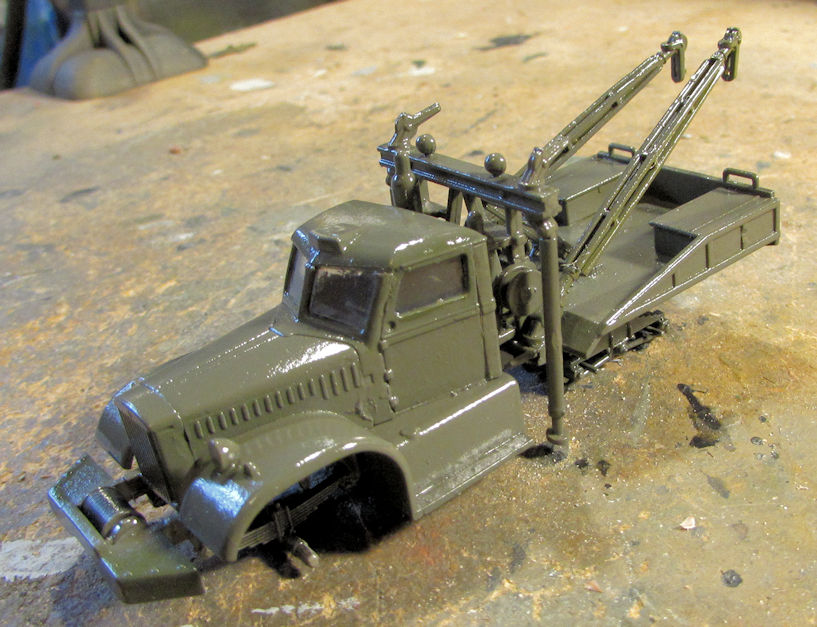
Moving on, I added the decals onto the Diamond T wrecker:
I know the markings on this truck are fictitious. I wanted to build it as US Army truck but; despite having decals for at least three US Army trucks, they only gave you the schematic/layout for a Canadian truck. I spent hours looking online; trying to find pics of a Diamond T Wrecker sporting the numbers, codes, and (hopefully!) that armor logo on the front fender that were offered on the decal sheet. Nothing popped up at all that even remotely had any of the decal sheet codes on it. So, I just winged it and chose what I wanted. Later I can get another one and make it Canadian.
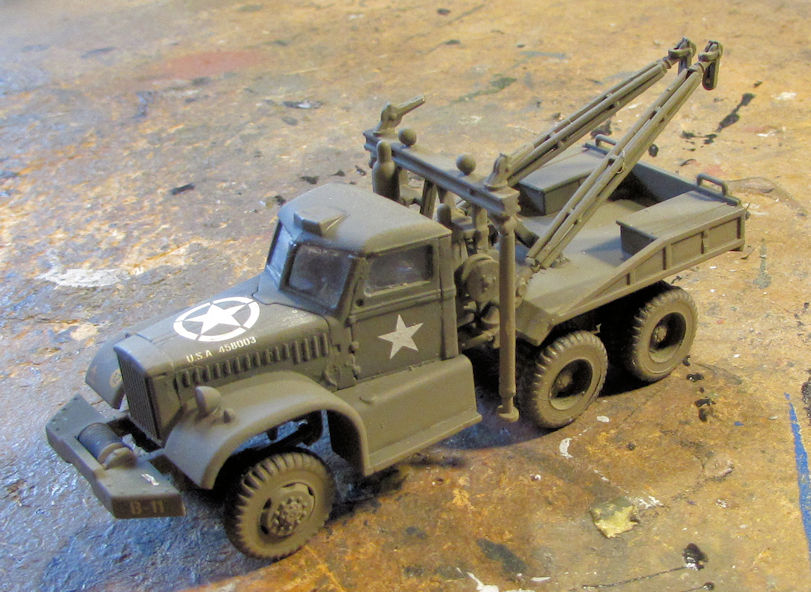
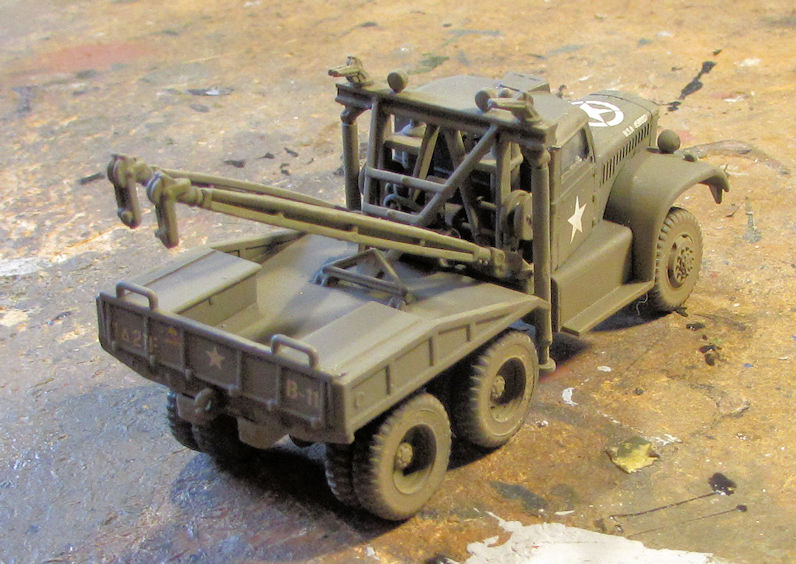
Later on I dullcoated this and then added the wheels to it. The four twin wheels on the back were a real bear to do given how delicate the attachment points were for those wheels! What a pain! I finally got them all cemented on:
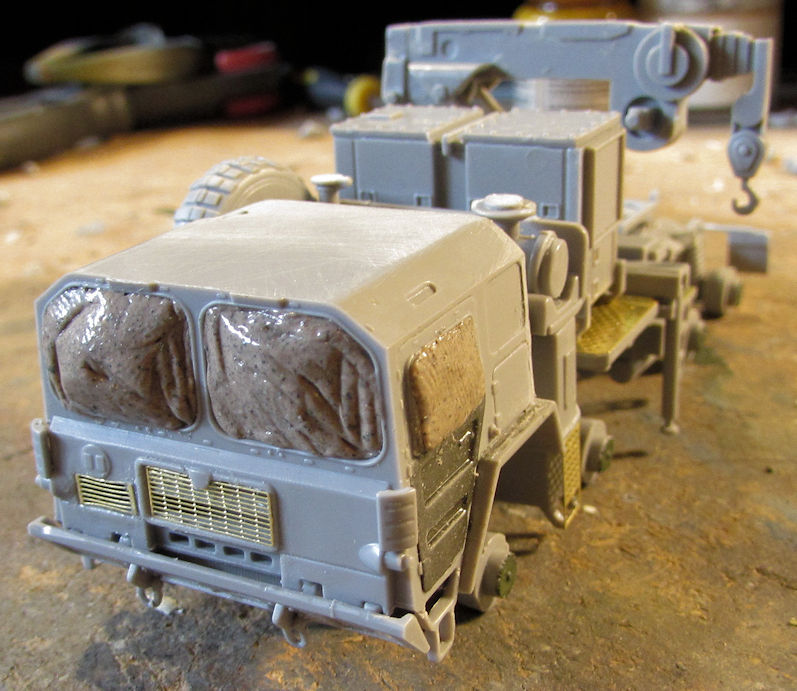
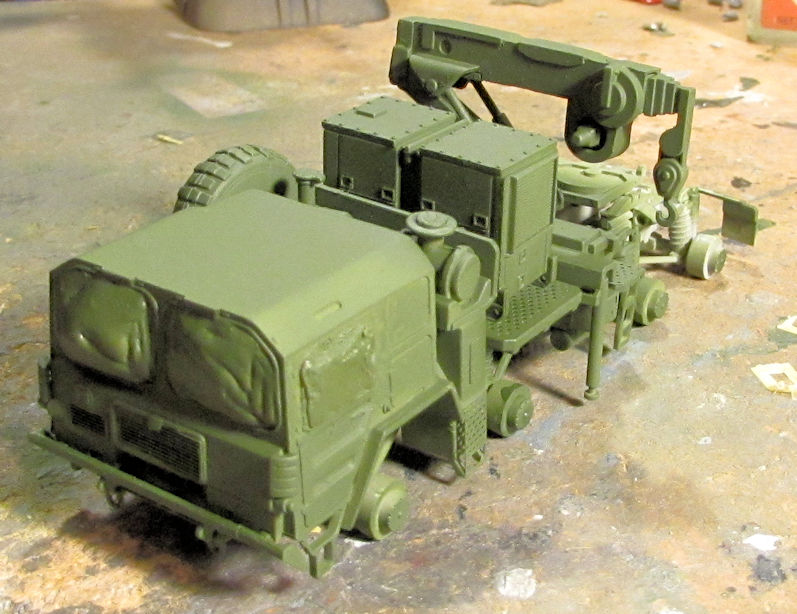
I had forgotten to mask the windows before dullcoating this again so I'll have to fix that. Also, the cab is still not glued down, which will help greatly in fixing the glass as the back wheels are still so delicate. The less I handle that chassis the better. There's a few more things I still need to do with that truck, so it's not quite finished yet.
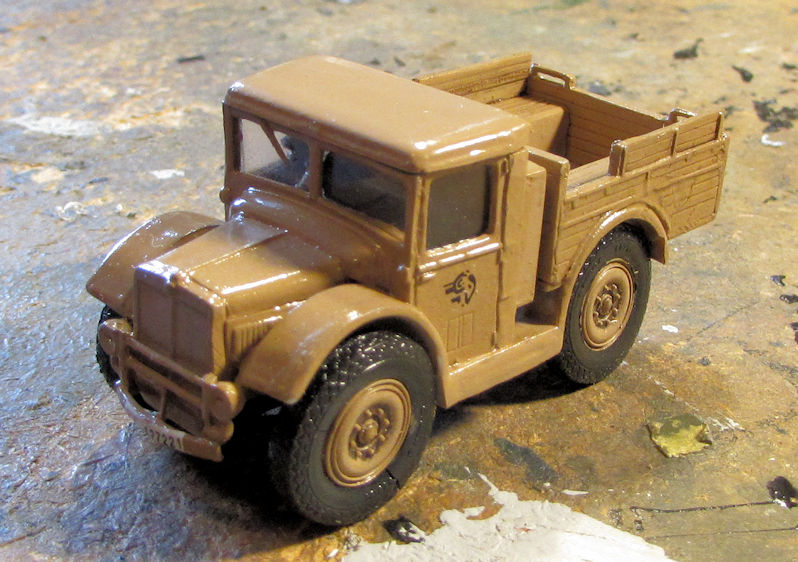
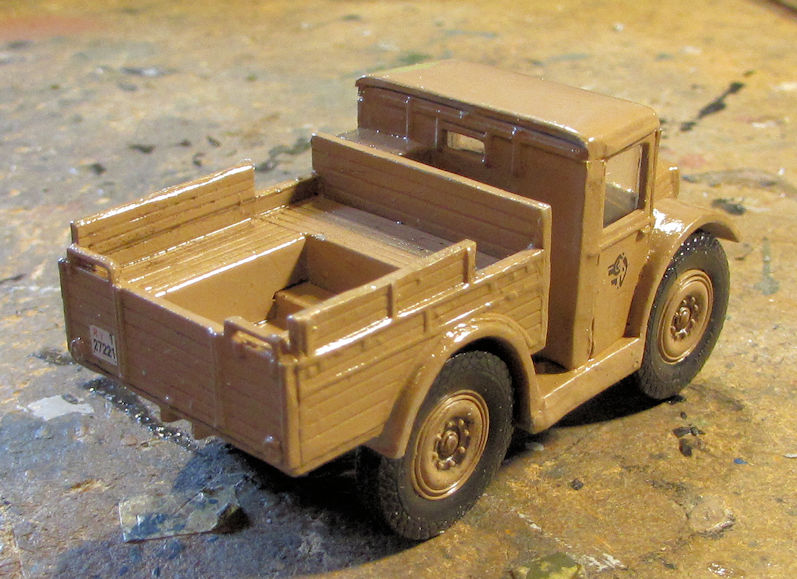
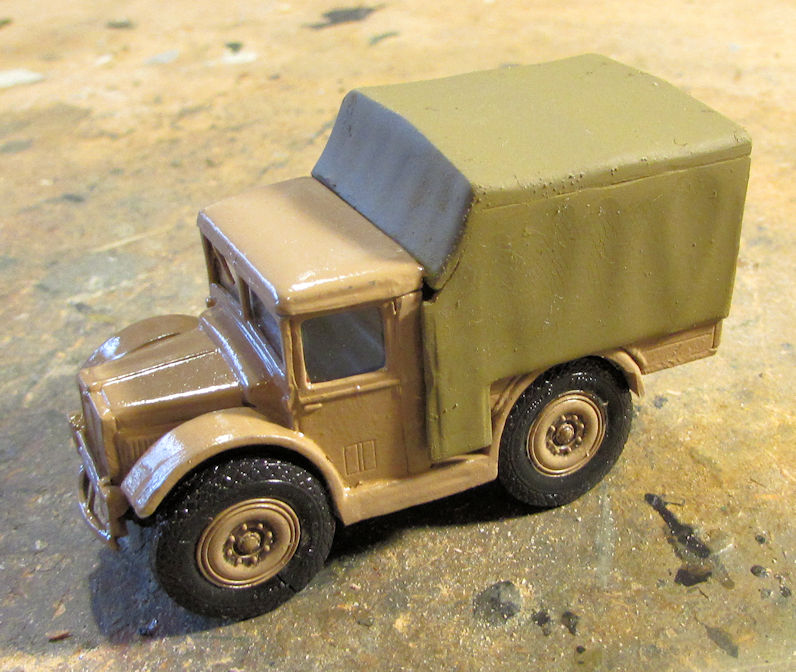
One truck that did get finished is my Italian Trattore truck. I glossed this and added the decals to it:
You can see I also started the wash on it. I also noticed one of the tires cracked. Oh well...
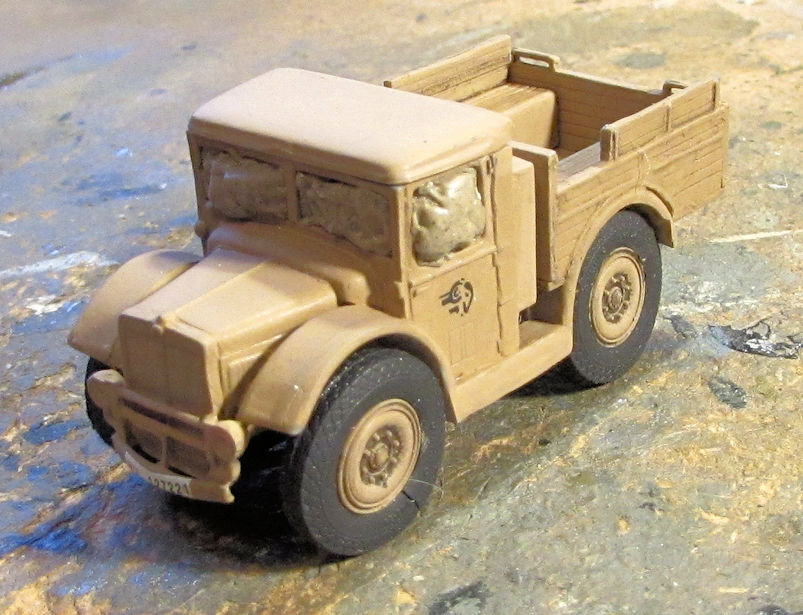
Later this was dullcoated. I remembered the windows this time:
I completed the tilt on this and then called it done.
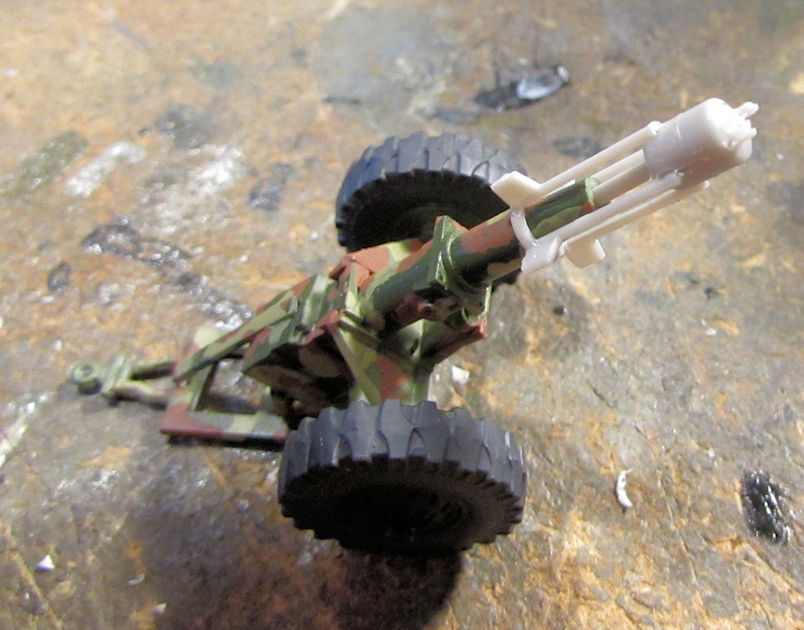
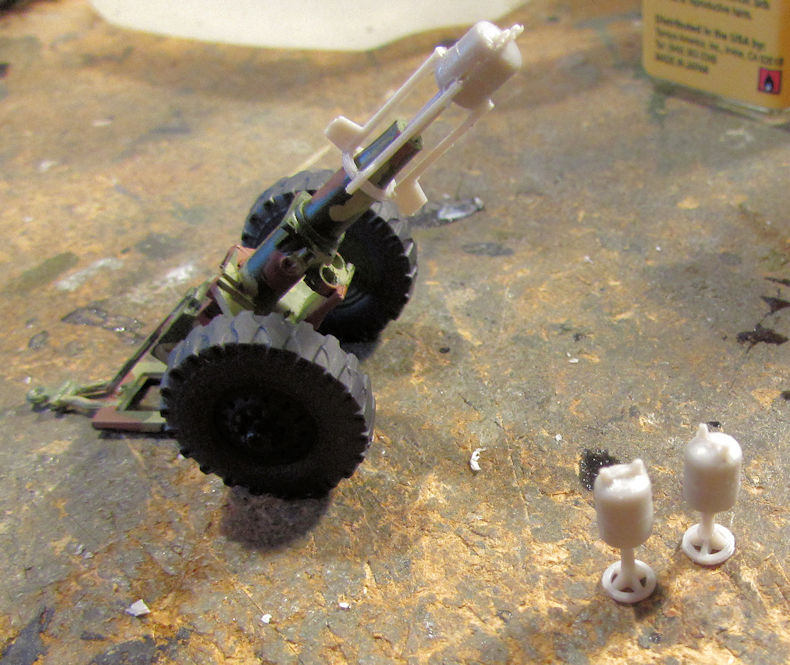
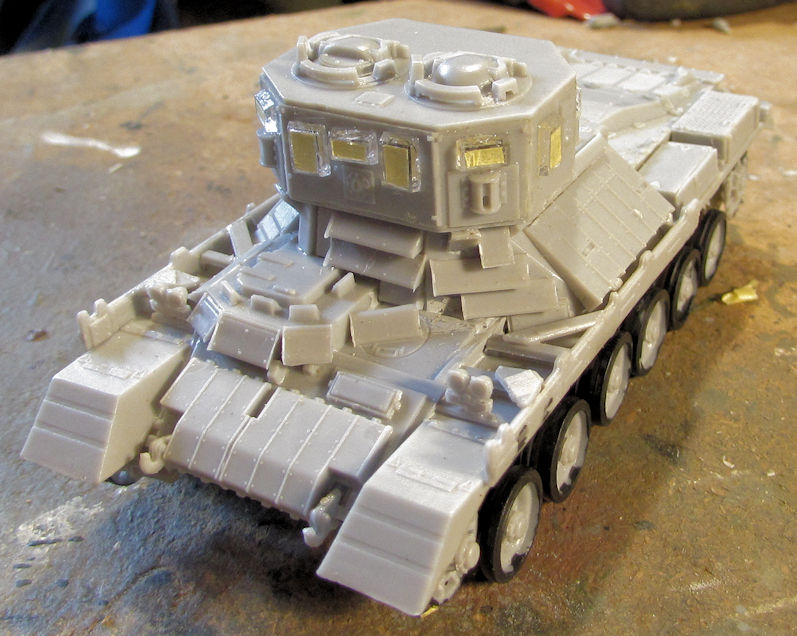
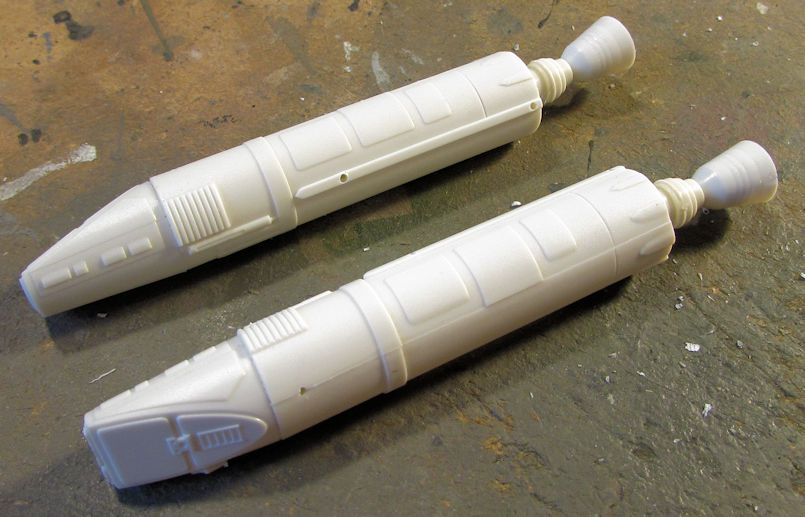
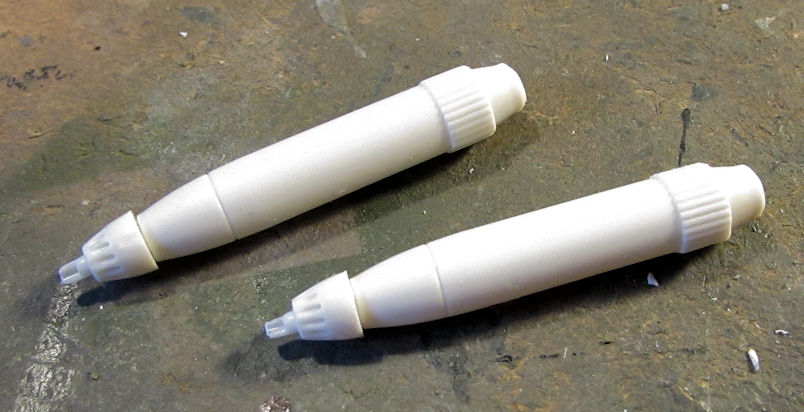
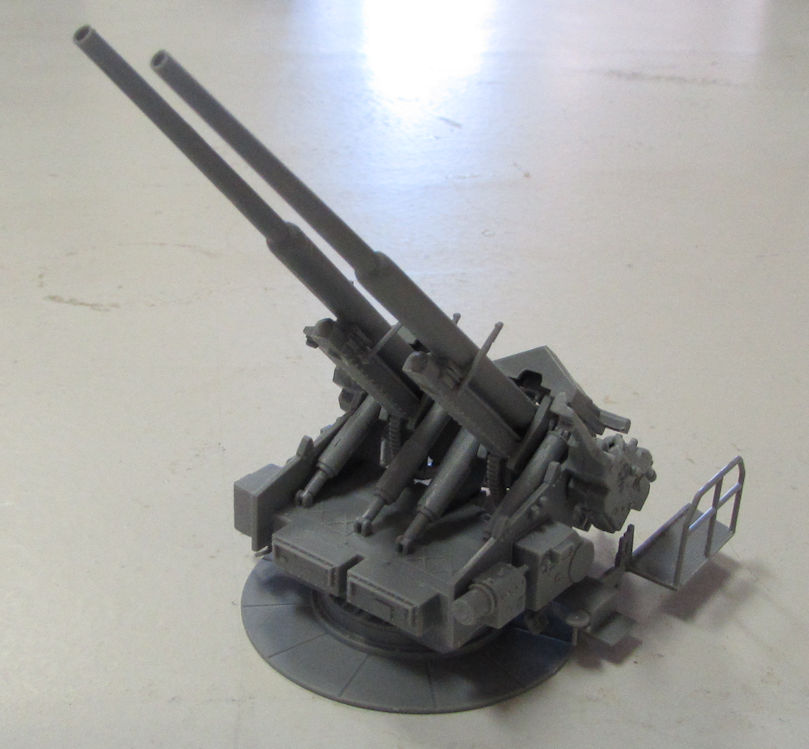
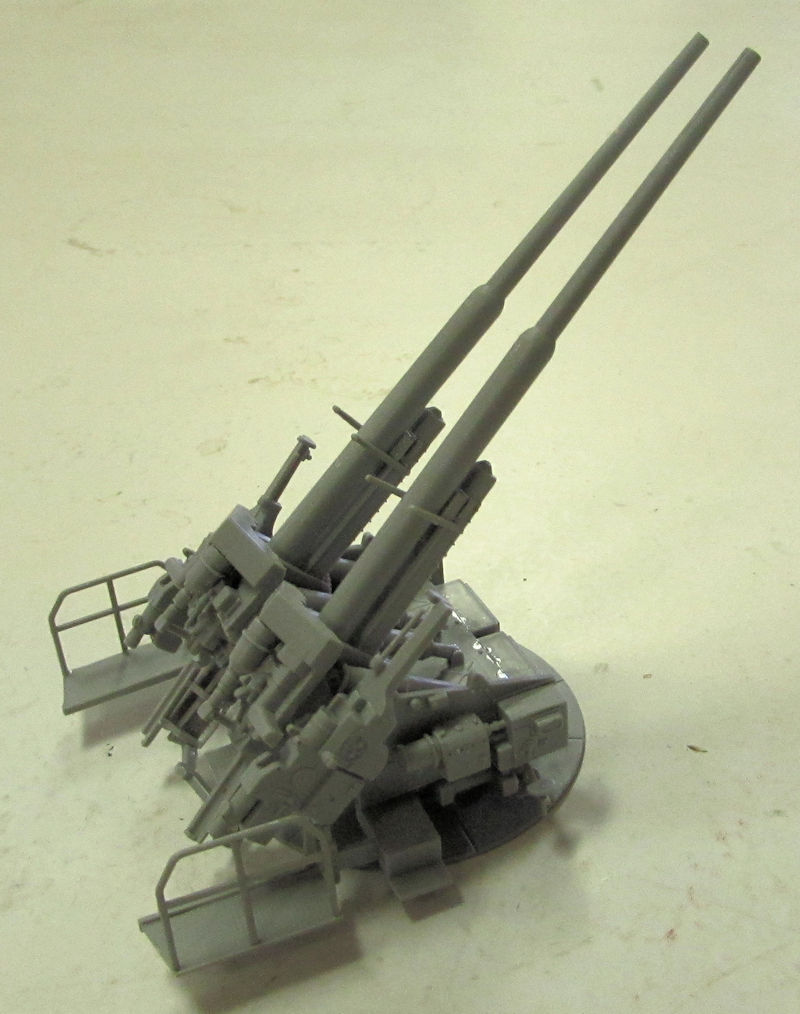
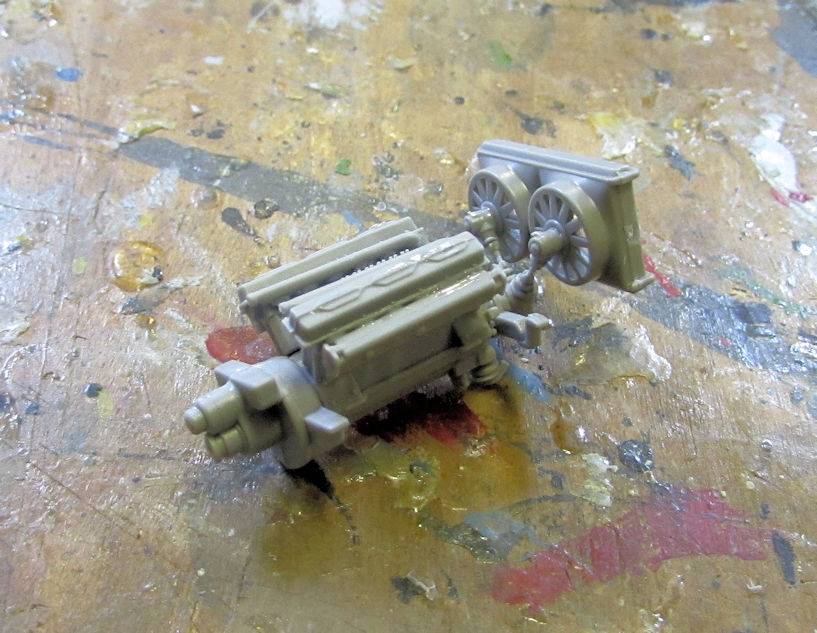
After all that, I needed to finish up the Hell Cannons. All that was needed was to assemble and paint the ammo rounds that came in the kit. Here you can see that I assembled the smaller cannon's rounds by fitting them to the barrel and gluing them together. I later removed then from the barrel for painting:
In this pic, you can see two of the rounds for the larger cannon too:
I later painted them all and was able to declare the Hell Cannons done.
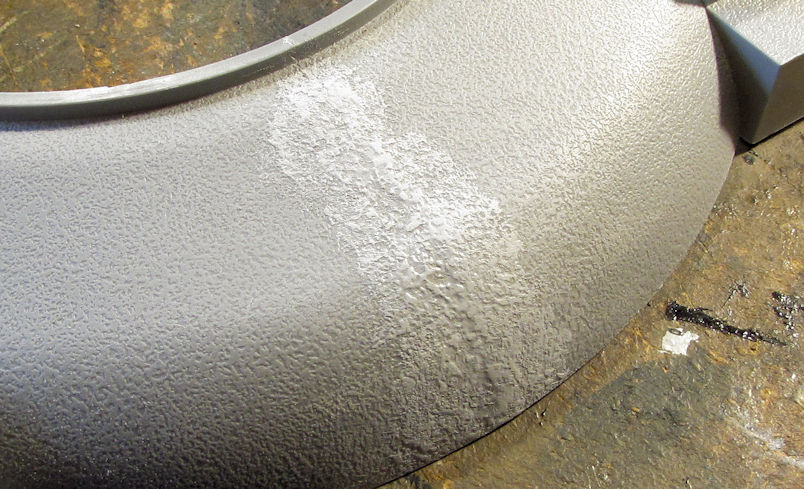
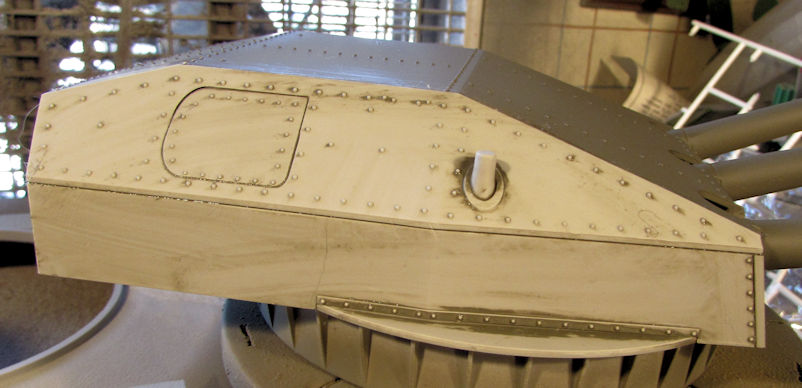
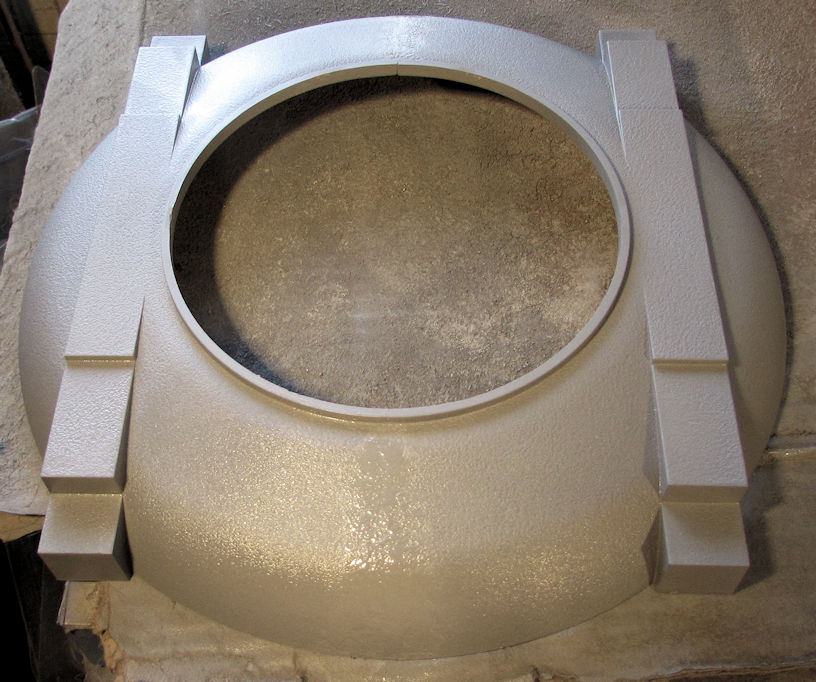
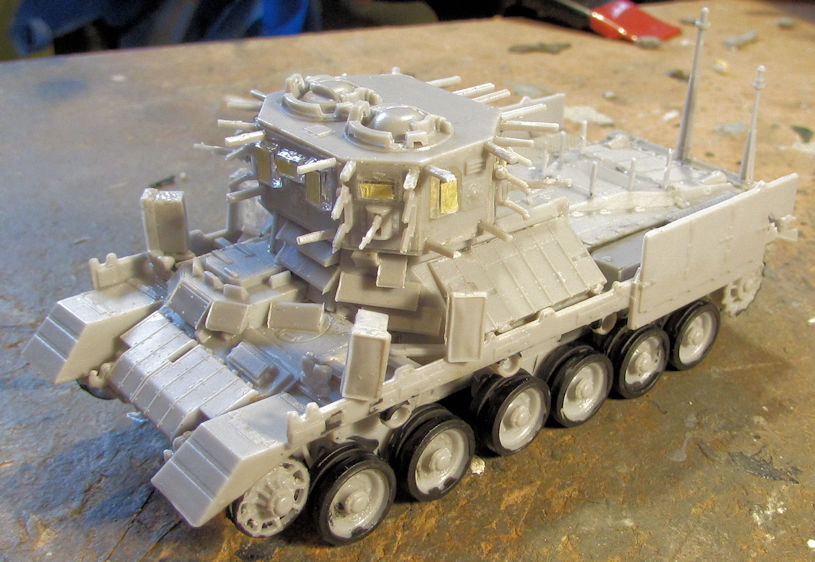
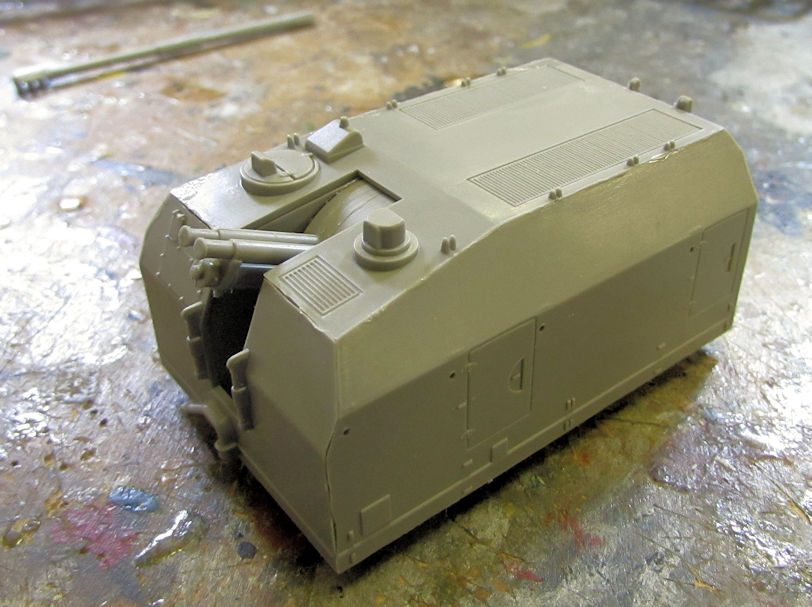
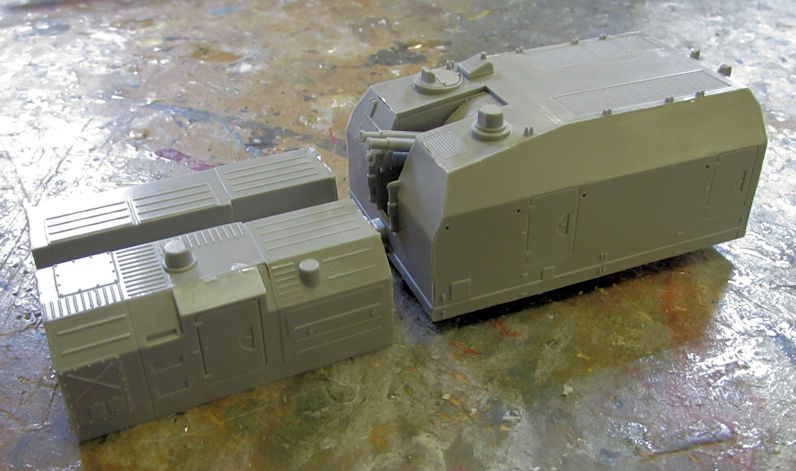
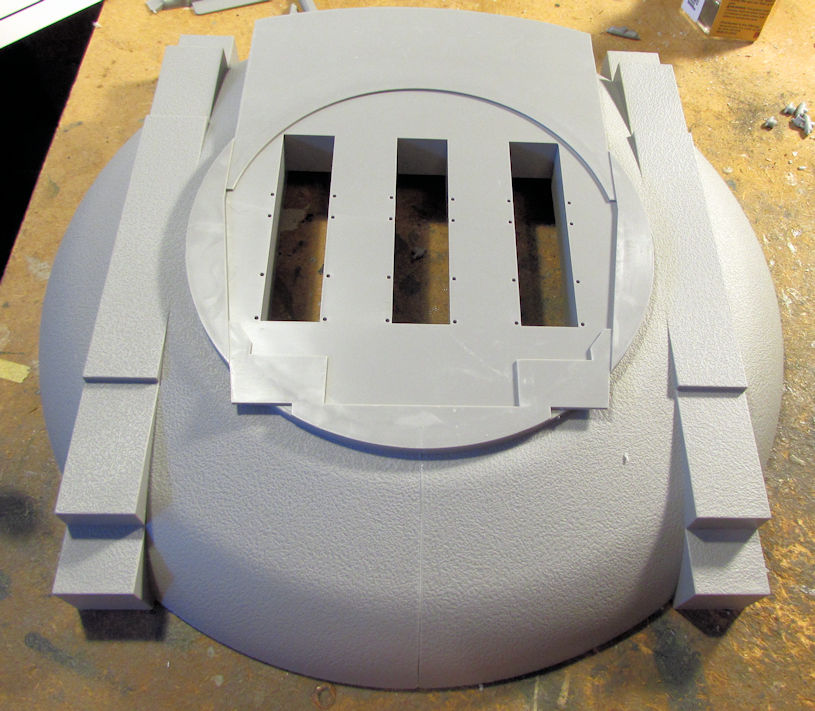
Finally I worked on the Austratt turret. First I tried to eliminate the seam on the base. This was my first attempt:
My second attempt was a bit better. Pics of that forthcoming in another update.
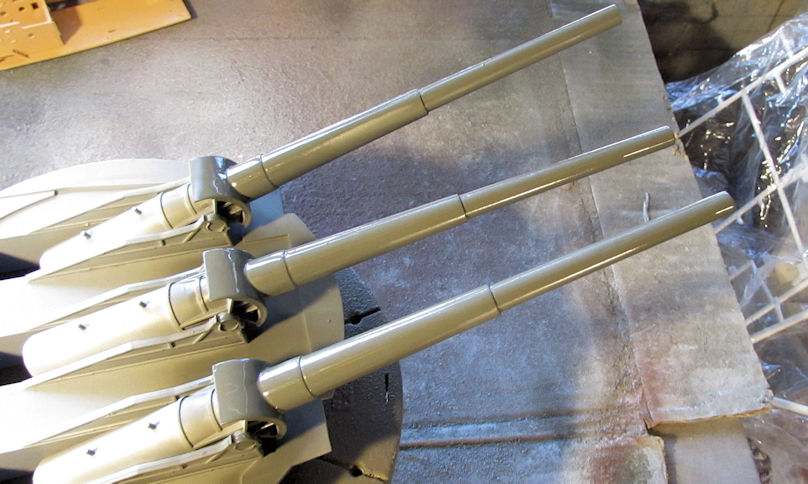
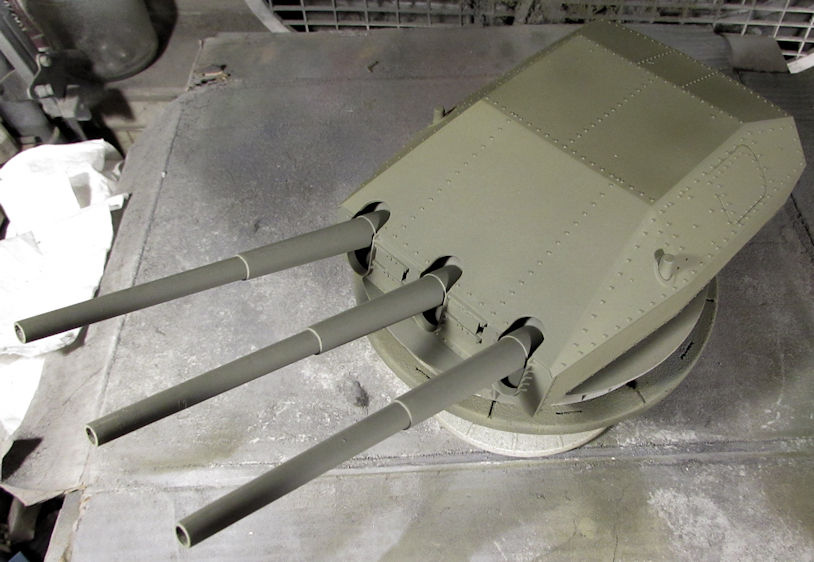
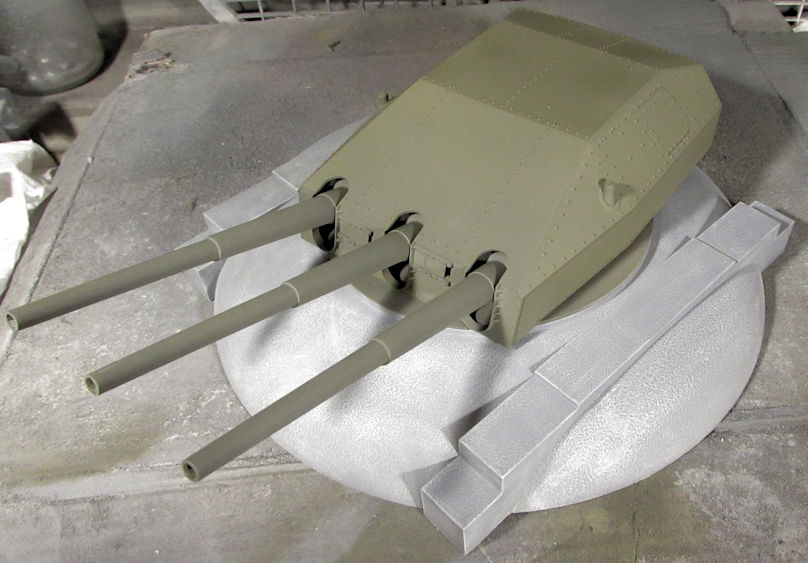
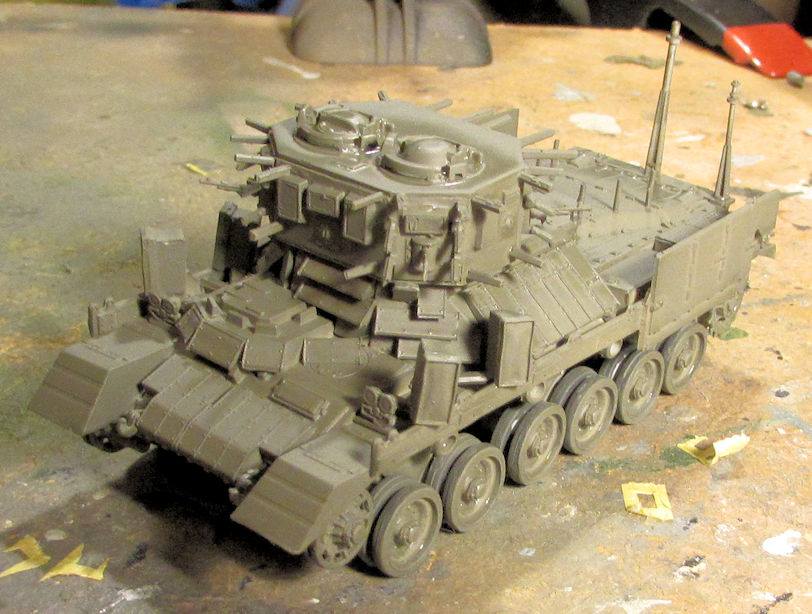
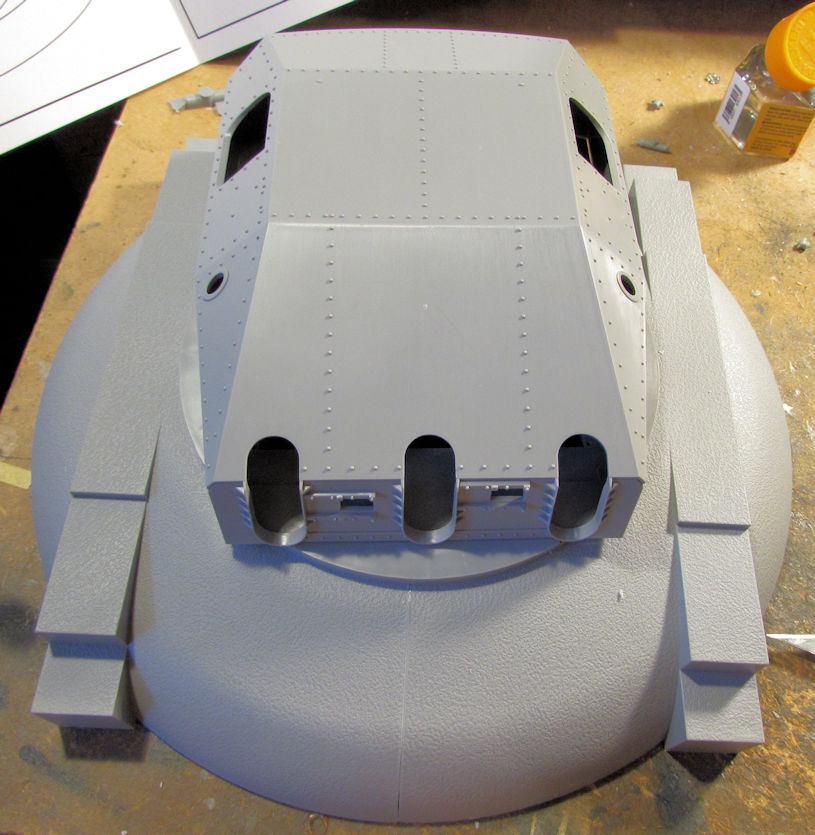
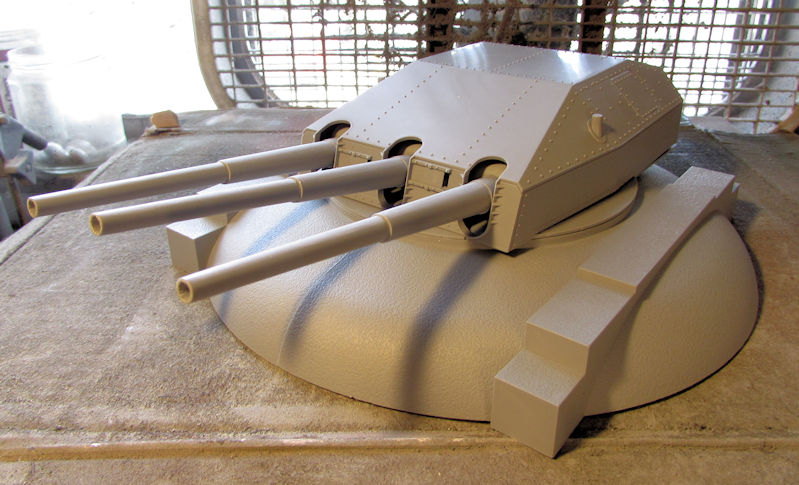
Next, it was time to paint the turret itself. I started by removing the upper shell and hitting the guns and gun shields first:
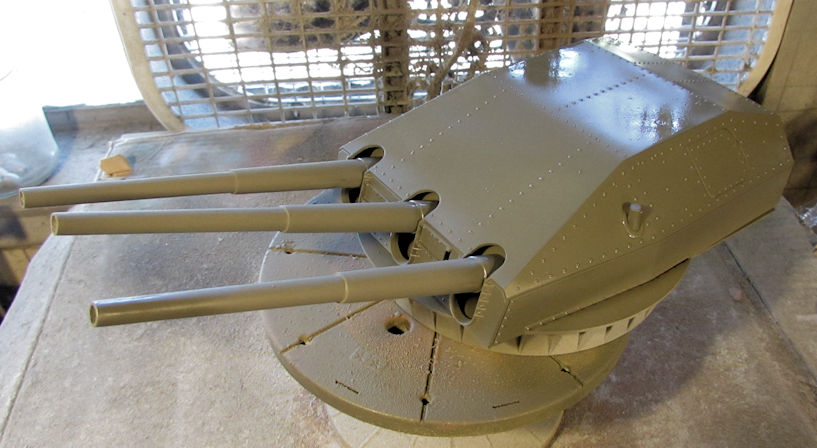
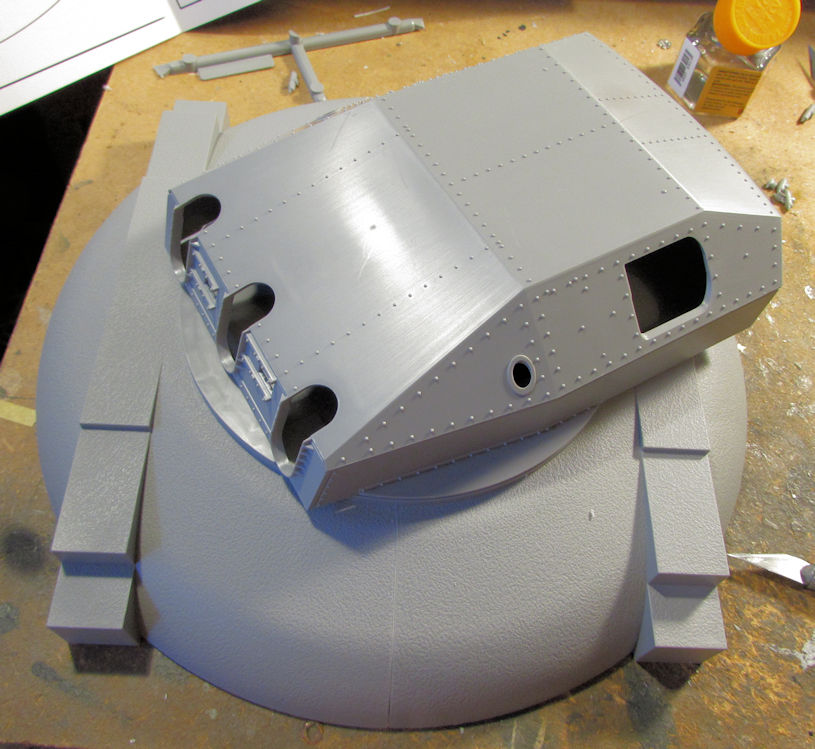
Next I carefully replaced the top and shot it with the green again:
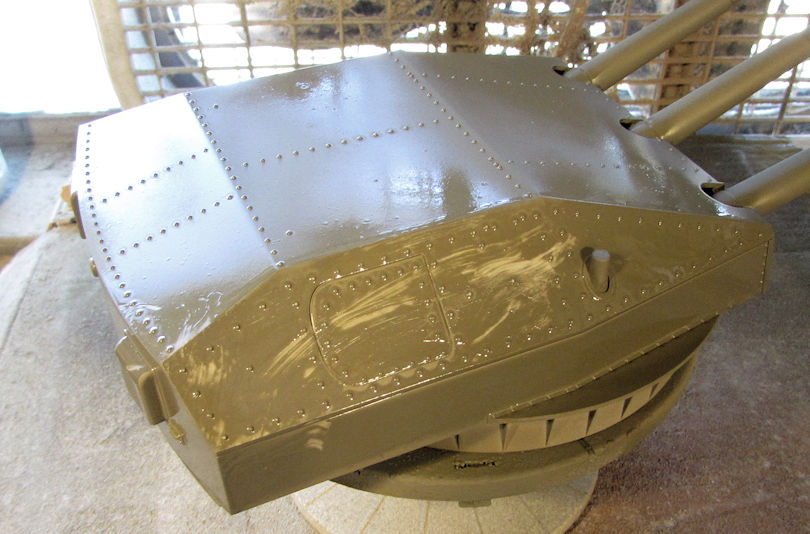
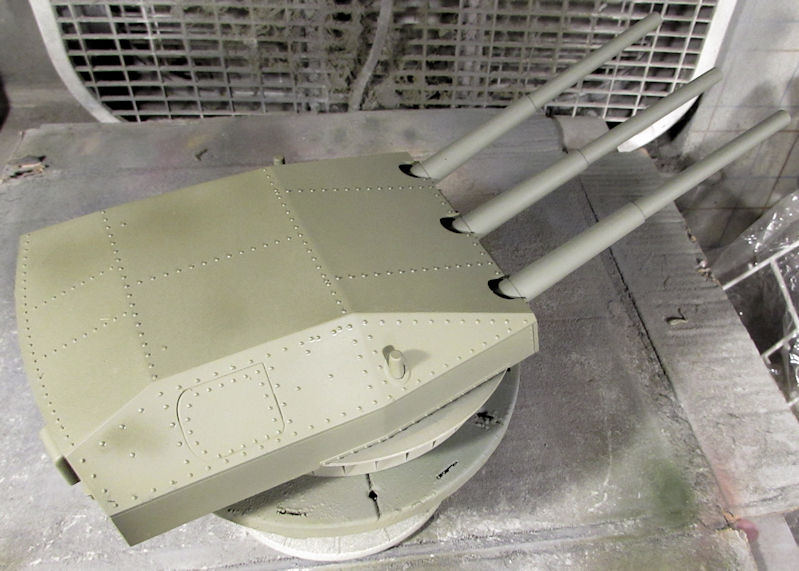
Two thirds of the way through this I ran out of paint in the airbrush and re-mixed some more. It was too thin and ran badly. I tried smoothing it out but this was the result:
Story of my life! Every time I think I might succeed, something stupid like this happens! So, I soaked a paper towel in Airbrush Thinner and wiped it clean:
Fresh, properly mixed paint went on after that! It still looks lumpy from debris left behind by the wipe down, but I think I can possibly fix it further. Pics forthcoming on that too.
This looks like a great place to finish off this update. Thank for looking in, comments are welcome.
Oh, and now that this is posted (I hope!) feel free to check out all the finished ones in the "Armoured Fury" Forums.
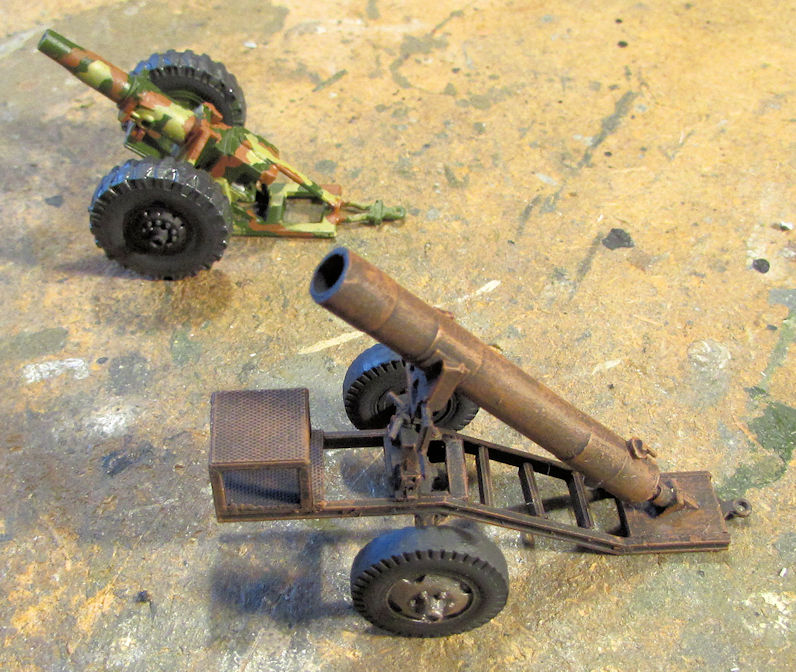
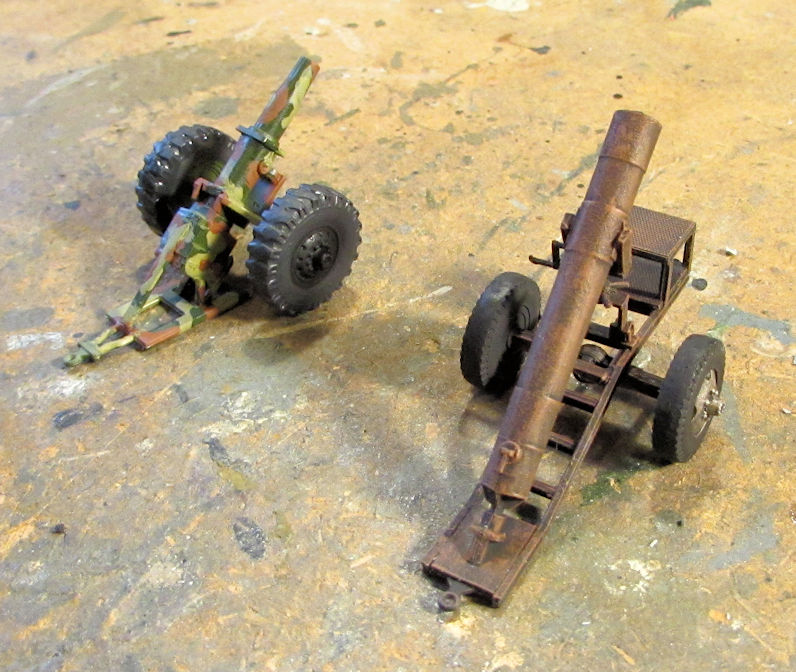
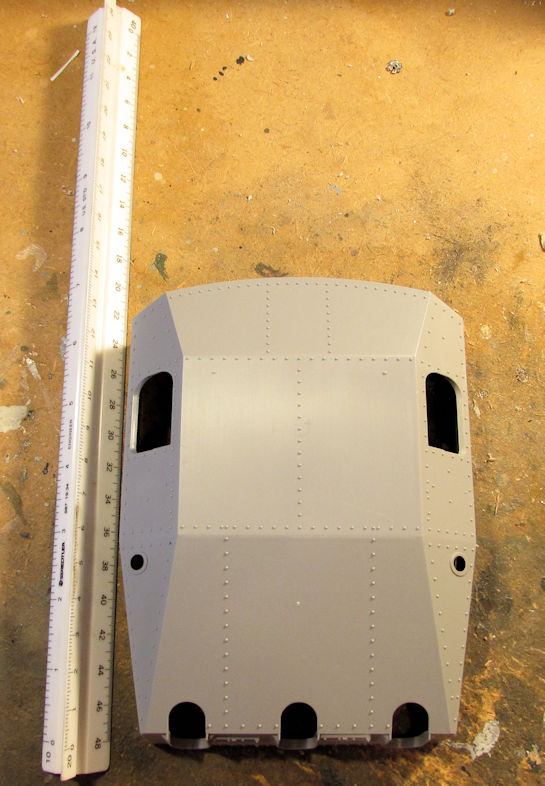
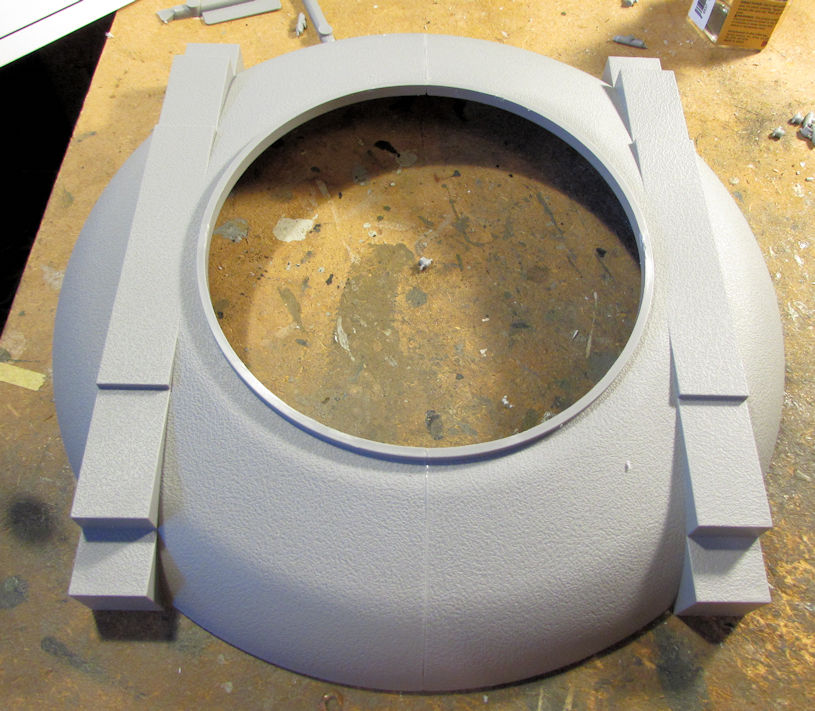
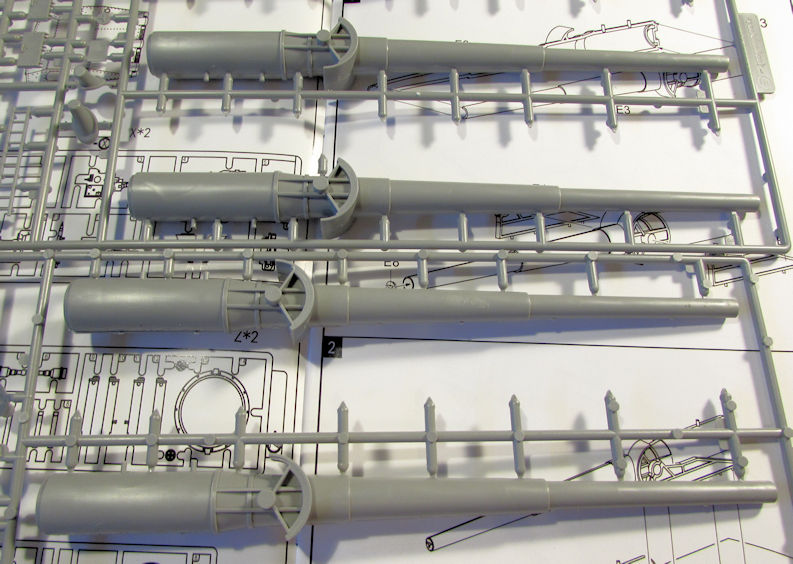
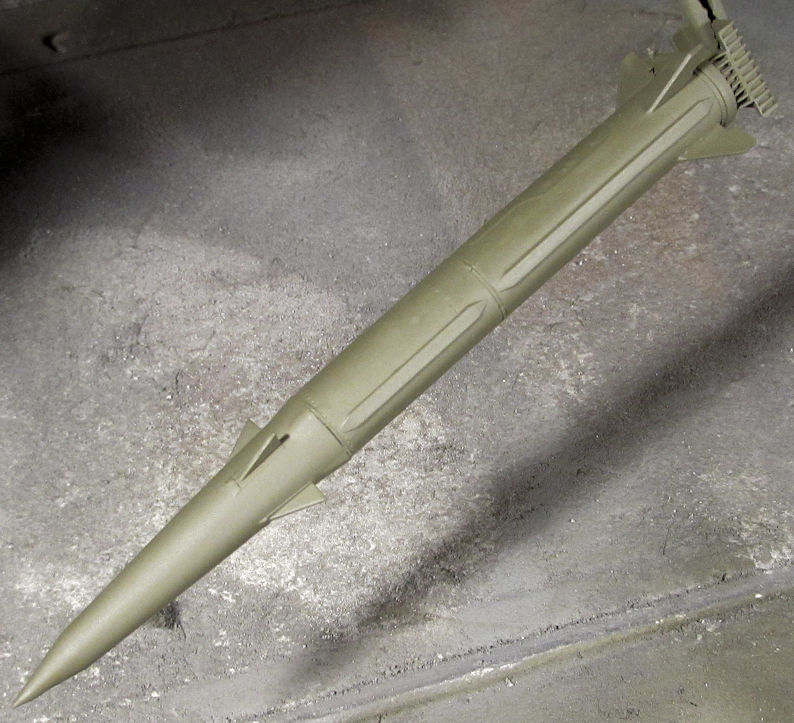
 They are eleven inchers!