• Modelers Alliance has updated the forum software on our website. We have migrated all post, content and user accounts but we could not migrate the passwords.
    This requires that you manually reset your password.
    Please click here, http://modelersalliance.org/forums/login to go to logon page and use the "Forgot your Password" option.

M4A1 76mm

Sherman 18

Master at Arms
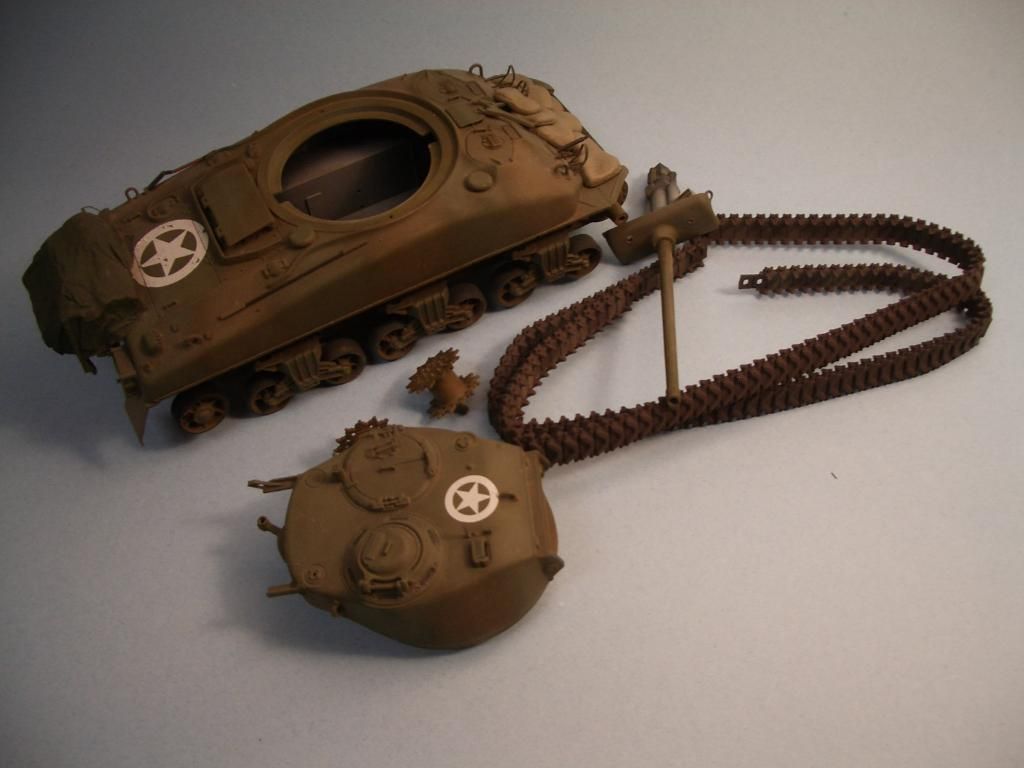
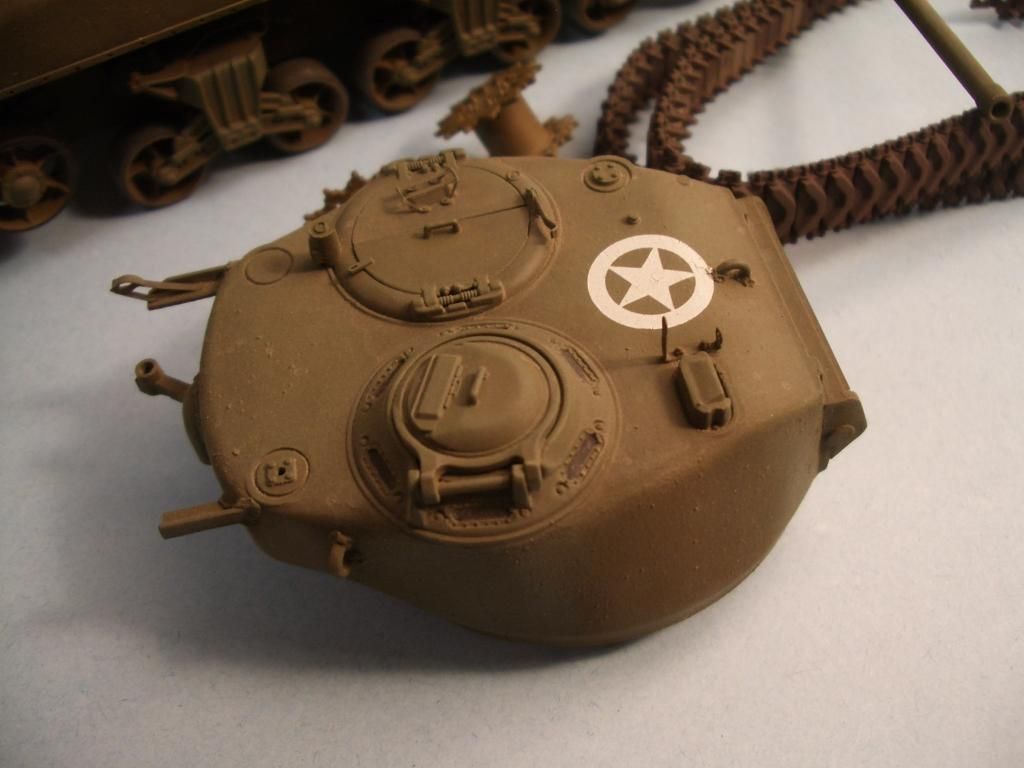
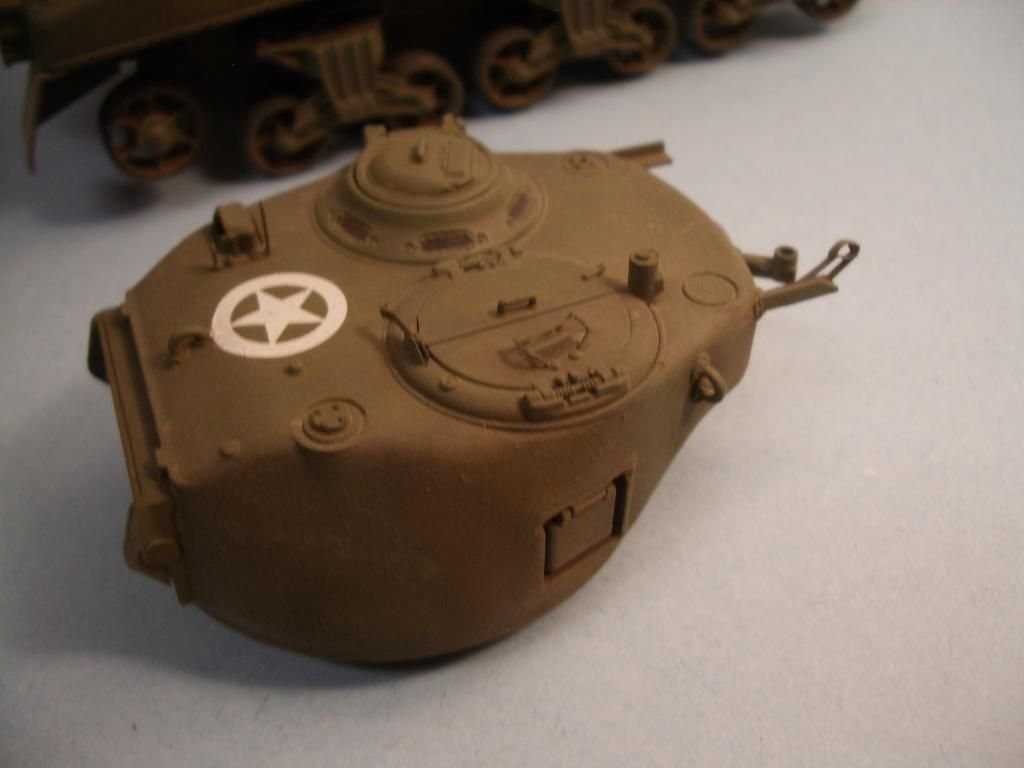
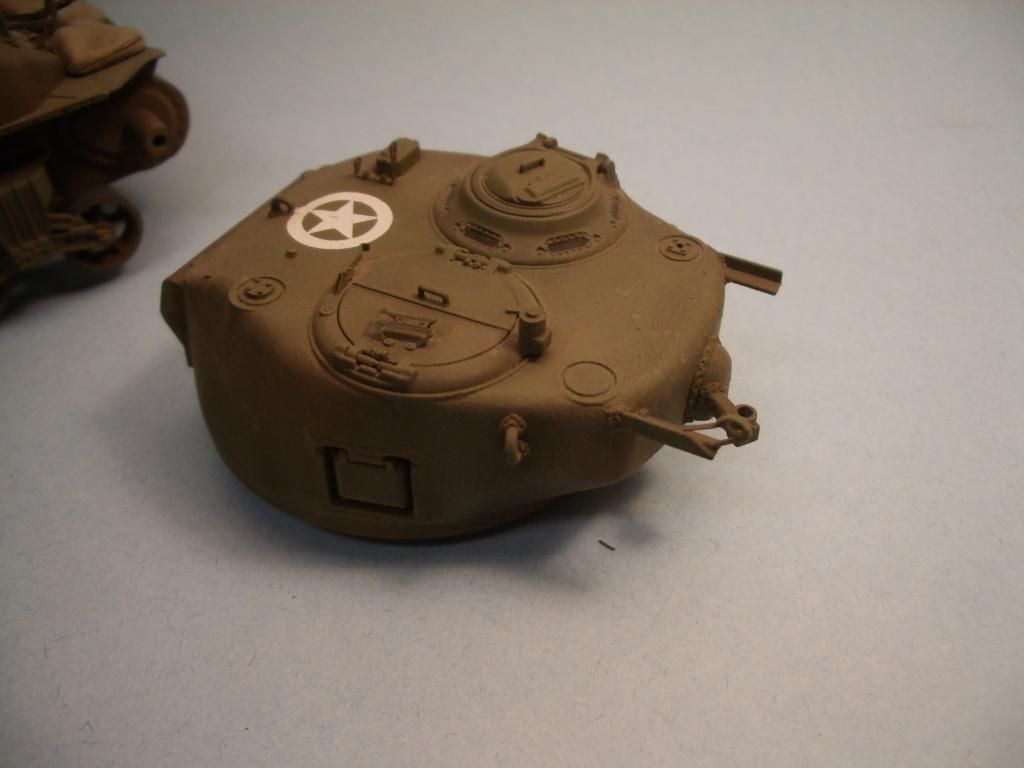
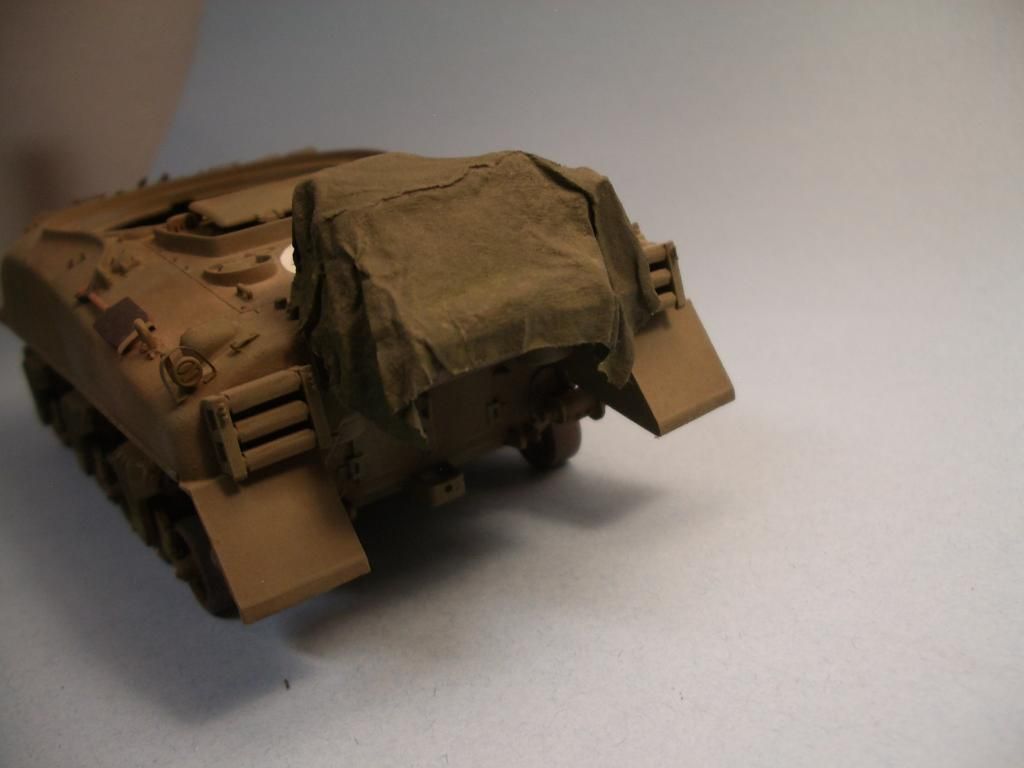
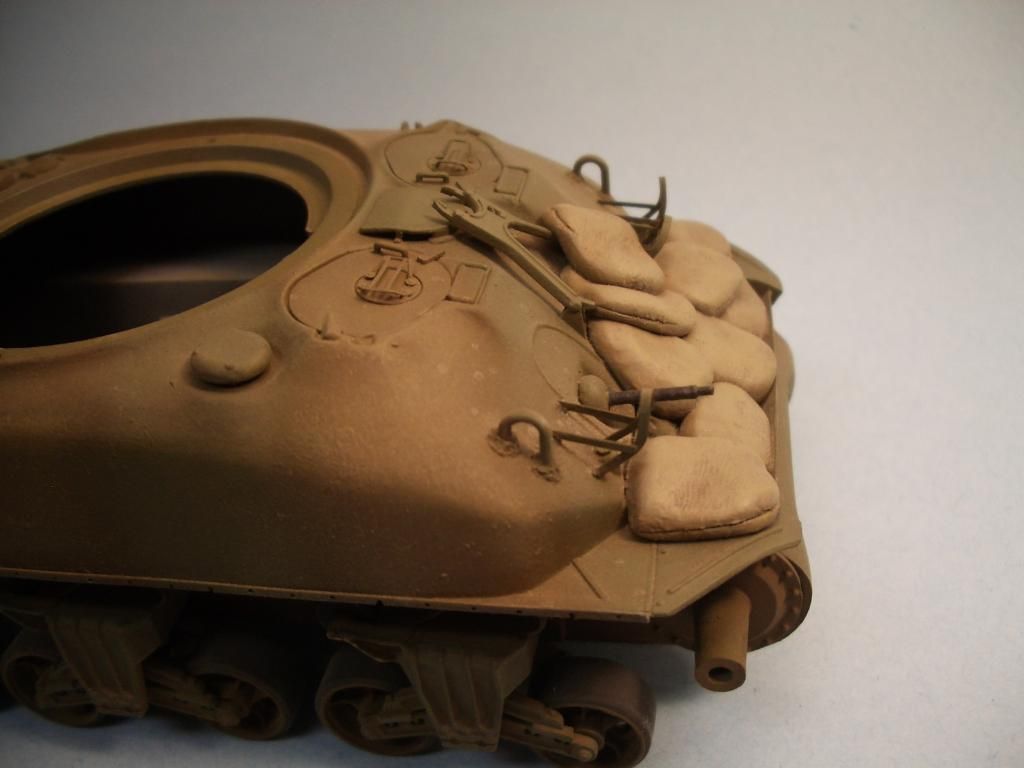
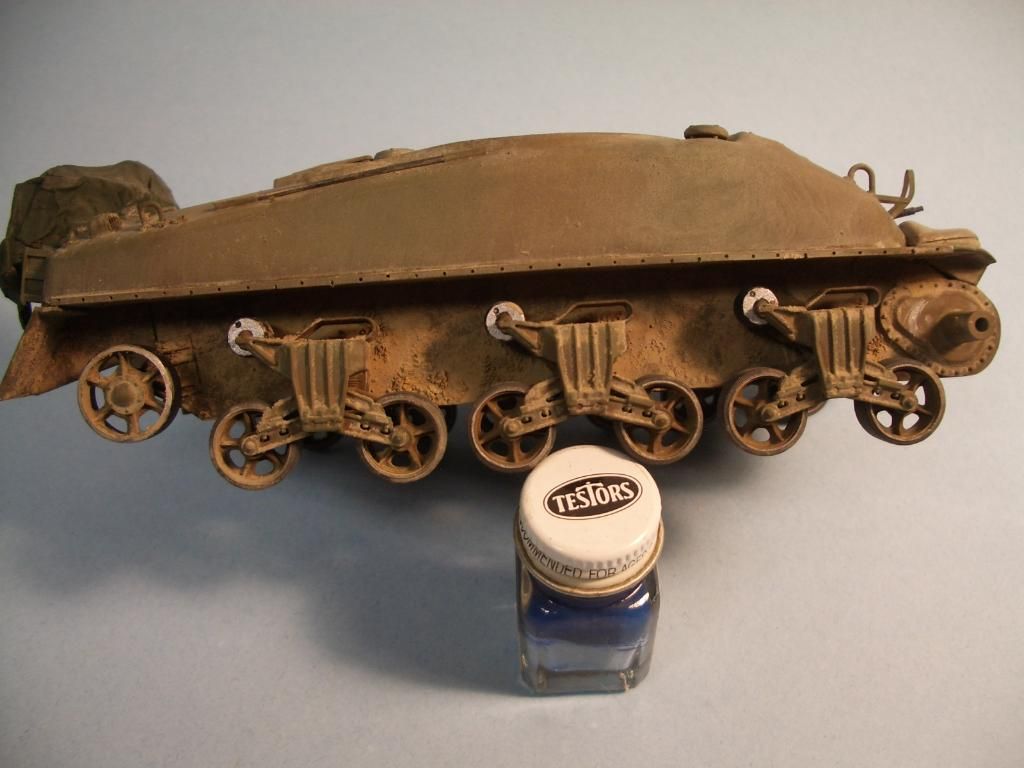
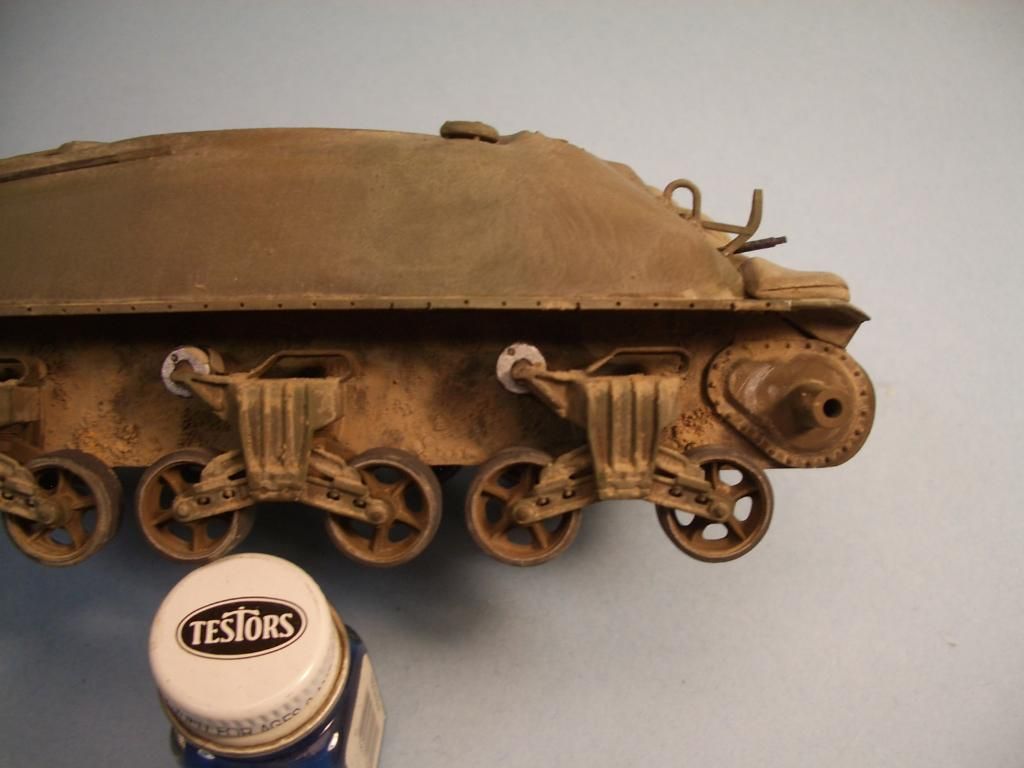
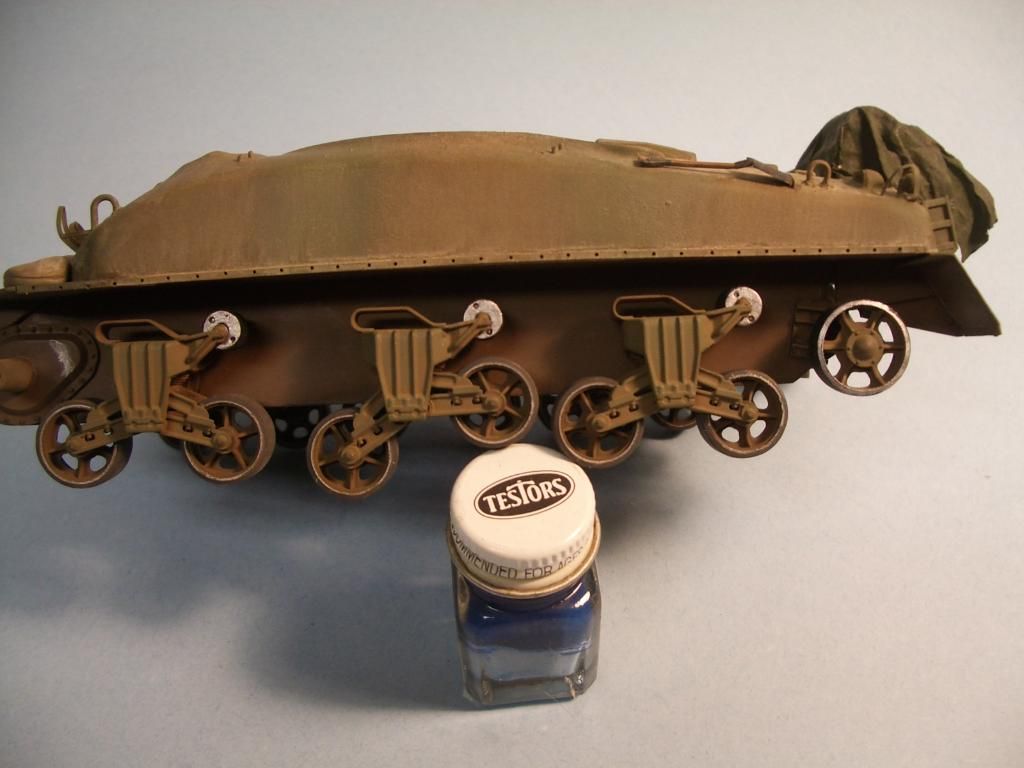
Here is a M4A1 76mm, found this in with some of my old projects. The kit is from Italeri in 1/35 scale. I did the casting texture, added On the Mark PE, also added welds and stuff like that. The sand bags are made from A&B putty and some home made storage from tissue paper. Painted with Testors Model Master colors. Markings are dry transfers from Verlinden. That lets me know how old it is as of the last 5 or 7 years I have been using stencils for markings. Since I've watched Kens weathering videos I'm going to give it a try on this kit. I really like his finishes. I think this will be the perfect kit to try things out on. Should be fun! I'll try to remember to take step by step pictures.

006.jpg


007.jpg


008.jpg


009.jpg


010.jpg


011.jpg


012.jpg


013.jpg
 
Here is the right side after one pass. I realized while doing this it would be easier if the tank had a motor and you just let it drive itself around. I also oops a bit. I touched the sides of the upper hull. Had the bright idea then of just work it around the upper hull. That part is a mess and I have to do the left side suspension to do.

041.jpg


045.jpg


046.jpg


042.jpg


Off for some more! :ro:
 
SHERMAN,

Wow ! Looks Great !! I like th Cao. Is this a Sherman from Normandy ?? I'm not up on My Sherman knowledge. That Tarp on th Back looks Fantastic ! It's so realistic !!

ERIK
 
It's a mutha beautiful tank Sherm !!!

I like the blended toned shades you painted on the hull , very cool .

If you didn't state this was an Italeri kit I never would have known , .......... sweet work.

If you've already stated how you did the sand bags , pardon my asking questions I should already know the answer to , .......... but how'ed ya make em ?
 
Glad to hear the video is useful, I'm editing another one right now on more pigment stuff and I hope to have it posted soon.

It's looking good, glad you dug it out to finish it up, it's a beauty.

B)
 
Thanks guys! Now I'm glad I did not part it out.

I hope to get back to it tonight, or this week. As long as work or something does not get in the way. :unsure:

Yes Ken the videos are very, very useful. So glad you did them and posted the links!!! It is nice when you can get a look at or how someone does things. I can't wait for the new video!

Cheyenne - the sand bags are A+B putty. I'll dig out my A+B putty and do a step by step and post it. It is easy.

I'm off to the homestead to dig out parts to build a Rat Rod with the boy :woohoo:
 
I can't wait for the new video!

Wait no longer bud the new one is up.

The audio is horrible for some reason but it's going to have to stay as is for now, I had to get this one up and move on to other topics.


http://www.youtube.com/watch?v=tAGJjz4UhRs
 
Back
Top