
Skinny_Mike
Well-known member
Well, I was so excited for this campaign that I jumped the gun a little bit. This is my contribution. I’ll be doing an Abrams tank, specifically a M1A2 SEP V2 using the Dragon kit 3536 which I have had in the stash pretty much since it came out. Here’s the start photo:
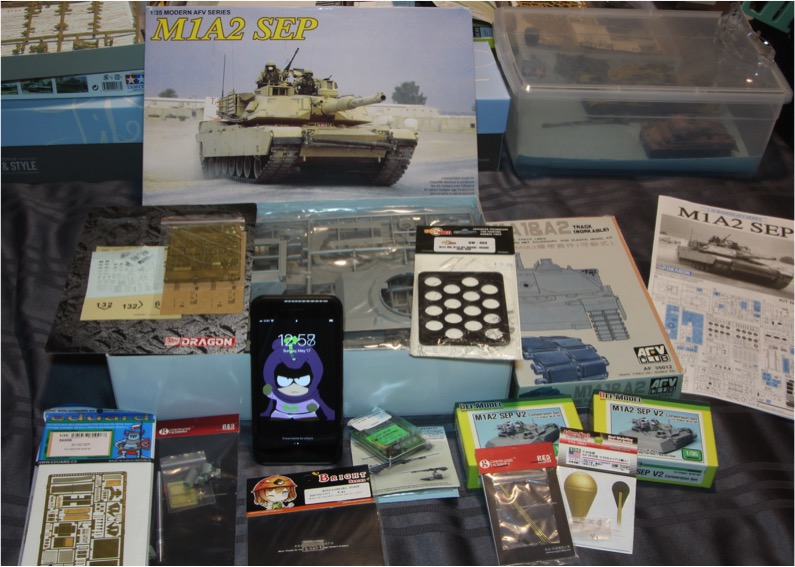
As usual from me, there is a ton of aftermarket. Here’s the list:
Dragon M1A2 kit #3536
DEF Models M1A2 SEP V2 Conversion Set
DEF Models M1A2 SEP TUSK II Basic PE Set
Voyager Headlight/tail light lenses
Orange Hobby Antenna Masts for modern US vehicles
Alders Nest Antenna Toppers
Orange Hobby Abrams Gun Barrel
Live Resin M240
Eureka Tow Cables
Eduard M1A2 SEP Photo Etch Set
Quickwheel masks
AFV Club Workable Tracks
I stumbled across some pictures of Abrams from the 2-70 Armor, 2nd Brigade, 1st Infantry Division from the 2018 Strong Europe Tank Challenge. I think this will be a pretty unique looking tank when I get it finished. The tanks is solid Bronze Green hand painted over the CARC sand, with a lot of components left in sand. Here are some of the reference photos I found out on the internet.
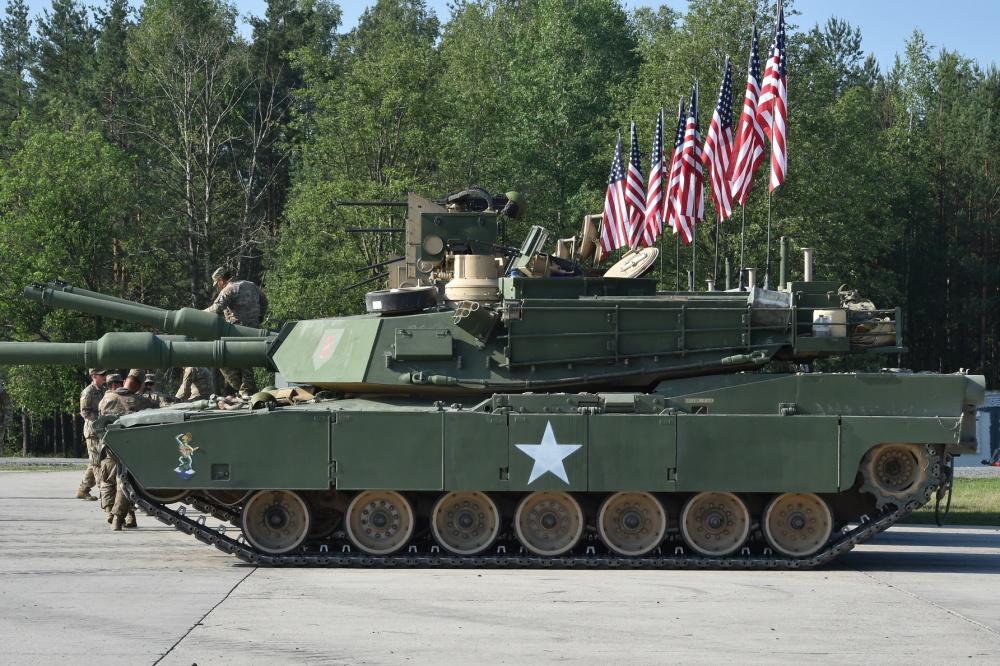
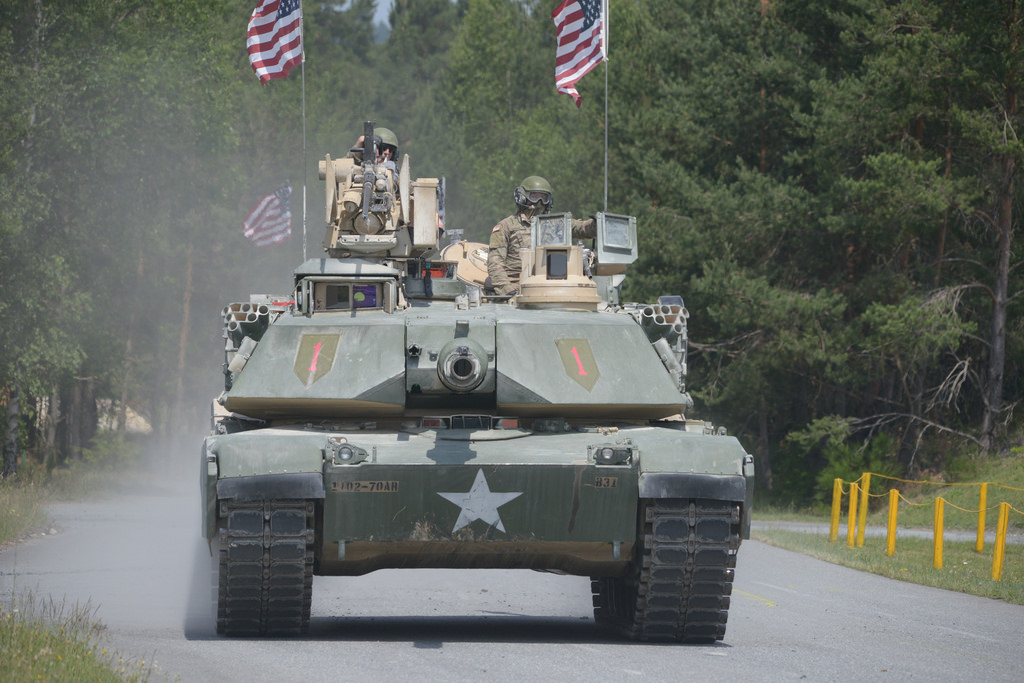
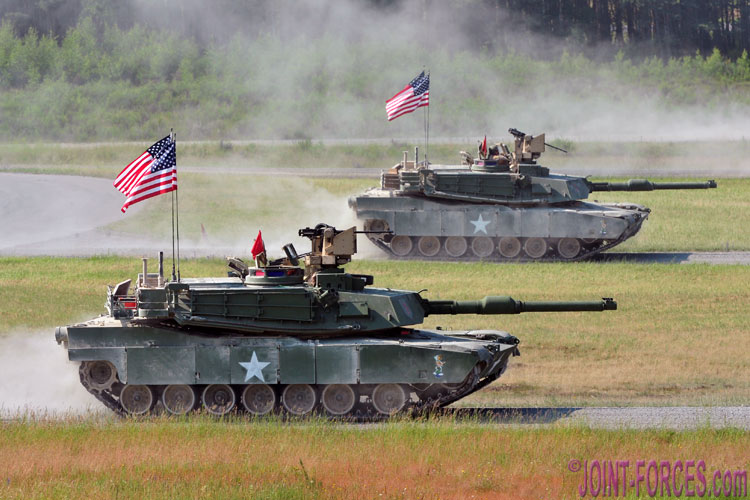
So that’s the plan. I haven’t decided how far I want to go with the weathering. I may or may not try to replicate the dust. We’ll see when we get there.
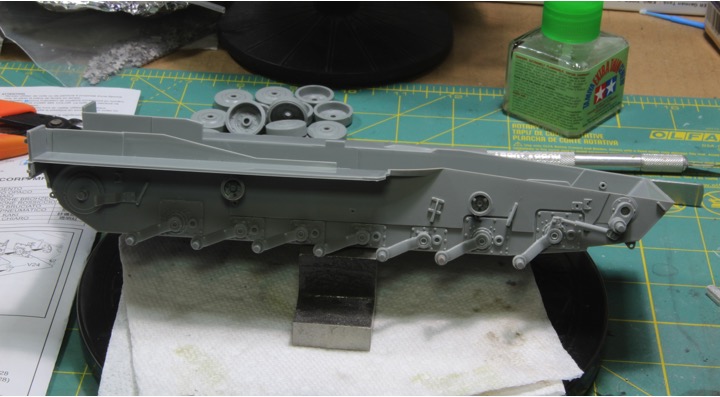
I started this build last weekend, and got through the first step, well step 2 and 3 really so the first step for me I guess. I started with the lower hull. (Step 1 according to Dragon is the road wheels) The lower hull is a single tub and you add the suspension arms and other assorted bits to it.
Here is the tub with the suspension added and my efforts to get the arms all lined up. Dragon actually had what appeared to be a fairly solid alignment tabs in the hull and on the suspension arms, but when I laid it out on a flat surface, none of the arms lined up. So I used the road wheels to help get a good alignment and added glue from the inside to lock everything in place.
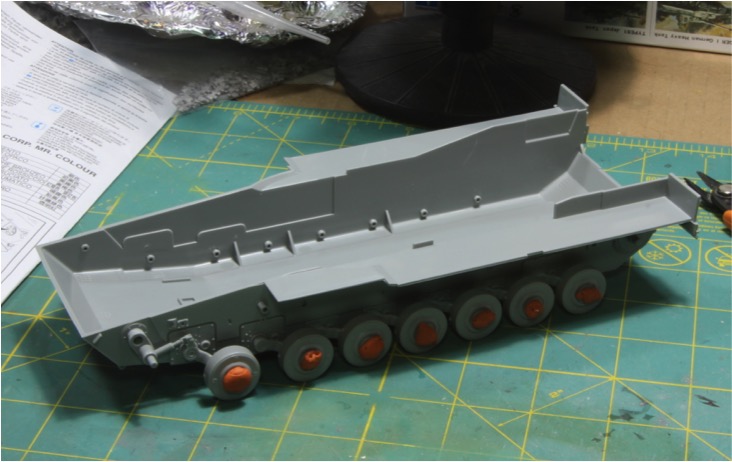
And after adding all the other little bits and completing this step, here is how the lower hull looks.
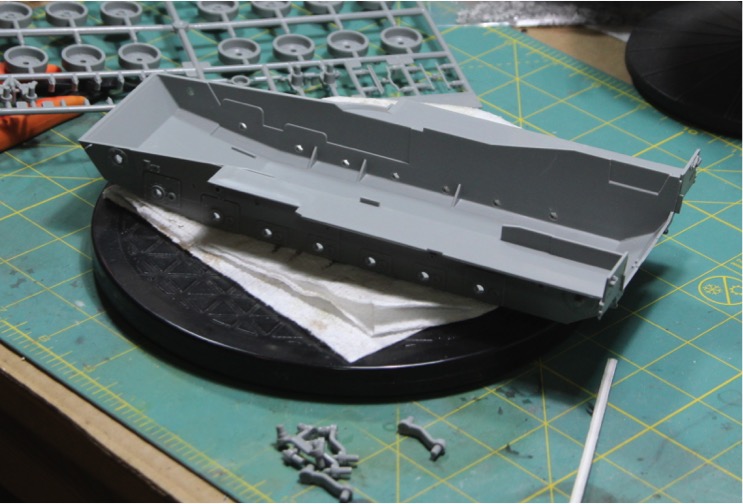
The next step was to drill out some holes in the hull top, which I did.
I’m not sure how this will slot in with my tank weathering assembly line, but this campaign was one I just could not miss out on. Thanks for suggesting it Terry!
Thanks for looking in guys, and as always, comments and questions are always welcome.
Mike
As usual from me, there is a ton of aftermarket. Here’s the list:
Dragon M1A2 kit #3536
DEF Models M1A2 SEP V2 Conversion Set
DEF Models M1A2 SEP TUSK II Basic PE Set
Voyager Headlight/tail light lenses
Orange Hobby Antenna Masts for modern US vehicles
Alders Nest Antenna Toppers
Orange Hobby Abrams Gun Barrel
Live Resin M240
Eureka Tow Cables
Eduard M1A2 SEP Photo Etch Set
Quickwheel masks
AFV Club Workable Tracks
I stumbled across some pictures of Abrams from the 2-70 Armor, 2nd Brigade, 1st Infantry Division from the 2018 Strong Europe Tank Challenge. I think this will be a pretty unique looking tank when I get it finished. The tanks is solid Bronze Green hand painted over the CARC sand, with a lot of components left in sand. Here are some of the reference photos I found out on the internet.
So that’s the plan. I haven’t decided how far I want to go with the weathering. I may or may not try to replicate the dust. We’ll see when we get there.
I started this build last weekend, and got through the first step, well step 2 and 3 really so the first step for me I guess. I started with the lower hull. (Step 1 according to Dragon is the road wheels) The lower hull is a single tub and you add the suspension arms and other assorted bits to it.
Here is the tub with the suspension added and my efforts to get the arms all lined up. Dragon actually had what appeared to be a fairly solid alignment tabs in the hull and on the suspension arms, but when I laid it out on a flat surface, none of the arms lined up. So I used the road wheels to help get a good alignment and added glue from the inside to lock everything in place.
And after adding all the other little bits and completing this step, here is how the lower hull looks.
The next step was to drill out some holes in the hull top, which I did.
I’m not sure how this will slot in with my tank weathering assembly line, but this campaign was one I just could not miss out on. Thanks for suggesting it Terry!
Thanks for looking in guys, and as always, comments and questions are always welcome.
Mike
Last edited:


