-
Modelers Alliance has updated the forum software on our website. We have migrated all post, content and user accounts but we could not migrate the passwords.
This requires that you manually reset your password.
Please click here, http://modelersalliance.org/forums/login to go to logon page and use the "Forgot your Password" option.
You are using an out of date browser. It may not display this or other websites correctly.
You should upgrade or use an alternative browser.
You should upgrade or use an alternative browser.
Junkers Ju 290A-5
- Thread starter Old Dog
- Start date
Old Dog
Well-known member
The fuselage halves have been joined and the tail assembled. Fit was good and the tail is just press fit in place for now.
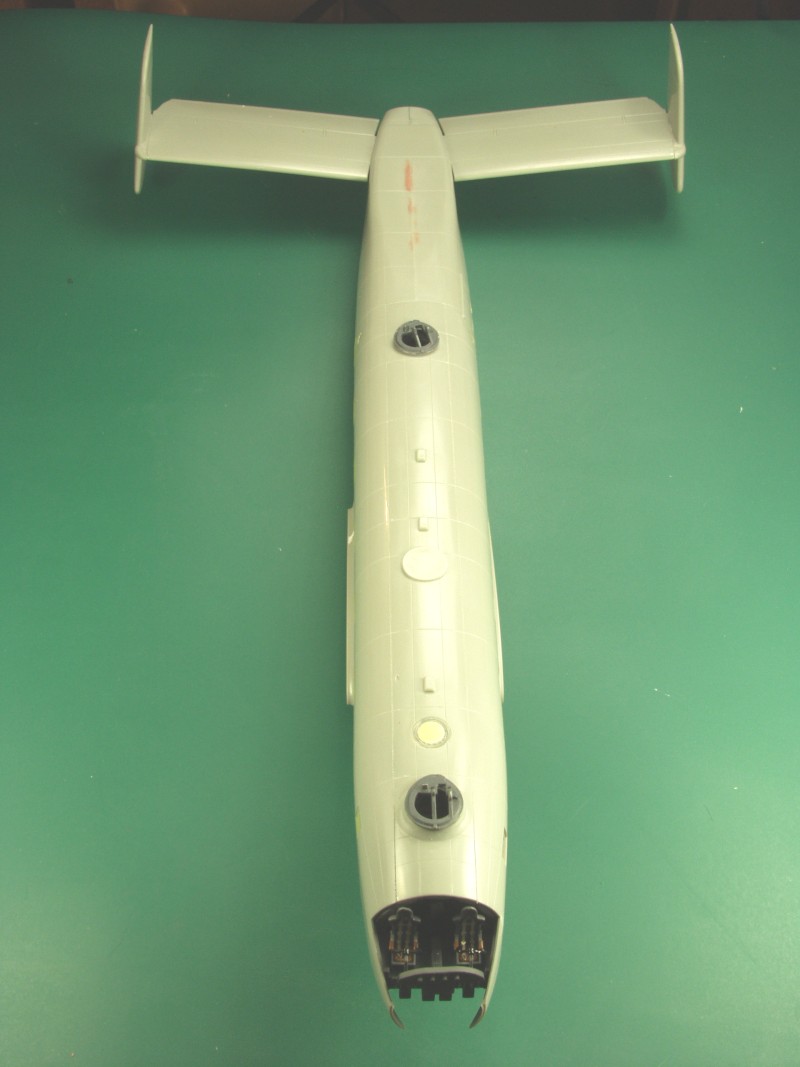
Just for comparison as a size reference I sat the Shackleton fuselage, which is hardly a small aircraft, next to it. The tail plane of the 290 spanned 48' which is 8' longer than the wingspan of a P-47.

The wings have been glued and are curing. As soon as the engines are mounted it will be ready to mate with the fuselage.
Thanks for looking.

Just for comparison as a size reference I sat the Shackleton fuselage, which is hardly a small aircraft, next to it. The tail plane of the 290 spanned 48' which is 8' longer than the wingspan of a P-47.

The wings have been glued and are curing. As soon as the engines are mounted it will be ready to mate with the fuselage.
Thanks for looking.
It is big! 

Old Dog
Well-known member
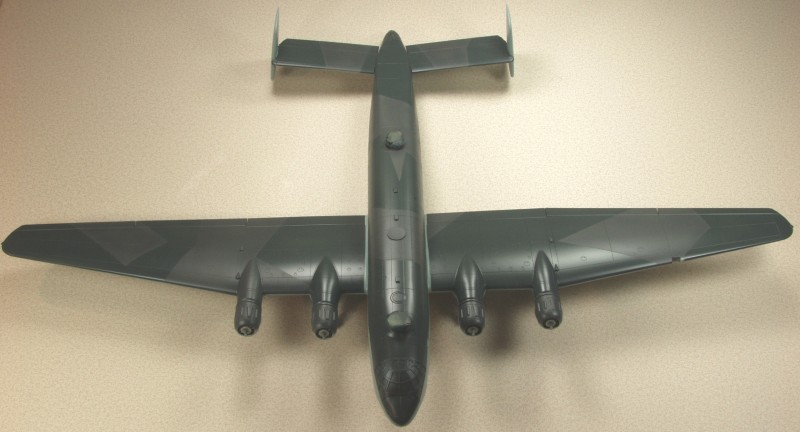
OK, wings and engines have been attached. So far the only fit issues were the 3 part engine covers and they weren't all that bad to deal with. Just need to add the rudders, do some masking and a little touch up sanding and we'll be ready for paint. I think this one is going to be a real paint hog, I thought the Betty was going to use a lot of paint but I think this one has even more surface area.
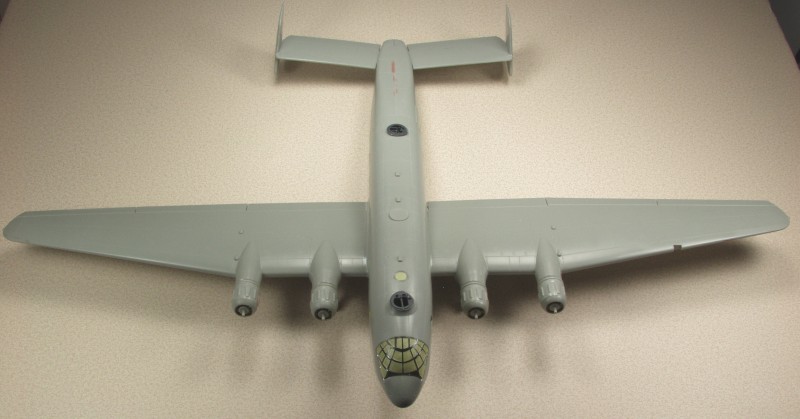
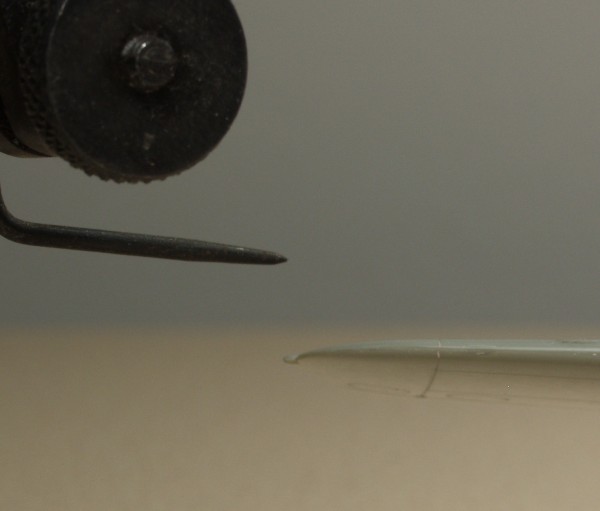
While setting up to photograph this I noticed the starboard wing looked lower than the port. I don't always trust the Mark II eyeball so I broke out my height gauge. sure enough the the starboard wing was over 1/4" lower...
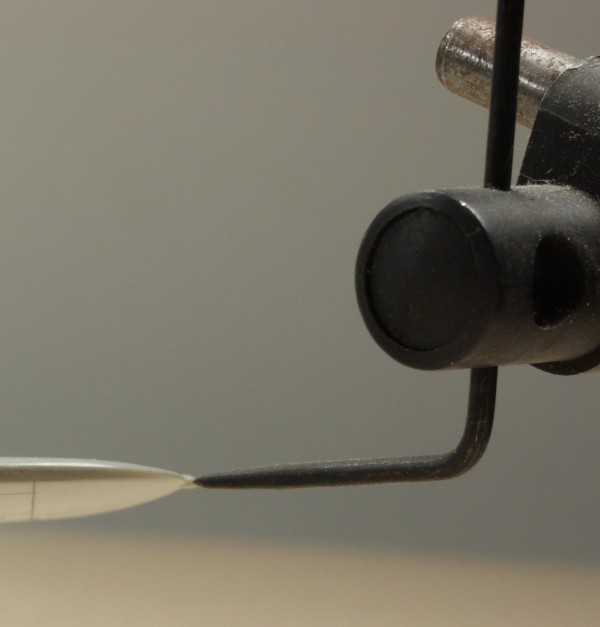
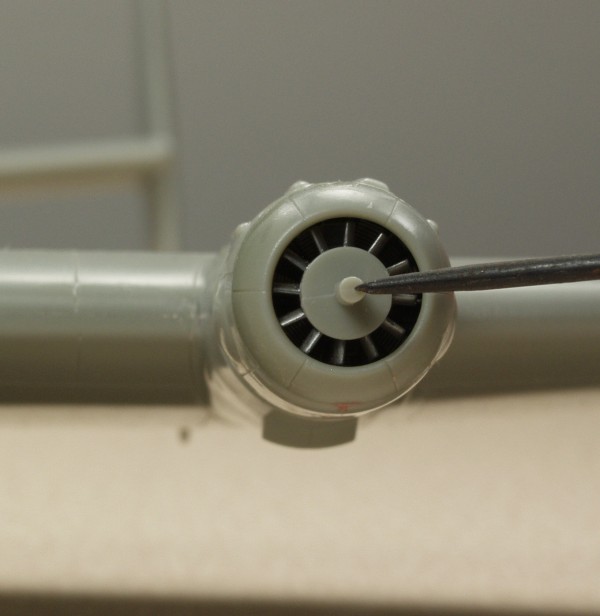
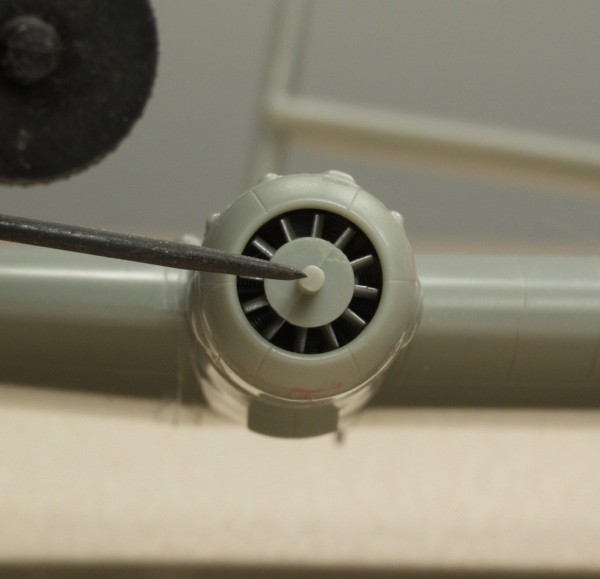
Checking at the outboard engines things were spot on...
The outboard wing joints on the bottom were both tight. I held my breath, put pressure on the top of the wing over the joint and gradually pulled up on the starboard wing. With a resounding pop the bottom joint opened up very cleanly.. I found by trial and error that a strip of .015 styrene in the joint brought the wing up to within an eyelash of the port wing...
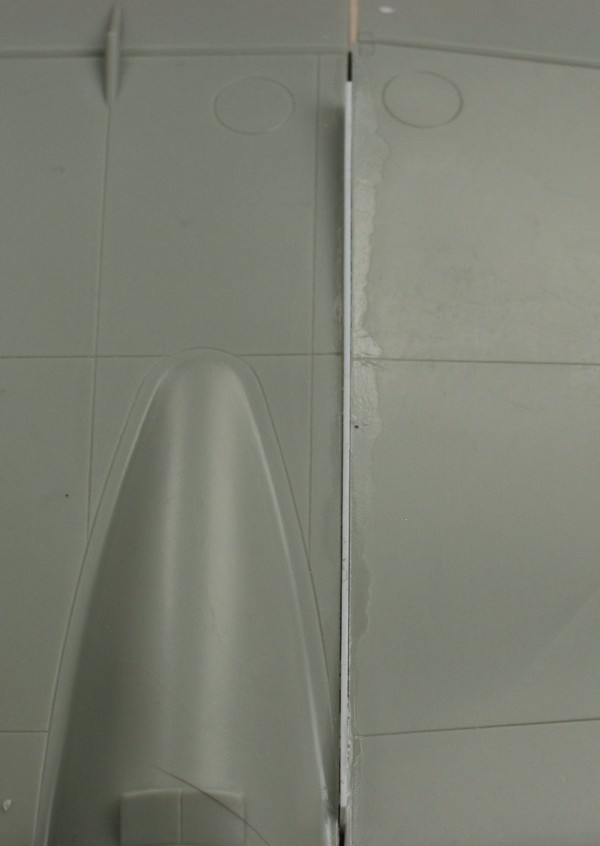
Oddly enough the starboard wing now appears to have slightly more dihedral so I'm assuming the port wing must have a bow to it that starts out gradual and increases towards the tip. In any event it is not that noticeable compared to have one wing over 1/4" lower. Hopefully by the next update some paint will be on.

While setting up to photograph this I noticed the starboard wing looked lower than the port. I don't always trust the Mark II eyeball so I broke out my height gauge. sure enough the the starboard wing was over 1/4" lower...


Checking at the outboard engines things were spot on...


The outboard wing joints on the bottom were both tight. I held my breath, put pressure on the top of the wing over the joint and gradually pulled up on the starboard wing. With a resounding pop the bottom joint opened up very cleanly.. I found by trial and error that a strip of .015 styrene in the joint brought the wing up to within an eyelash of the port wing...

Oddly enough the starboard wing now appears to have slightly more dihedral so I'm assuming the port wing must have a bow to it that starts out gradual and increases towards the tip. In any event it is not that noticeable compared to have one wing over 1/4" lower. Hopefully by the next update some paint will be on.
phantom II
Master at Arms
 Never really considered I might need a high gage for modeling before .
Goog catch
 and fix.
Wonder how it,size compares to the Stirling ( its long ).
cheers, Christian B)
Old Dog
Well-known member
I actually use the height gauge quite often in modeling, that's why it's in my modeling room and not in the shop. Really handy when ever you need to compare things like stabilizers, flaps and the like. I don't have a space at the moment large enough to photograph the Stirling next to the Junkers or I would.
Great fix Gary. 

phantom II
Master at Arms
looking good Gary . I bet that was tricky to handle :idonno Lot of possibilities for finger marks.
Cheers, Christian B)
Cheers, Christian B)
Similar threads
- Replies
- 85
- Views
- 7K
- Replies
- 104
- Views
- 15K
- Replies
- 9
- Views
- 2K
- Replies
- 41
- Views
- 5K

