Sorry, nothing worth posting assembly wise yet. Of the four campaigns I have signed on for this one ends first I decided to start looking things over while I'm waiting for paint and coatings to dry on other projects. A few comments for those who might want to build one.
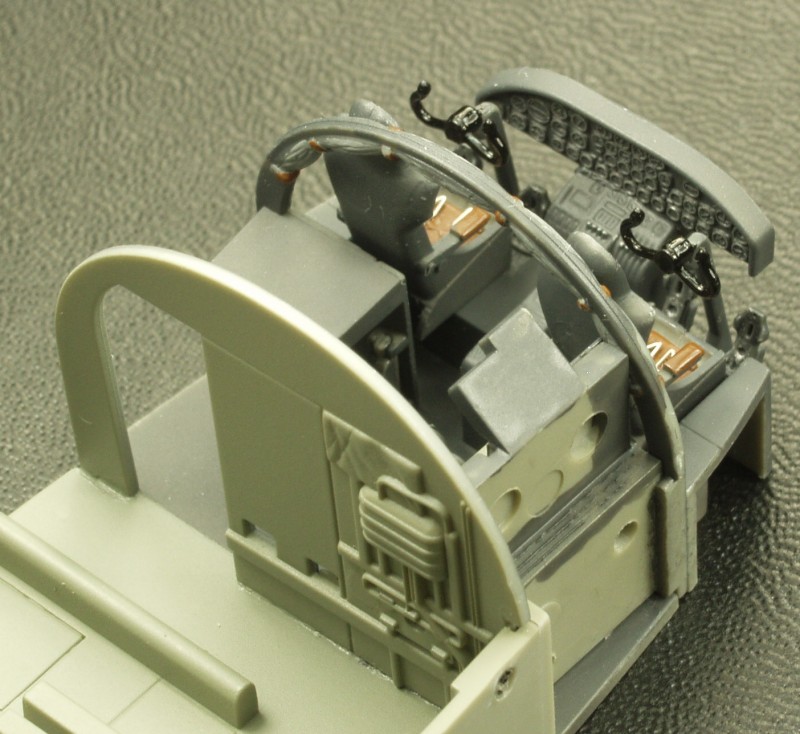
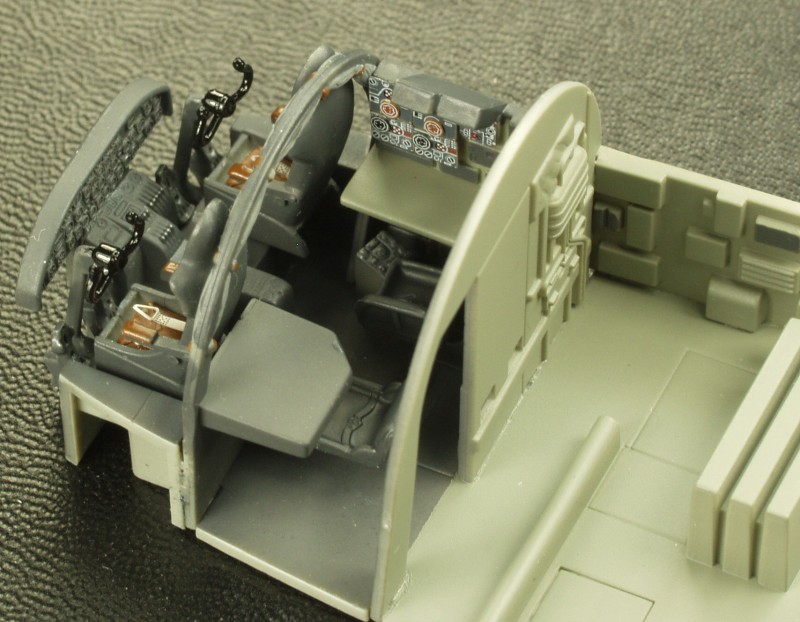
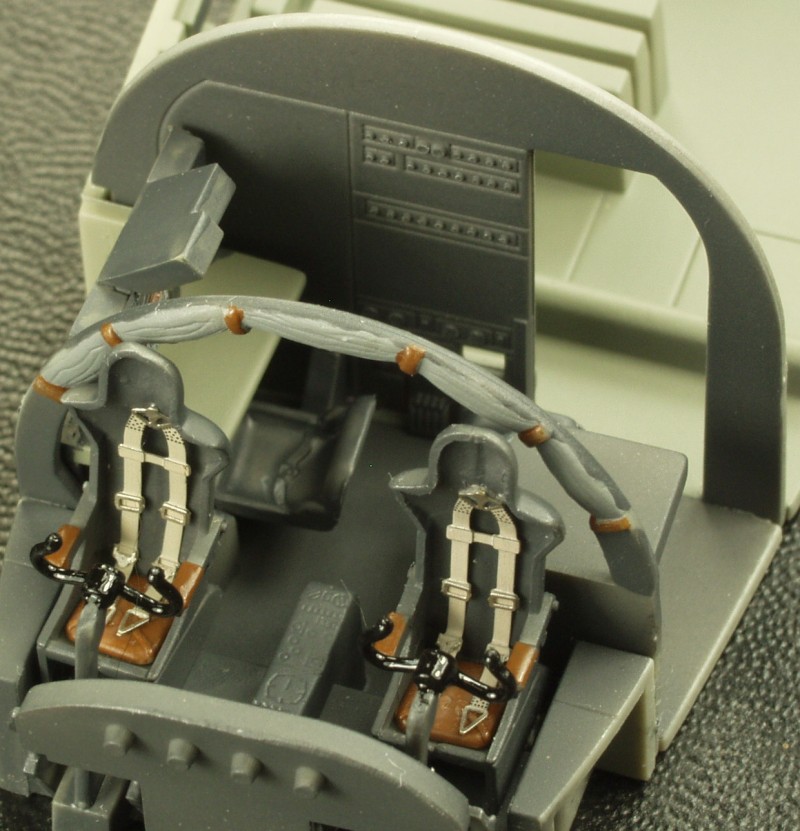
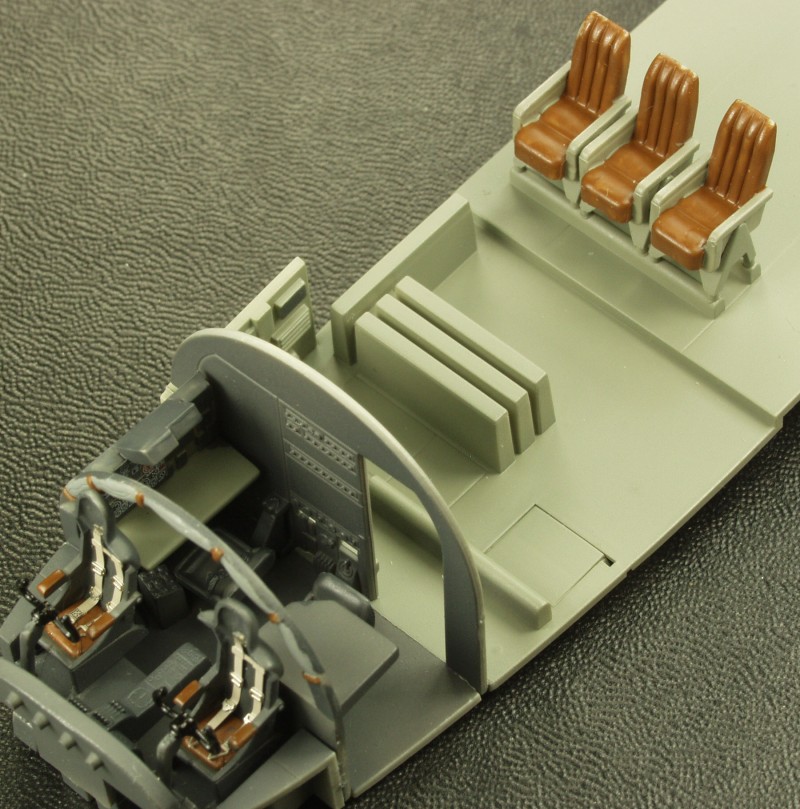
First is color call outs. Only Revell numbers are listed and yes I could convert them using various charts on the net. They do give generic color names as well and the colors called out for the interior parts just don't seem right to me even given that this was an aircraft from the 43 - 44 period. Gunship grey is called out for the forward cockpit area, scale effect maybe but seems a little light for me and the balance of the interior areas including wheel wells as aluminum. I suppose it could be correct but right or wrong I'm going with traditional colors in these areas.
A decal is supplied for the instrument panel but the instruments on the decal don't match what is molded into the panel. Maybe they figure in this scale no one would notice. :idonno
The sprue attachment points are very heavy for a kit in this scale, more like what you find on limited run kits. I have seen smaller on 1/32 kits. Requires care when removing parts.
The last thing doesn't effect anything but sure is annoying. The parts are numbered on the sprues but all too often parts that go together and are consecutively numbered are on different sprues and the sprues themselves have no identifying marks on them. So expect to spend time tracking down parts.
I have removed all the larger parts from the sprues as well as interior parts and parts I know for sure I won't be using. I decided I would leave the waist gun windows closed as trying to mask the opening with a rather delicate gun mount inside would just be a pain. In most cases these would be closed up unless it was under attack anyway.
I have glued a couple bulkheads in place so they can be painted when I do the interior areas. Hopefully next post I'll have something to show. (I know where is that worthless without pic emoticon)

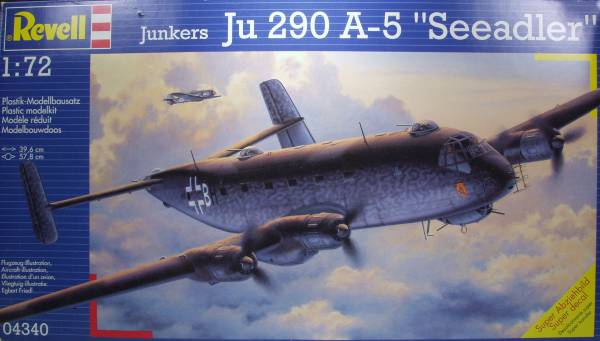

 ... Amazing plane!