• Modelers Alliance has updated the forum software on our website. We have migrated all post, content and user accounts but we could not migrate the passwords.
    This requires that you manually reset your password.
    Please click here, http://modelersalliance.org/forums/login to go to logon page and use the "Forgot your Password" option.

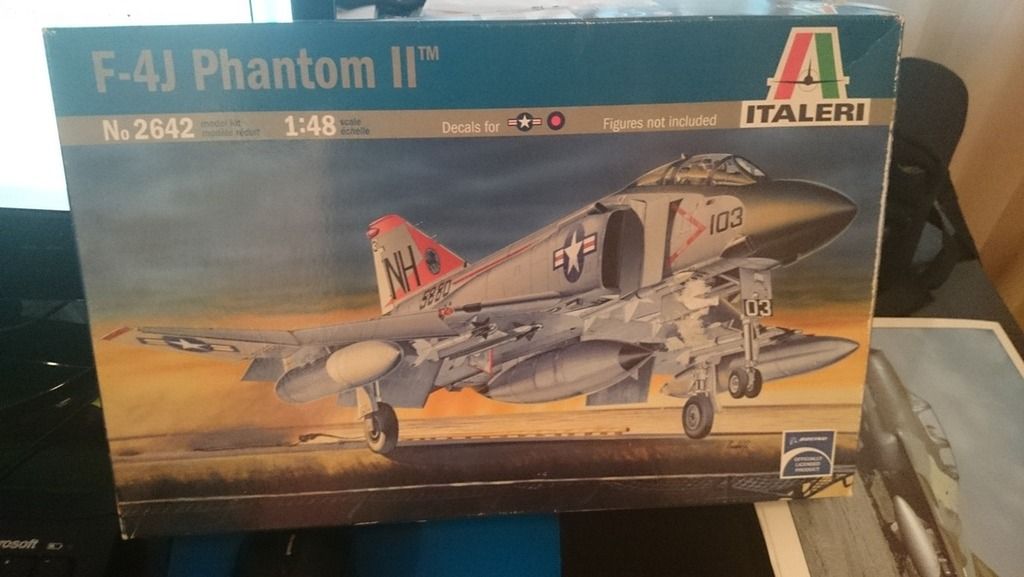
Italeri 1/48 F-4J

jugjunkie

Active member
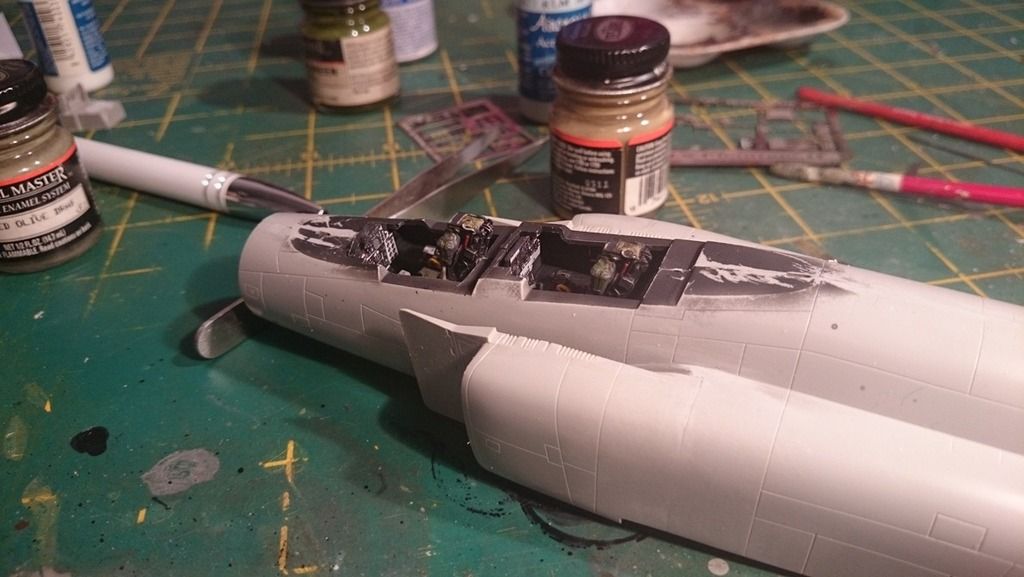
Dug this out that I had started 8 years back.


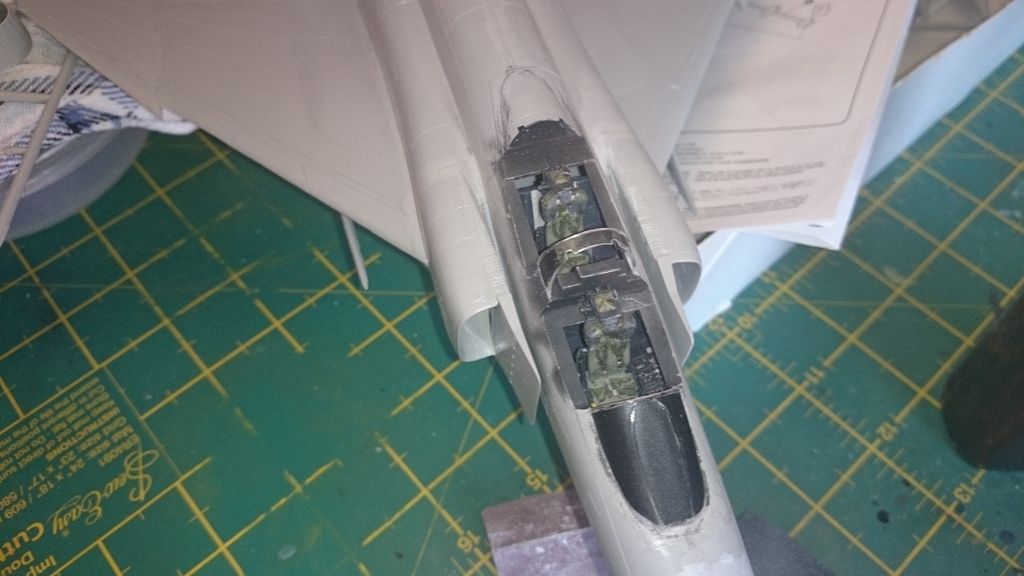
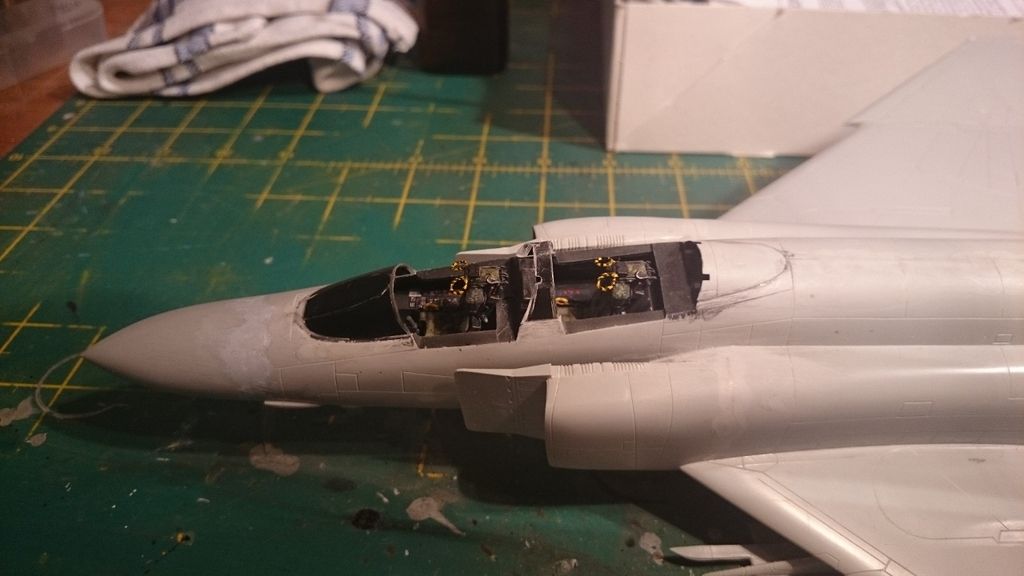
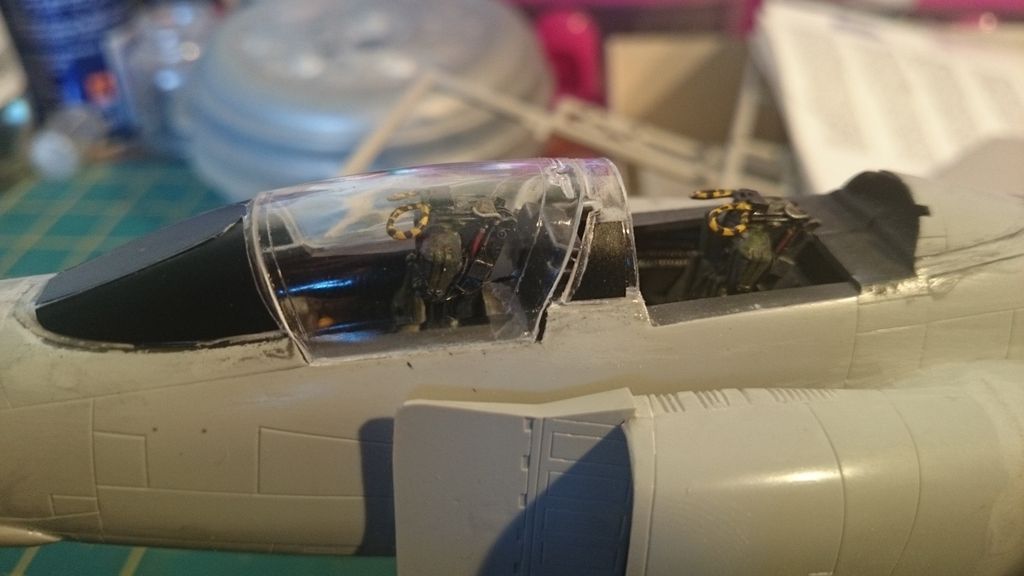
The cockpit looked super shit so I ripped everything out and squeezed in an Eduard colour set - but it was for the Hasegawa kit so couldn't use it all and it took some work to get it in. Also stuck in a pair of those ubber gorgeous Quickboost bangers.


....and stitched up....
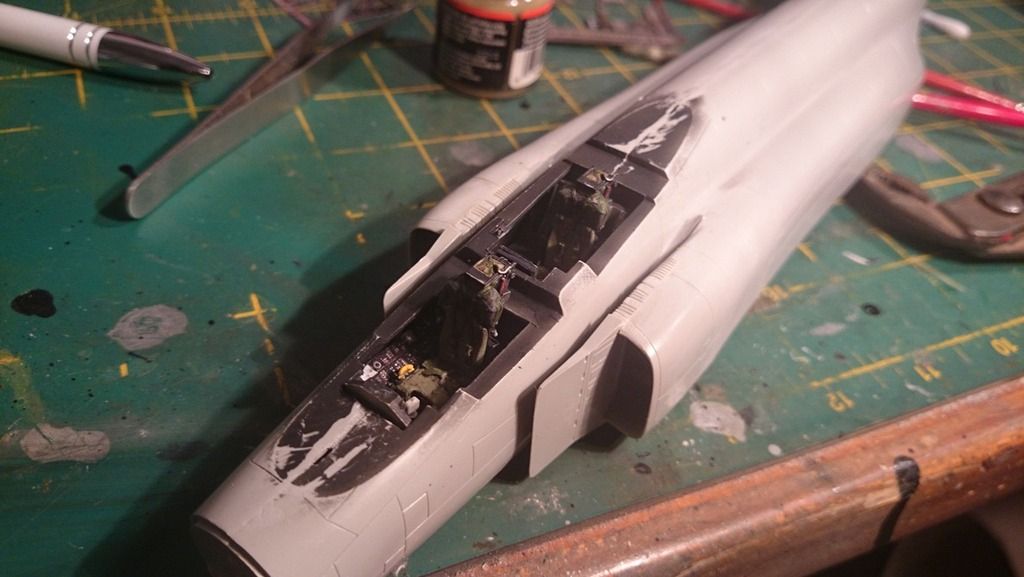


Good start Goeff. Great job on the pit, IP really looks good. Should stand out under the canopy.
 
I remember those old Esci kits from the mid 1980's. They build well, a little light on detail but an excellent two-weekend type of project.

Like your pit & IP, Geoff, made a great start there.

Ian.
 
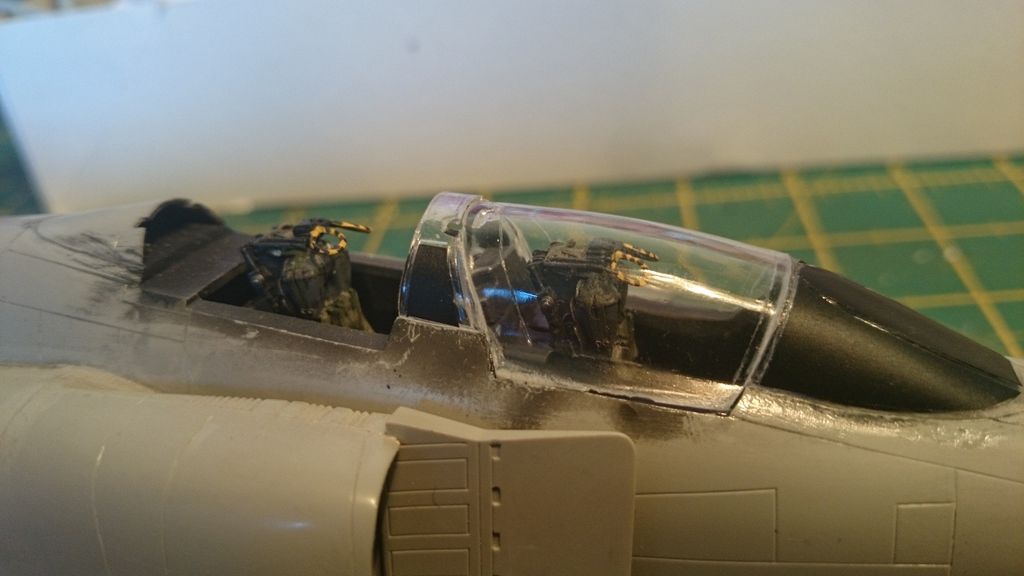
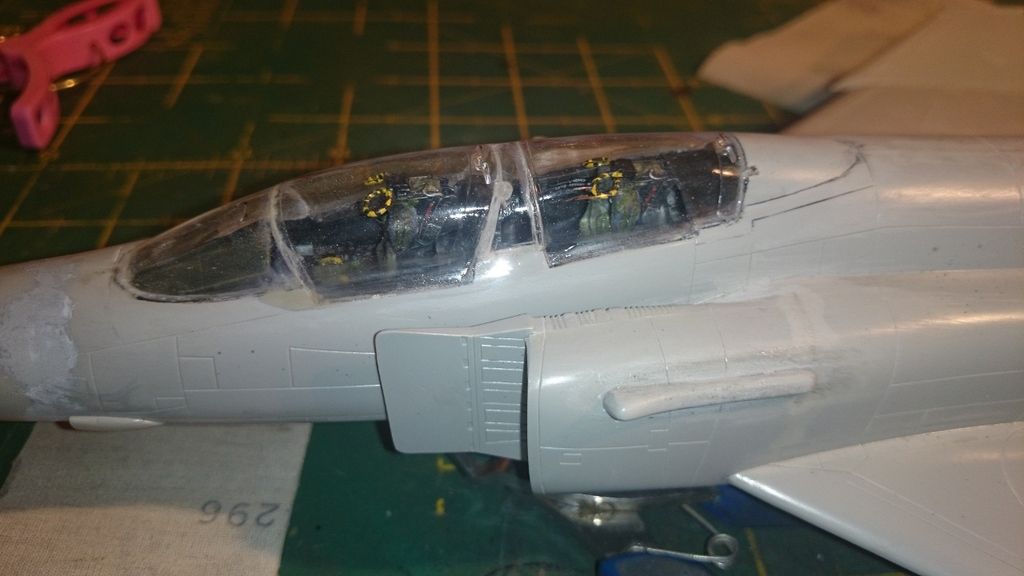
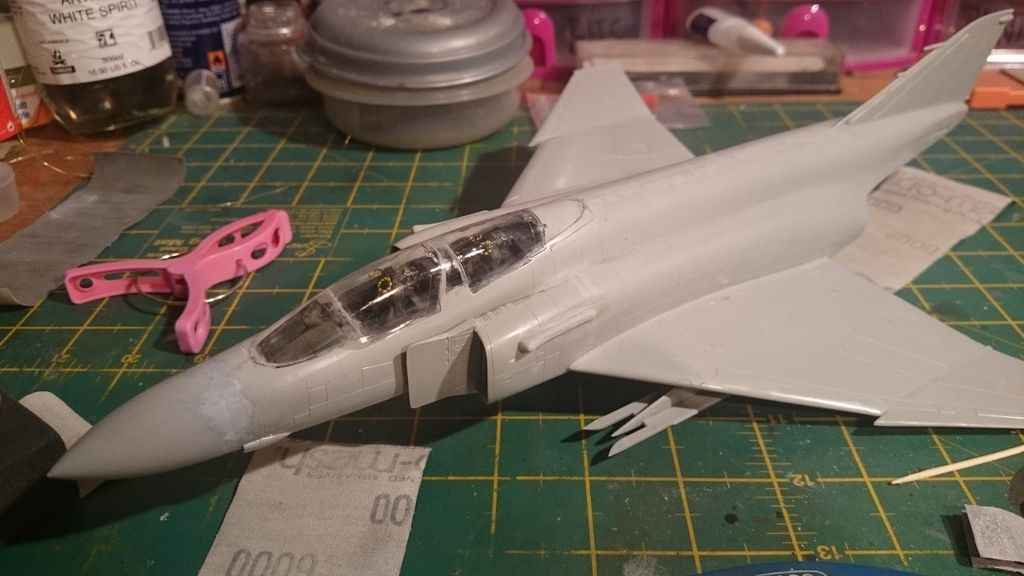
Thanks all for kind comments, been busy on her over the last few weeks. I have to say, having built one of these kits previously and I thought it was just me, but the canopy fit on this kit is appalling! It took me two days and about 13 hours of work to get some sort of decent result. Note to self - never again!

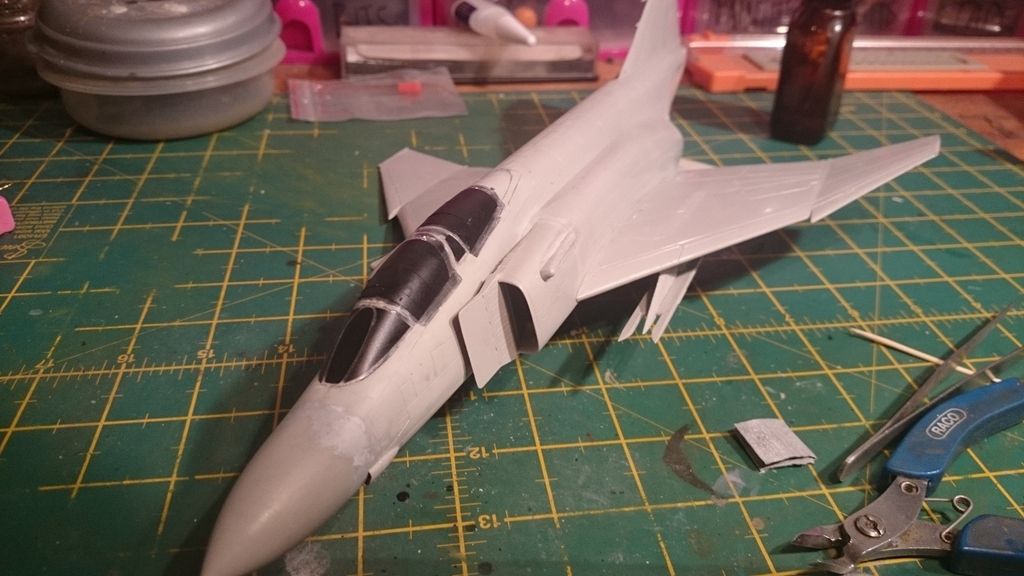
So far so good.....


Ooops first problem....


Houston...we have a problem....


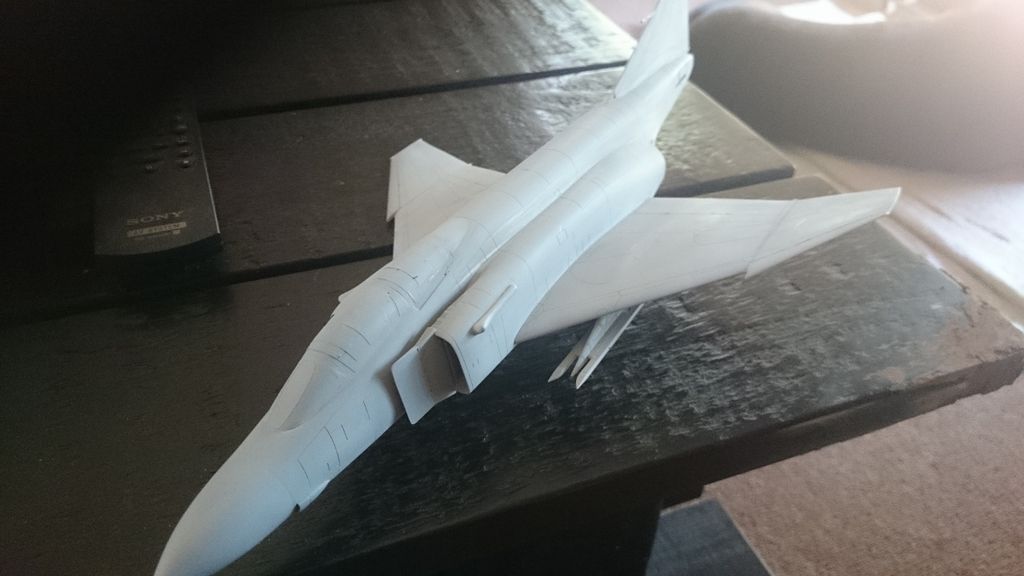
....and after huge amounts of work, this is about as good as it gets.....


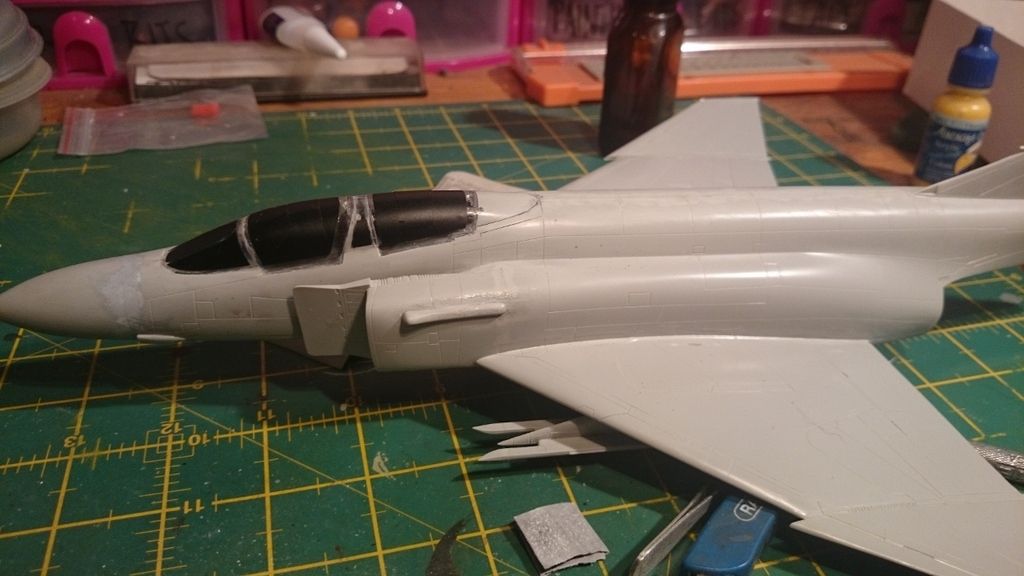
....and all masked up....


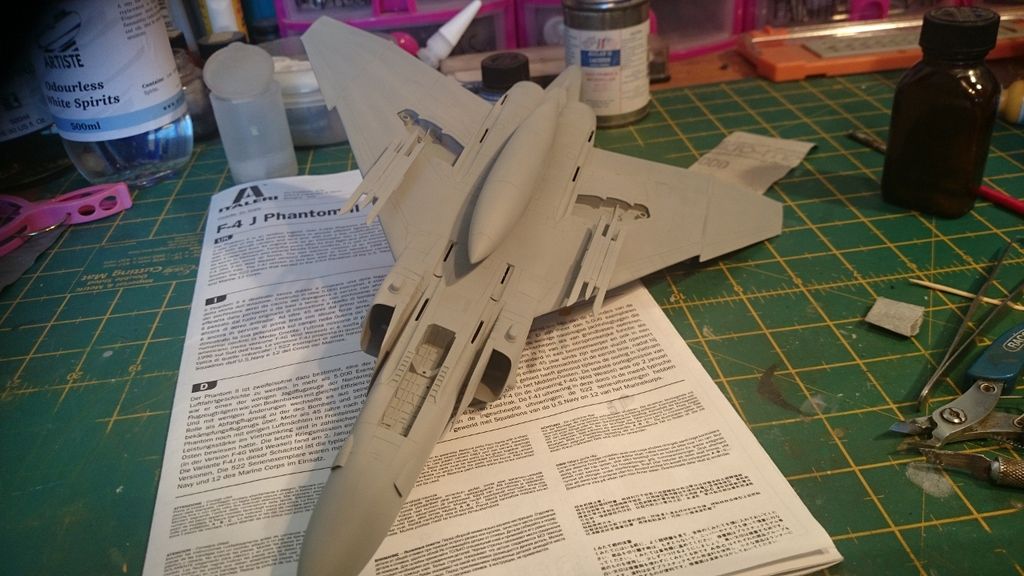
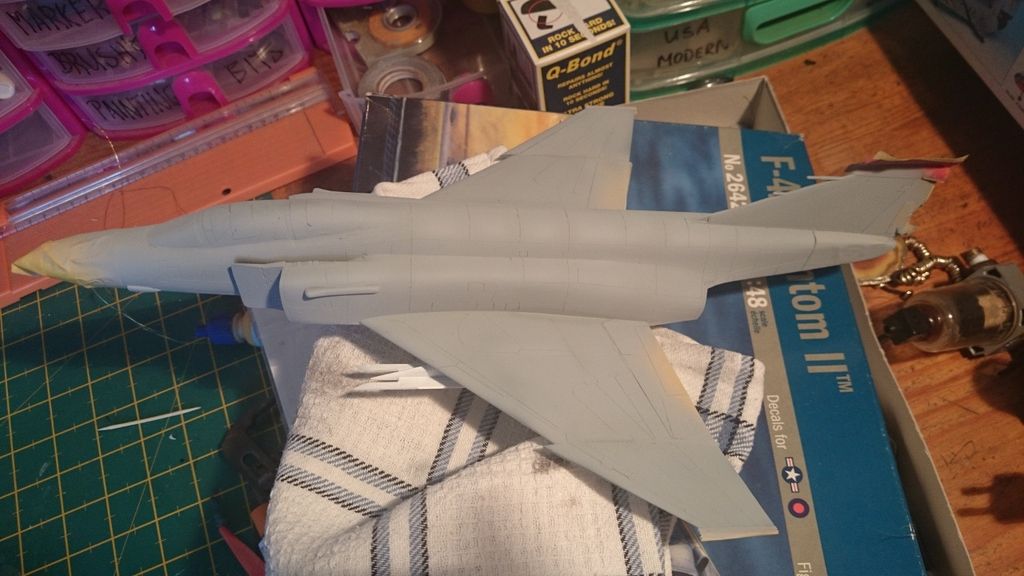
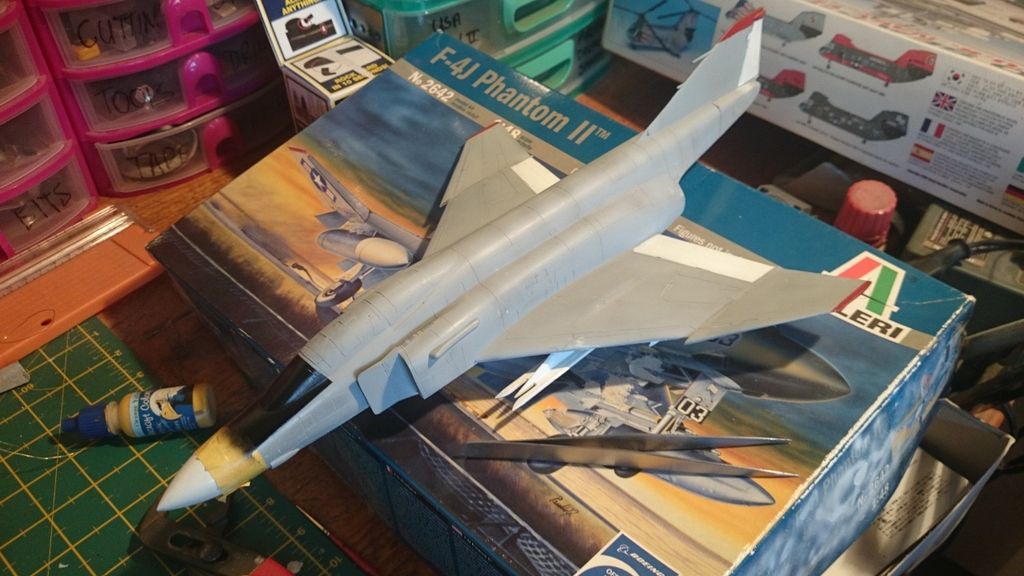
.....and primed....


Light Gull Grey with some slight colour variation.

 
Excellent fix! If they make multipart canopies to display open, I wish they would also supply a solid one.

:popcorn
 
Well all t can say is with a great pit like that it should be open ... Nice job on fitting the winders .... Looks like the paint will be very good also ... :popcorn
 
Wow , it brings back memories of replacing the real ones . Sometimes it would take up to a week to get it adjusted into place and then trim out the sheet metal to fit :sick: No fun at all .

I wonder if adding some sprue to the aft edges and trimming them fit would have worked . That are is pretty beefy anyway . ( just saying )

Looks good now (y)

Cheers, Christian B)
 
Really put in the 'hard yards' on this build. This is shaping-up to be a really excellent build - no pressure you understand.

:good:


Ian.
 
Thanks for comments Guys, Chrstian - that is exactly how i did it, i used clear sprue. I have a thing about open canopies, always worried they will show up toy-like. Anyway looking forward to finishing this one now.
 
Thanks for comments Guys, Chrstian - that is exactly how i did it, i used clear sprue. I have a thing about open canopies, always worried they will show up toy-like. Anyway looking forward to finishing this one now.


Well, I understand the toy idea but your cockpit looks so nice I would hate to hide it in anyway .

I think you probably could have used white spue to fix the misalignment and it is so much easier to work with .

Might thoughts on it says the guy that has not tried it :S . Either way, it looks quite sharp now (y)

Cheers, Christian B)
 
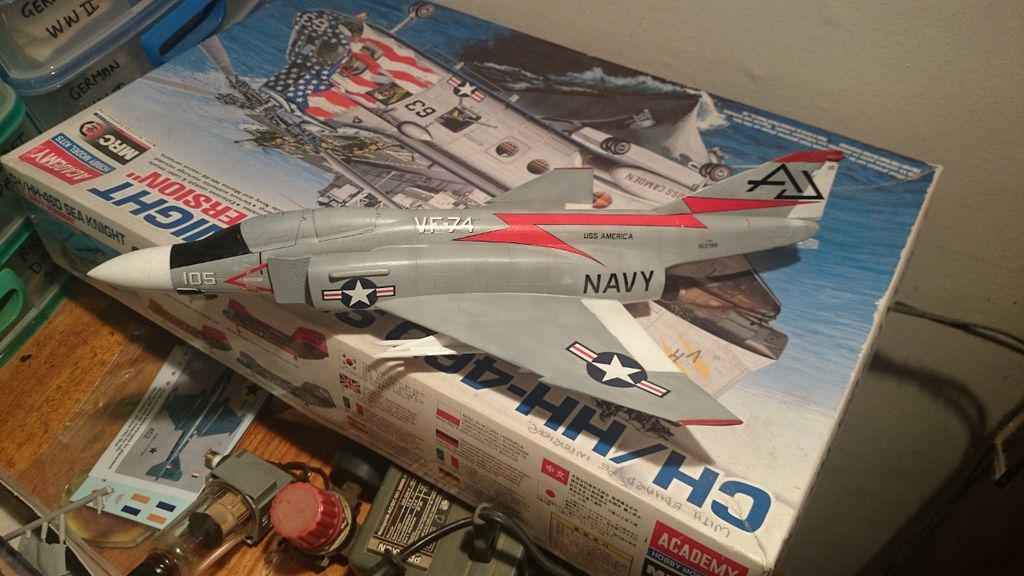
Started with the decals and things didn't go so well. If anybody here has the Eagle Strike "PHANTOMS PHOREVER PART 3" decal sheet and is willing to part with it, i would like to buy it please. The tail Codes and VF number were both destroyed first time round due to age I think. Anyway thus far.....

 
Back
Top