• Modelers Alliance has updated the forum software on our website. We have migrated all post, content and user accounts but we could not migrate the passwords.
    This requires that you manually reset your password.
    Please click here, http://modelersalliance.org/forums/login to go to logon page and use the "Forgot your Password" option.

Hobby Boss KV-1 1942 Simplified turret

nsmekanik

Member
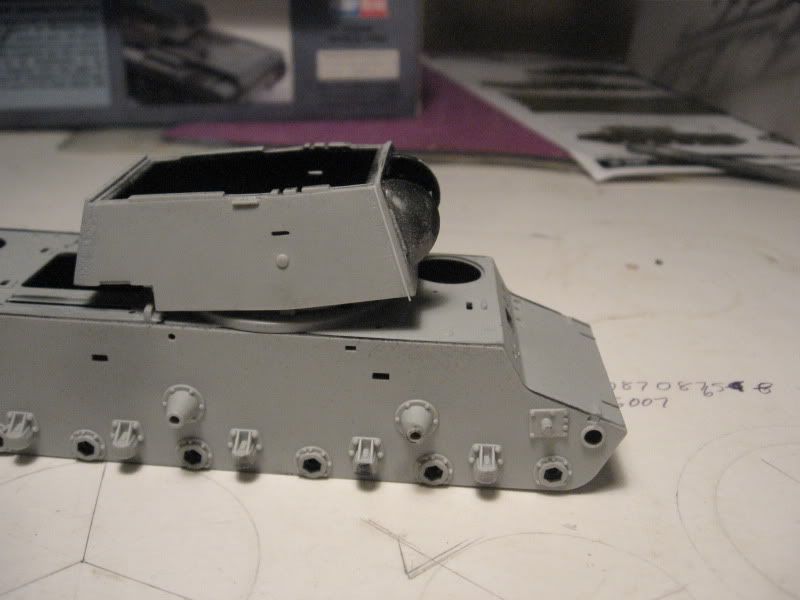
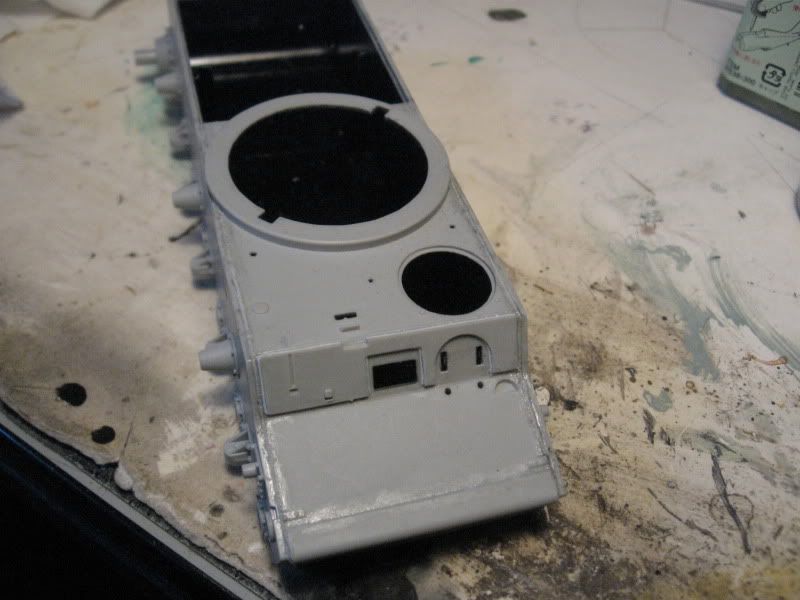
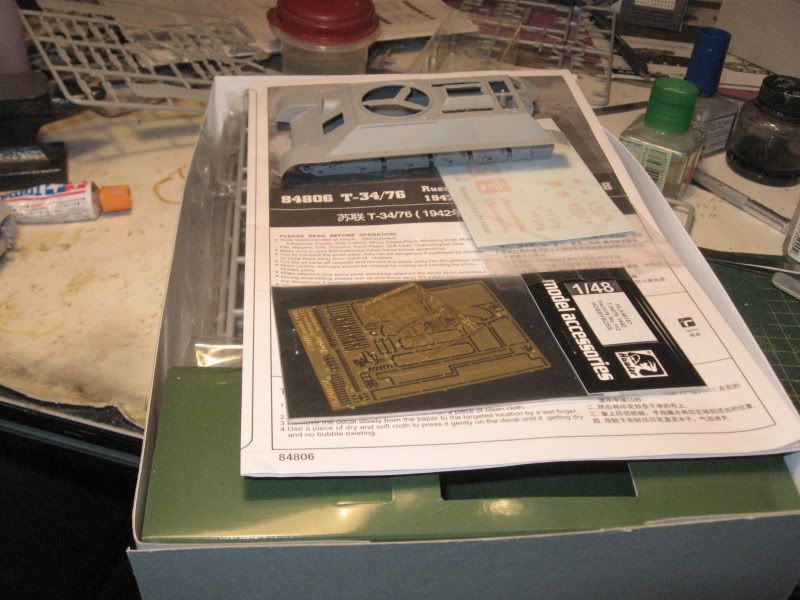
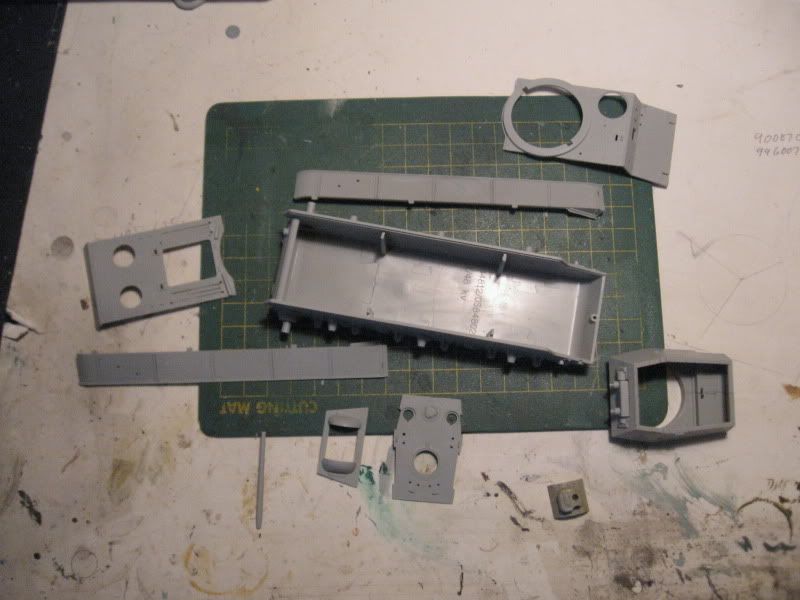
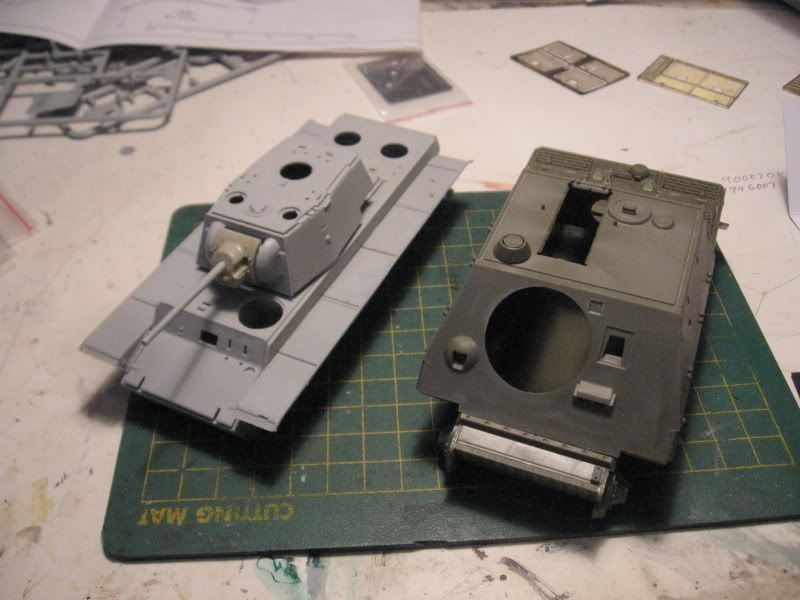
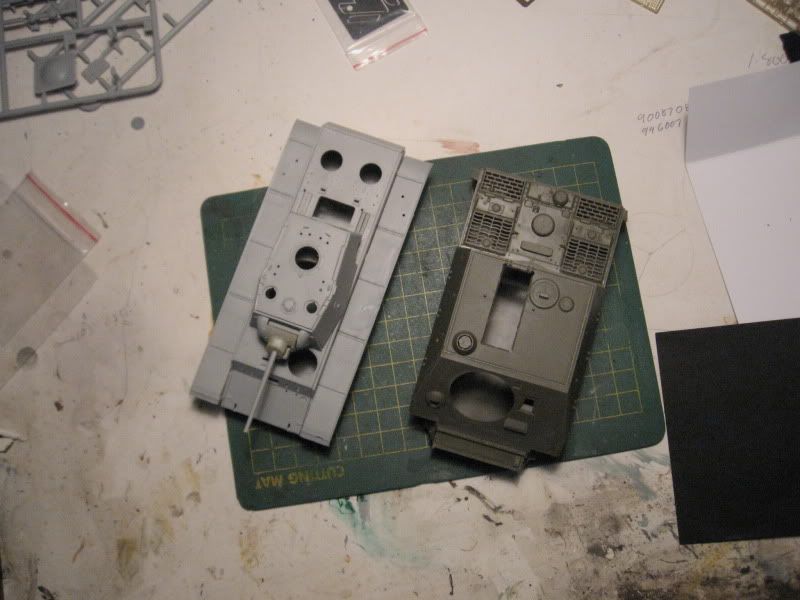
This is actually a sweet little kit
IMG_0392.jpg


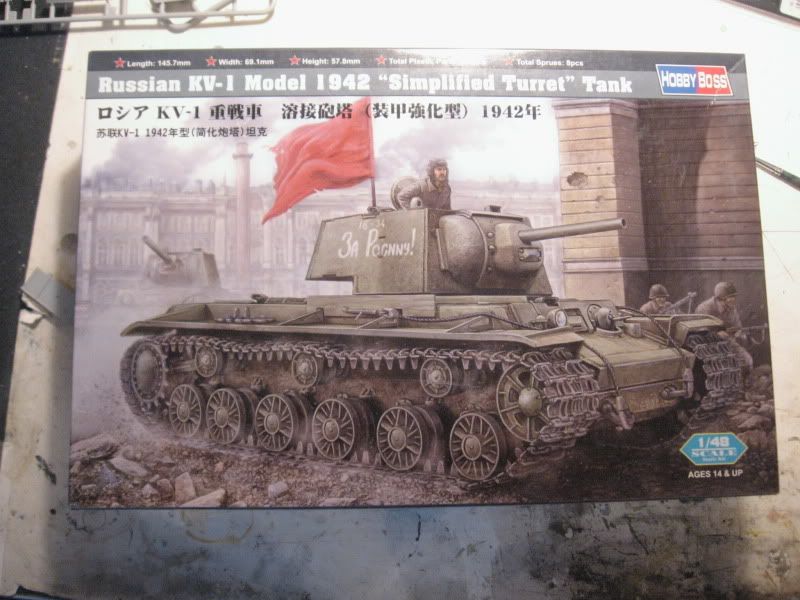
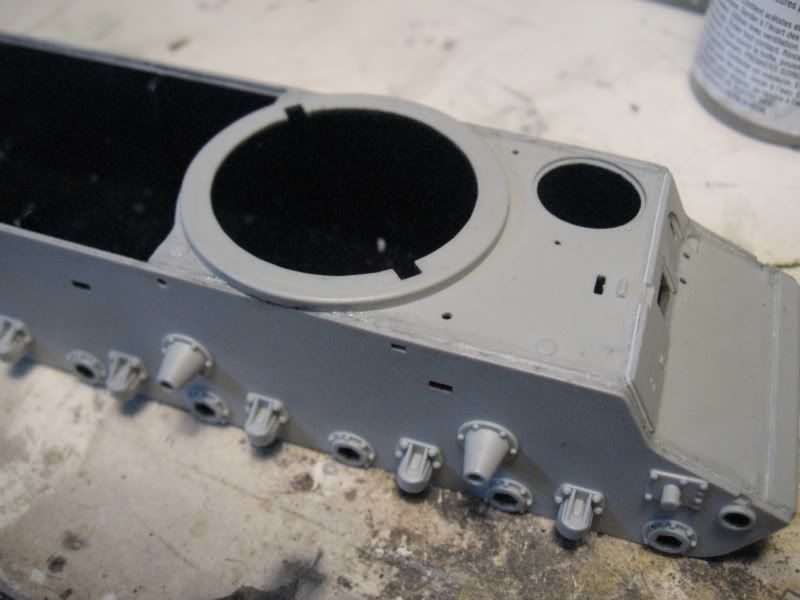
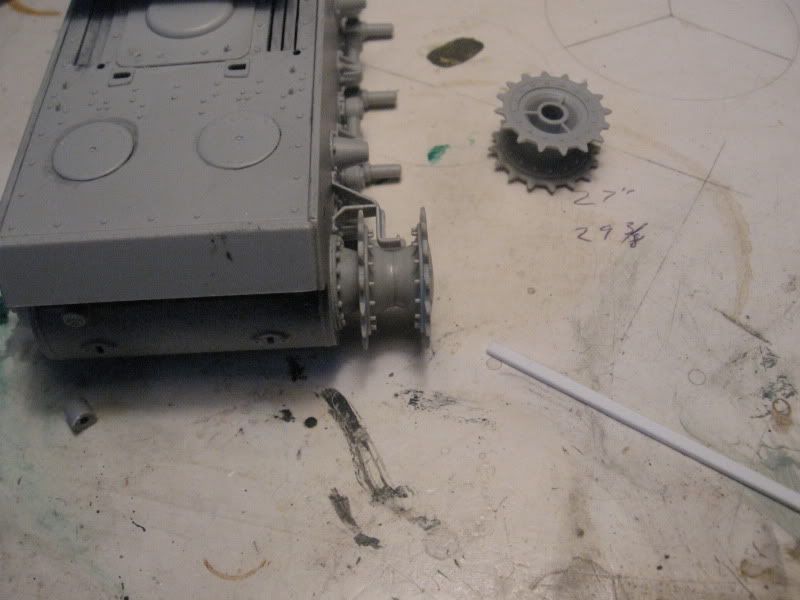
and it's going together very well. I'm just cleaning things up and test fitting everything, so far the only things glued on are the final drives and the turret halves, since I'm going to leave a few of the hatches open, for some crew figures later on, before I start glueing things I'm going to give the interior a shot of gloss black.
IMG_0393.jpg


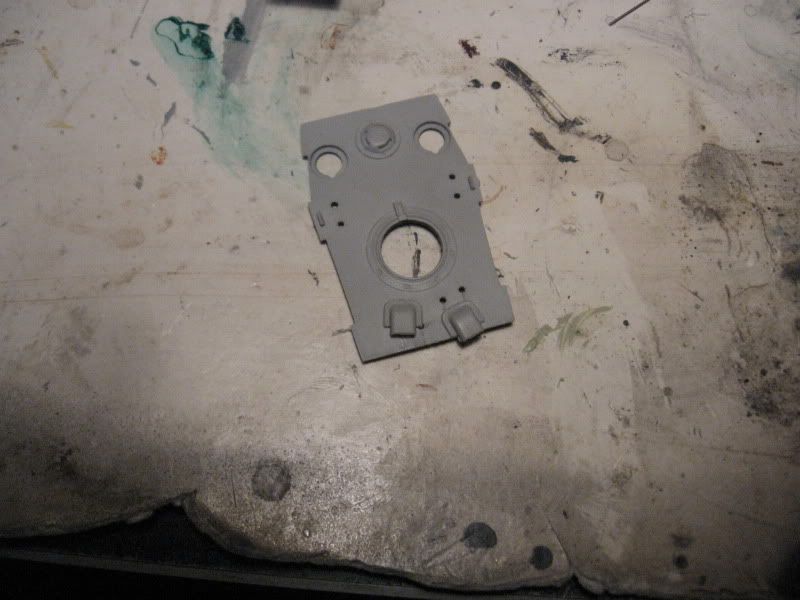
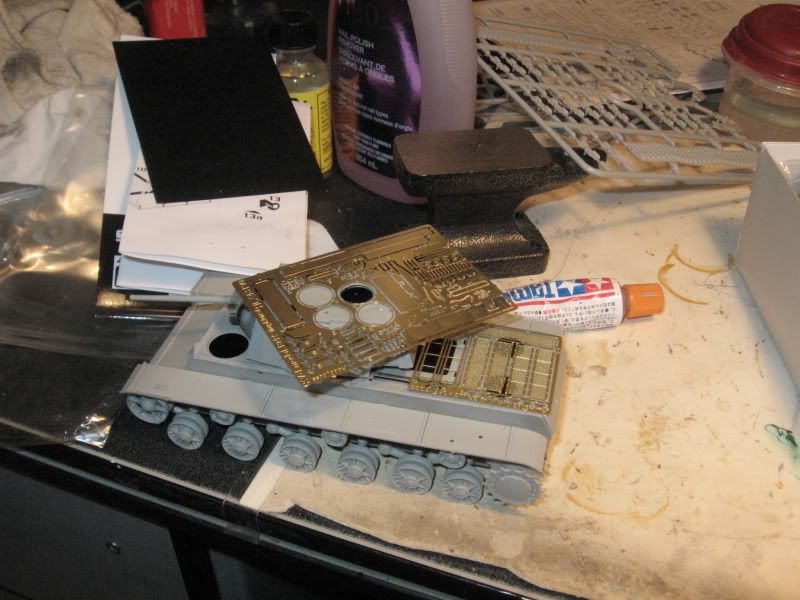
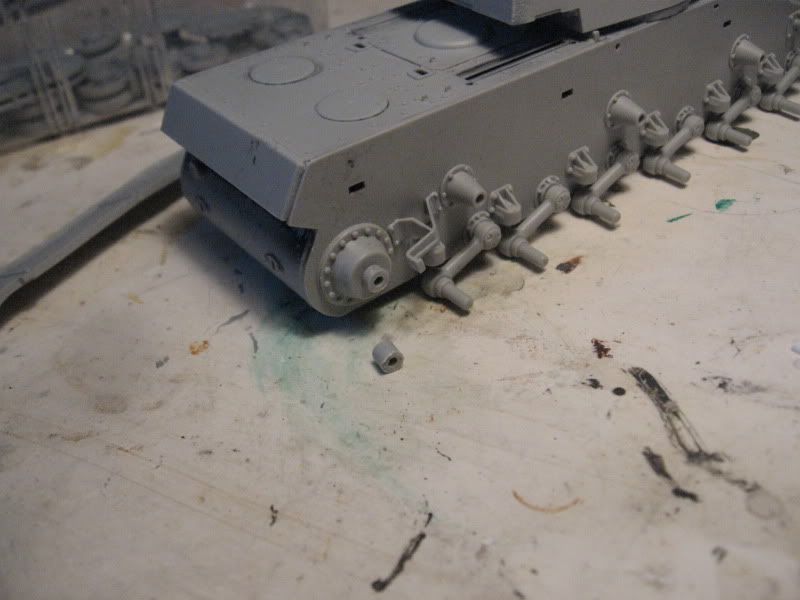
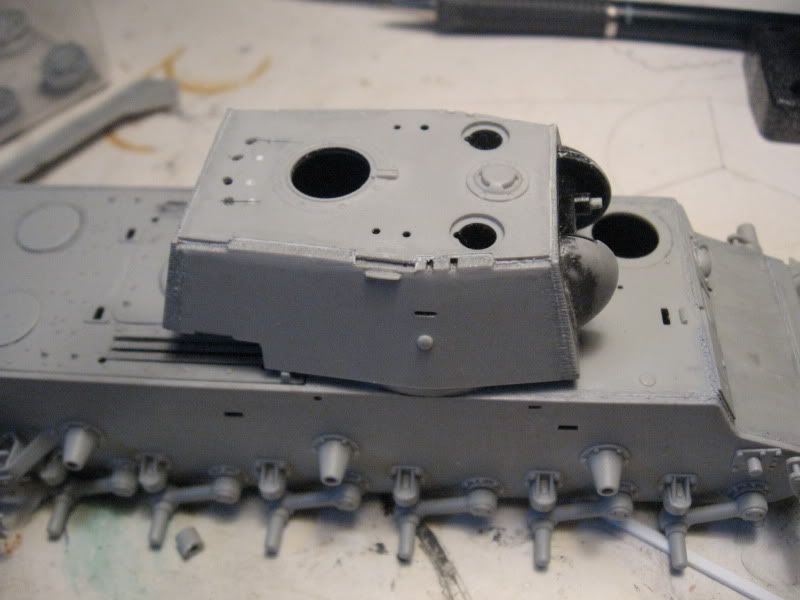
The fit is reasonable, it has weld seem moulded on the top cover, but the fit is not good enough for it to look right so I sanded off the seam and will add my on welding bead once it's glued into place.
IMG_0394.jpg


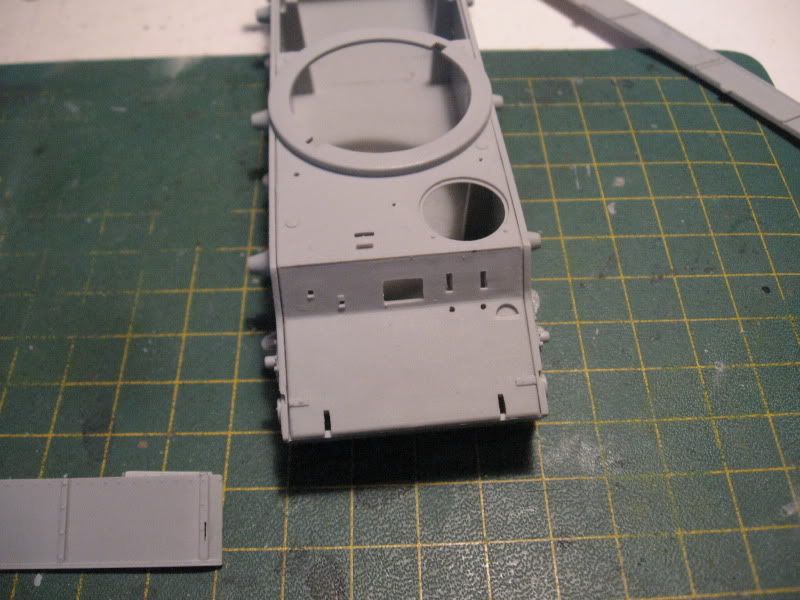
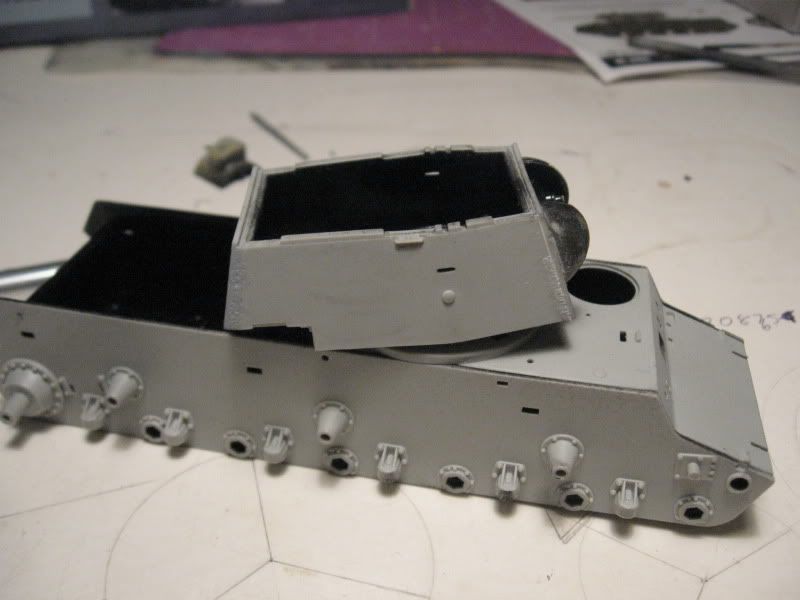
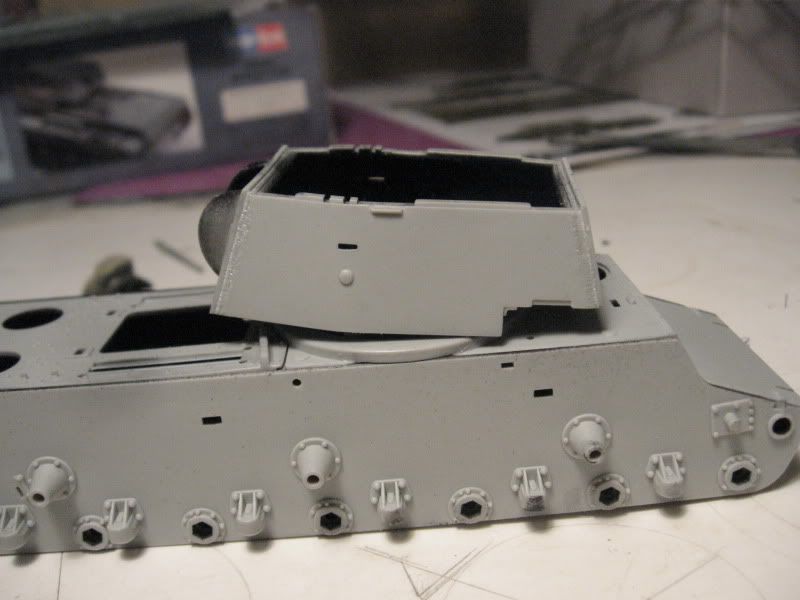
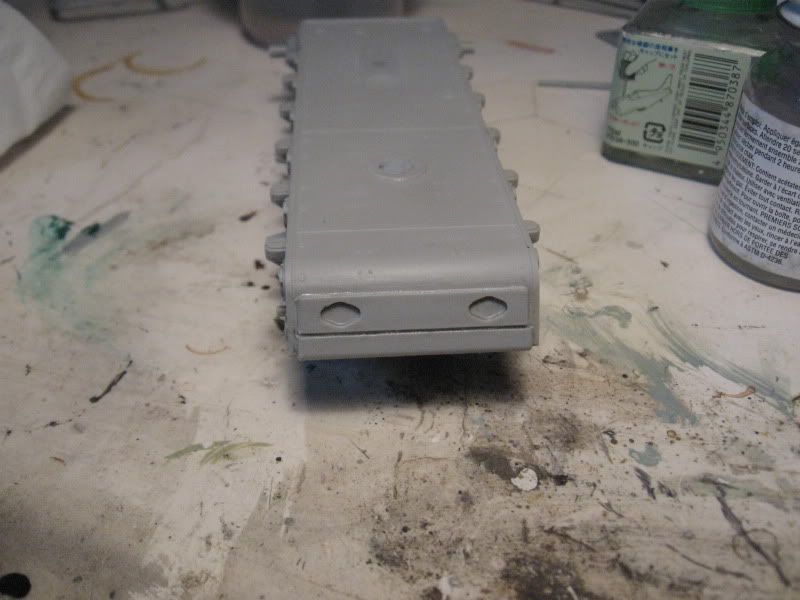
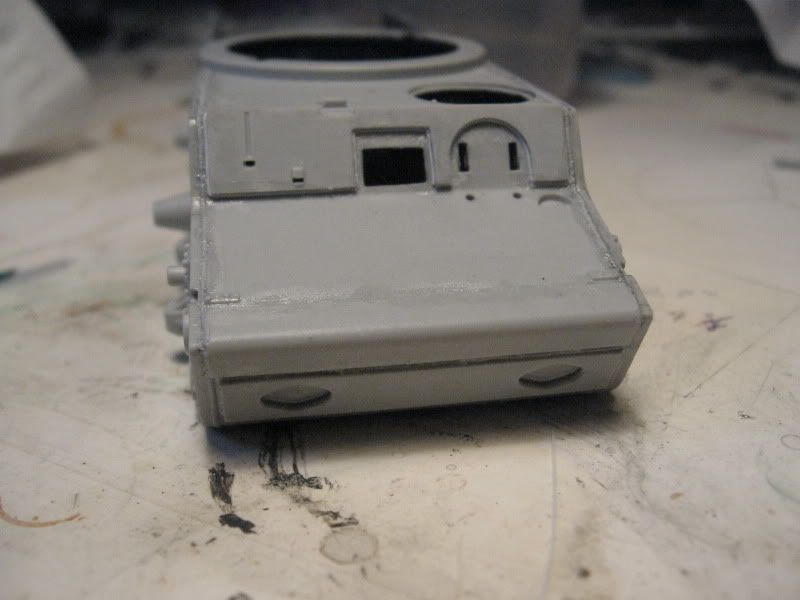
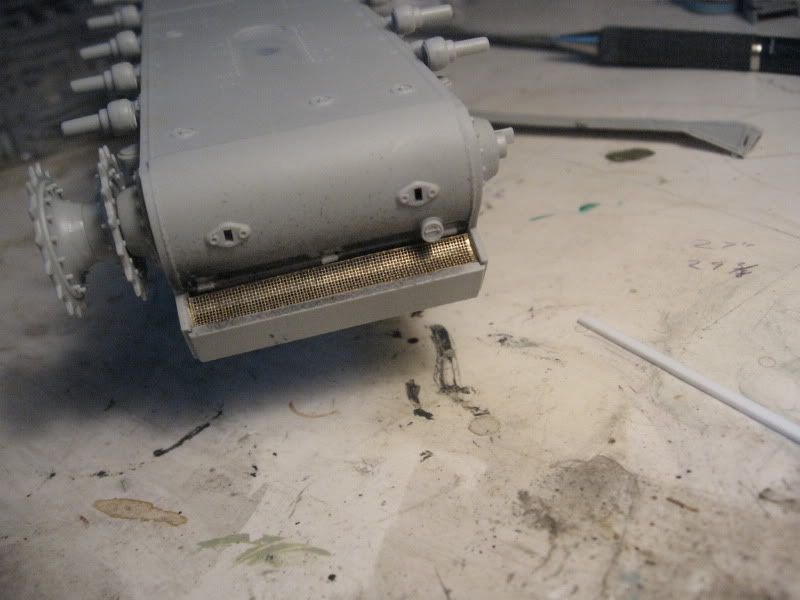
The rear cover is bolted on, but Hobby boss didn't define this at all, even though they did a nice job of moulding in the cutting torch marks of the rear plate, which is welded on to the back, so I scribed in a deep gap.
IMG_0395.jpg


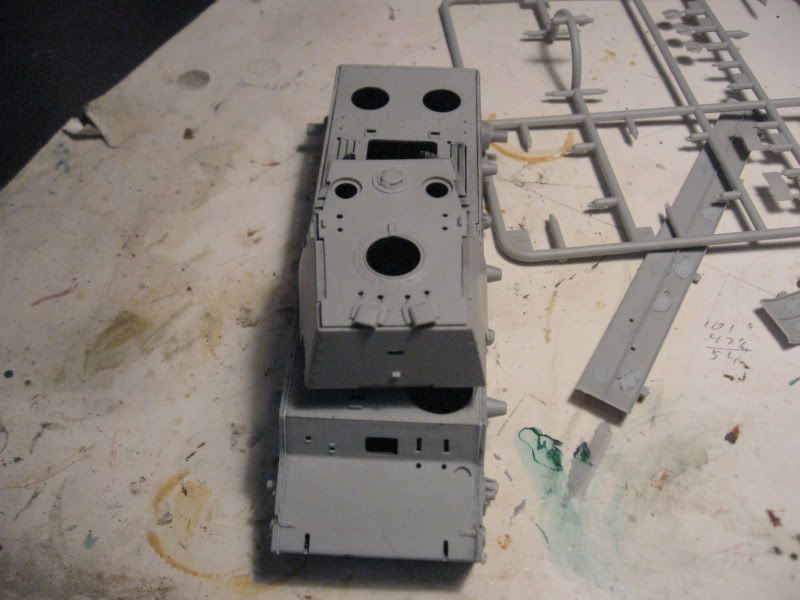
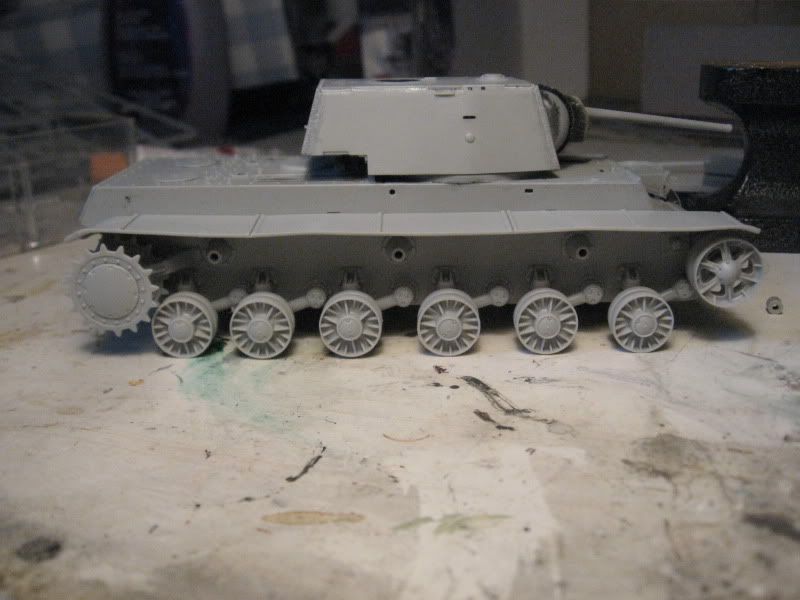
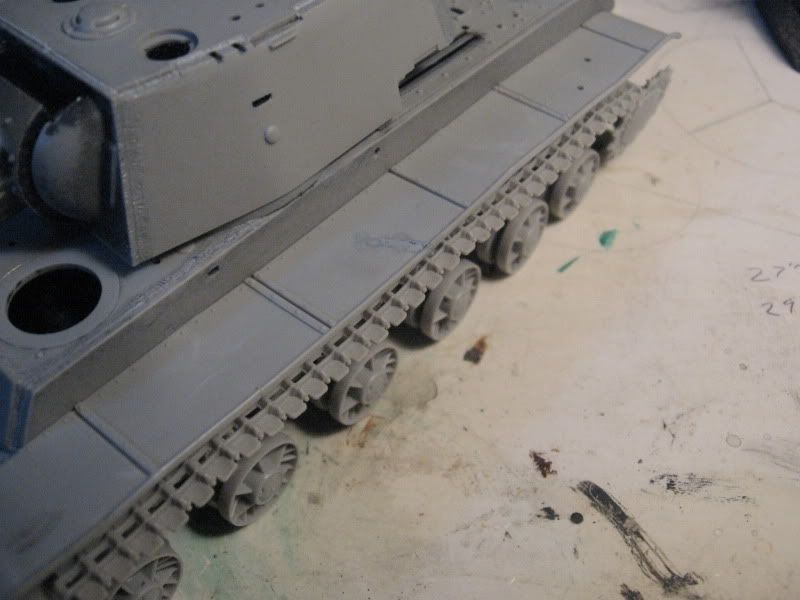
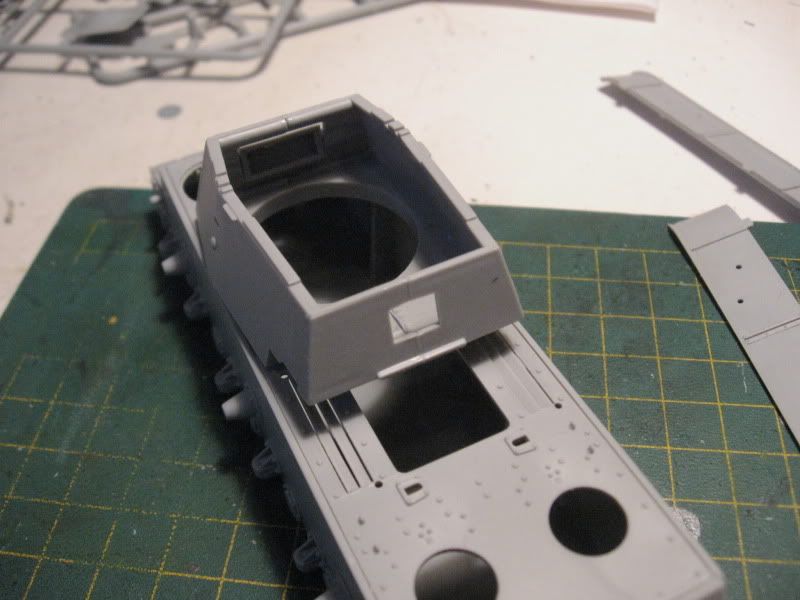
Everting is now set in place
IMG_0396.jpg


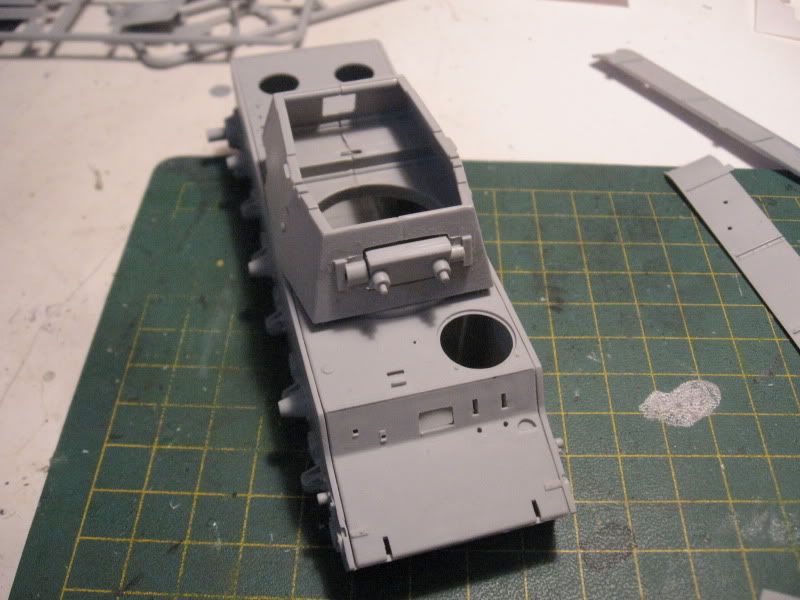
I believe I'm going to have to add some welding beads to the top of the turret as well, gotta look that up
IMG_0397.jpg


IMG_0397.jpg

IMG_0398.jpg
IMG_0404.jpg
IMG_0405.jpg
 
Apparently there ain't a lot of interest in KV-1s, to bad. I like it. So Dave, here's a bit of plastic welding. Typical HobbyBoss/Trumpeter things could be better and in keeping with the theme the weld detail is on one side of the kit seem. after looking arund for a long time to find out just exactly how things are supposed to look I found a build review on armorama of the 1/35 scale kit to help me out.
I use 10000 plastic rod cuase I'm lazi, but stretched sprue will work just fine. first I make sure there is a bit of a grove for the rod to sit in, then I run some glue down it and set the rod in place.
IMG_0411.jpg


then I run some more glue down it and press down on the rod in order to make some shallow type groves, in this case I'm trying to blend it in with welding thats already depicted on the kit, so it's not as good as I'd like it but it's good 'nough for government work.
IMG_0412.jpg


IMG_0410.jpg


Cheers :drinks
 
Nice job on the weld seam Tim, :drinks

Oh there's interest in these KVs, last night was sort of slow around here. :mpup
 
You're right about needing the welds around the turret, when I built my Trumpeter kit is when I learned the technique from Mr T. Slow around here the past coupla days, indeed. Carry on! :soldier
 
Sorry I've been off the ball lately. I make weld beads using solder wire, but they are very often made with plastic rod or putty. I will try and find the pictures showing how I do it.

Terry :unsure:
 
Thanks Guys, I am still mastering the technique. I don't have small enough Diameter solder that would look right, this is the 1/48 kit, and the 10000 rod might be a touch small, but in the end under a few gallons of paint and with some crappy photography it should look ok :D
 
Big fan of the Soviet armor here as well...this one looks great! If you enjoyed the KV-1, give their T-34 kits a try...those come with interiors and engines ;)
 
Got one coming :D , model 1942 factory 112 , with the hauler sets for it and the KV-1 as well. Just wondering if these 2 types ran together, I know they had mixed units early in the war, might make for an interesting vignette or something.
 
Can't answer Tim, I'm only the IT guy around here. I'm sure someone can answer that for you soon but in the end, it would make a neat vignette. :popcorn
 
Hey no worries Bob, all I guy can do is ask, certainly no worse off if I don't get an answer :drinks

According to the guy on the 4Bo site the rear periscope housings are in the wrong spot and need to be moved to the back of the turret upper plate so I drilled some new holes and made the mods
IMG_0413.jpg

IMG_0414.jpg


This is where they should be
IMG_0415.jpg


And for anyone looking to build a 40-41 model KV-1here's some inspiration,KV-1 just click on the links on the left
 
Me too :D
Seen a lot of pics of blown up tanks in my pic search but this one is the worst I've come across
big_kv1-F32-119-005.jpg

big_kv1-F32-119-006.jpg

from the link provided above

Probably welded together by the same guy(s) that welded mine up :woohoo:
Things are moving along ....slowly, I'd have to equate making weld beads as being the same as masking canopies.
IMG_0437.jpg

IMG_0436.jpg

IMG_0435.jpg

IMG_0432.jpg


I want to open the turret hatch, but I found the thingamajiggy that the cover attaches to to be a bit on the short side, it's good for the drivers hatch, and maybe the engine hatches on the rear deck, but definitely to short for the turret hatch, so I had to add an extension. The first one didn't go all that well (ain't that always the case) but fortunately there are 4 of them and I only need 2, if I go with opening the drivers hatch as well. From what I can find in the pics it does seem as though they did mould it a bit on the short side compared to the real thing.

big_kv1-039-003.jpg

IMG_0438-1.jpg

IMG_0430.jpg
 
Ok, I just finished cleaning up 44 wheel half's, and glueing them into 22 sets of wheels :D , and then filled in 116 injector pin marks, with only another 116 more to go............... :soldier
 
Or getting a root canal. :D

You know you have a nasty way of keeping things in perspective don't you ;)

So I'm sittin at my bench fillin in some ejector pin marks when my wife walks in, gives me a
kissing2-1.gif
and drops a box in my lap :woohoo: ....gotta luv that woman.
And inside the box was....another box
IMG_0440.jpg


and some
IMG_0441.jpg


I think I'm in trouble now so I think I'll go back to
IMG_0442.jpg

and the next one of these I do I think I'll start on the tracks first.......
 
Hey, she's a keeper aint she?! (y)

Had her for a while, ain't givin her up anytime soon :fencing

Things are goin slow, and probably will for a while, bein as I'm back to working 7 days a week agian. But I am making a bit of headway.

The way things go together with the mud scraper, in order to put things together you would have to first glue on the drive sprocket, and then put the scraper on givin the length of the axle, so I cut the axle in half and then glued on the scrapper.
IMG_0445.jpg

IMG_0447.jpg


Started to play around with the Hauler etch, that stuff is quit delicate compared to the Eduard stuff I'm used to and it got slightly mangled while I was giving it the rolled look, not a big deal as it now has a more "natural" look...at least that's my story ;) . I had to do a bit of trimming on the insides of the outlet to get it to fit, and there are some holes for the locater pins of the kit part that are in the process of getting filled, I haven't got the rear upper decking glued in place just yet.
IMG_0449.jpg


All the pics I'v seen show the fenders to be none to straight, but not really mangled either so I worked on adding a few curves and dents by sticking them in hot water to soften up the plastic, there is actually 3 sections so I cut out the jionts as well.
IMG_0452.jpg


I got a little carried away and cracked one of the fenders but no biggie
IMG_0451.jpg


All in all I'm happy with the results
IMG_0450.jpg


In checking the fit of the track it occurs to me that they will be a little difficult to slide under the fenders if the drive sprocket and idlers are glued in place first, so one thing I'm contemplating is to glue the track and wheels together as one assembly, just to insure a proper fit, but I'm not to sure about painting and weathering everything that way.

Also finished welding up the turret.....starting to get the hang of this "welding" thing (y) .
IMG_0448.jpg

And while I was at it I dropped a wad on this KV Technical History & Variants :D
Won't be buying any more kits for a while..............................
 
Back
Top