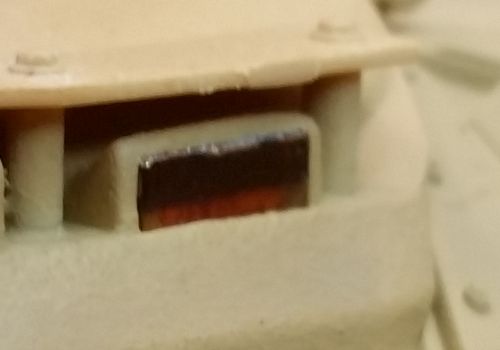
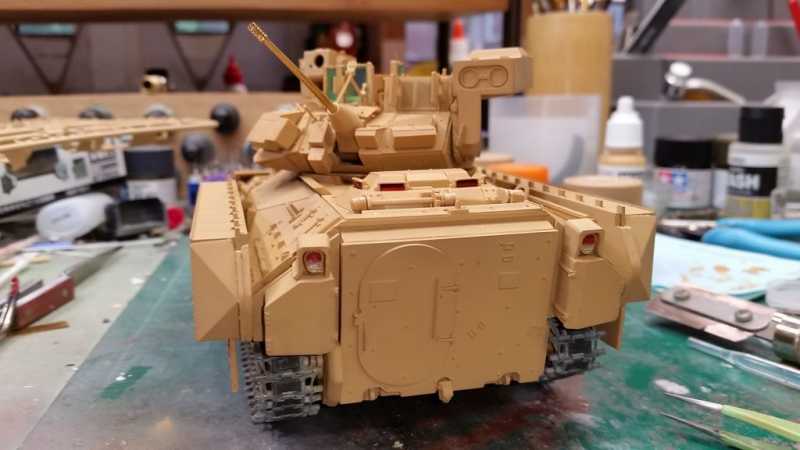
Wont the Pink/purple Alclad colorchanging metal work just as well there or even the Tamiya metalic pink spraycan paint on the backI did some test shots. Tamiya clear red, a shot of Alclad Chrome on the opposite side of what will face out and then black. For the armor plate glass, think just light Tamiya clear green? (alclad armor plate seems to etch the clear plastic)
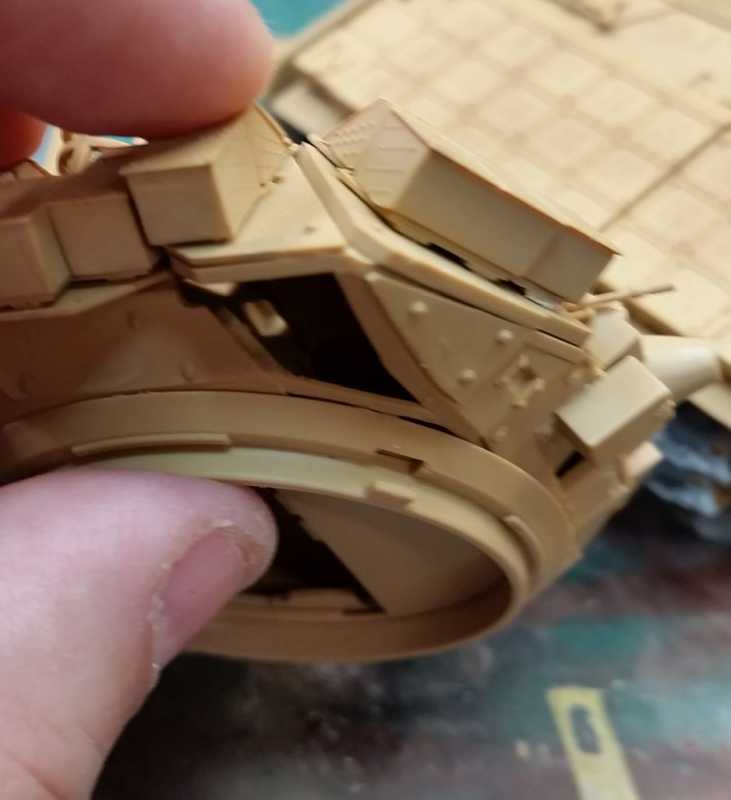
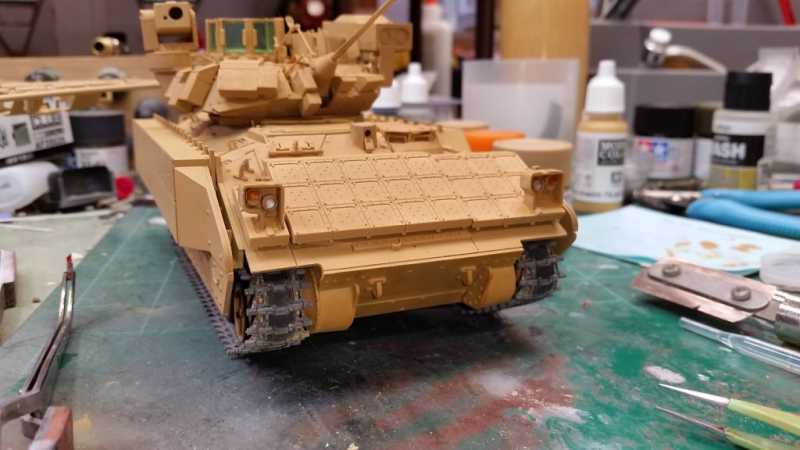
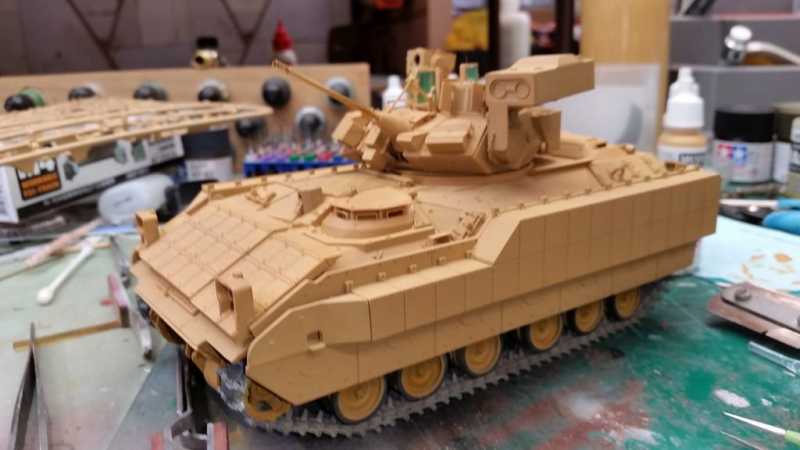
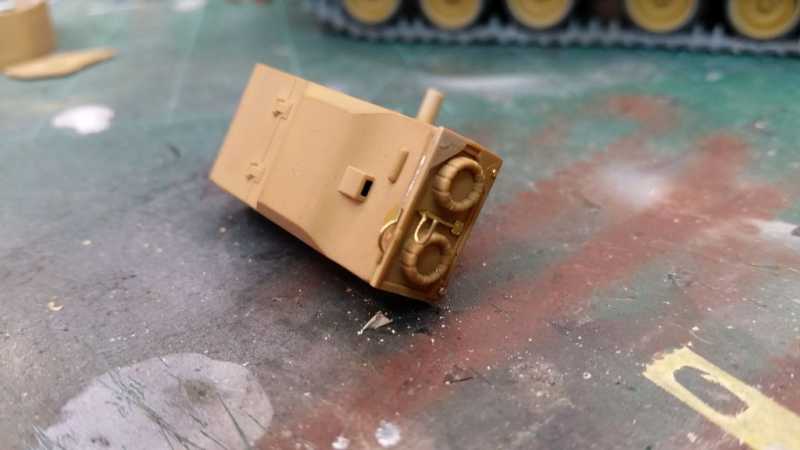
The various sensor lenses, think the one to the right of the commander's hatch is the Tow targetting camera, not sure what that suitcase looking things is. What little I can find on them seem to be a bit smoky in color, is that what y'all seeing?
What I found with the Alclad stuff is it seemed to have etched the surface. I guess I could gloss it over later. I've used Tamiya clears. You can see the clear sprue in the back of one of those shots. Also check out the ol' Corsair canopy I used as a test.

 Ruby red or something, it was in the auto paint section.

 ....
....