nsmekanik
Member
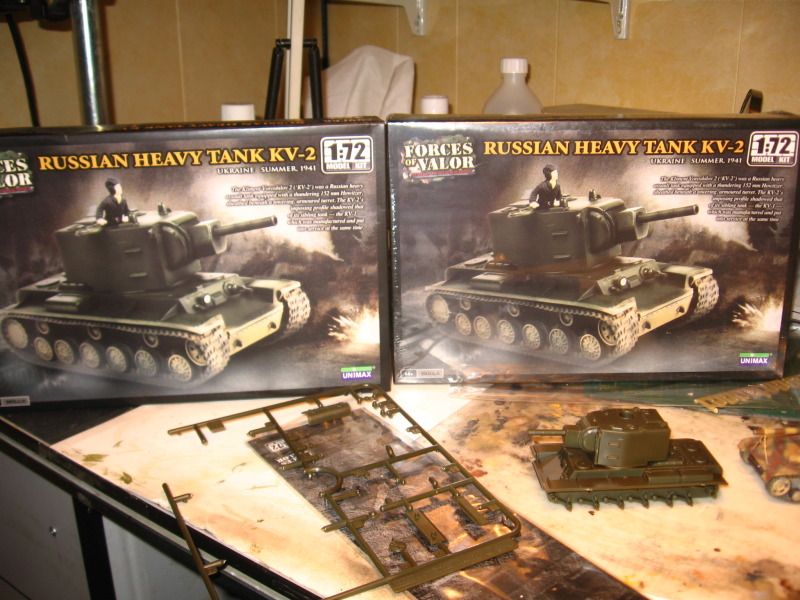
Now Forces of Valour(Unimax) kits are not ones which one could expect to associate with serious military modelling, well at least I have yet to see one built up anywhere I've looked. I think they are, for all intents and purposes, geared more toward the war-gamer crowd being somewhat simplified and engineered for quick and easy construction. That said I also think these may very well be excellent kits for the young beginer 
Have a look here Henk of Holland Linky if you want to get a general idea of what's in a Forces of valour box. If you scroll down to the KV-2 the picture of the built model is misleading as that isn't exactly what falls out of the box as look at the sprues will show. The figure is actually very well detailed for the scale, but moulded in the same soft plastic as the tracks, which aren't the glue-able kind.
Well I got these the other day From a friend, Mr. Paul W, Thanks Paul :drinks of course in the spirit in which it was given I shall endeavour to make the best work of it
of course not being a very patient fellow, I had to rip open at least one of them and after about 5 minutes I ended up with this

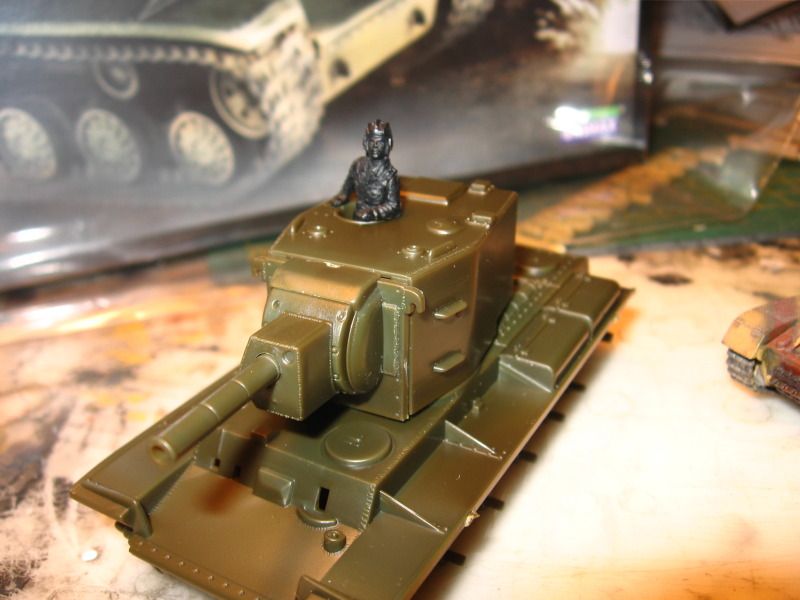
I did measure Mr.Tanker dude as I thought he looked to be a bit on the largish side but he only scales out to a whoping 5.83 feet so he will be sufficient and a good piece for some practice at figure painting.
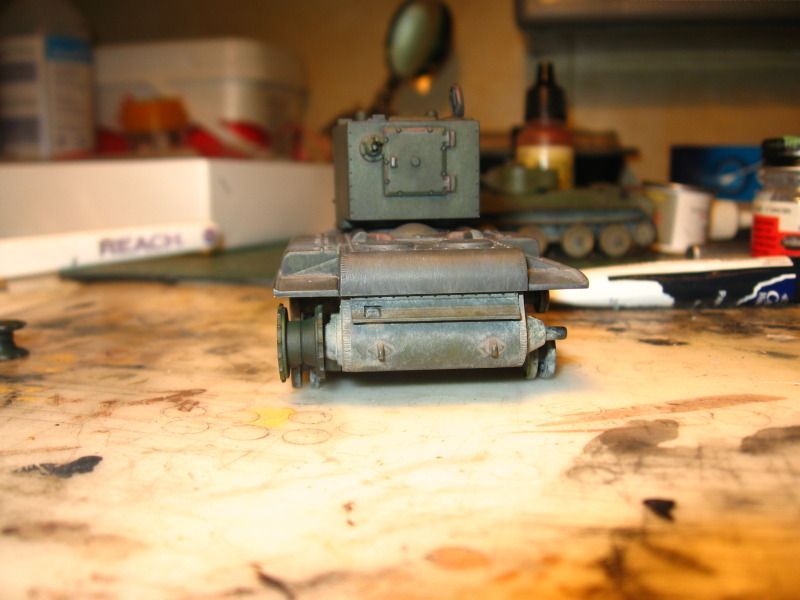
I thought it looked kinda silly having a weld seem on the front and a joint on the side and despite the fact it would be difficult to see I decded to fill them in any way there are two end caps and a warm air deflector on the rear that attach to the hull.
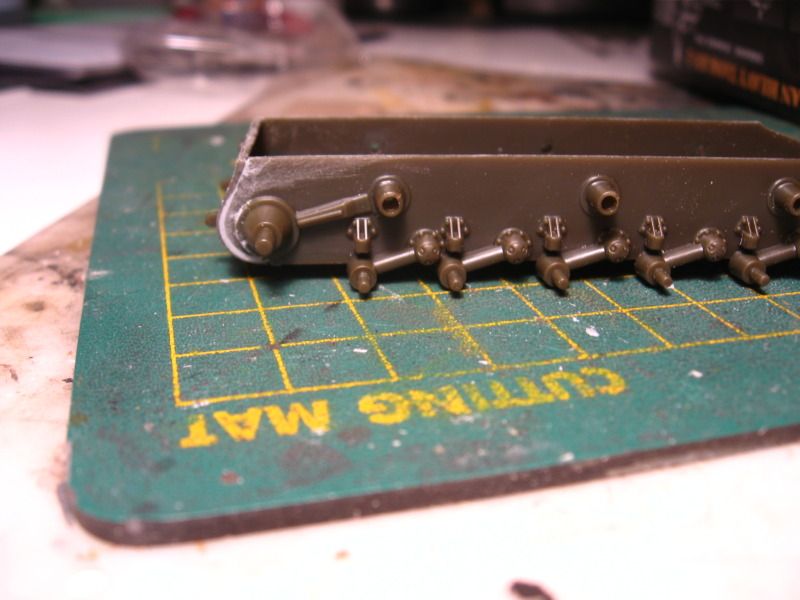
and all of 4 bits that attach to the top
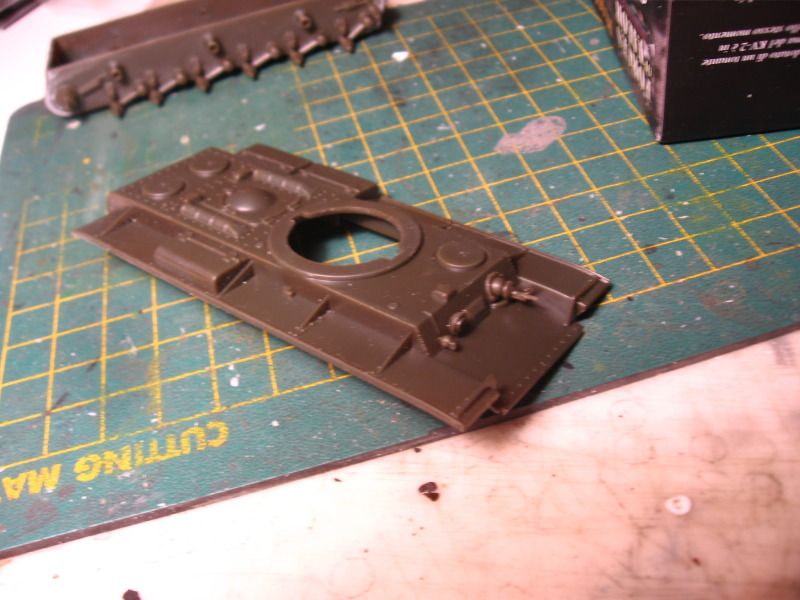
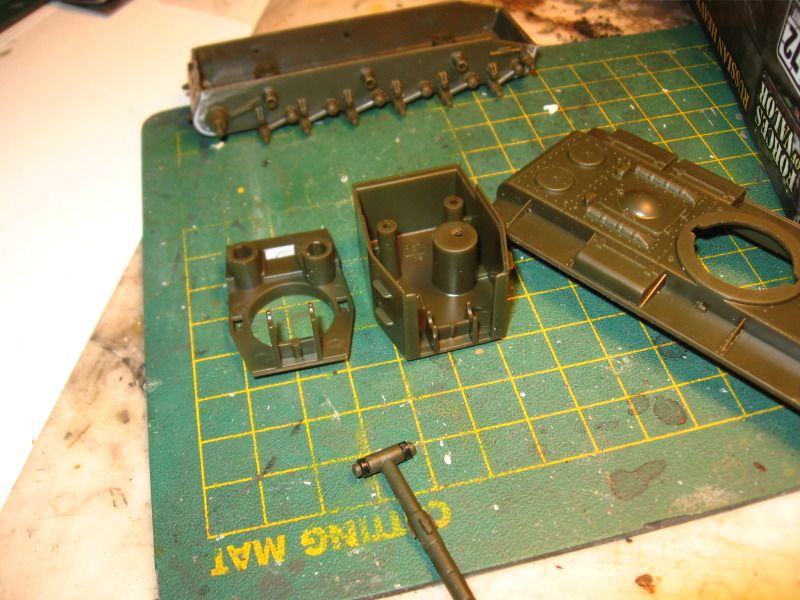
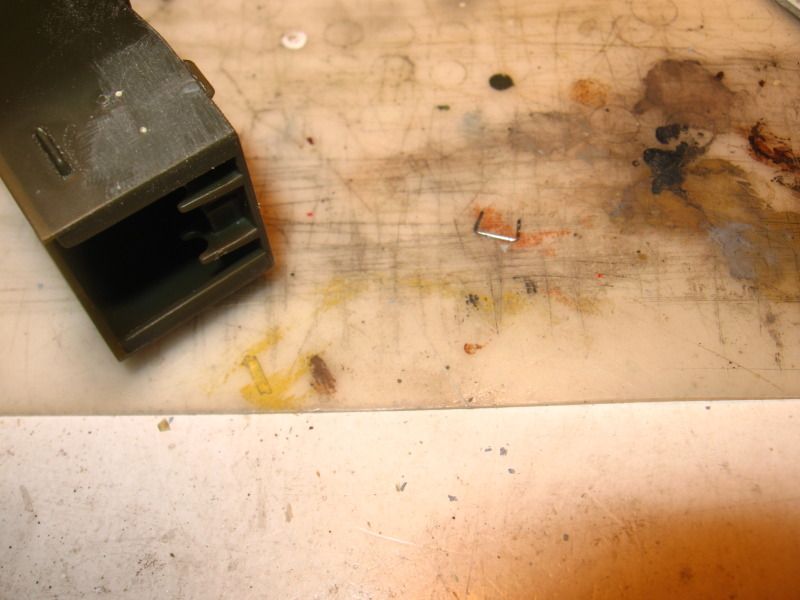
And the turret, now if you look closely in the hull you will see the those two rather large thingys sticking up in the middle same as the two in the Turret top, that other thing is the tub for the commander to sit in, those would be the alignment pins, they hold everything together, and they do a very good job of it. That's the only place that the glue needs to go. another nifty thing is the way the barrel, which is the T shaped thingy with the O rings, is sandwiched between the tabs in the upper and lower turret parts
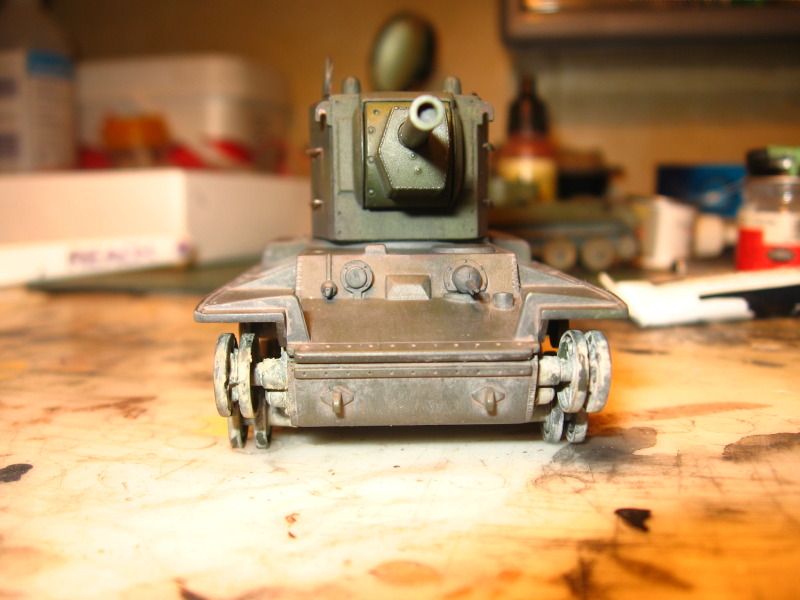
Although the kit isn't one that one would want spend a lot of time and effort detailing I just couldn't live with the grab handles being represented as protruding slabs of plastic so I did make up some new ones.
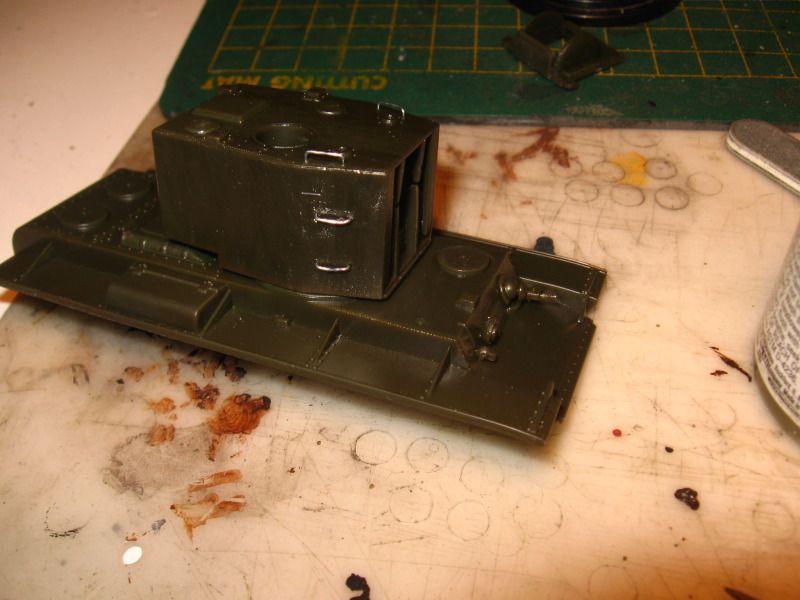
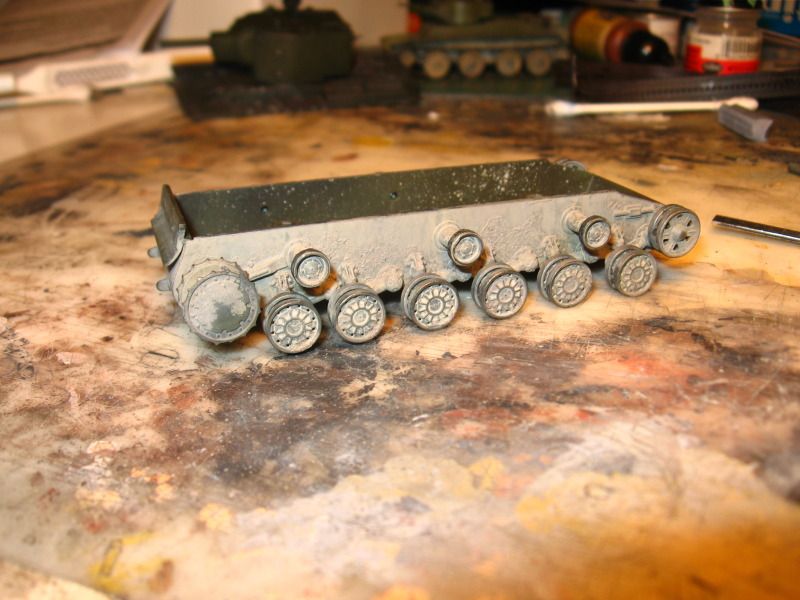
I also decided to see if I could add a bit of texture to the armour that wouldn't look to over done in this scale
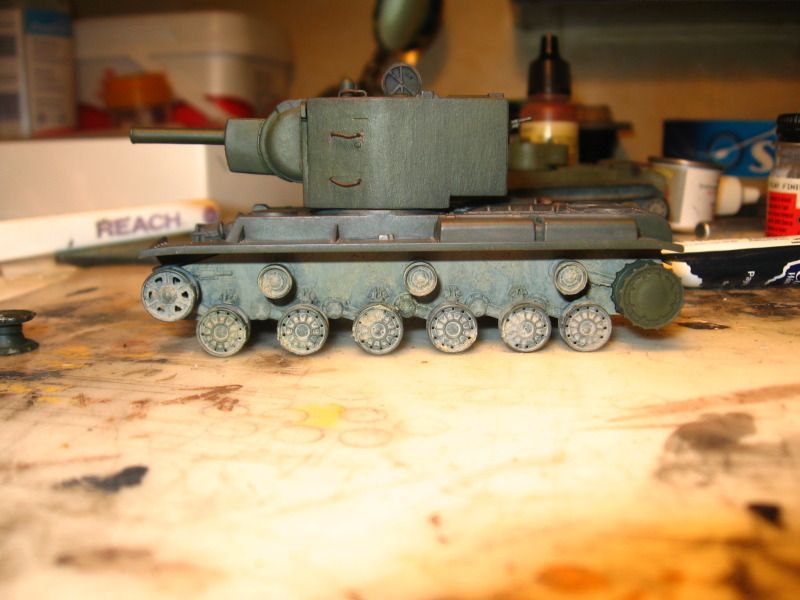
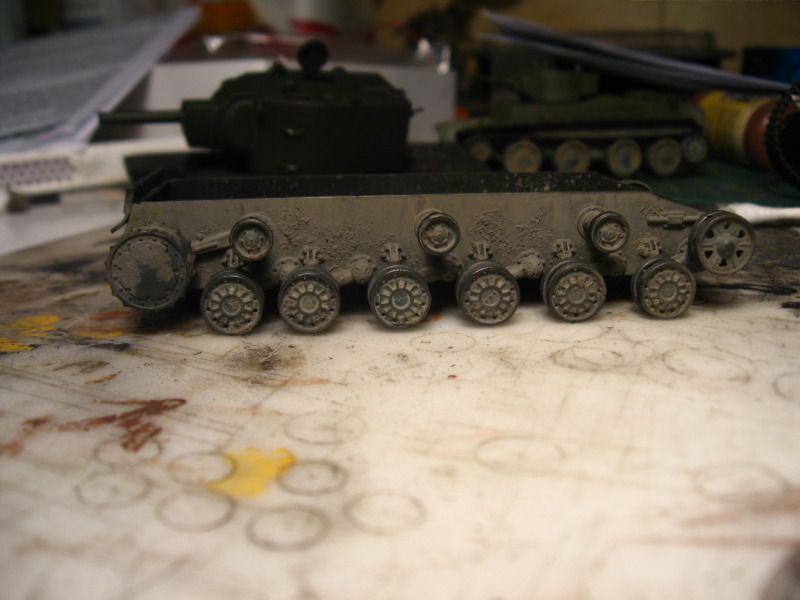
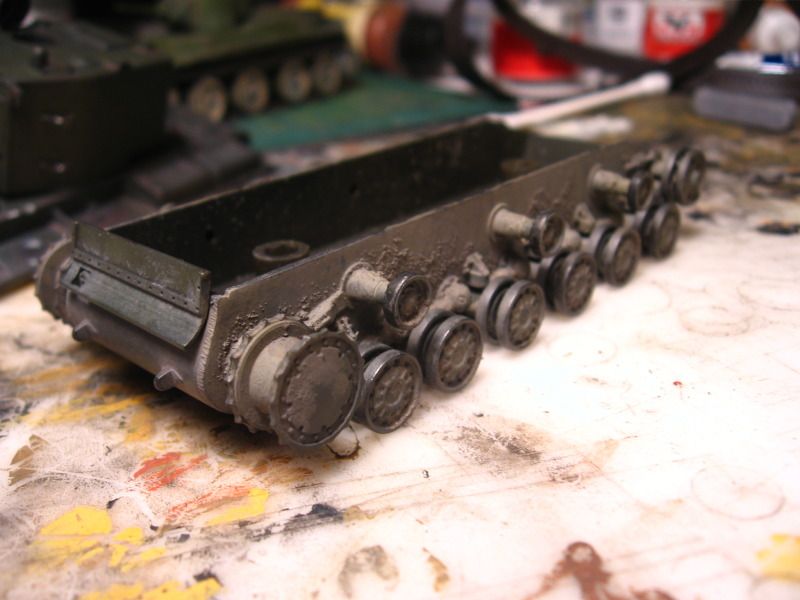
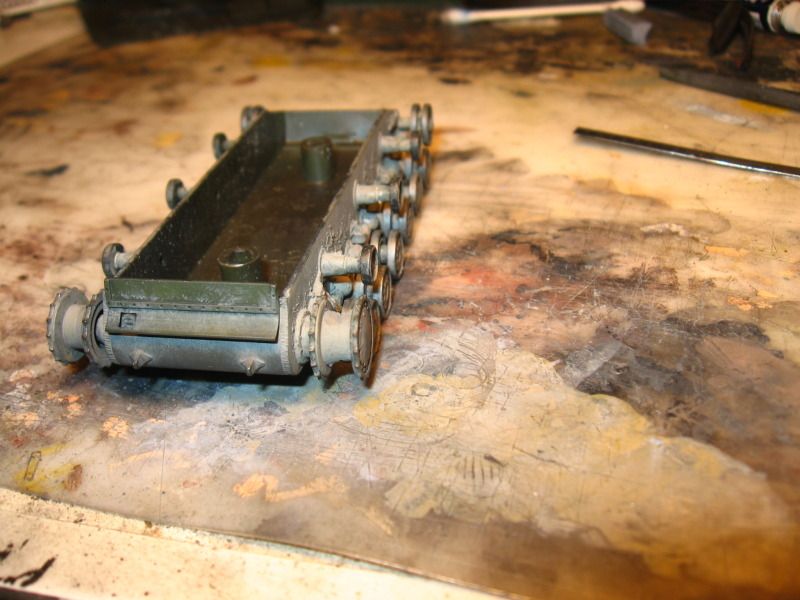
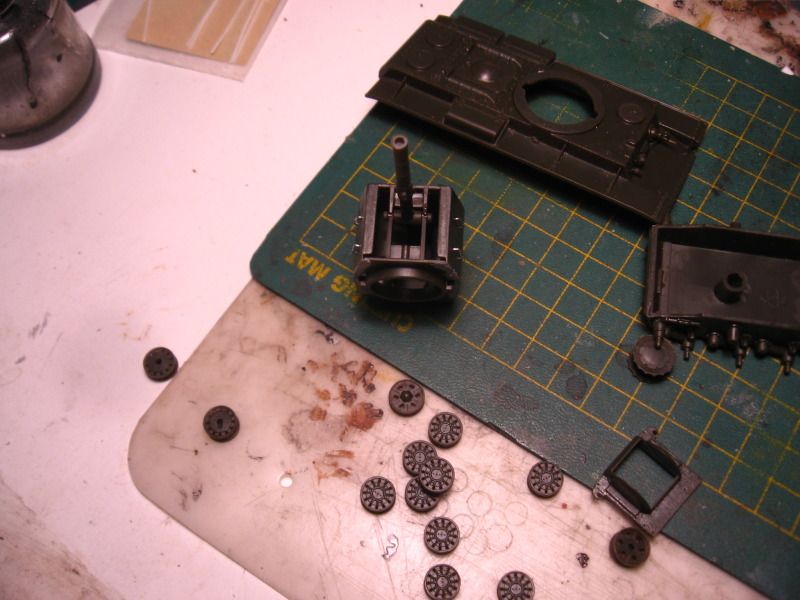
The wheels are pretty straight forward. The moulding of this thing is actually very crisp, and although a little clean up adds a nicer result, other then trimming off the attachment points it isn't essentially necessary. The only issue here is that the fit of the return rollers to the hull is a bit sloppy so making sure they get a good amount of glue and that it cures properly will prevent them from breaking off in the future.
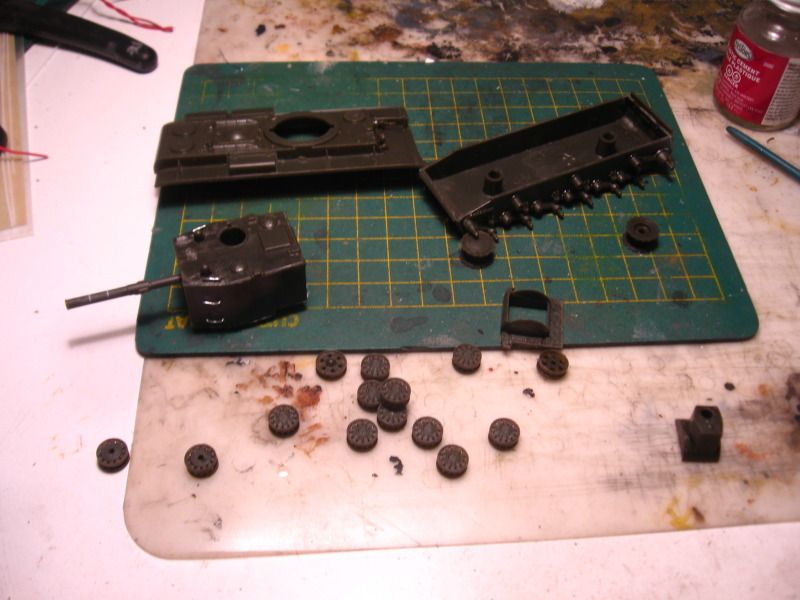
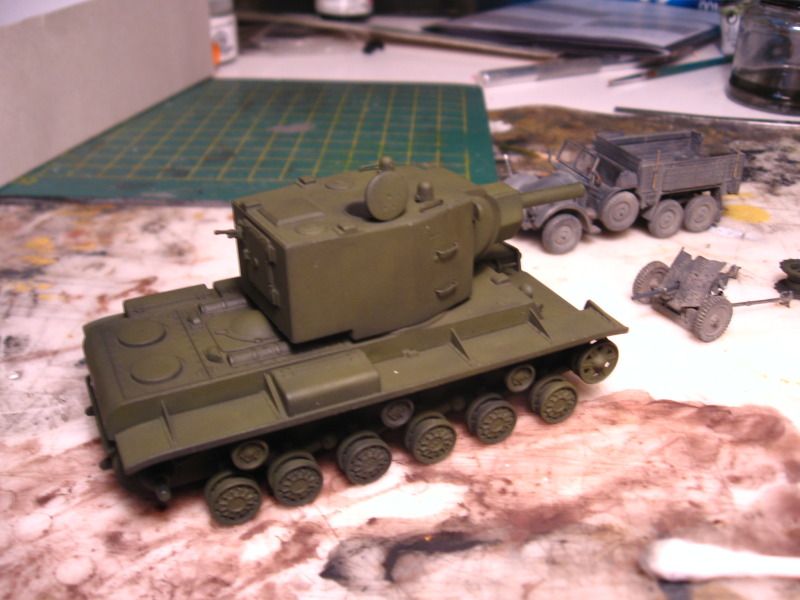
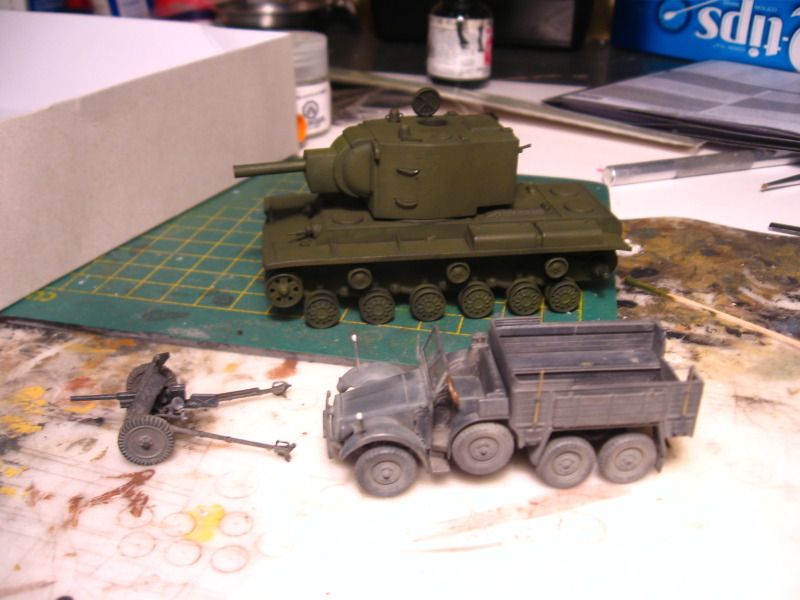
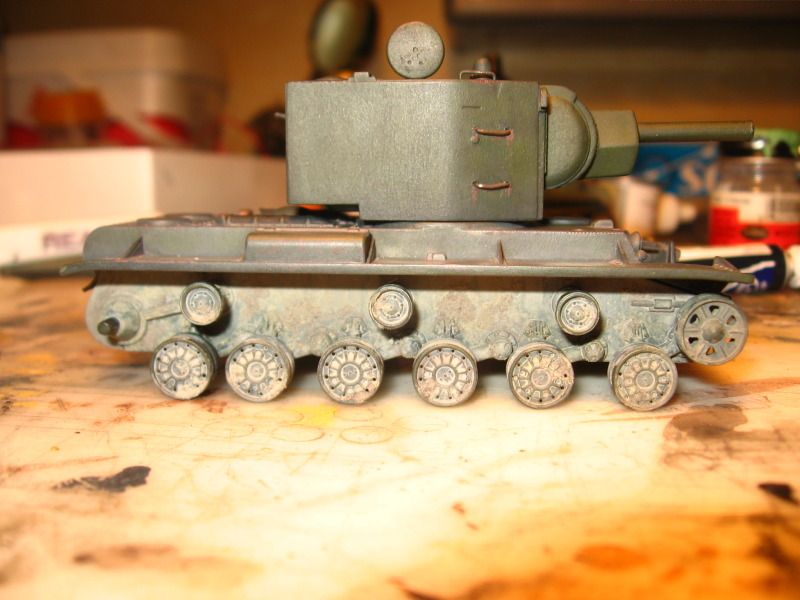
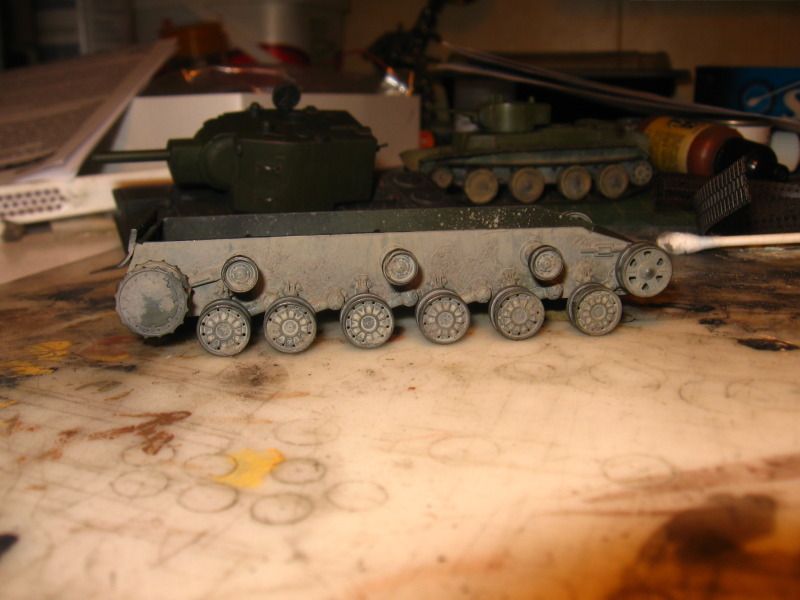
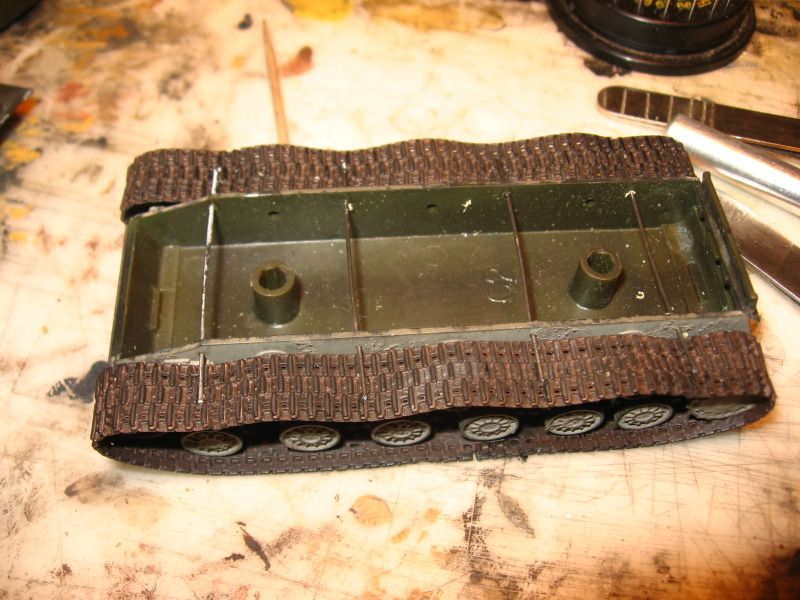
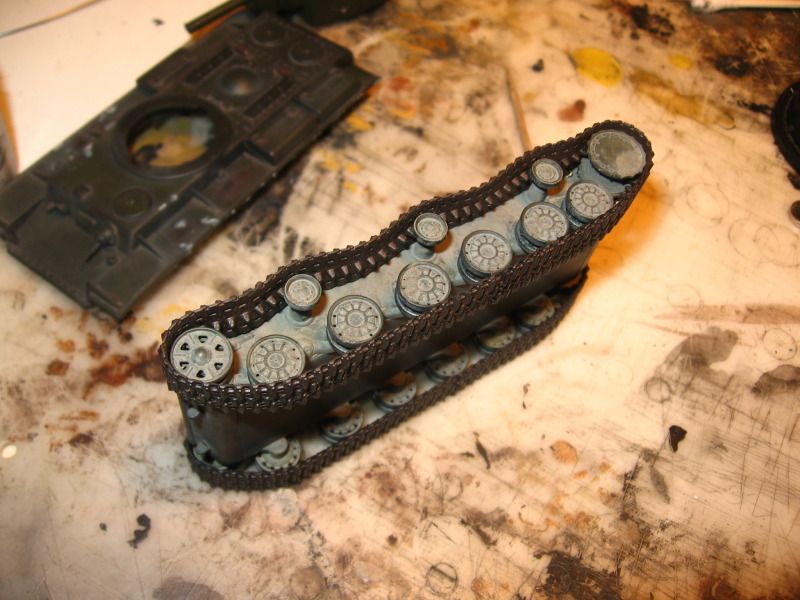
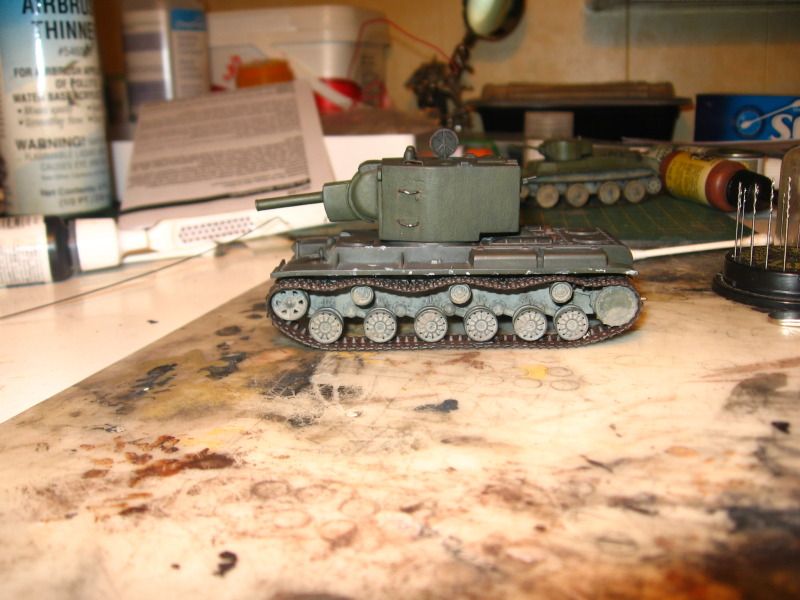
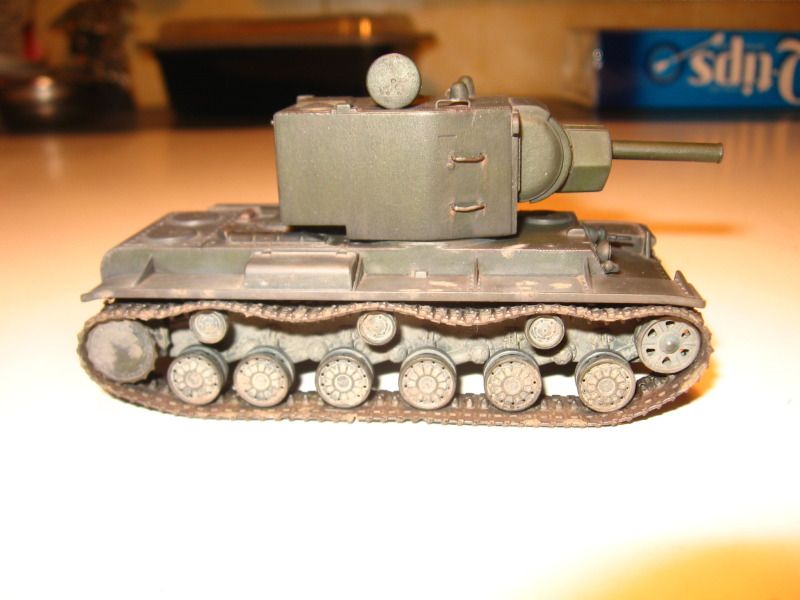
And here it is ready for paint, neat thing is the tracks are just set in place, and although the locating tabs are not the large ones that stick through like the old ones where you heated them up and melted them to "glue" the tracks together, they are clipped into place and I can pick it up without them falling off, the instruction tell you to superglue them on. Another thing I altered was the hatch, which on the kit lays down flat over the side of the turret when all the pictures I have show it to be upright, just a simple matter of cutting back the locating tab
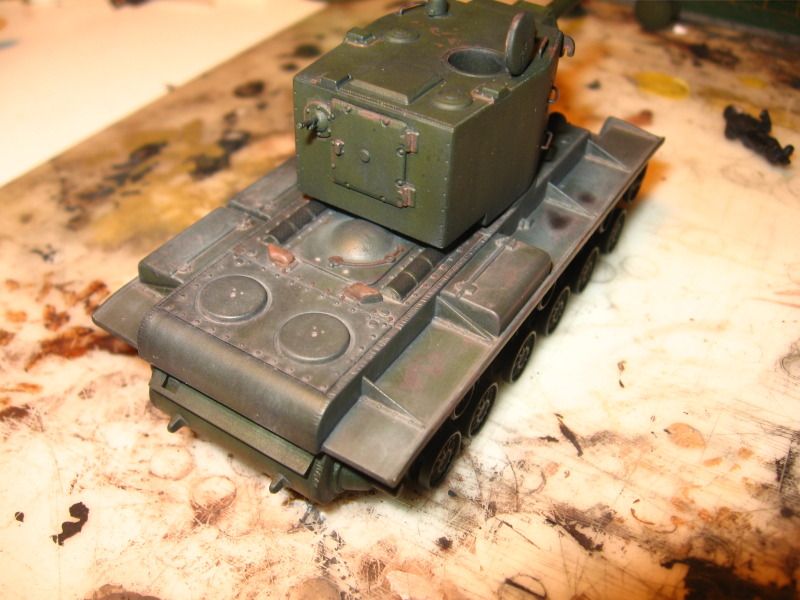
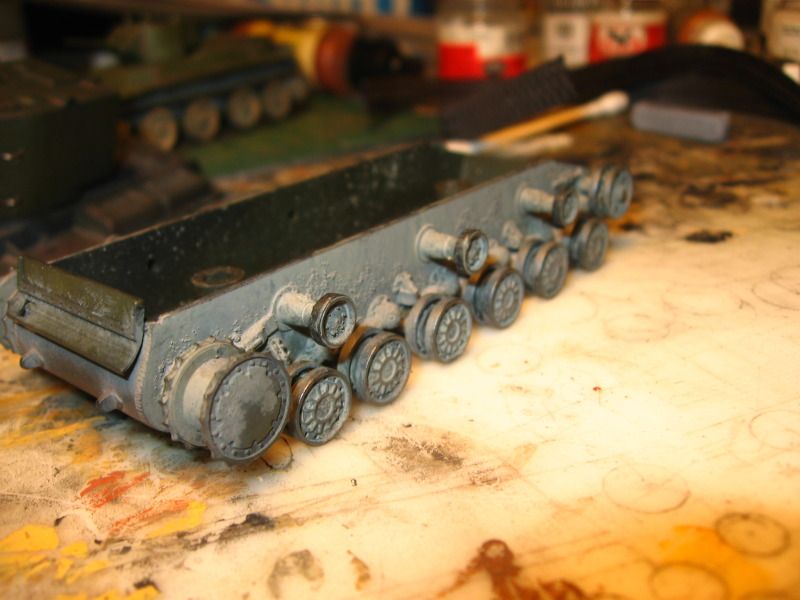
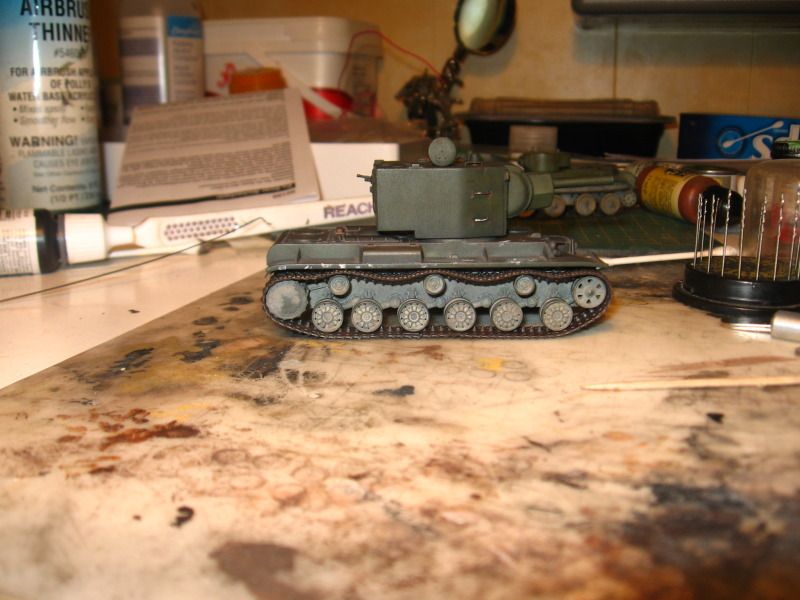
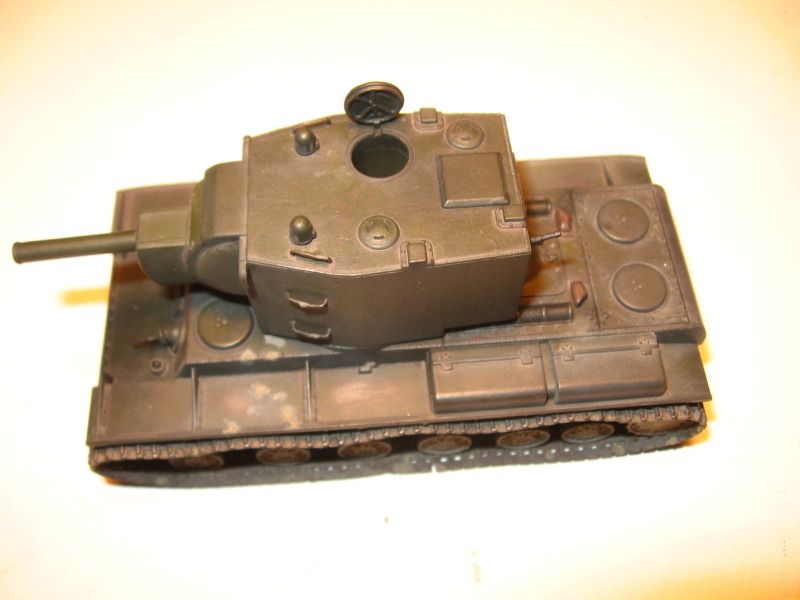
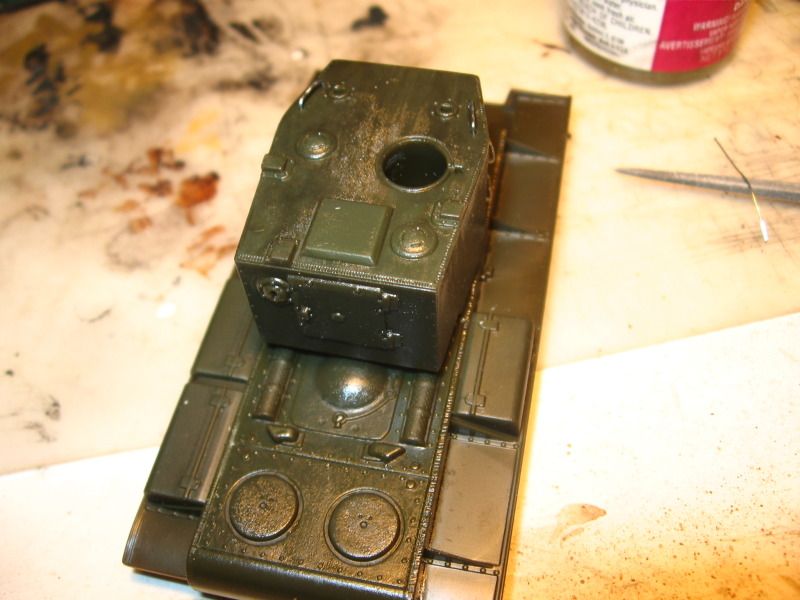
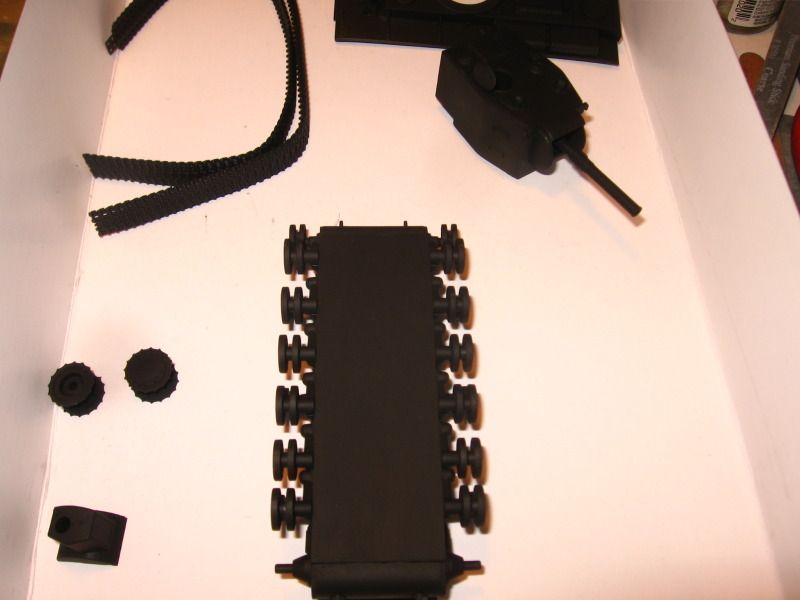
And now for the base coat of black
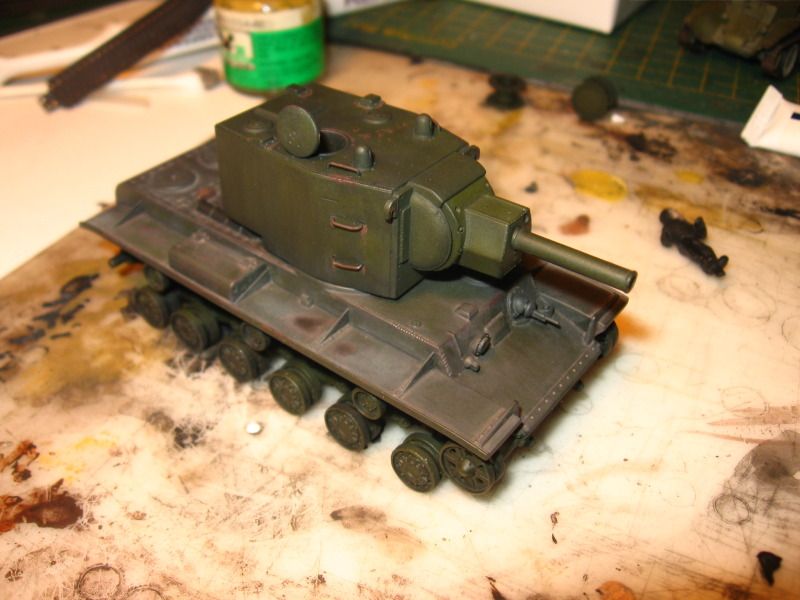
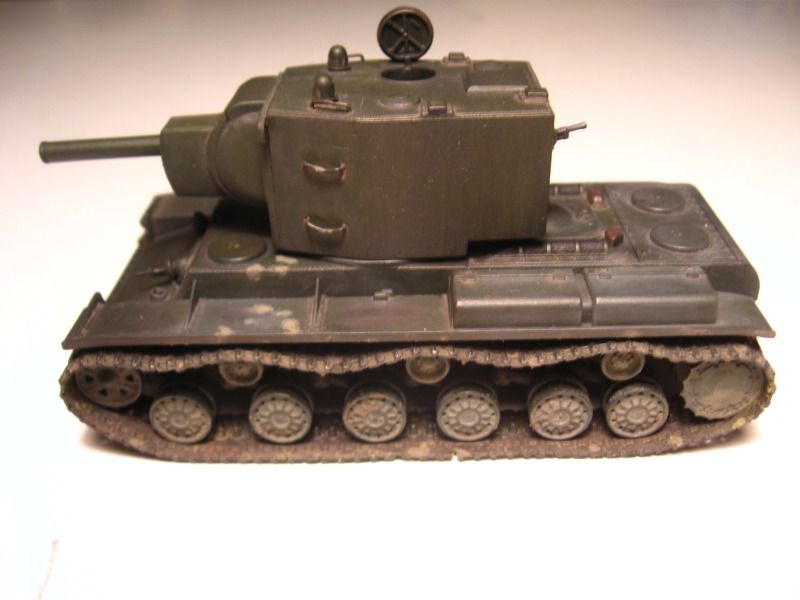
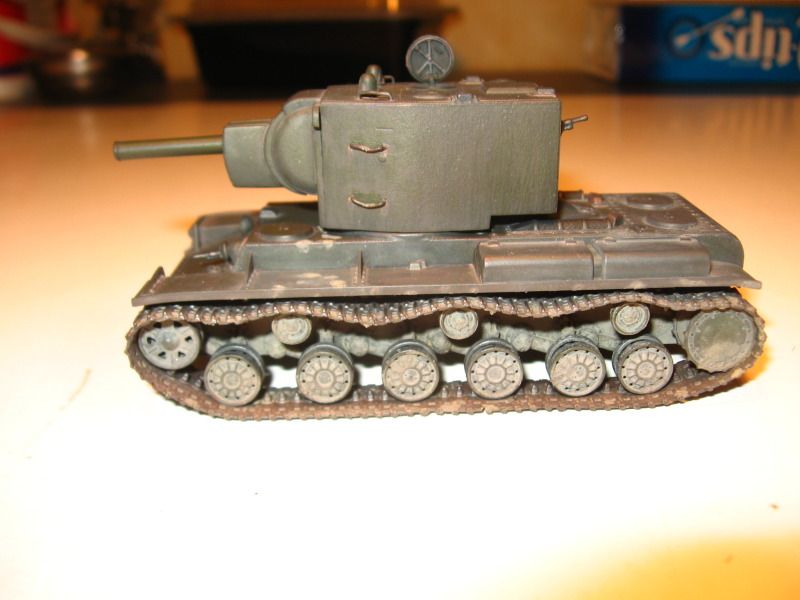
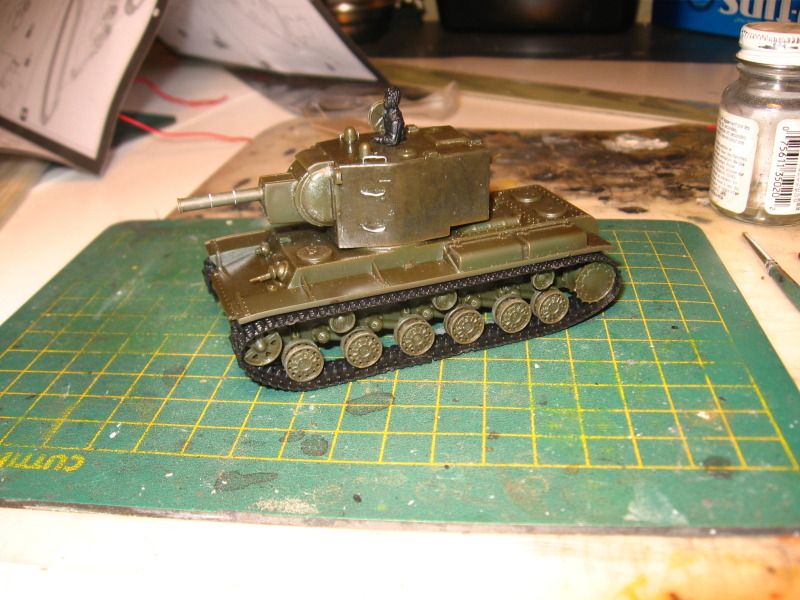
And here is where it's at. I'm using WEMs 4Bo green varying it a bit with some lighter and darker greens, which does not show in the pictures as well as the green looking much lighter then it is on the model(s)
Have a look here Henk of Holland Linky if you want to get a general idea of what's in a Forces of valour box. If you scroll down to the KV-2 the picture of the built model is misleading as that isn't exactly what falls out of the box as look at the sprues will show. The figure is actually very well detailed for the scale, but moulded in the same soft plastic as the tracks, which aren't the glue-able kind.
Well I got these the other day From a friend, Mr. Paul W, Thanks Paul :drinks of course in the spirit in which it was given I shall endeavour to make the best work of it
of course not being a very patient fellow, I had to rip open at least one of them and after about 5 minutes I ended up with this
I did measure Mr.Tanker dude as I thought he looked to be a bit on the largish side but he only scales out to a whoping 5.83 feet so he will be sufficient and a good piece for some practice at figure painting.
I thought it looked kinda silly having a weld seem on the front and a joint on the side and despite the fact it would be difficult to see I decded to fill them in any way there are two end caps and a warm air deflector on the rear that attach to the hull.
and all of 4 bits that attach to the top
And the turret, now if you look closely in the hull you will see the those two rather large thingys sticking up in the middle same as the two in the Turret top, that other thing is the tub for the commander to sit in, those would be the alignment pins, they hold everything together, and they do a very good job of it. That's the only place that the glue needs to go. another nifty thing is the way the barrel, which is the T shaped thingy with the O rings, is sandwiched between the tabs in the upper and lower turret parts
Although the kit isn't one that one would want spend a lot of time and effort detailing I just couldn't live with the grab handles being represented as protruding slabs of plastic so I did make up some new ones.
I also decided to see if I could add a bit of texture to the armour that wouldn't look to over done in this scale
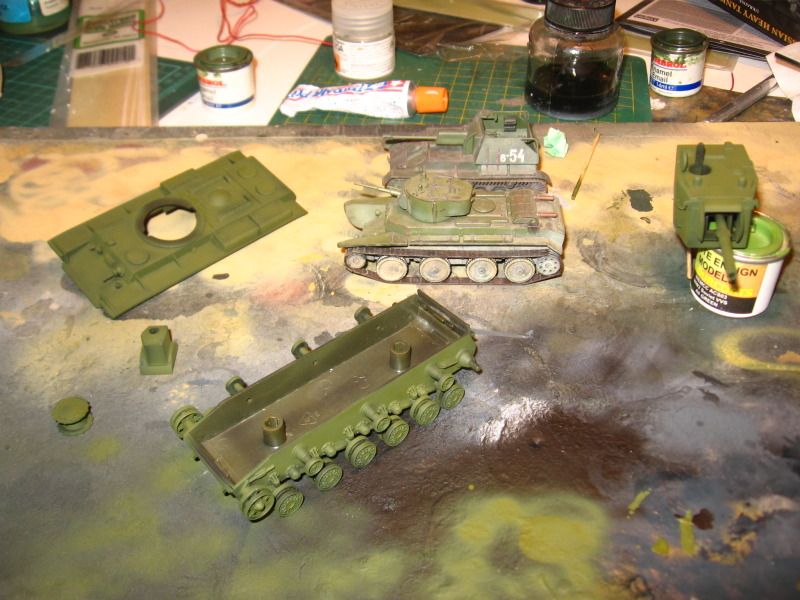
The wheels are pretty straight forward. The moulding of this thing is actually very crisp, and although a little clean up adds a nicer result, other then trimming off the attachment points it isn't essentially necessary. The only issue here is that the fit of the return rollers to the hull is a bit sloppy so making sure they get a good amount of glue and that it cures properly will prevent them from breaking off in the future.
And here it is ready for paint, neat thing is the tracks are just set in place, and although the locating tabs are not the large ones that stick through like the old ones where you heated them up and melted them to "glue" the tracks together, they are clipped into place and I can pick it up without them falling off, the instruction tell you to superglue them on. Another thing I altered was the hatch, which on the kit lays down flat over the side of the turret when all the pictures I have show it to be upright, just a simple matter of cutting back the locating tab
And now for the base coat of black
And here is where it's at. I'm using WEMs 4Bo green varying it a bit with some lighter and darker greens, which does not show in the pictures as well as the green looking much lighter then it is on the model(s)