• Modelers Alliance has updated the forum software on our website. We have migrated all post, content and user accounts but we could not migrate the passwords.
    This requires that you manually reset your password.
    Please click here, http://modelersalliance.org/forums/login to go to logon page and use the "Forgot your Password" option.

Eduard 1/72 LA-7

phantom II

Master at Arms
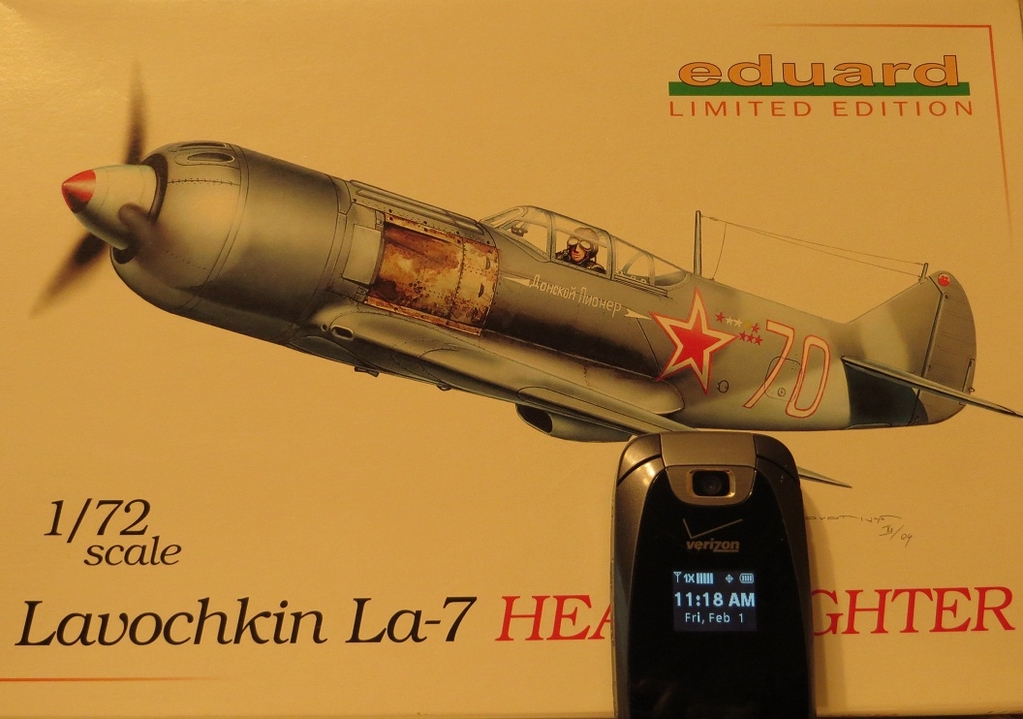
Here we go with the mandatory pix. :D

mandatory_pixs_001b.jpg

Eduard 1/72 LA-7
 
Sharp isn't it ? Especially if you compare it to the early LA-5 razorback .

Hope I can do it the justice it deserves :pilot

Cheers, Christian B)
 
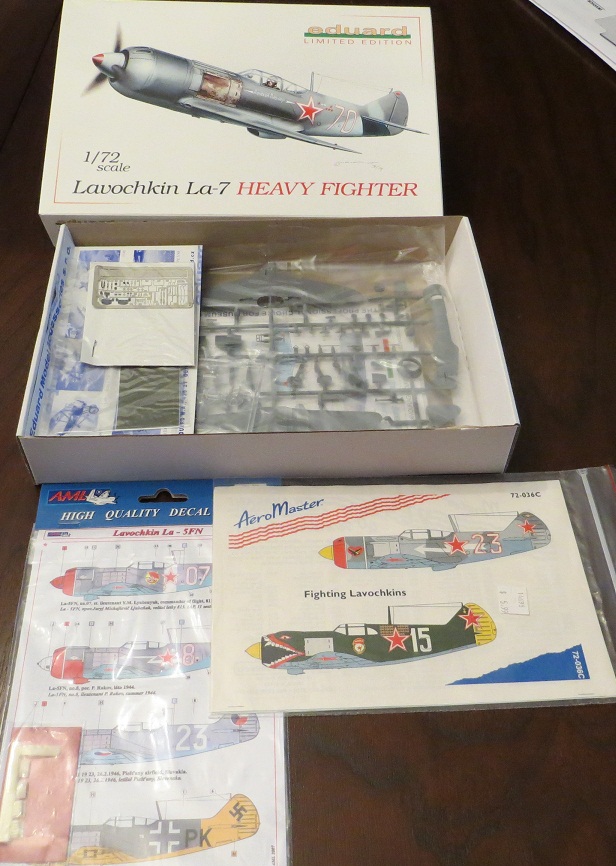
Here we go. This one has been lurking in the closet since it was issued .

next_pix_002a.jpg


Looks to be a good model if it fits together .

Cheers, Christian B)
 
Best As I've gathered the toothy fella is an early LA-5 and according to the VVS guys was never flown by the pilot after it was painted.

Just something that came with the sheet. I do not have the airframe.

Cheers, Christian B)
 
The other discrepancy with the museum picture is the Yellow rudder. ( a German marking )

That in itself would have brought too much attention from VVS fliers. If it flew at all, it was most likely painted white.

Cheers, Christian B)
 
Nice looking kit Christian, it's gonna look good when finished!

I have the LA-5 and LA-5FN from Zvezda in the stash. The russians made some interesting aircraft!
 
Sorry Saul, I do not own an LA-5 but as you saw , I have some decals for future builds.

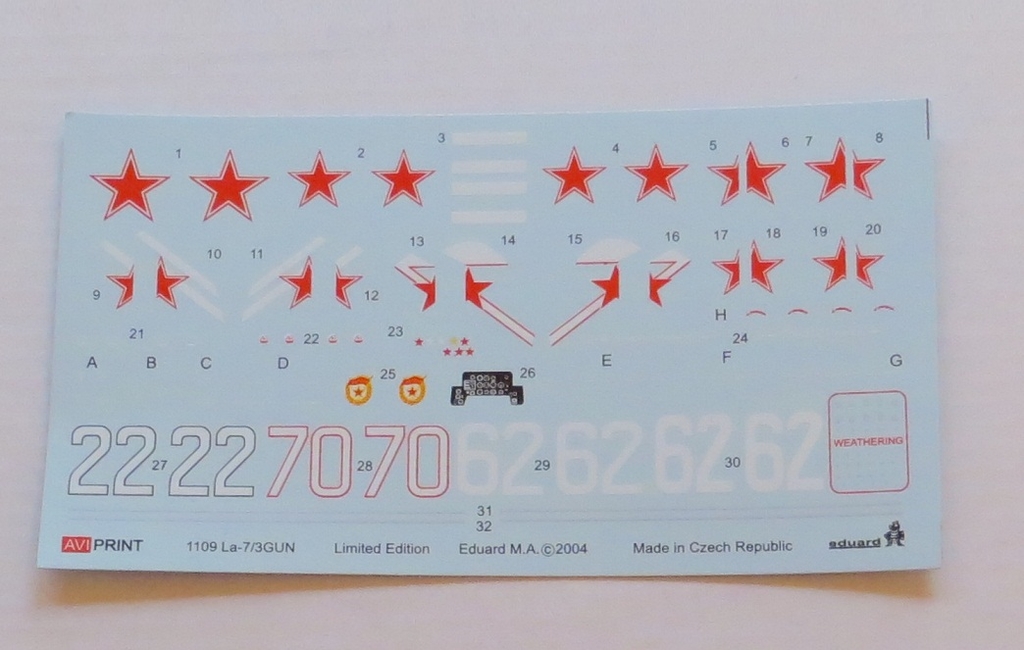
These are the ones that came with the kit.

la-7_2B_002a.jpg


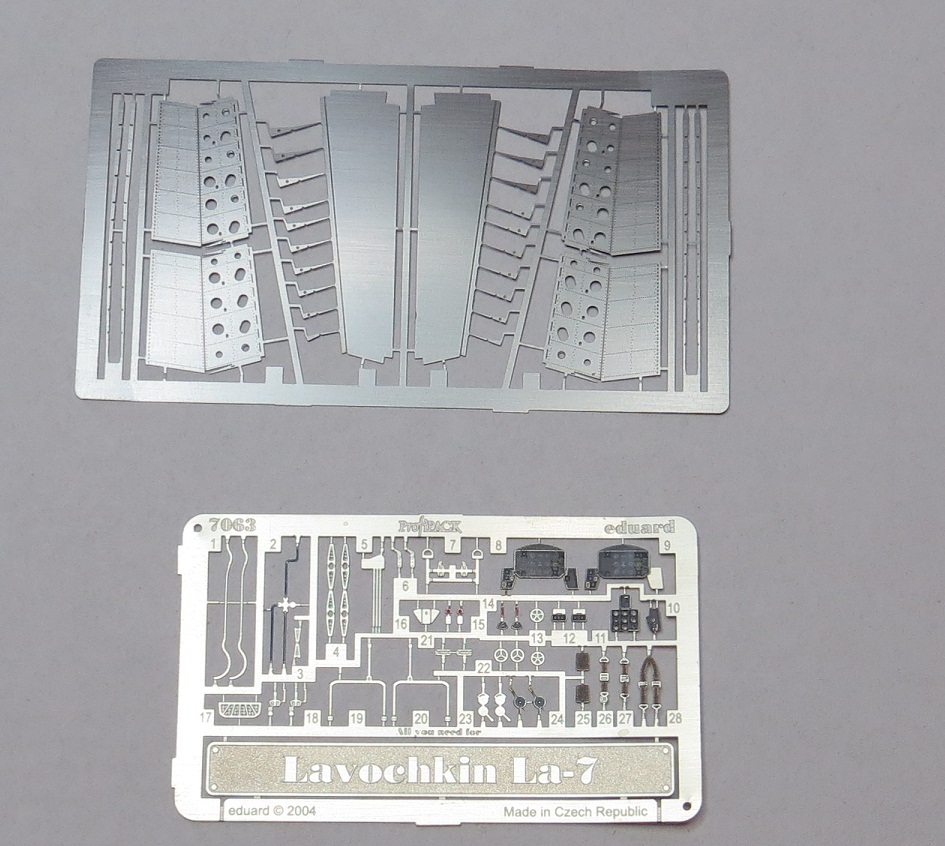
It also comes with a couple of PE frets.

la-7_2B_001a.jpg


Thanks for looking . Work is in progress. Cheers, Christian B)
 
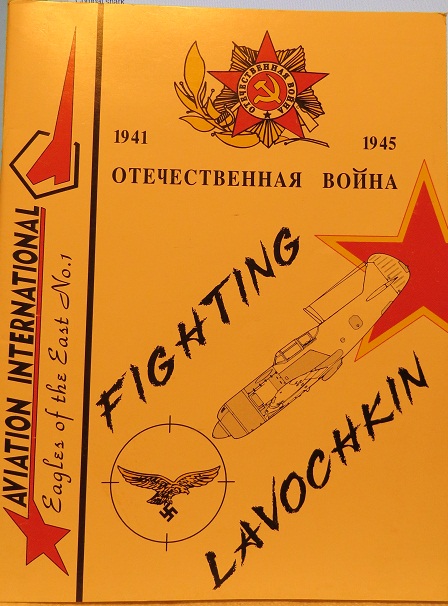
This morning I dug out my only LA-7 reference . Not much technical stuff there but at least there are several decent paint schemes.

LA-7_refference_001a.jpg


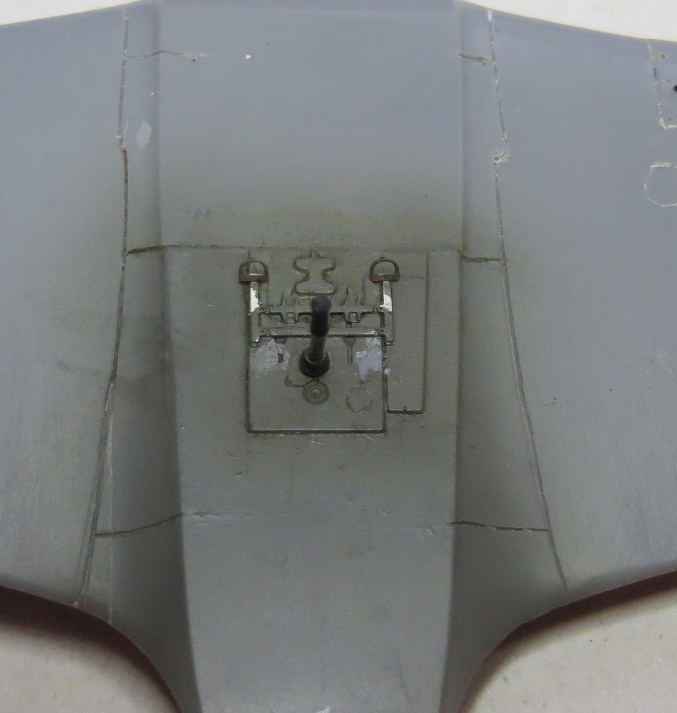
I find this Eduard kit has very shallow scribe lines so I re-scribed it. Mercifully there are not many. It looks to be a plywood skinned airplane .

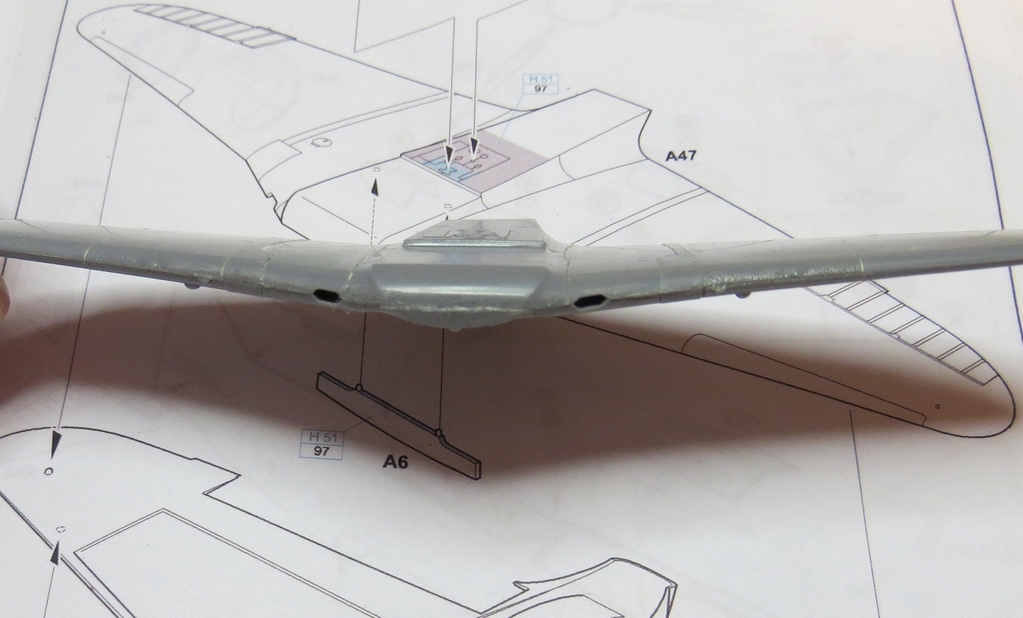
The wing came into two pieces. Top and bottom . This took a good deal of clamping to get it glued. Sanding to follow .

LA-7_refference_005a.jpg


While the glue was setting up I proceeded with the cockpit paint and the PE .

LA-7_refference_003a.jpg


Hopefully more progress tomorrow .

Cheers, Christian B)
 
Hello everyone . I have a few updates on this one.

While the PE was drying in place, I started to assemble the radiator.
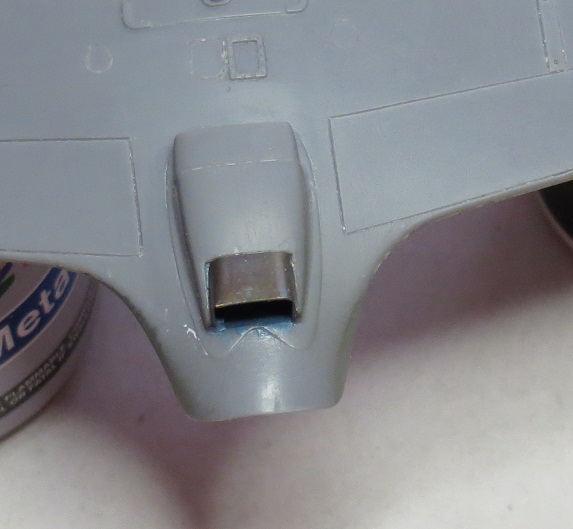
To my surprise the intake scoop was blanked out so I drilled a set of .020 holes through it :blink I then finished cleaning it out with a #11 blade.
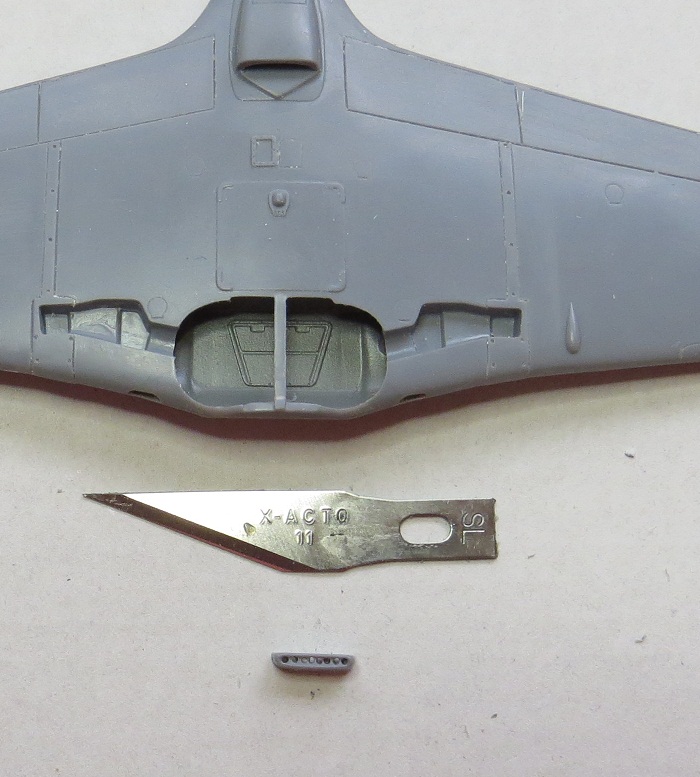
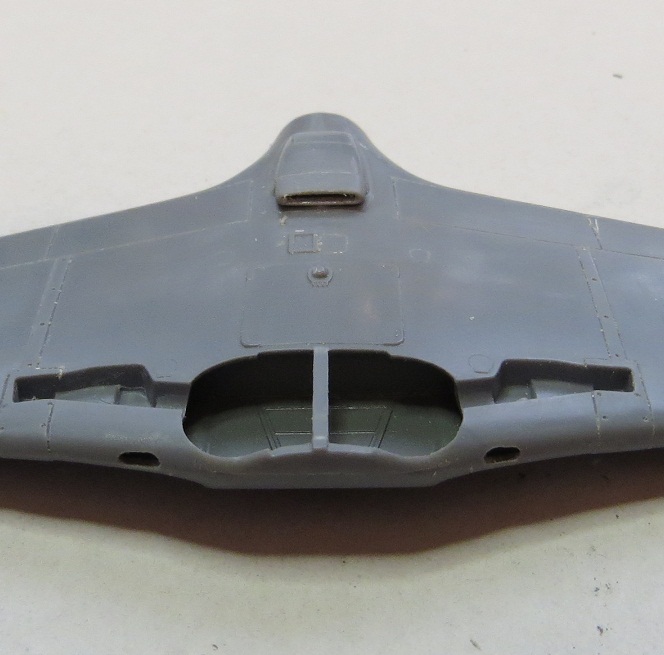
LA_cockpit_001a.jpg


LA_cockpit_004a.jpg


Next I noticed the the radiator grill ( PE ) could not even be seen from the rear, so I cut out the door and fashioned a new one from PE so that it could be in the open position.

LA_cockpit_008a.jpg


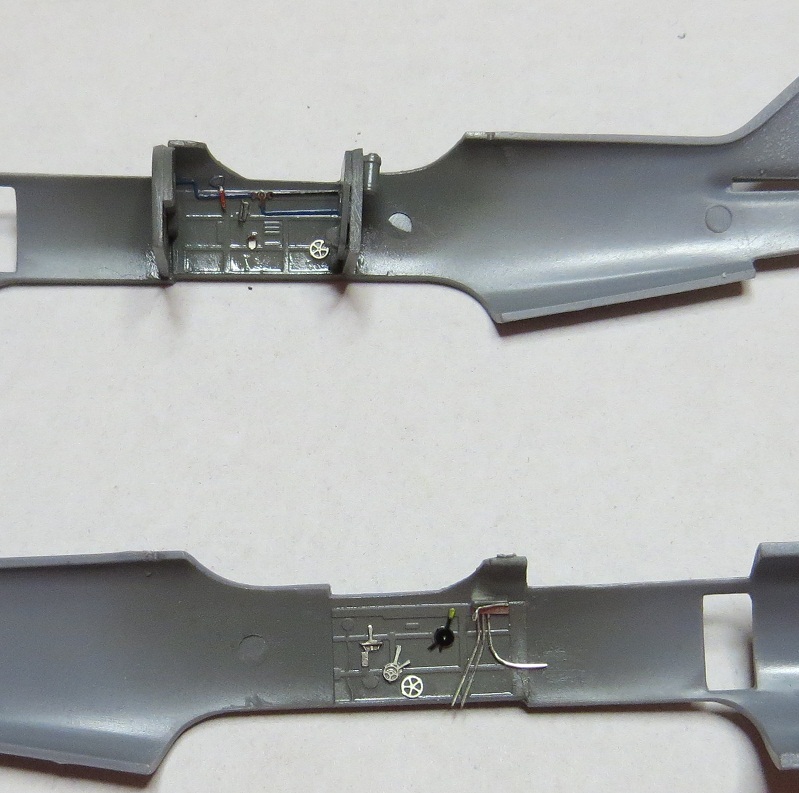
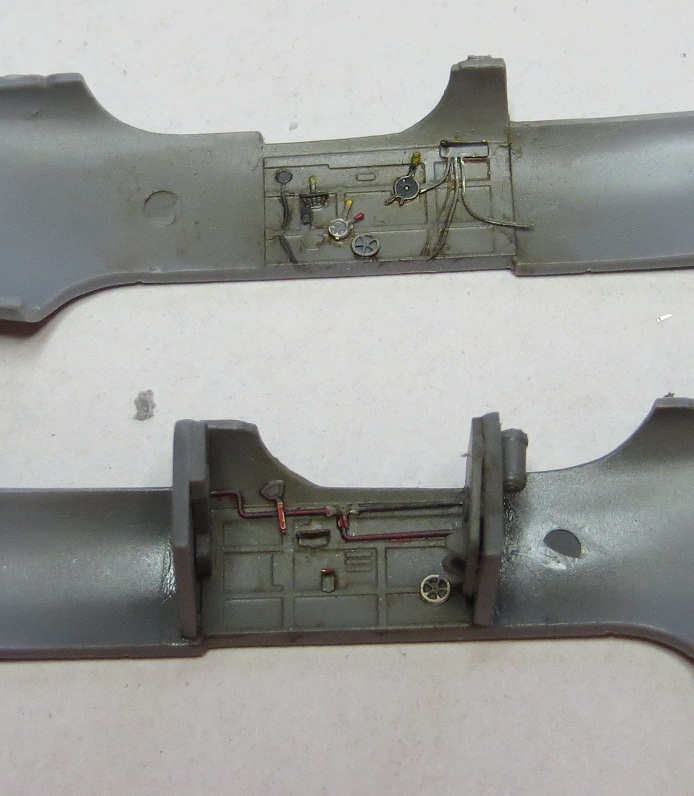
Next, was the cockpit floor which is part of the upper wing section .

Just a bit of PE and paint .

LA_cockpit_007a.jpg


I then decided to finish the cockpit interior with some detail painting of the PE followed by a wash a wash

None of this PE was glue in but it was attached with Future . I much prefer this method .

LA_cockpit_006a.jpg


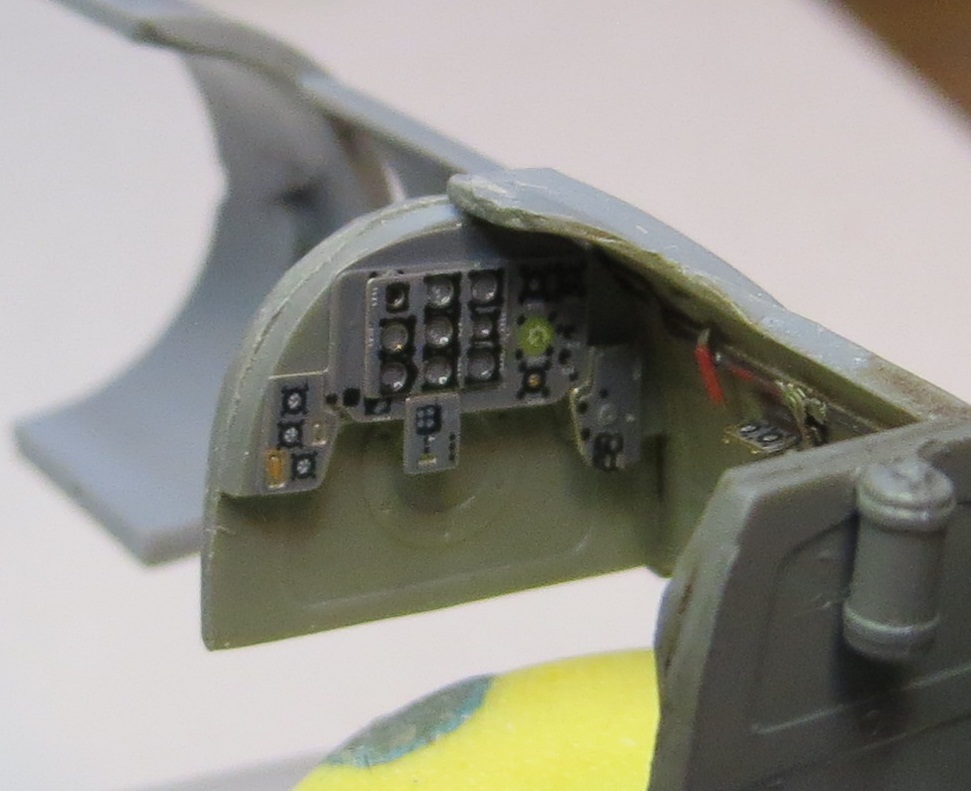
The PE instrument panel was next.

LA_cockpit_009a.jpg


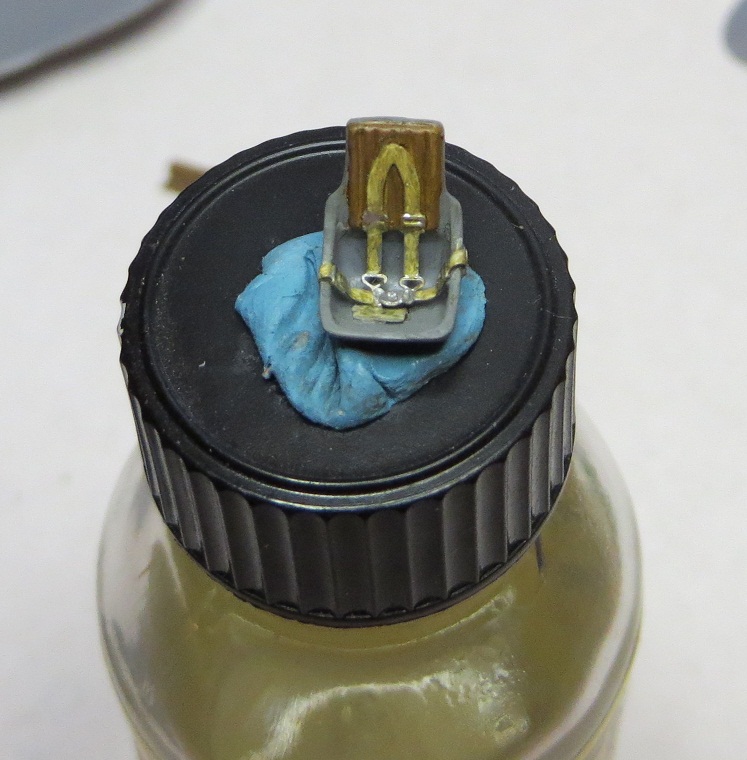
And finally the seat . PE and paint .

LA_cockpit_005a.jpg


This is probably the easiest cockpit I have assembled so far. Now, I am ready to assemble the fuselage .

Thanks for looking. comments are welcomed .

Cheers, Christian B)
 
Hi Christian, Well this appears to be up to your usual standards so far, Carry on :dude :ro:

I'll bite, How come you like the future better?

Randy
 
I'll bite, How come you like the future better?

You don't have the possible left over of the super glue . Just brush a light coat over everything glue down . Especially with this tiny stuff. :)

Cheers, Christian B)
 
Back
Top